I suffered a huge photographic failure this evening (accidentally deleted everything from photobucket).
I think it would be a huge pain in the ass to go through my whole build thread, and try to remember where all the photo's went, I'm just gonna start a fresh one. It'll essentially be the same things as before, but I'll try to zazz up the writing a little bit.
I'll try to do this in 3-4 posts, and have everything back on schedule ASAP.
(Click on the spoilers to view additional pictures)
› SPOILERS!
‹ SPOILERS!

Let's start at the beginning... again:
1/30/2013 11:46 pm
Okay. I started this project this morning at about 9:00.
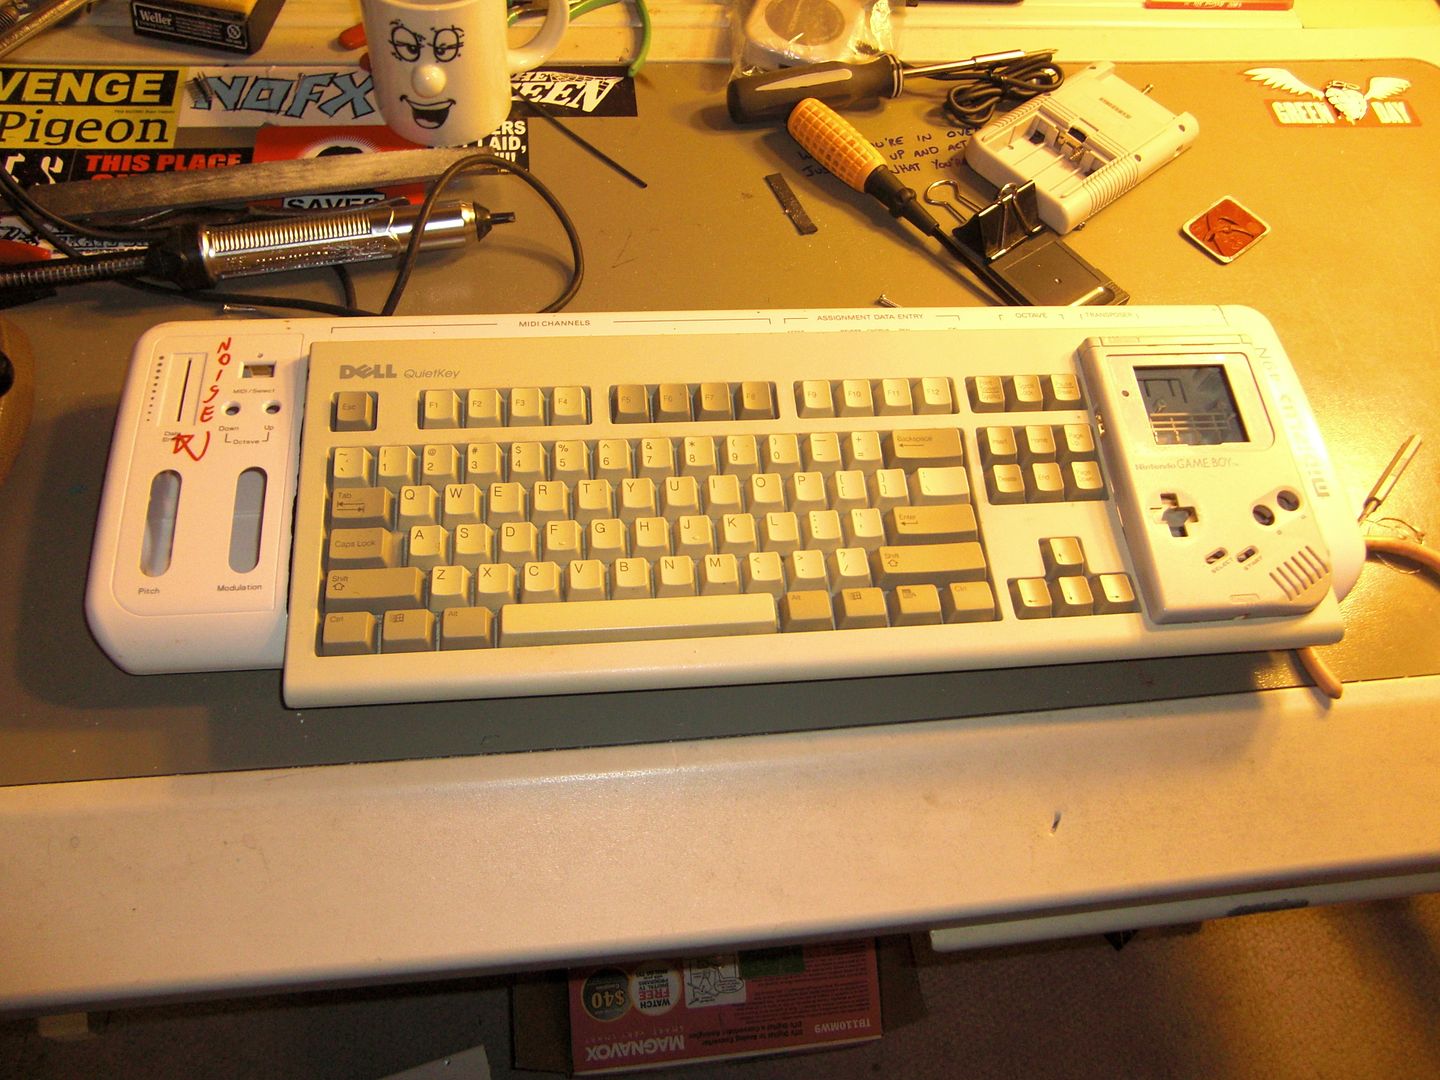
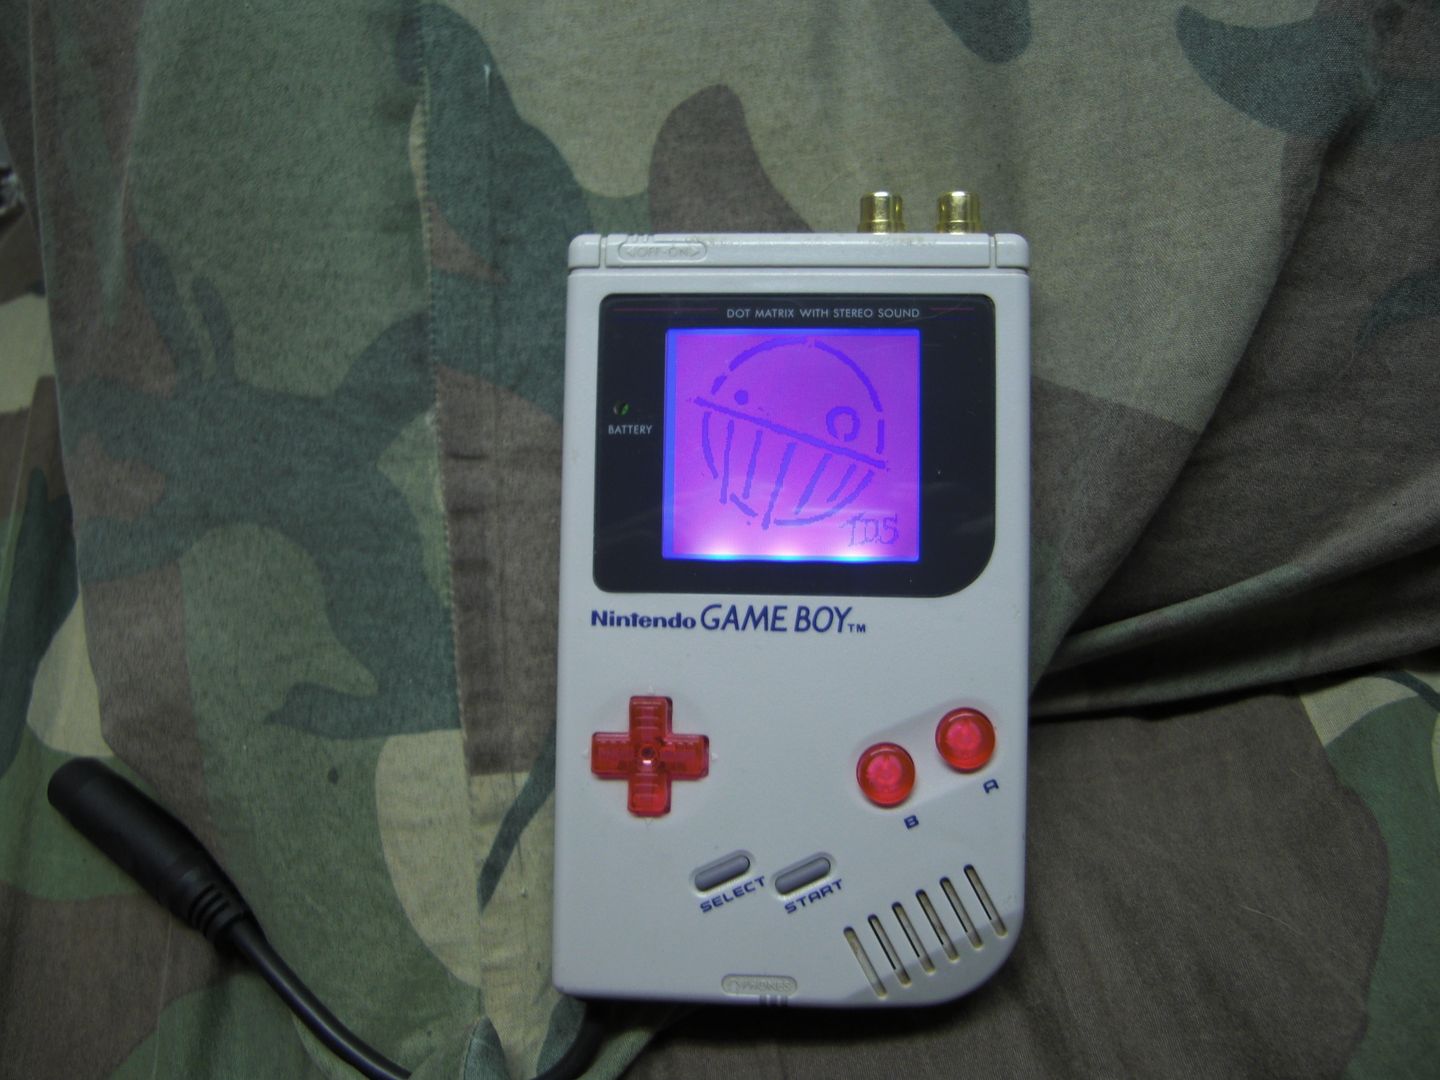
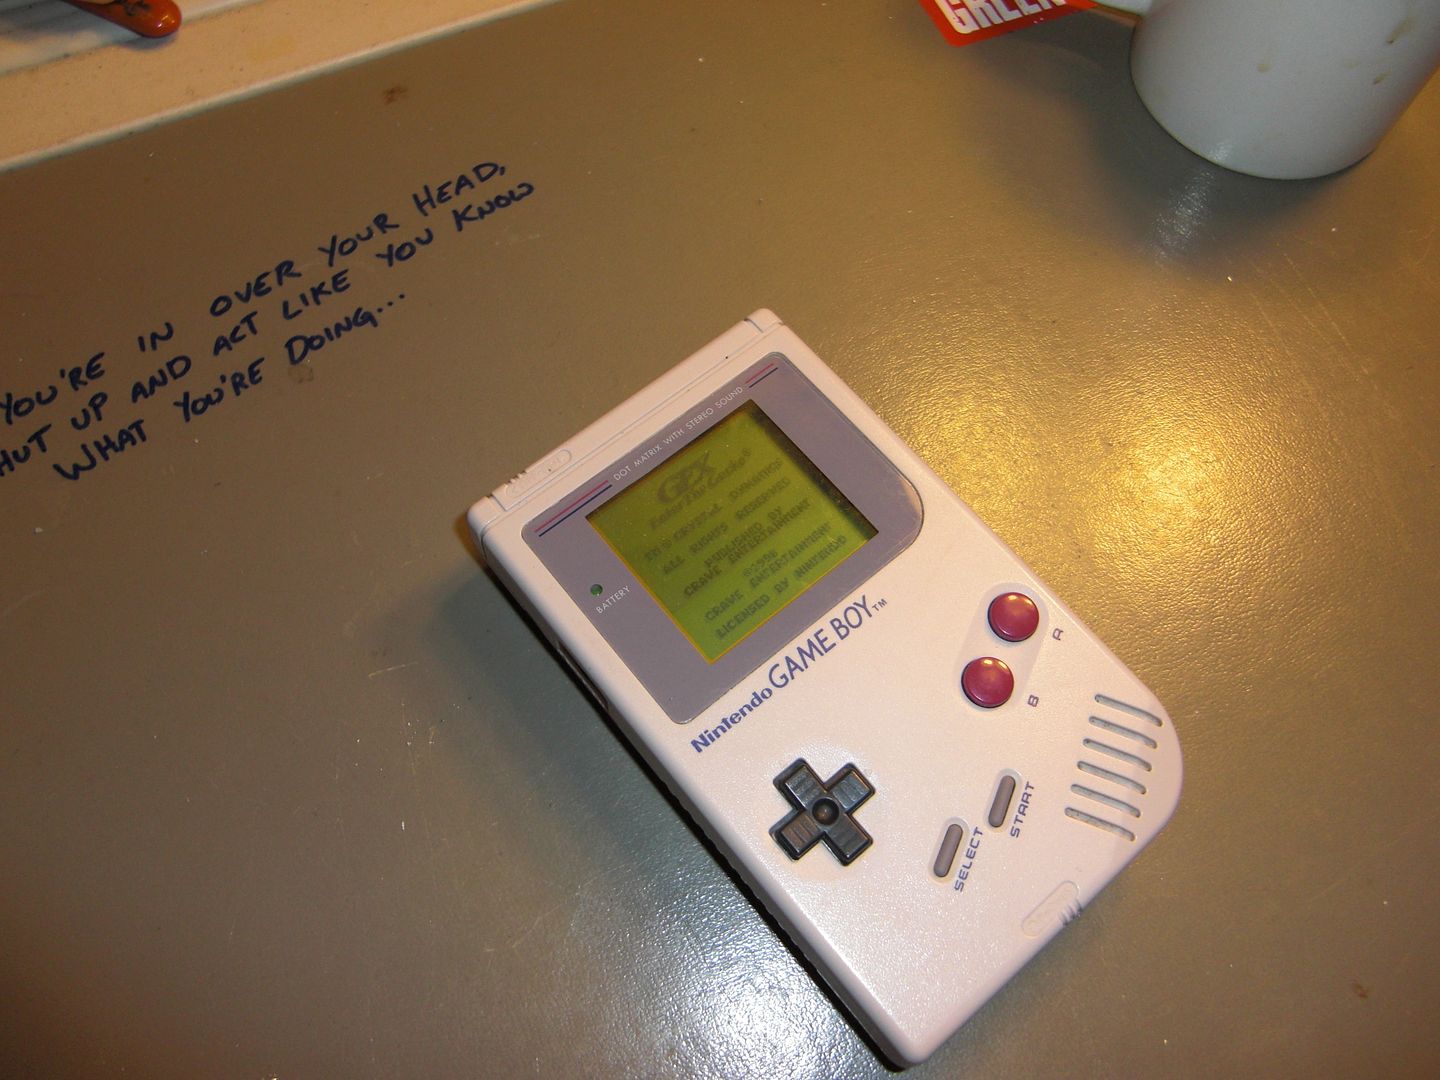
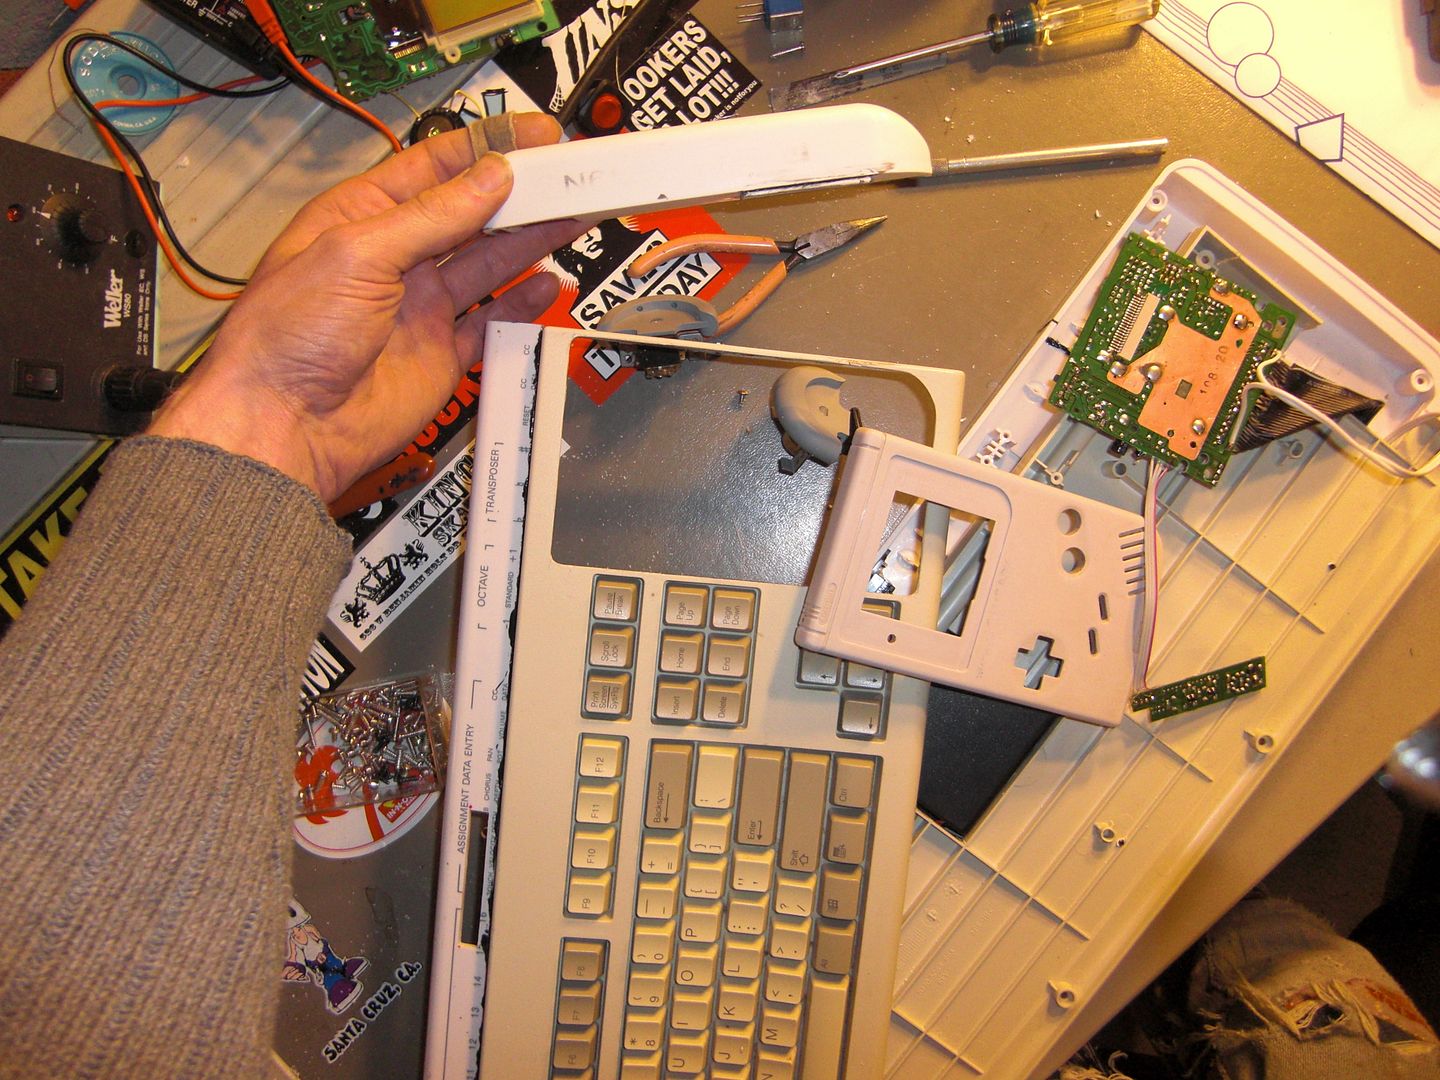
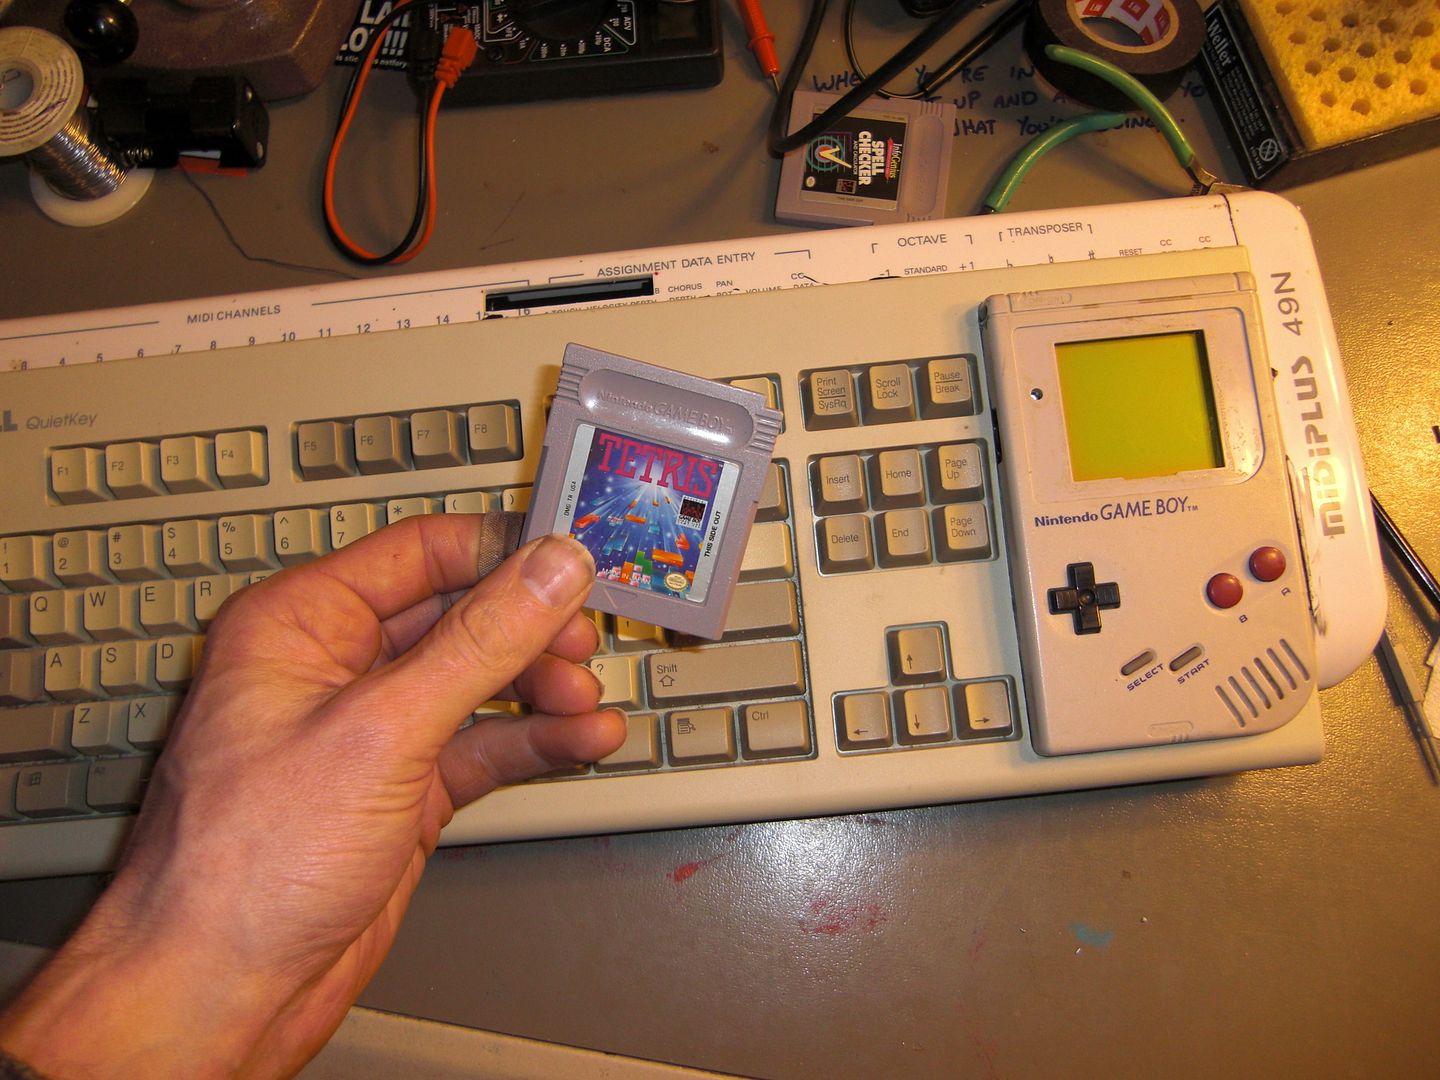
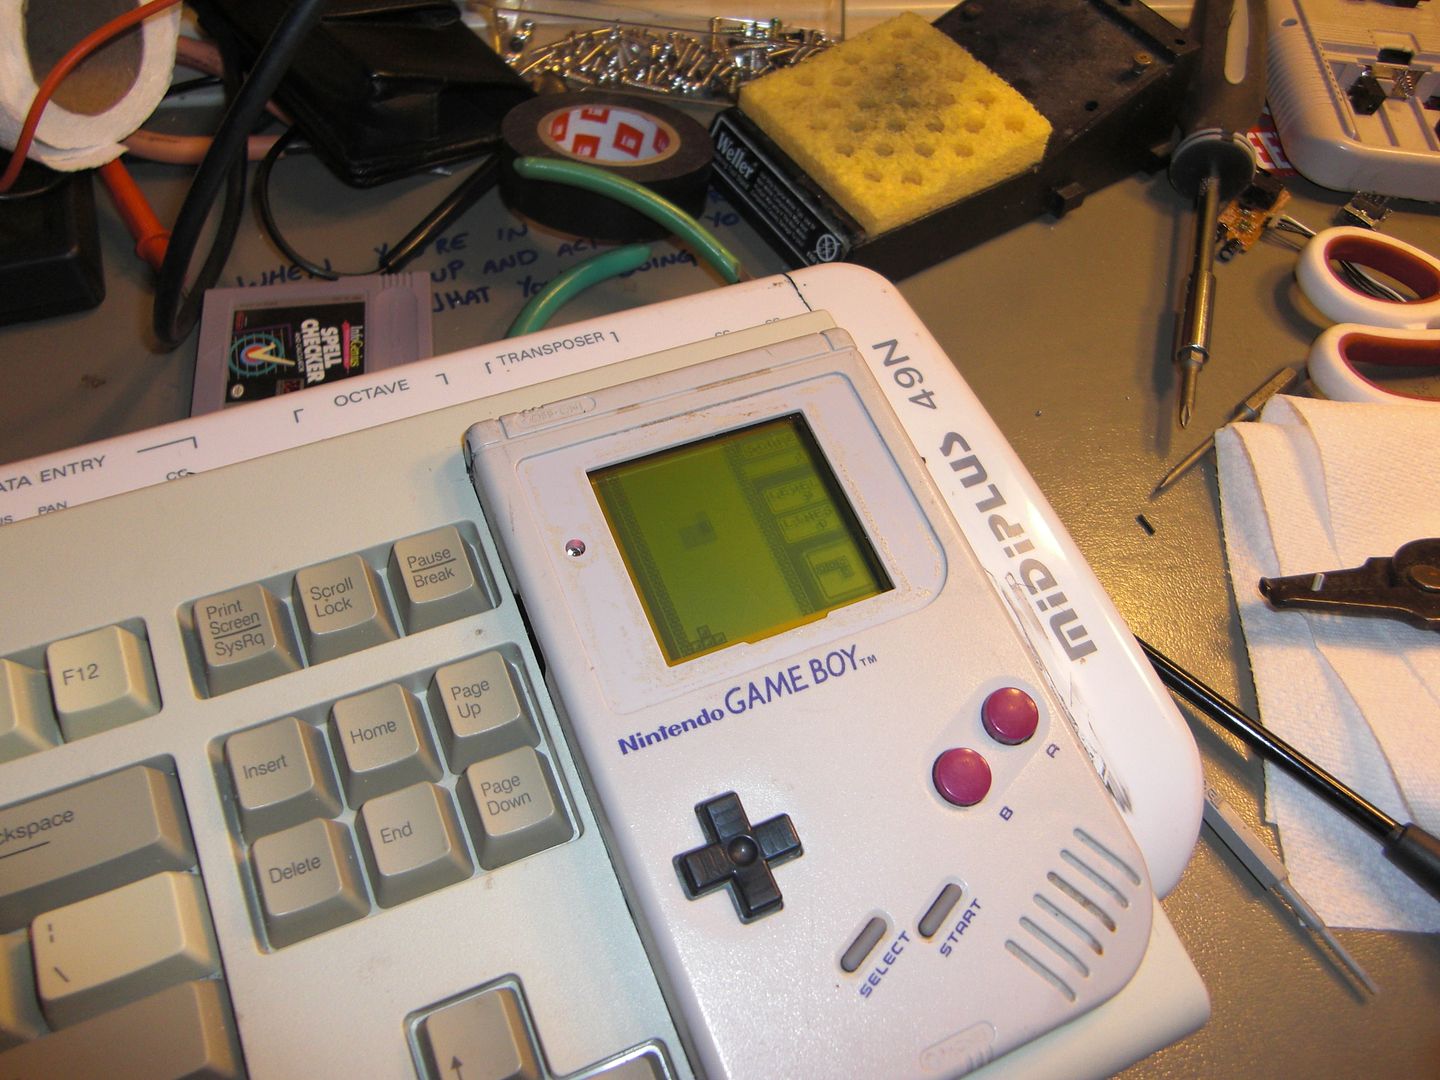
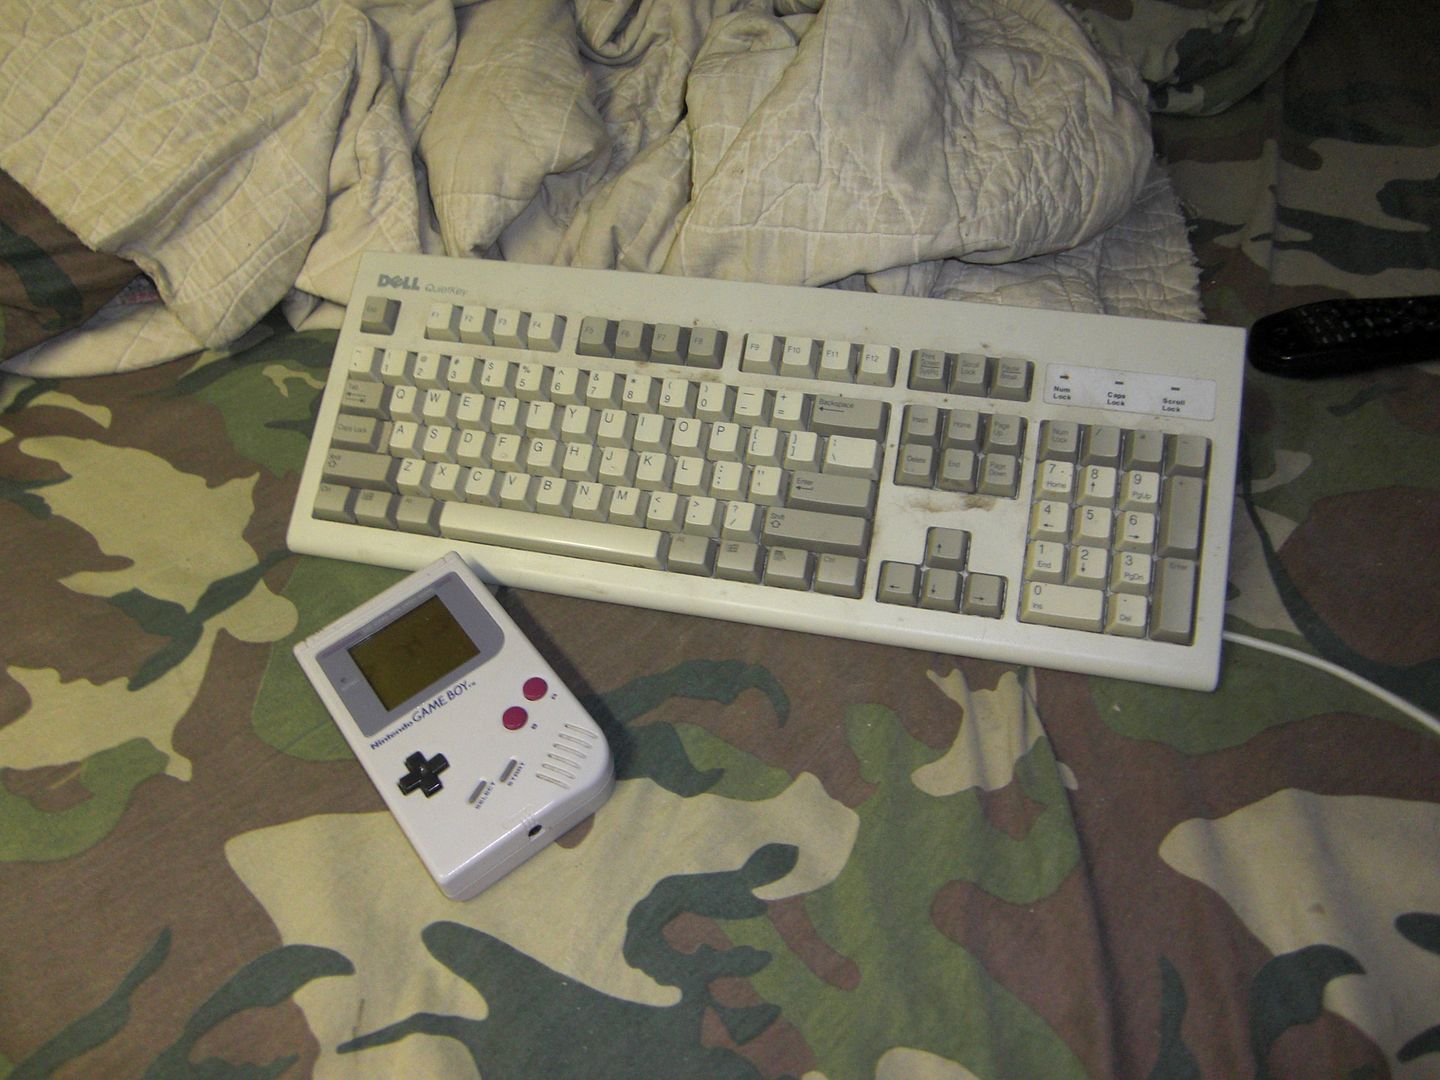
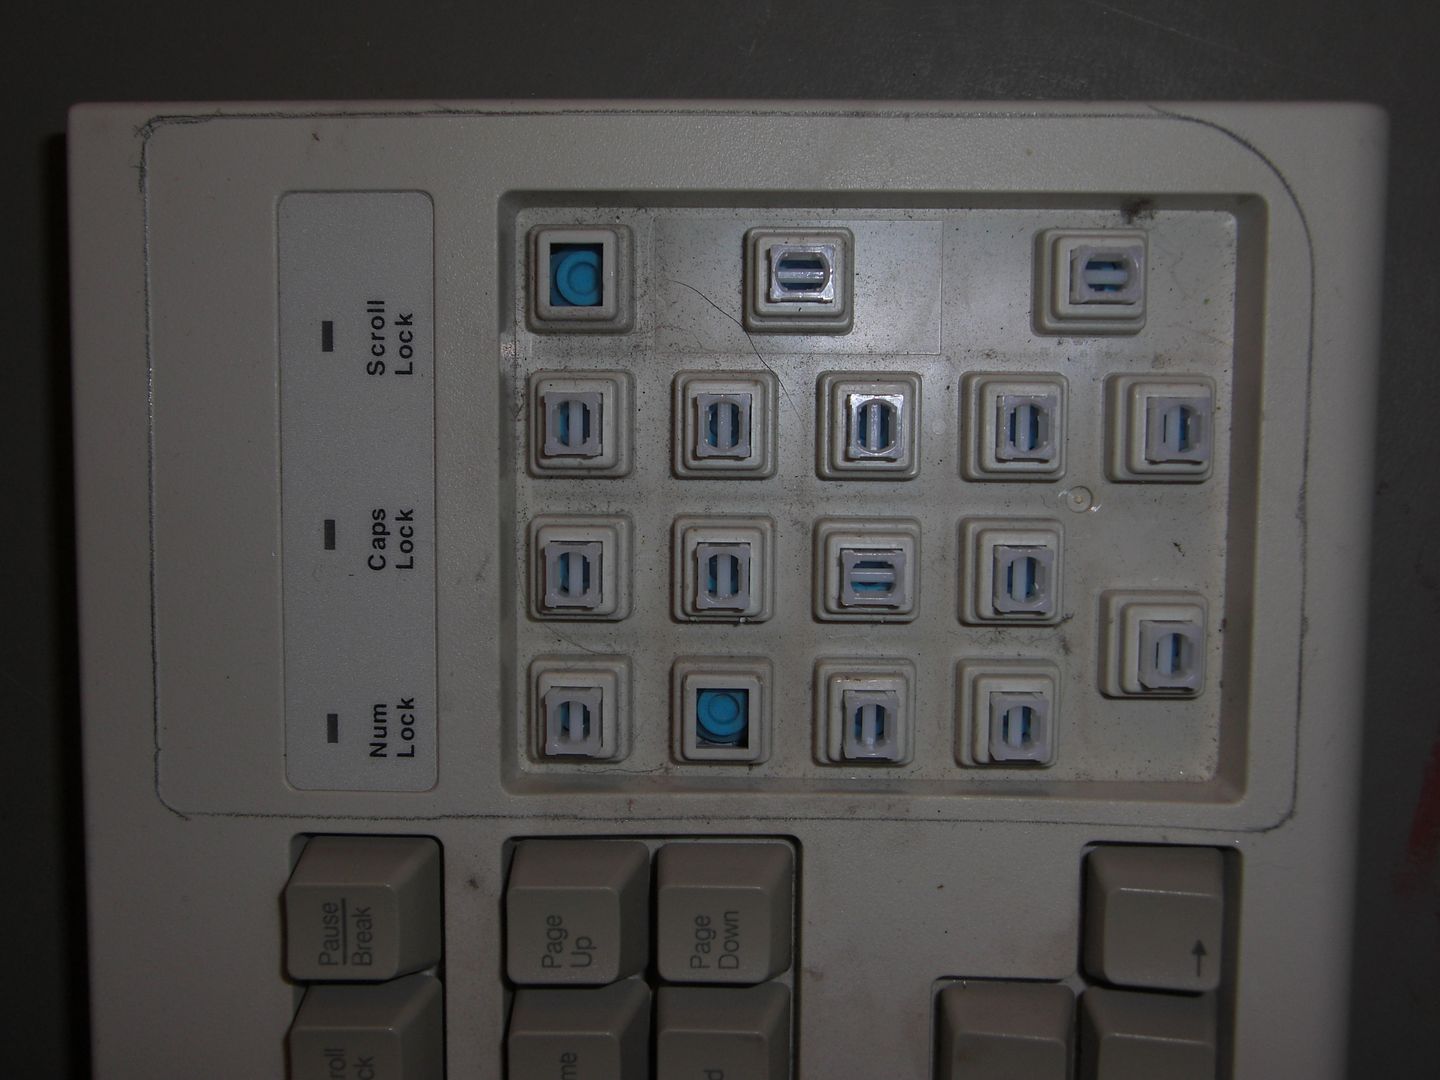
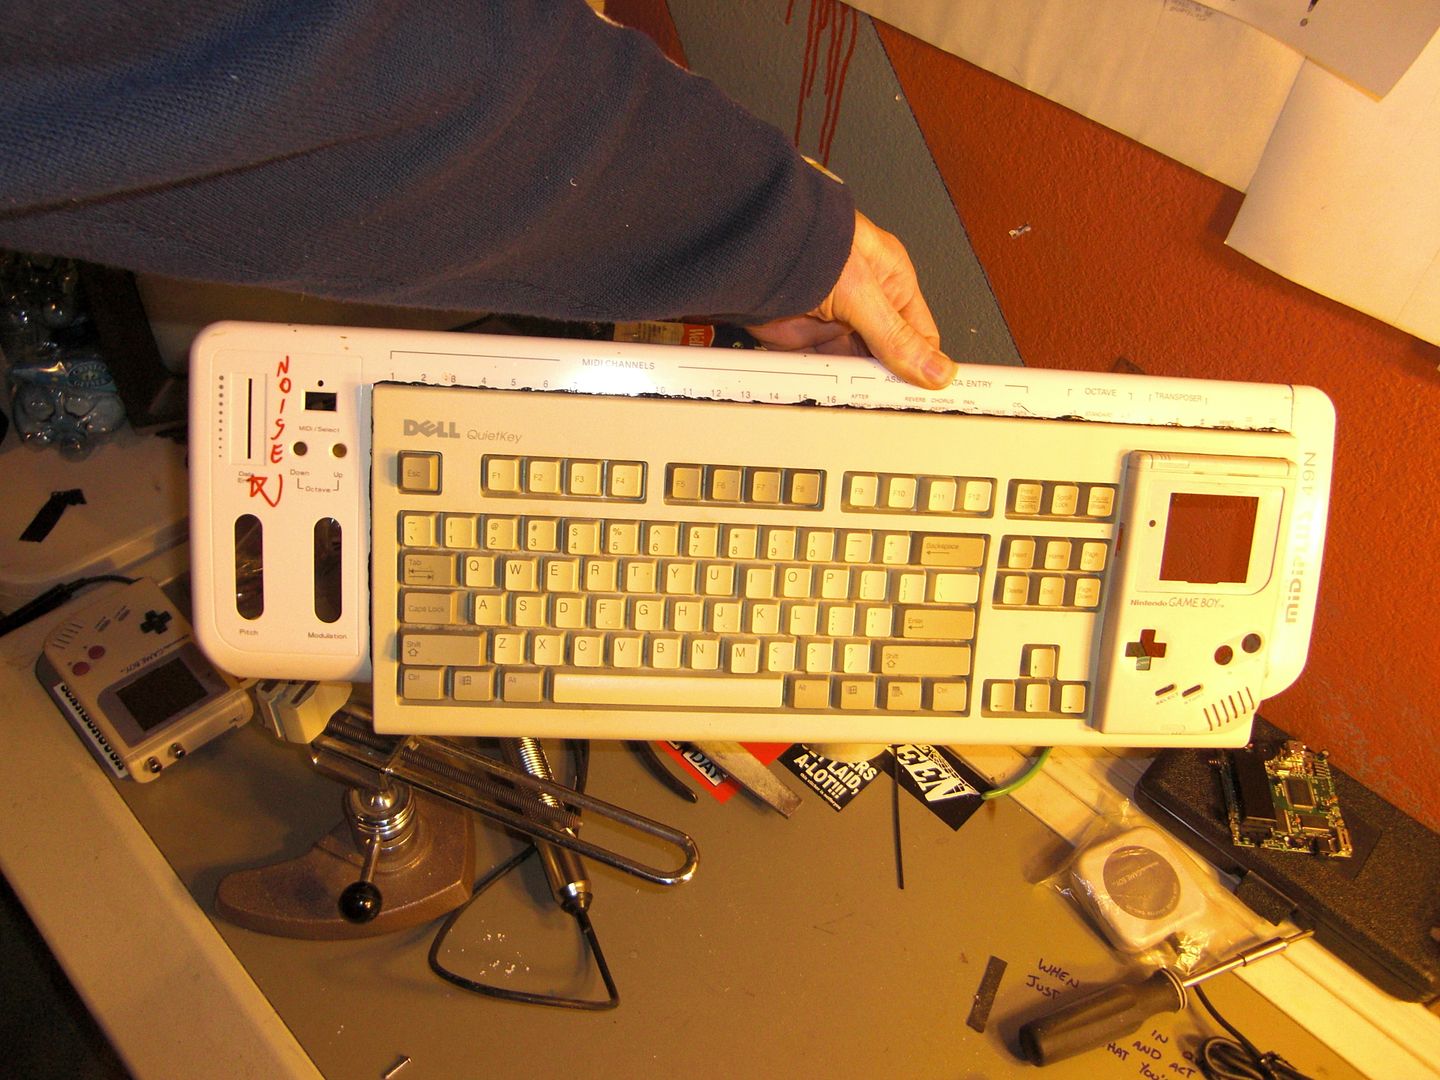
I had an extra PS/2 keyboard, and a friend had just given me her tired looking Gray Brick... then things started happening.
(these are not the actual pieces I started with... but they are pretty much identical)
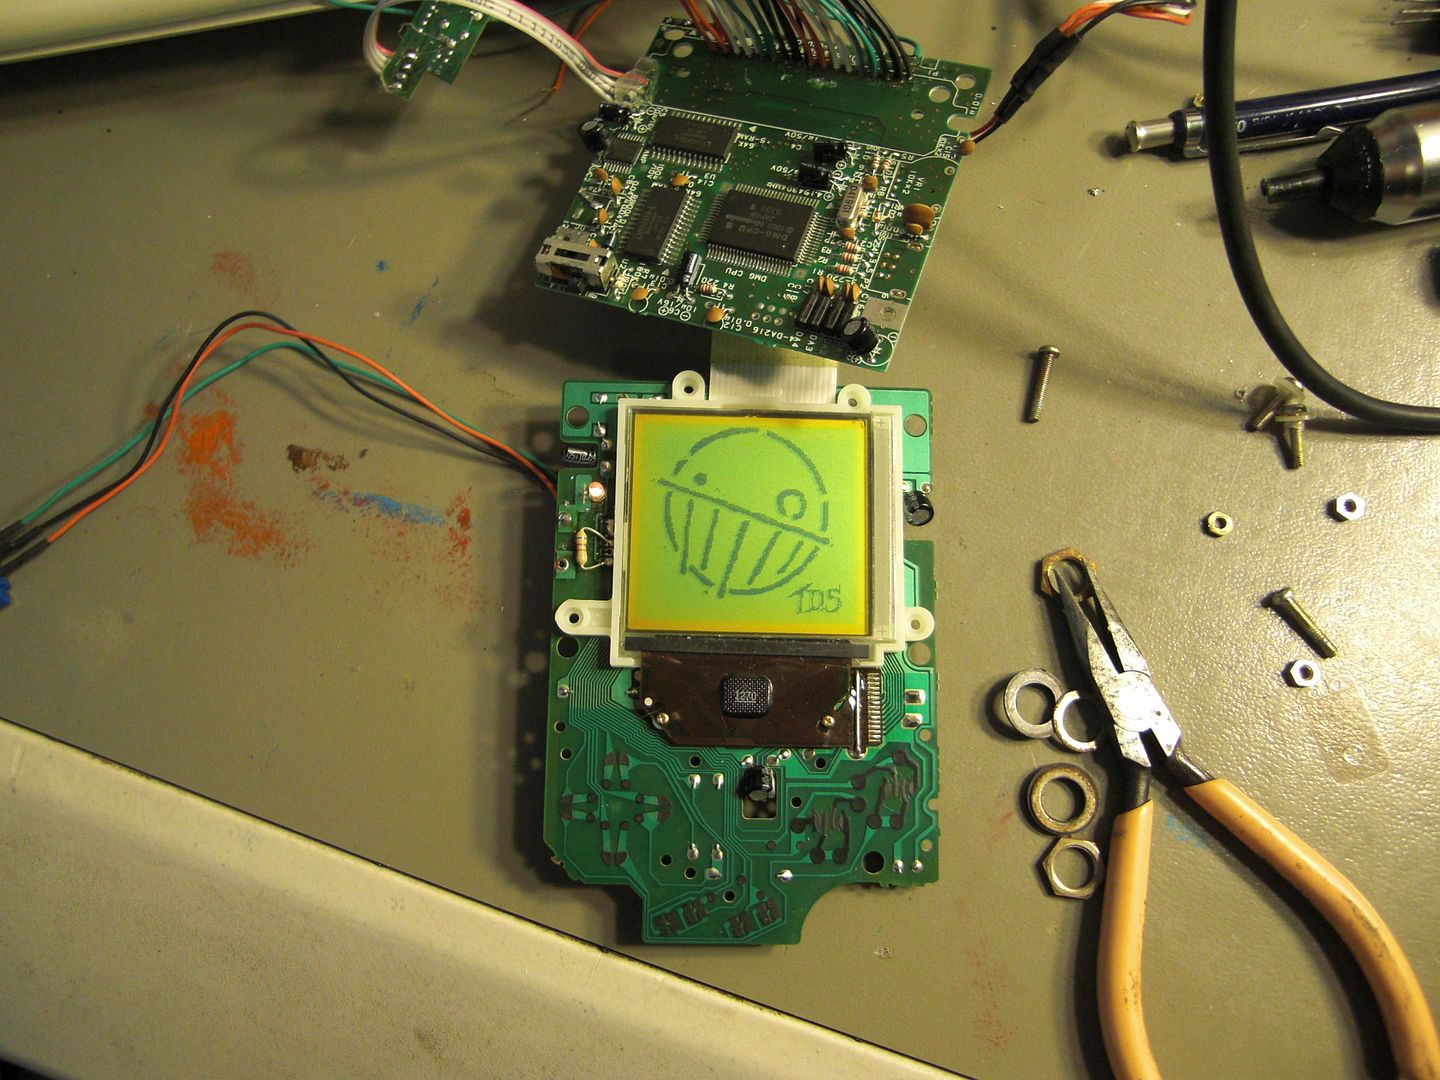
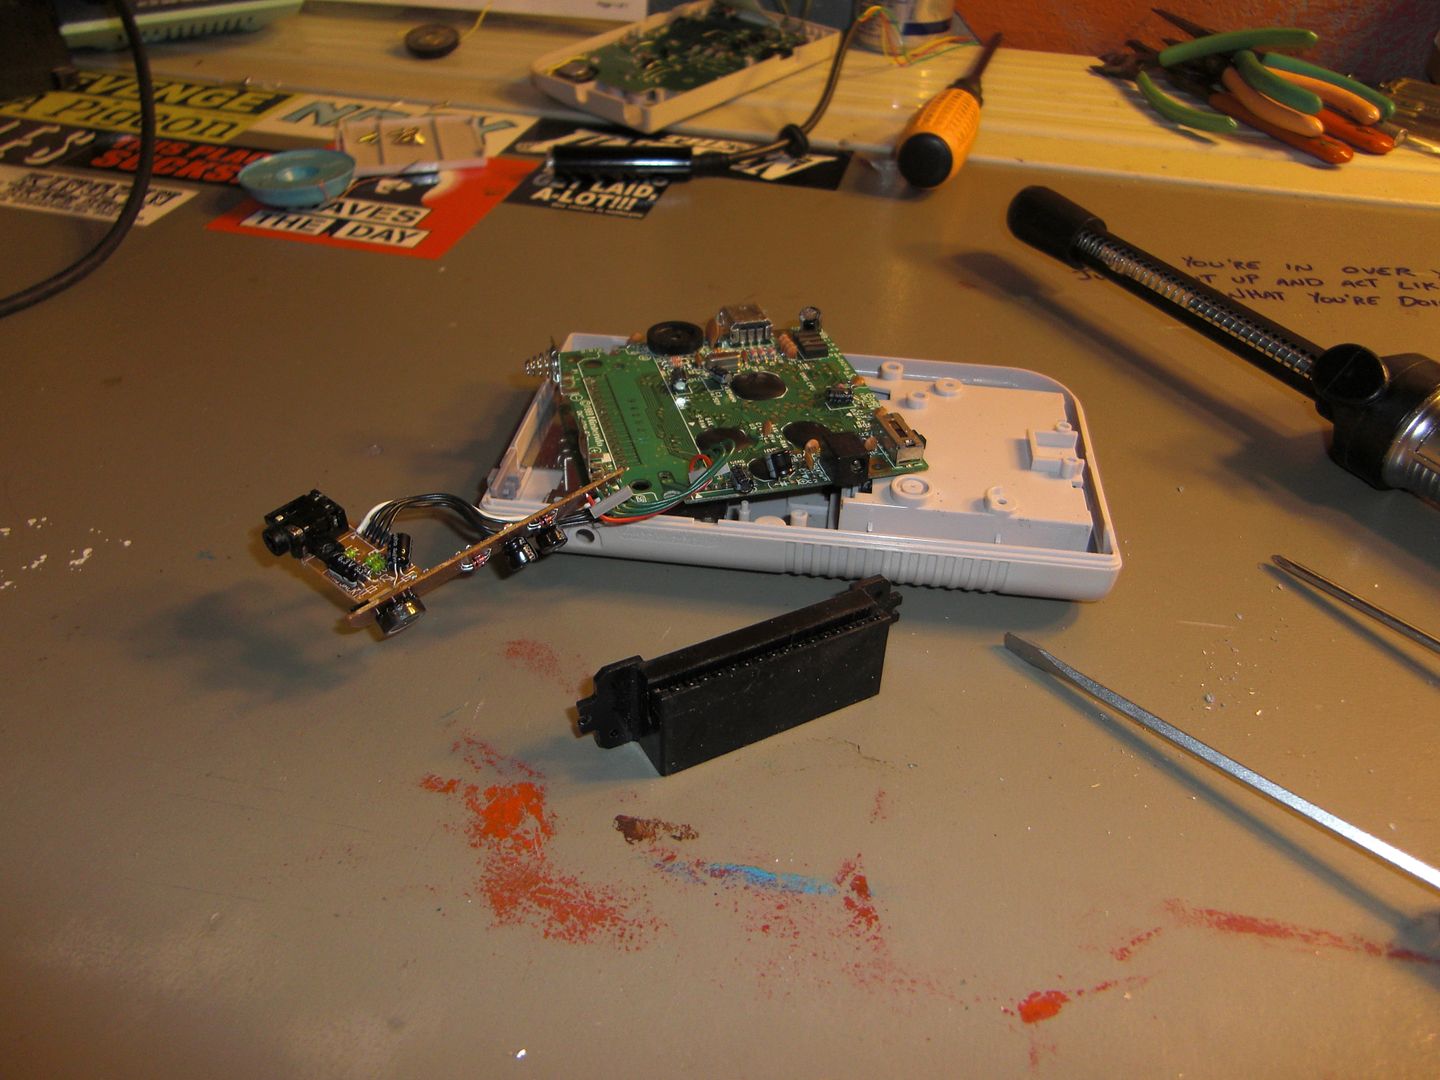
I had just finished learning how to do the DMG-keyboard interface, and as I started to swapping cables and popping off the unneeded keys, I struck on this insanity.
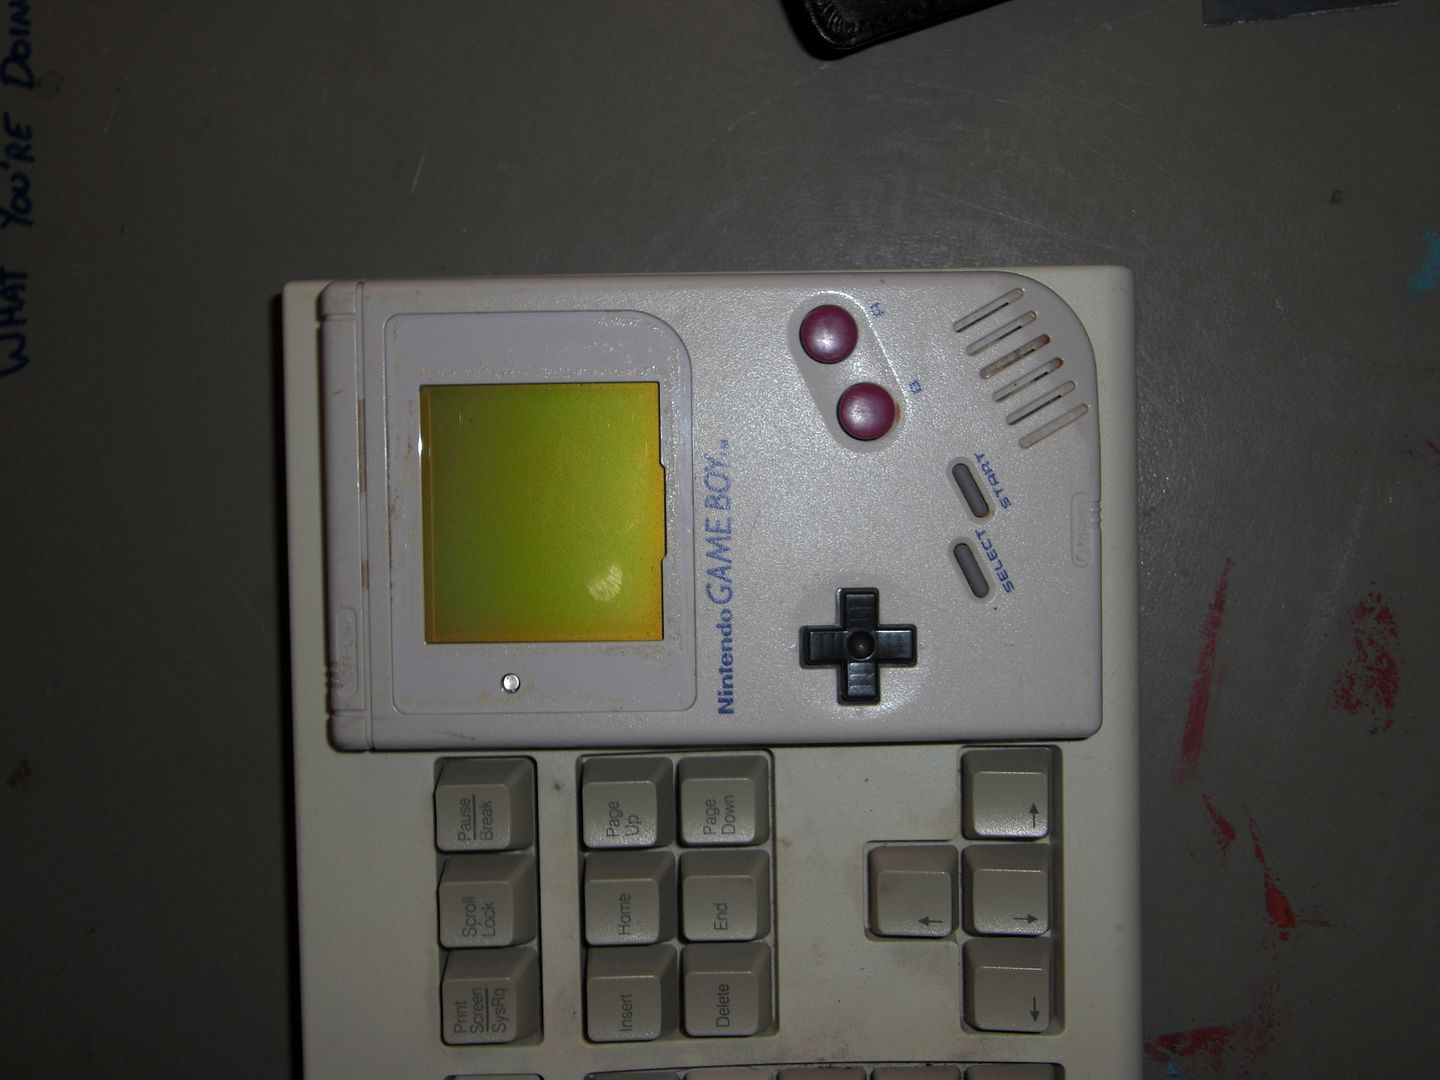
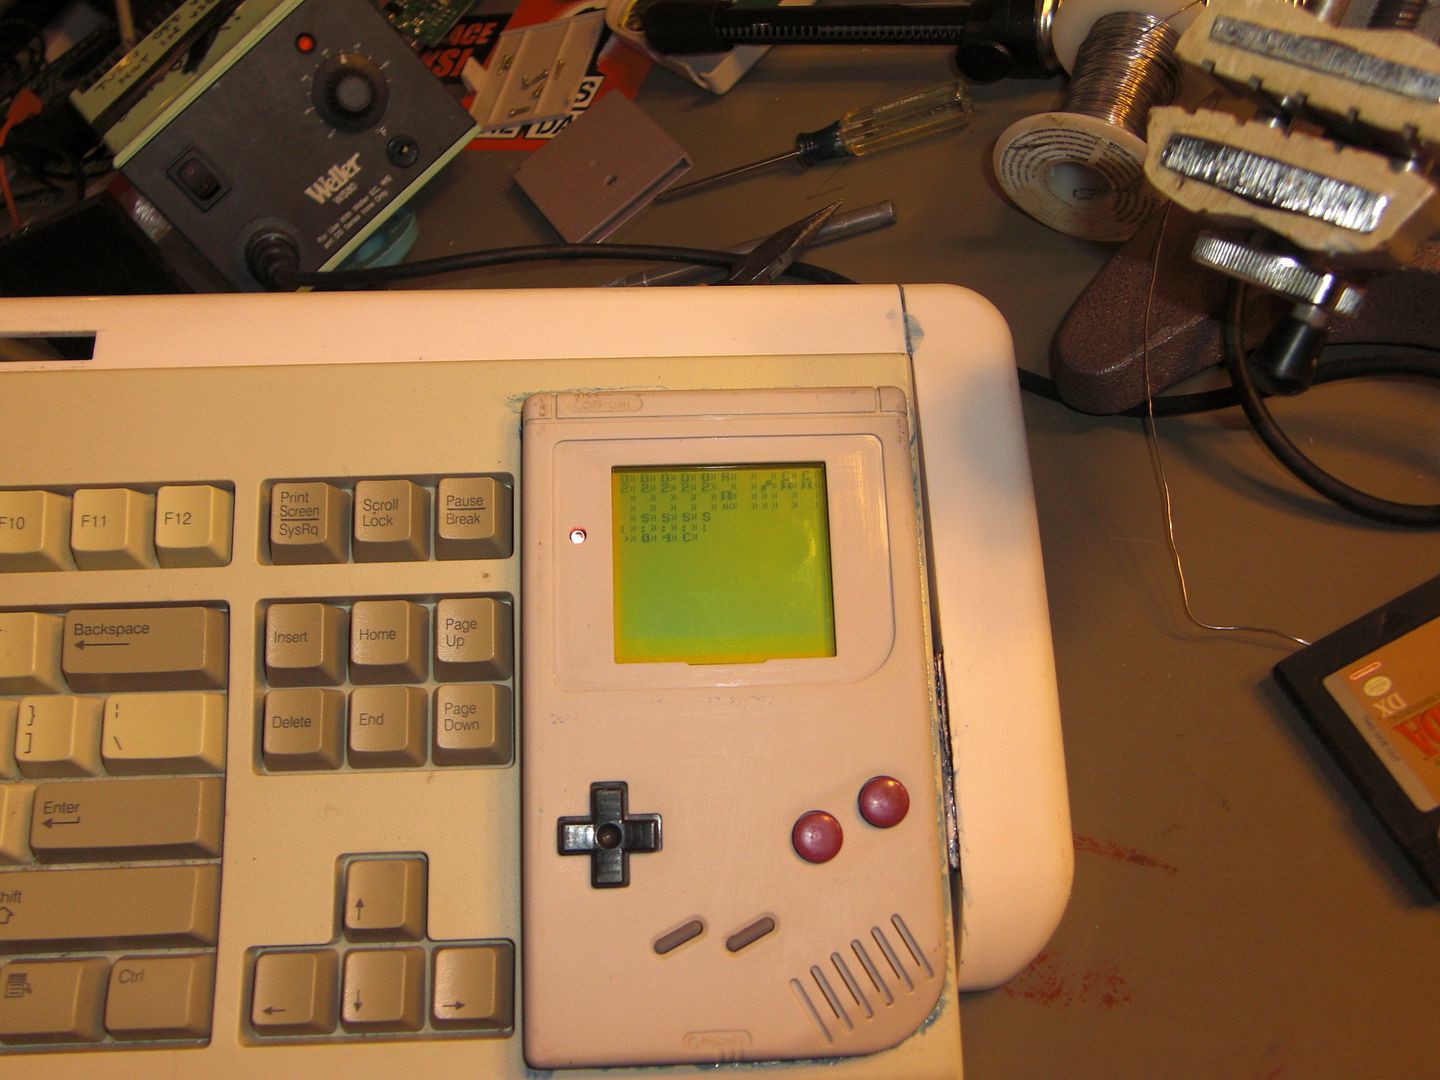
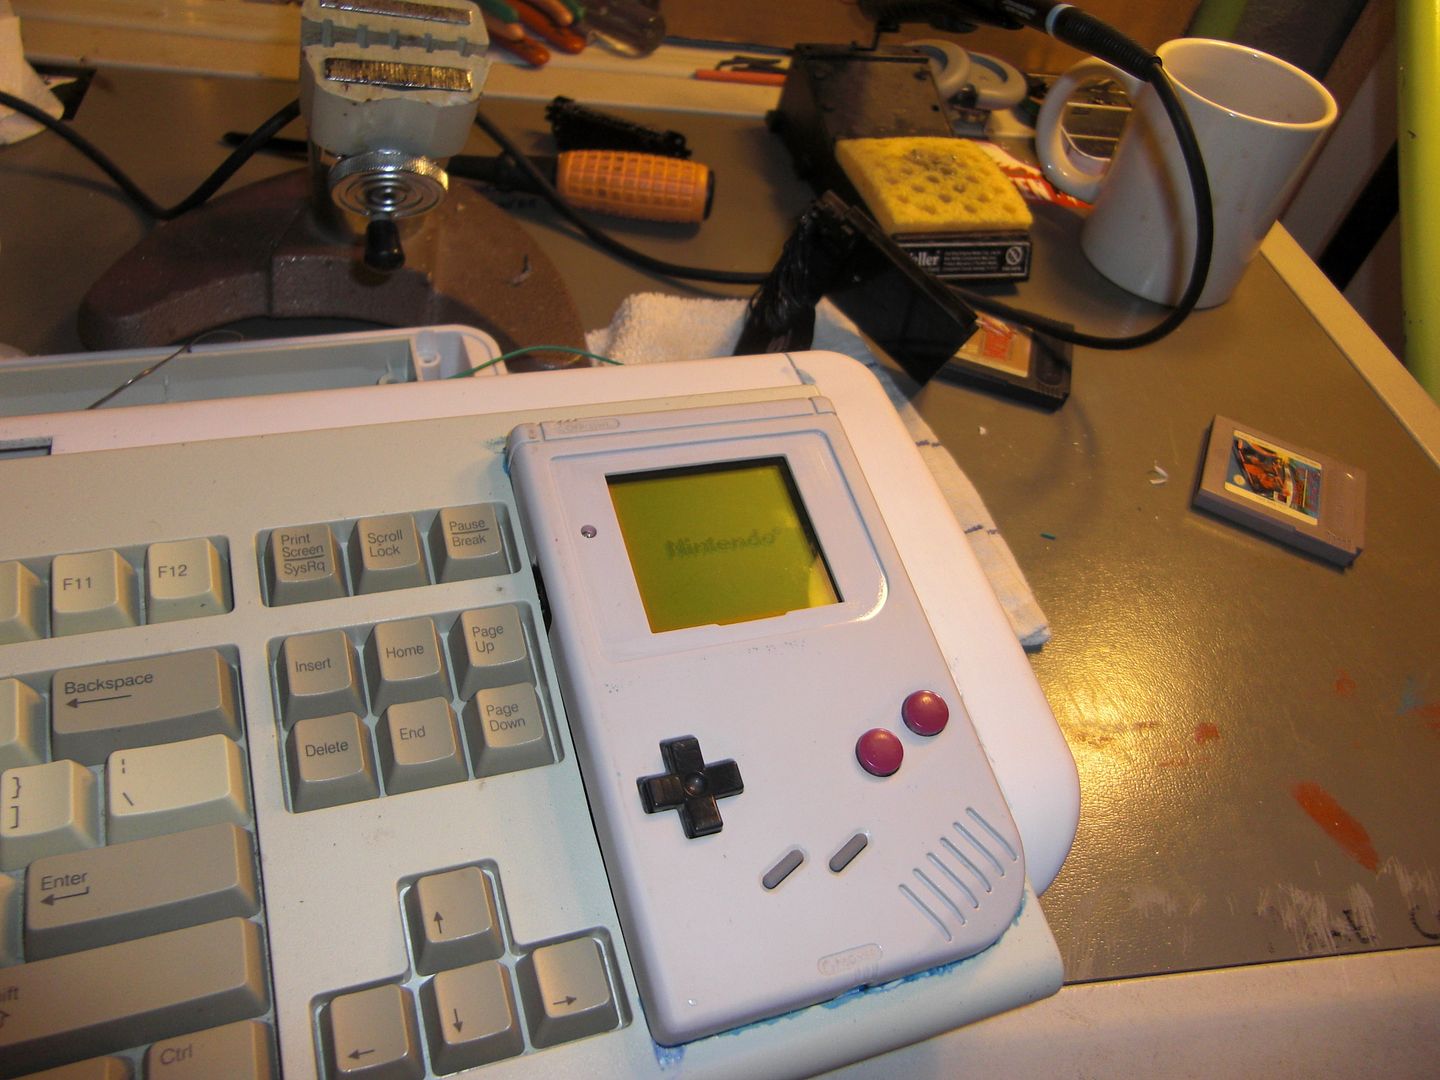
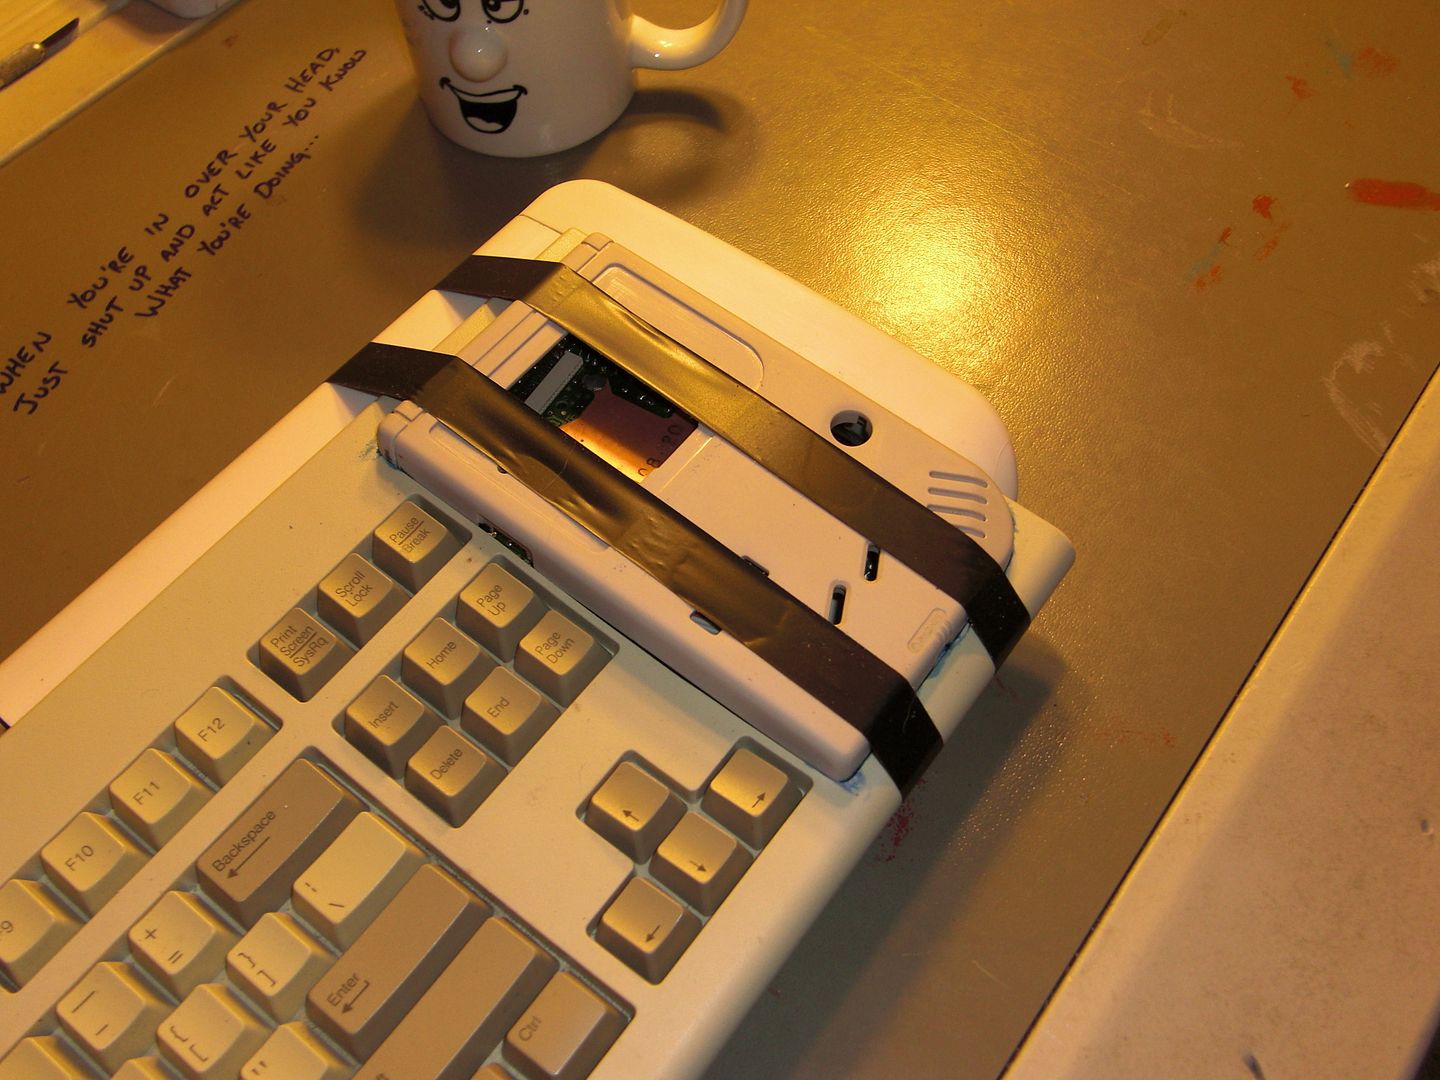
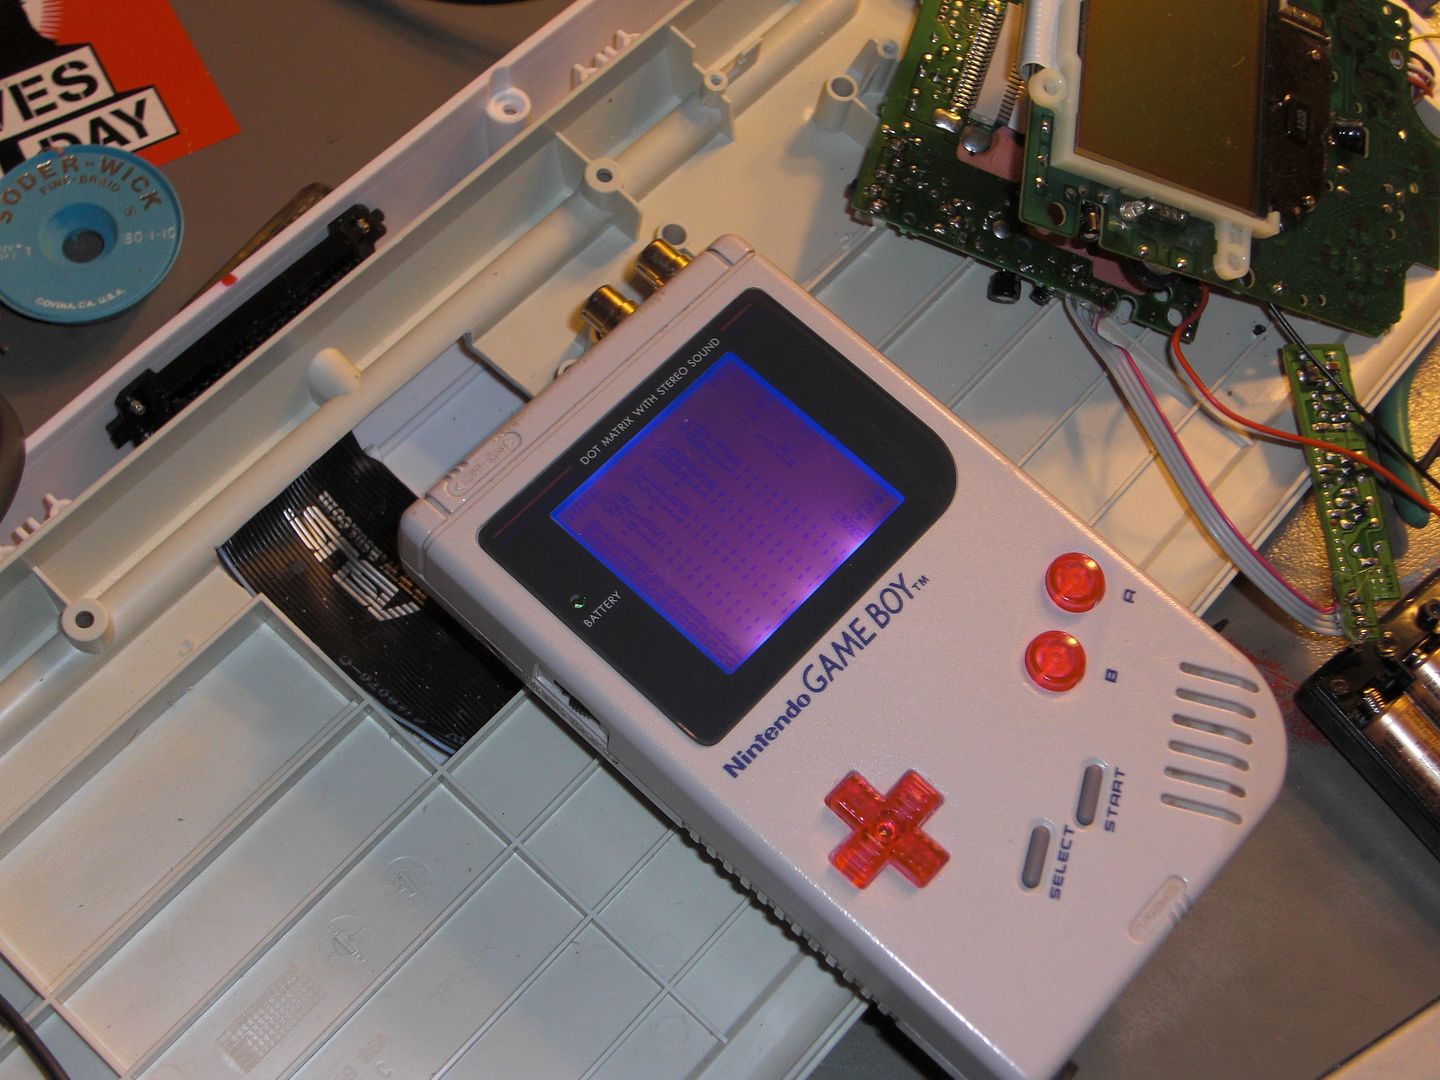
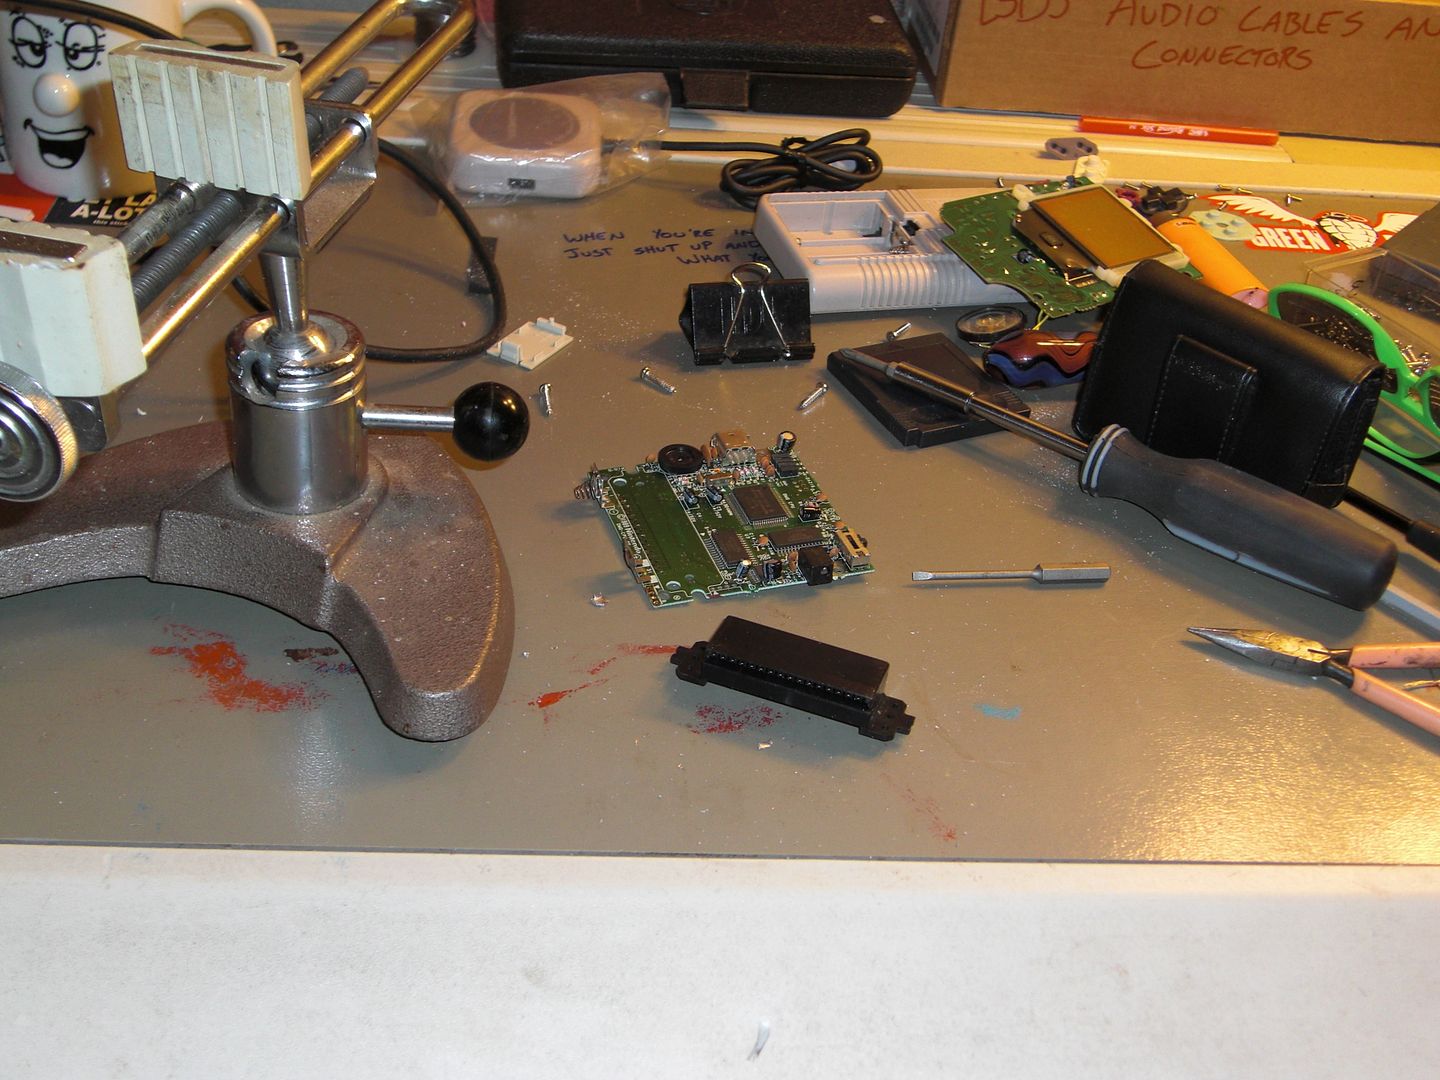
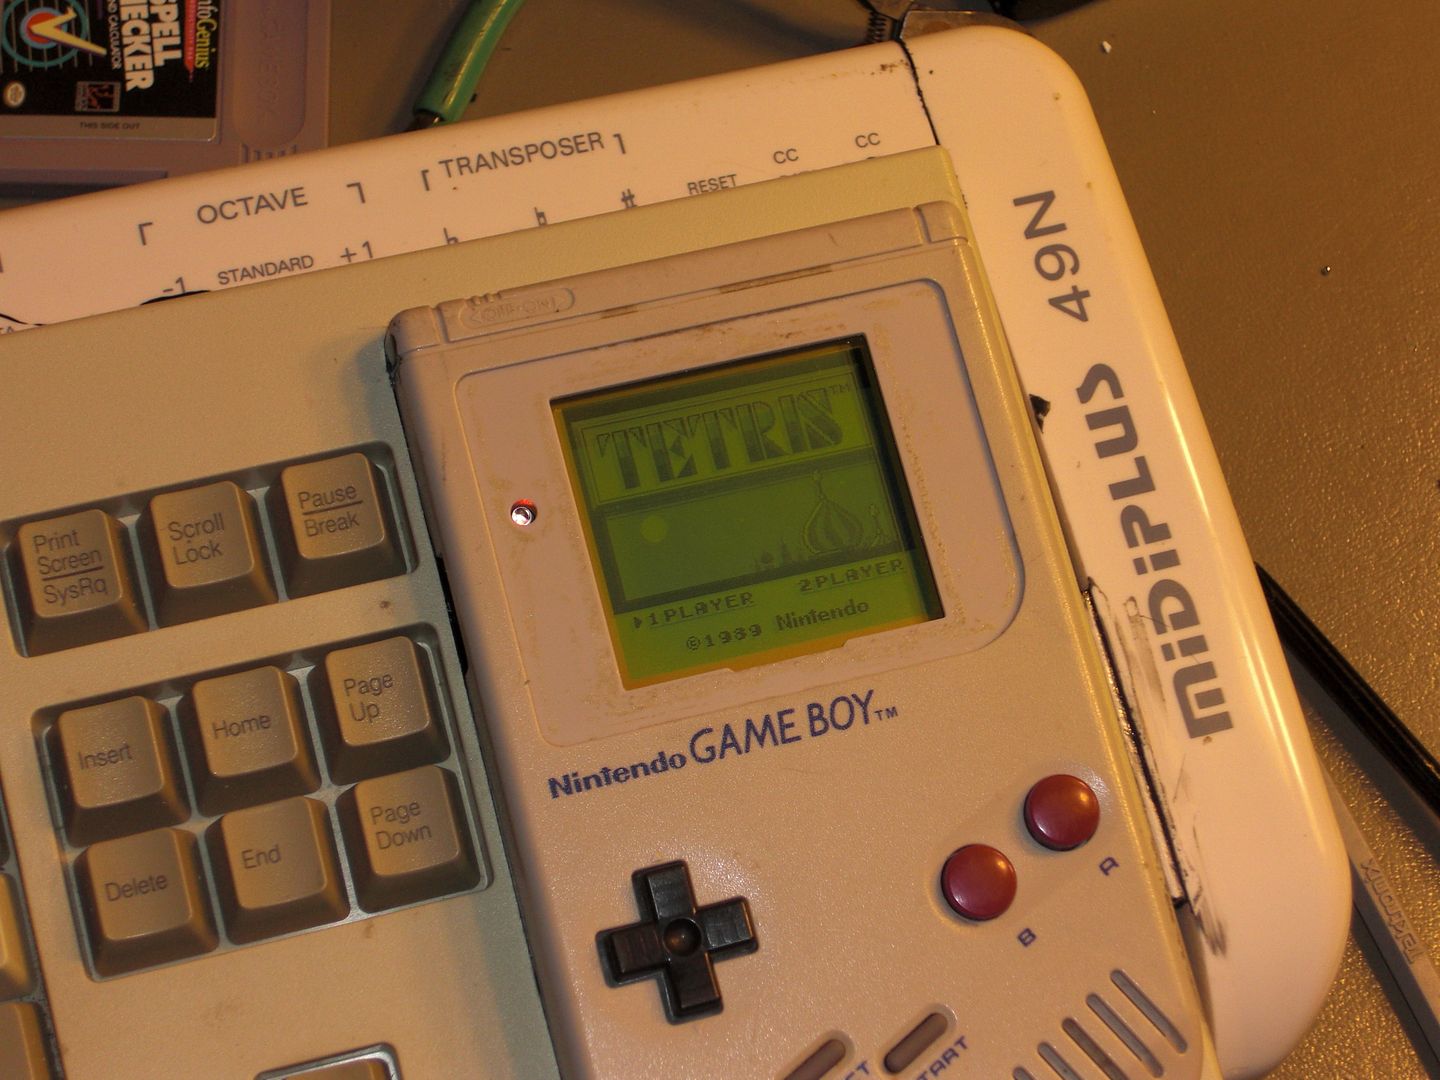
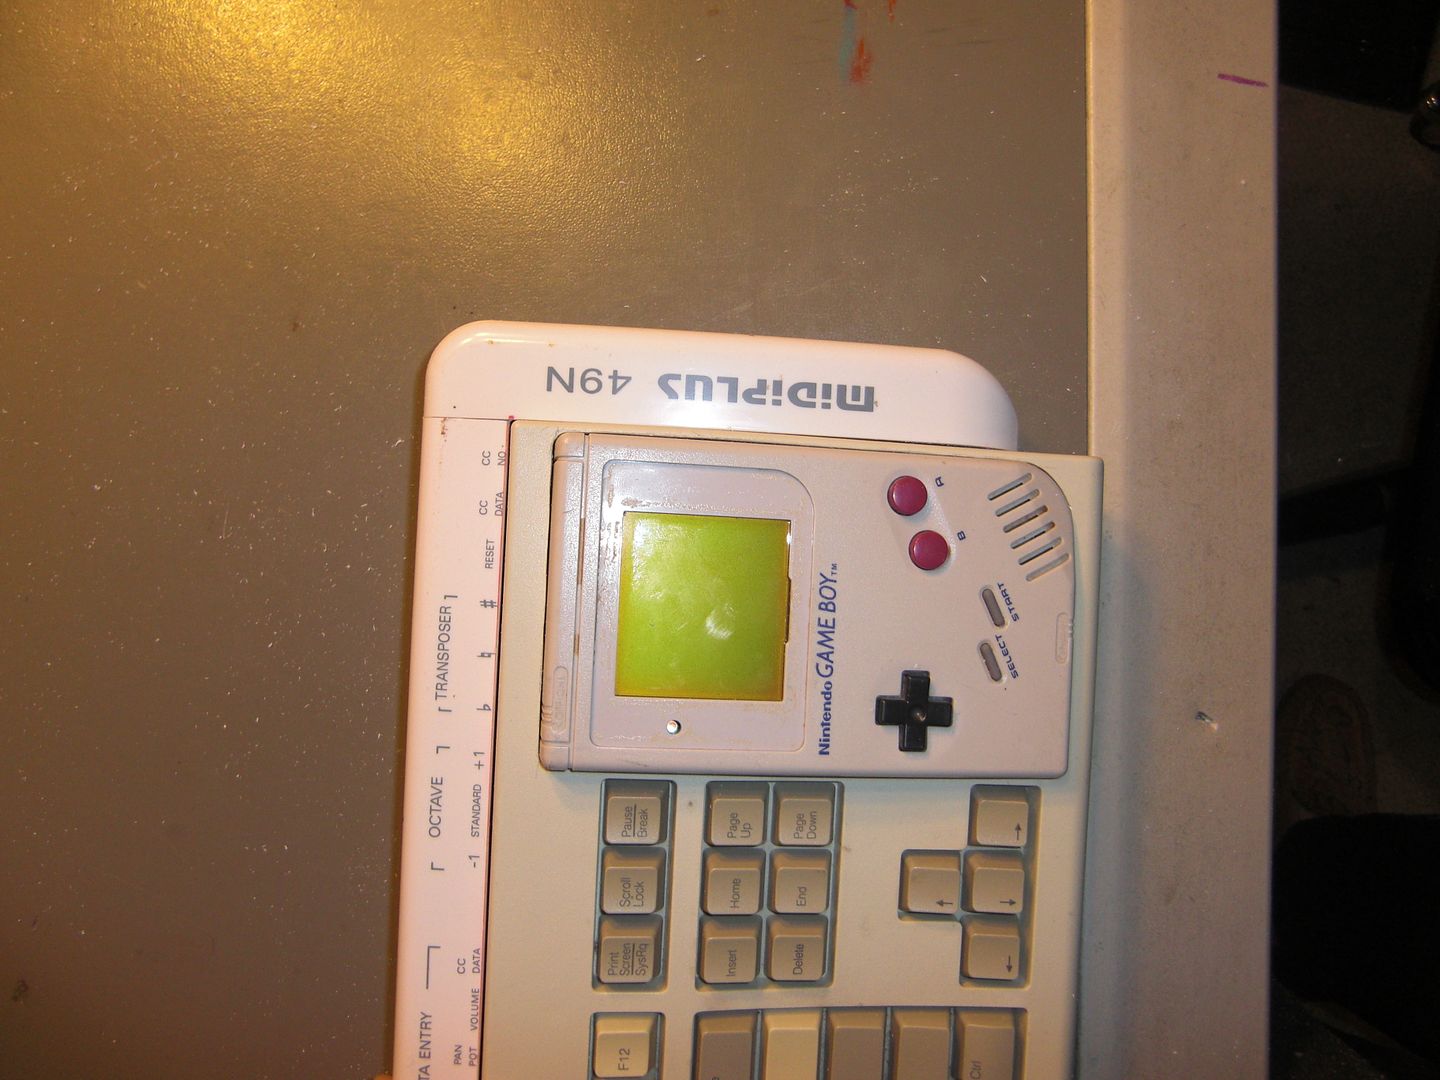
I promptly split the Gameboy open, and slapped the front half down on they keyboard to see what I was working with.
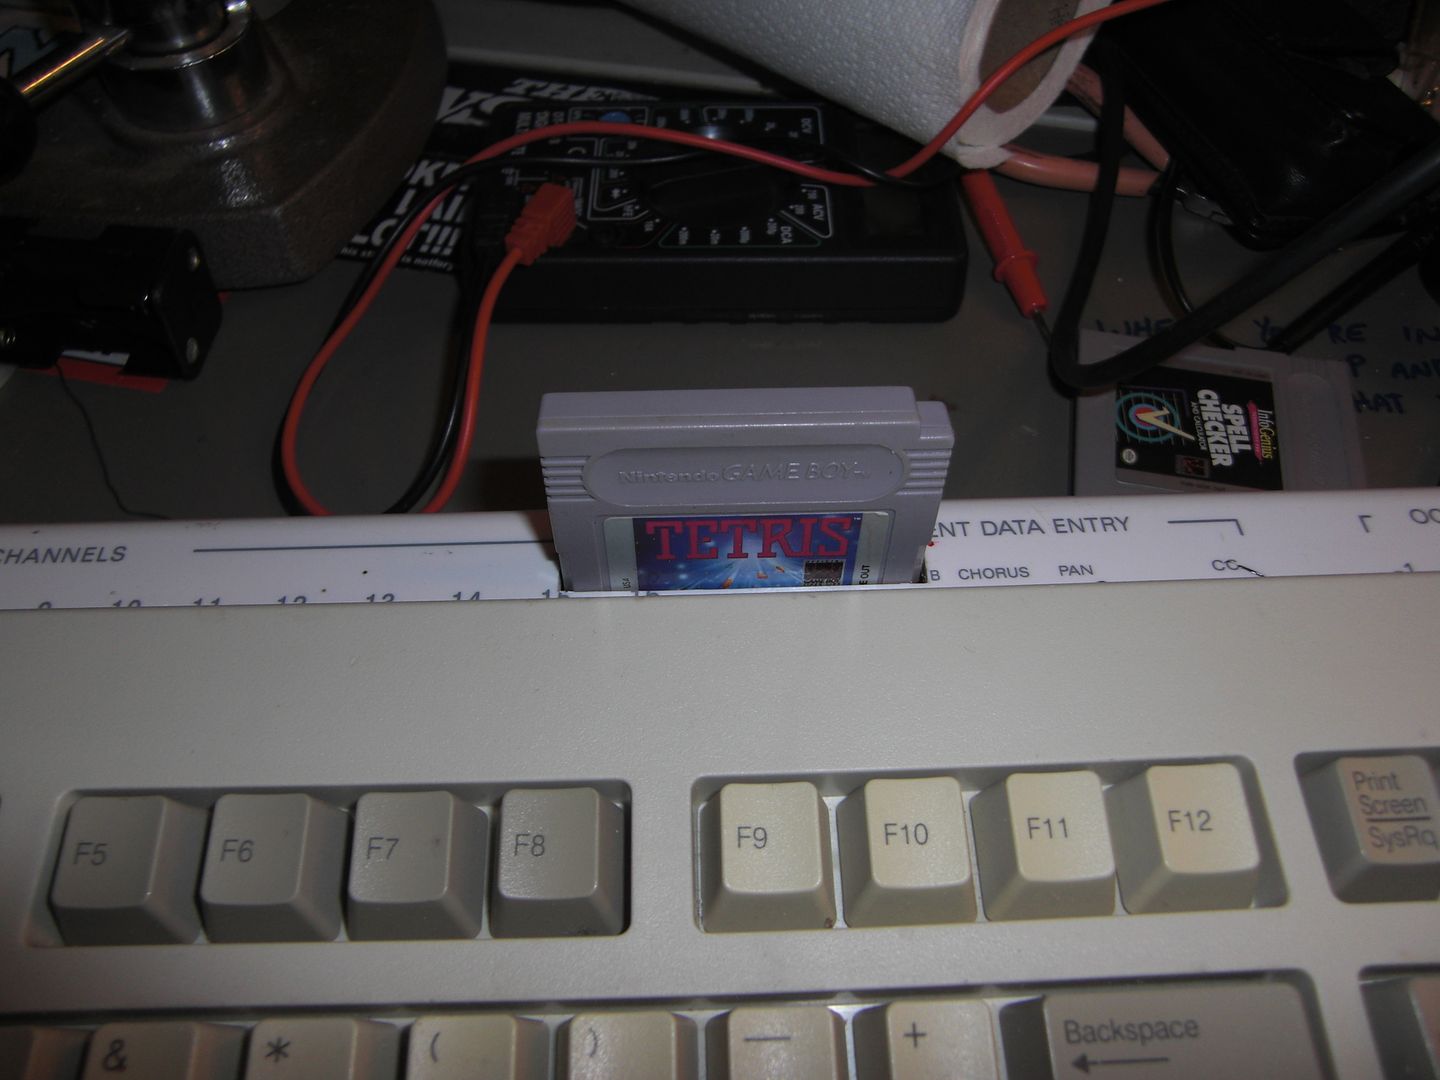
"Looks good to me!" I thought, so I grabbed a pencil and took a quick trace... you'll never guess where this is going *sarcasm*
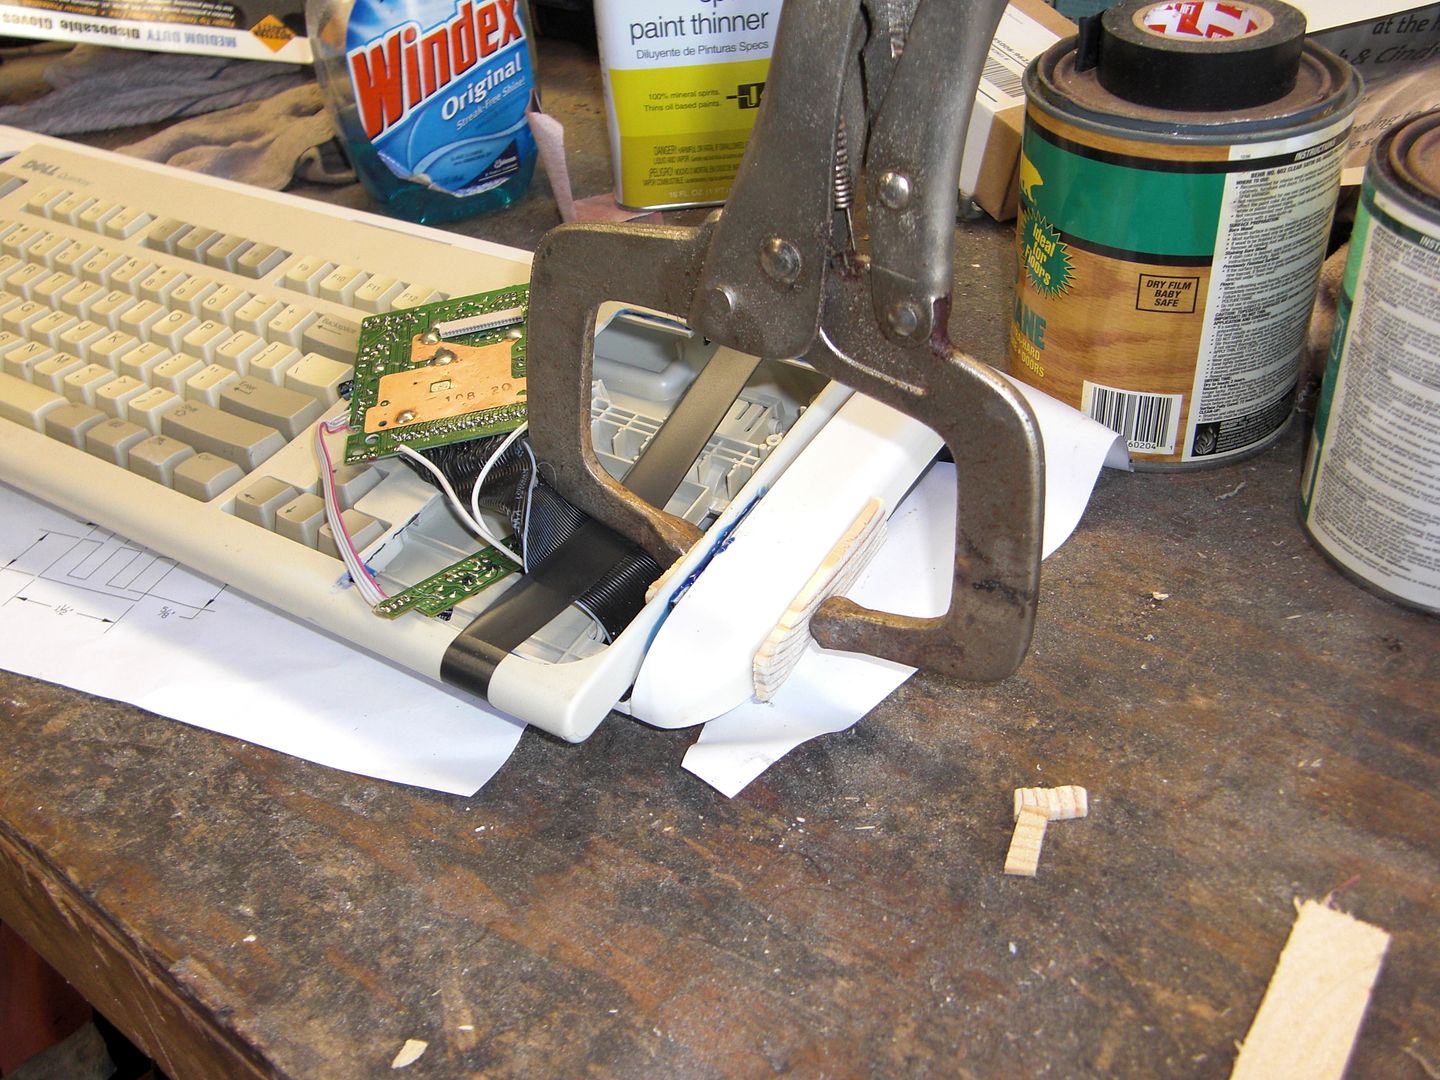
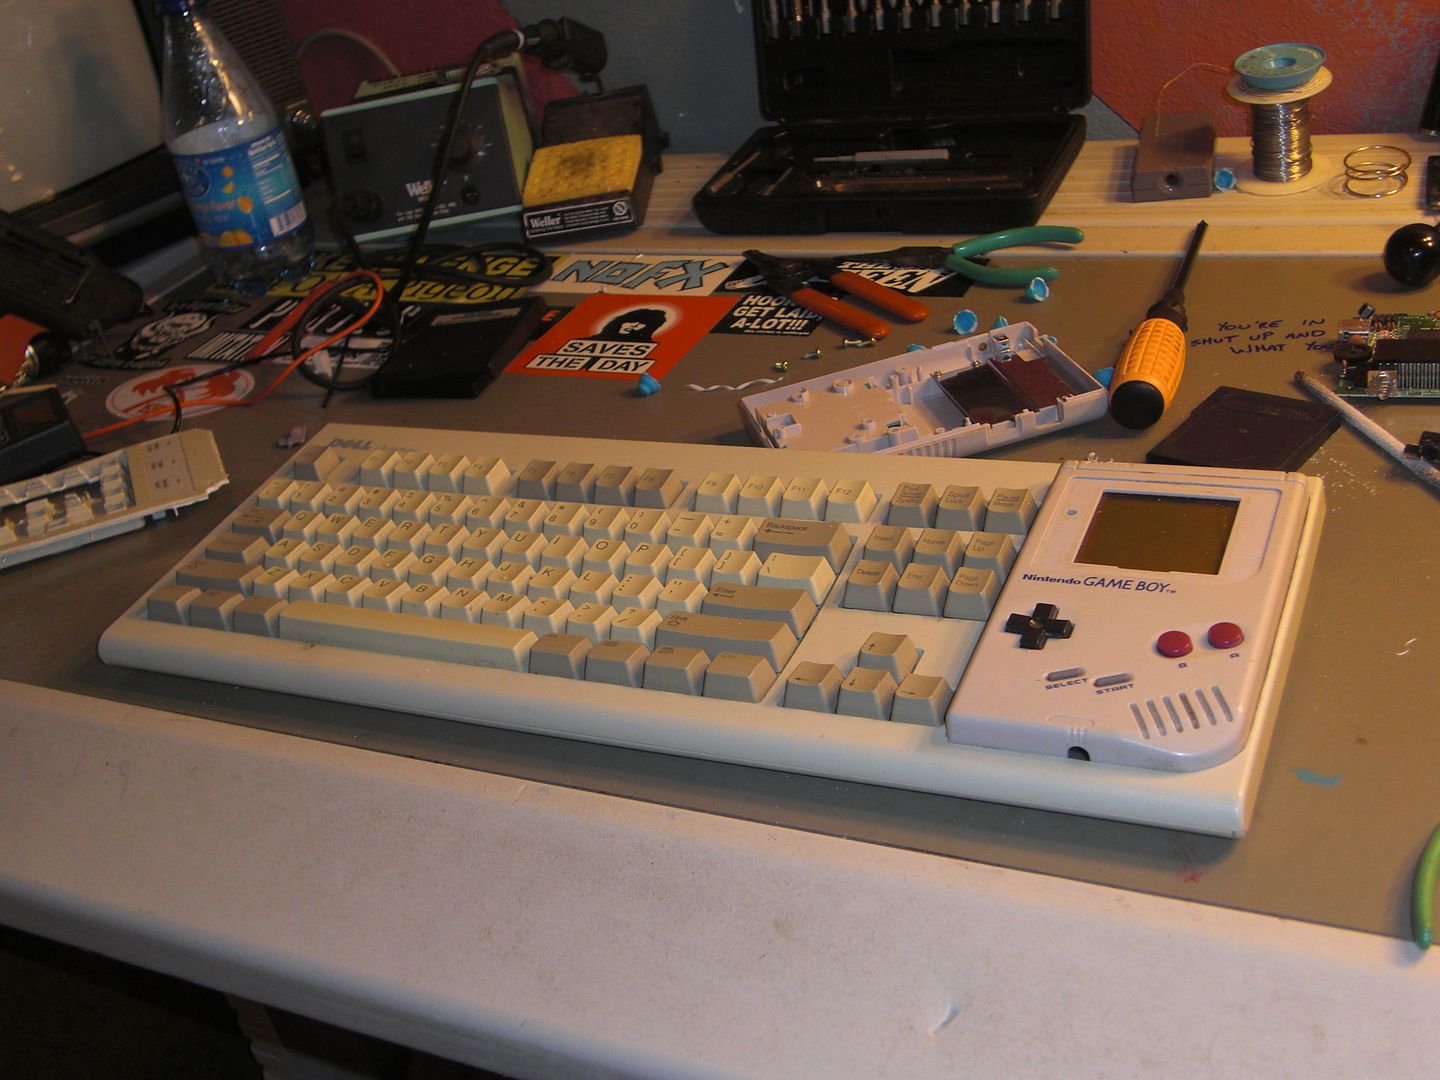
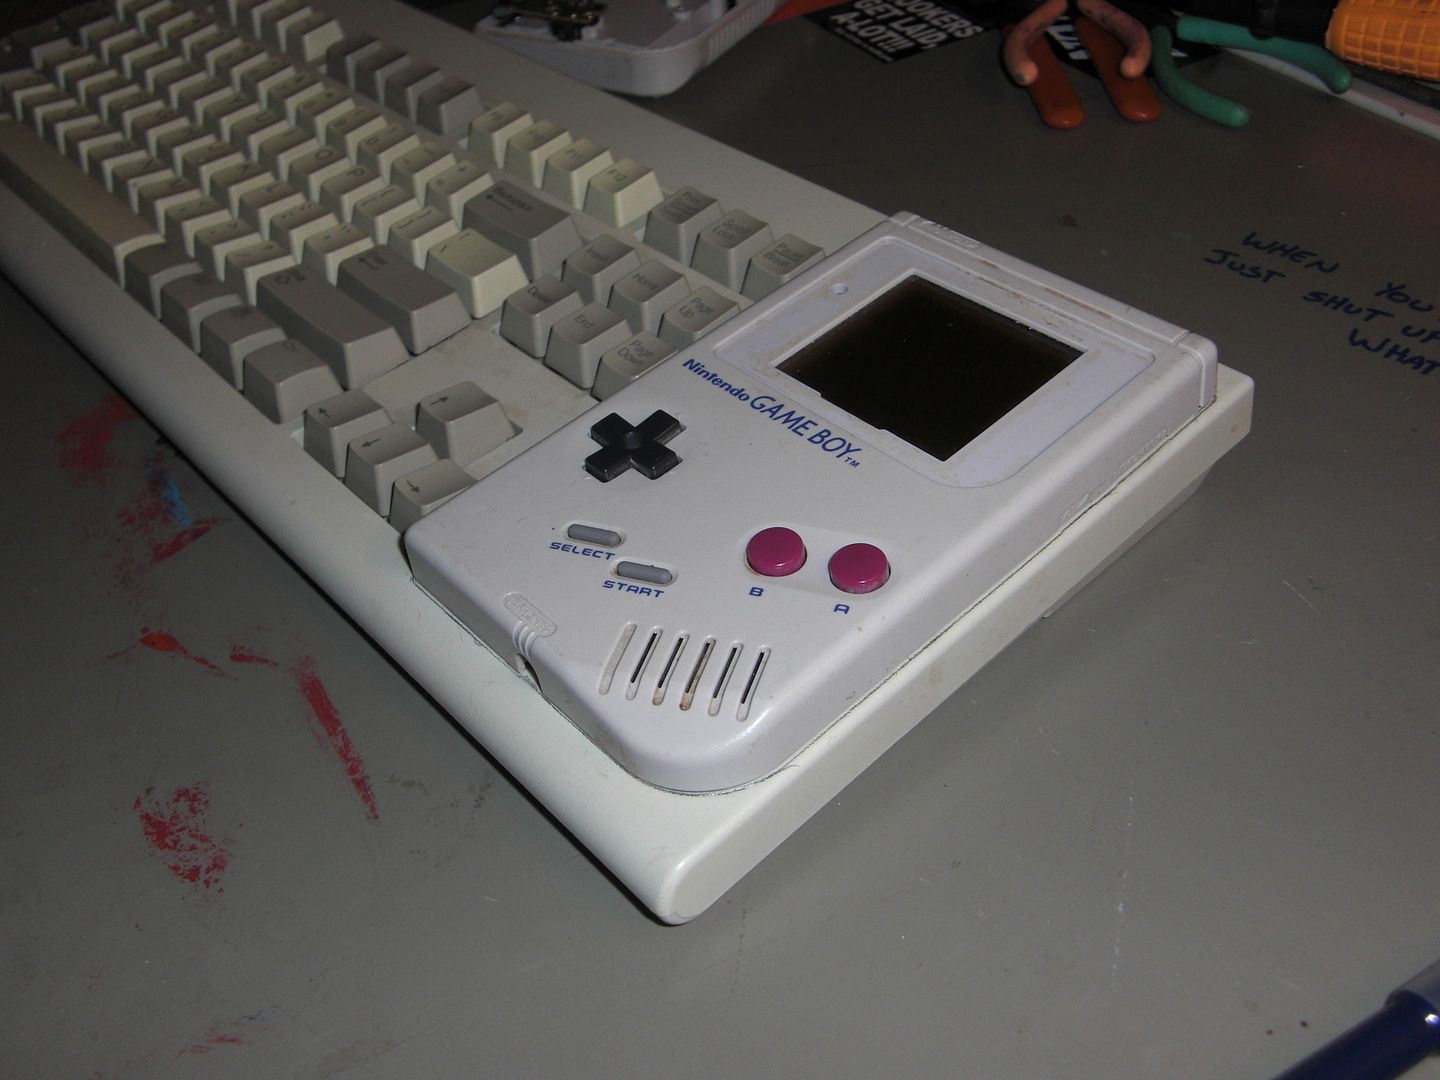
Using a box cutter, I slowly cut through the plastic (a dremel tool would have made a jagged mess out of it). I snapped the core out with a pair of pliers. The result was a nearly perfectly shaped hole, and only required minimal filing to finish the edges.
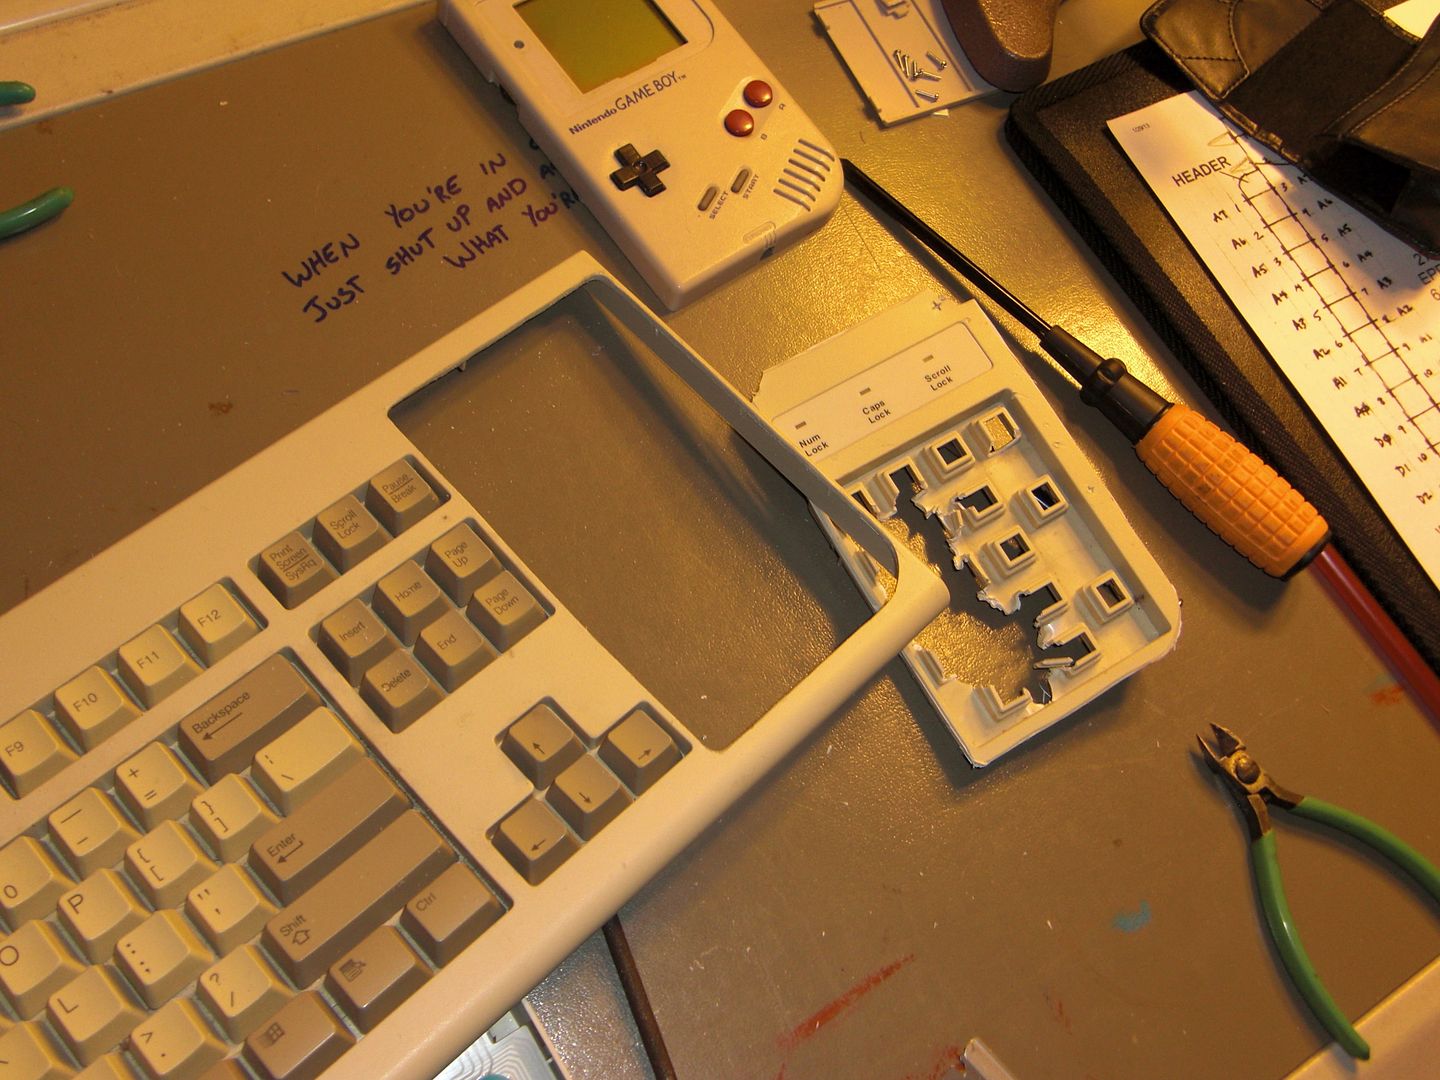
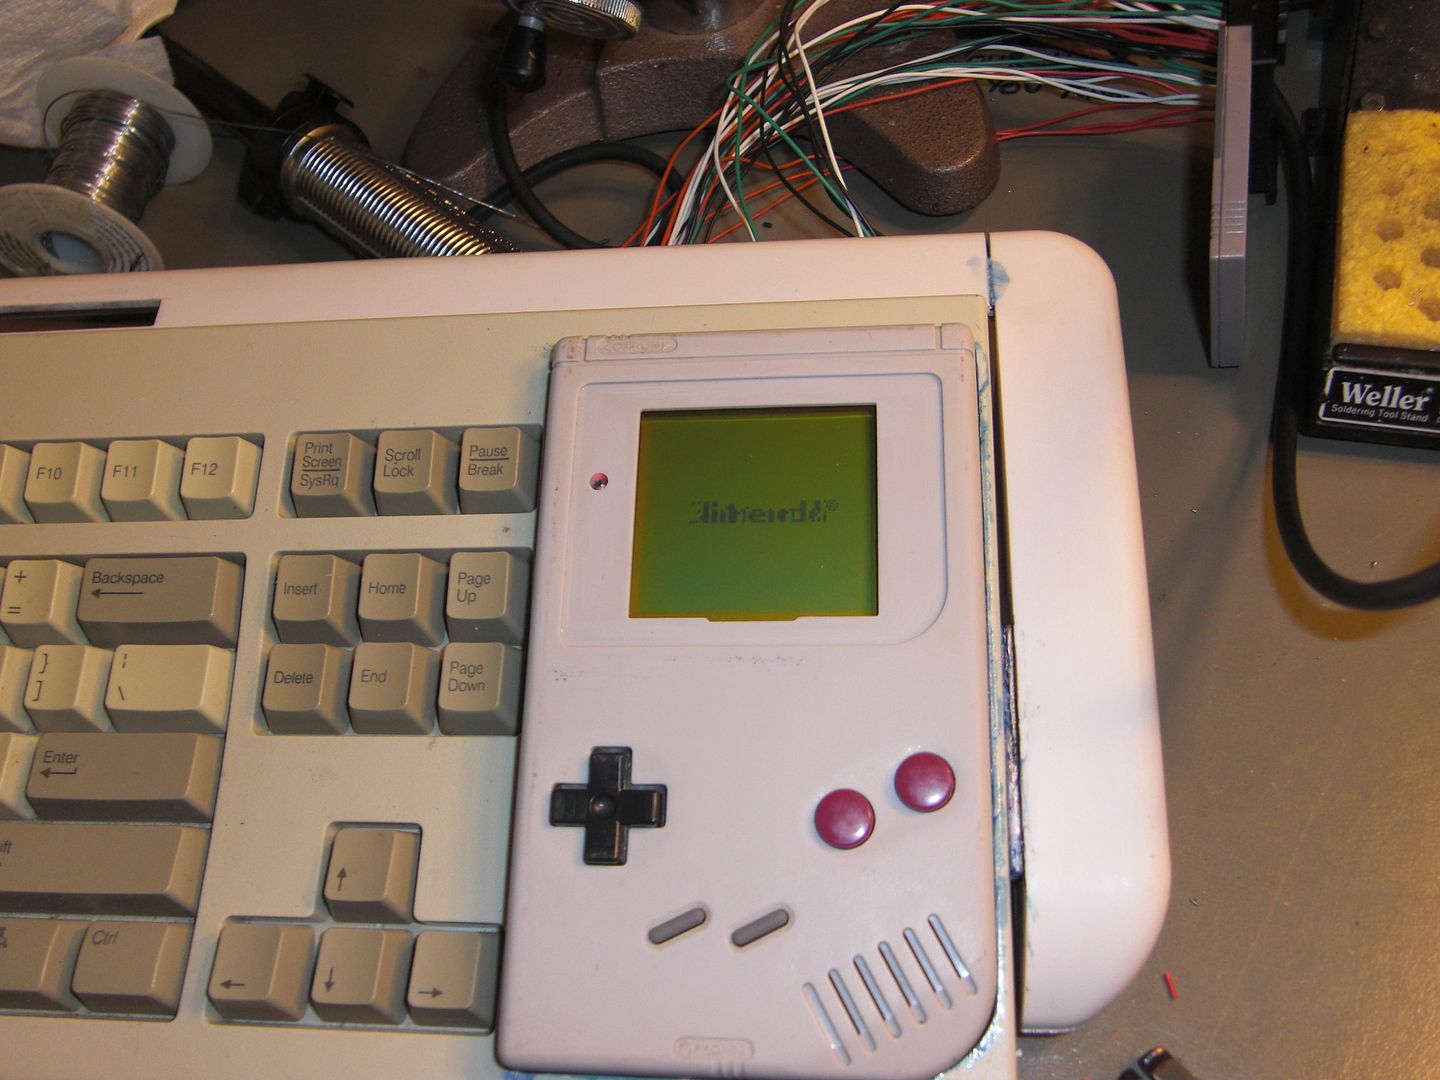
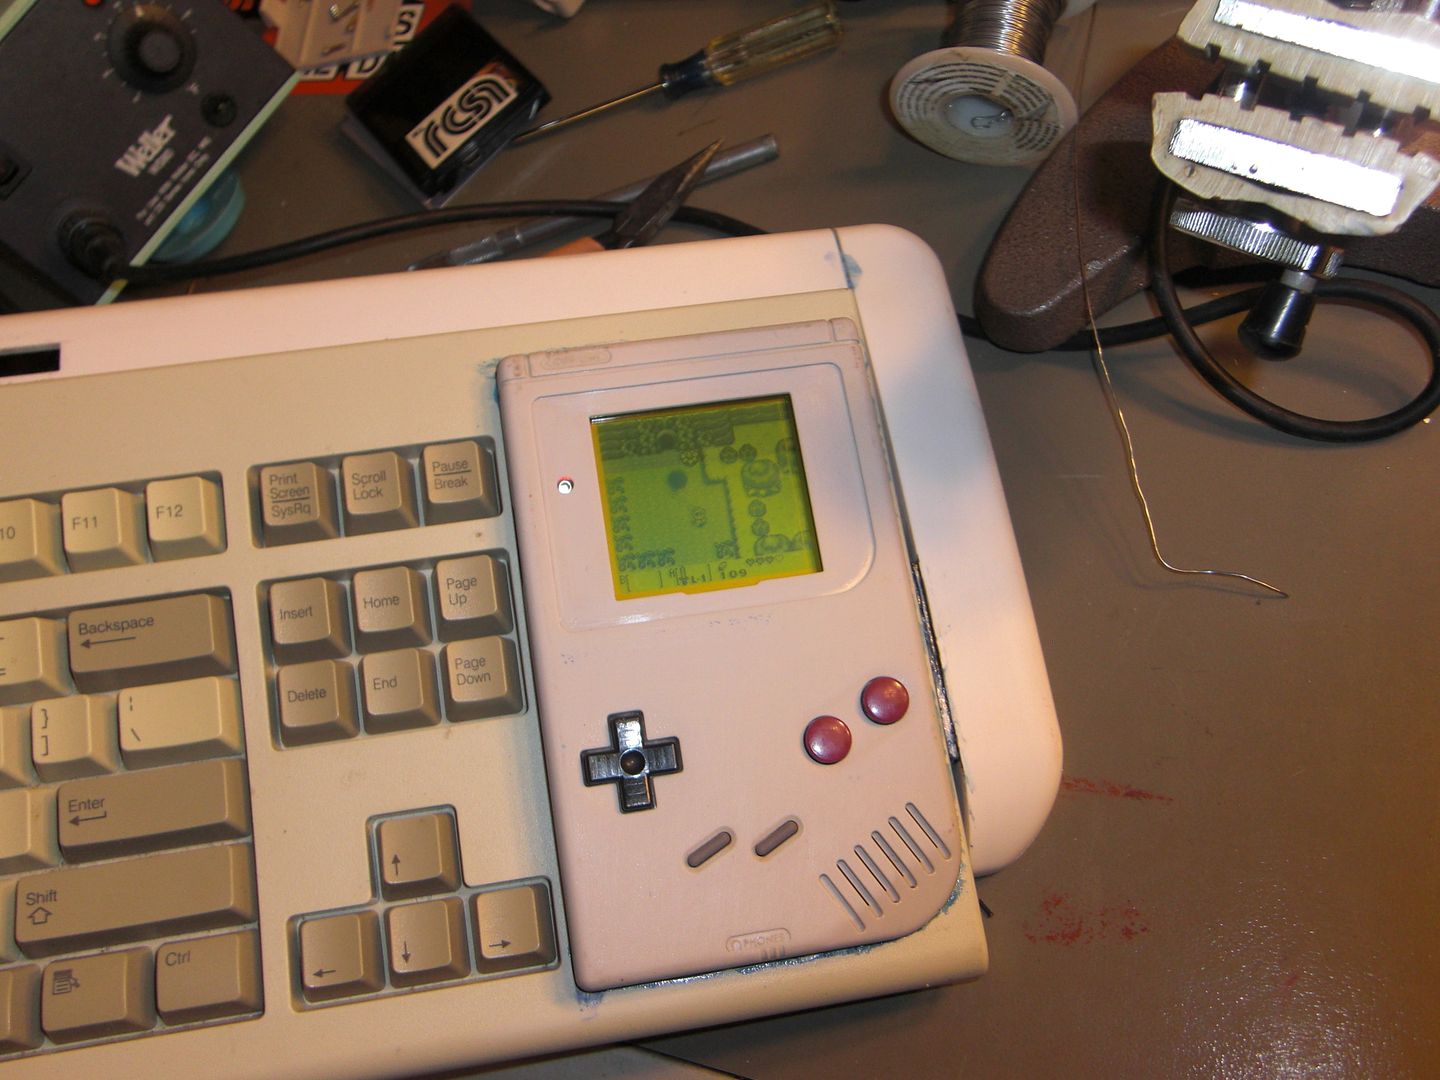
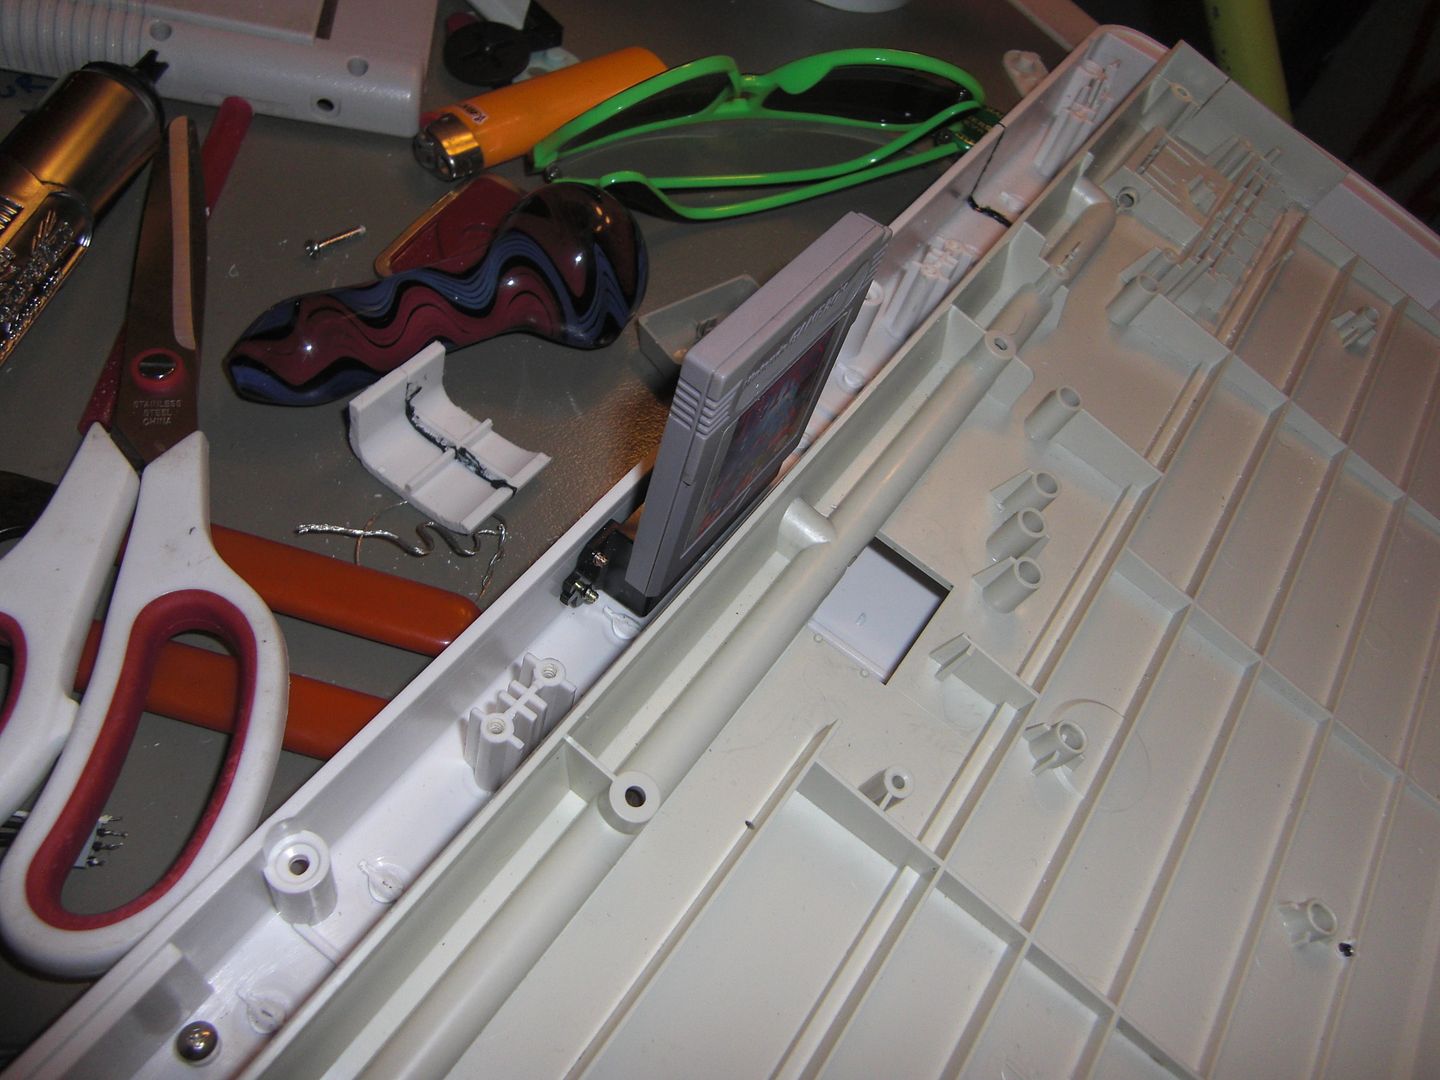
Hot Damn! It's a perfect fit!
› Like a glove...
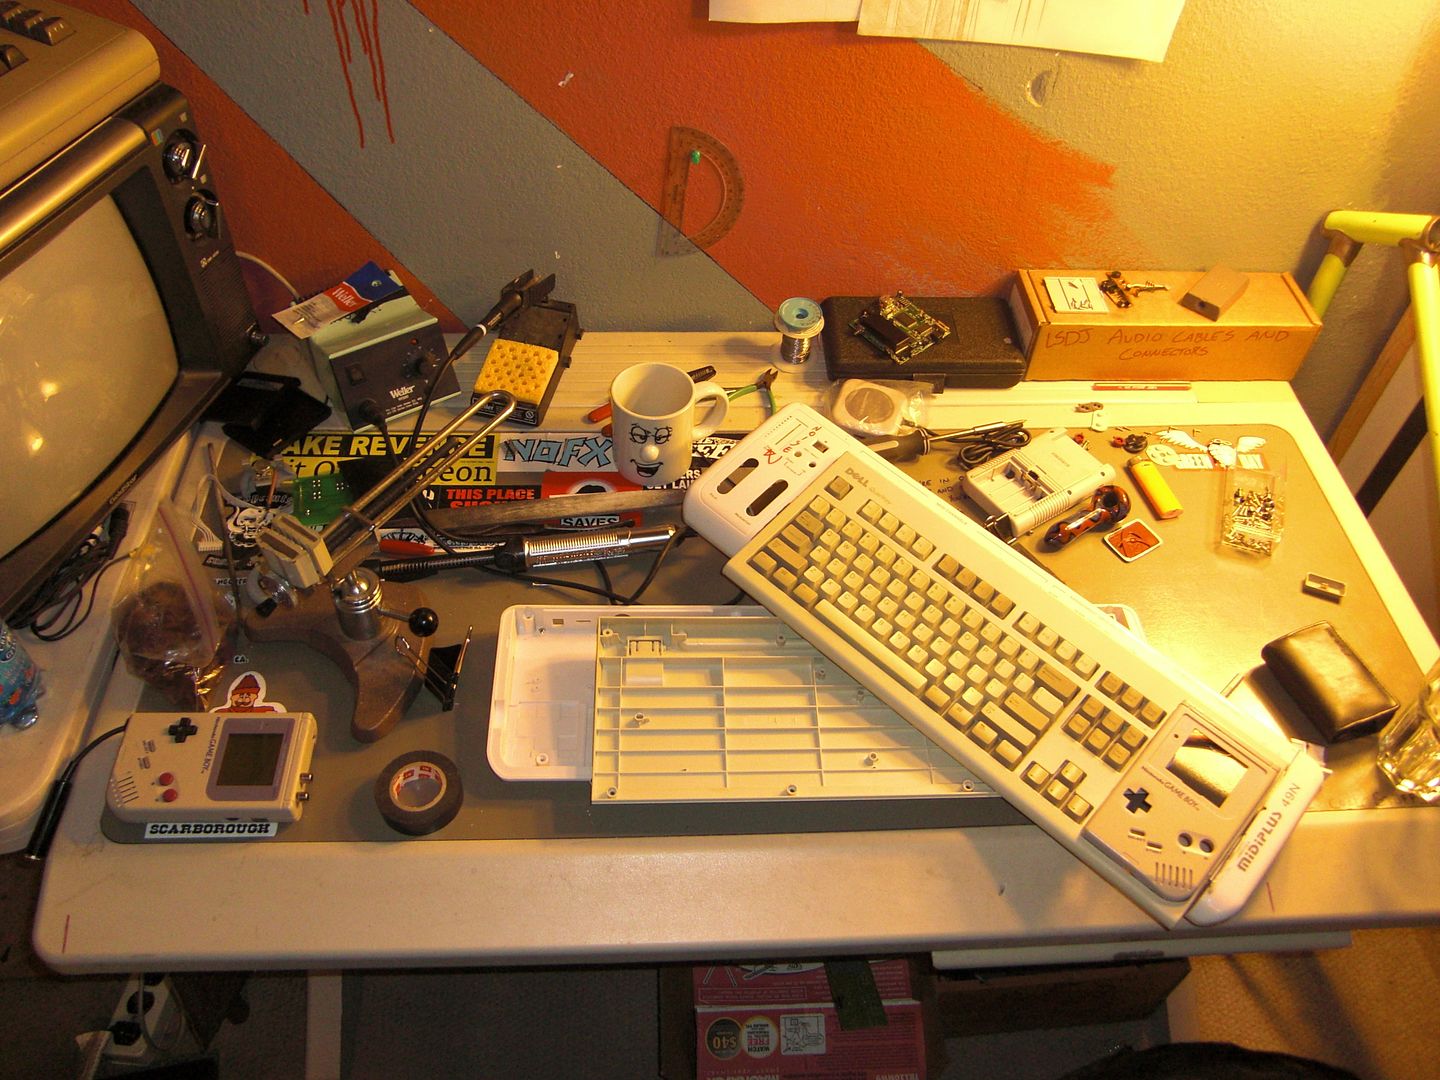
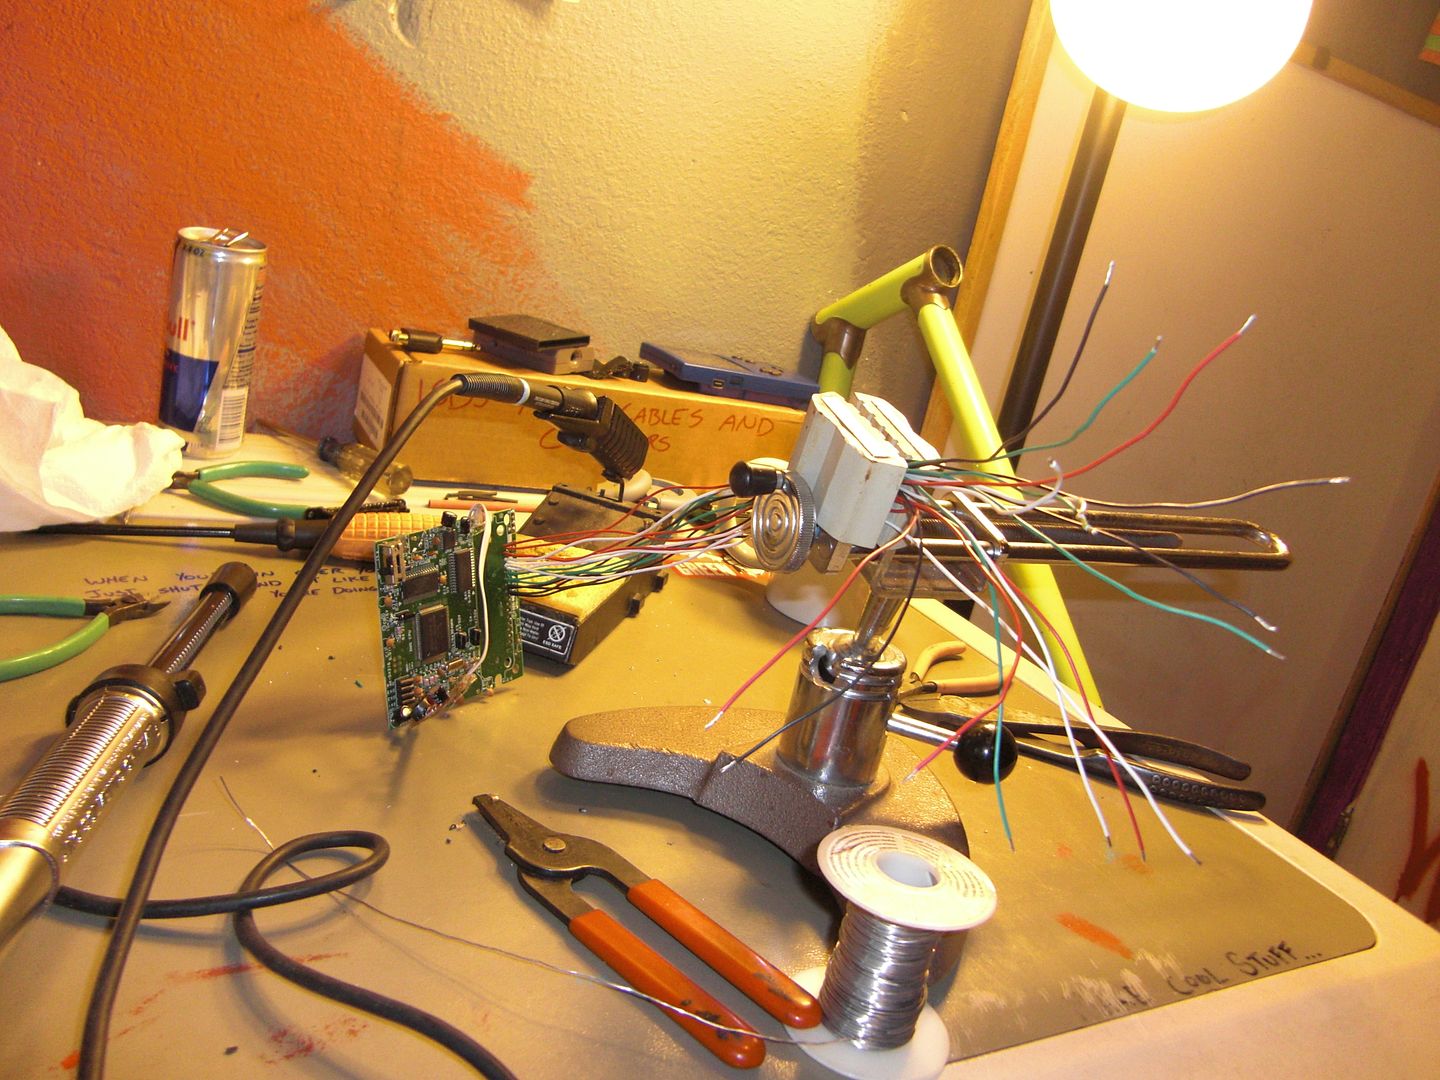
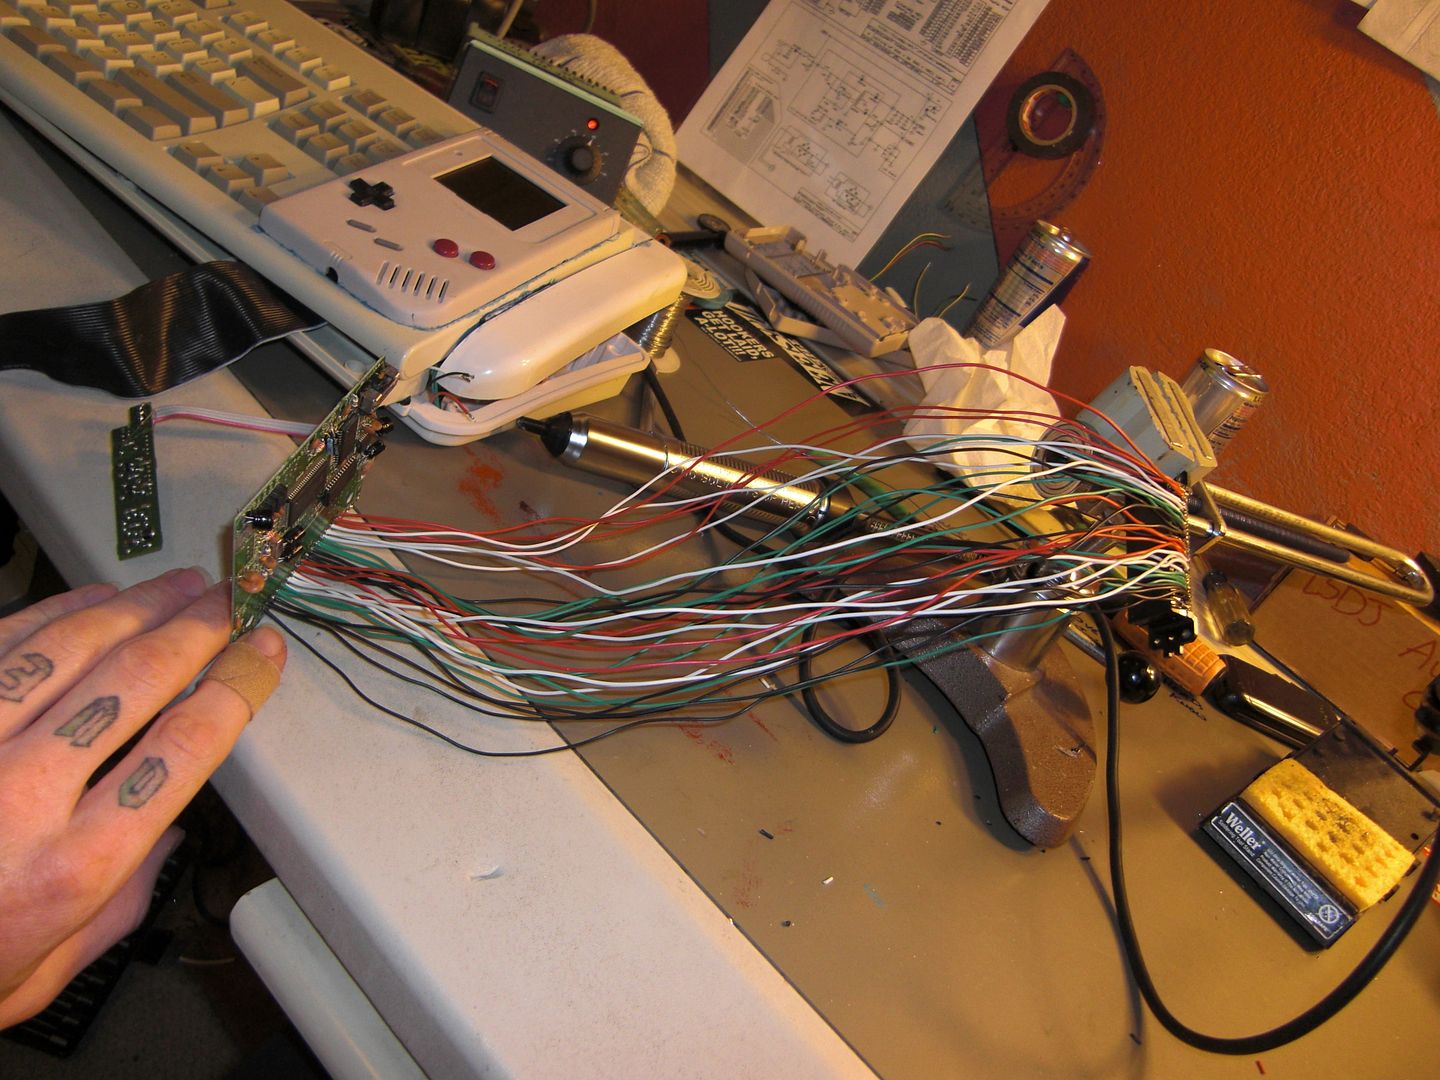
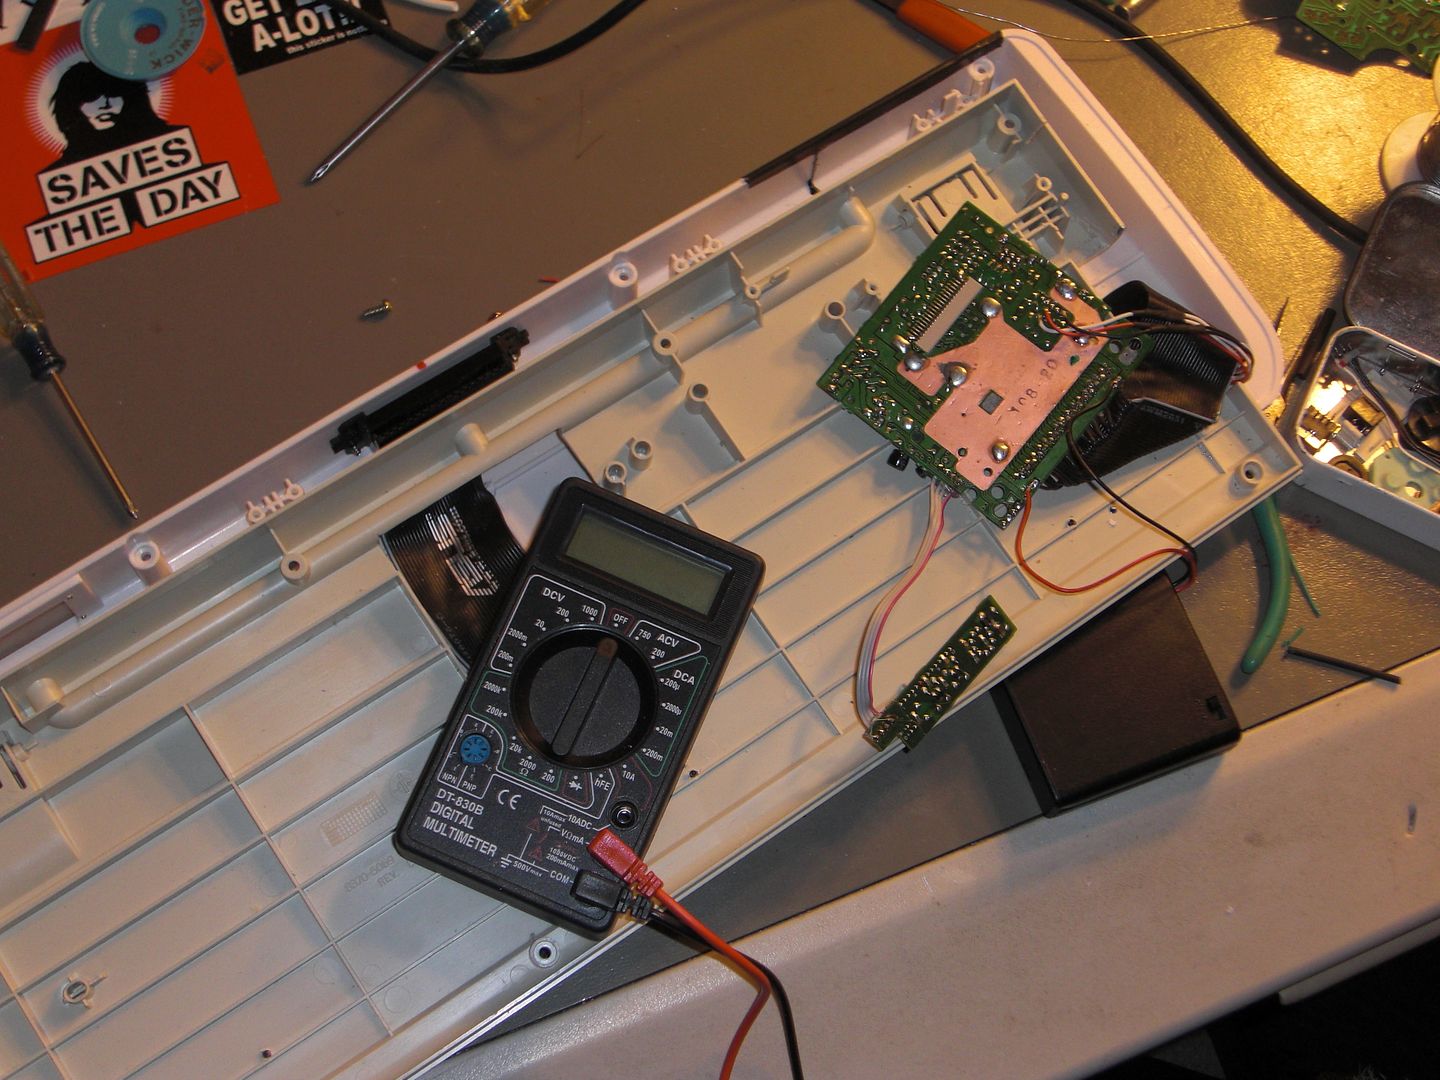
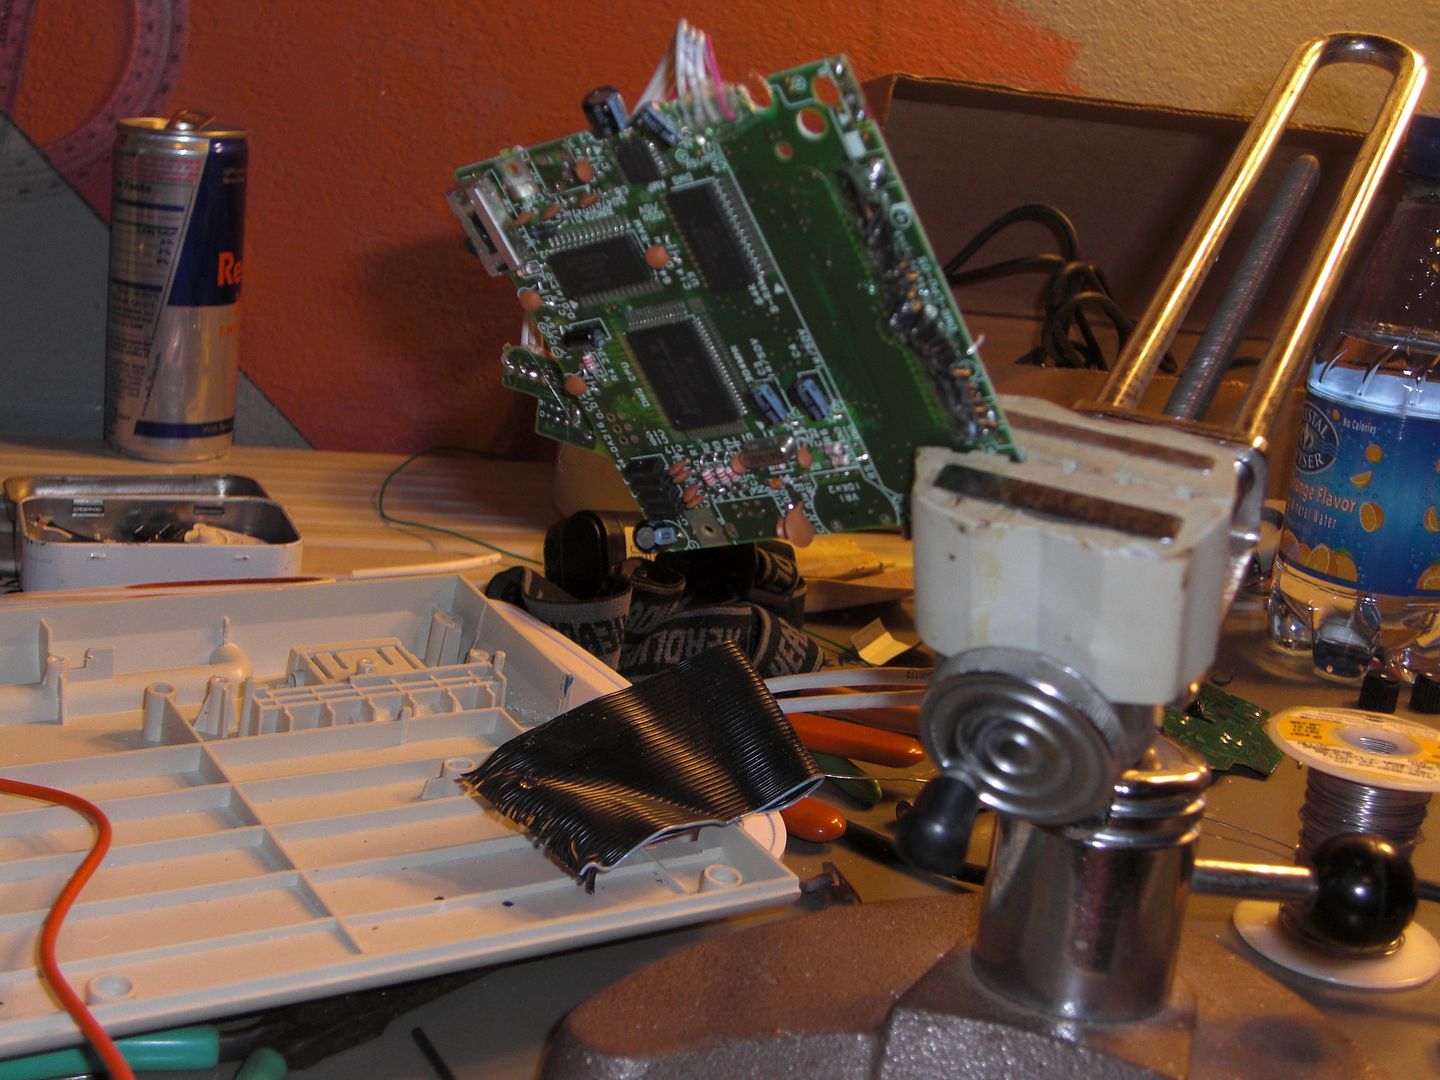
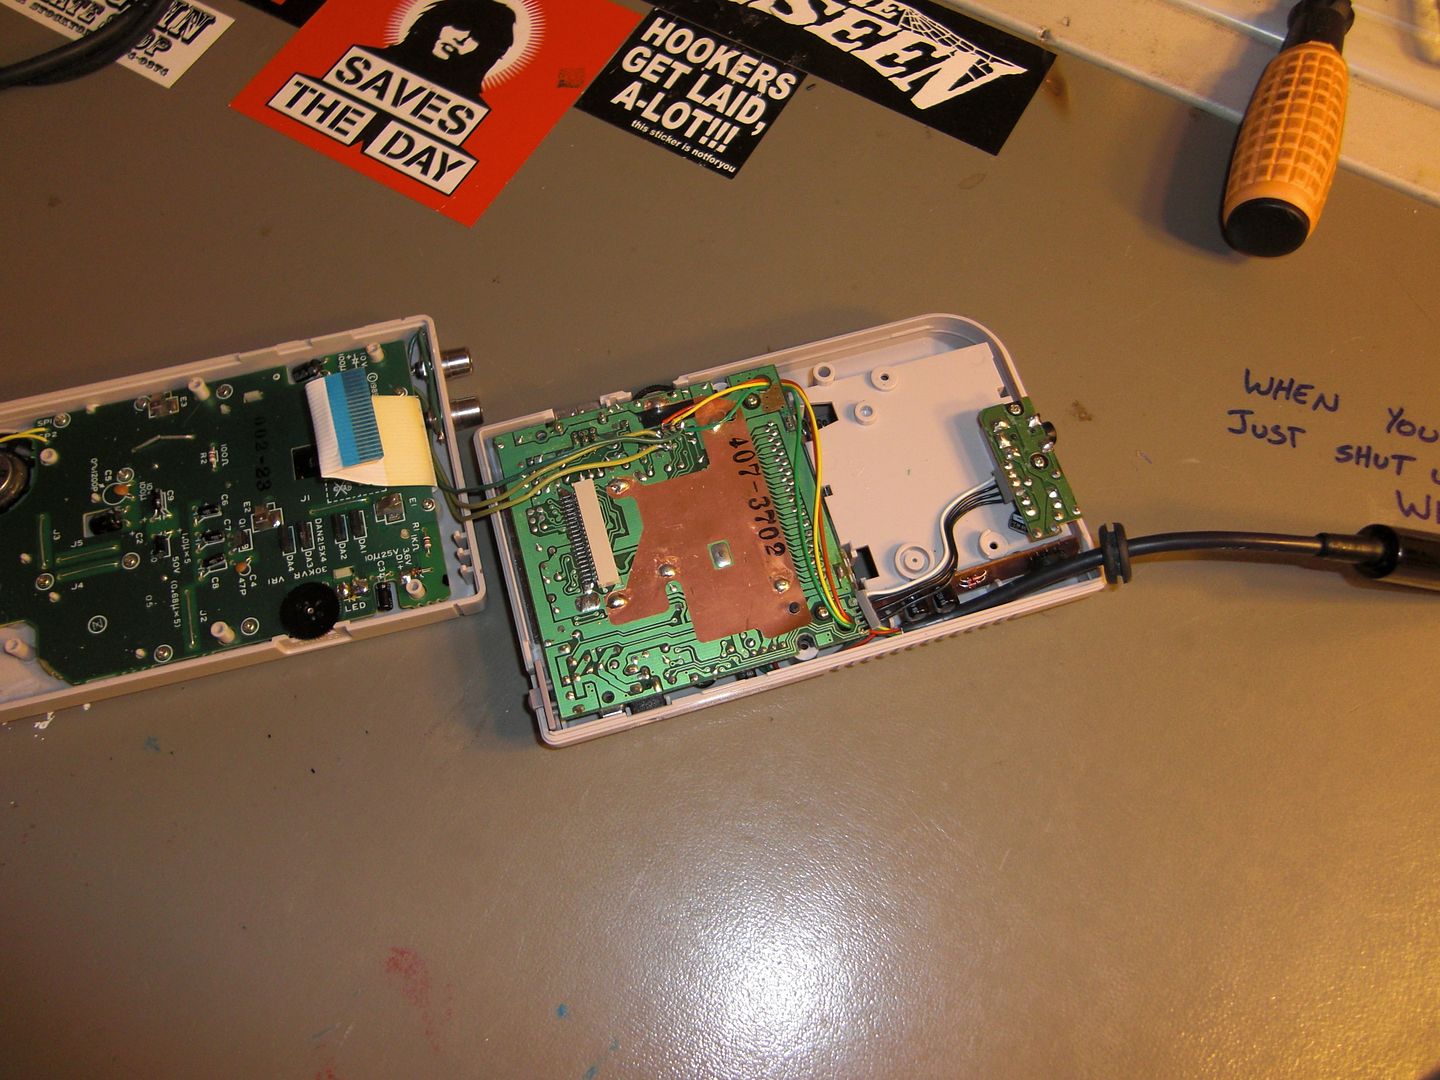
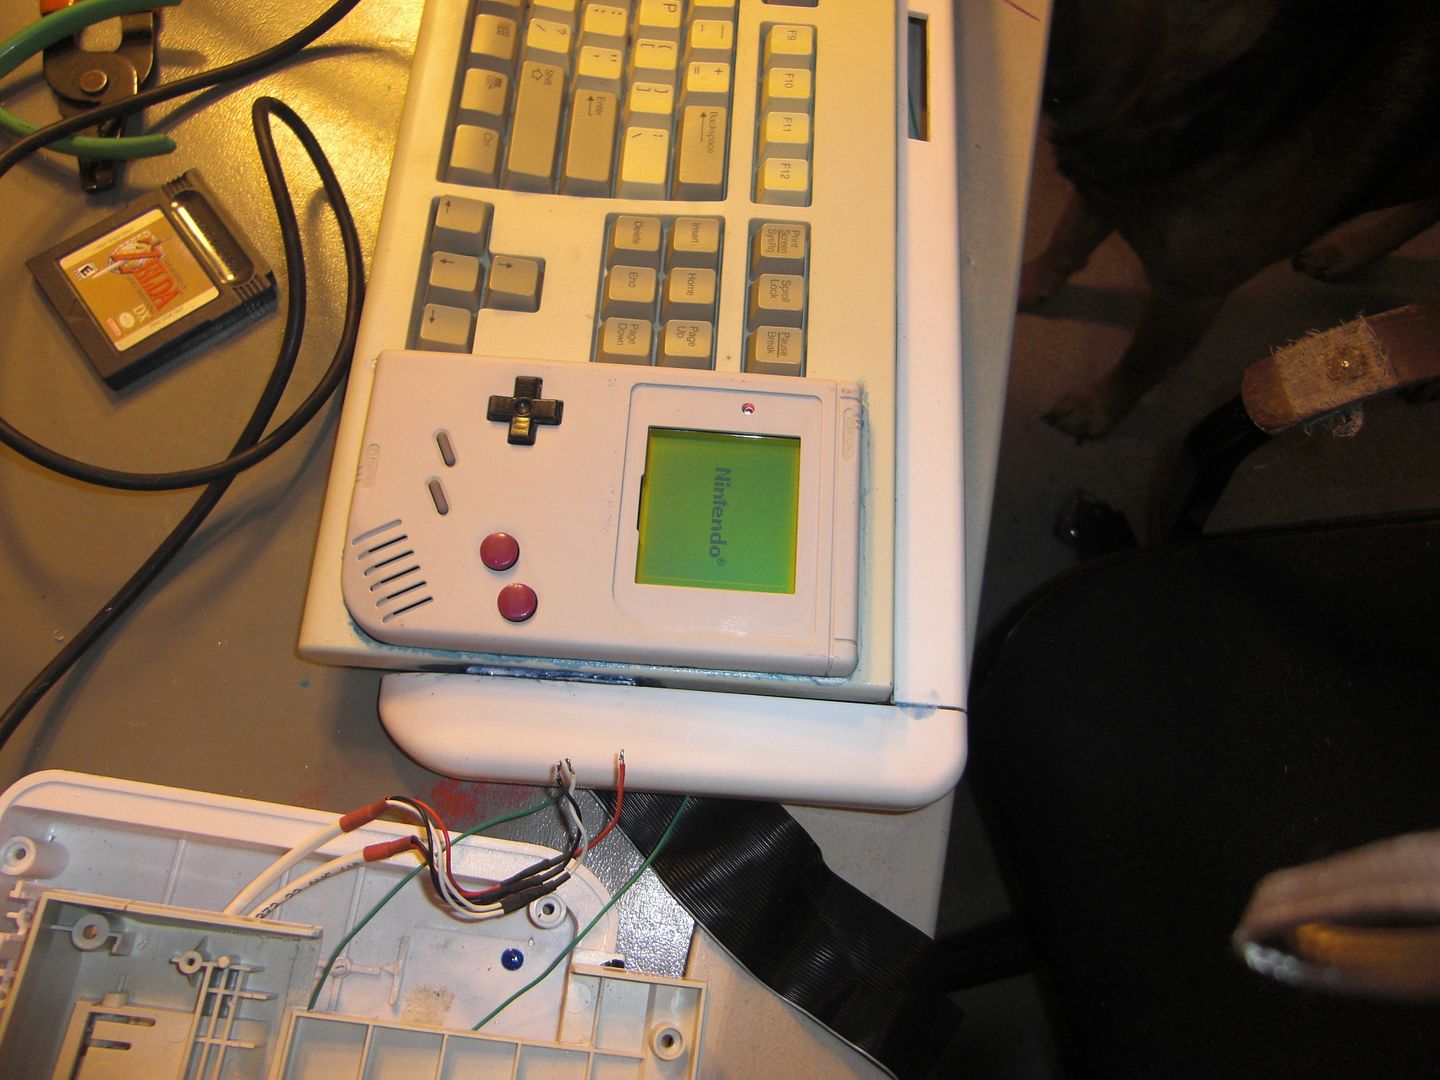
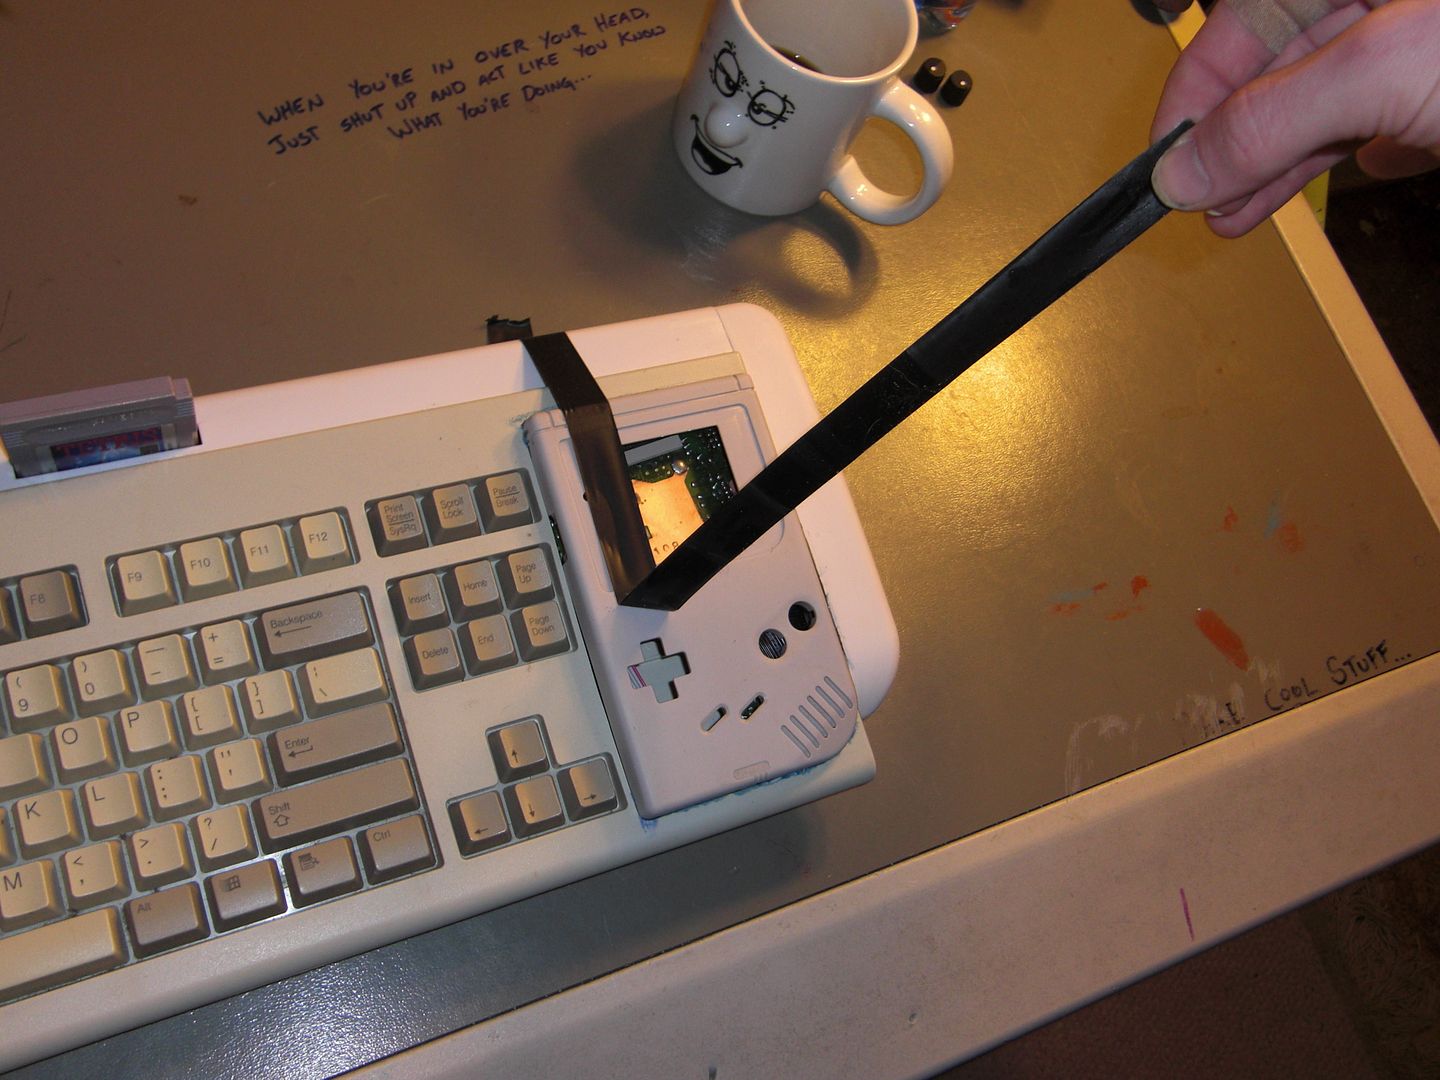
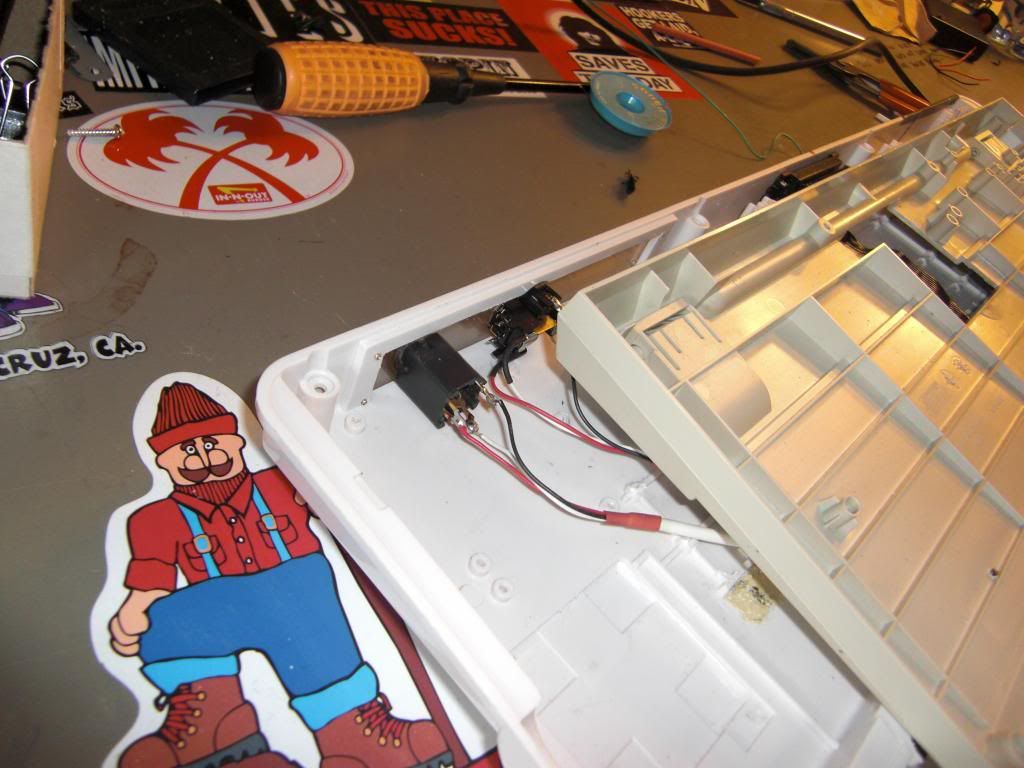
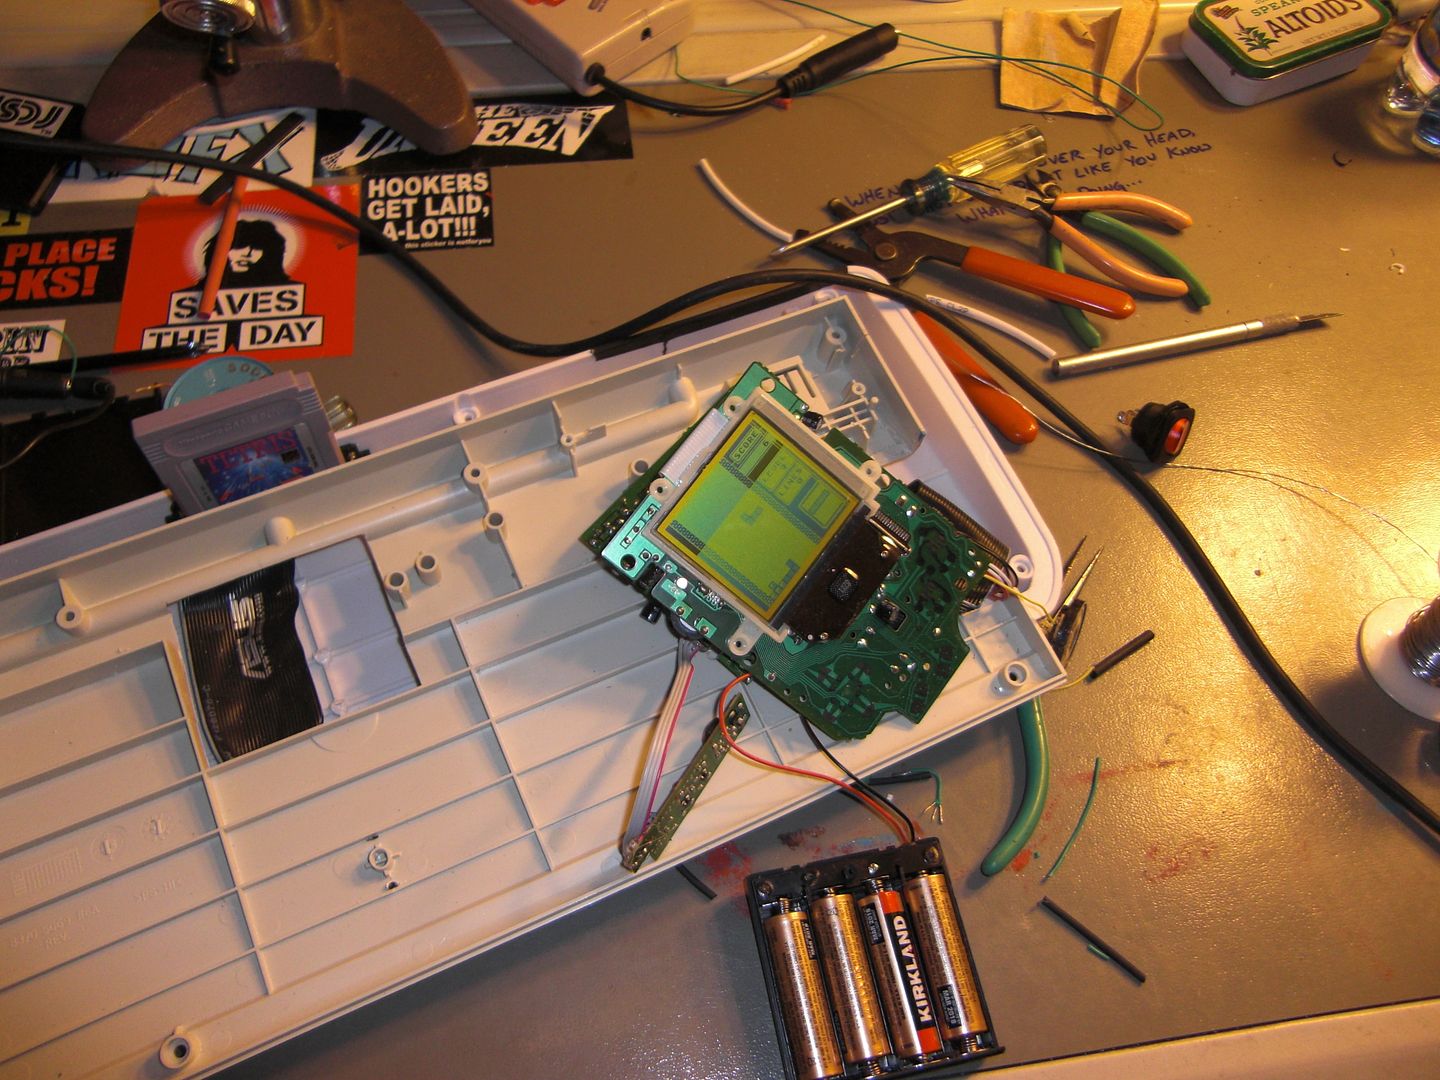
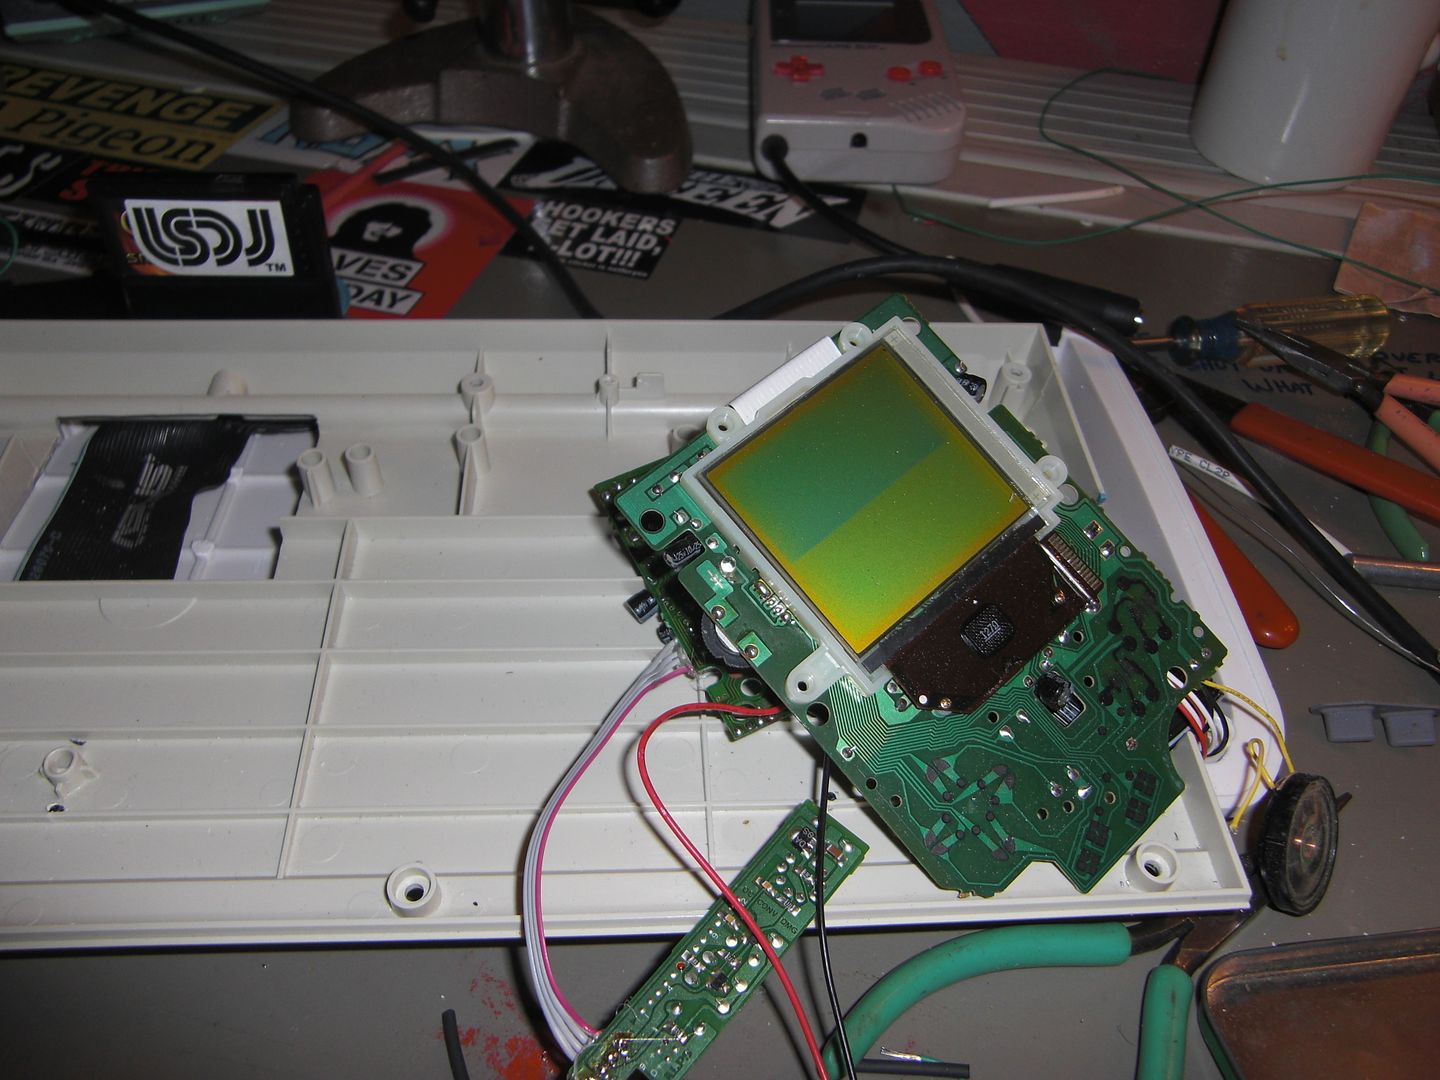
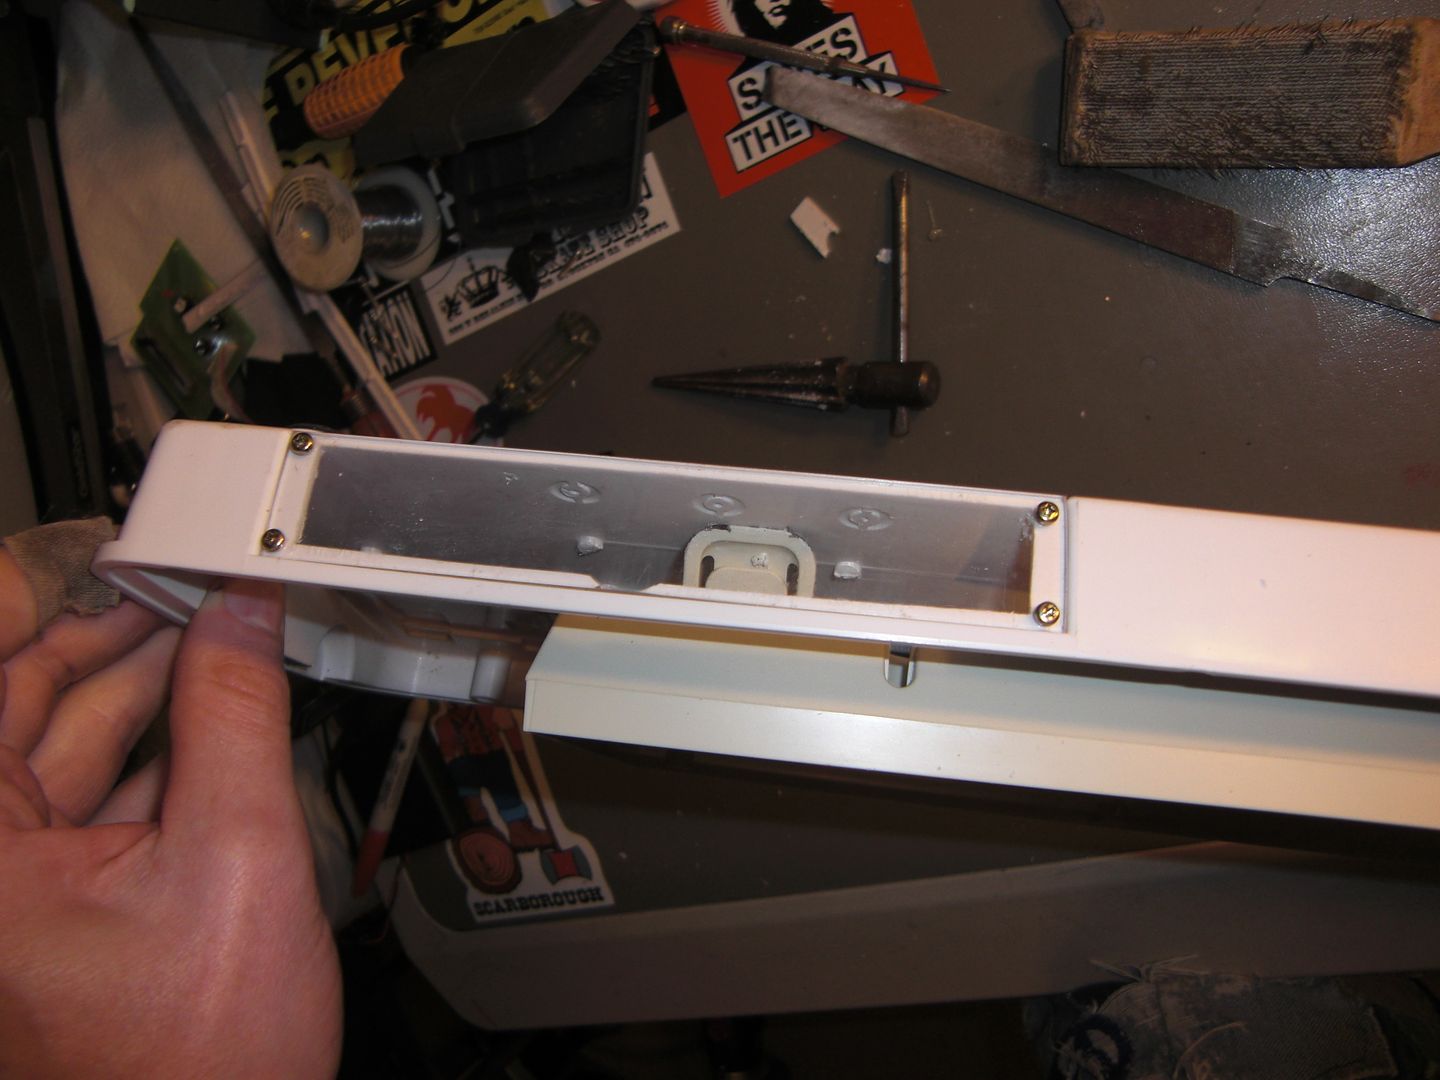
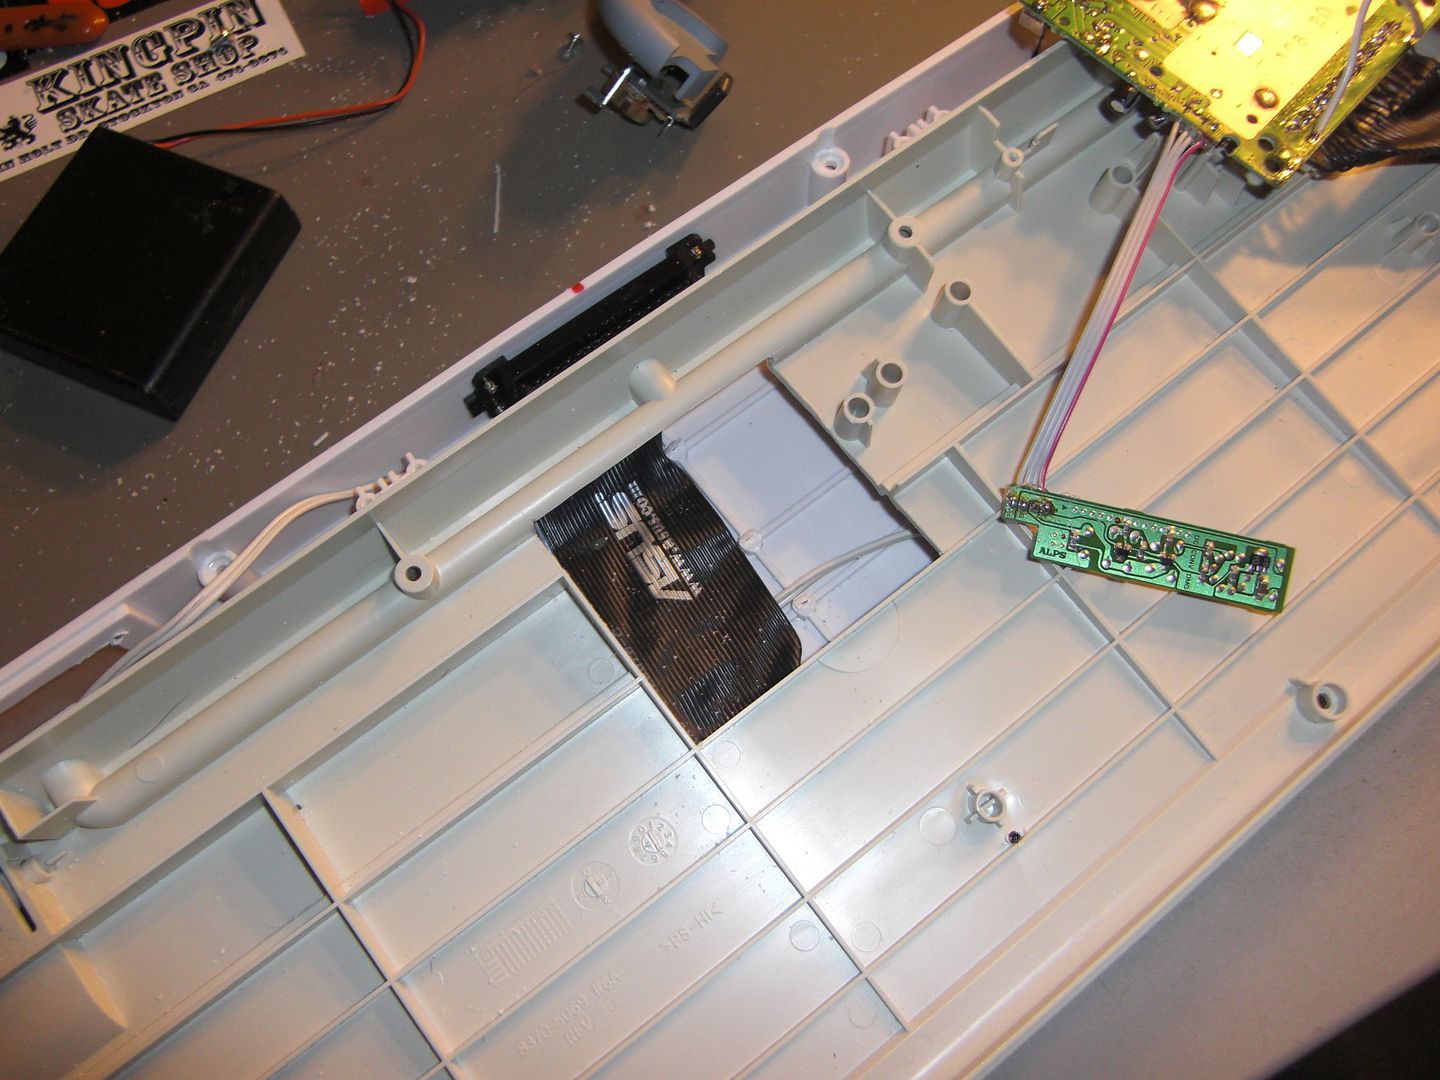
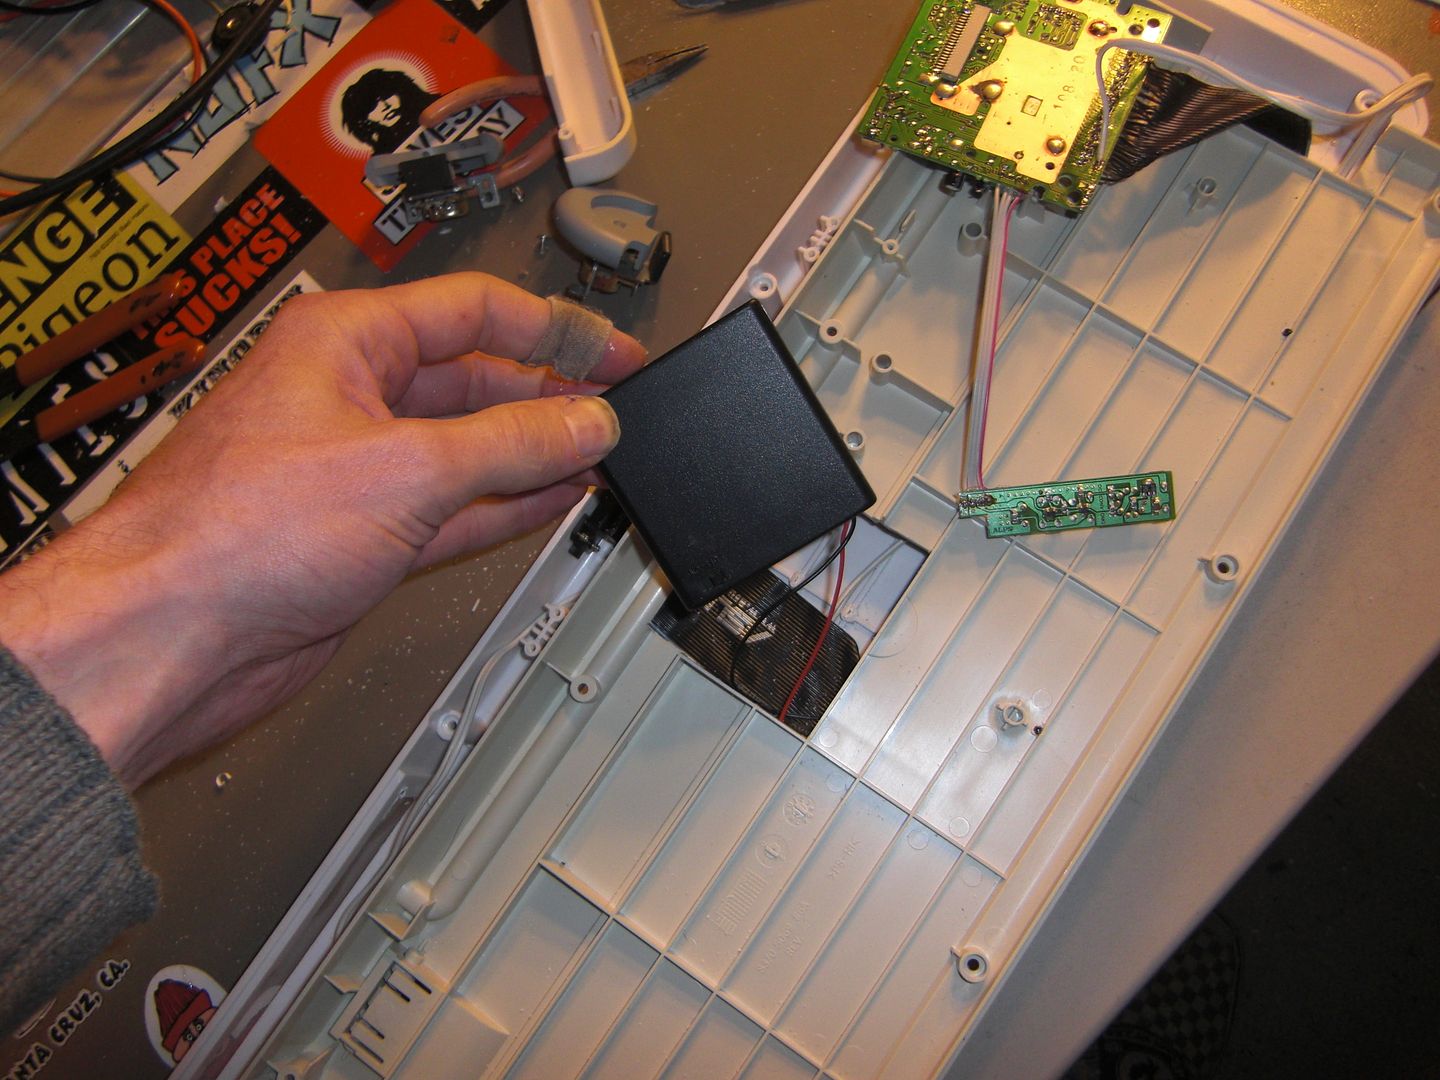
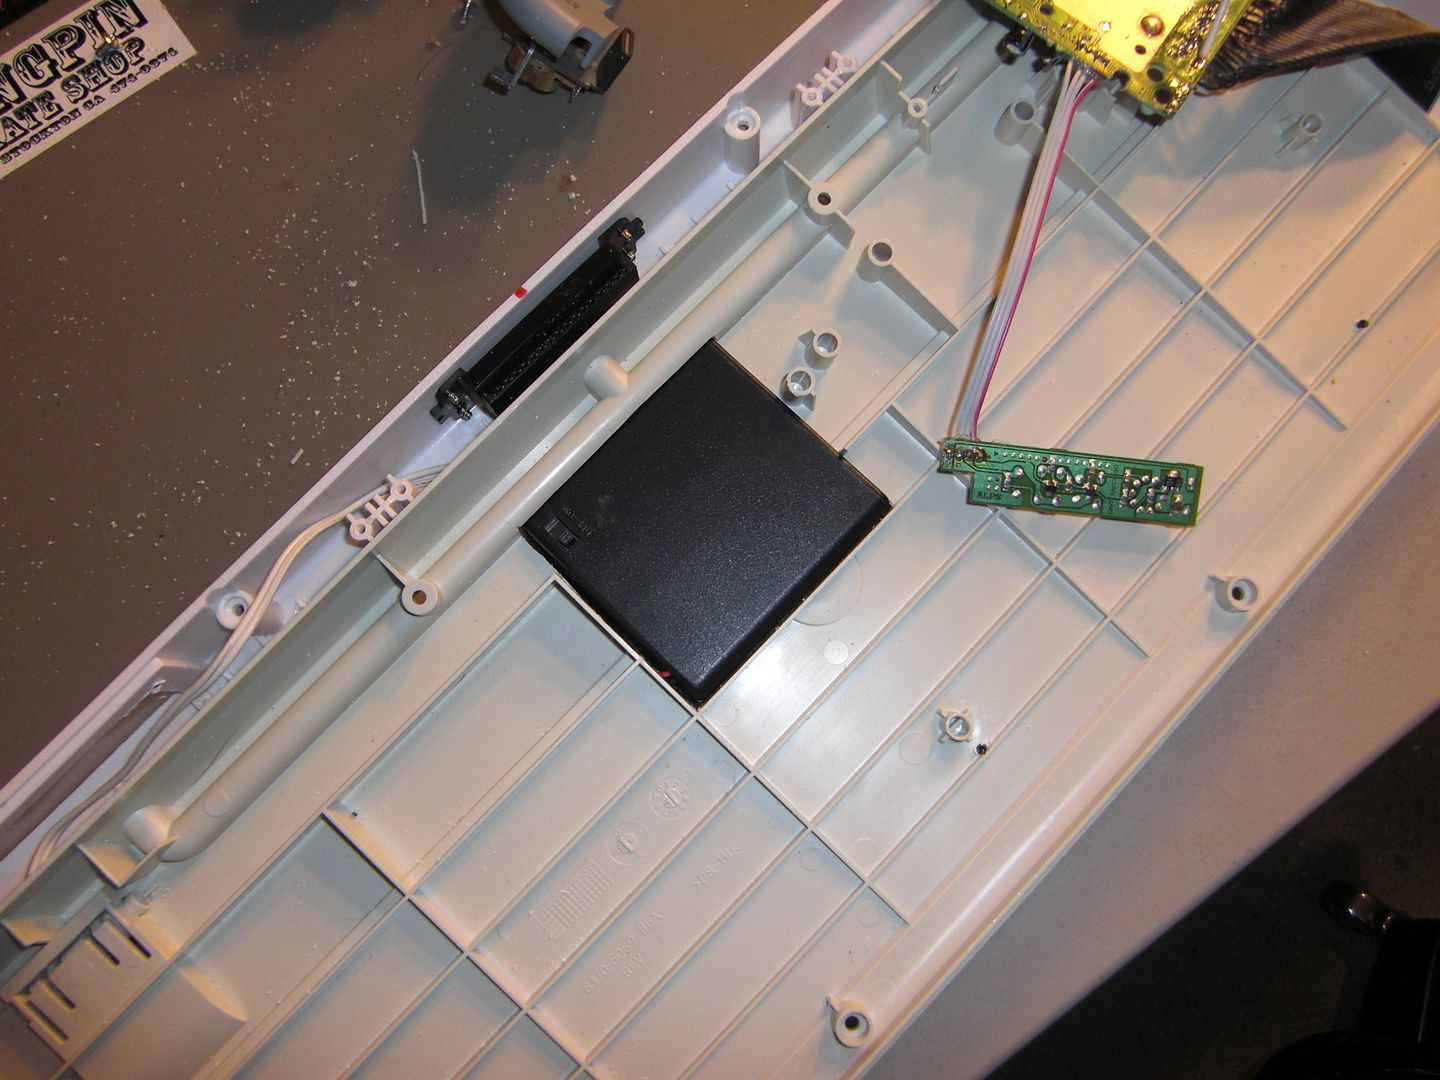
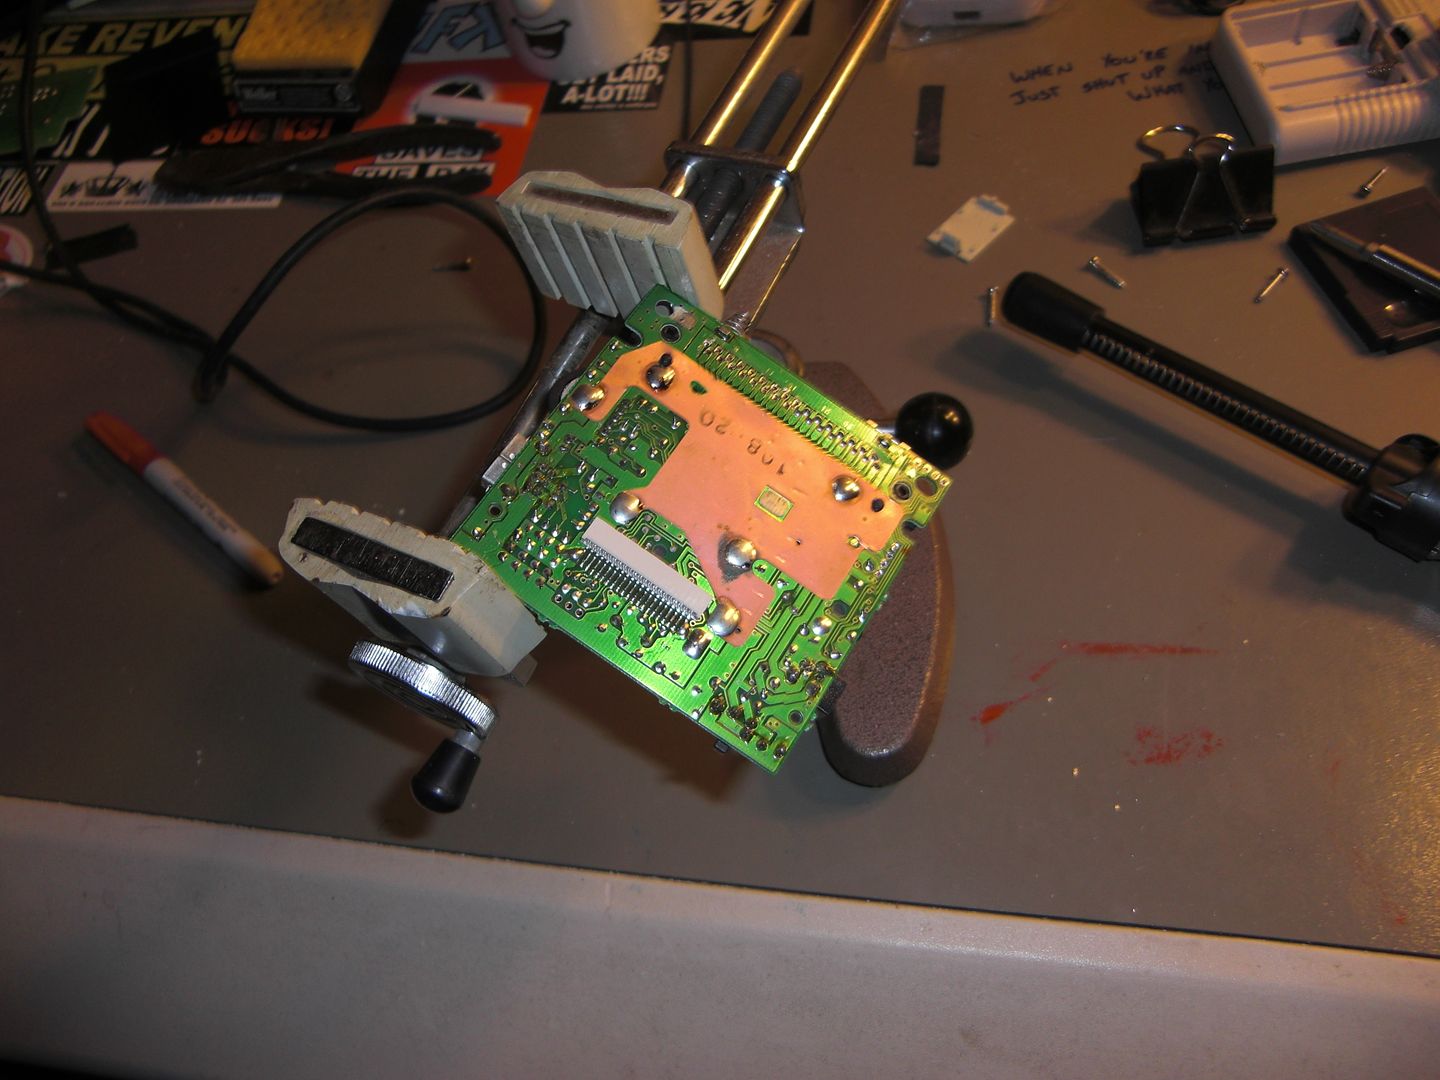
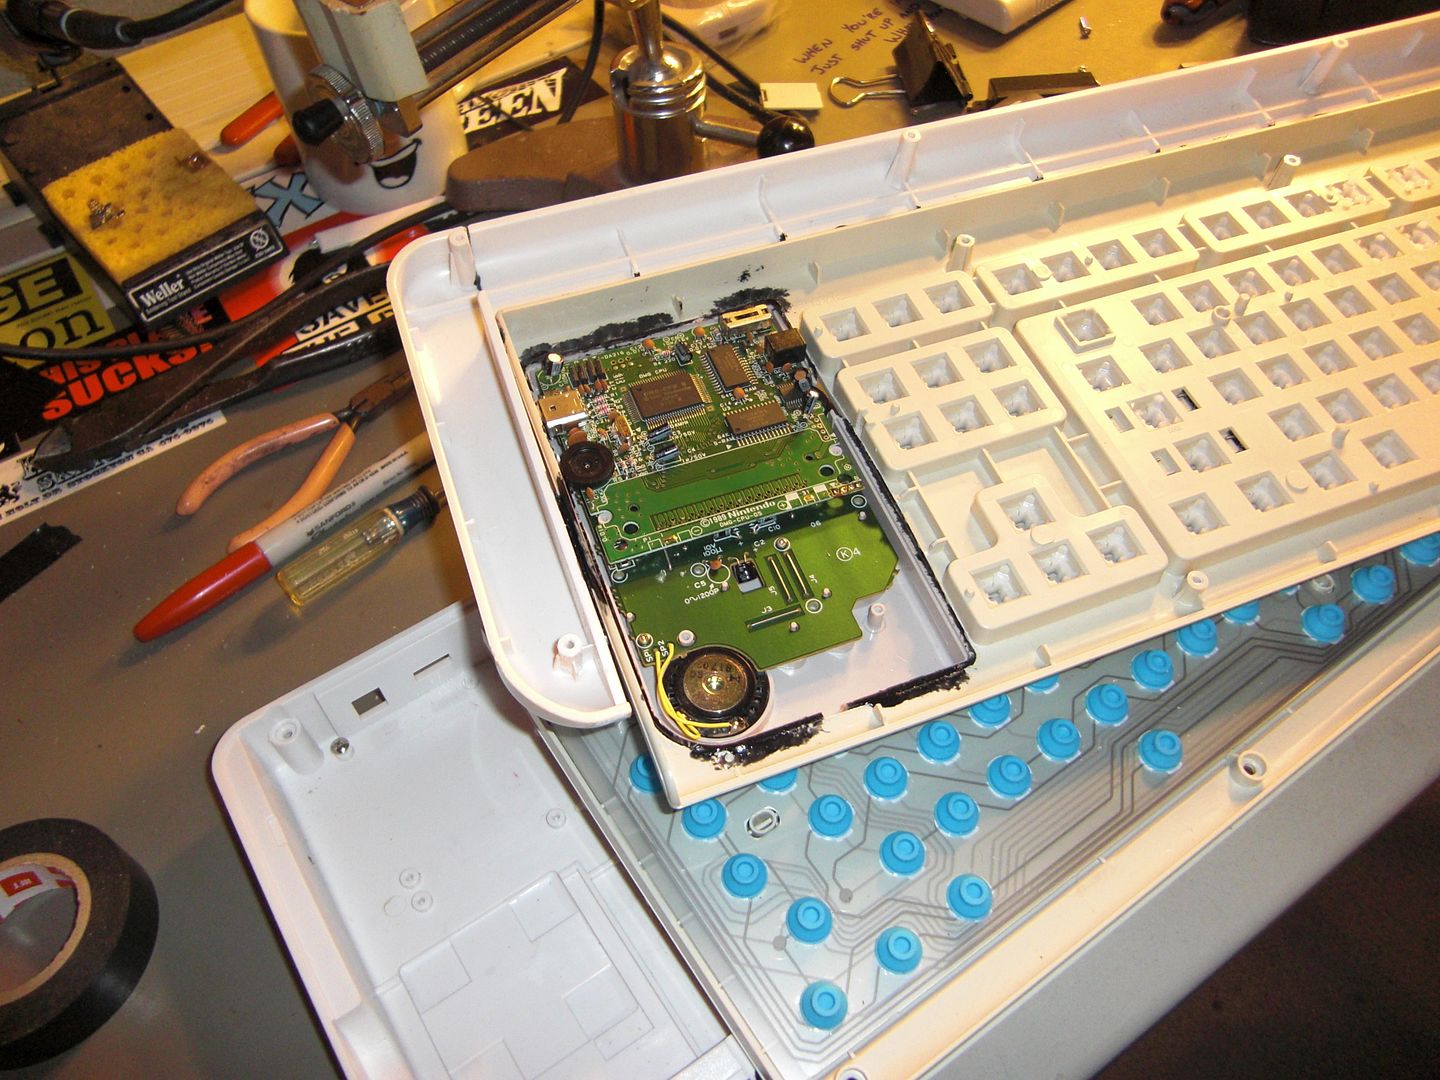
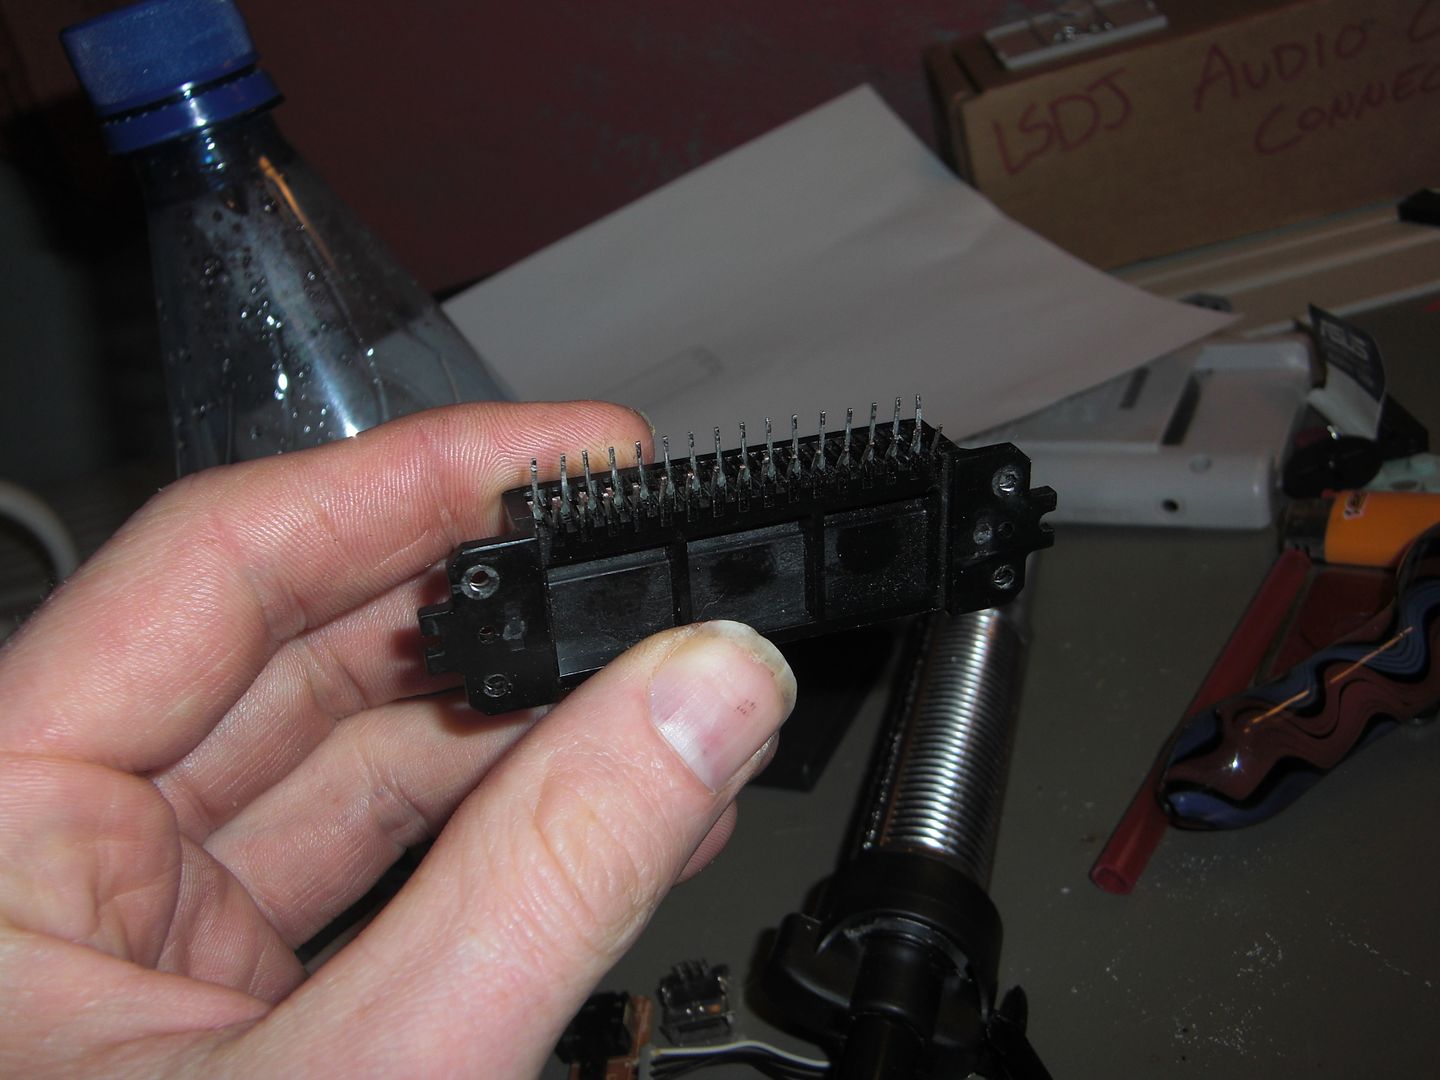
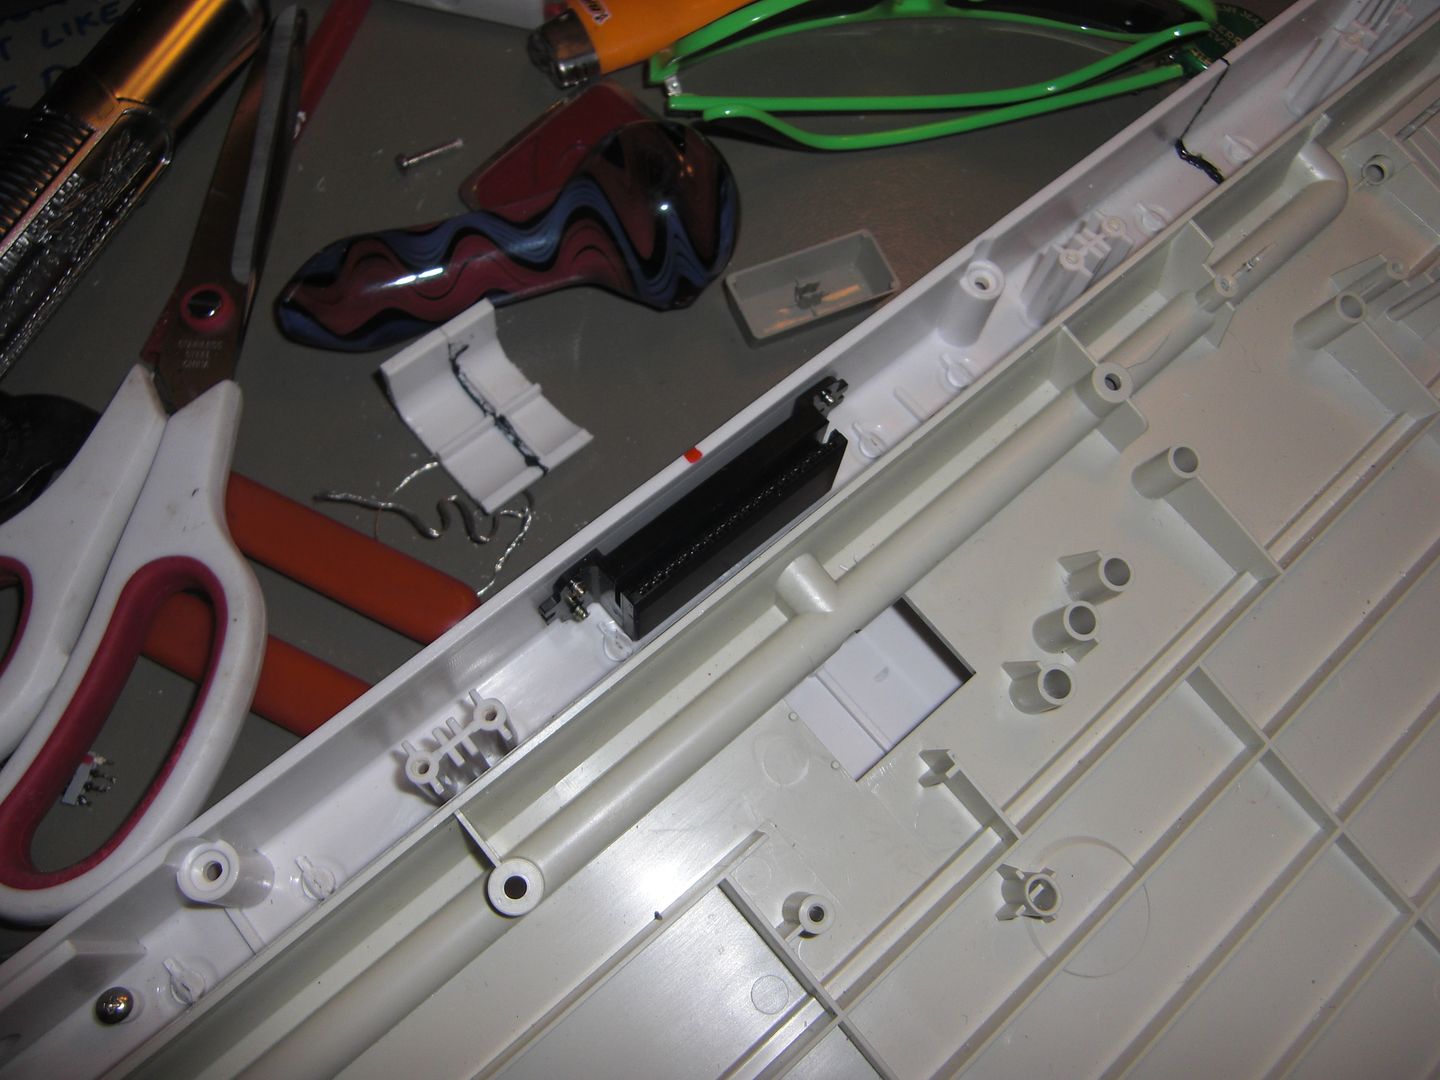
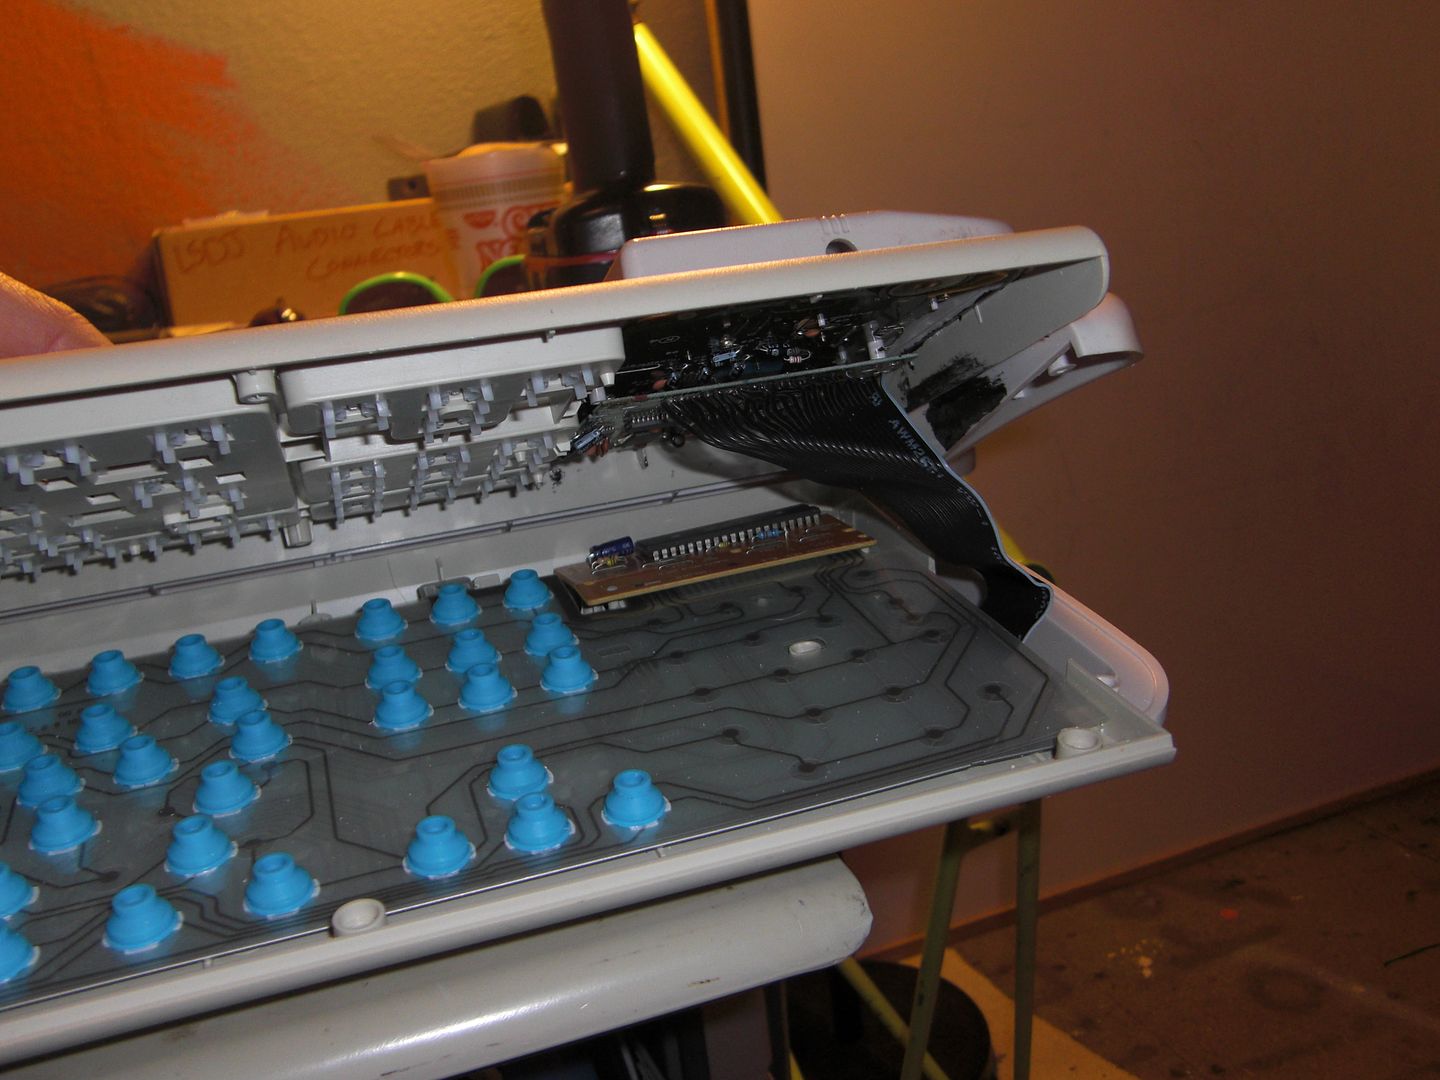
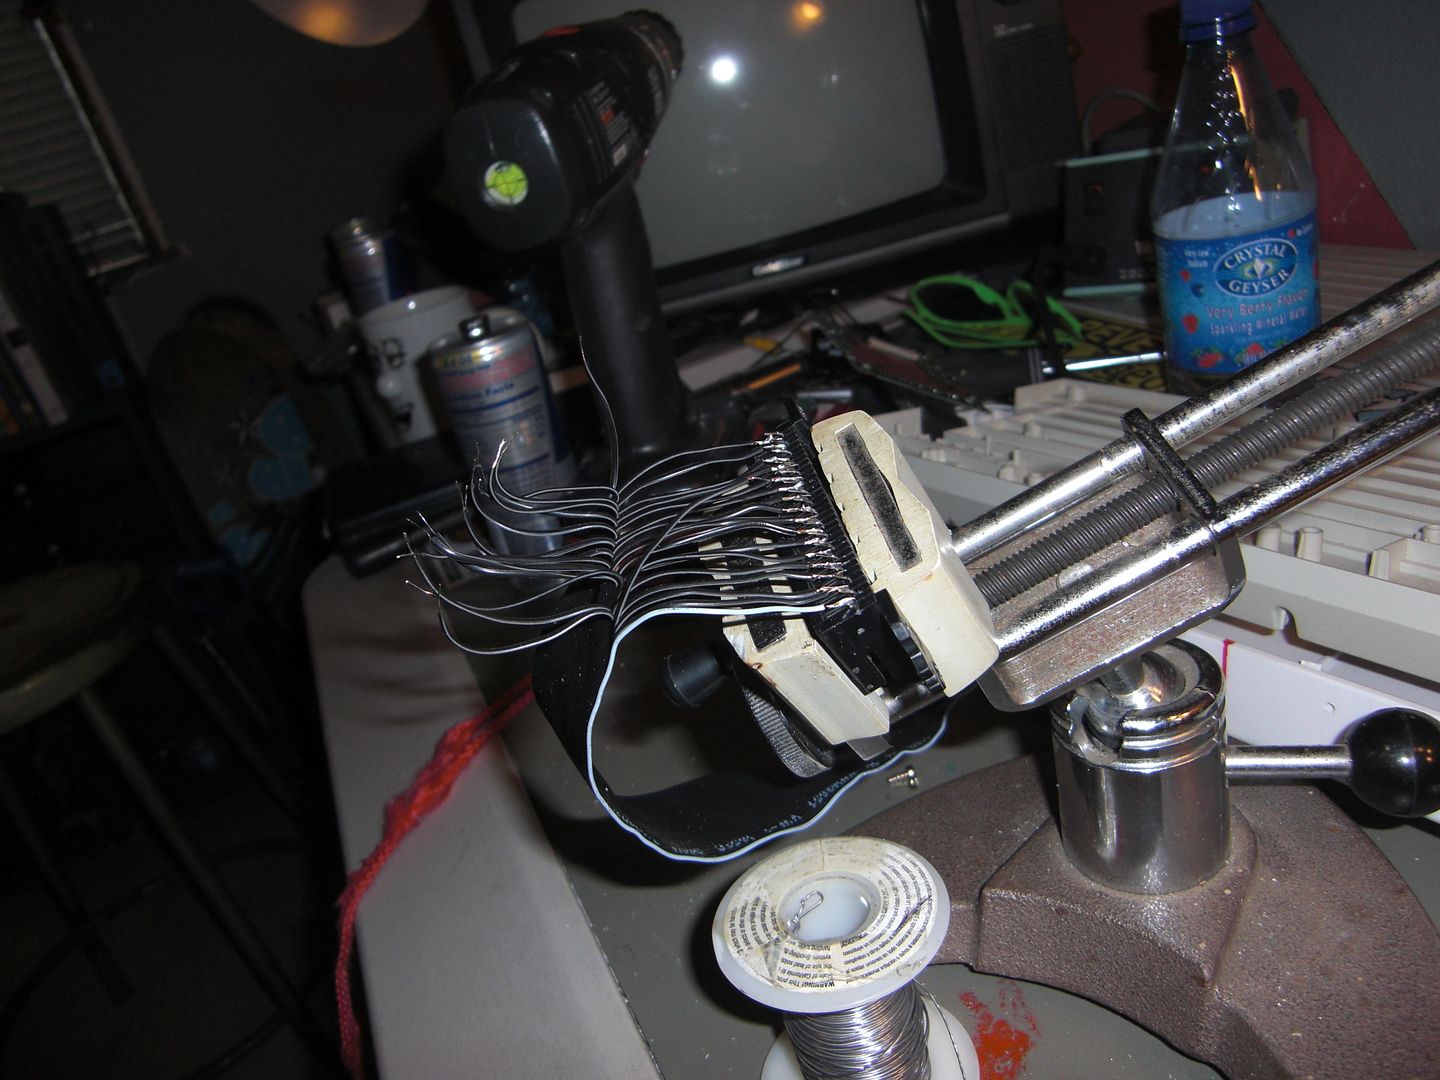
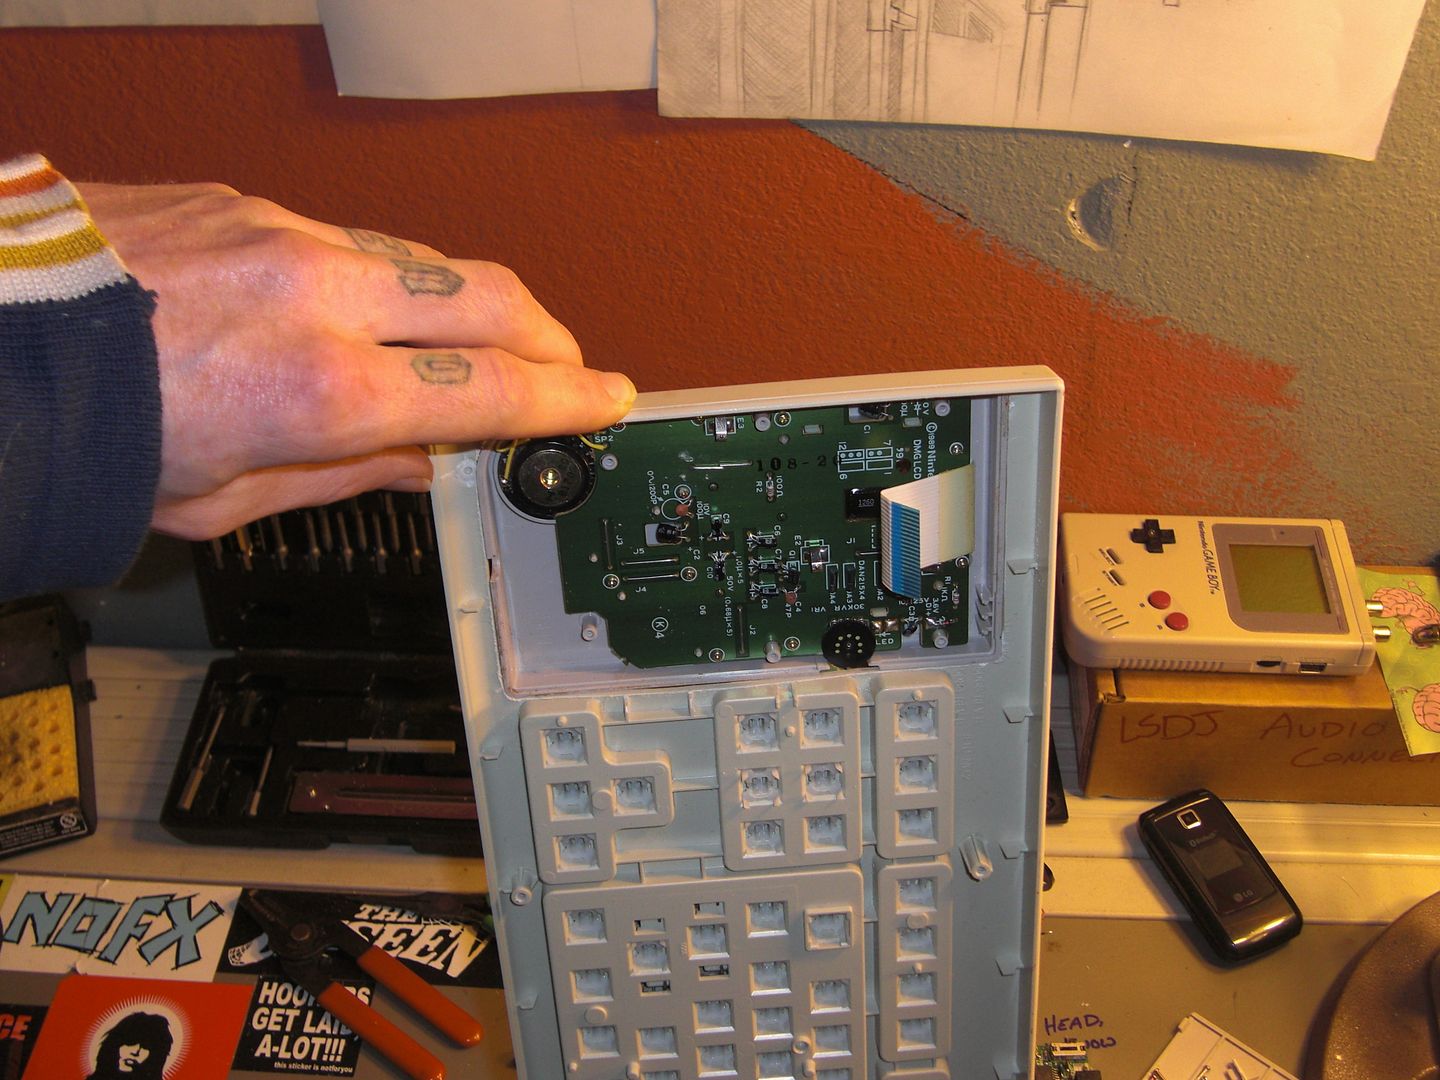
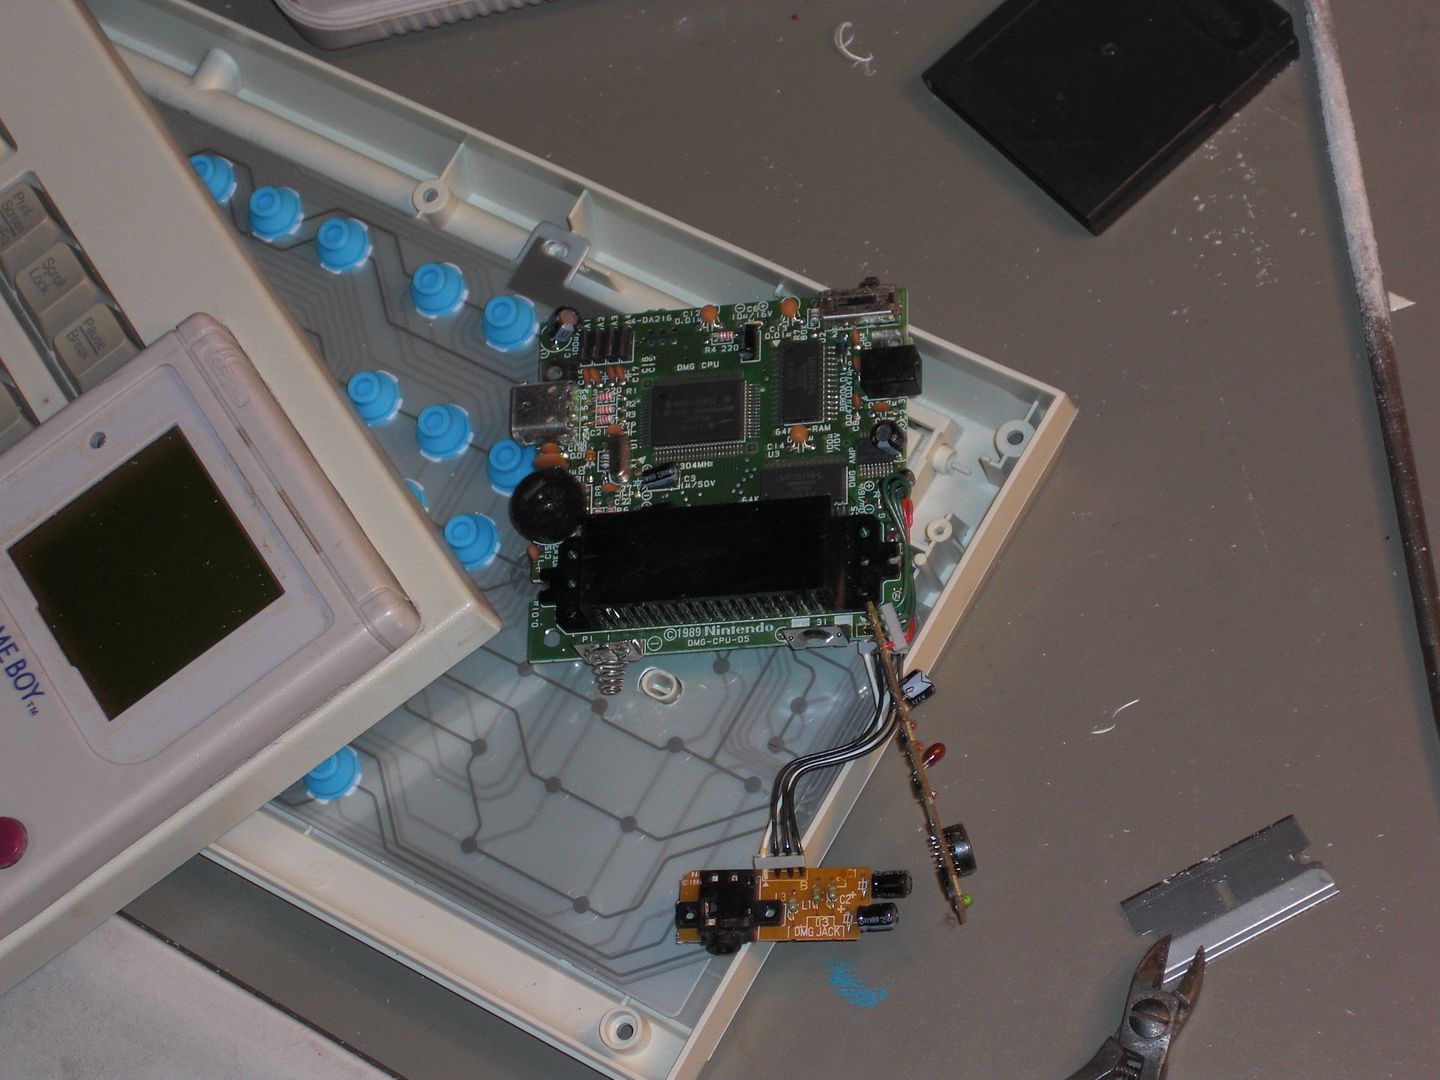
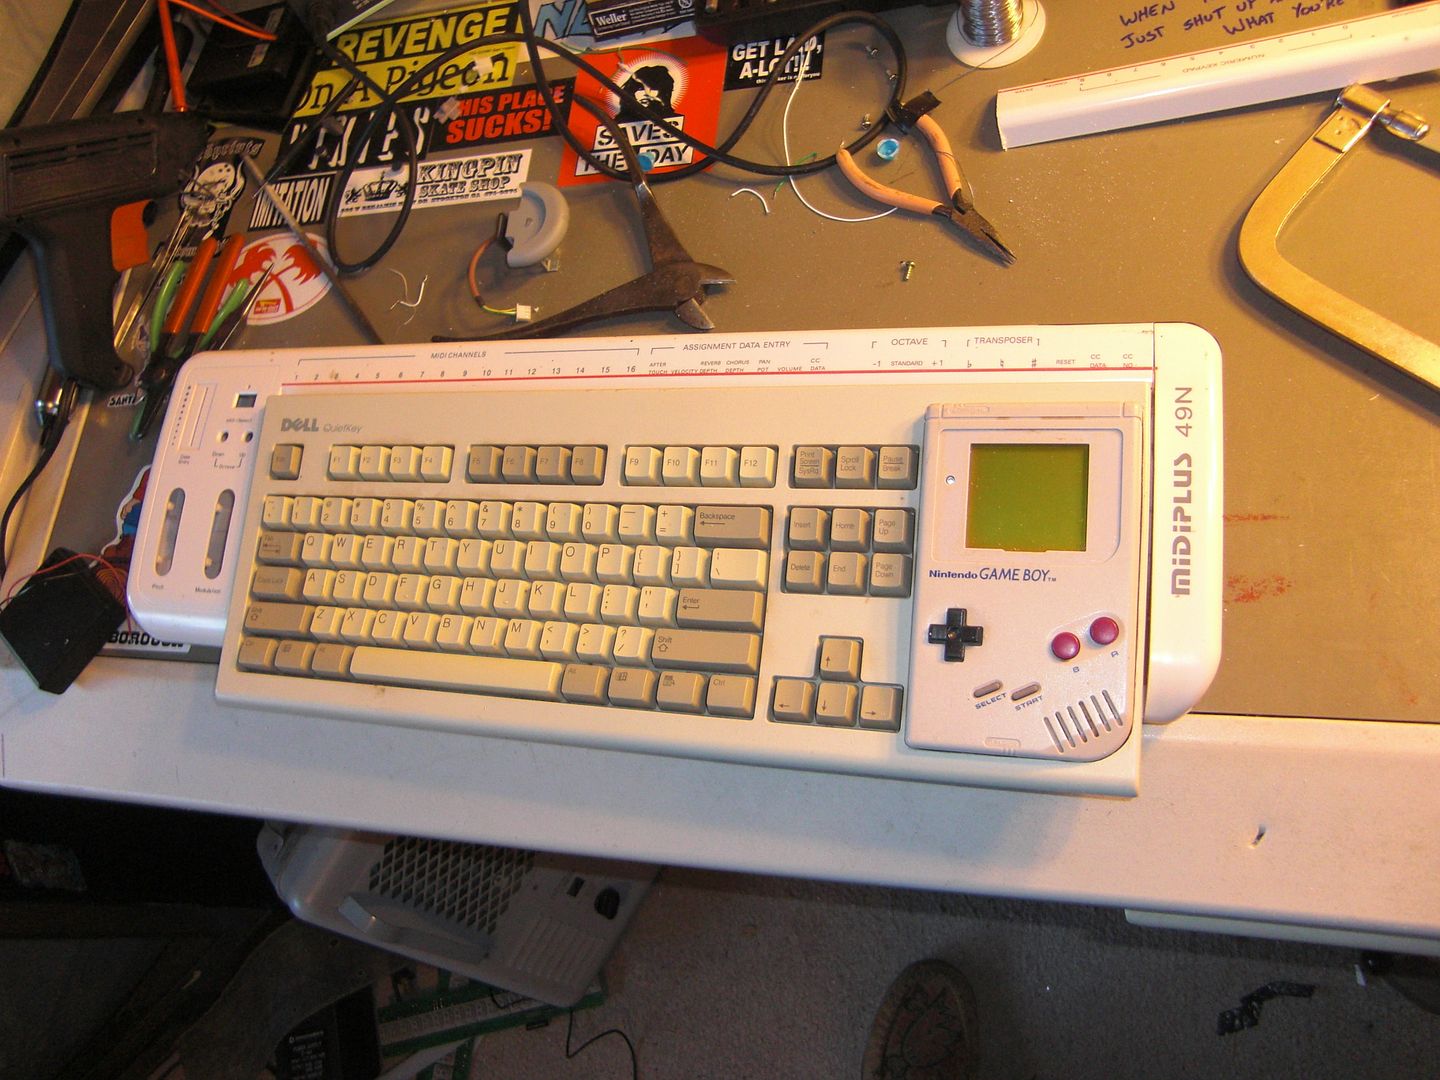
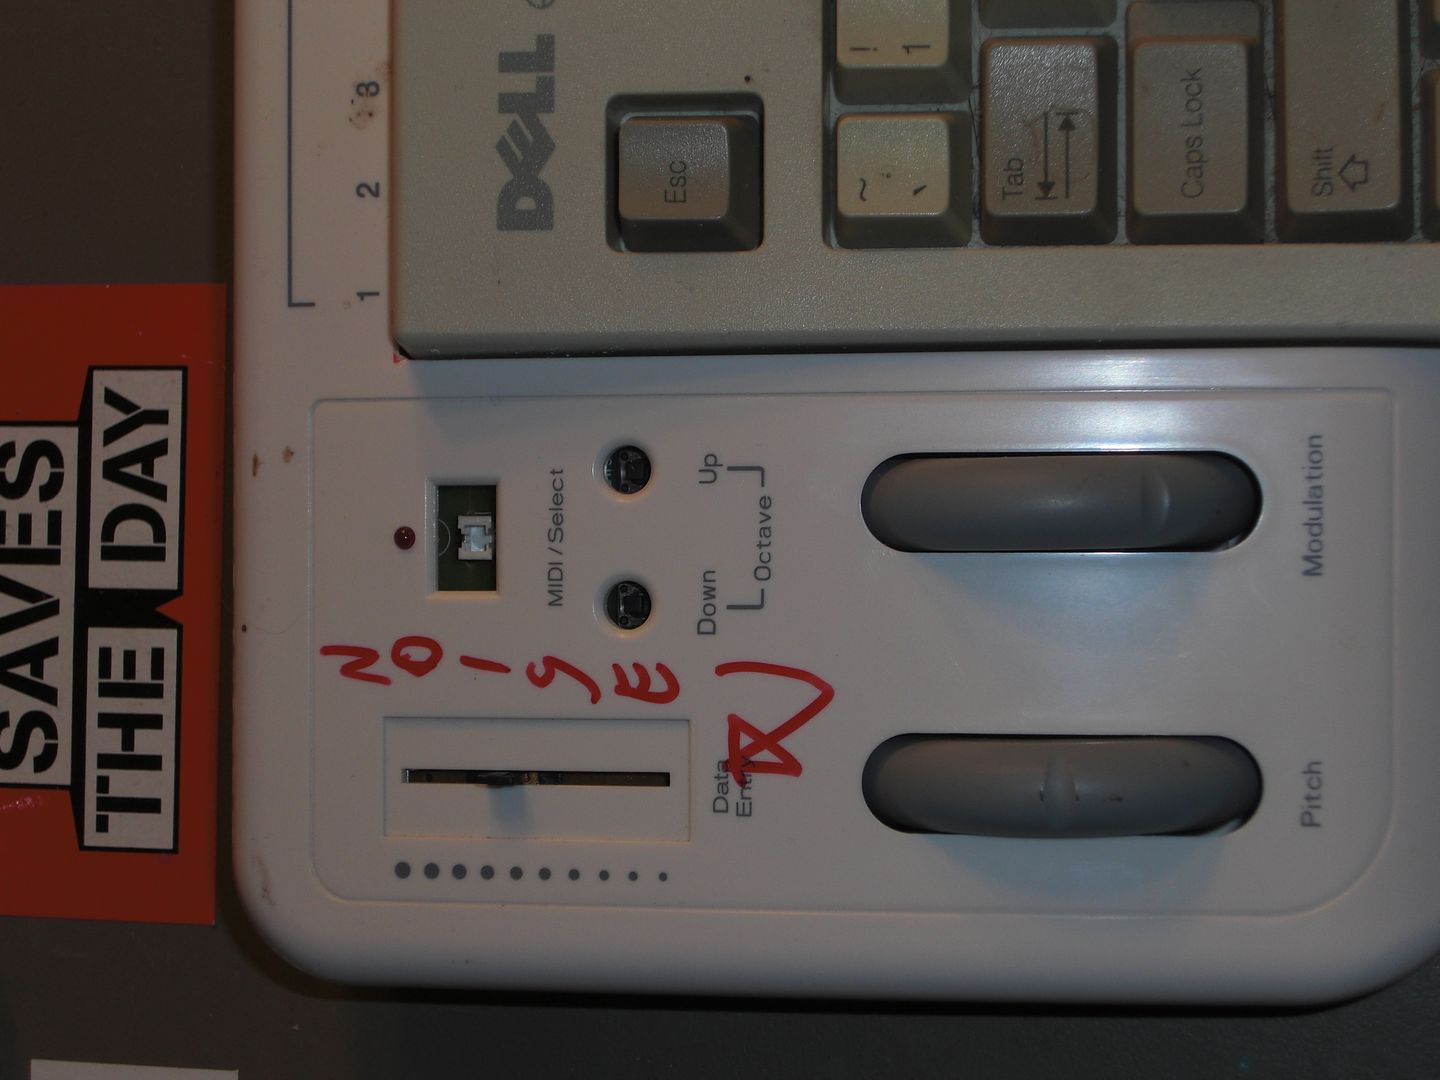
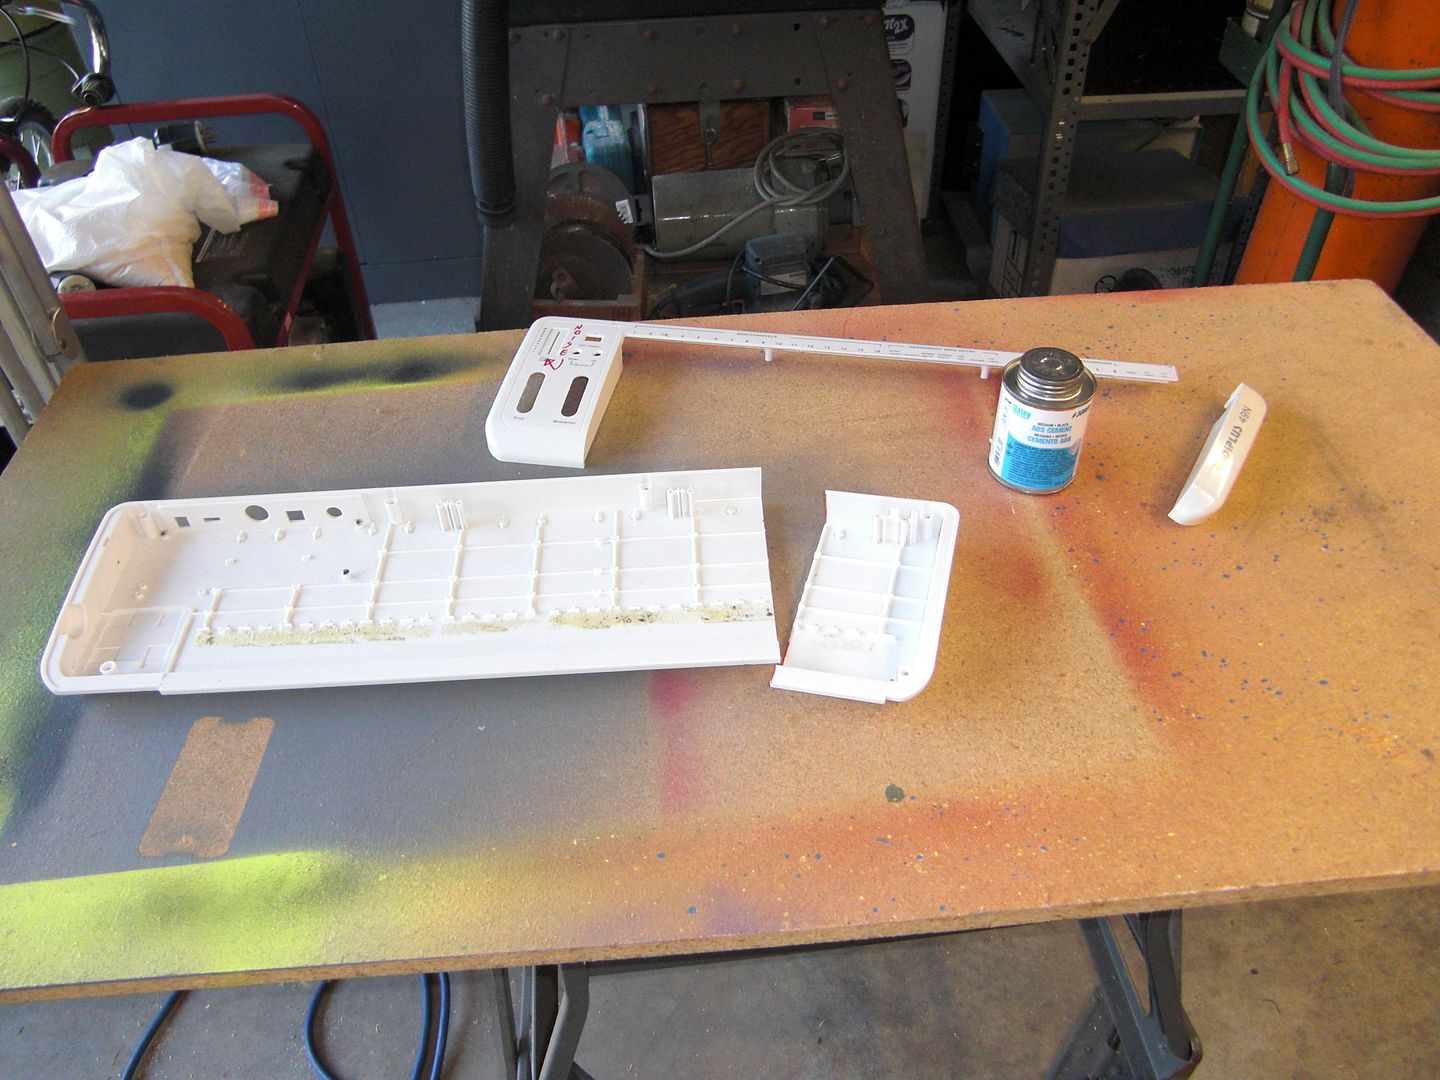
I then encountered my very first problem; Where the hell was I going to put all of the hardware? I had room for the daughter board, but that was about it. I'd need more room if I wanted to have any chance of this working.
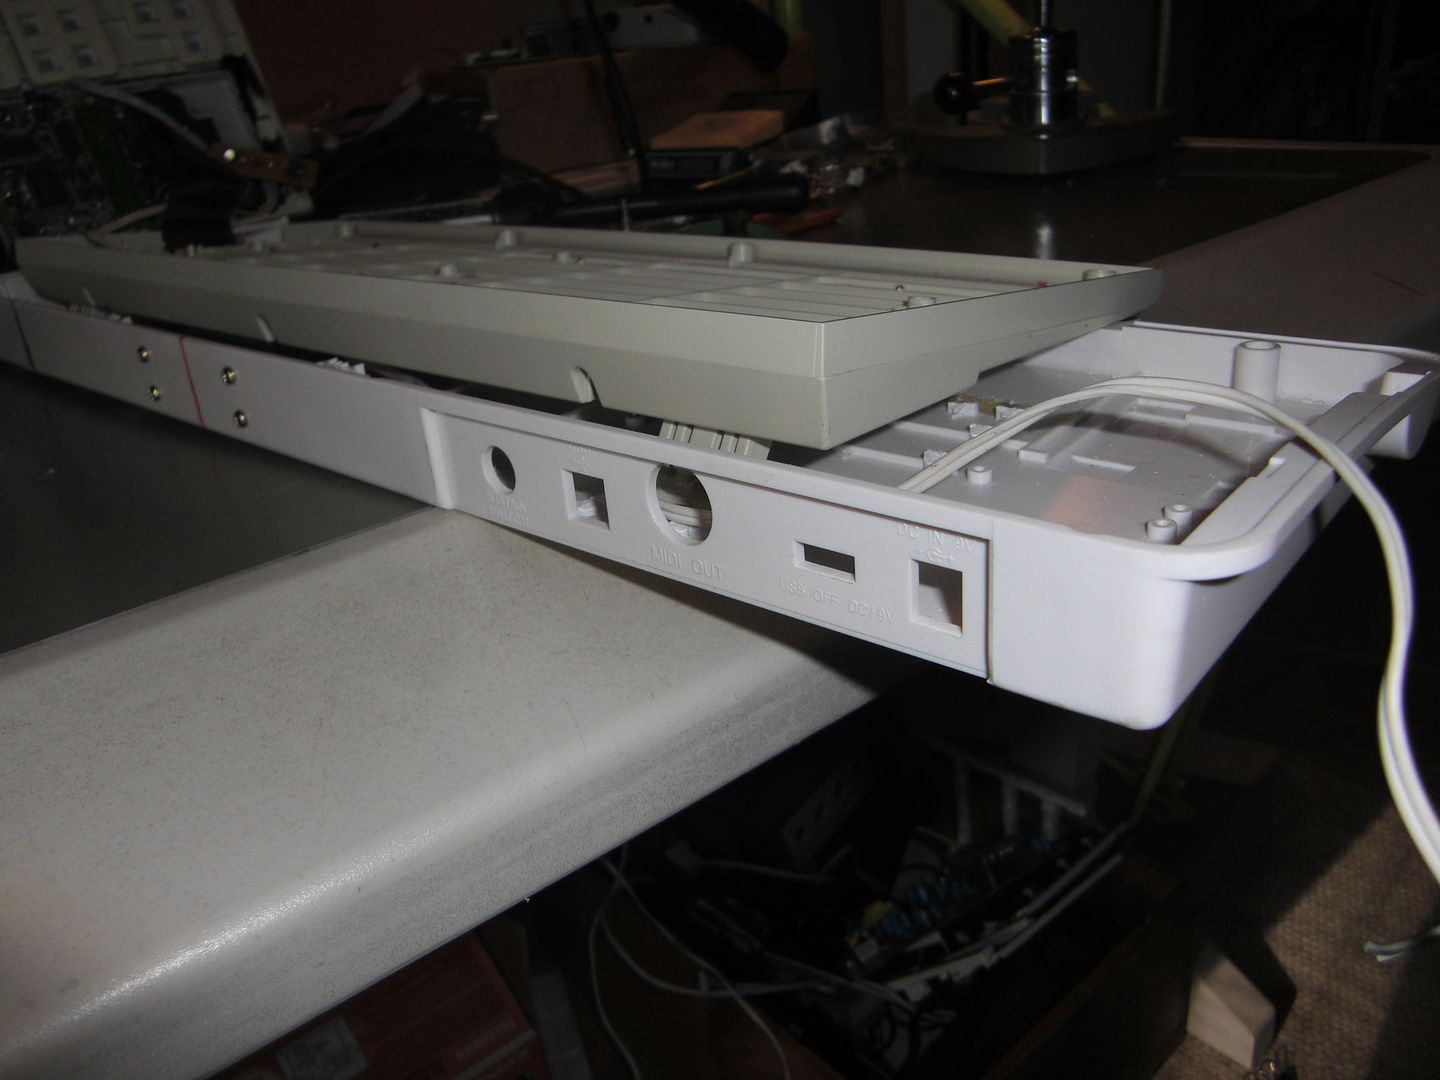
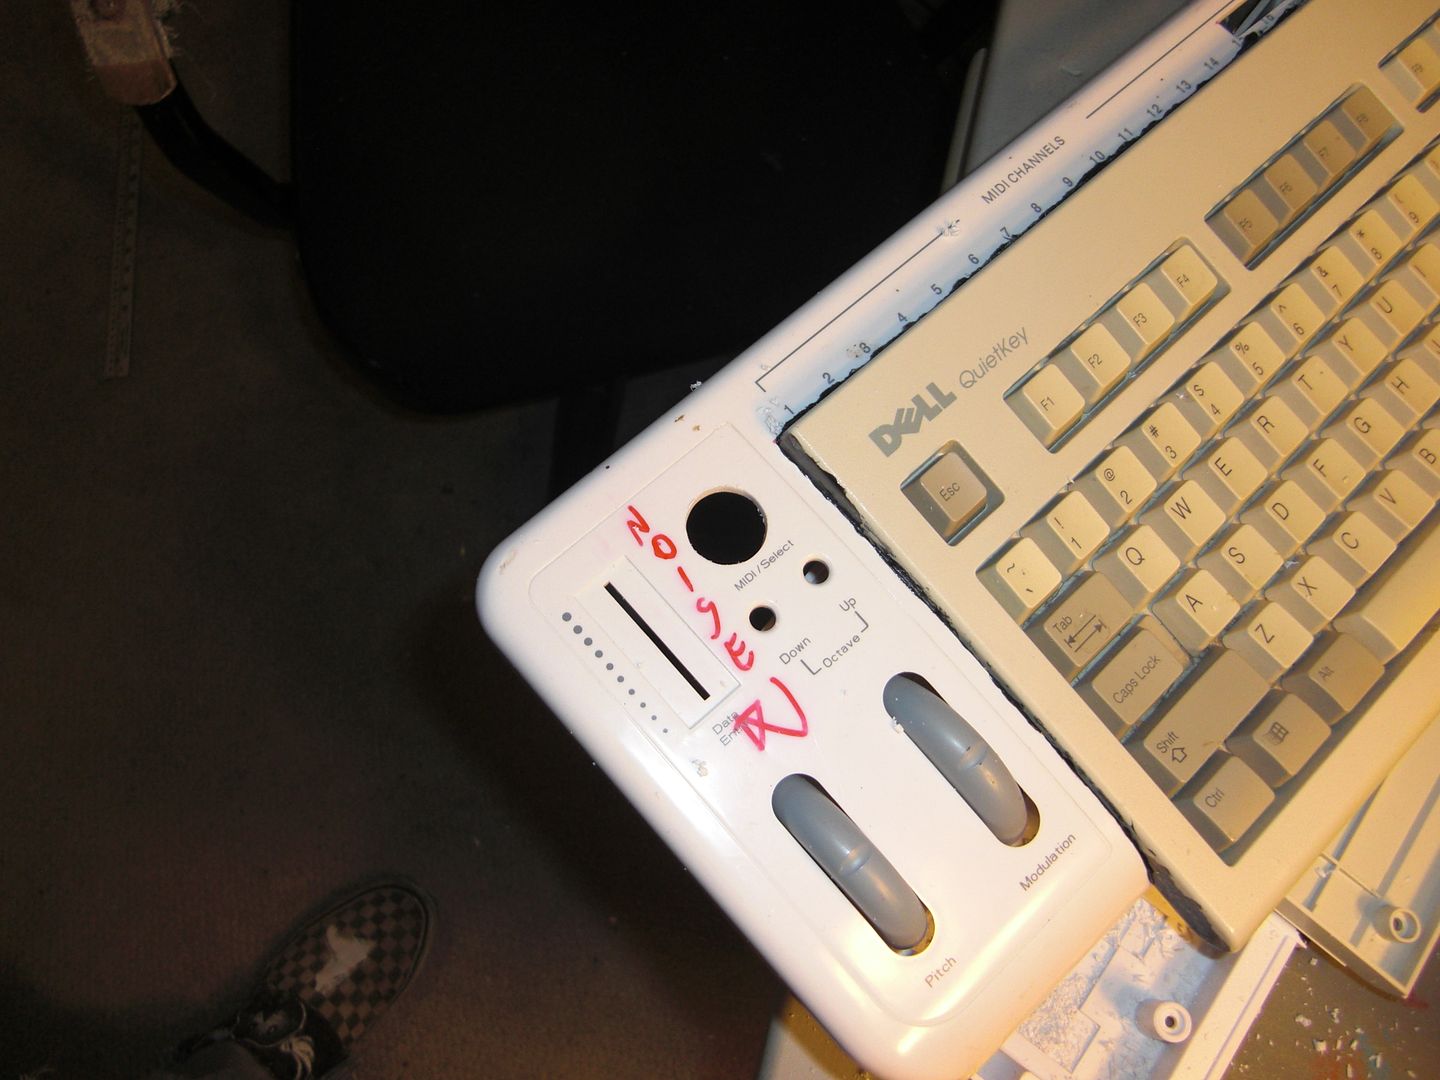
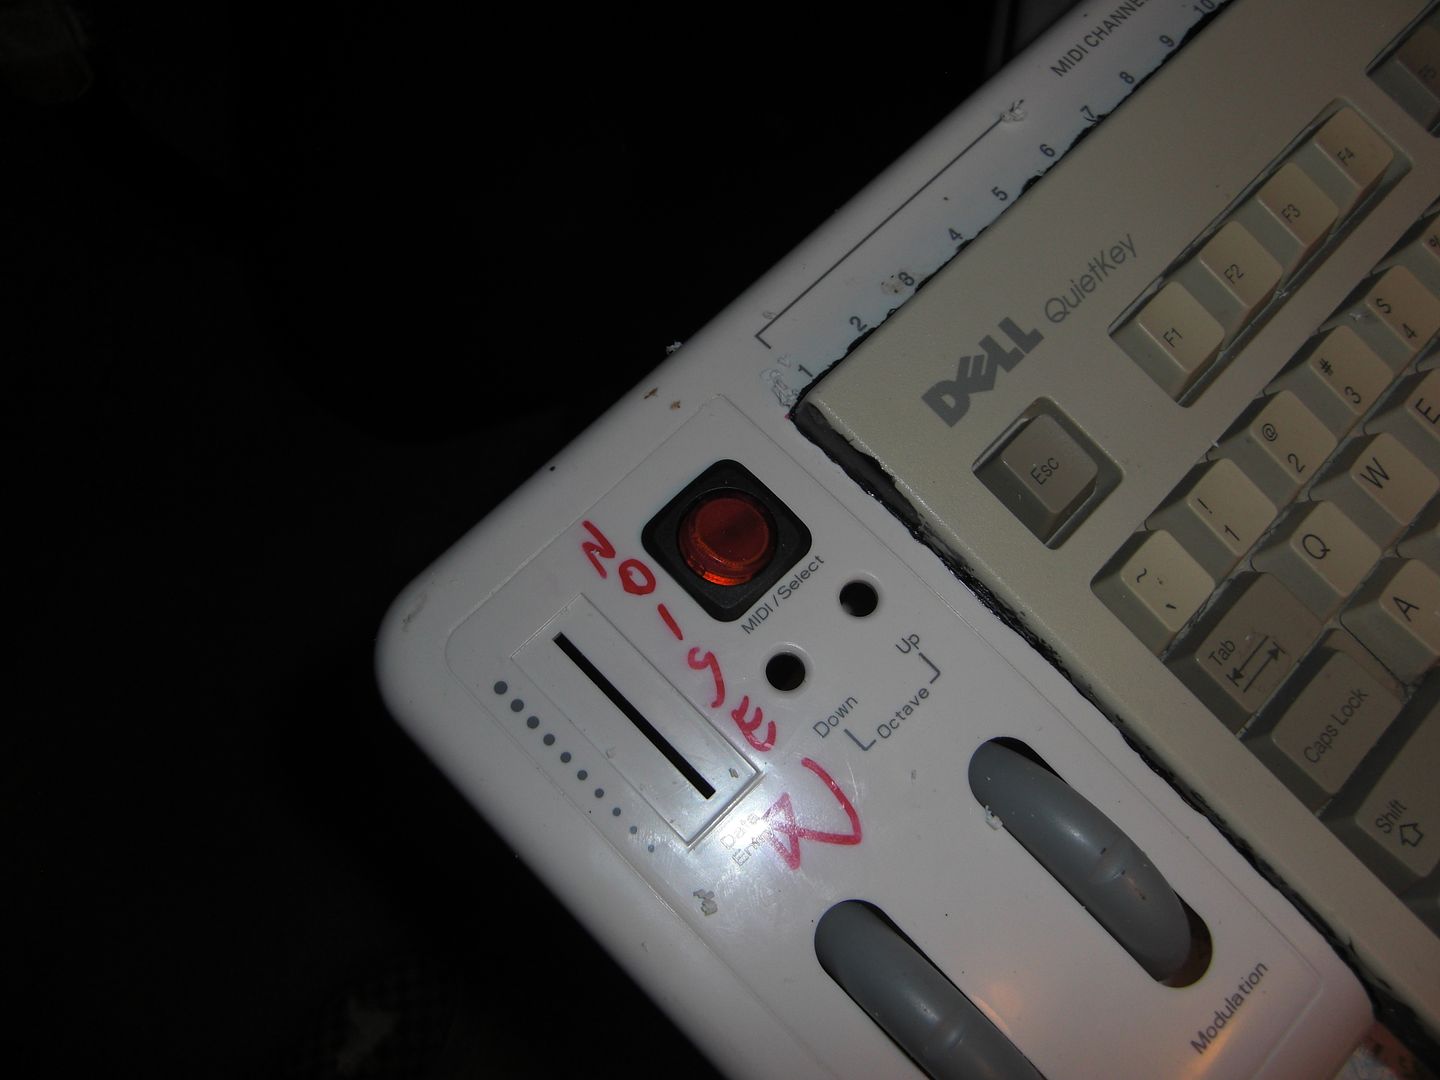
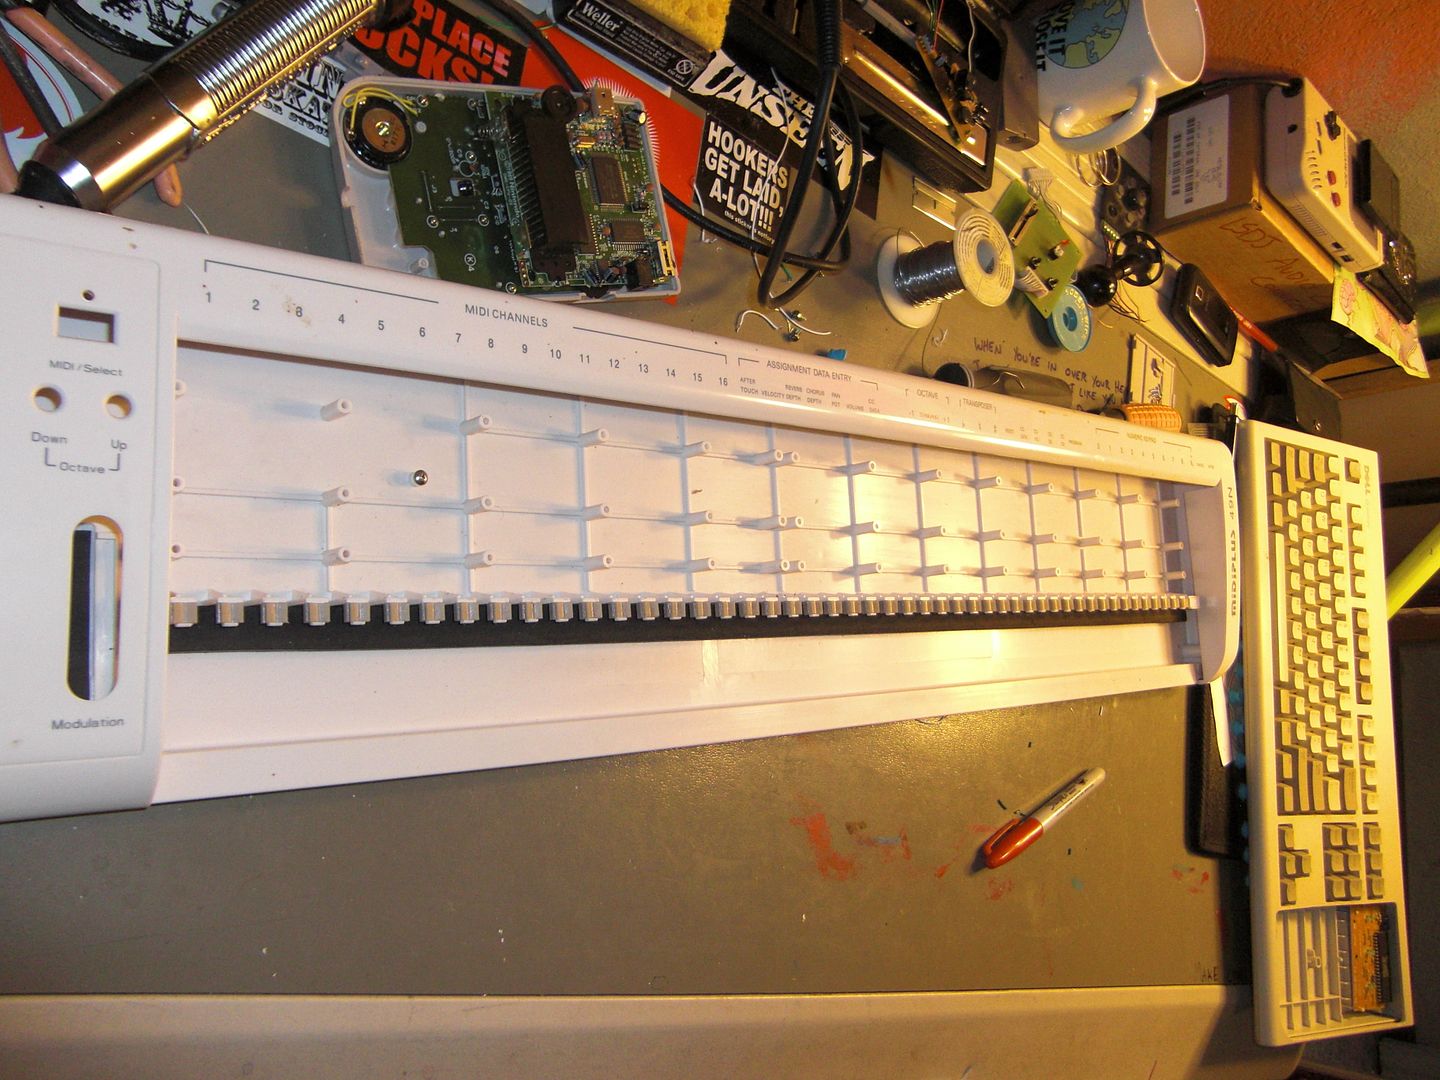
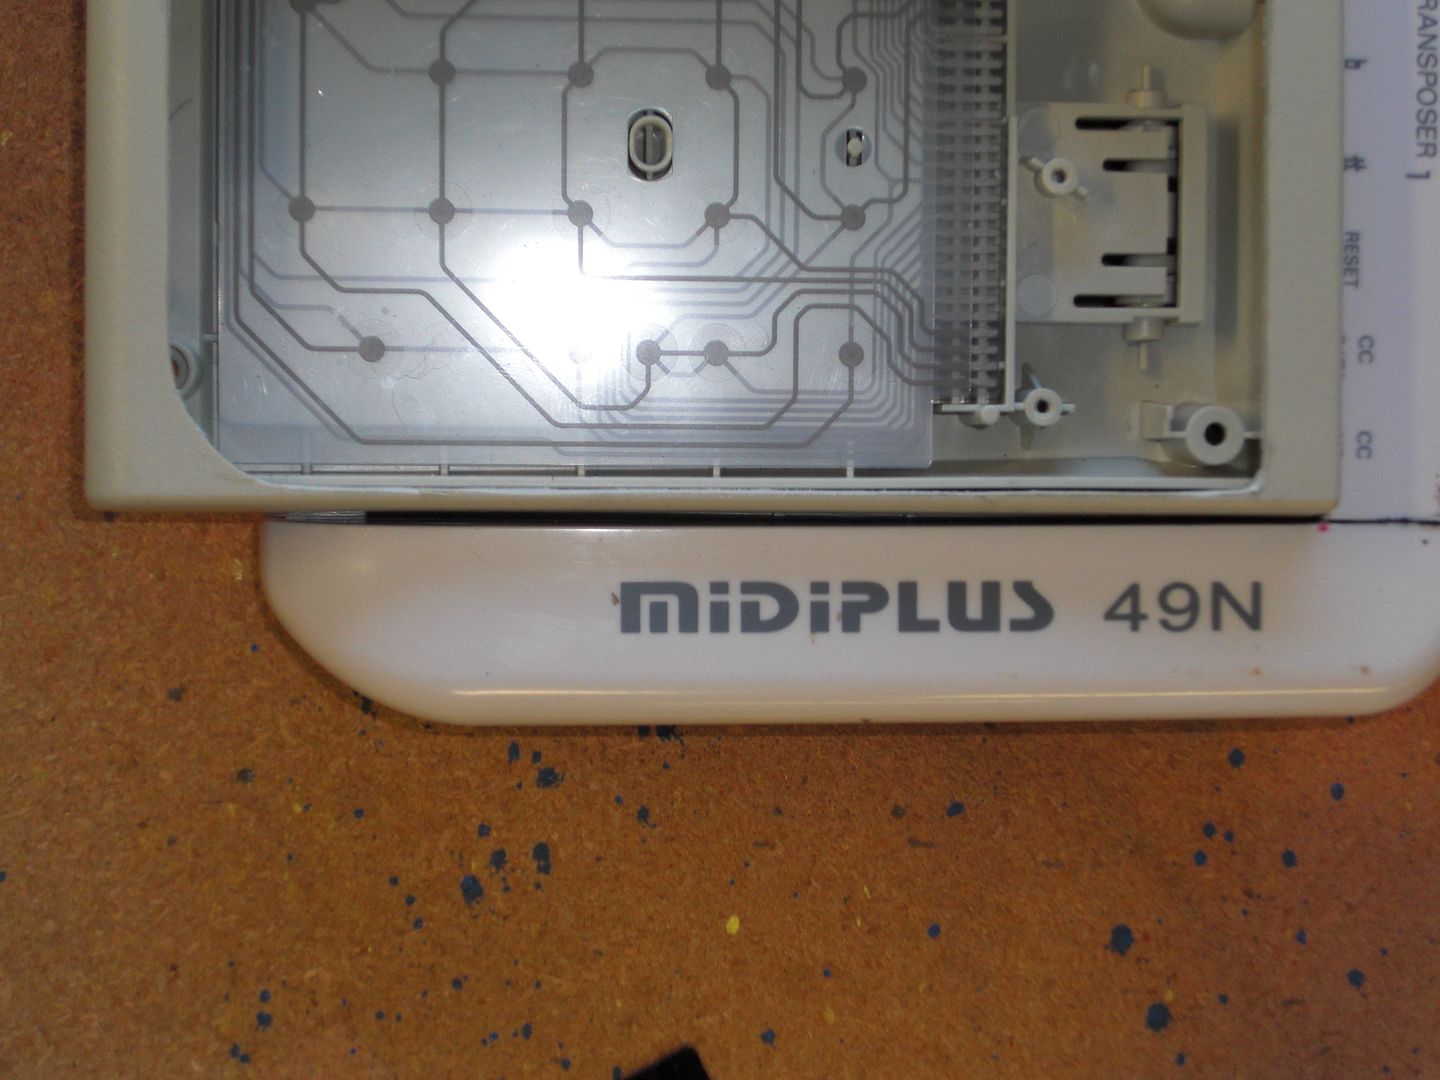
For about an hour, I rummaged around in my garage and in my closet, hoping to find some suitable plastic case or dead game console I could cut up adhere to the keyboard... I was coming up with nothing. As I wandered through the garage, I spotted this old USB Midi keyboard that I had harvested parts from years ago... this might make my build a little (re. a lot) more complicated, but if I get it right, it'll be a thing of beauty.
(I got excited when I found the keyboard, and forgot to take pictures before I gutted it out)
Are you thinking what I'm thing?
› You'd better be
‹ You'd better be
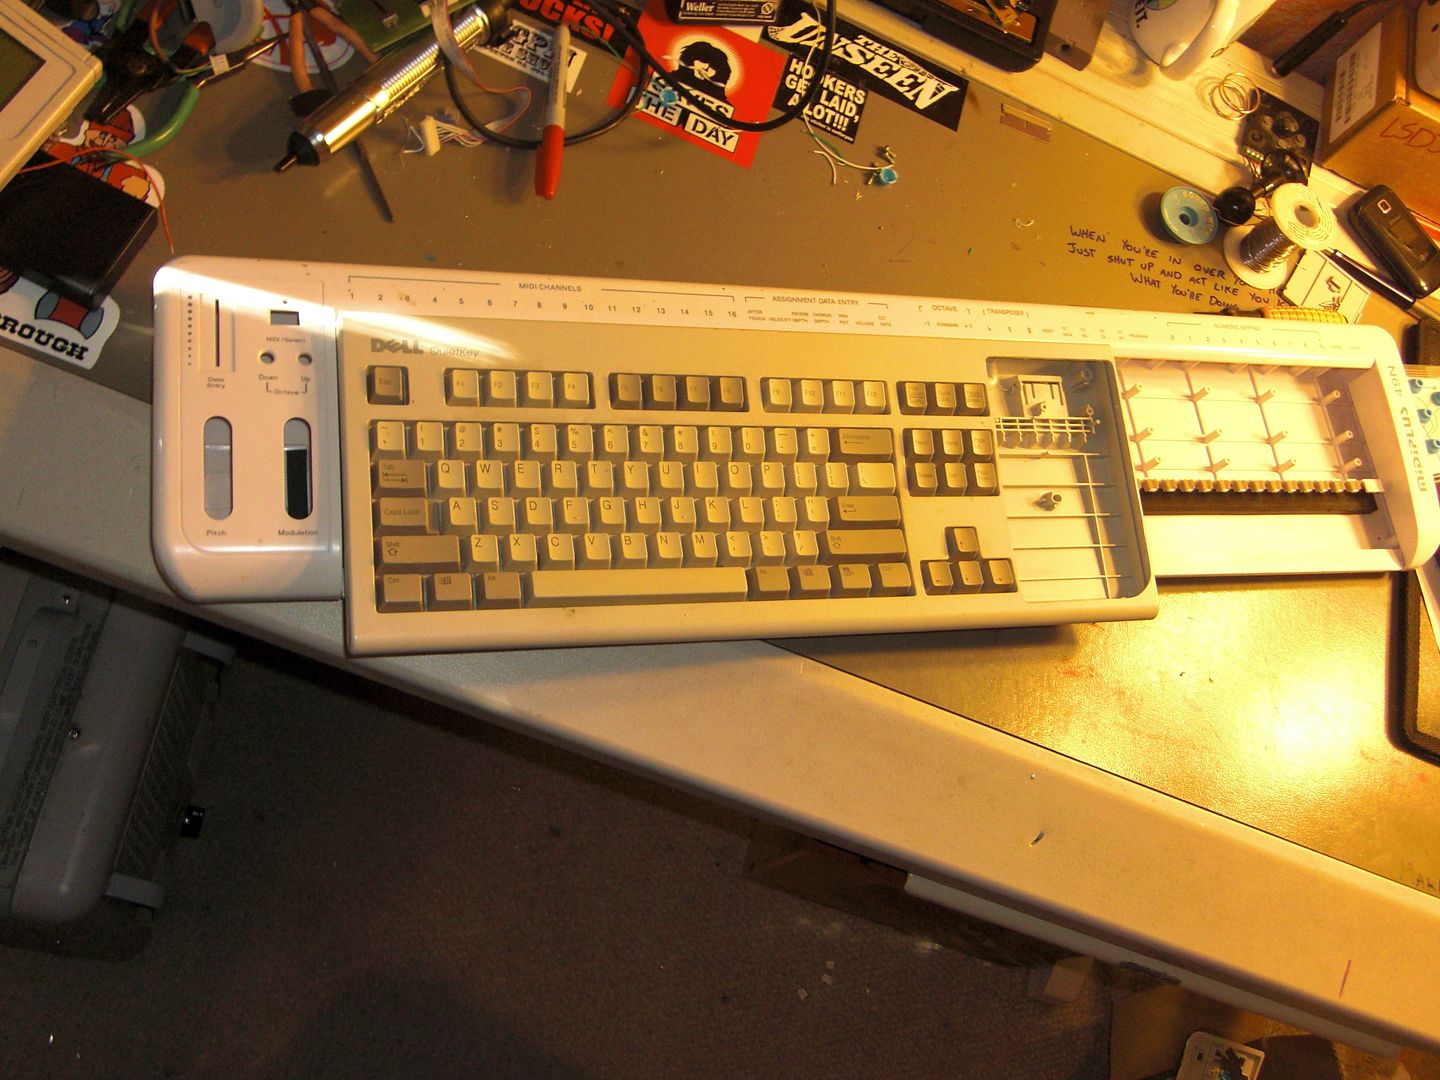
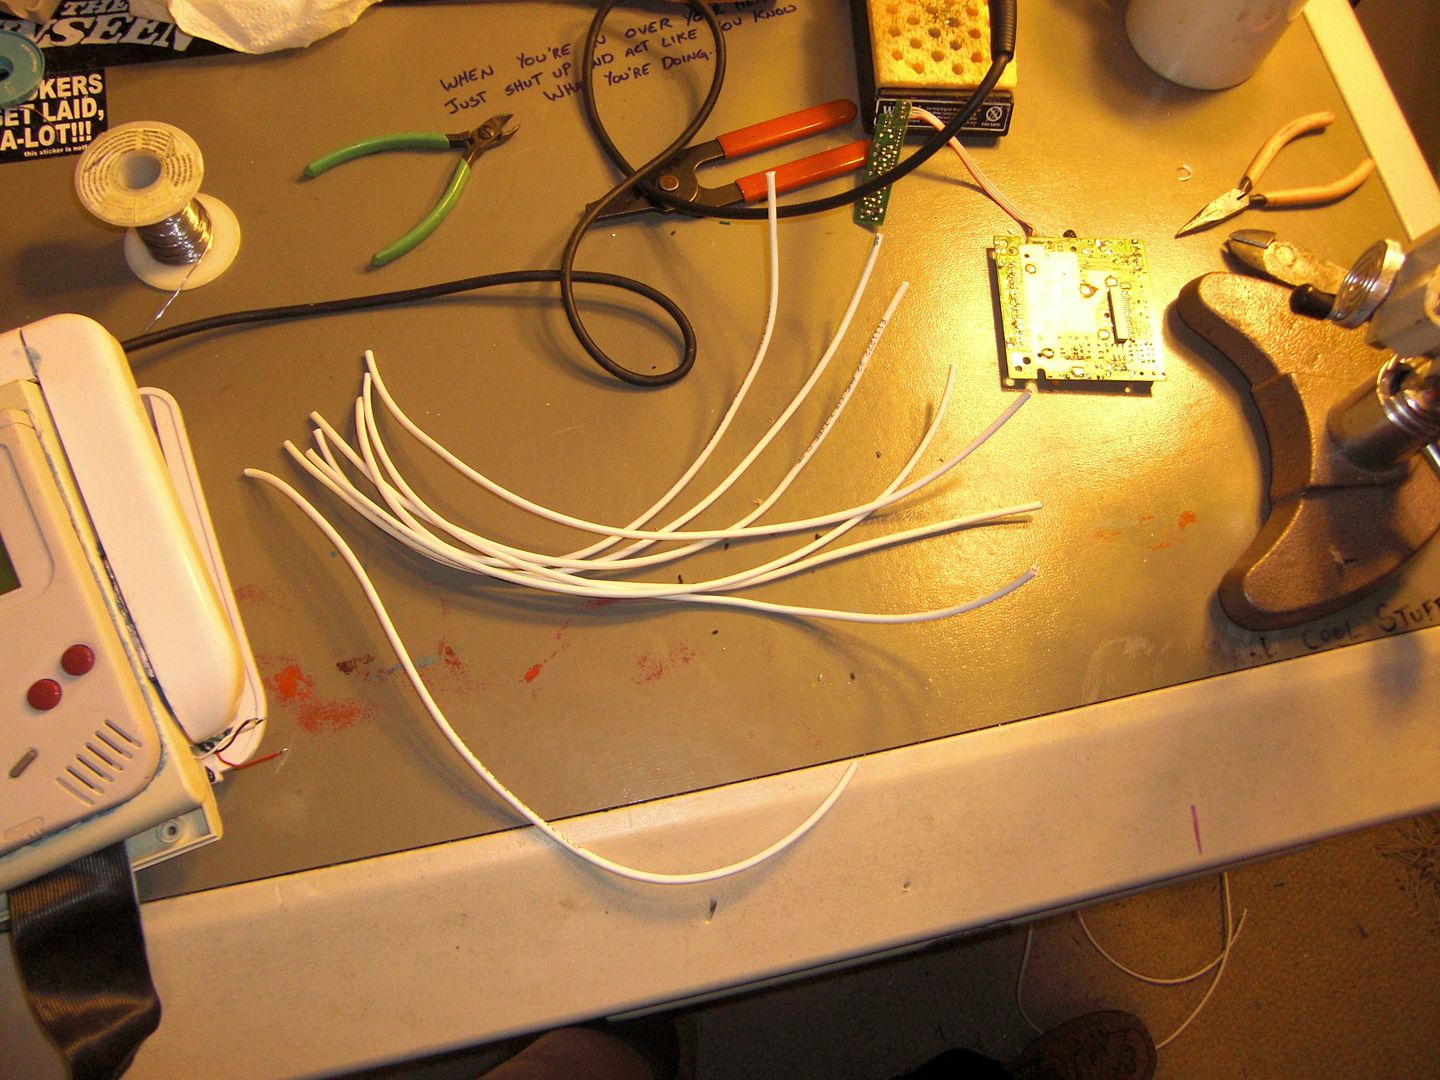
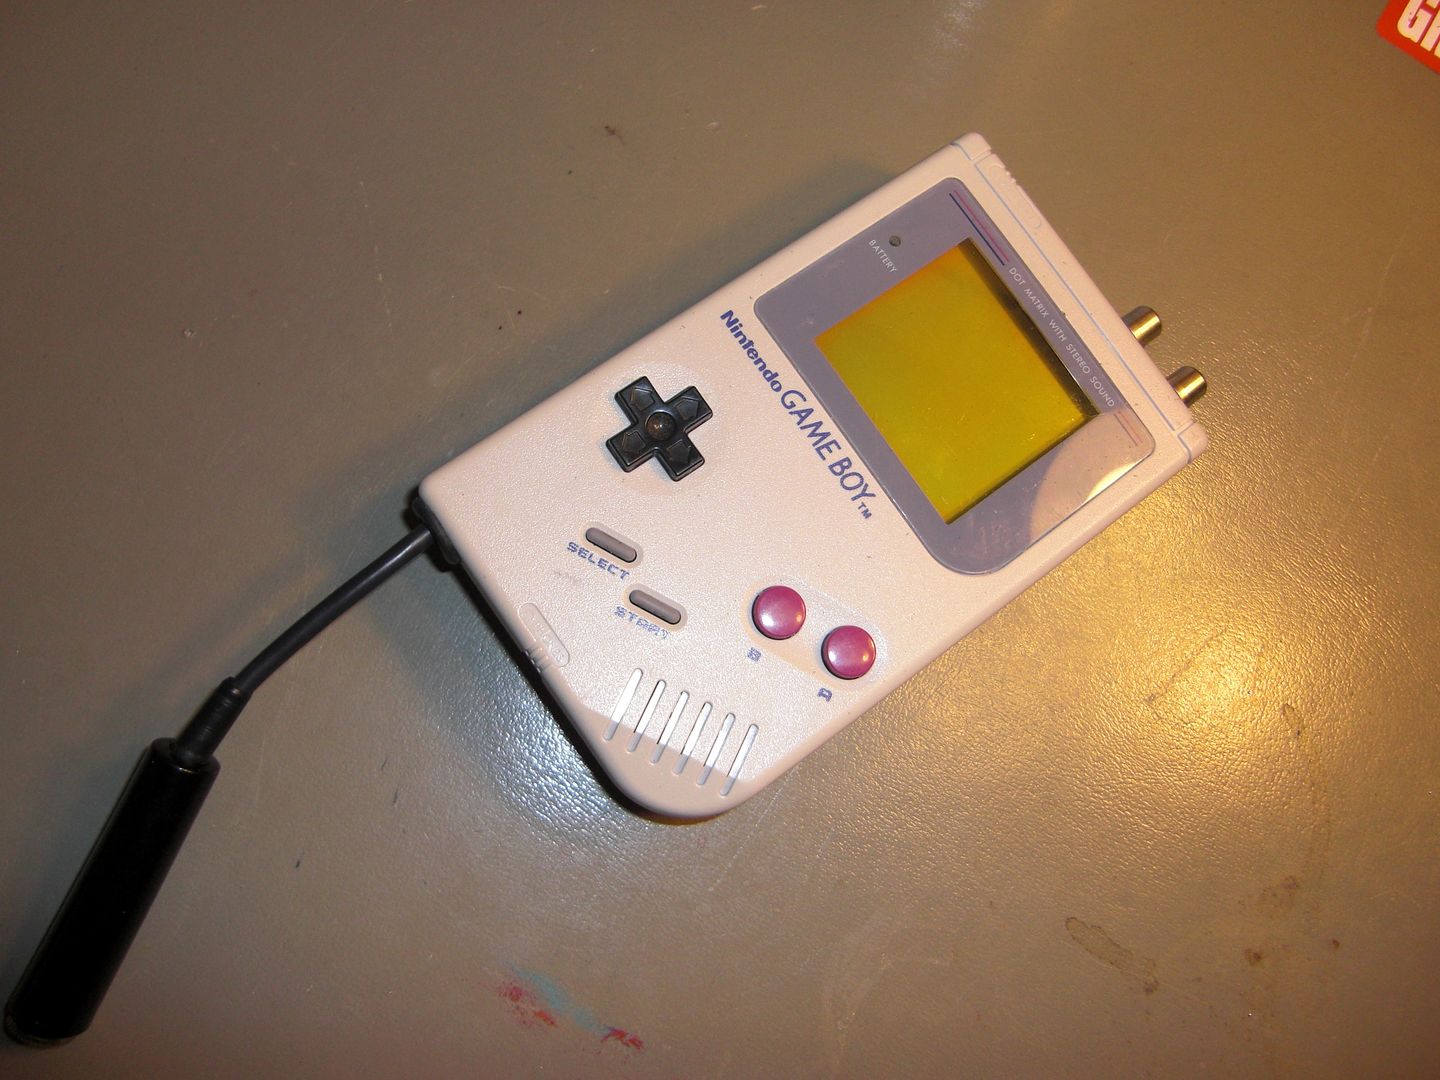
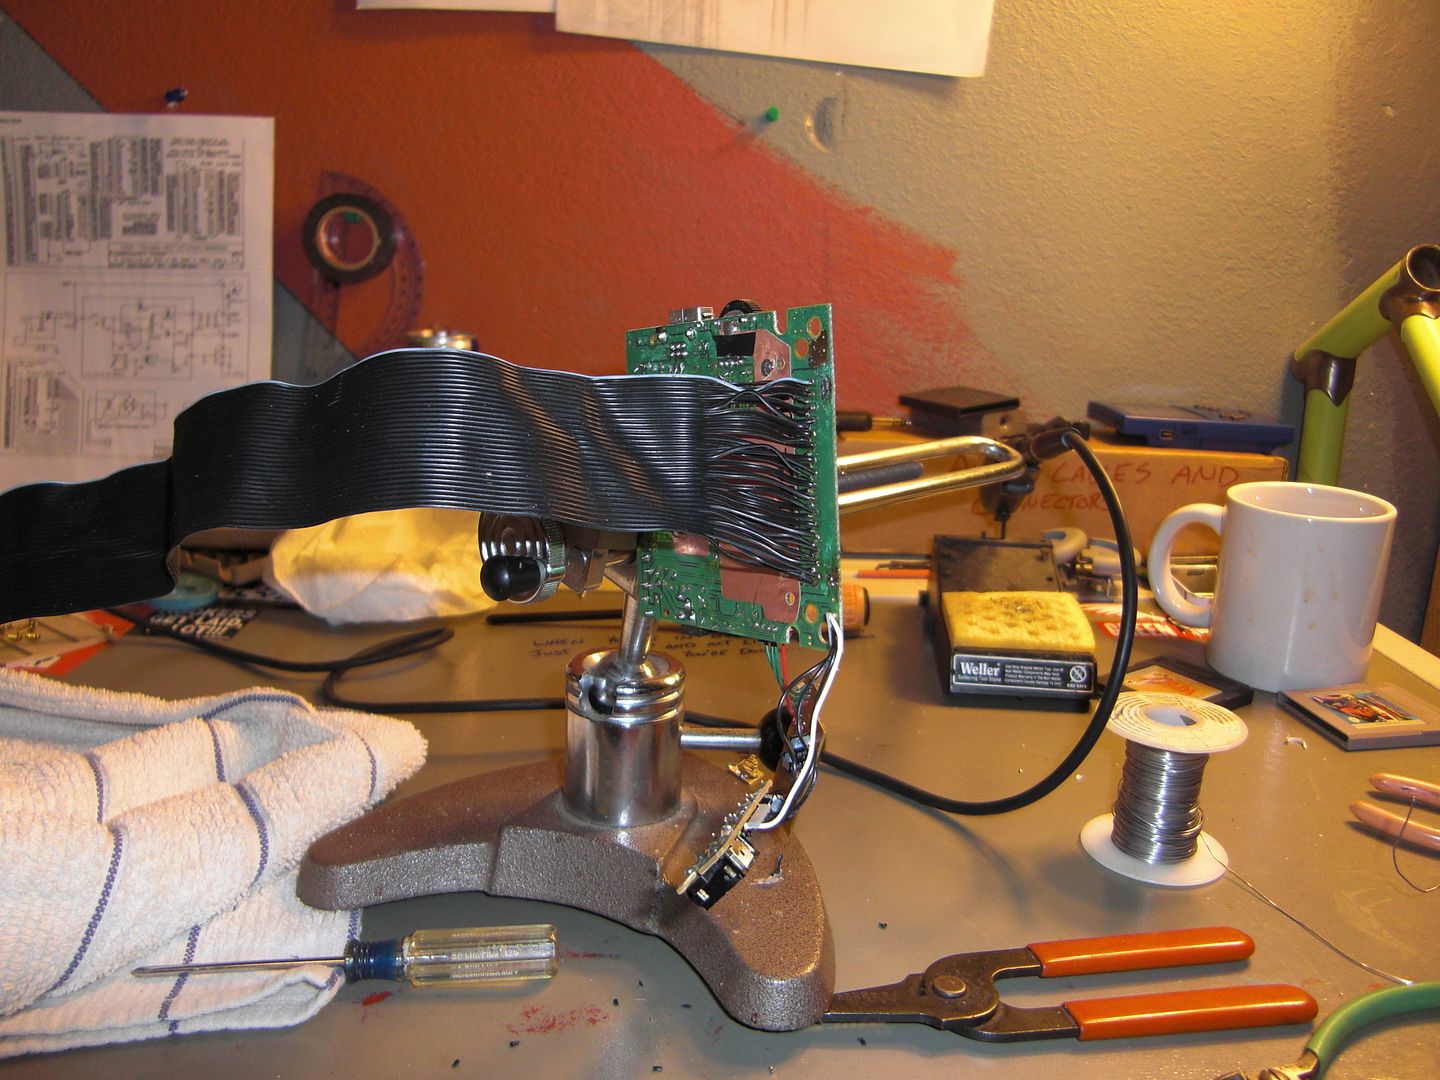
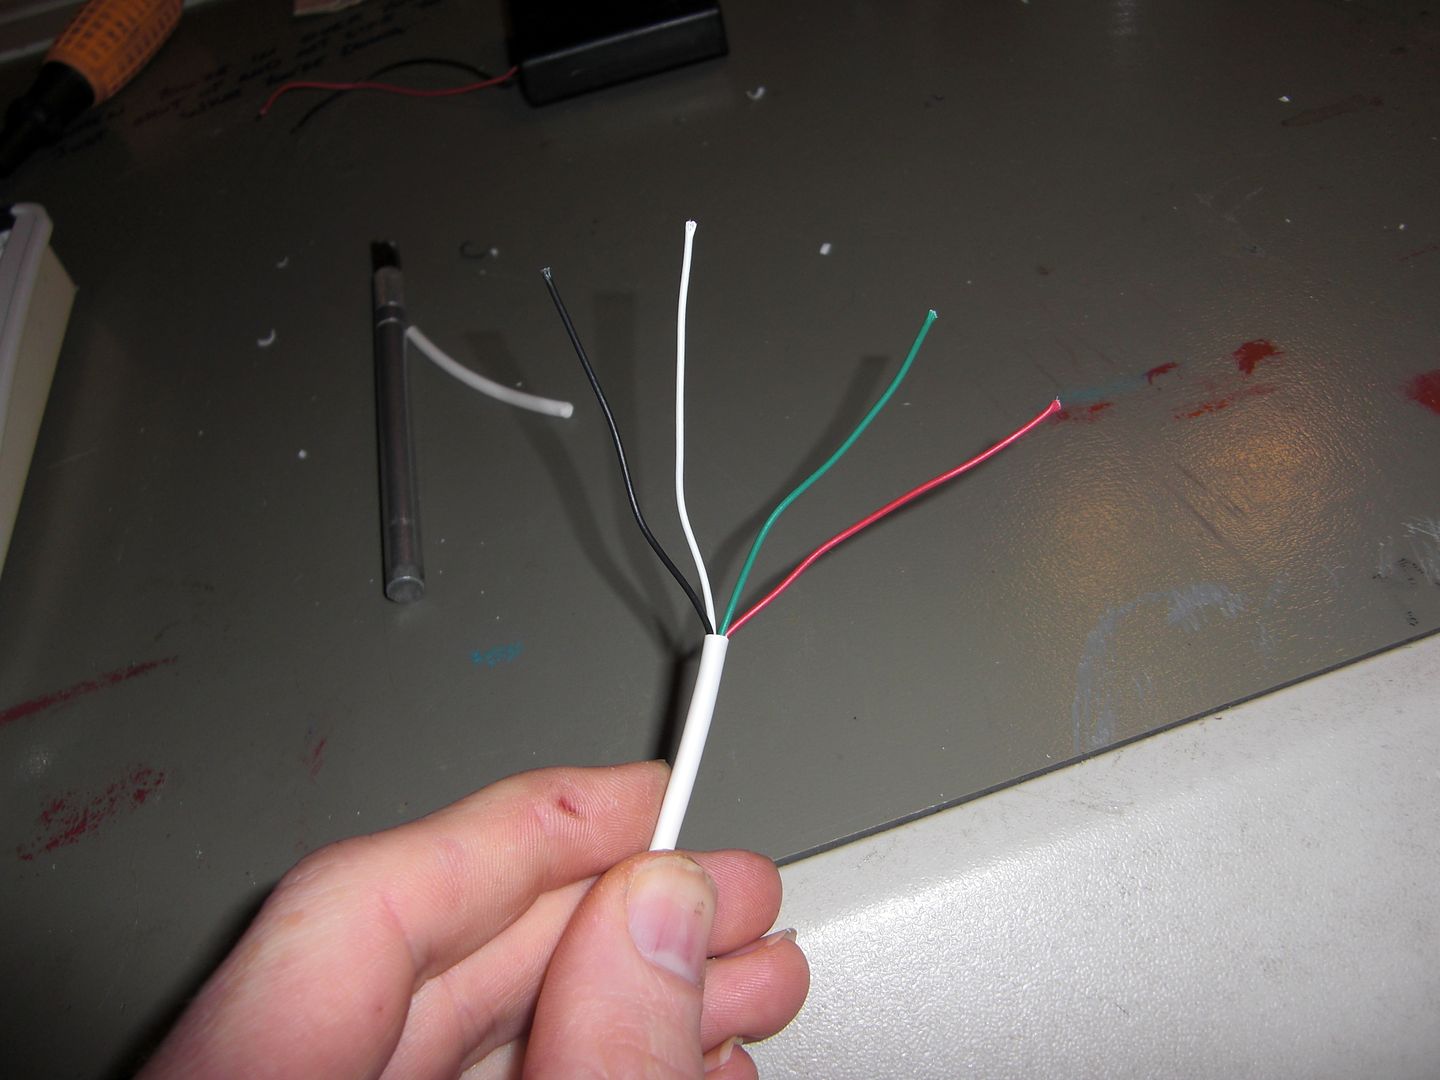
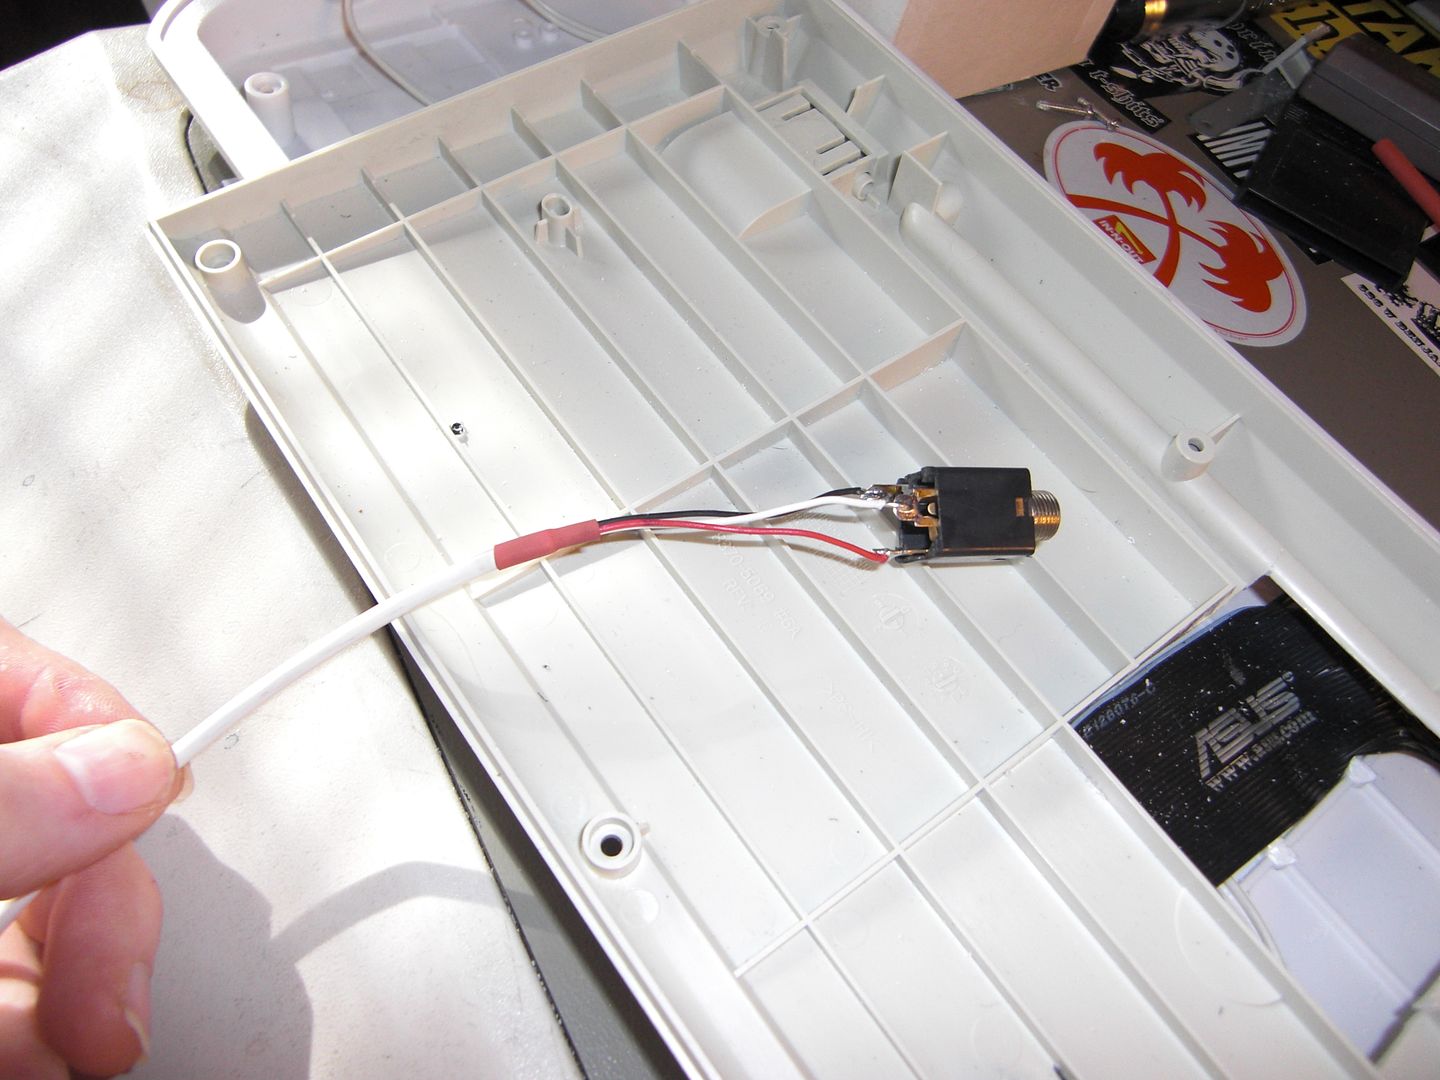
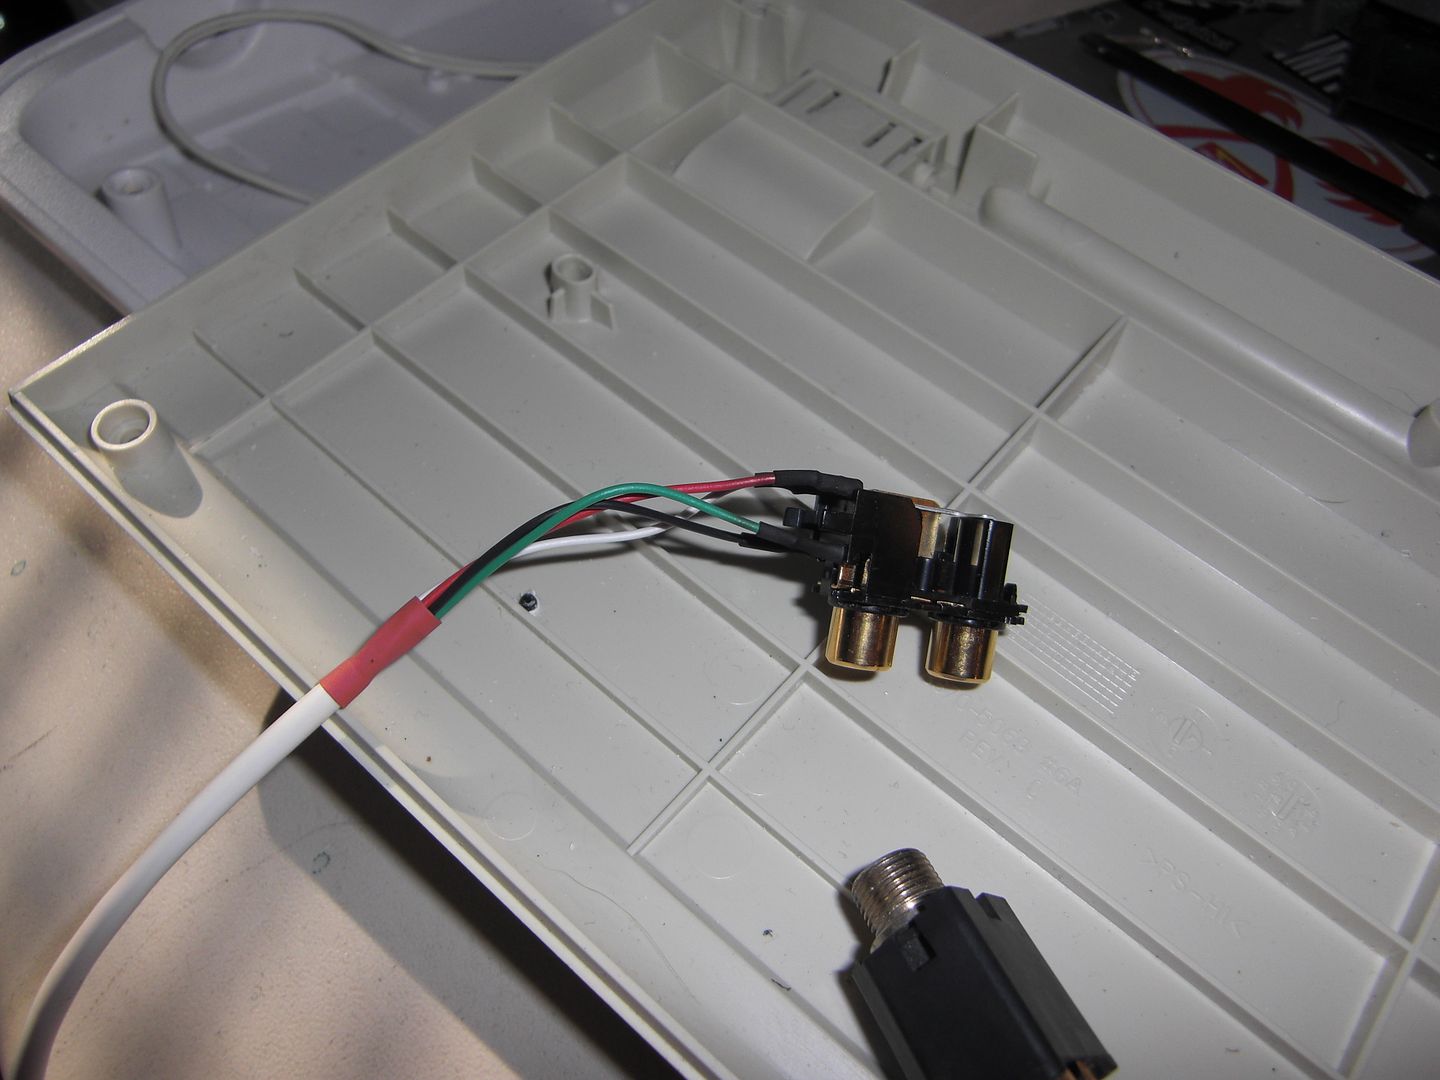
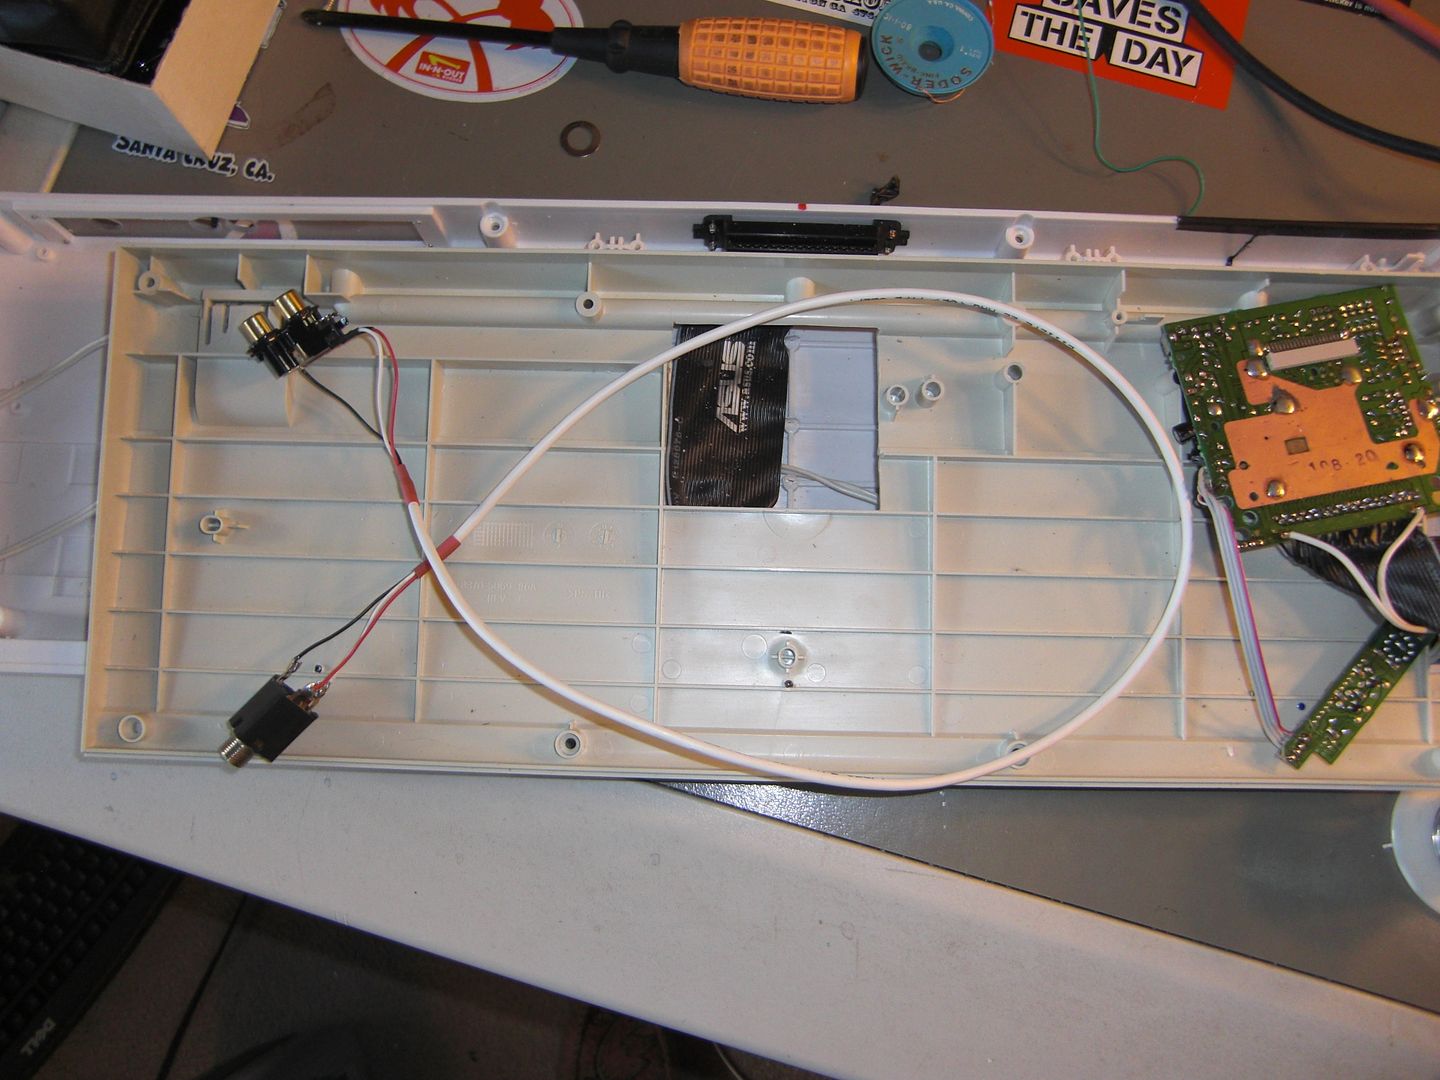
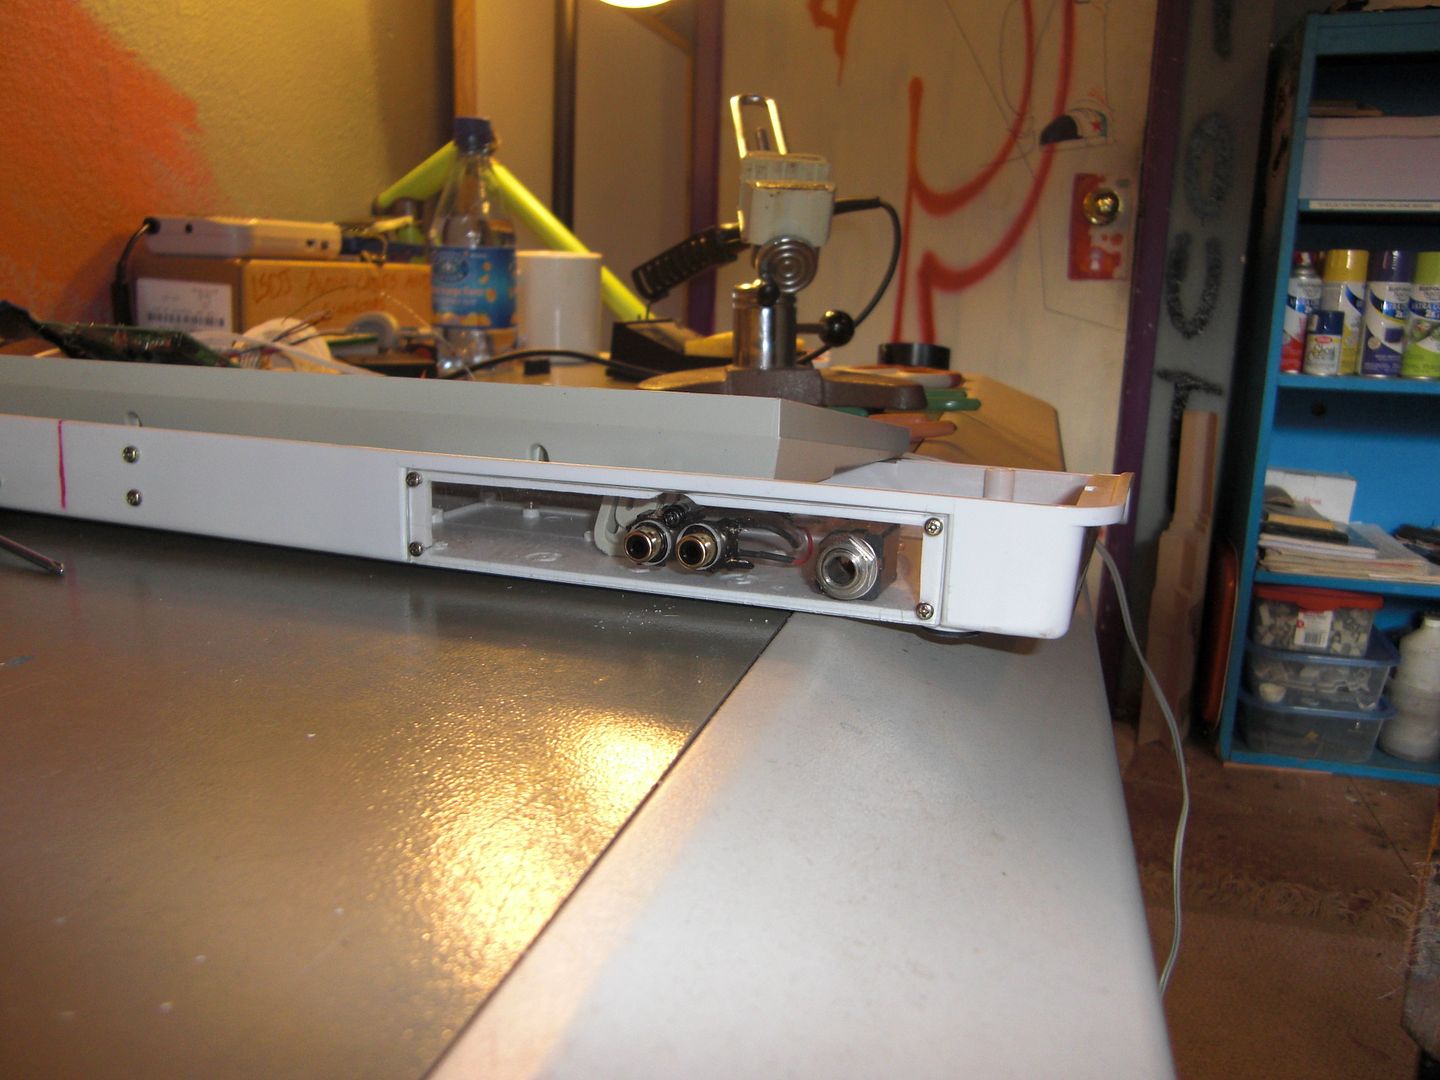
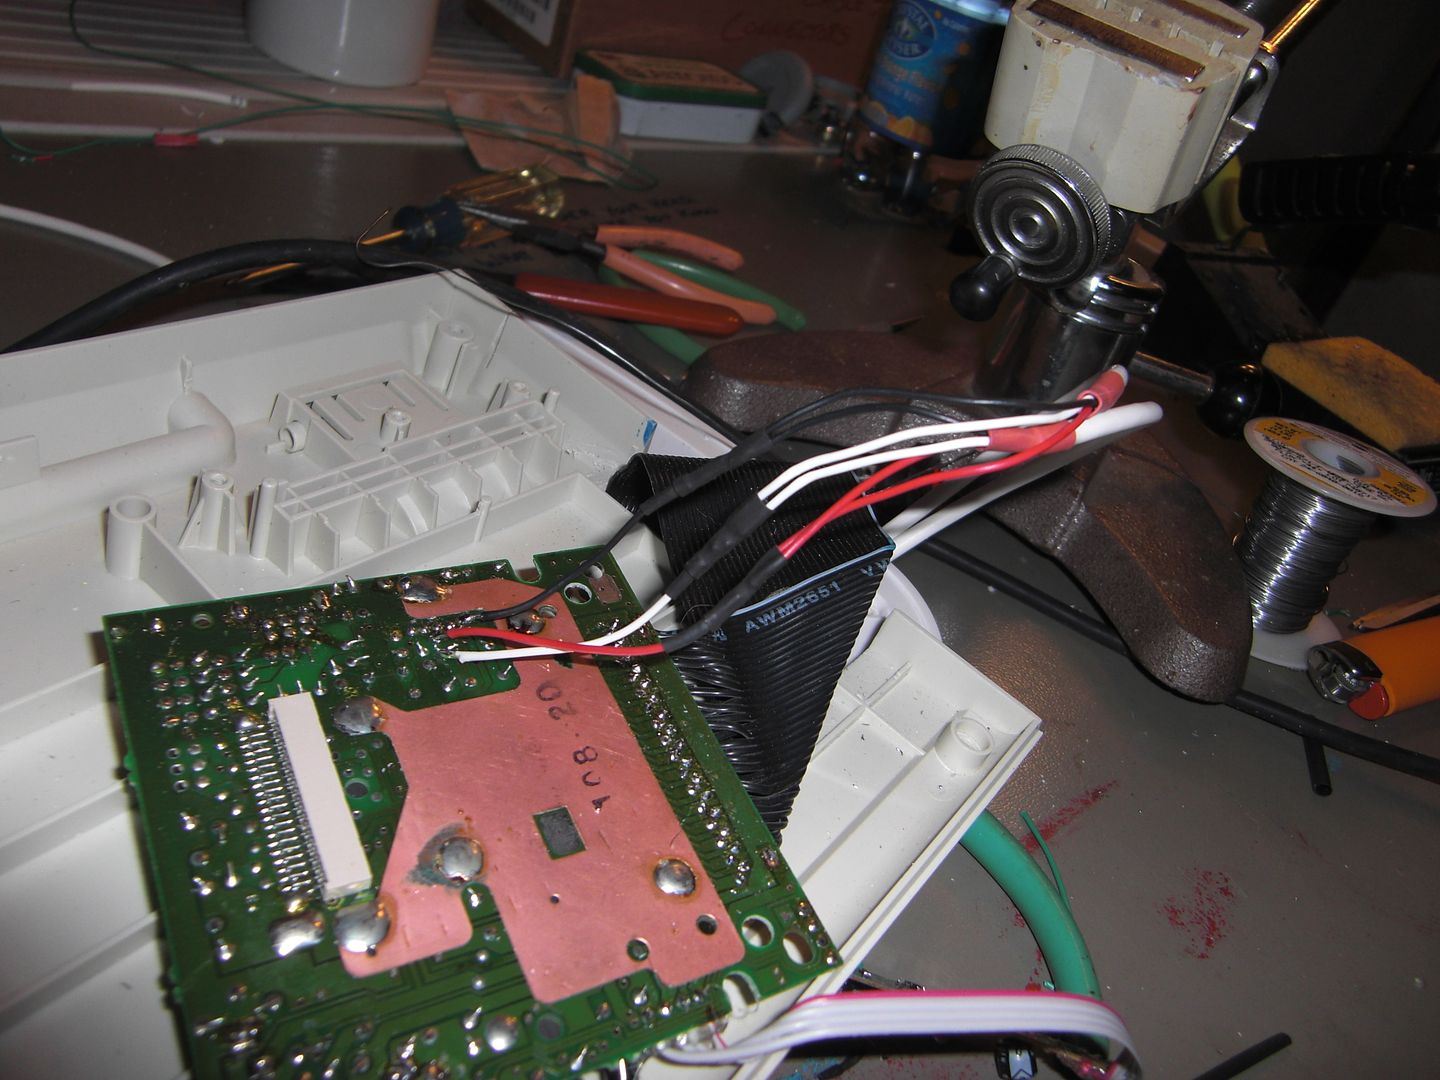
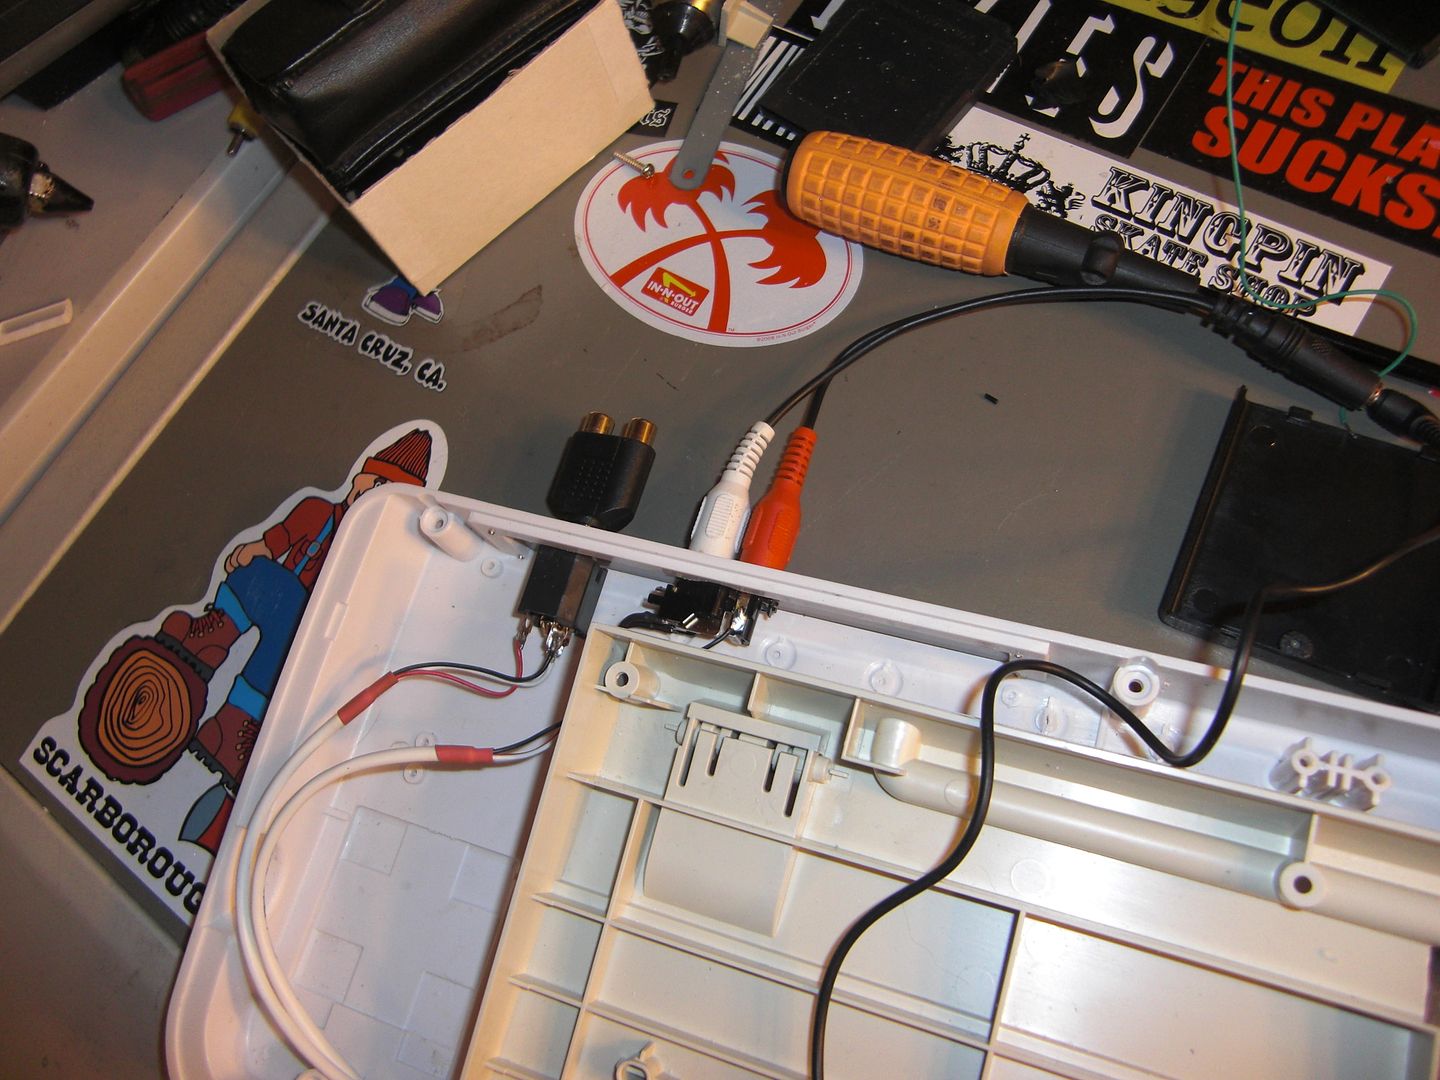
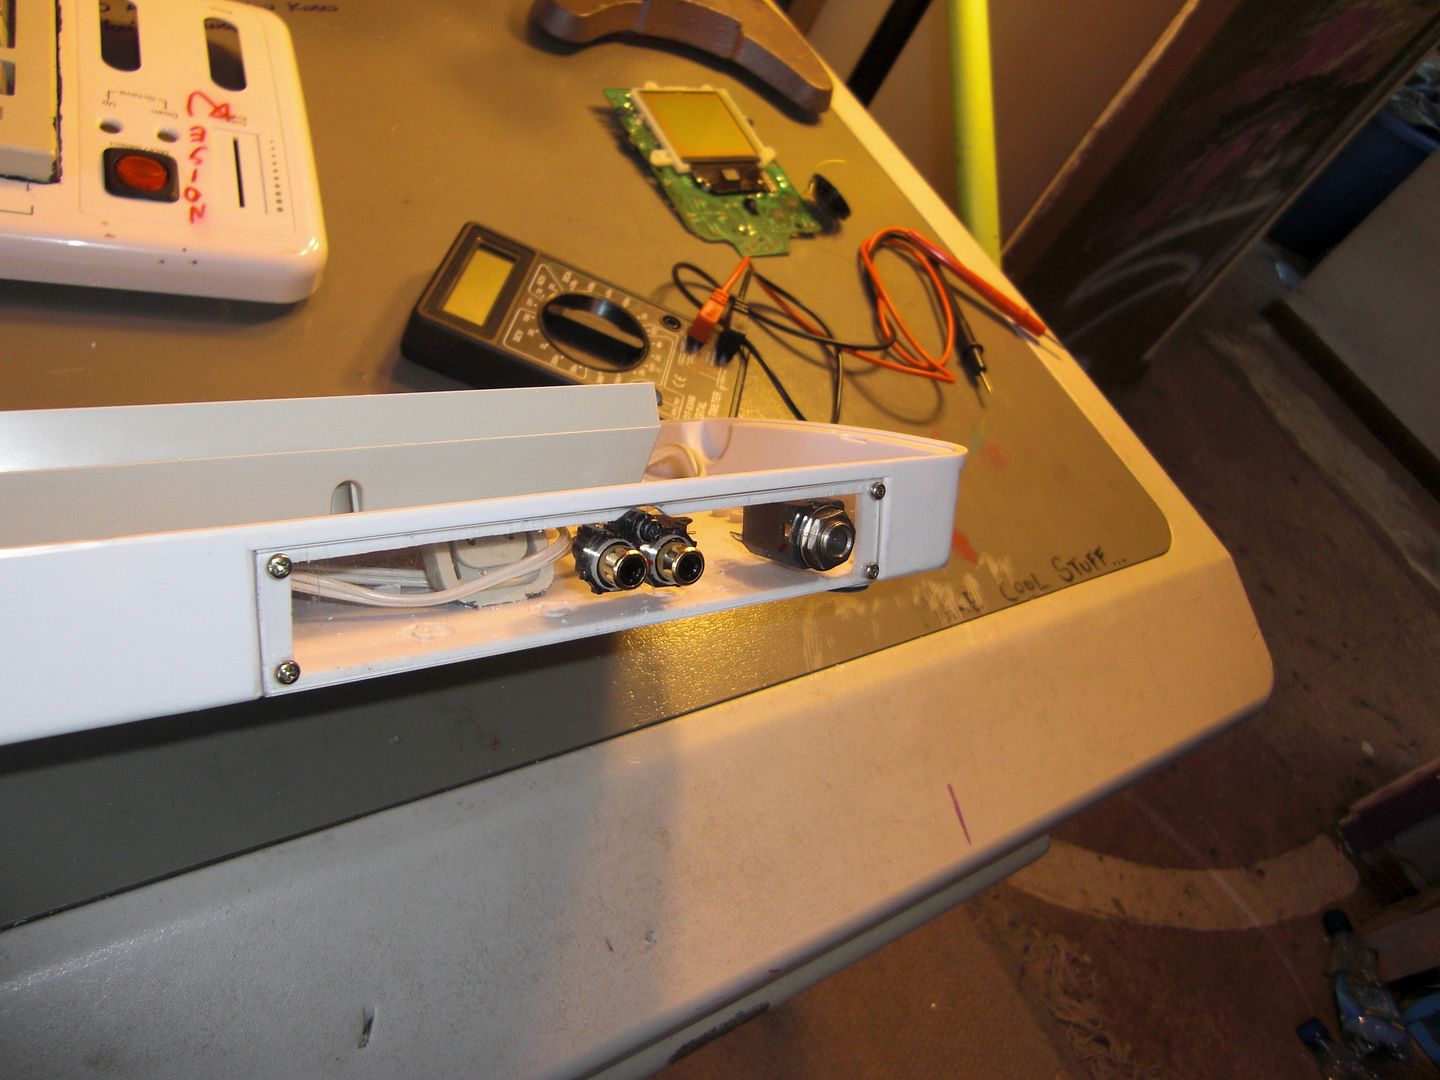
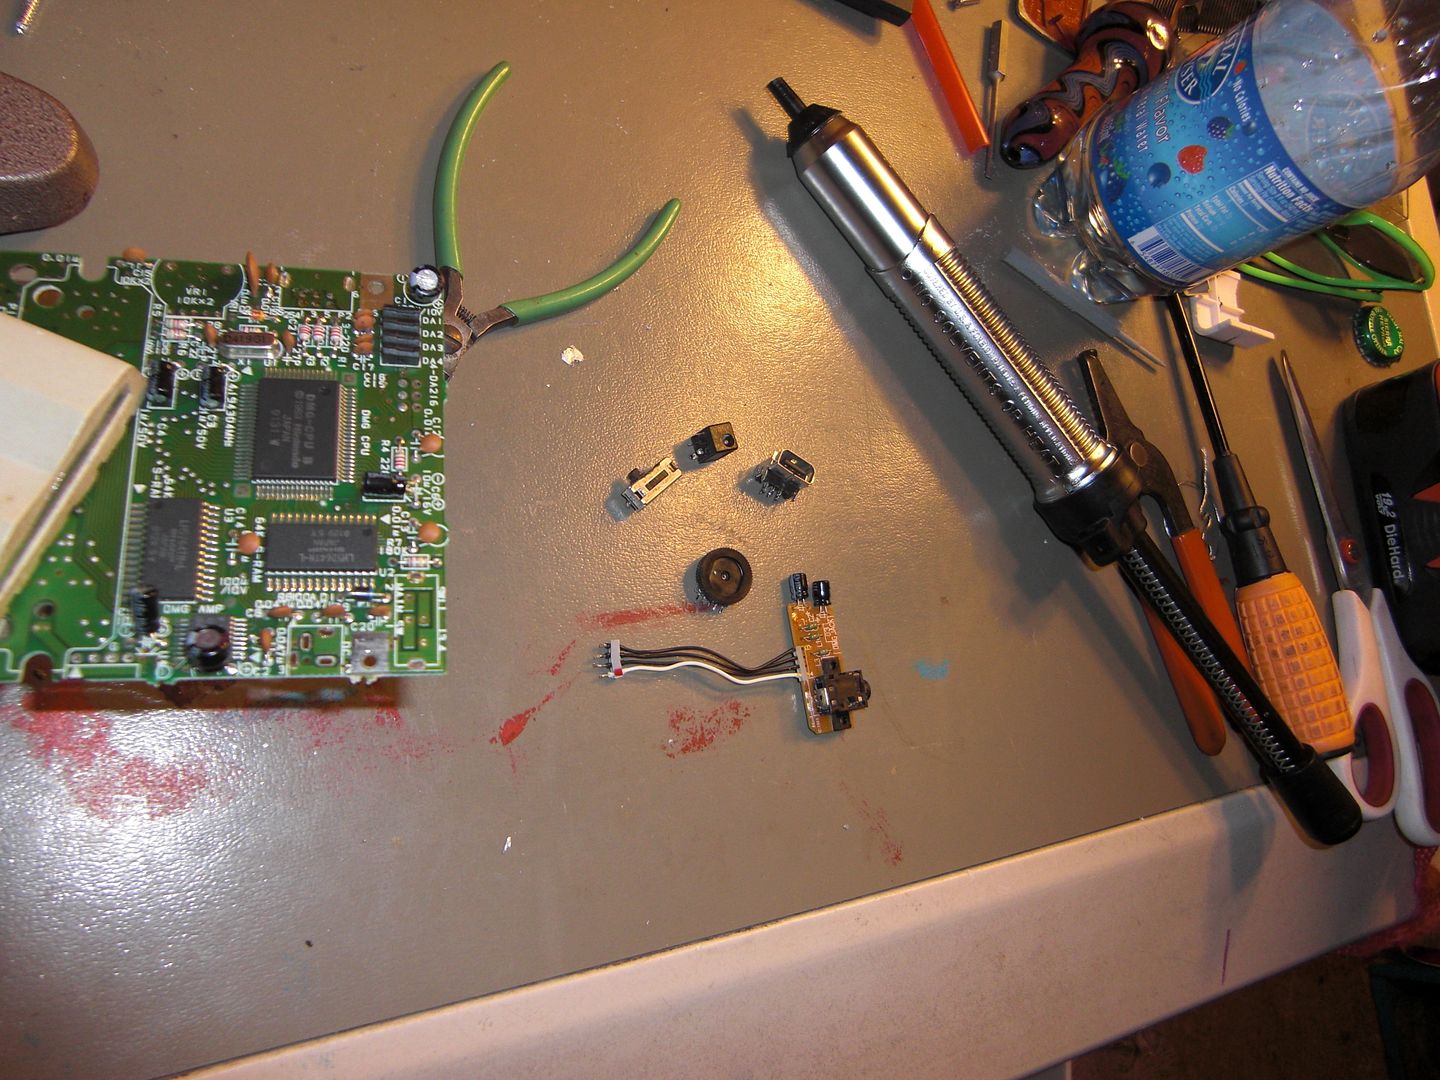
I still have most of the hardware that goes here, so I can easily add volume and pitch control (and any number of other mods... because now I have plenty of room!)
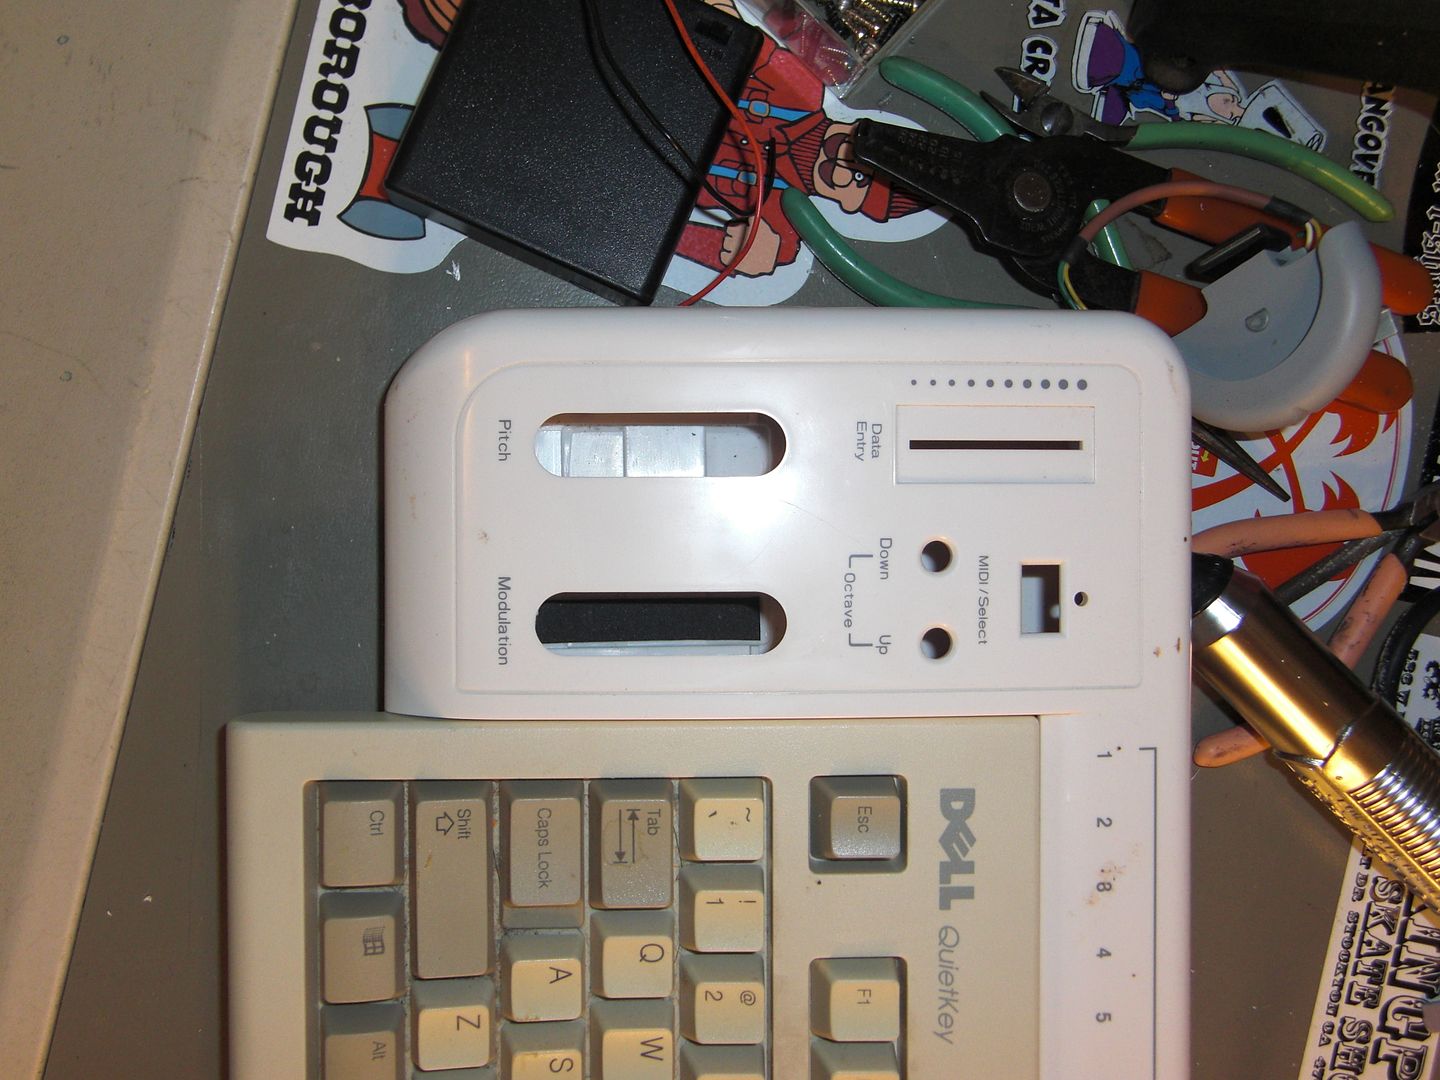
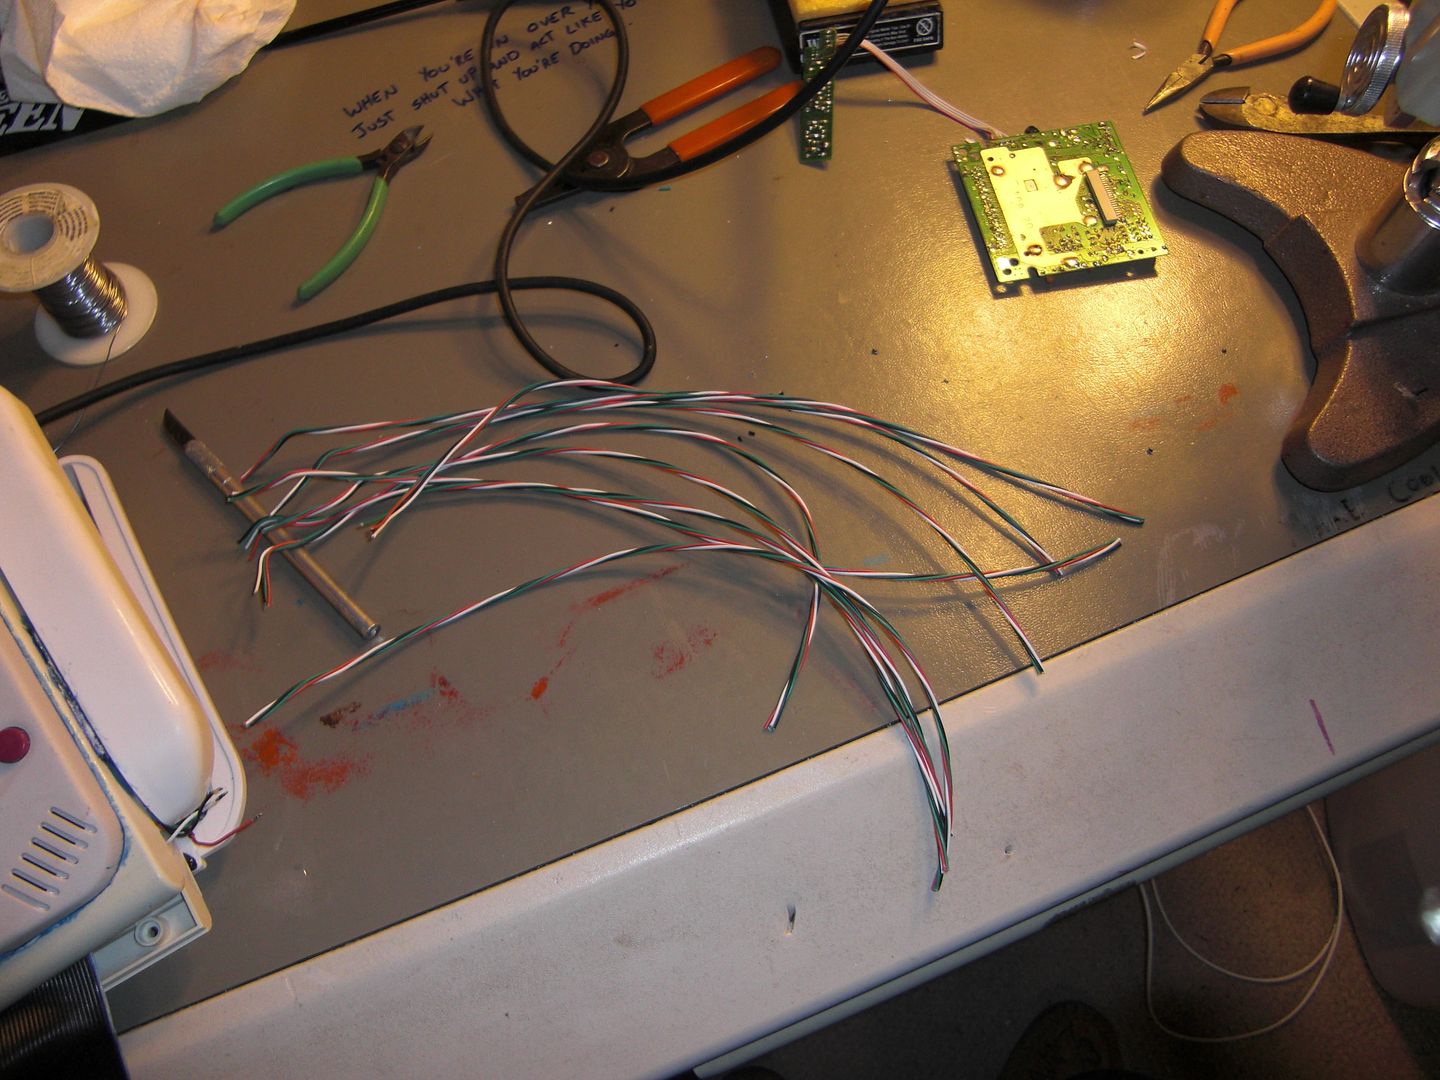
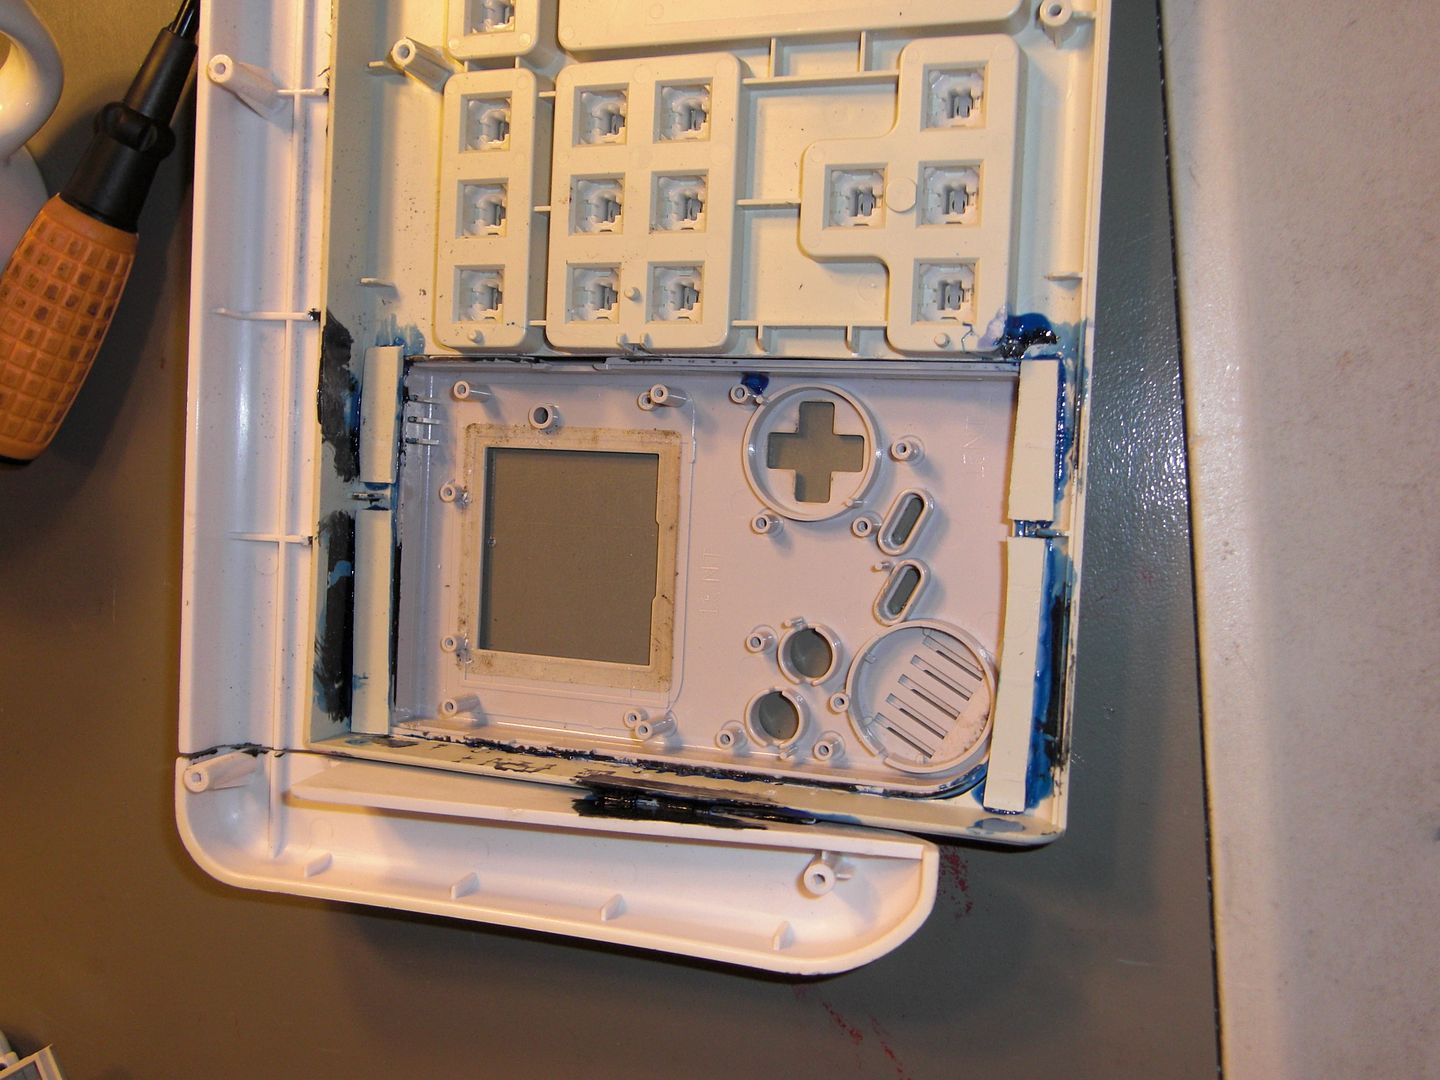
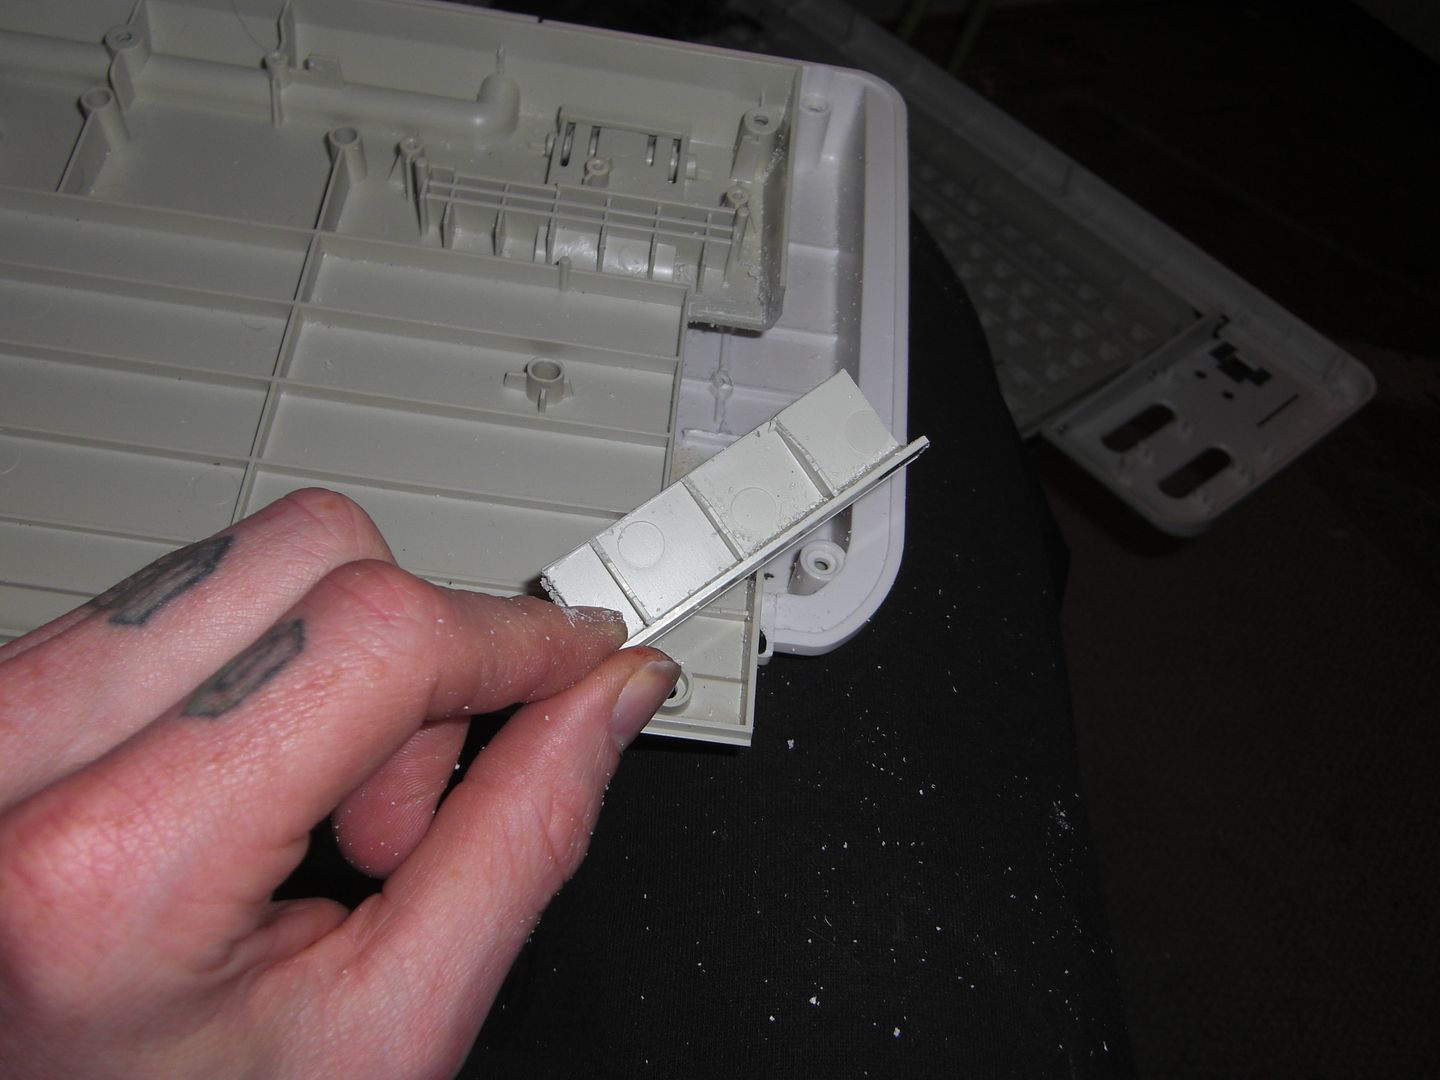
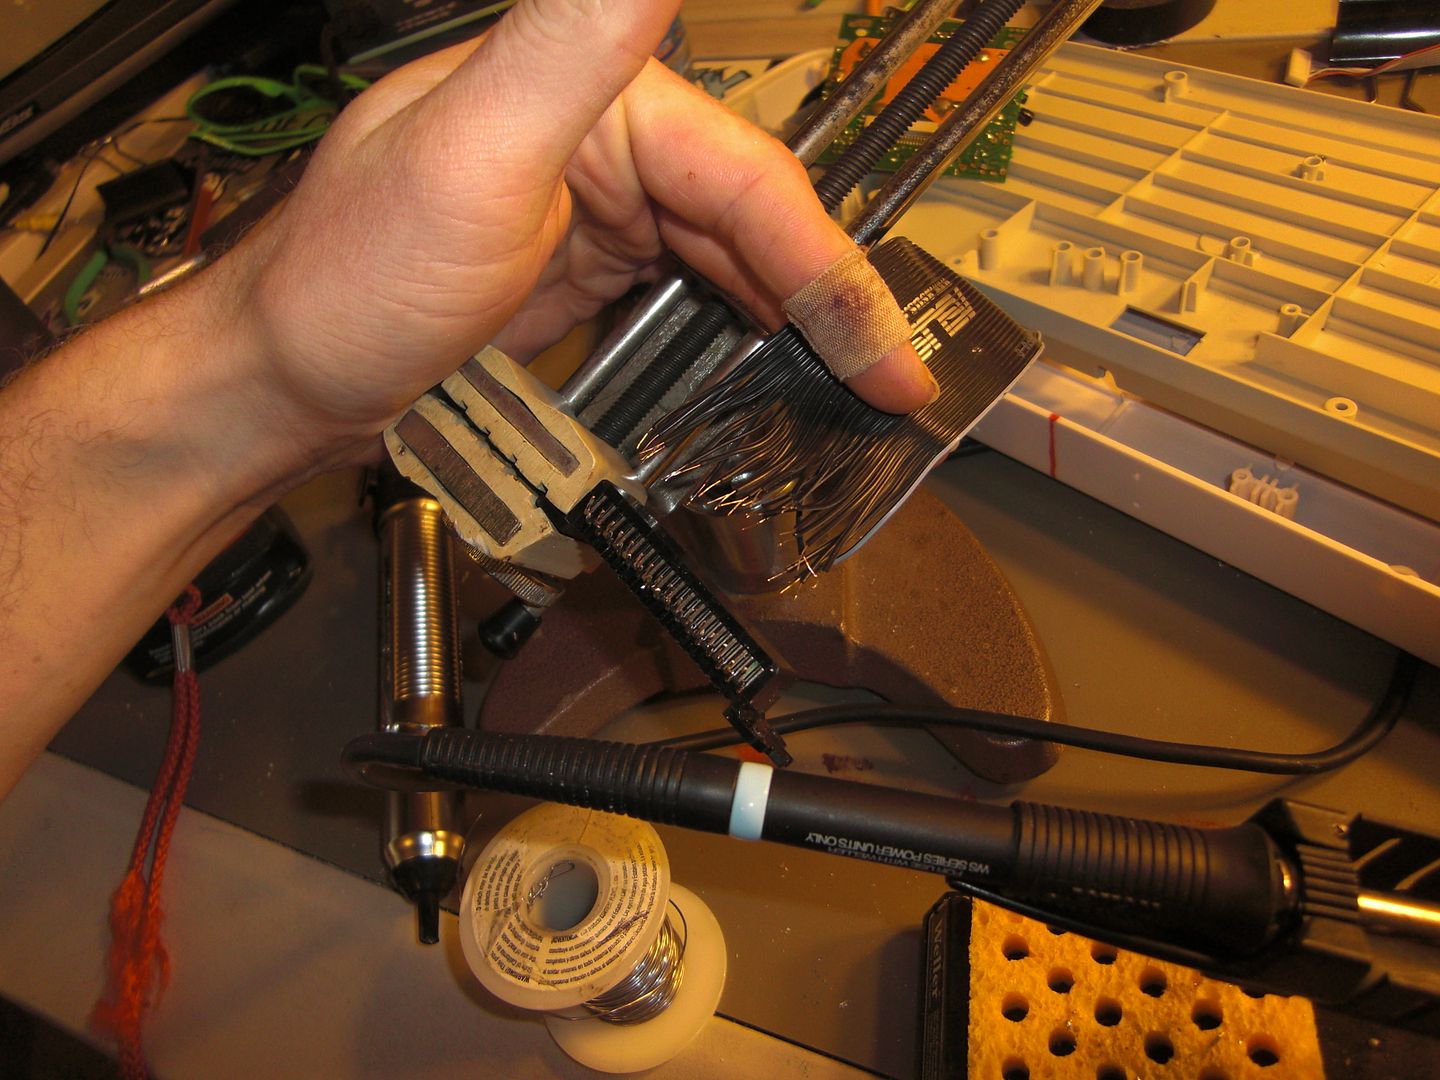
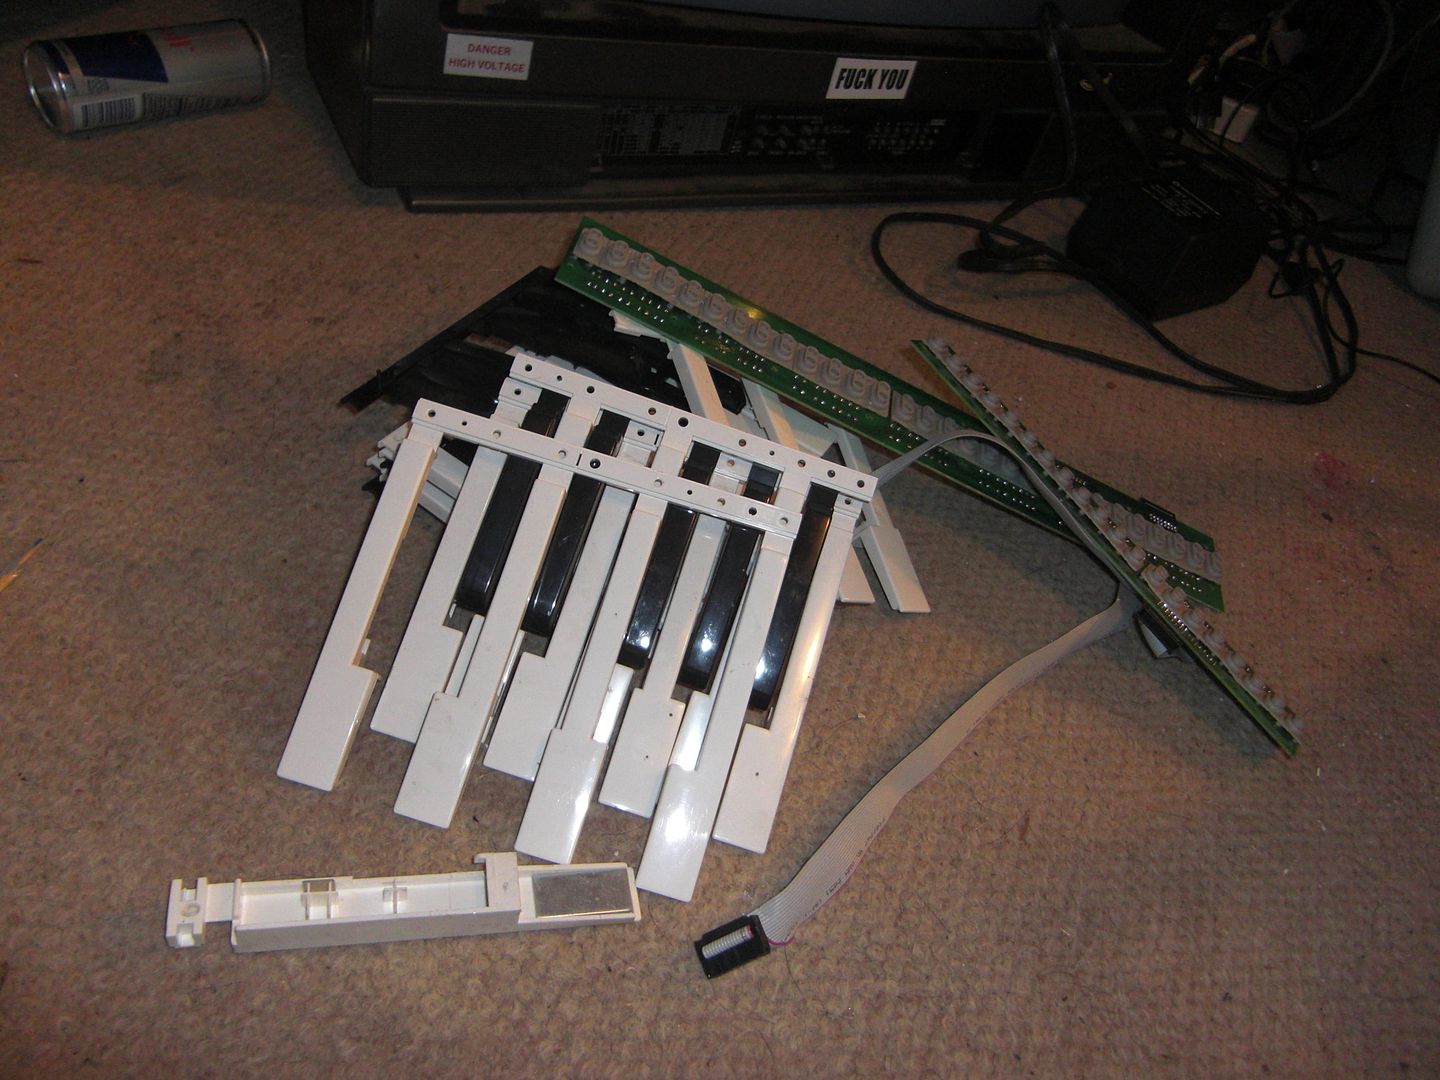
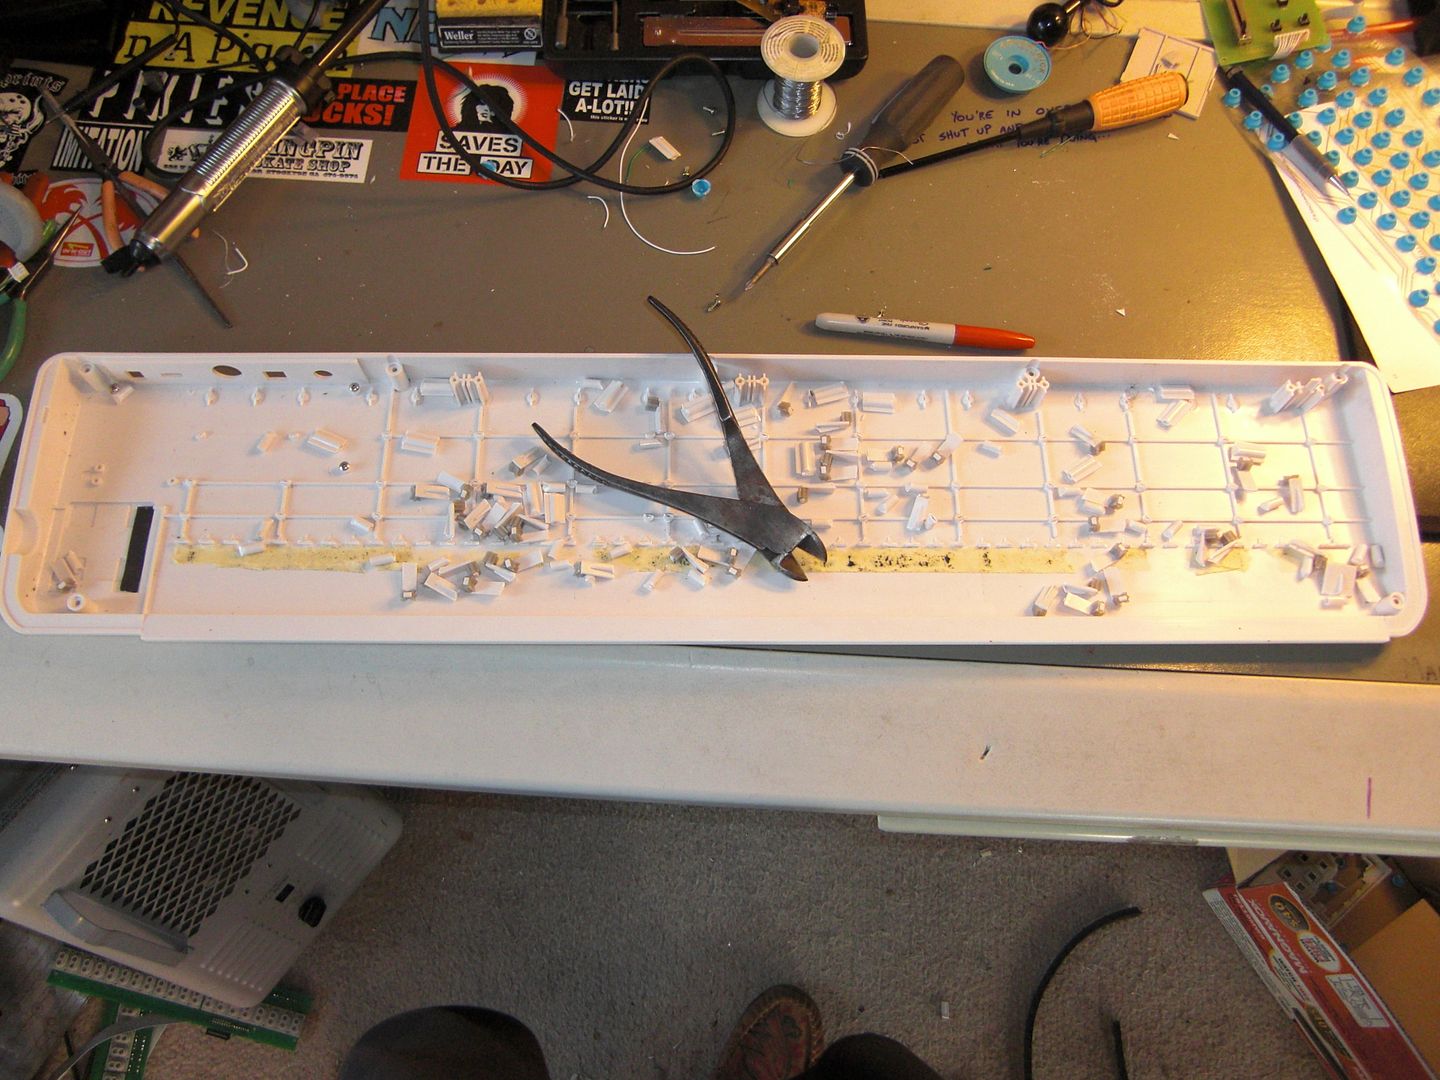
First step was to remove ALL of those support pegs from the innards.
› Mega hand cramp
‹ Mega hand cramp

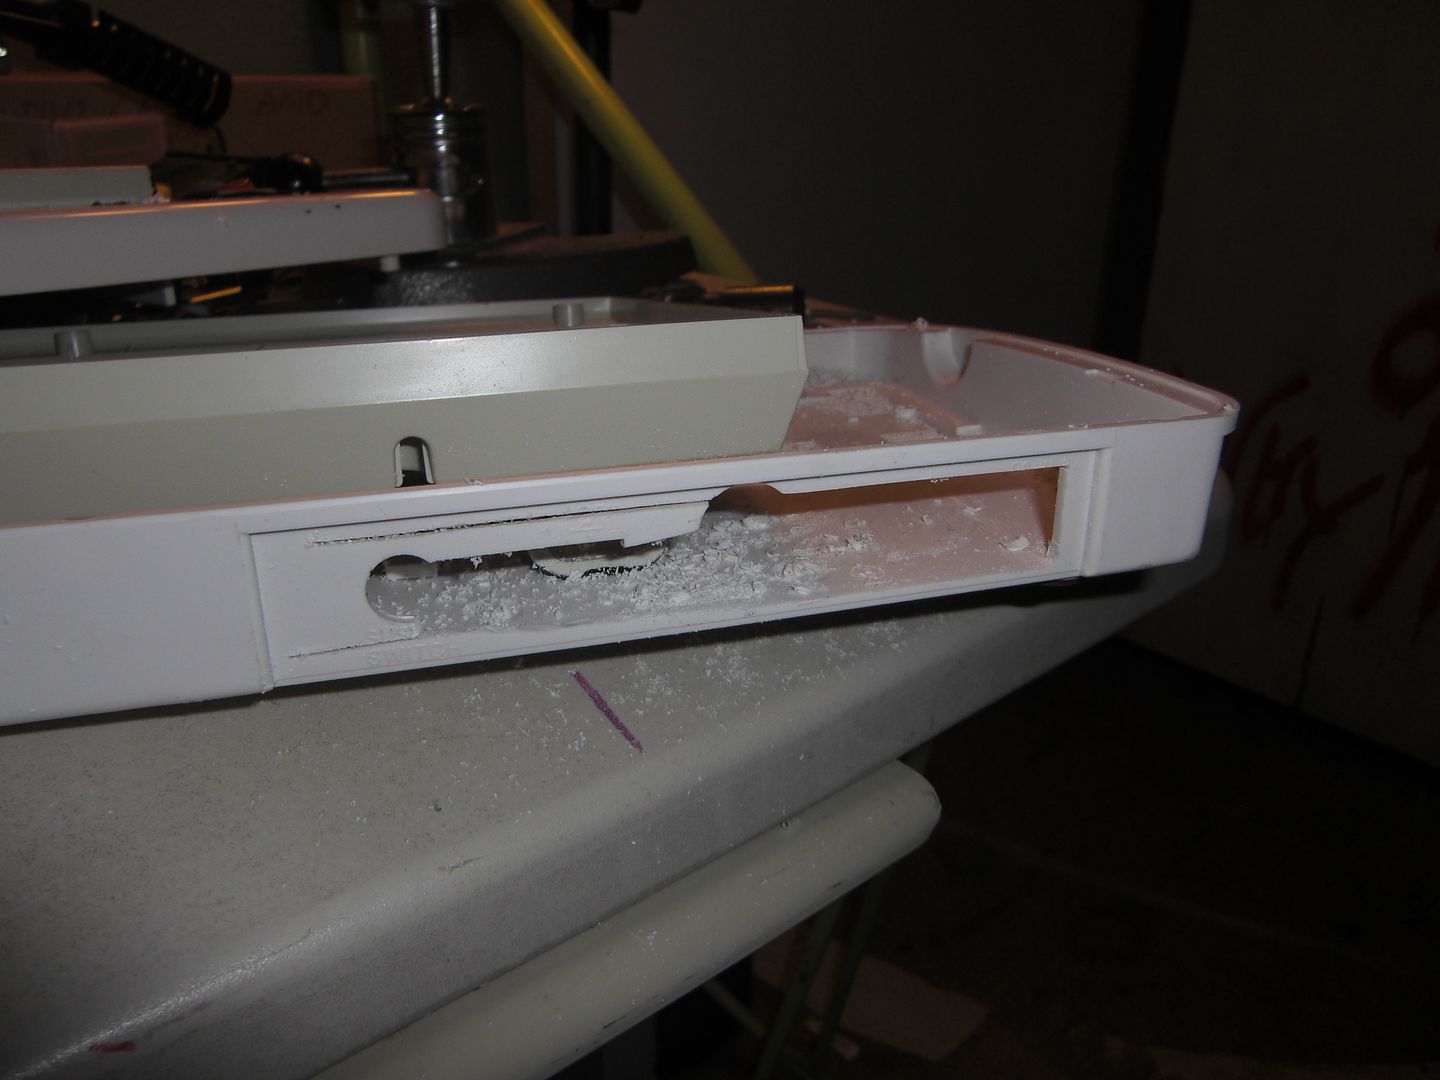
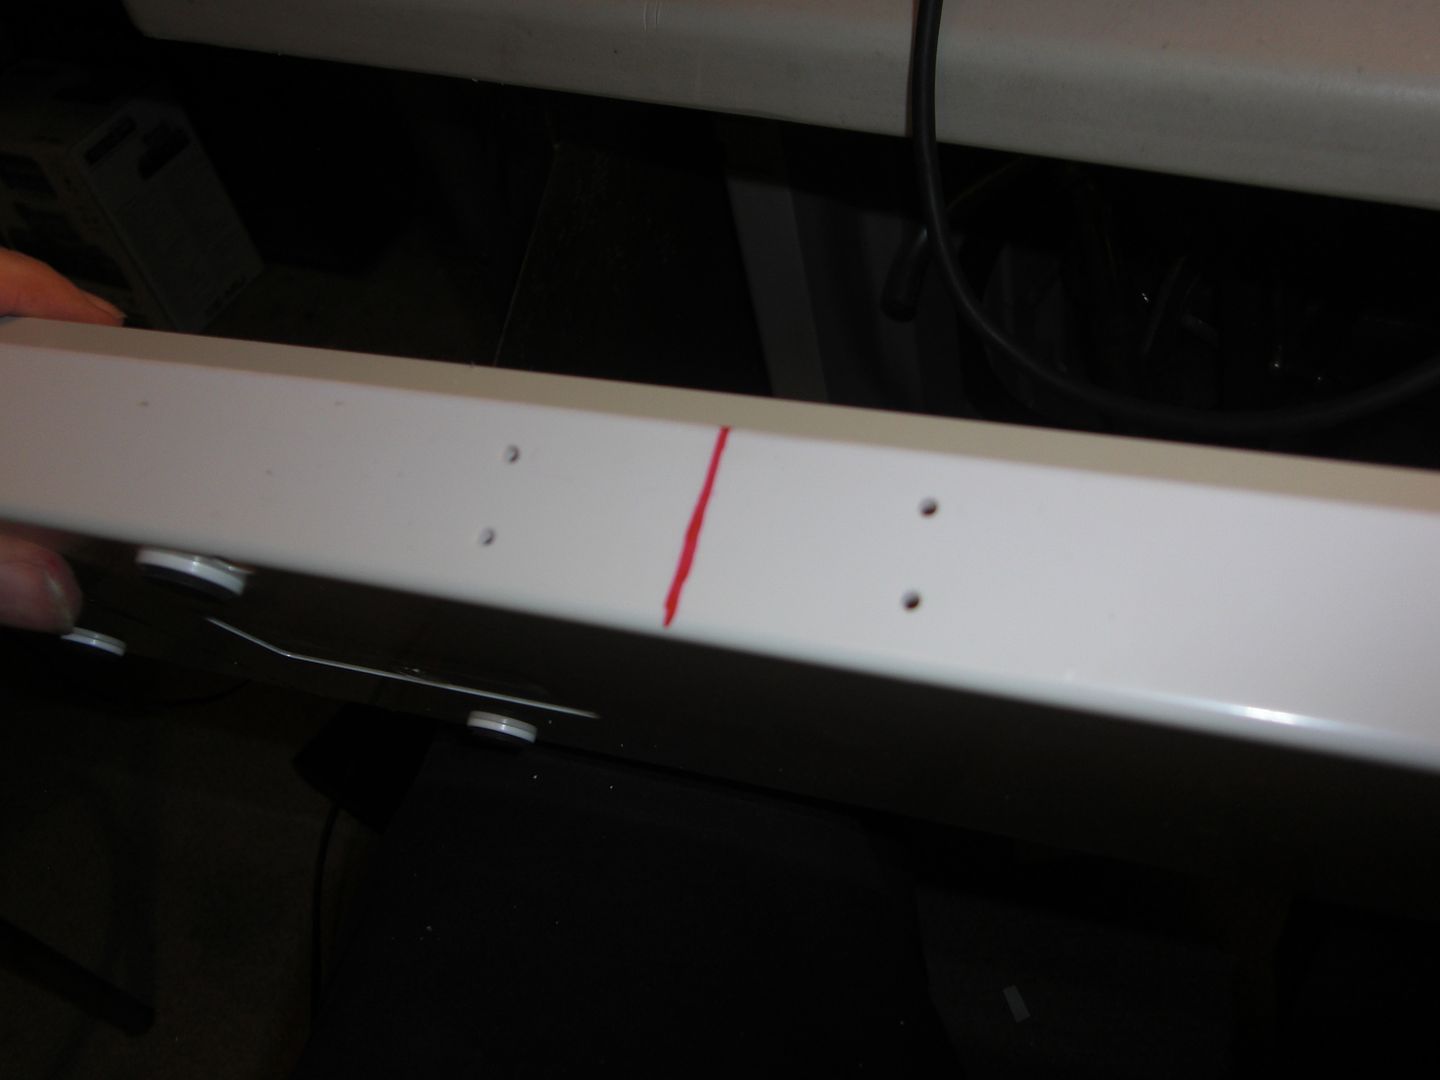
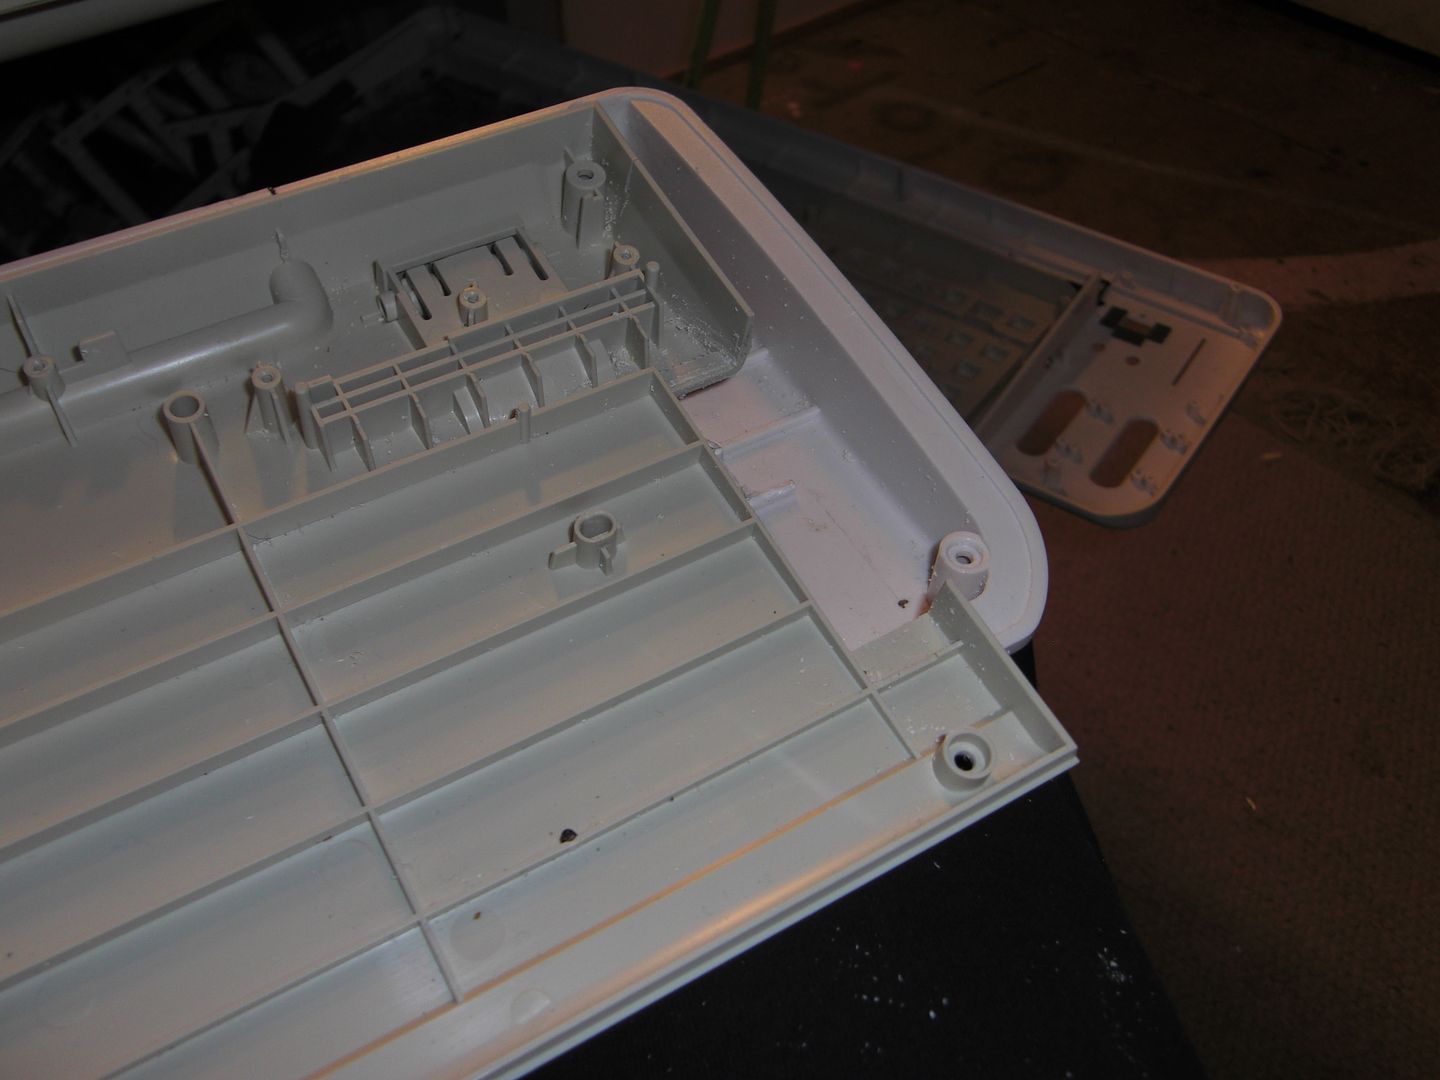
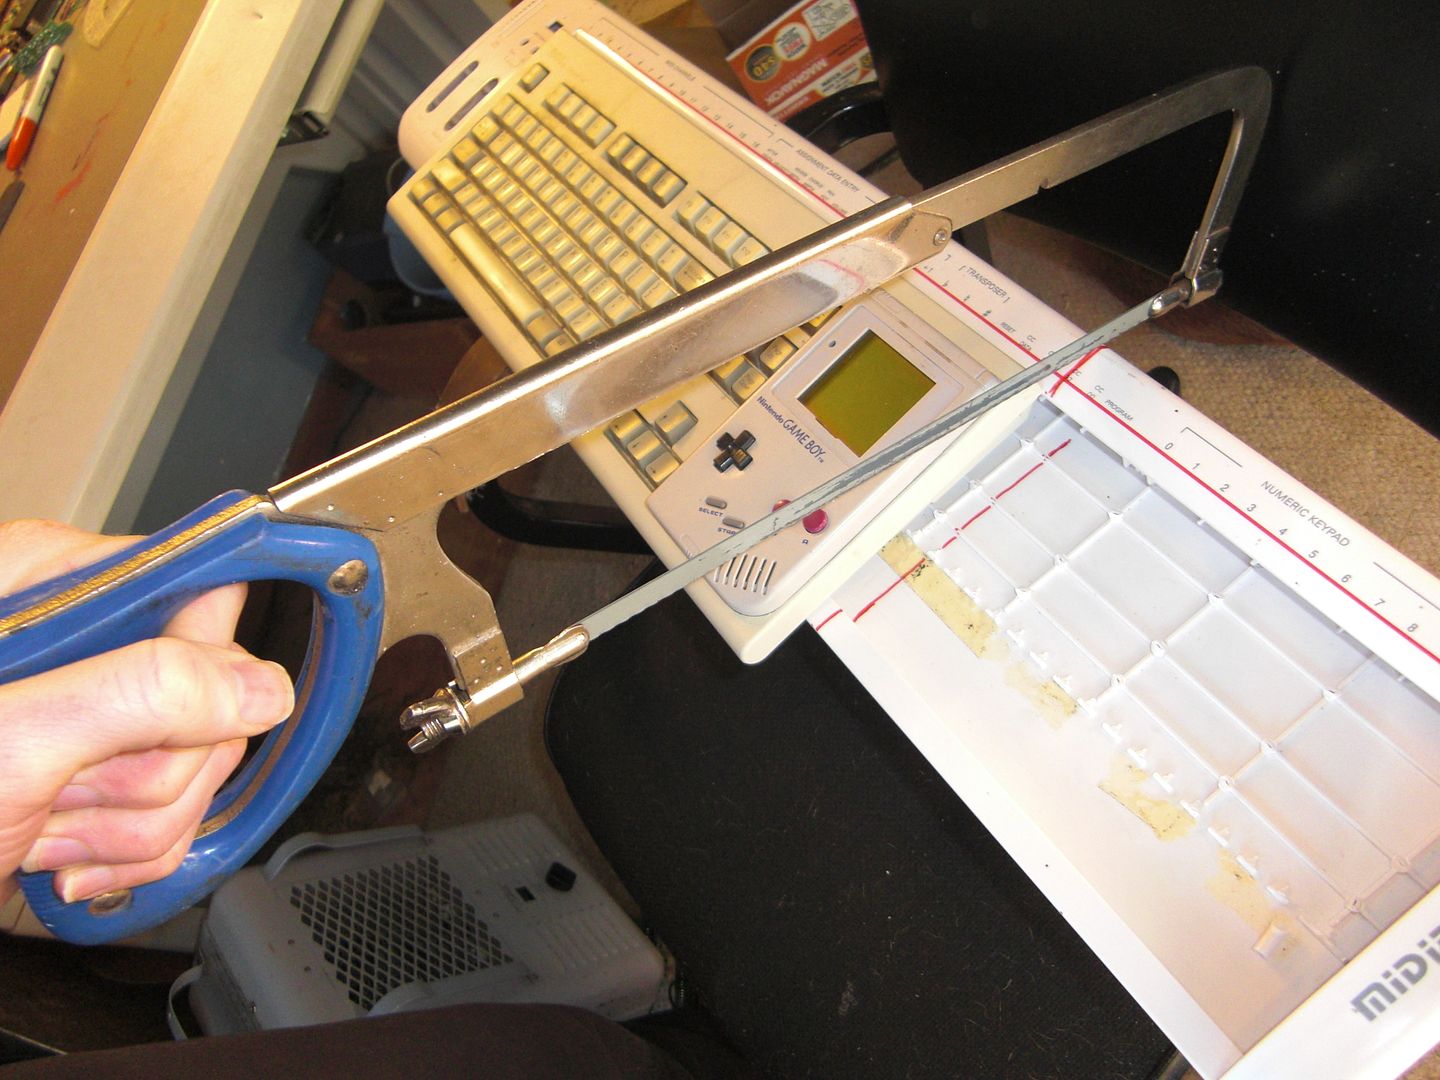
Step two: Take careful measurements and bust out the hacksaw!
› CHOP! CHOP! CHOP!
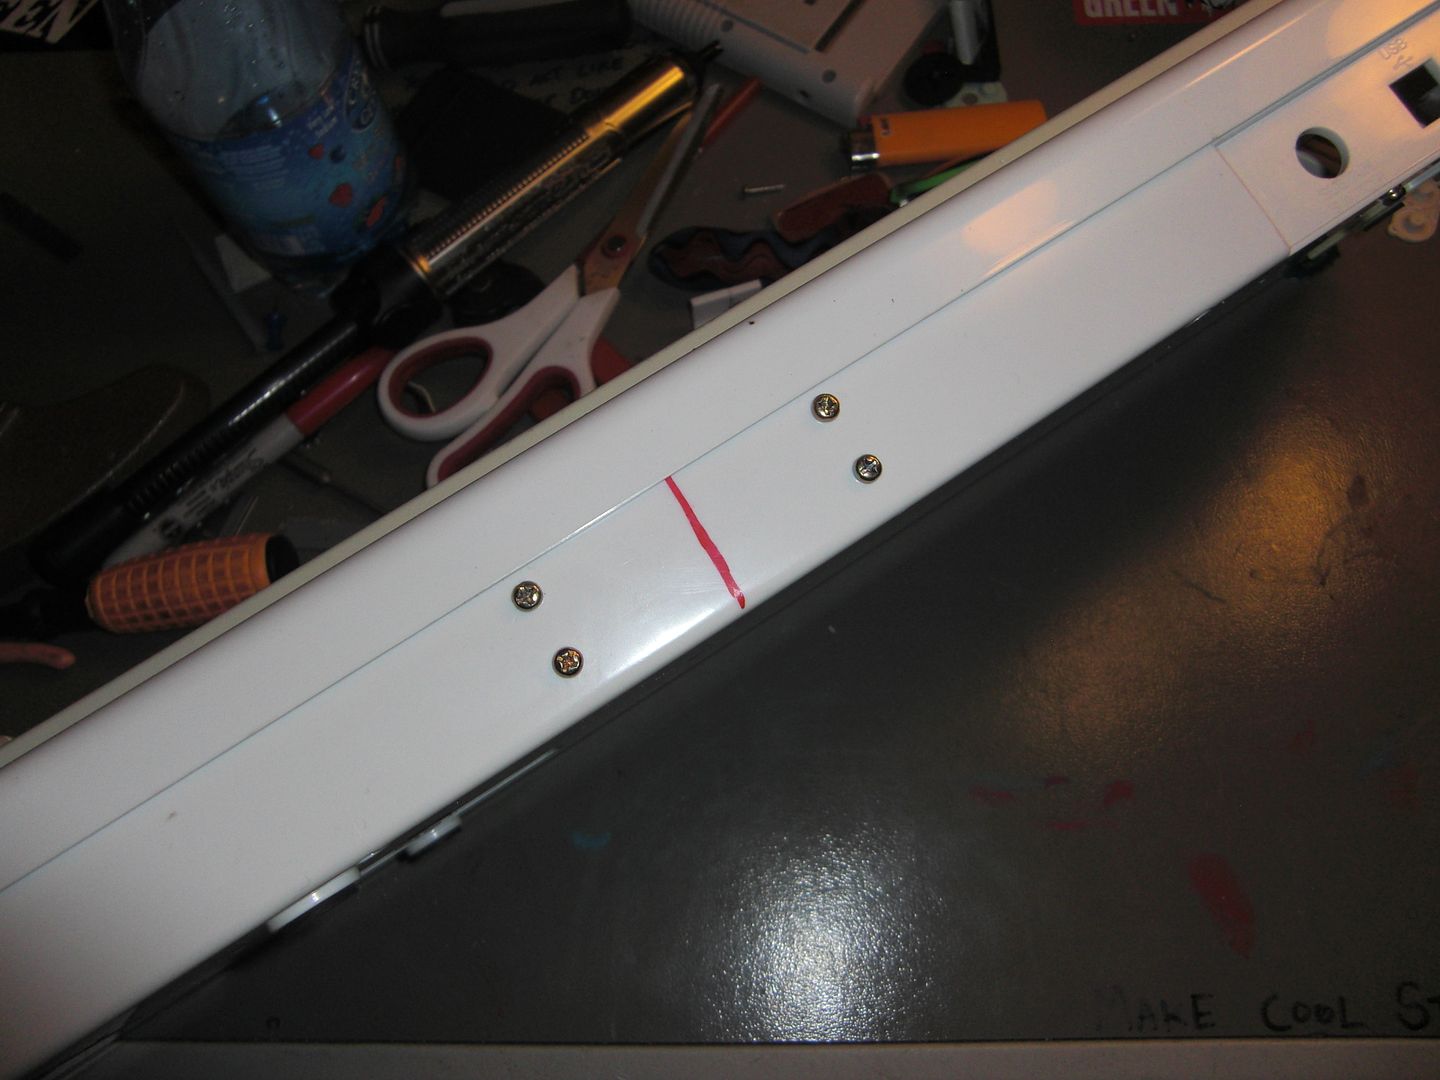
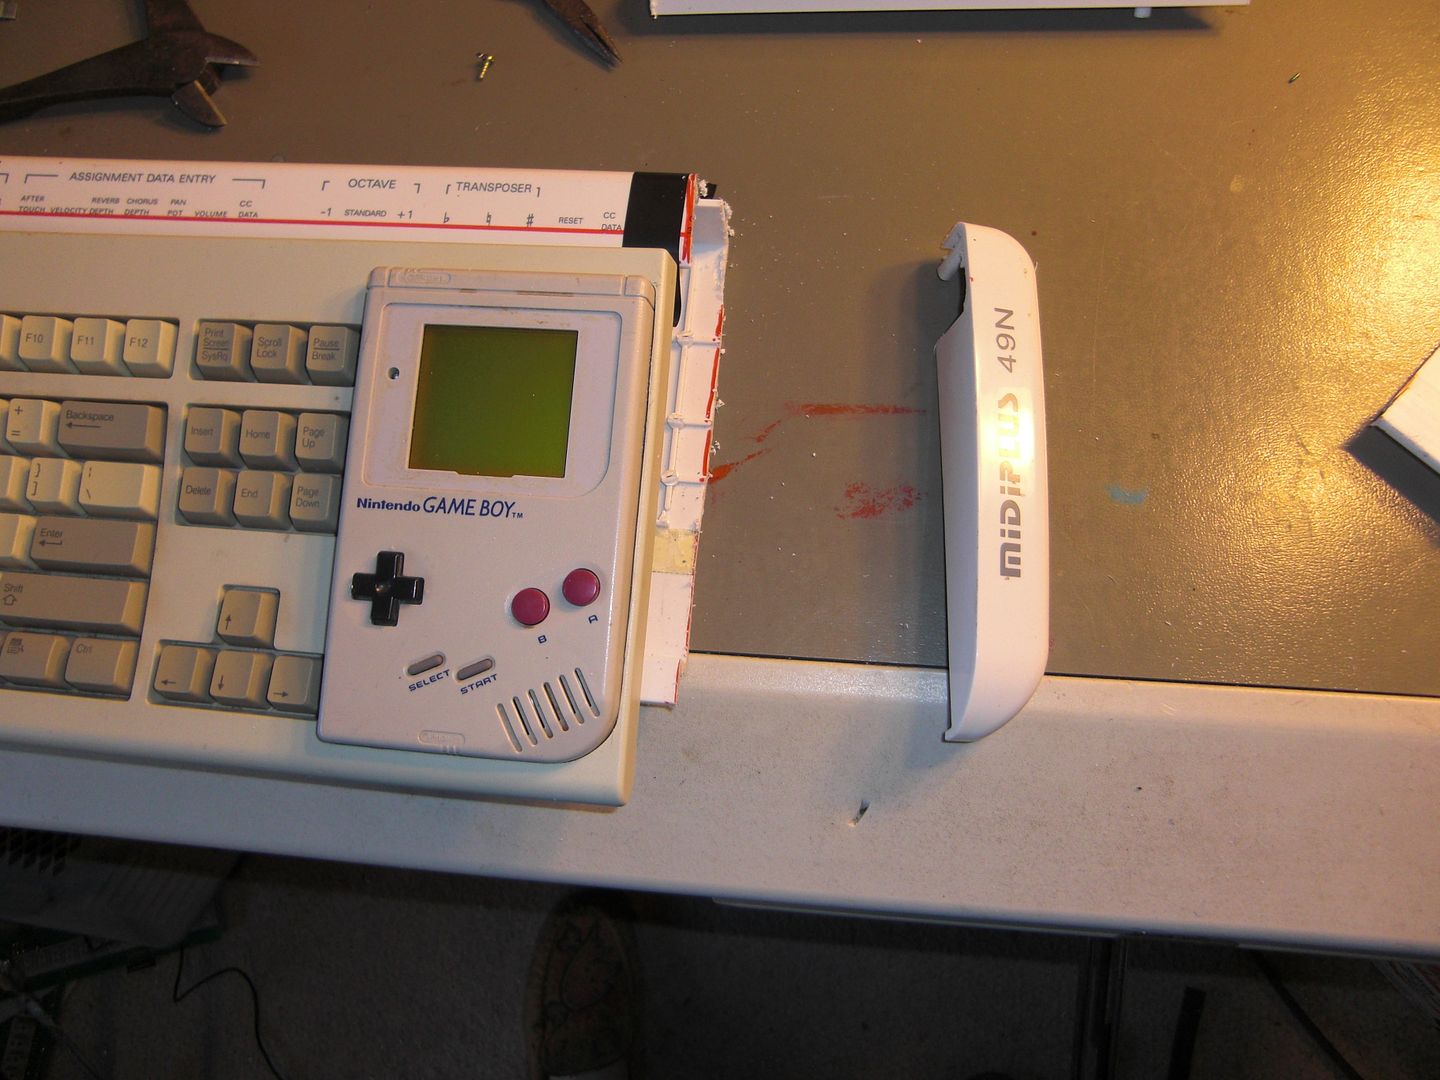
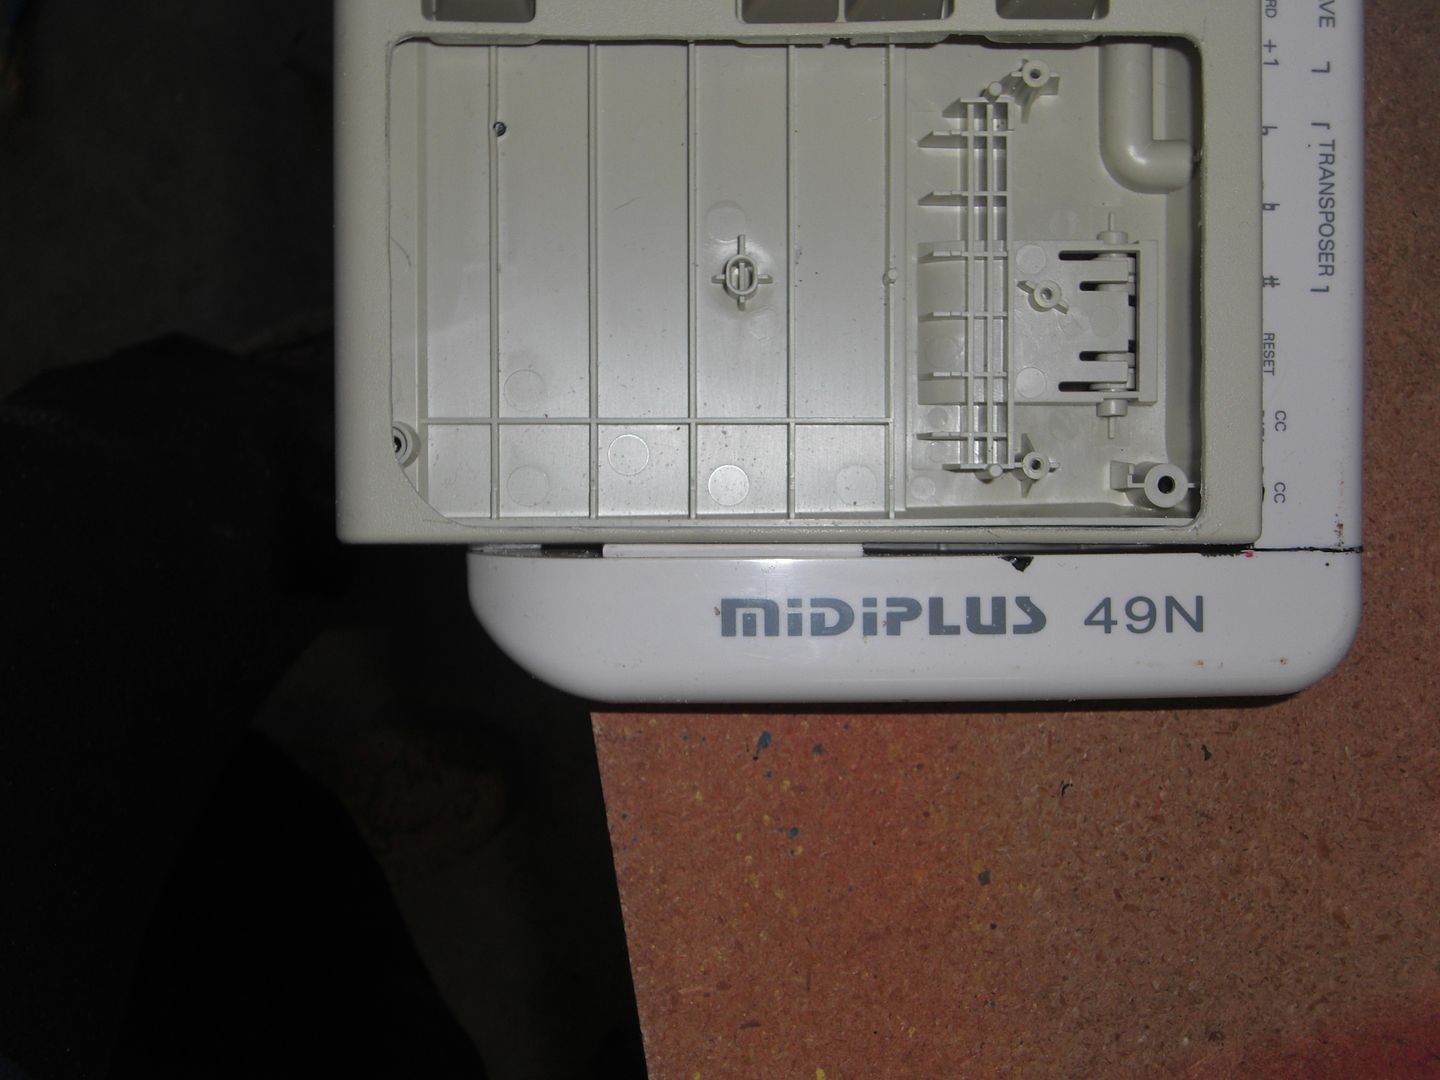
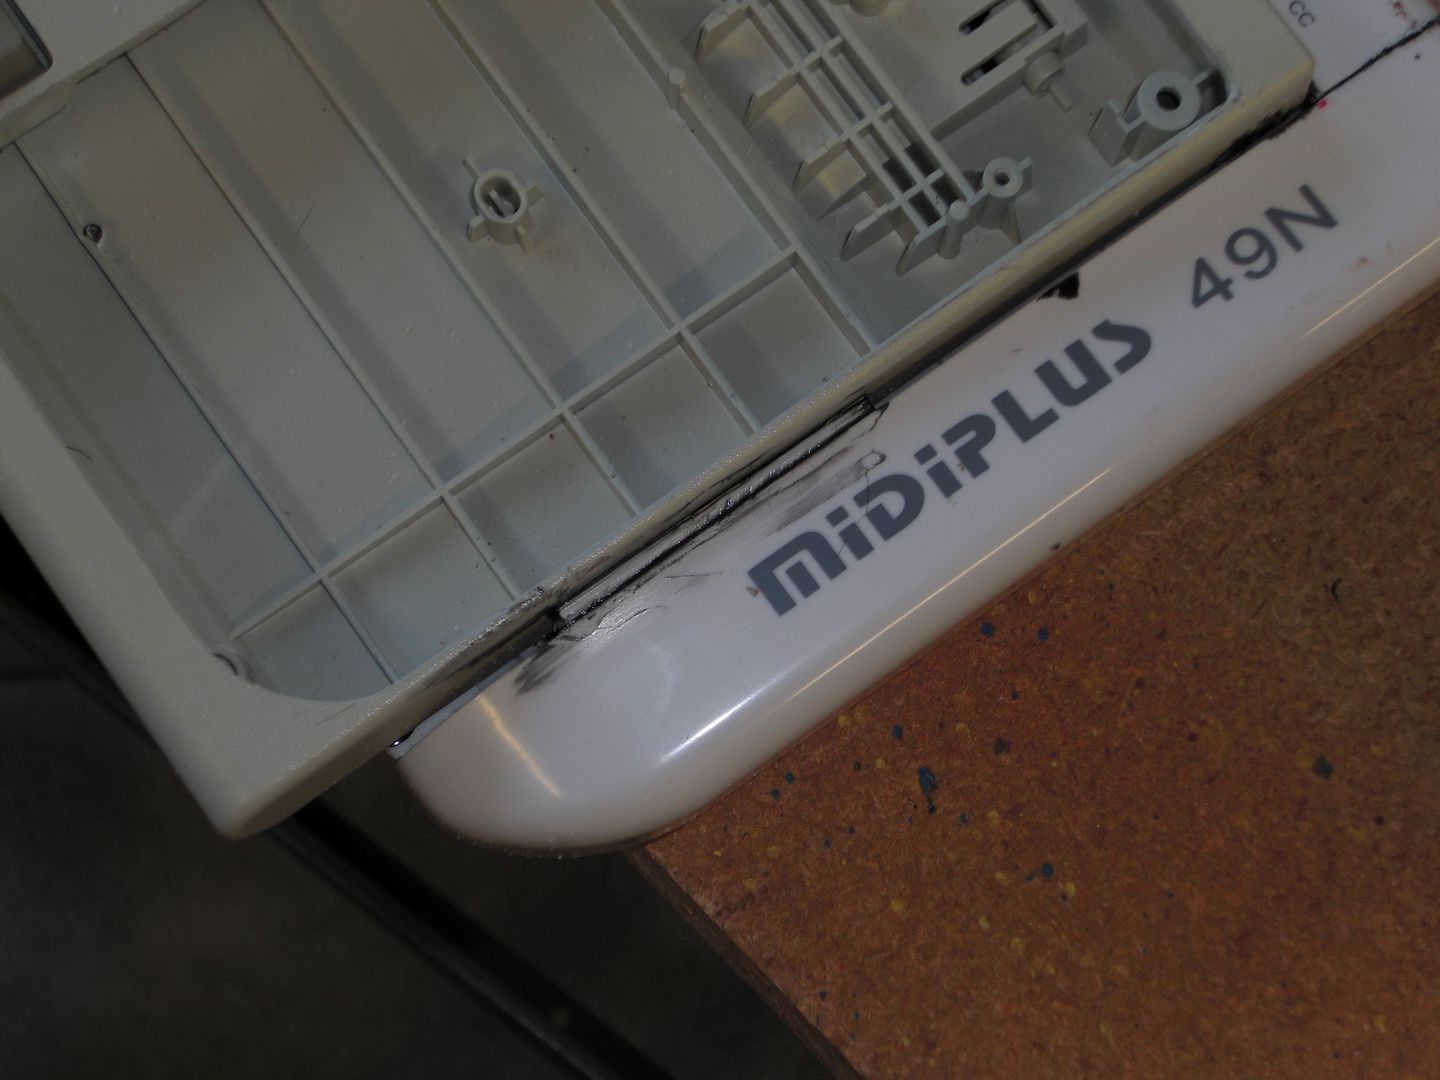
Definitely wasn't a fan of how the back of the keyboard set with the new plastic, so I busted out my trusty razor saw trimmed it back about a centimeter.
› Metric system, Bitches!
‹ Metric system, Bitches!
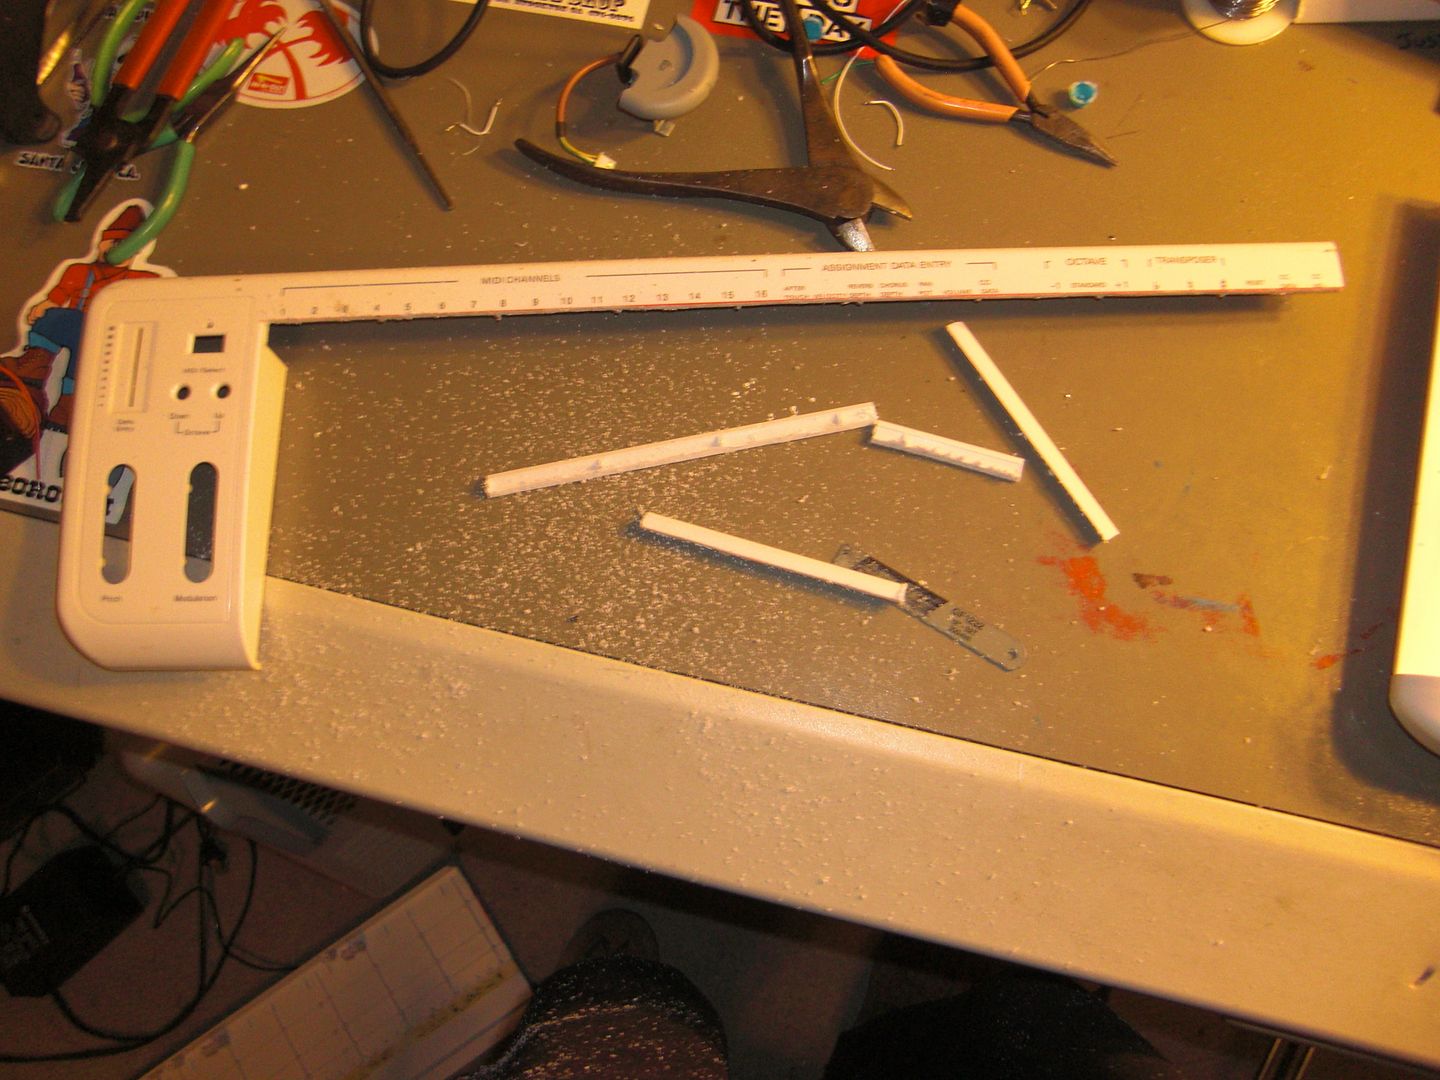
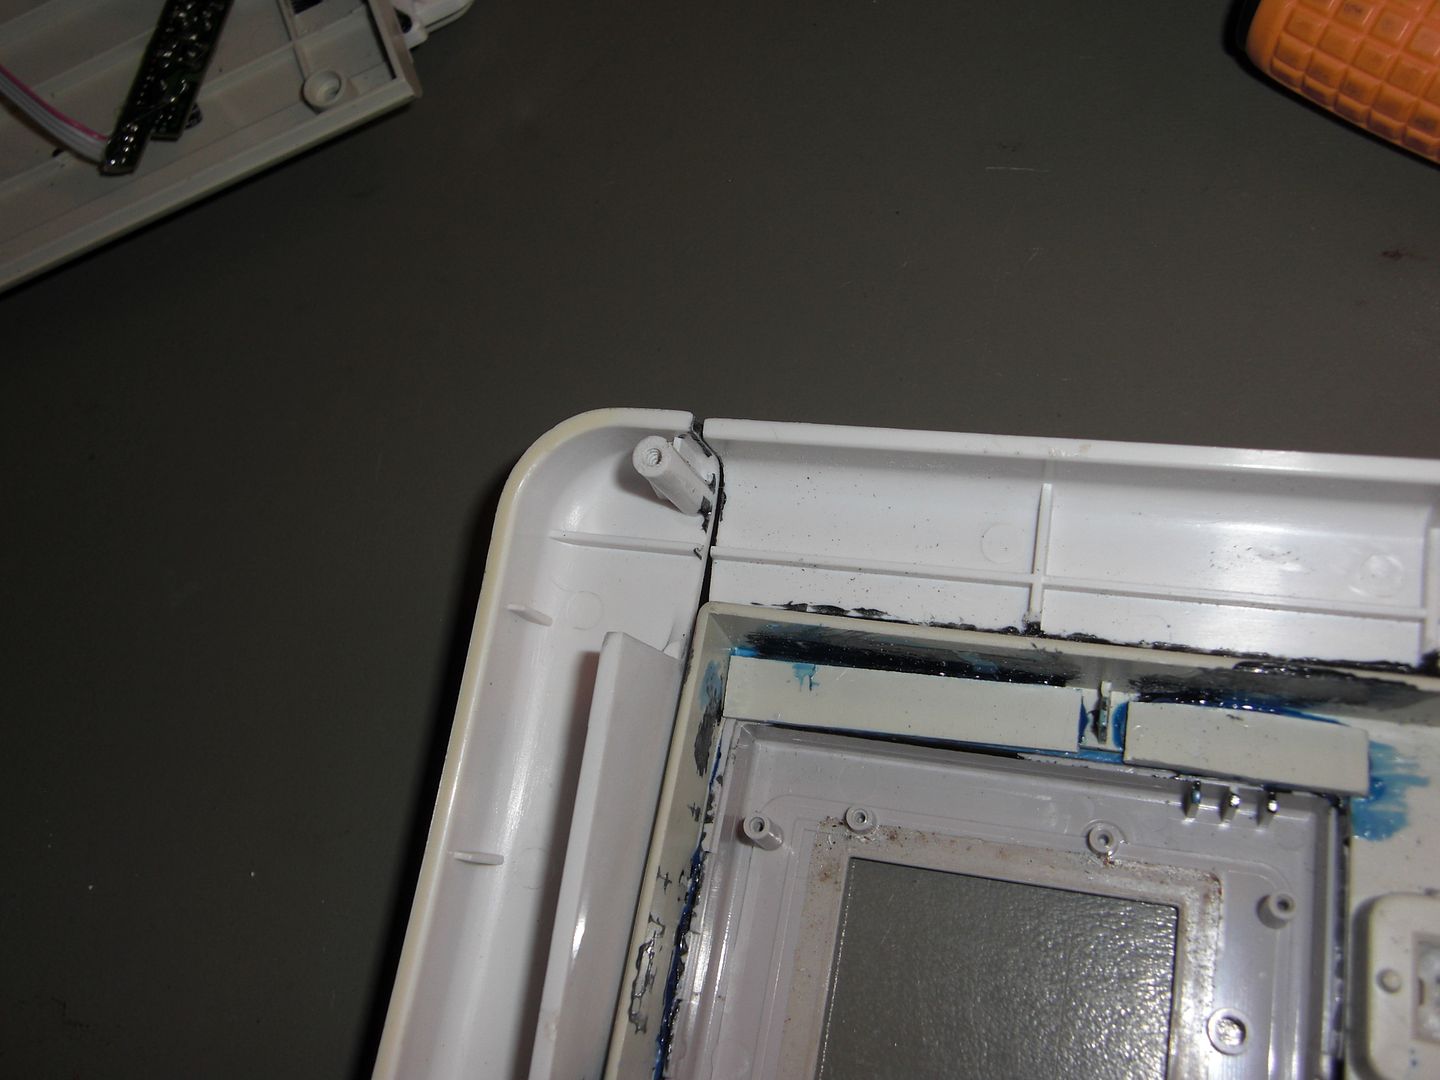
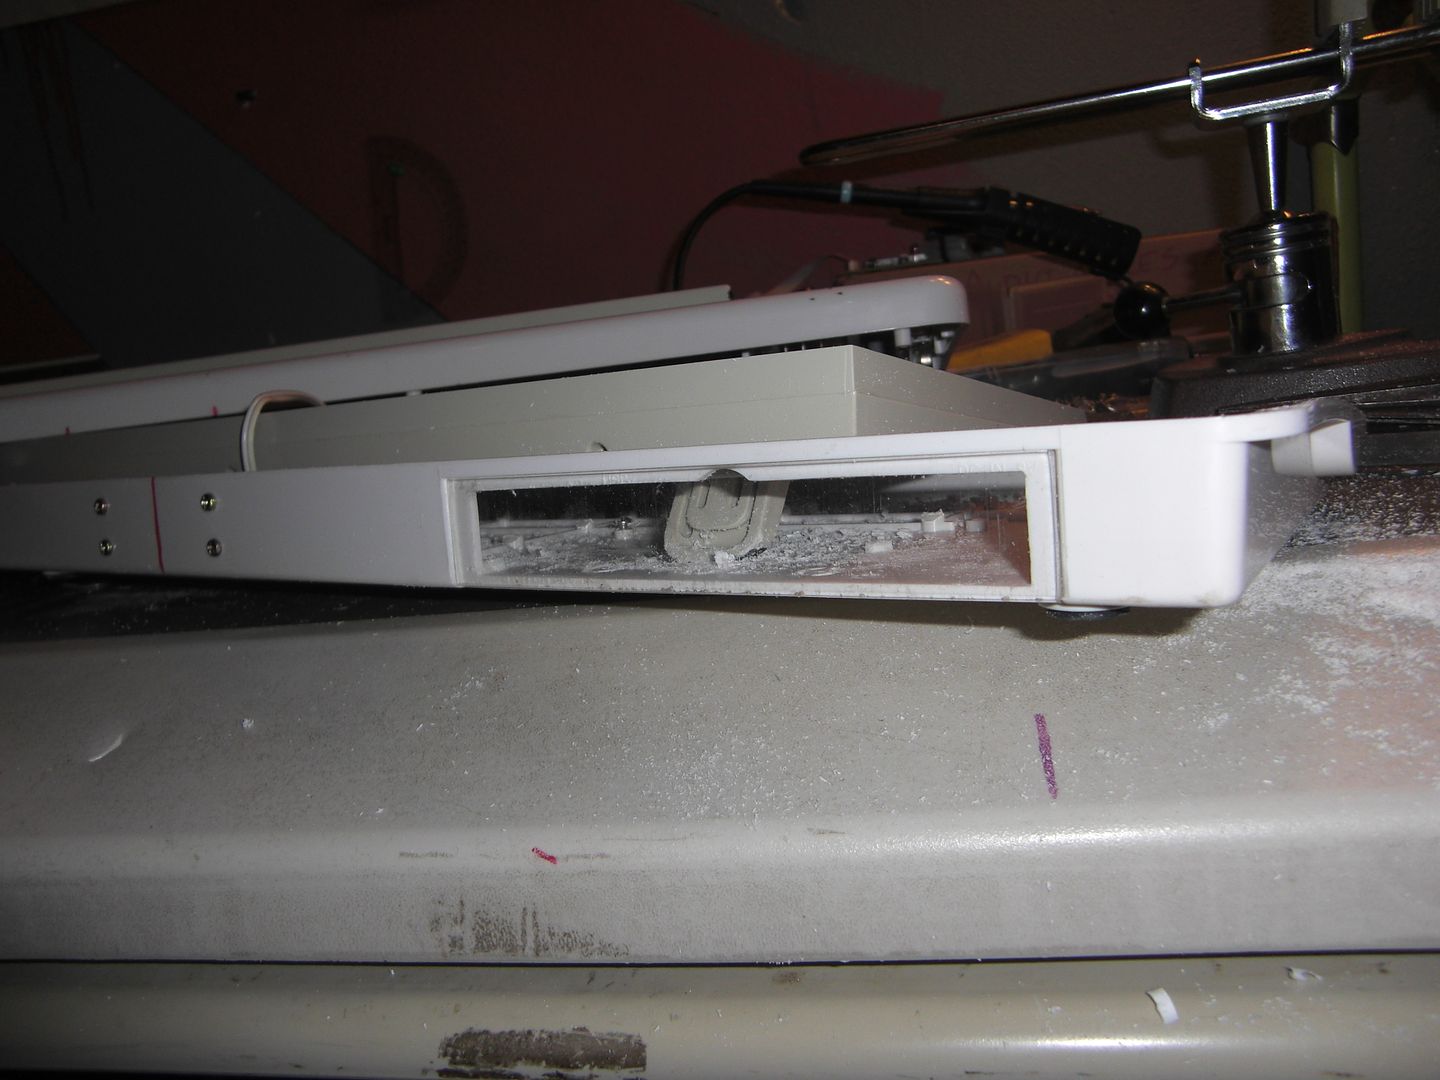
The cut wasn't perfect, so I spent about a half hour cleaning up my gap problem with a hand file.
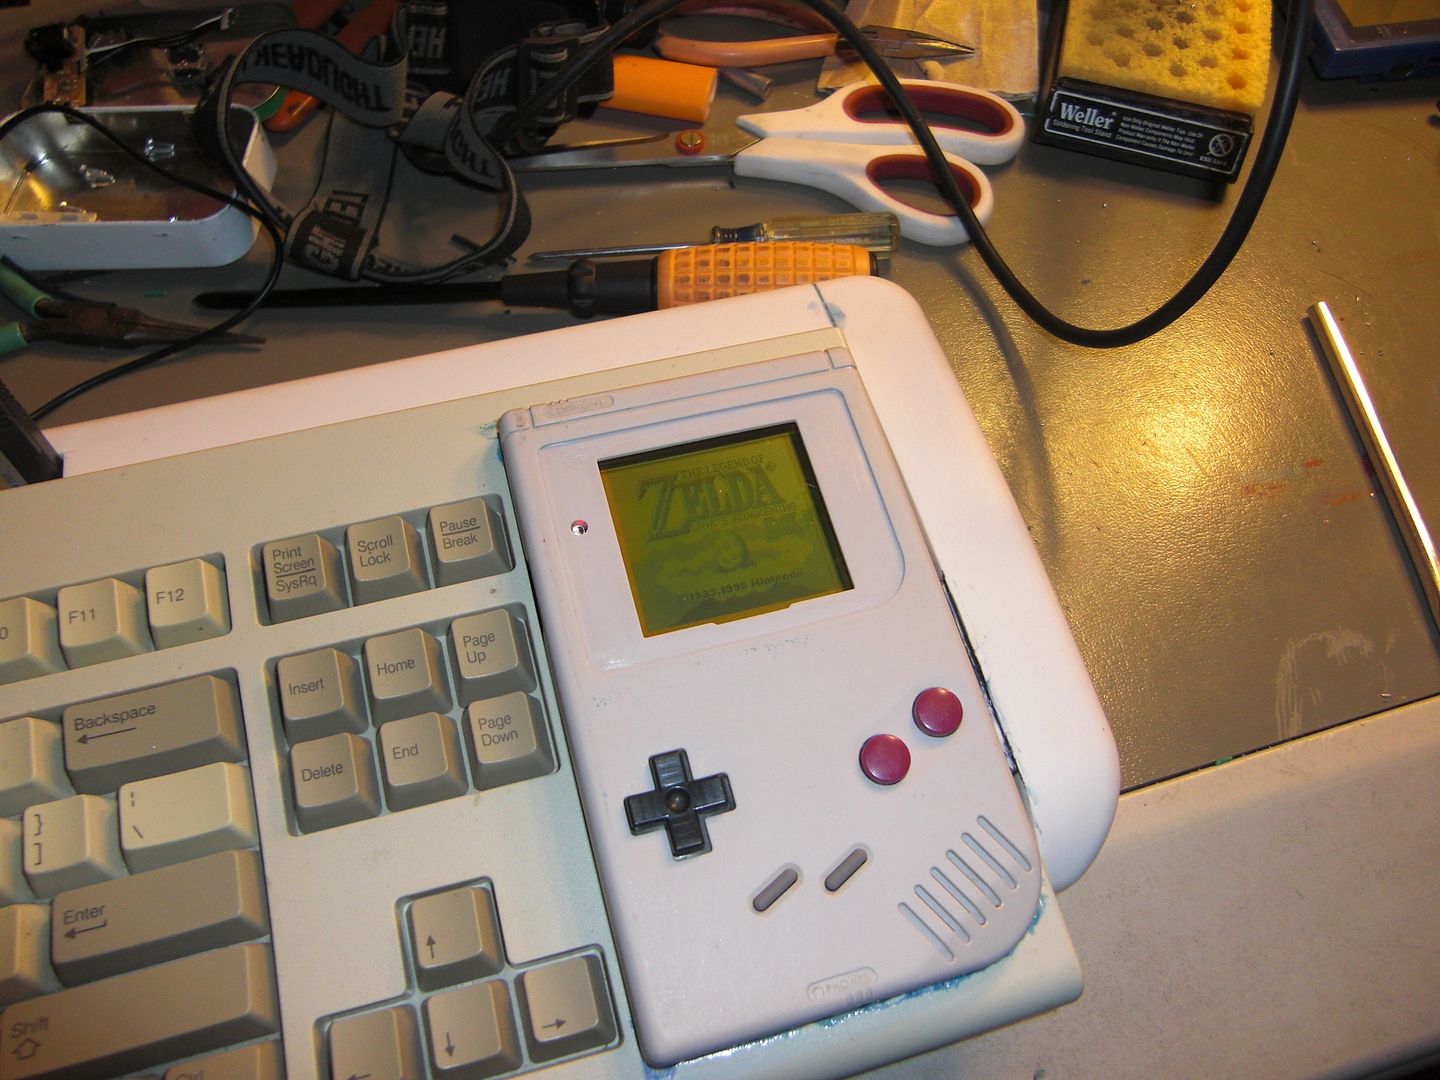
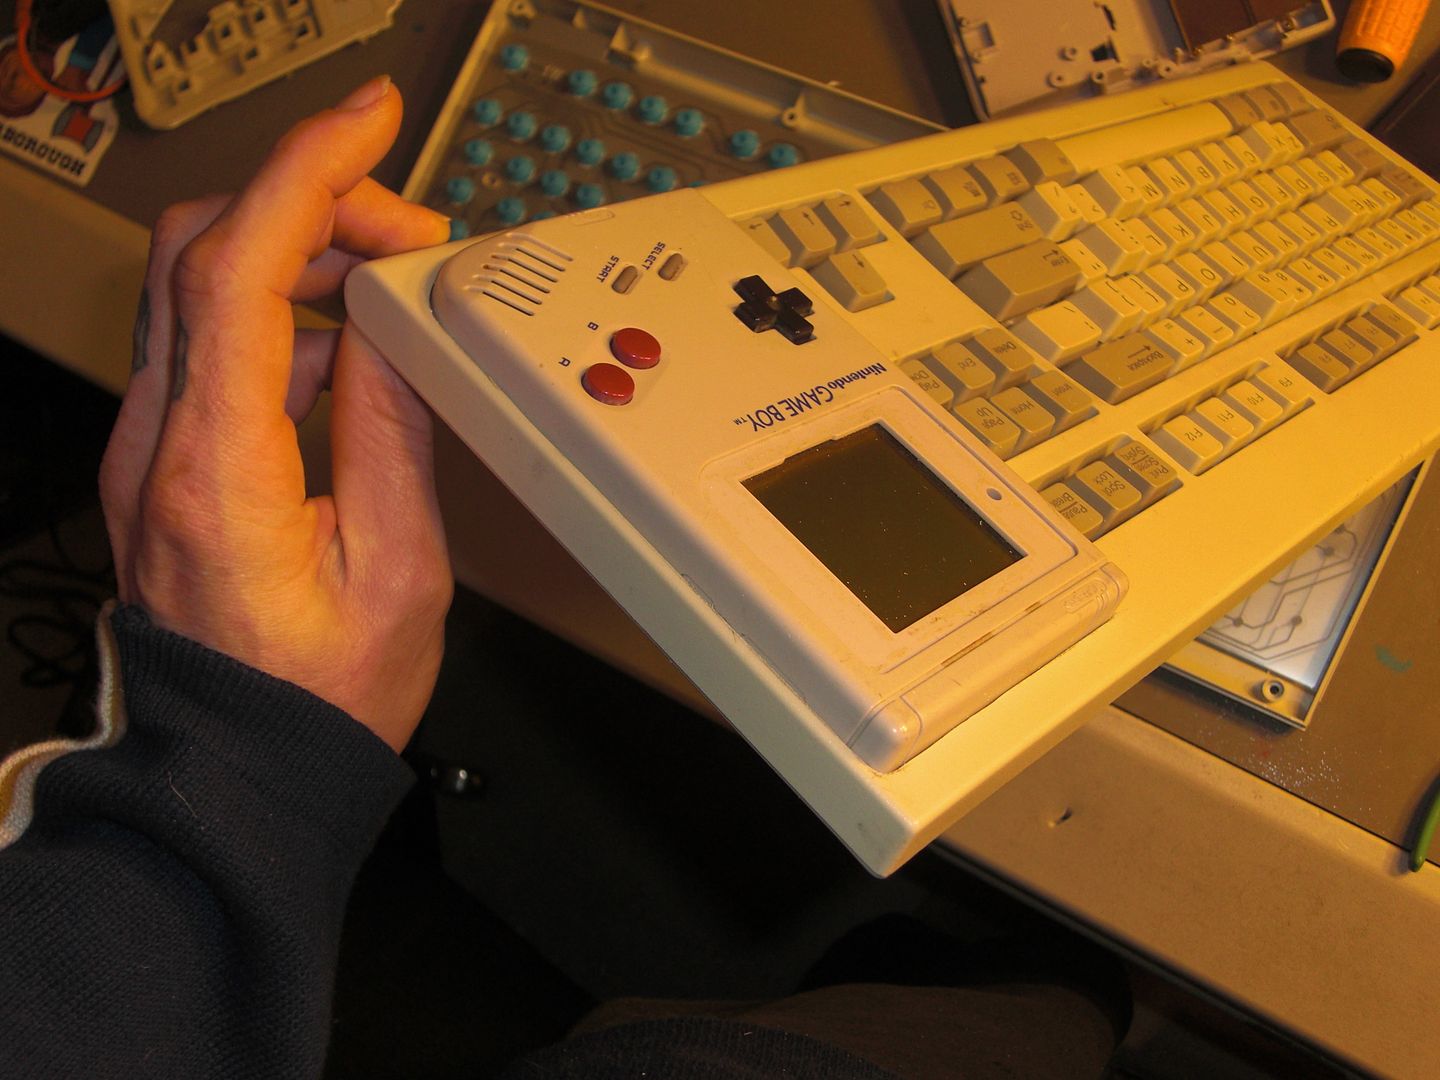
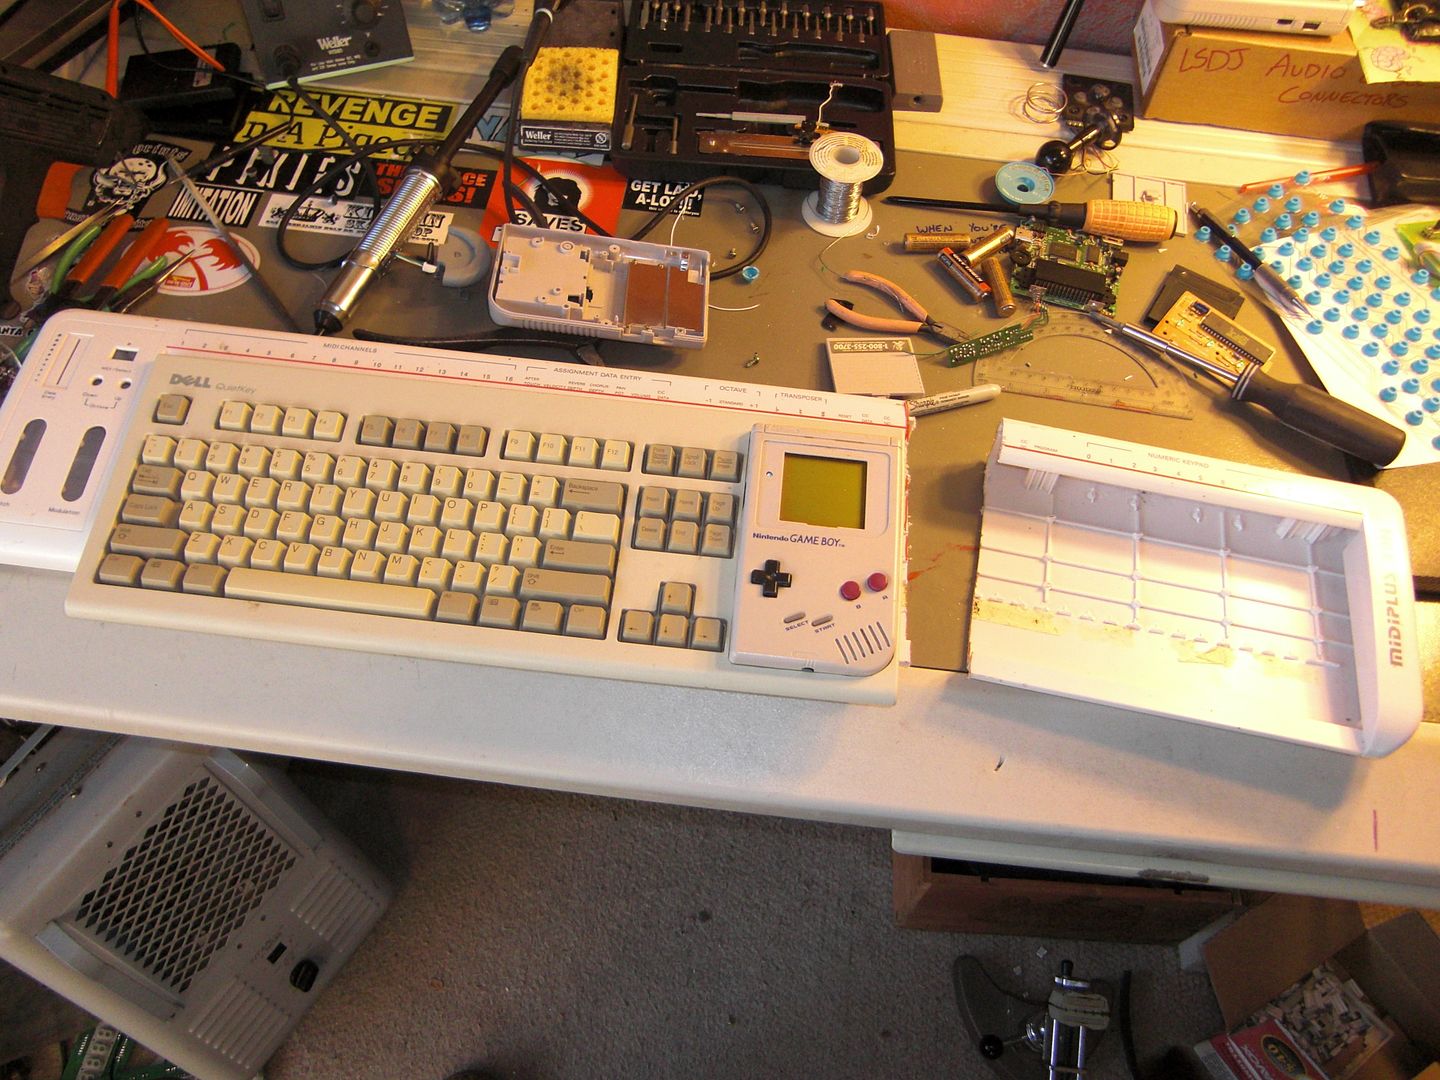
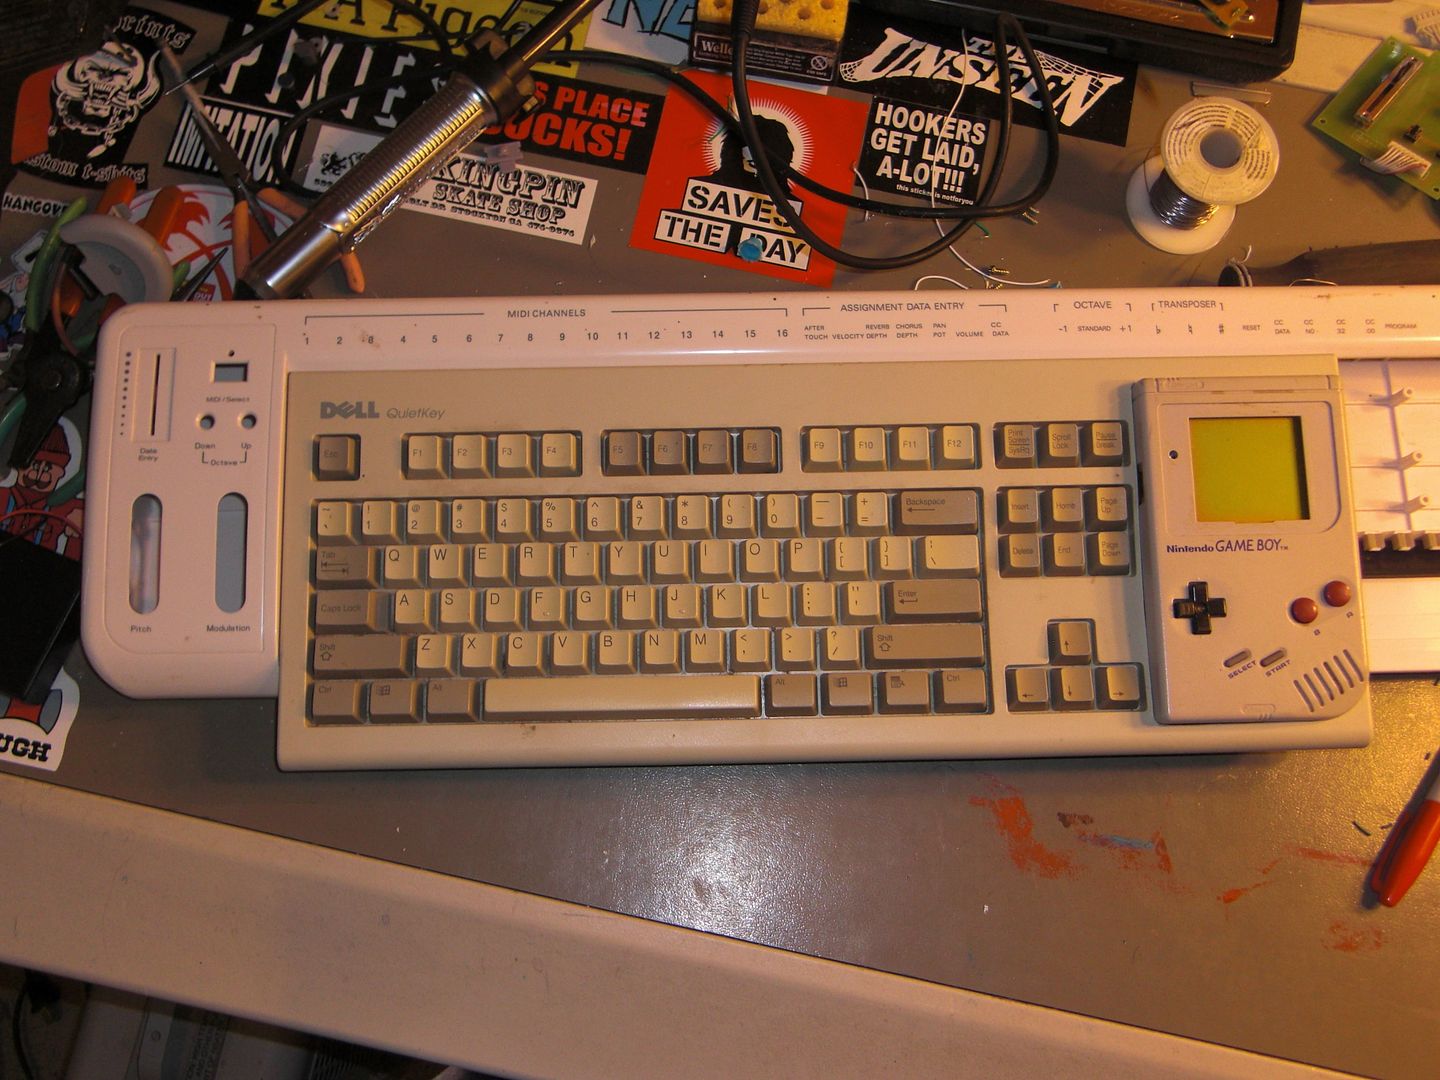
Hard work pays off. Everything seems to fit up nice and tight.
› Toit loik eh Toiger
‹ Toit loik eh Toiger
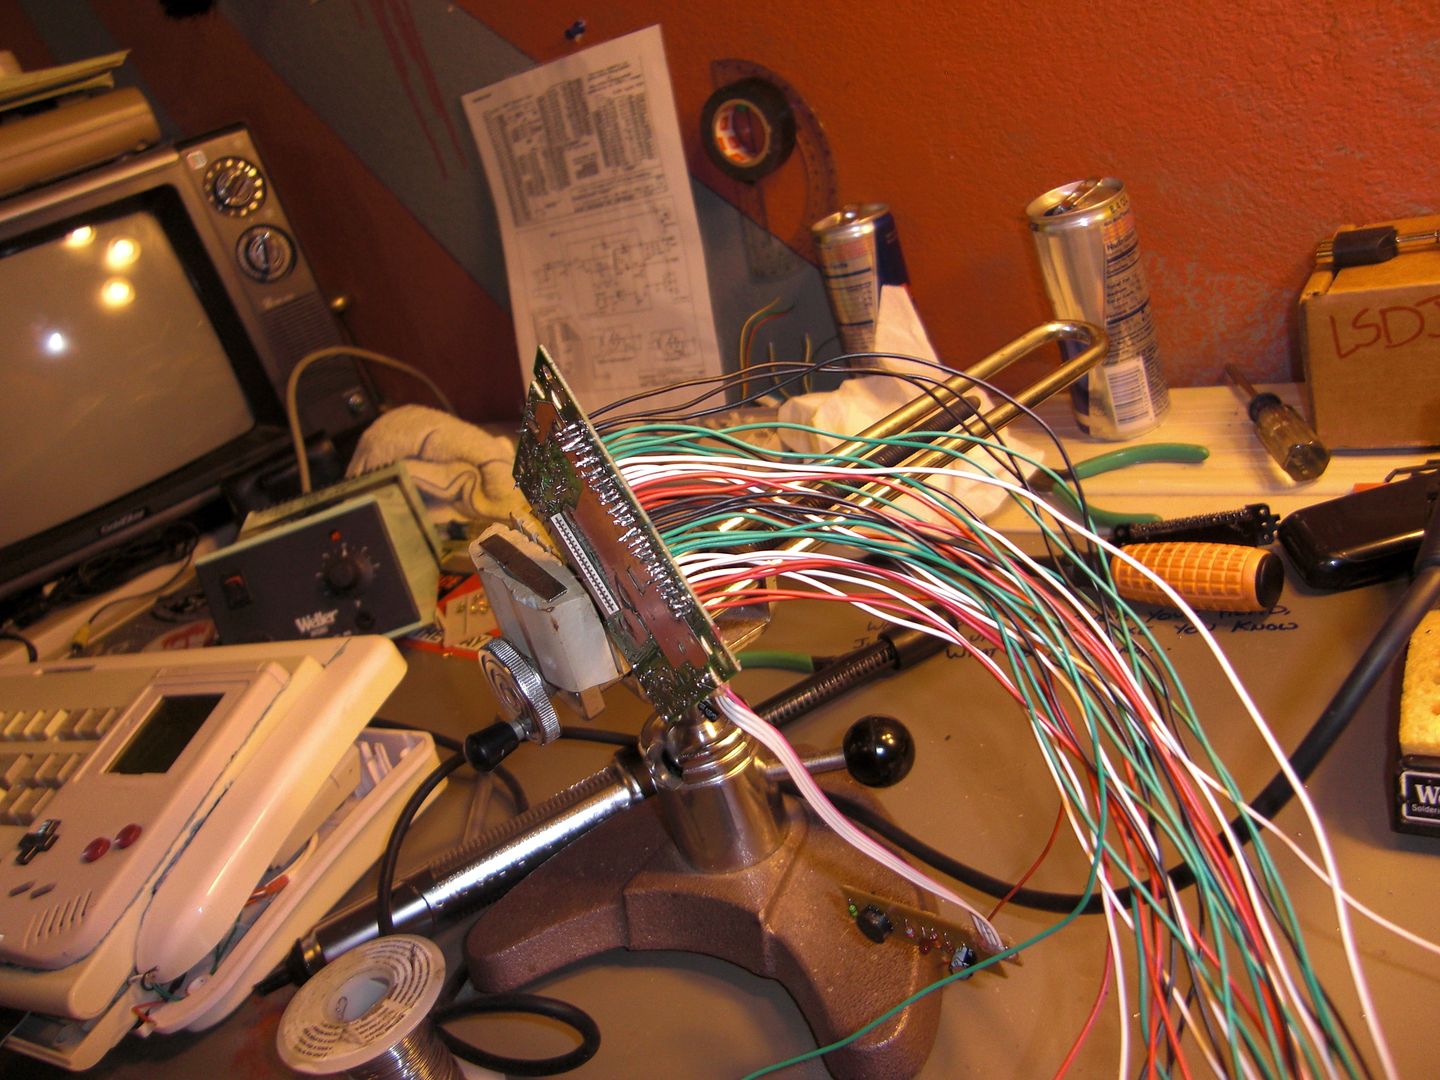
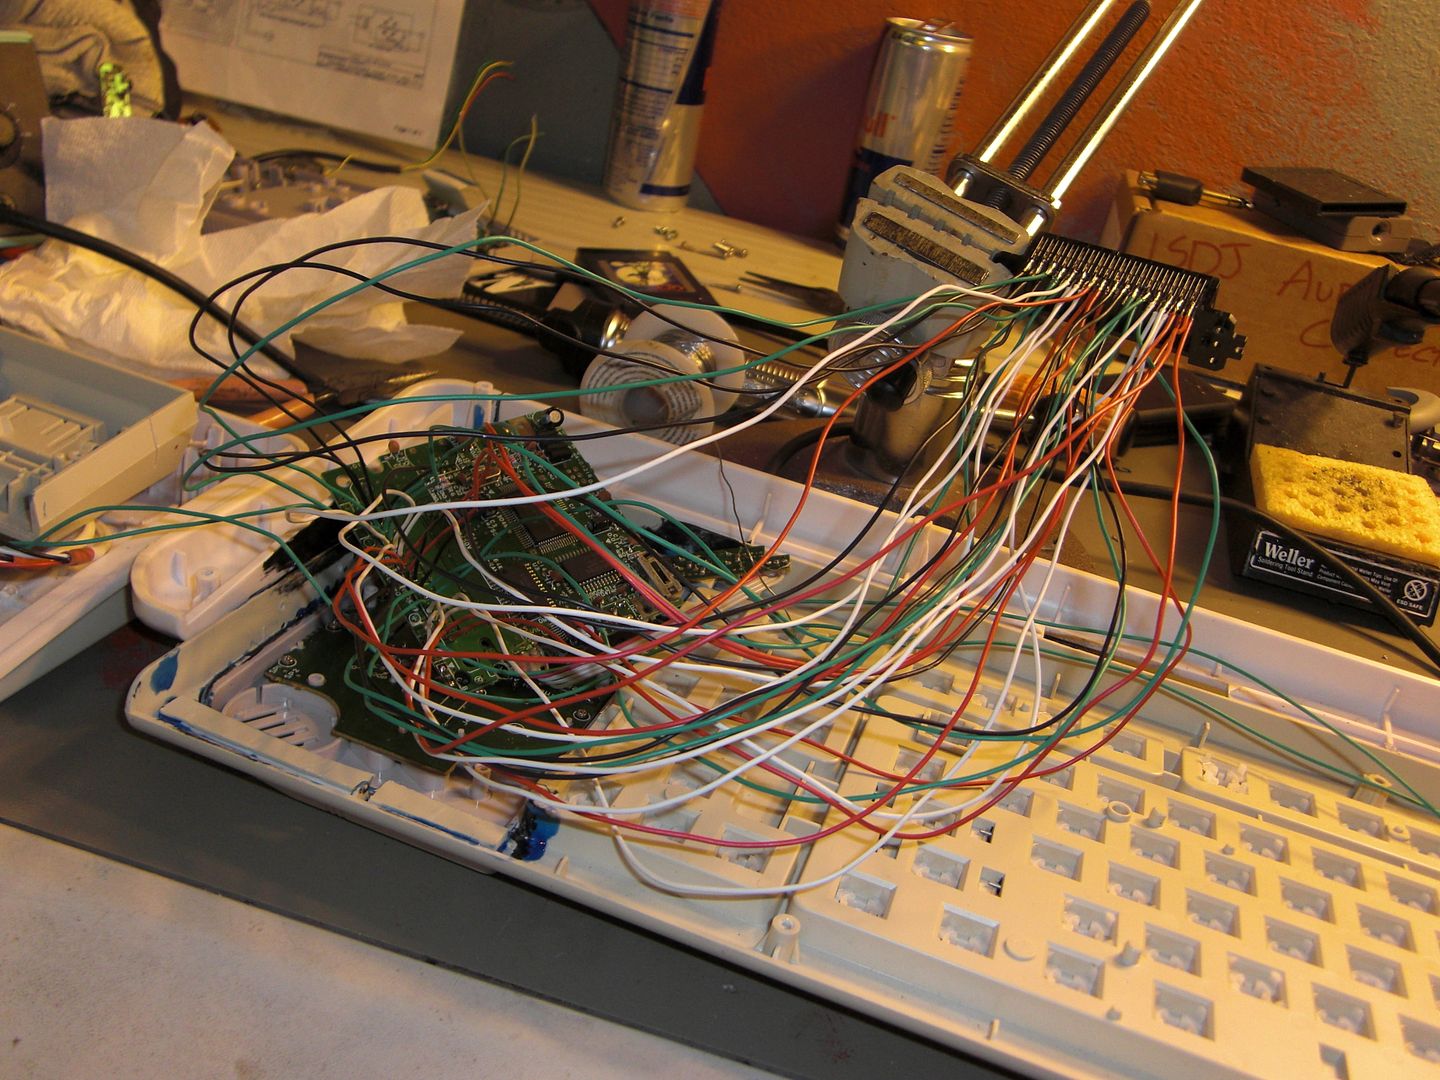
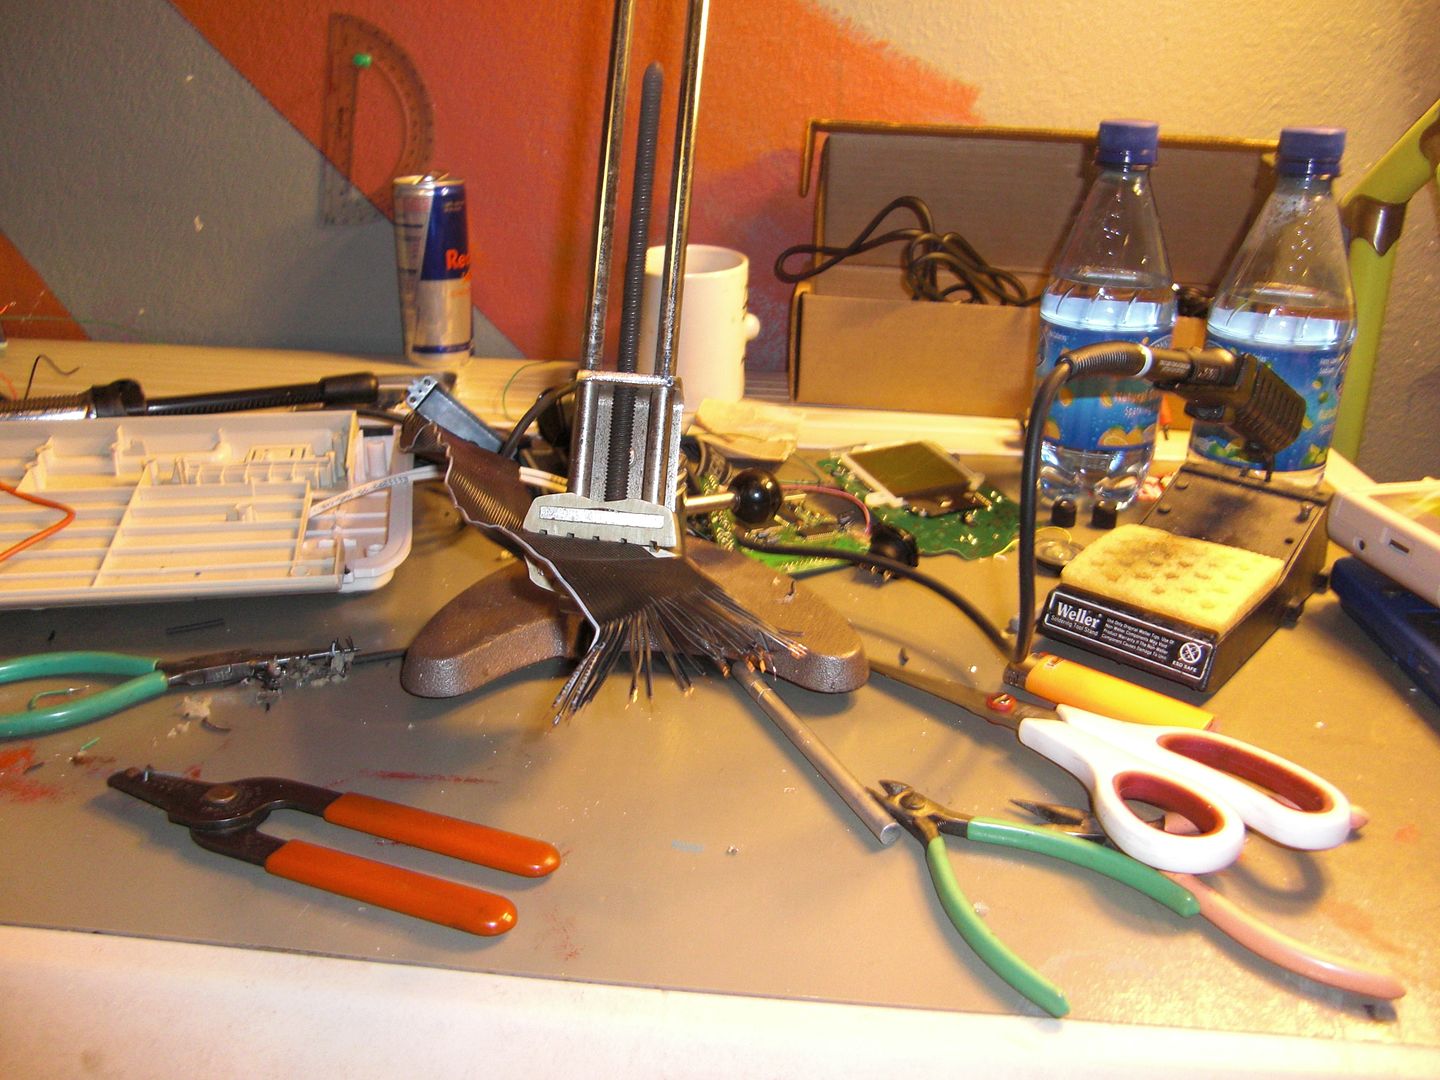
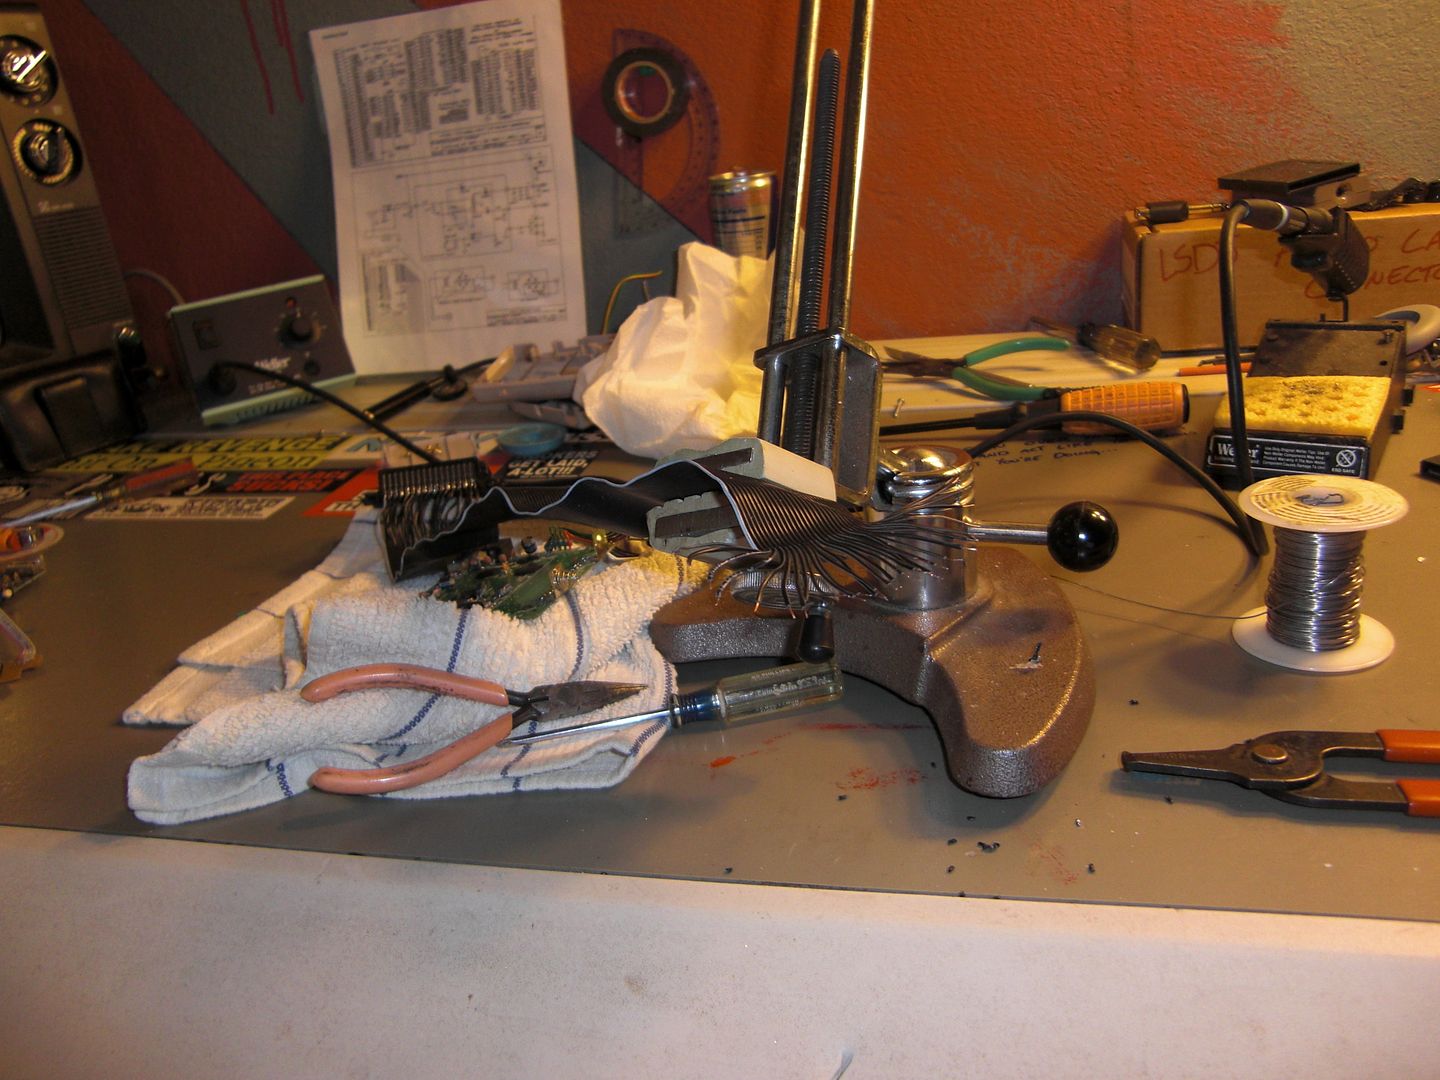
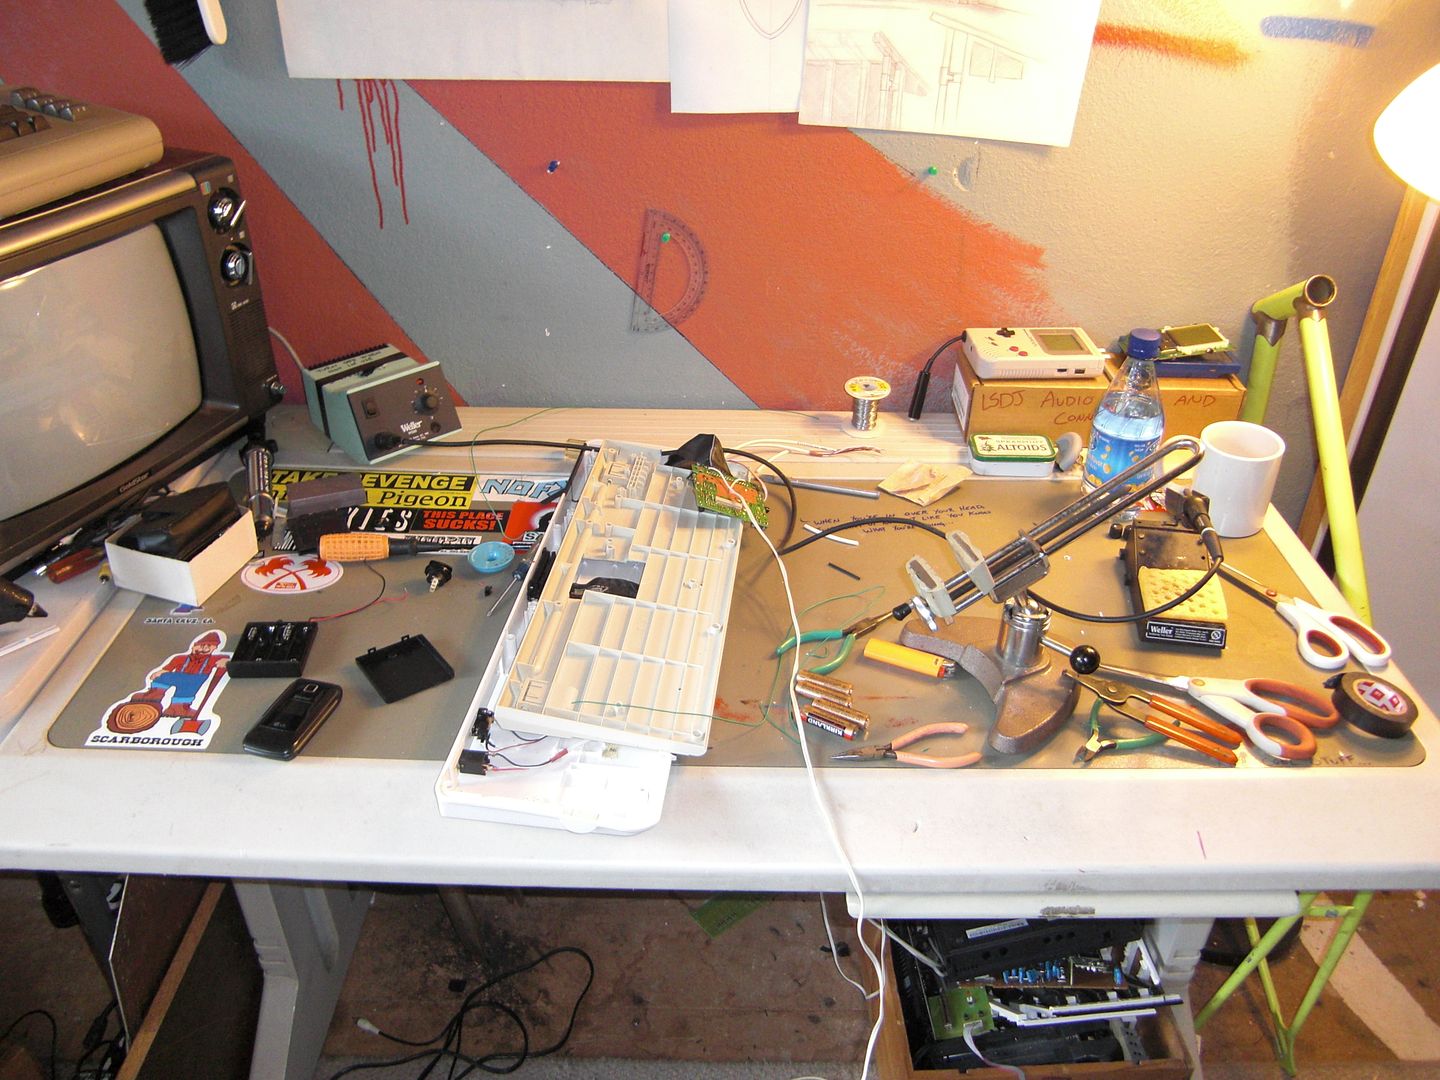
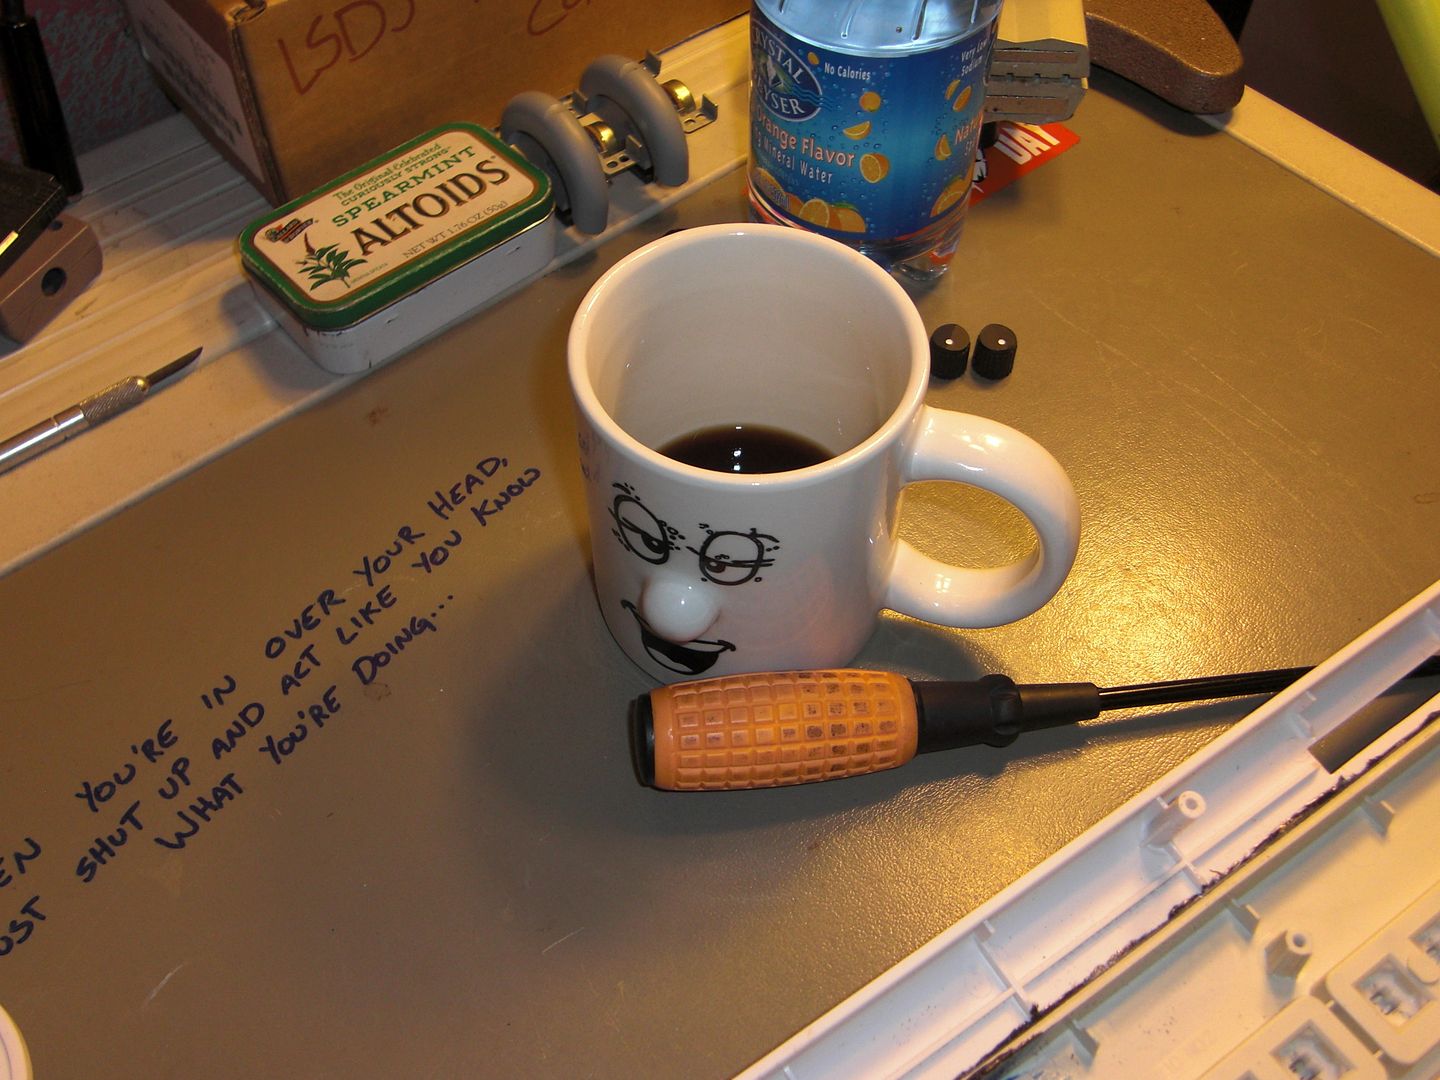
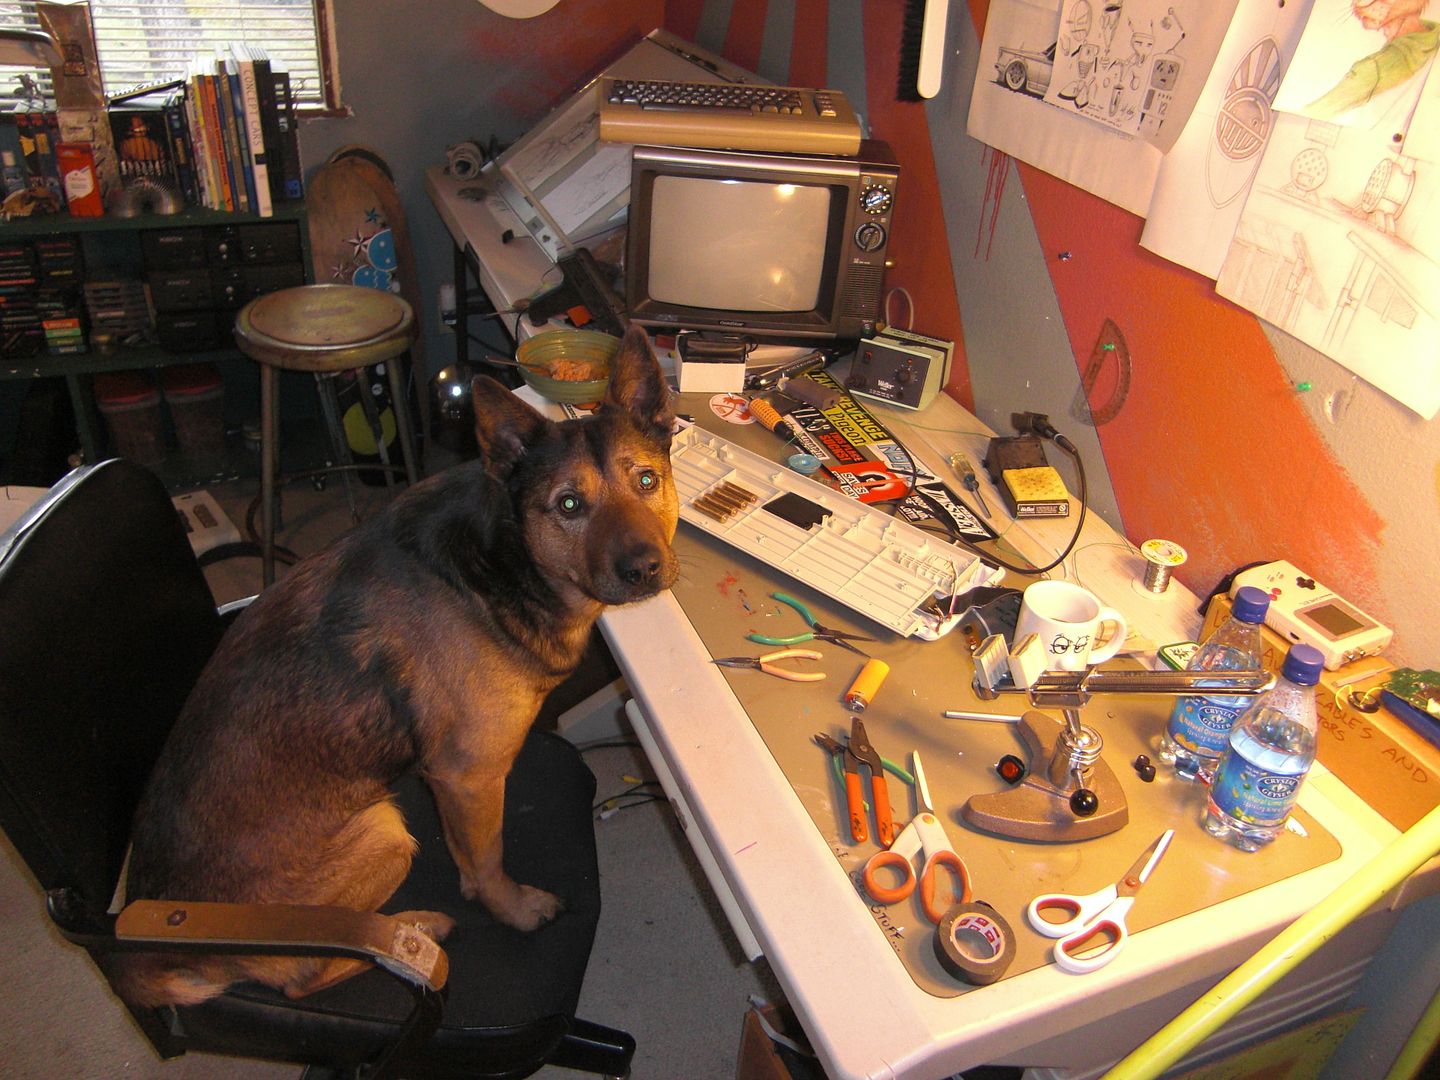
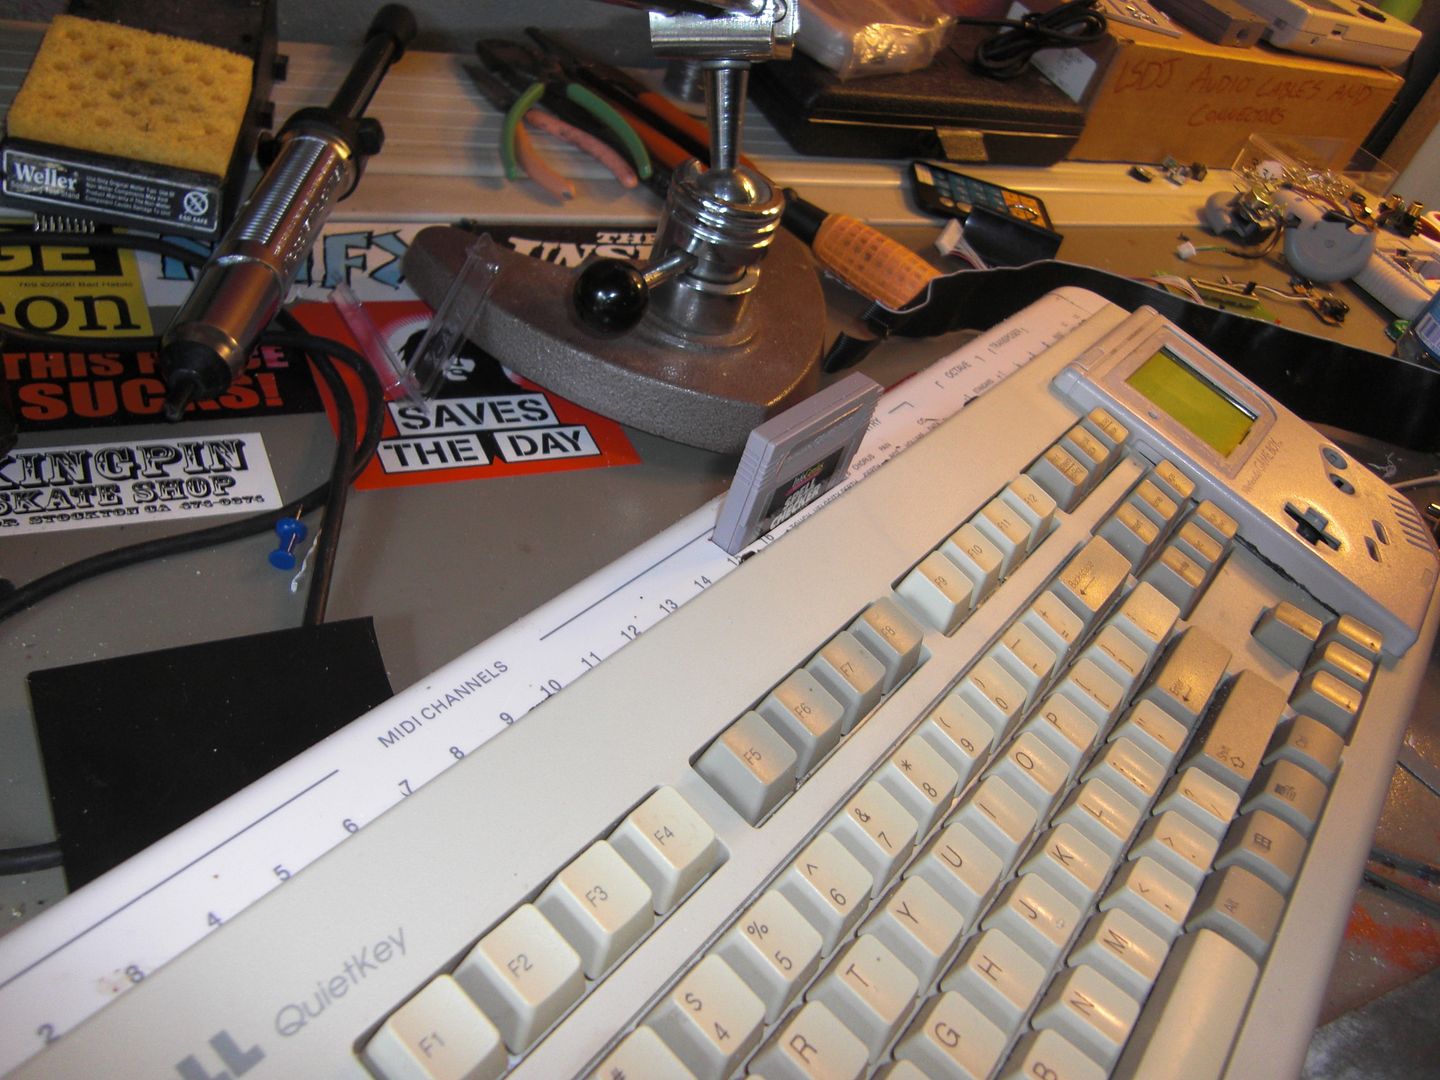
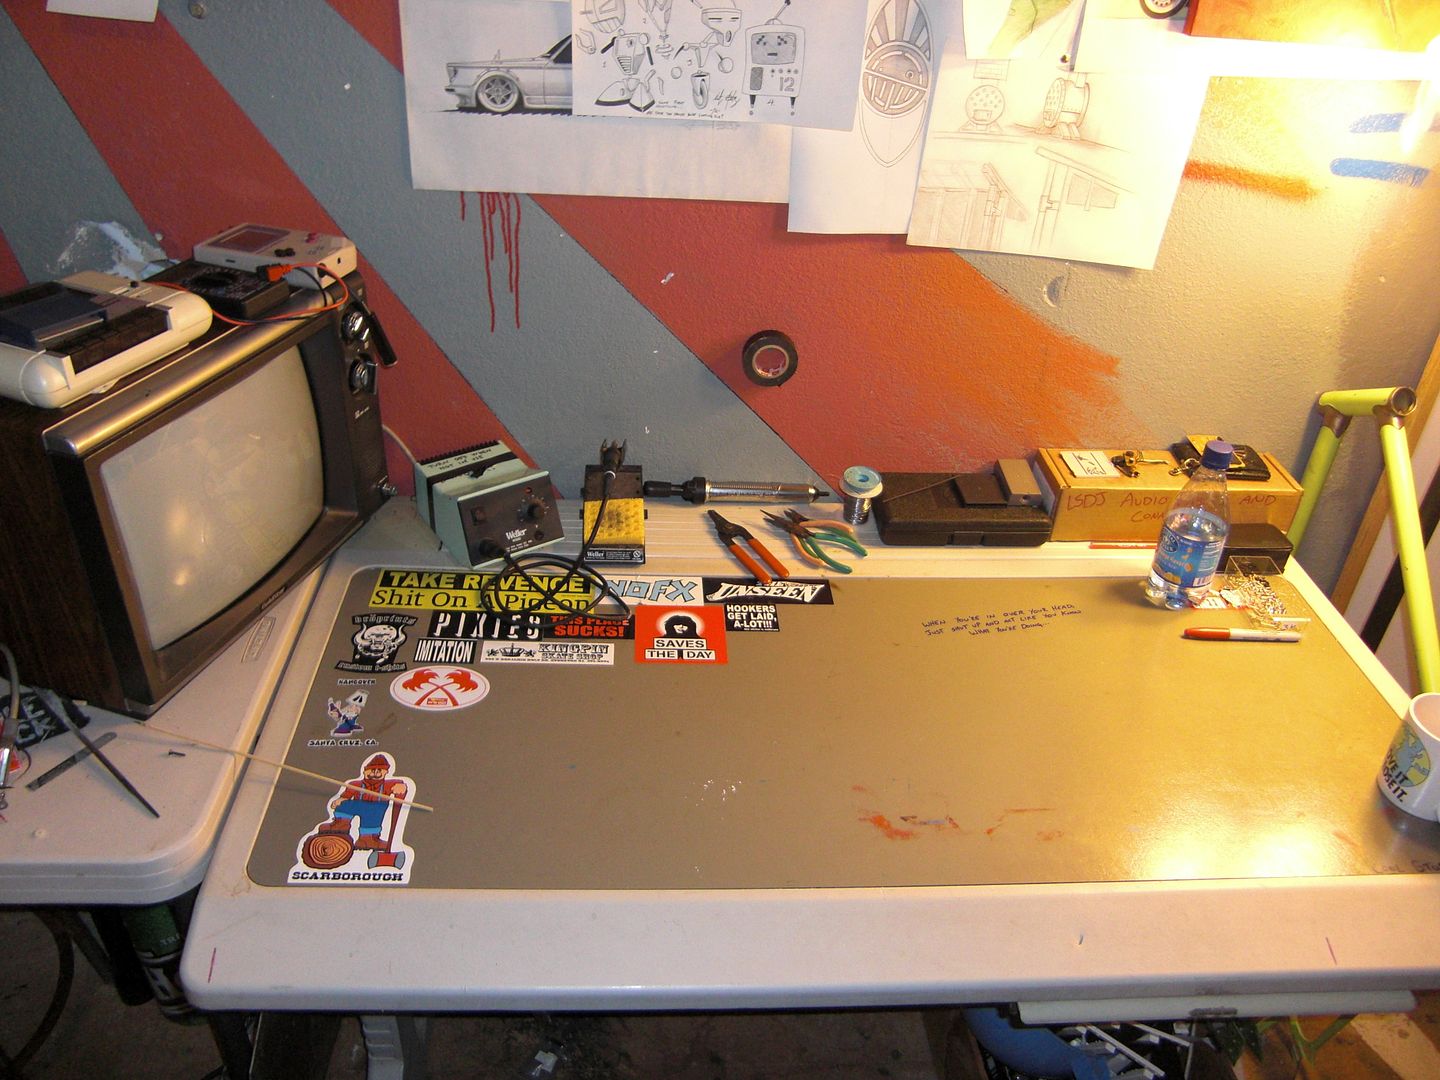
My work space got kinda hectic, so I took a break to clean up.
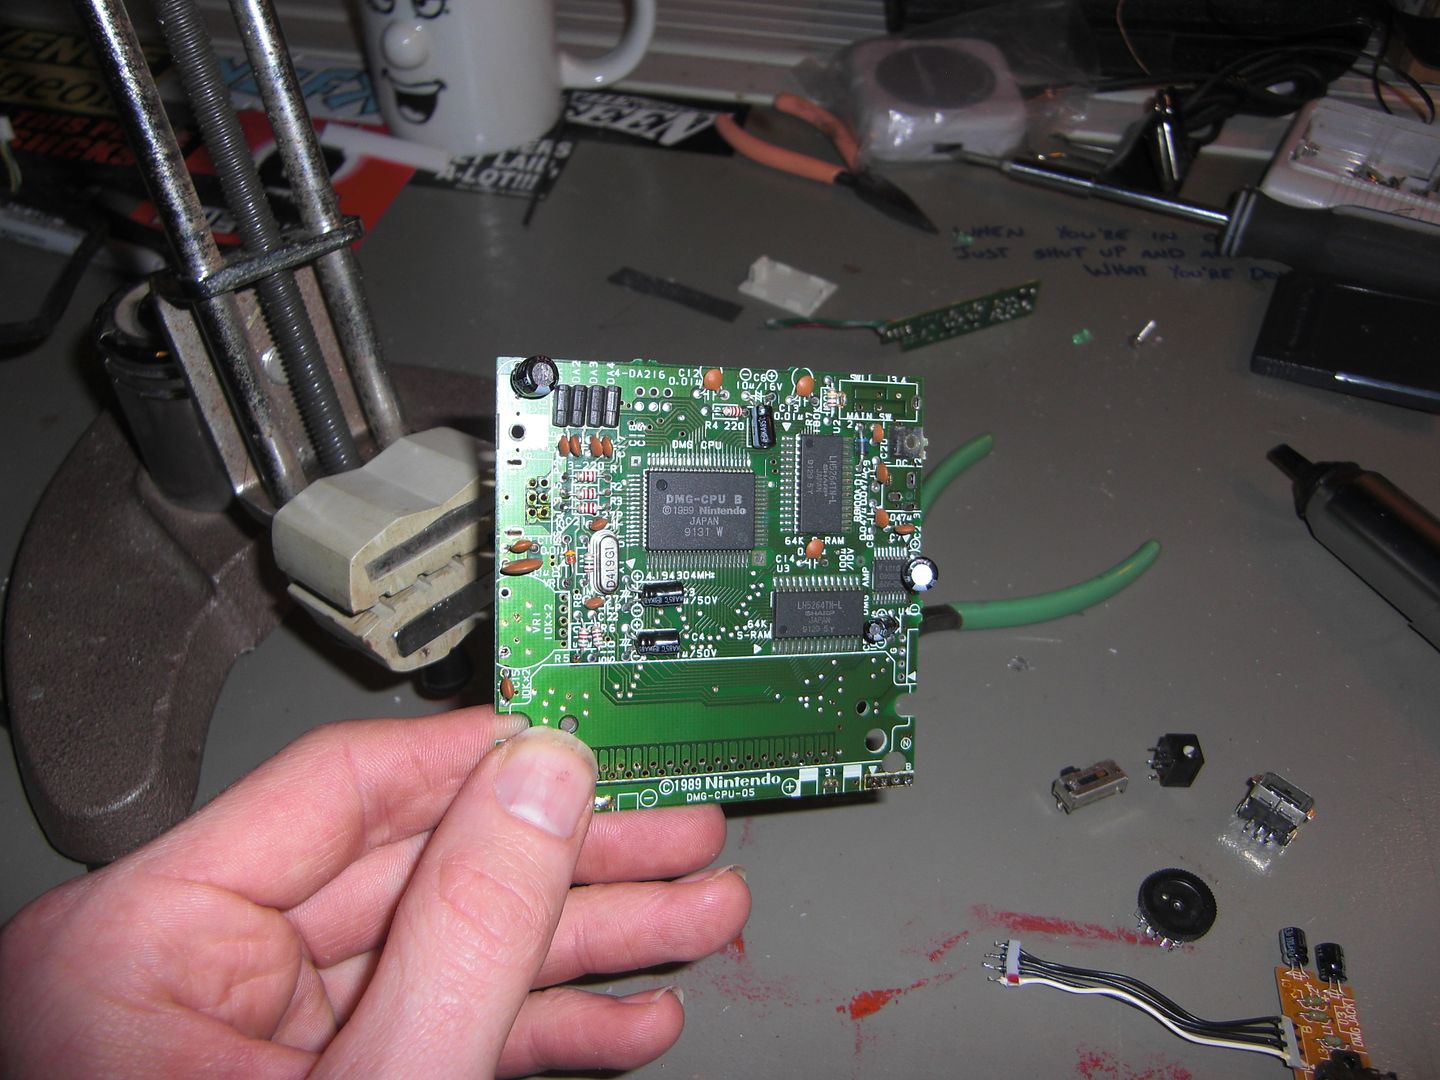
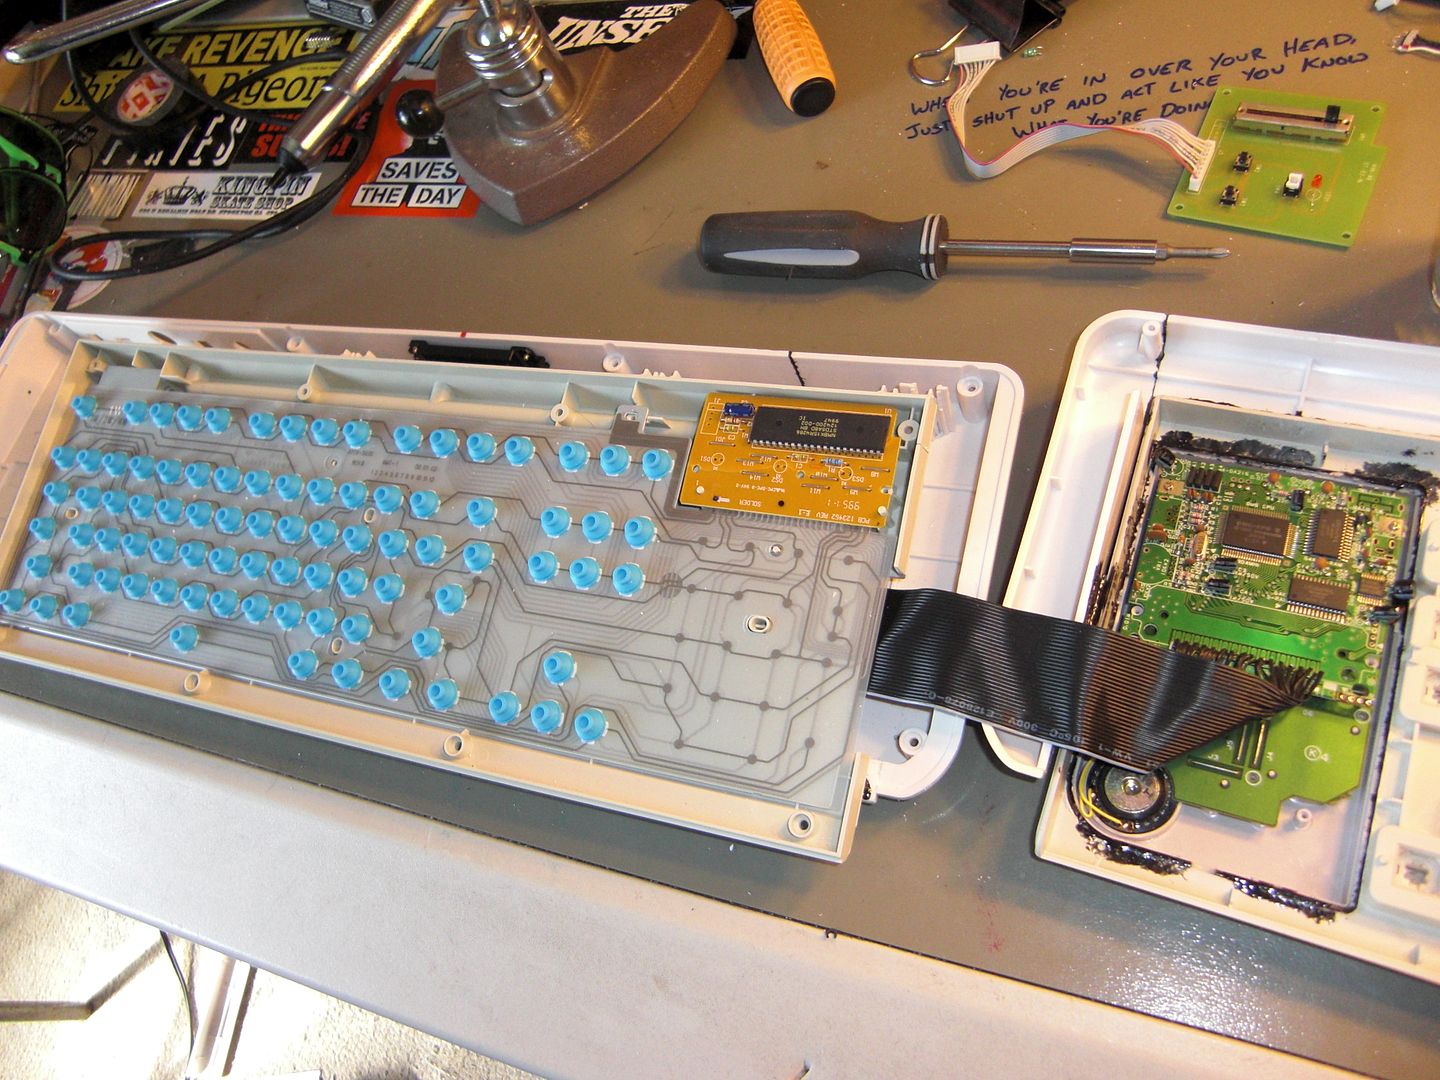
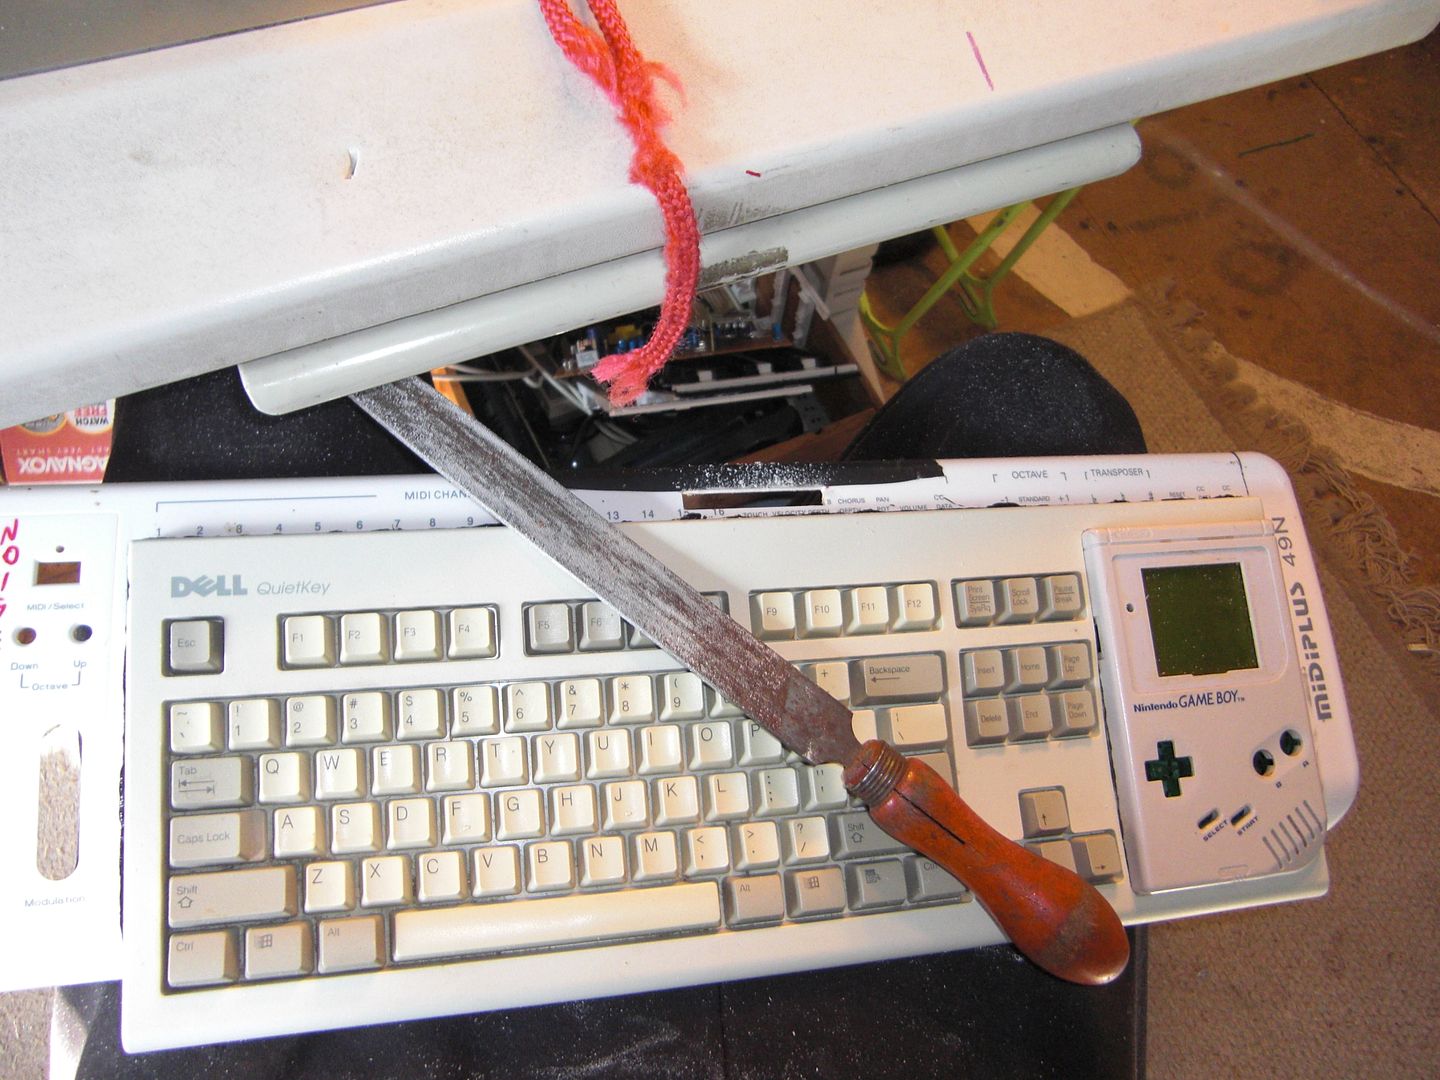
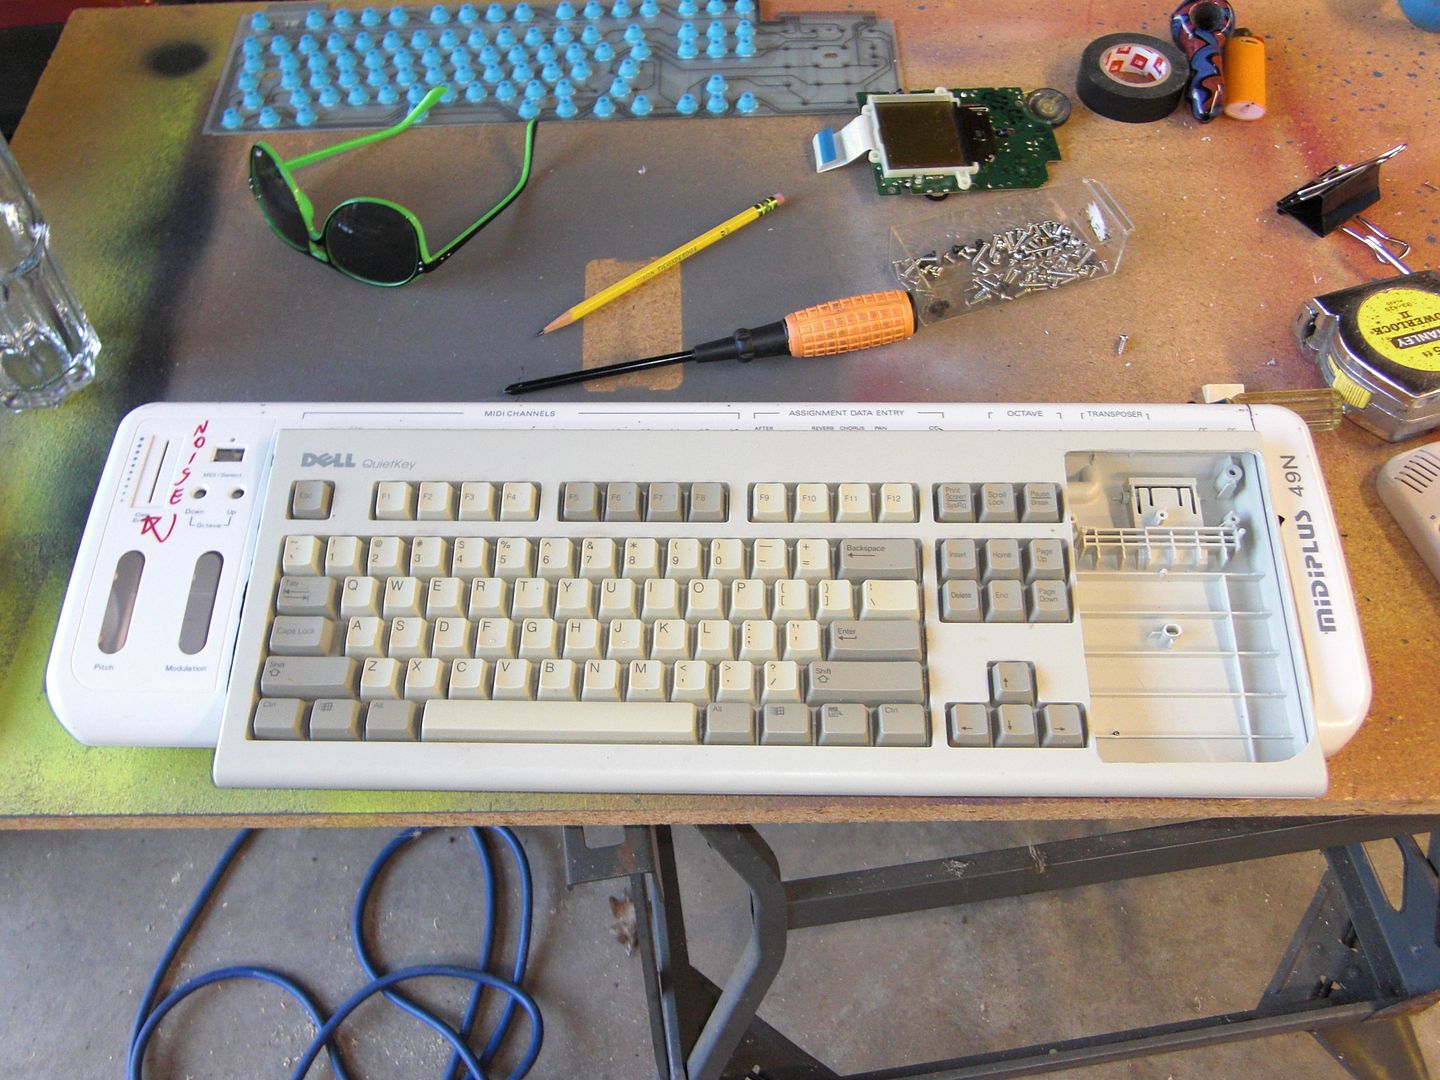
And here we are, at the end of a LONG day. I dug out some of the old components and installed them.
I'll wake up bright and early, start in with the epoxy, and turn this thing into two solid pieces. I can't wait to start doing the wiring and get this monstrosity up and running!

1/31/2013 6:24 pm
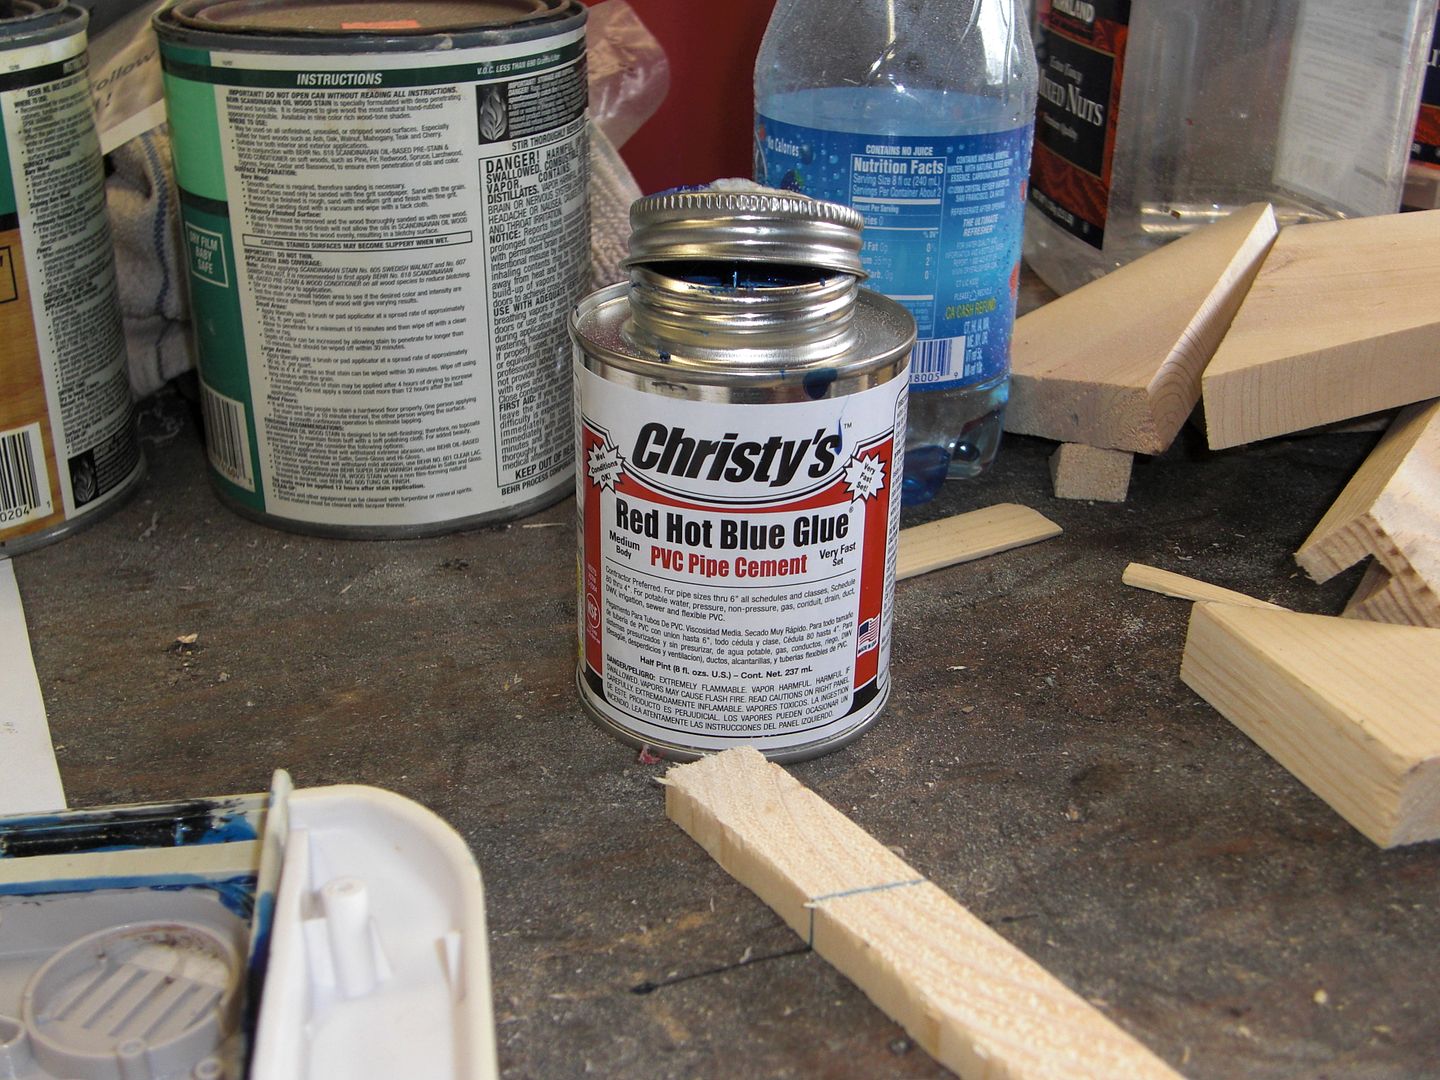
I didn't have and PVC cement, but I did have ABS. Initial tests were promising... Let's proceed, shall we?
So, I cleaned all of my parts with Isopropyl alcohol, used a few binder clips and lined up my plastics, and took a deep breath (you only get one shot when you work with this stuff). I started with the base, using a liberal application of the stinky-ass adhesive.
› Black Goop
‹ Black Goop
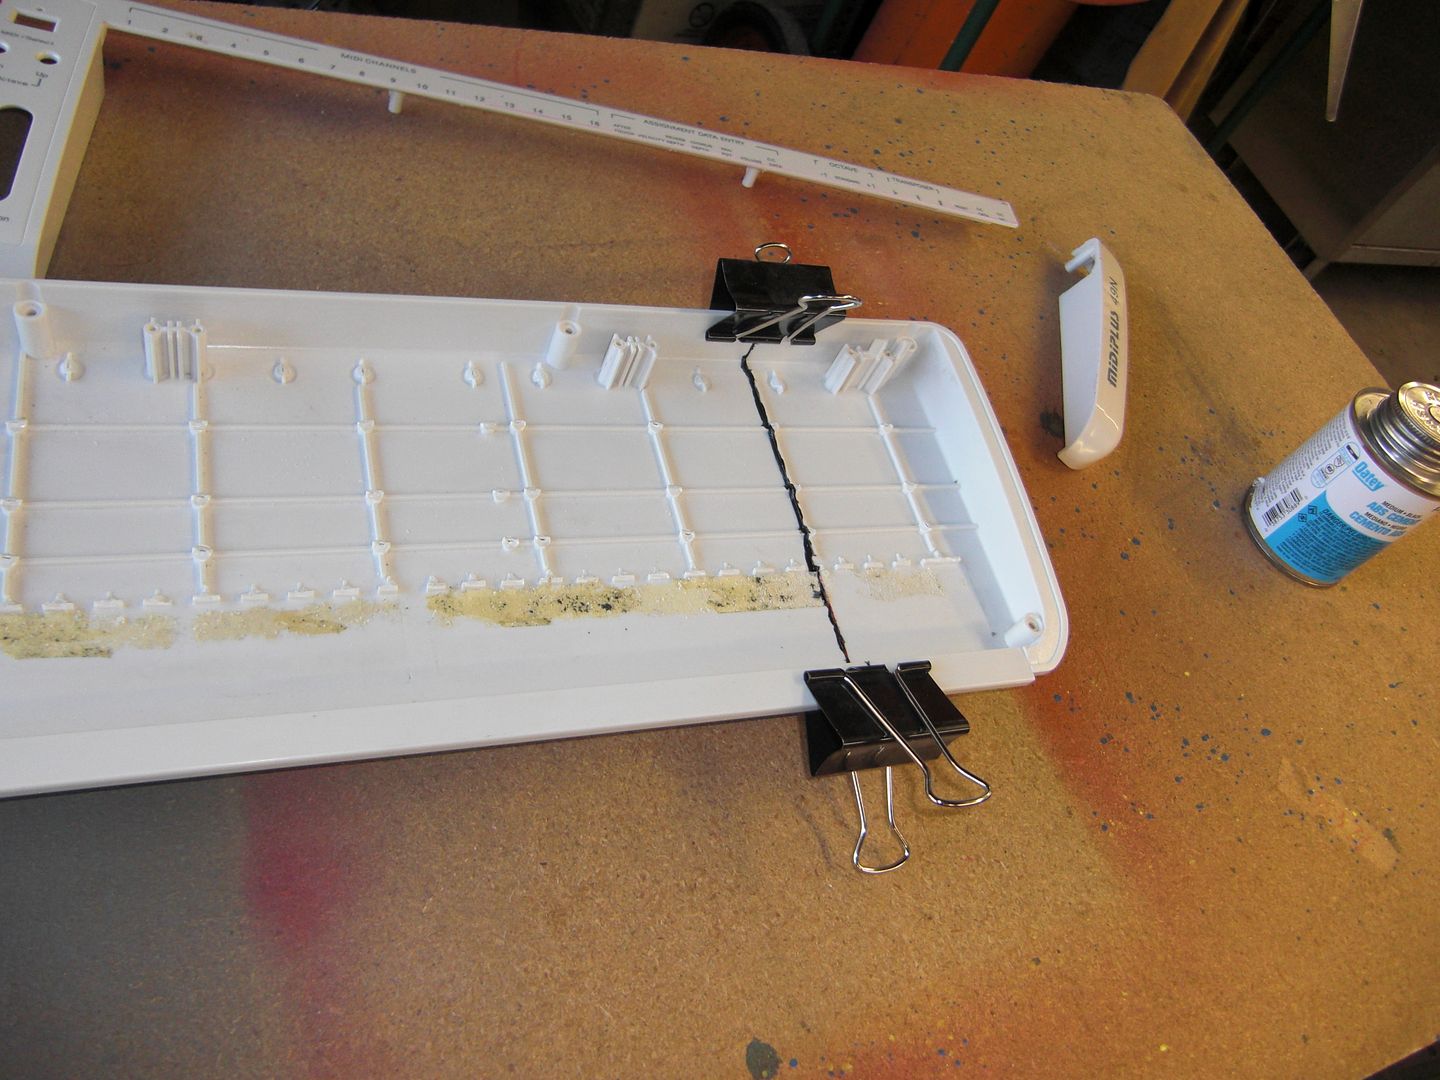
After that had dried, I assembled the rest of it in one shot. Seriously, this is high stress; the glue sets up hella quick, and you have a limited amount of time to get everything aligned... I persevered, and stuck a bunch of random crap on top to weigh it down and hold everything place.
› DOG PILE!
‹ DOG PILE!
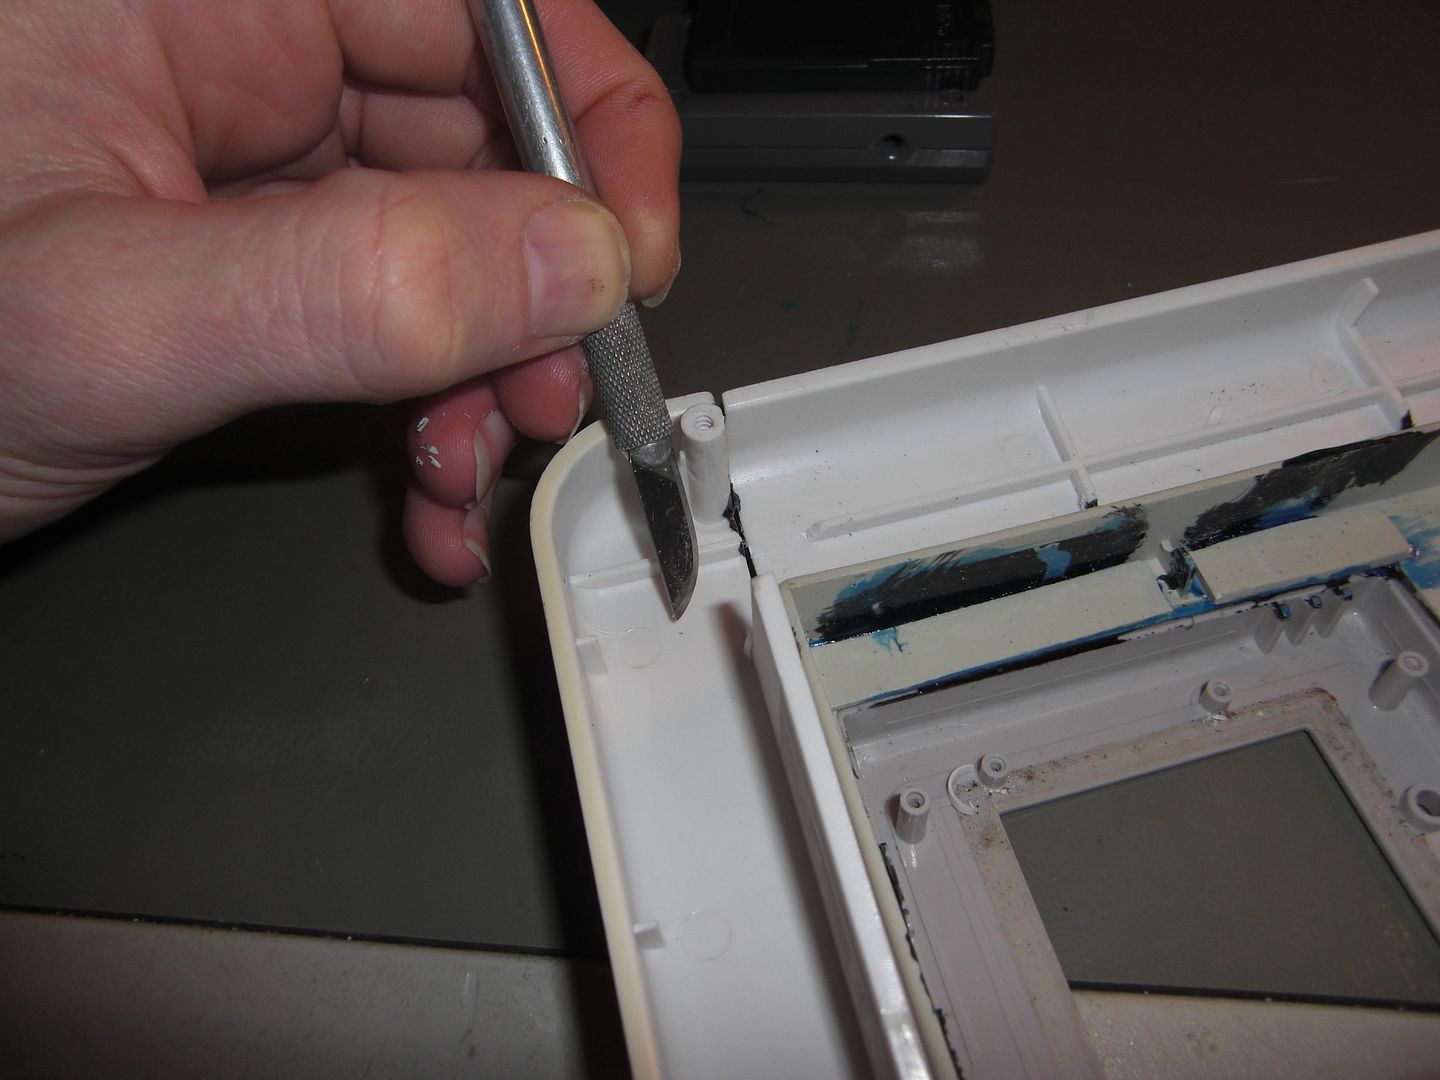
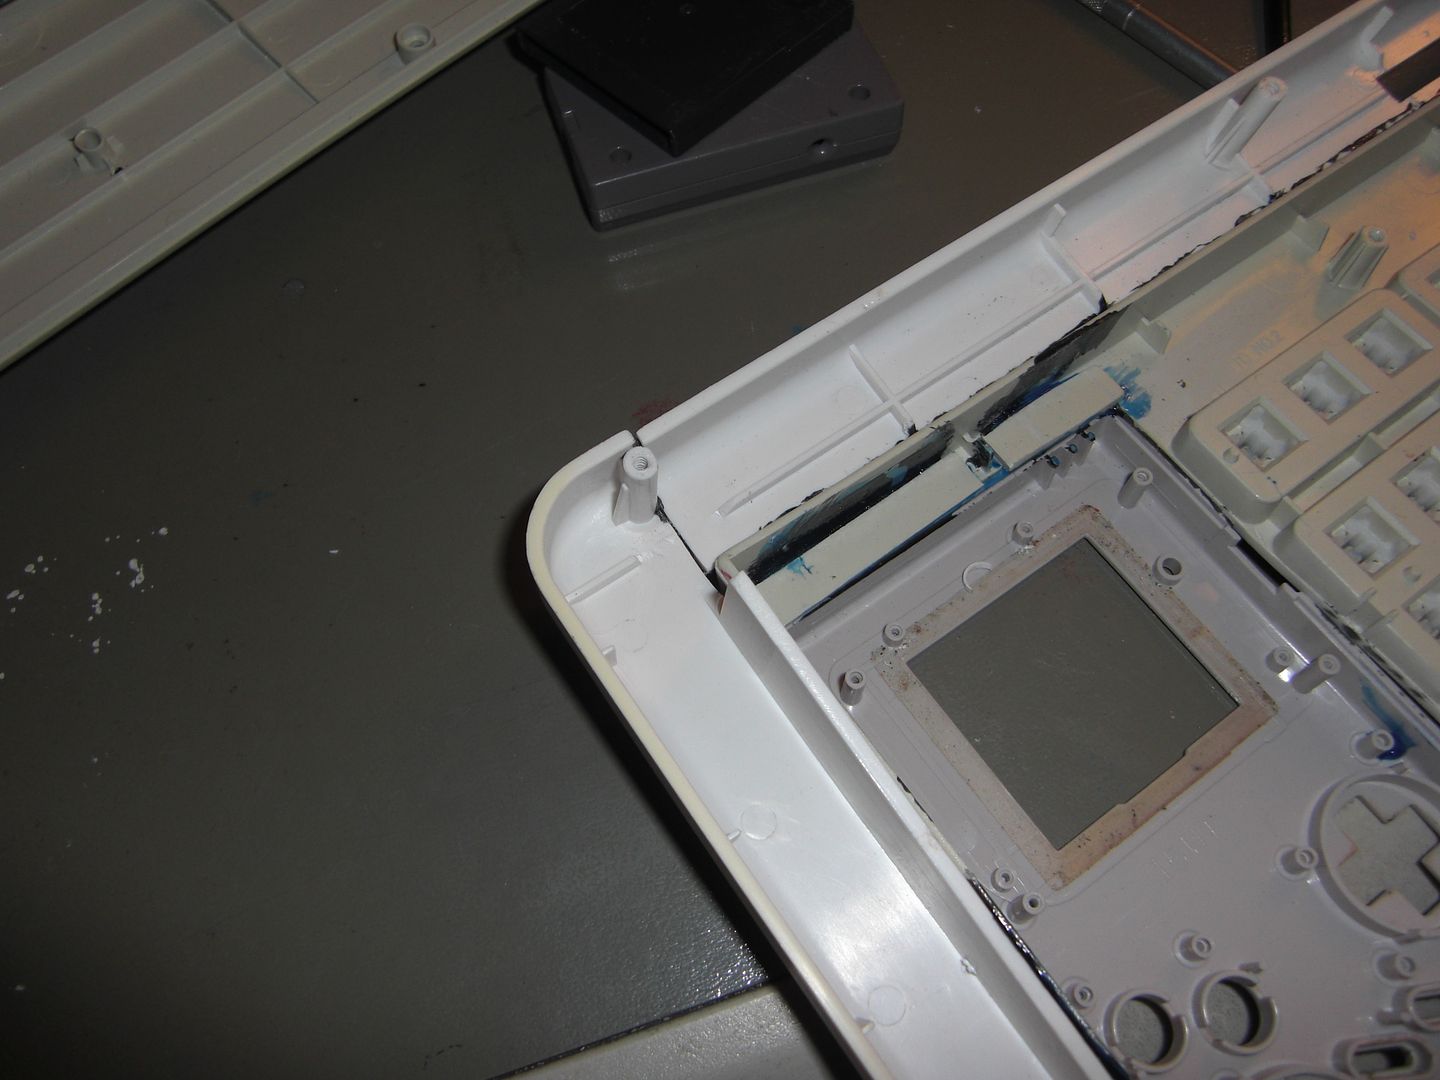
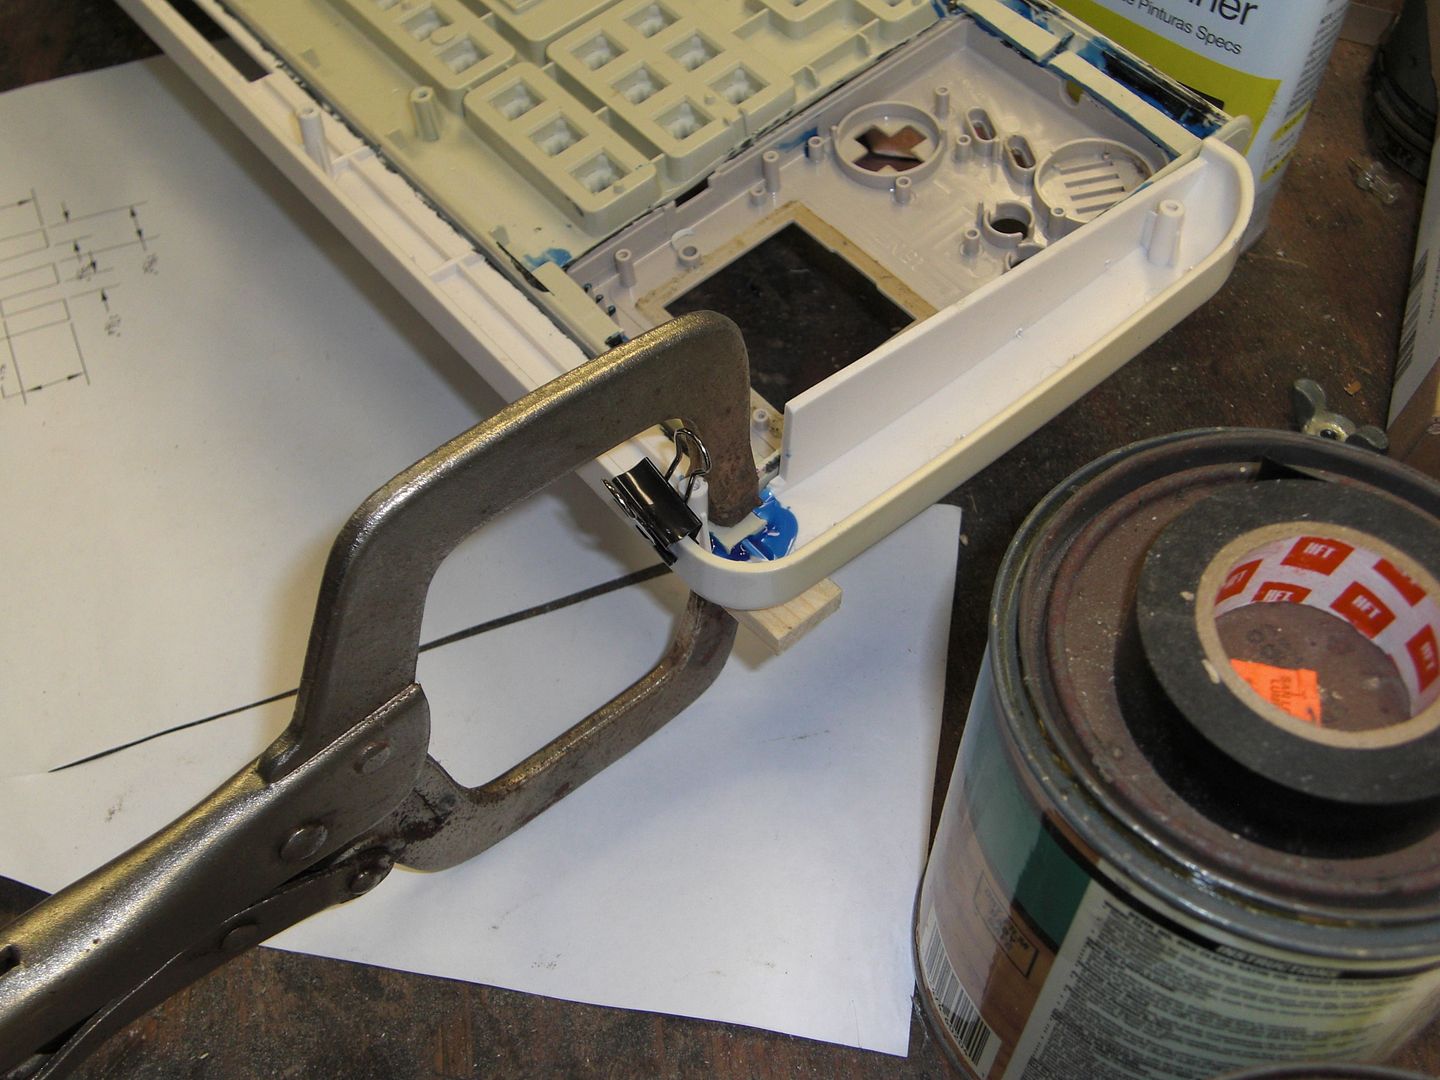
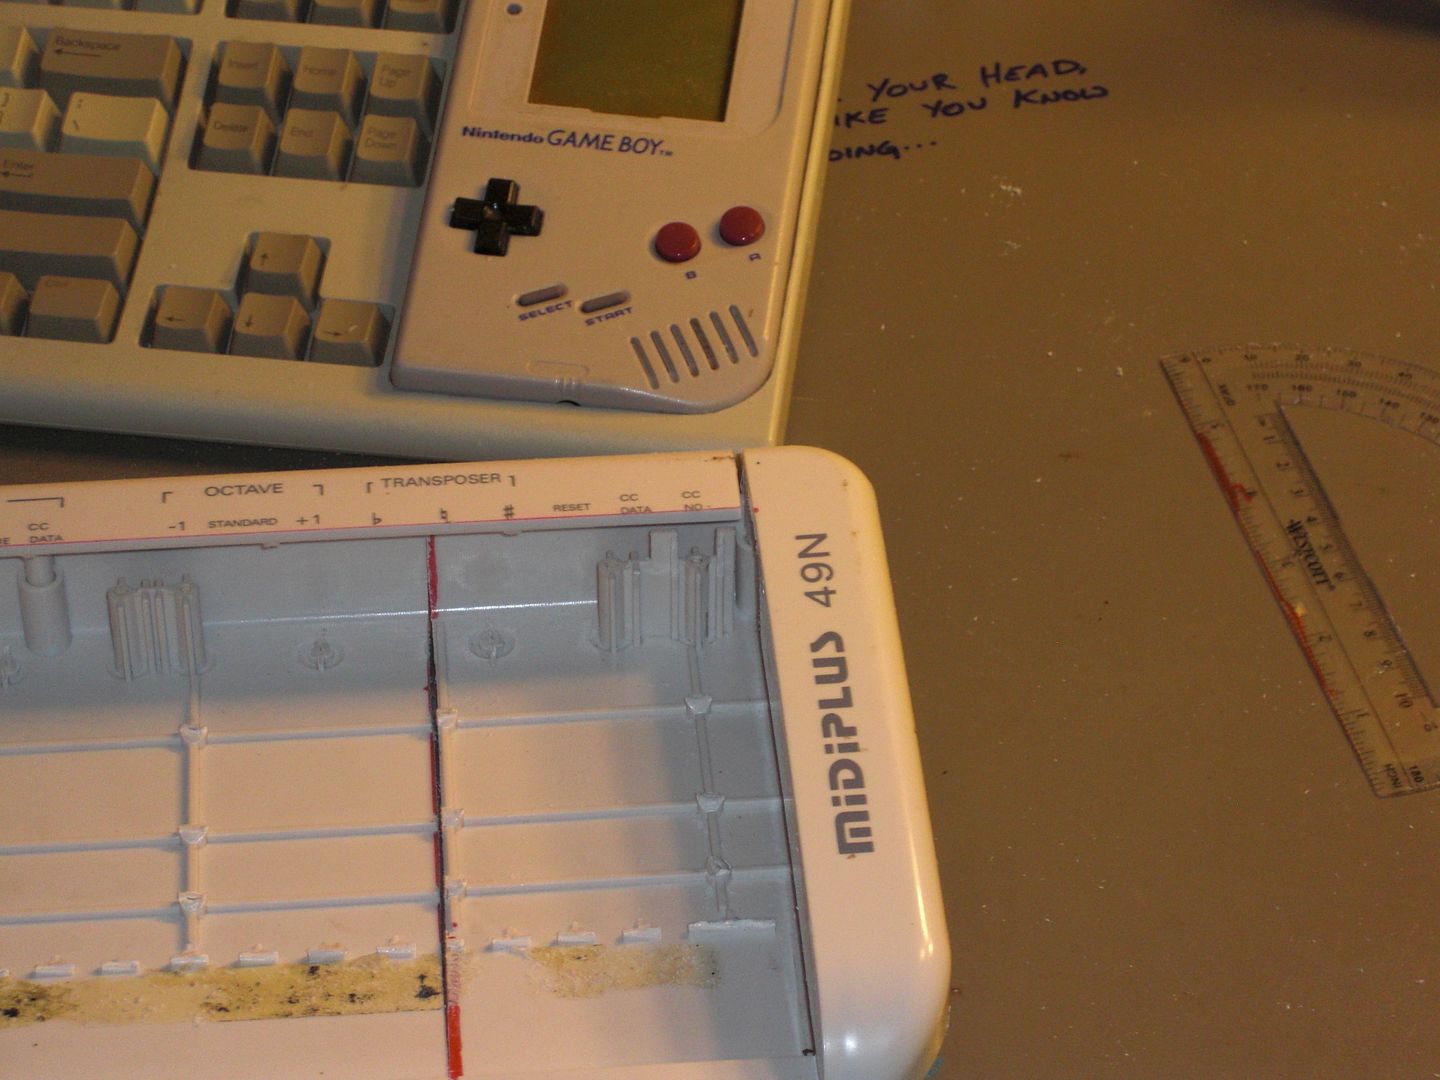
Shit. Unfortunately, my initial measurements weren't quite right, so I ended up with a gap.
Since I'm filling all the seams with bondo anyway, and all I need is a surface for the two pieces to adhere, I filed down a chunk of PVC and glued it in there.
› Shims are the Band-Aids of carpentry
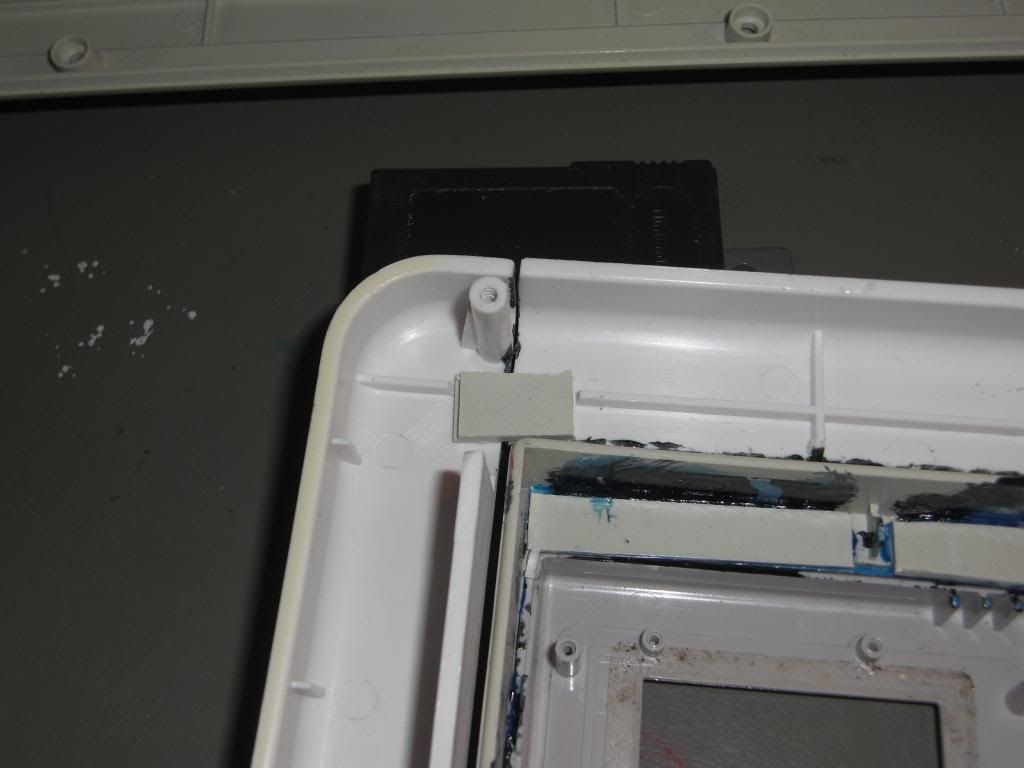
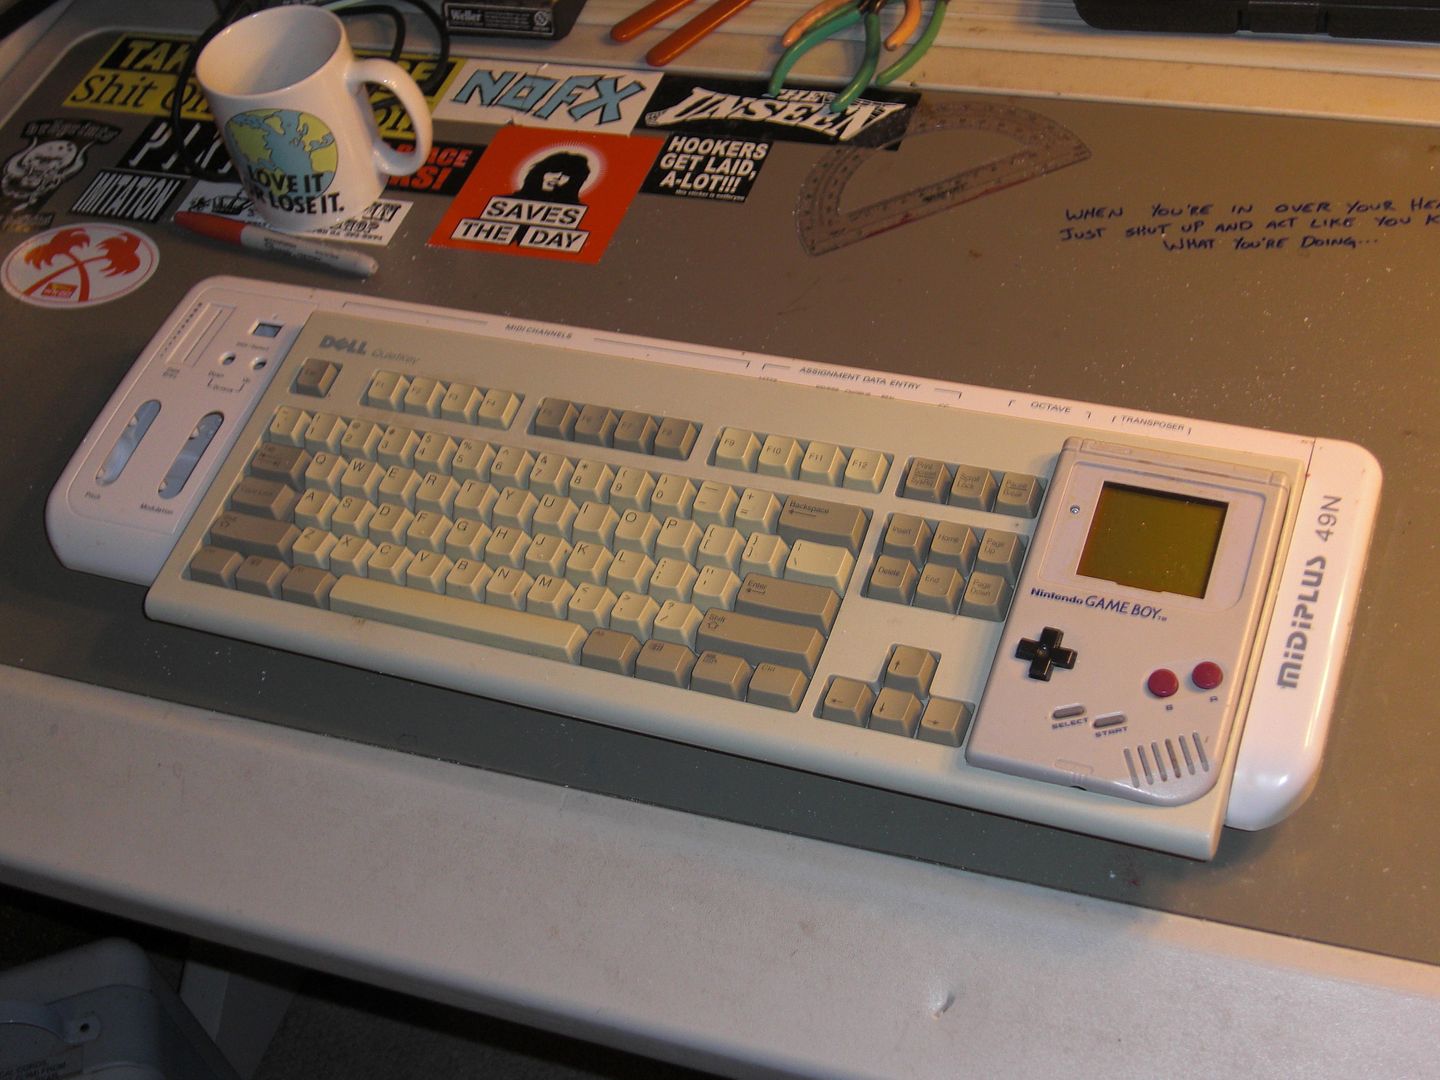
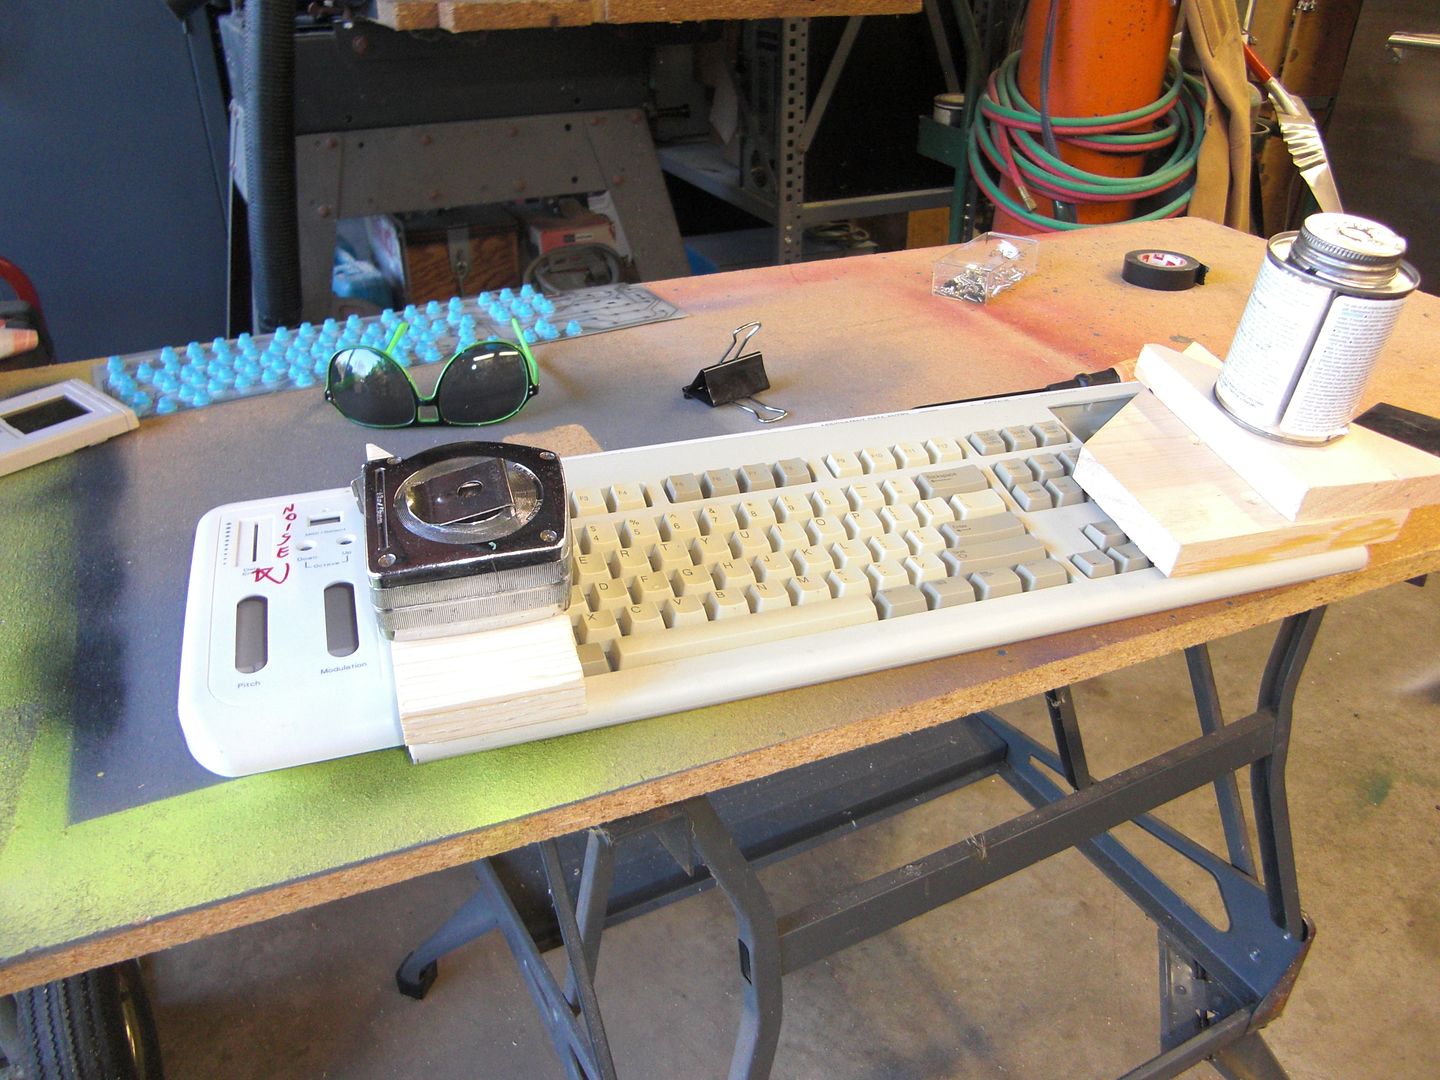
So, after a long day of watching glue dry, I'm pretty satisfied with the results.
› It's was like watching paint dry
‹ It's was like watching paint dry

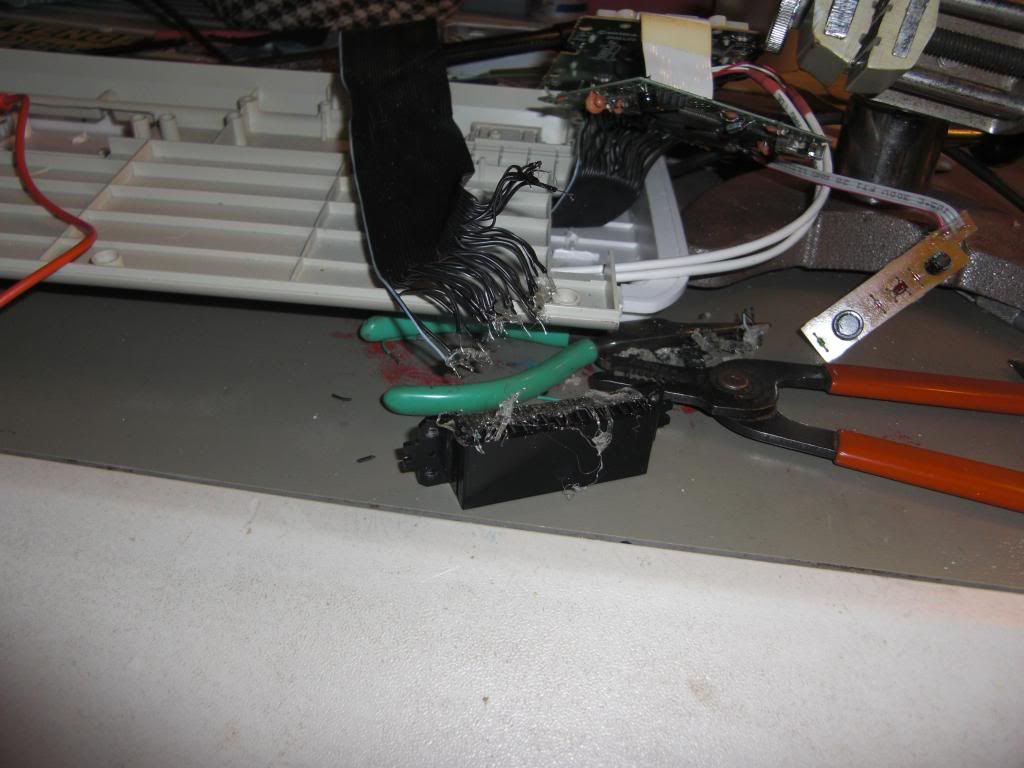
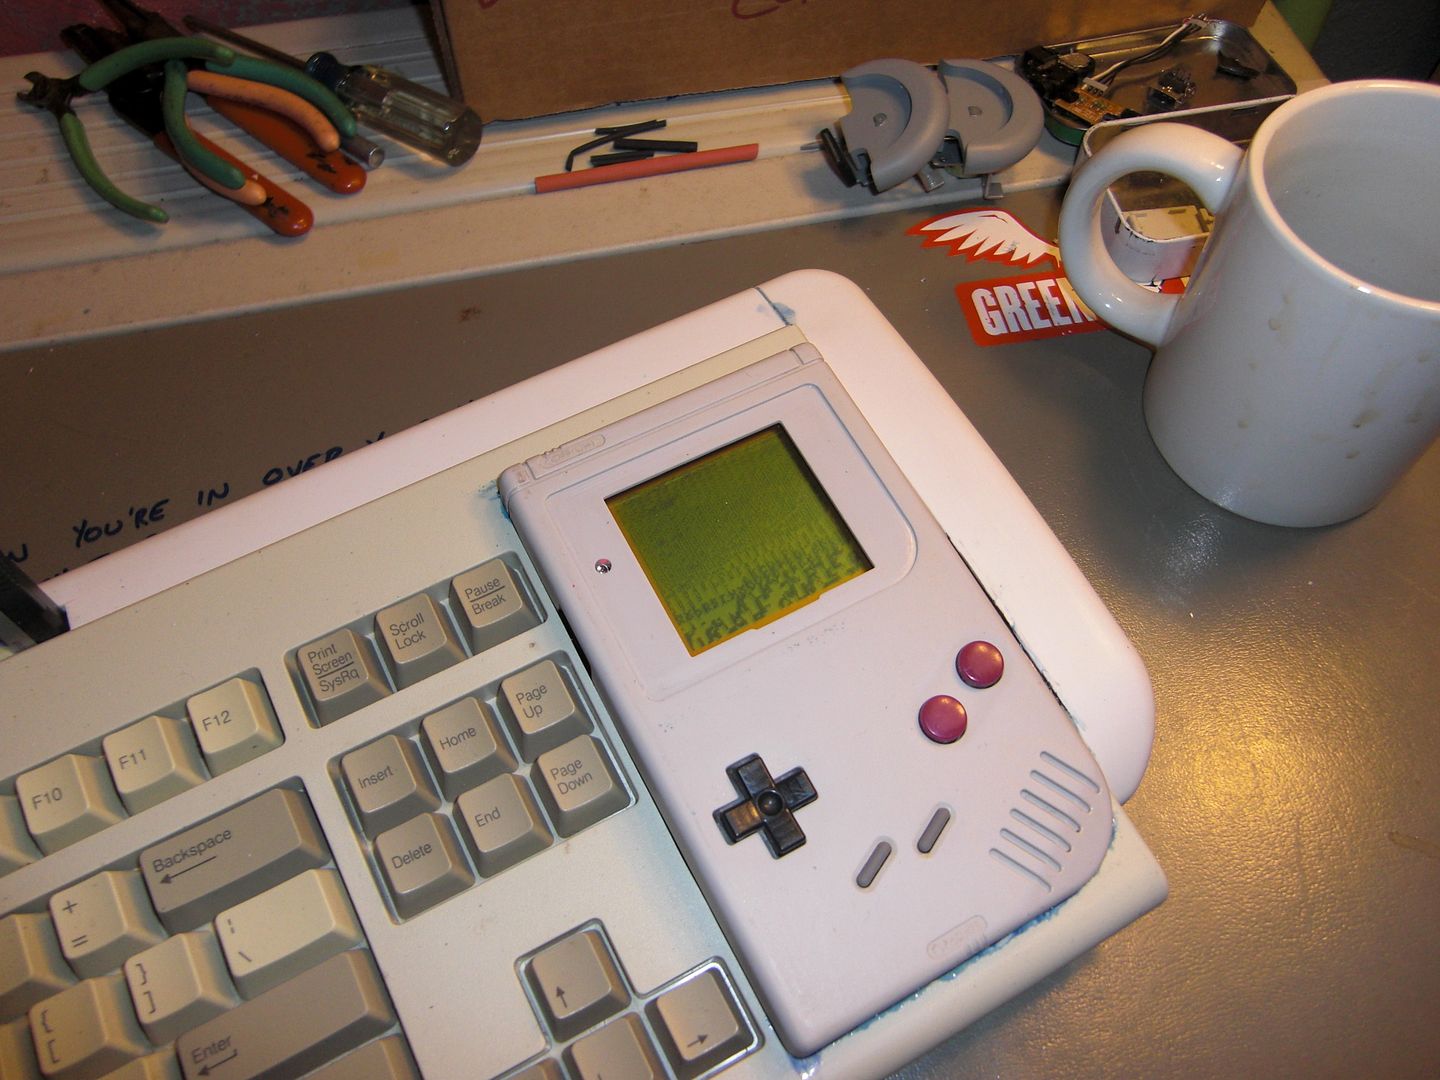
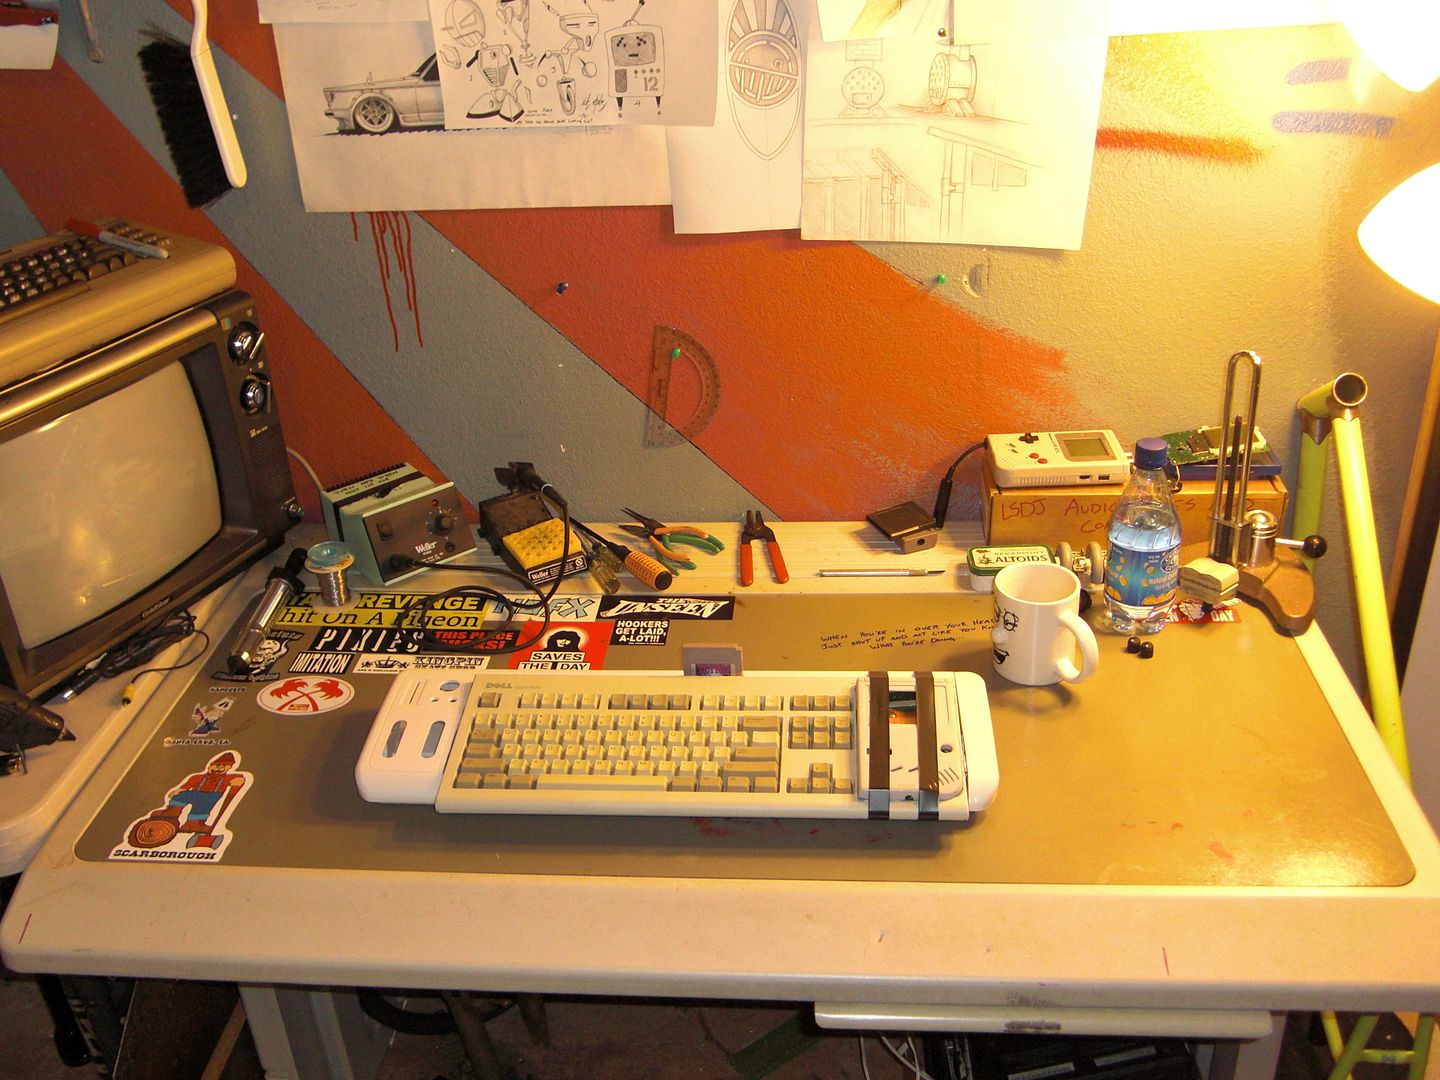
Some closing shots. One before the DMG was glued in, and another of my trashed work station... with a cemented in DMG.