Pics are back up!
Offline
Santa Cruz, California
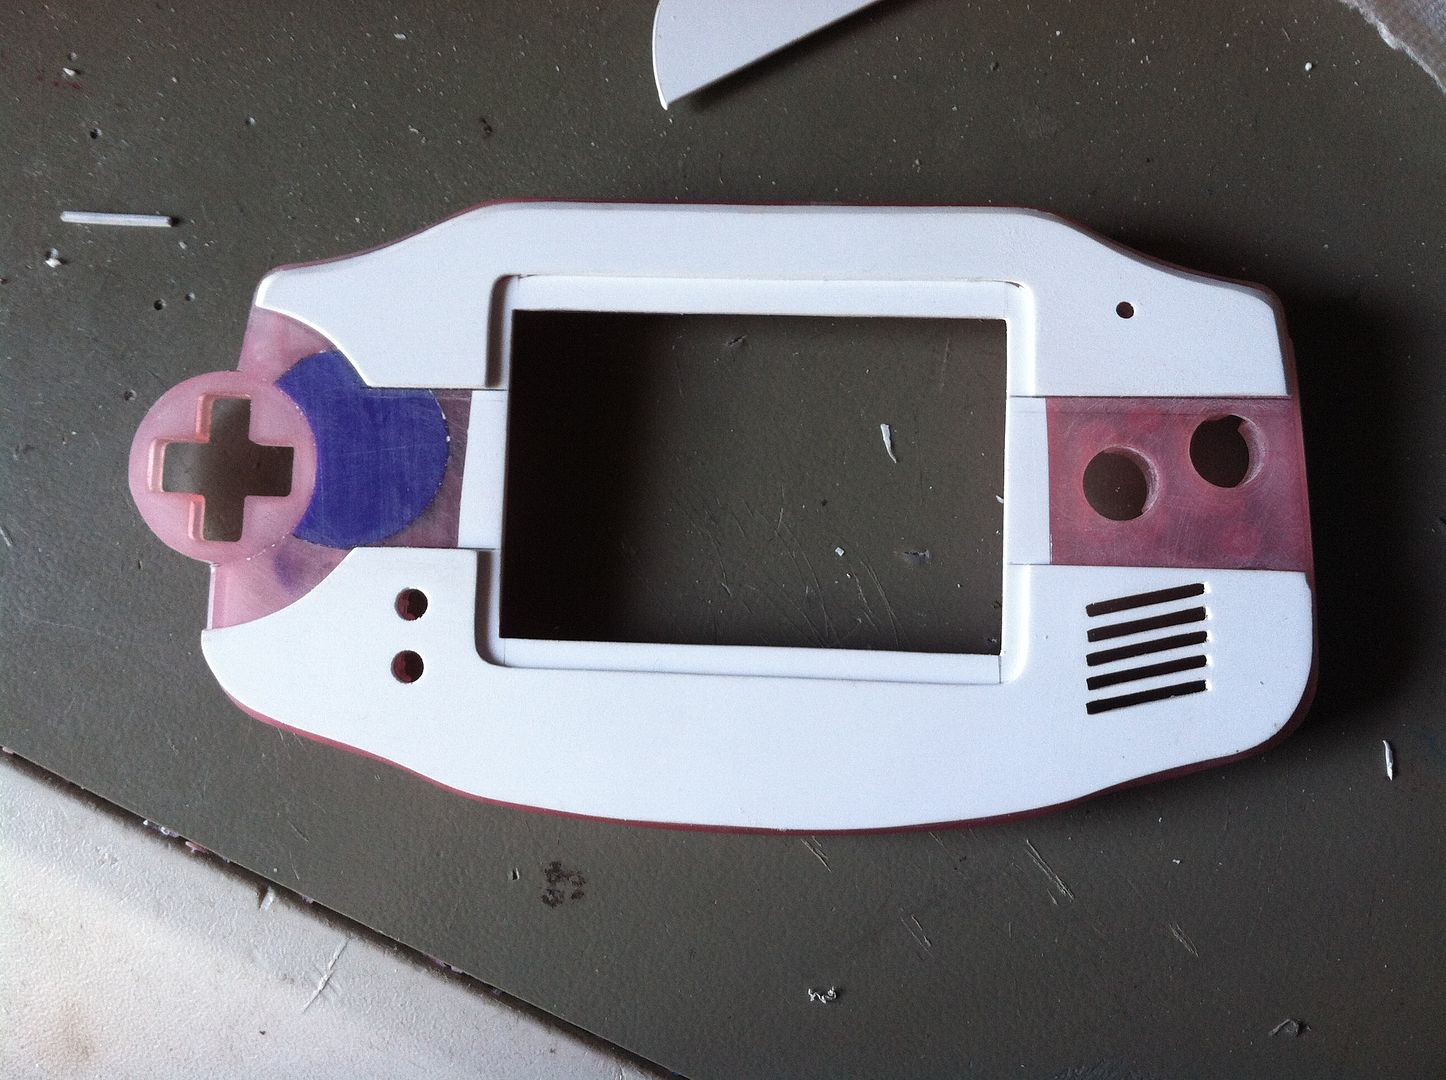
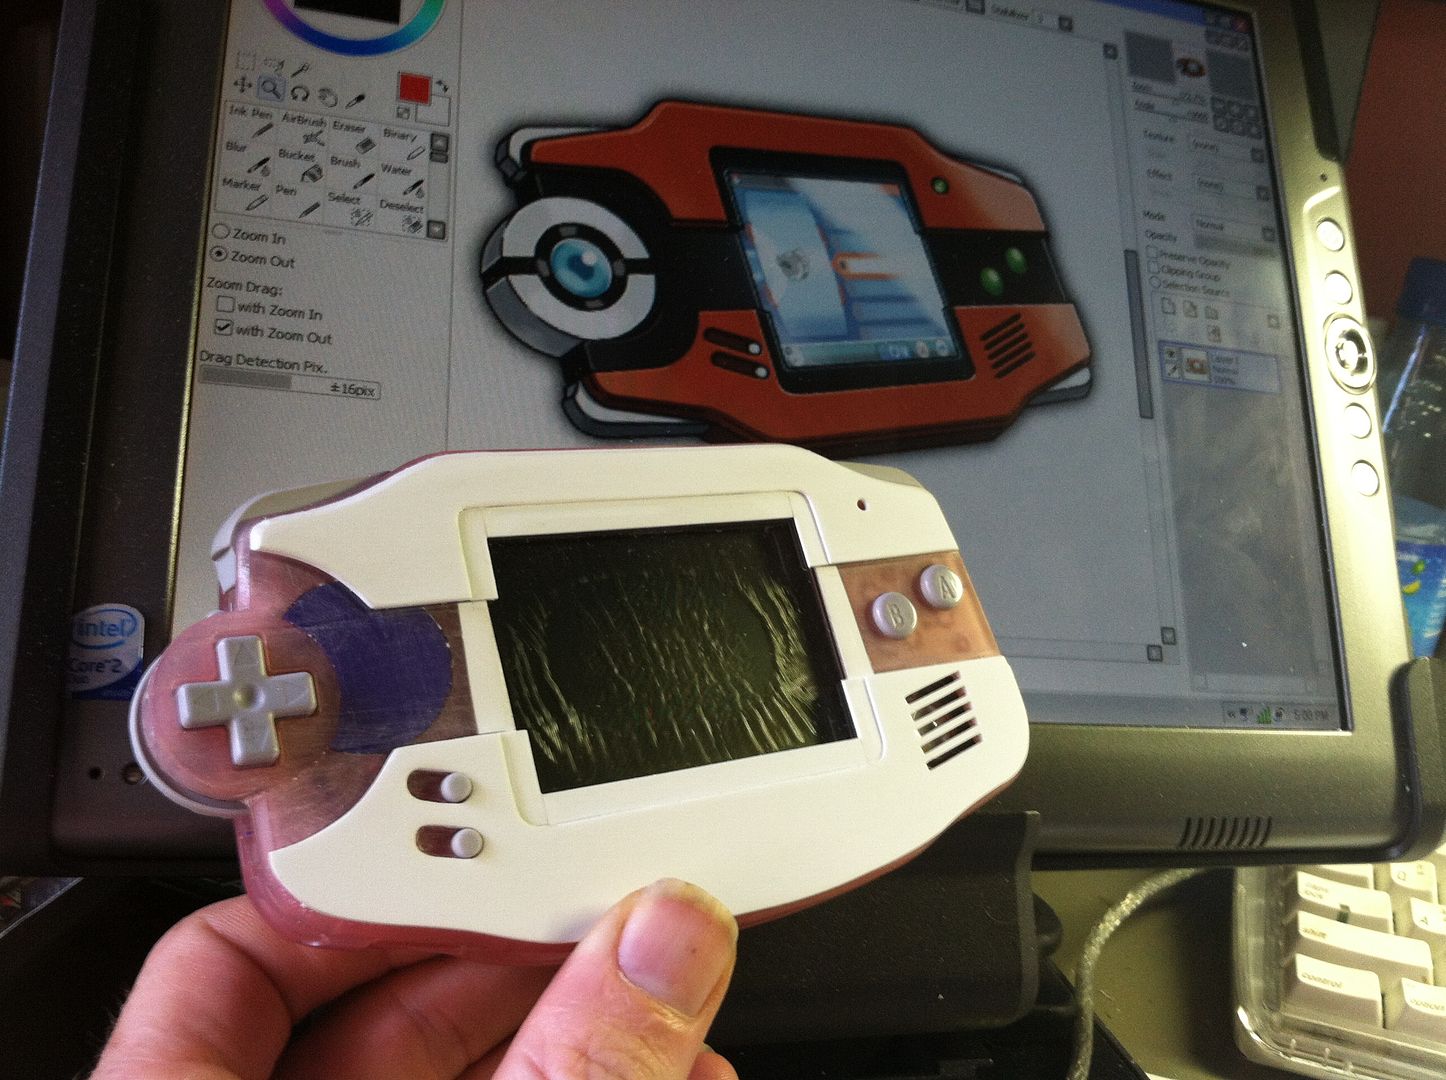
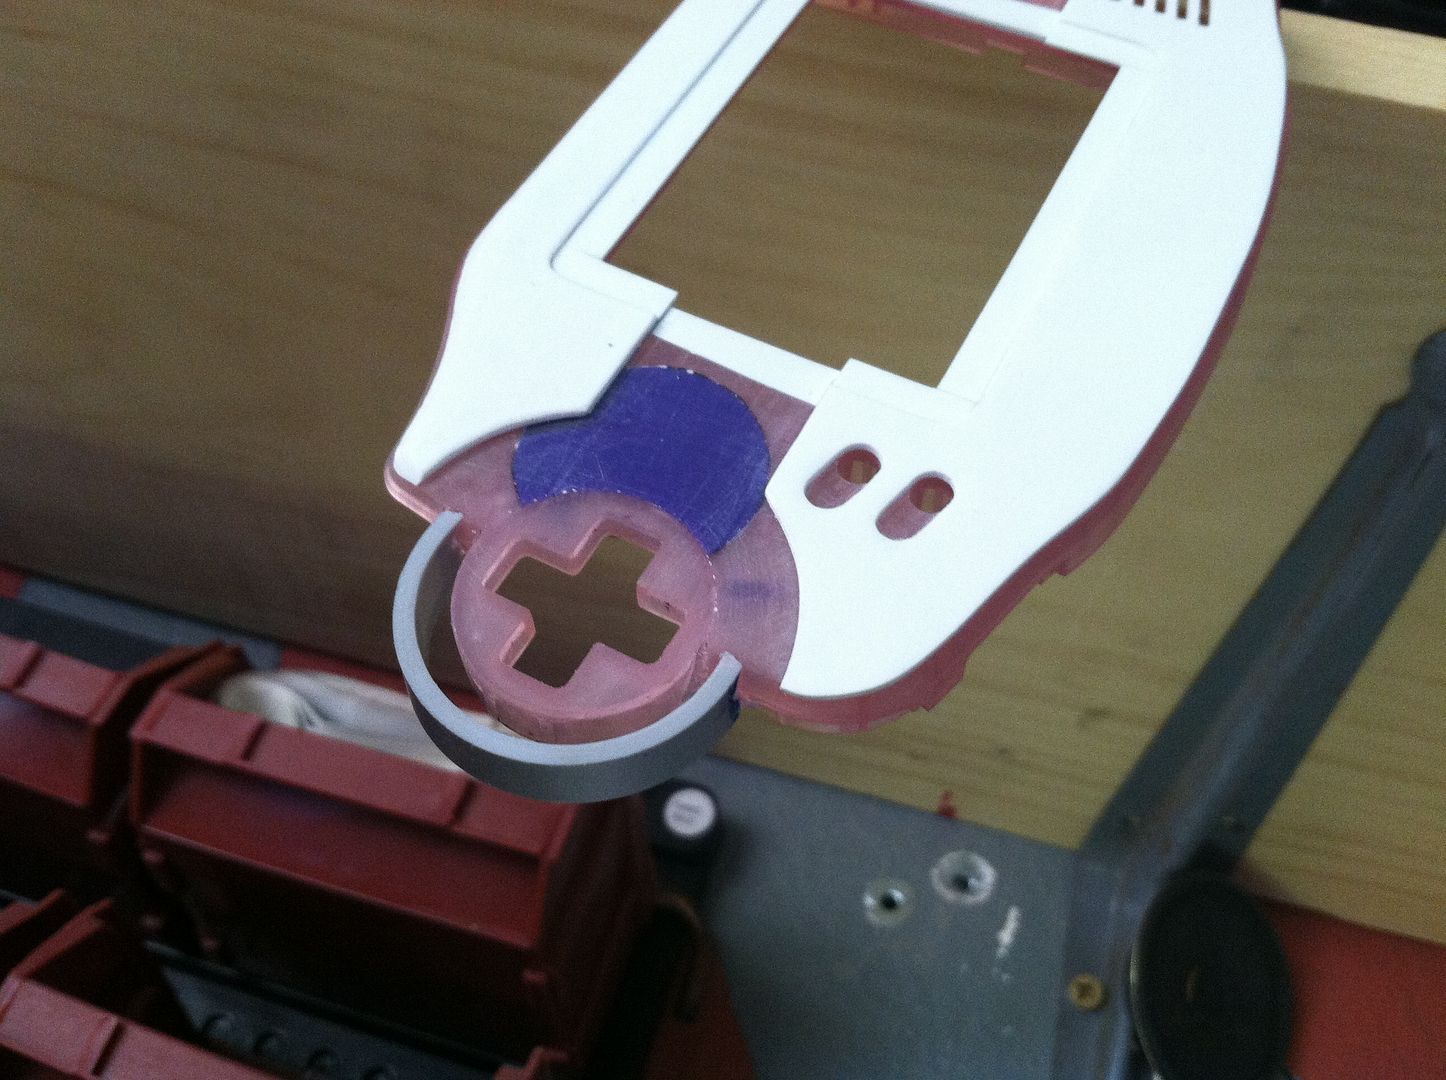
Just doing a little more detail on the face plates.
I found that it was easier to glue the bottom plate in, and the drill and cut with it in place.
Patience and a steady hand serves me well.

Offline
Santa Cruz, California
I cut and installed the frame edges.
I was planning on getting a piece of gorilla glass to go with this thing (and I might still do that) but the lens was in pretty good shape, so I simply cut it to fit.
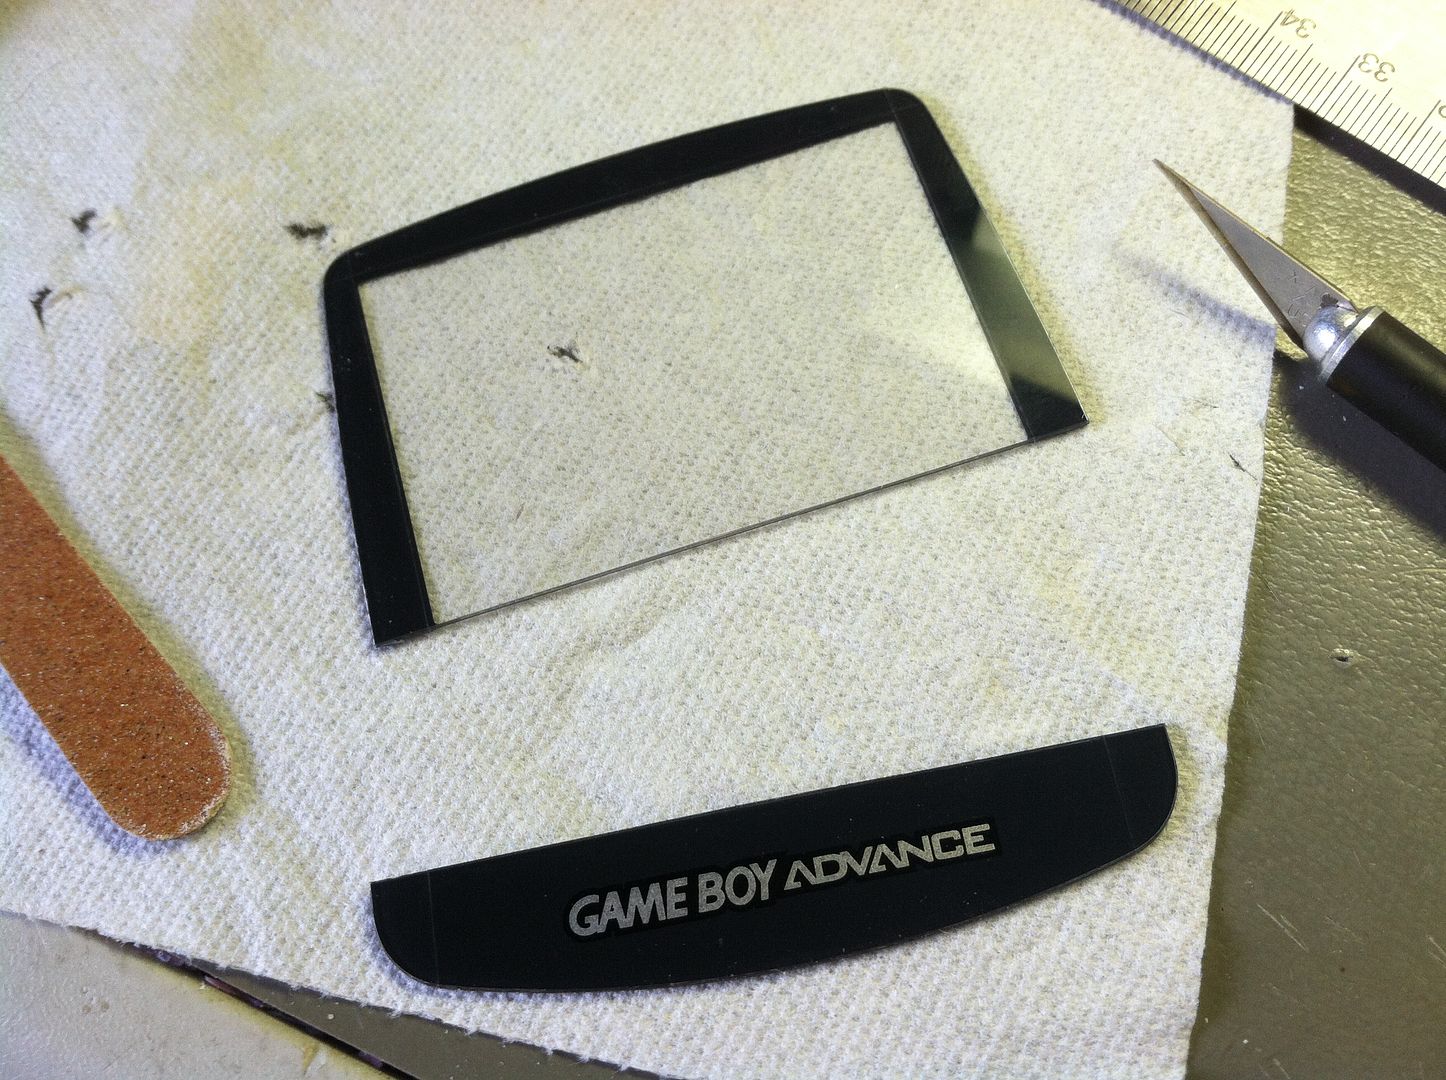
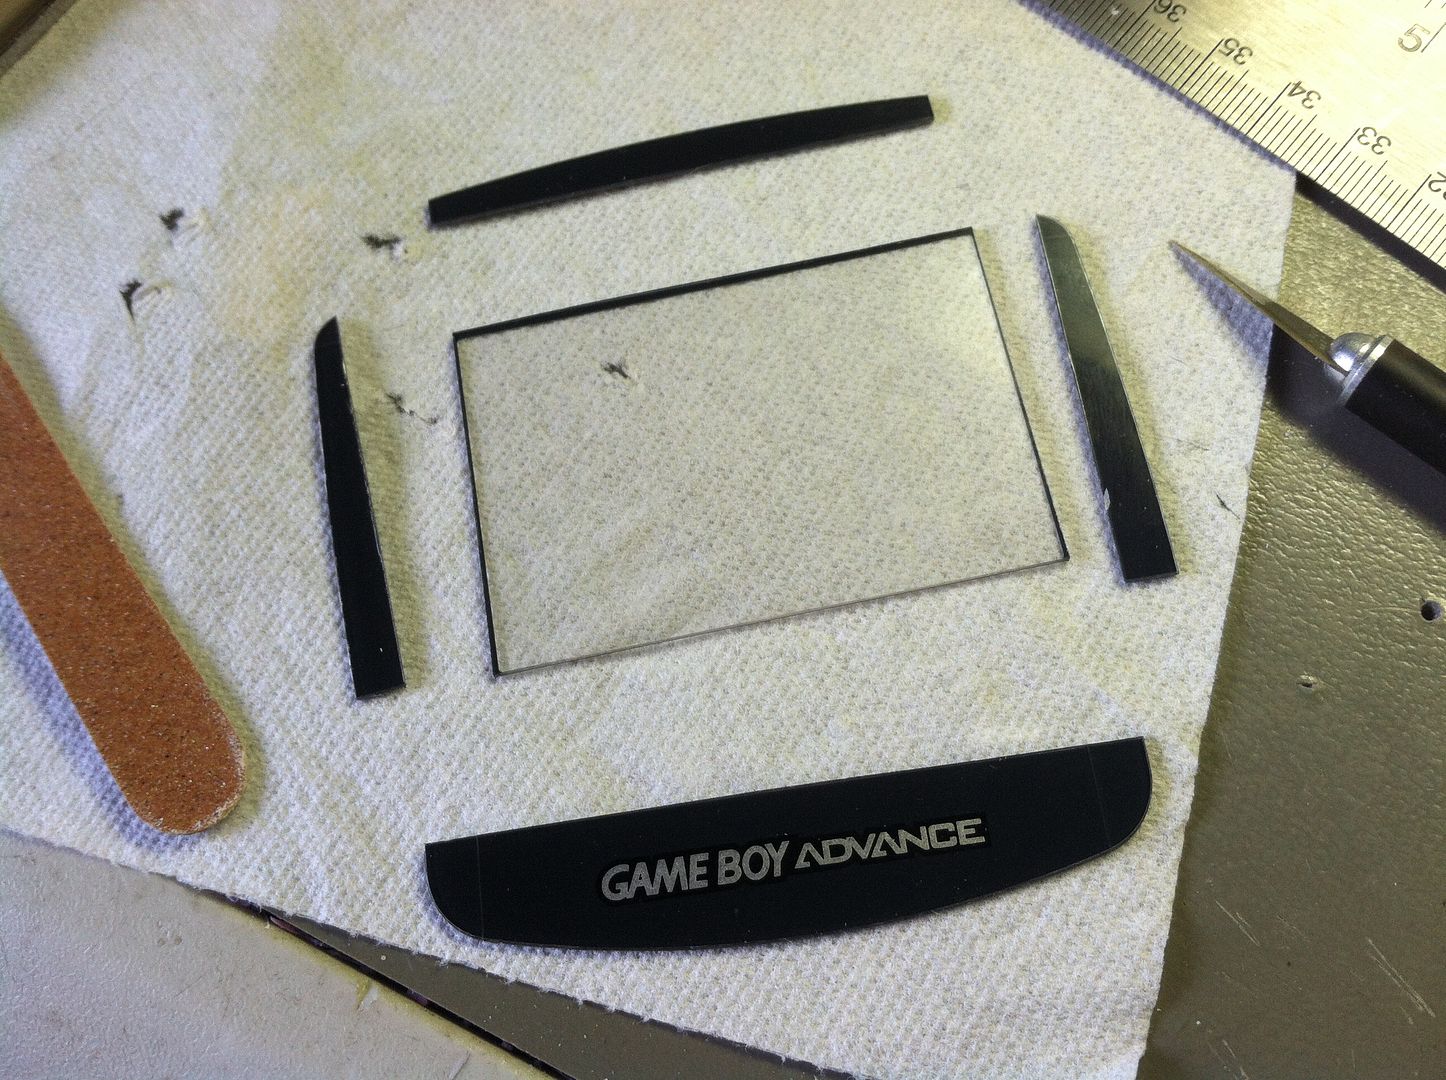
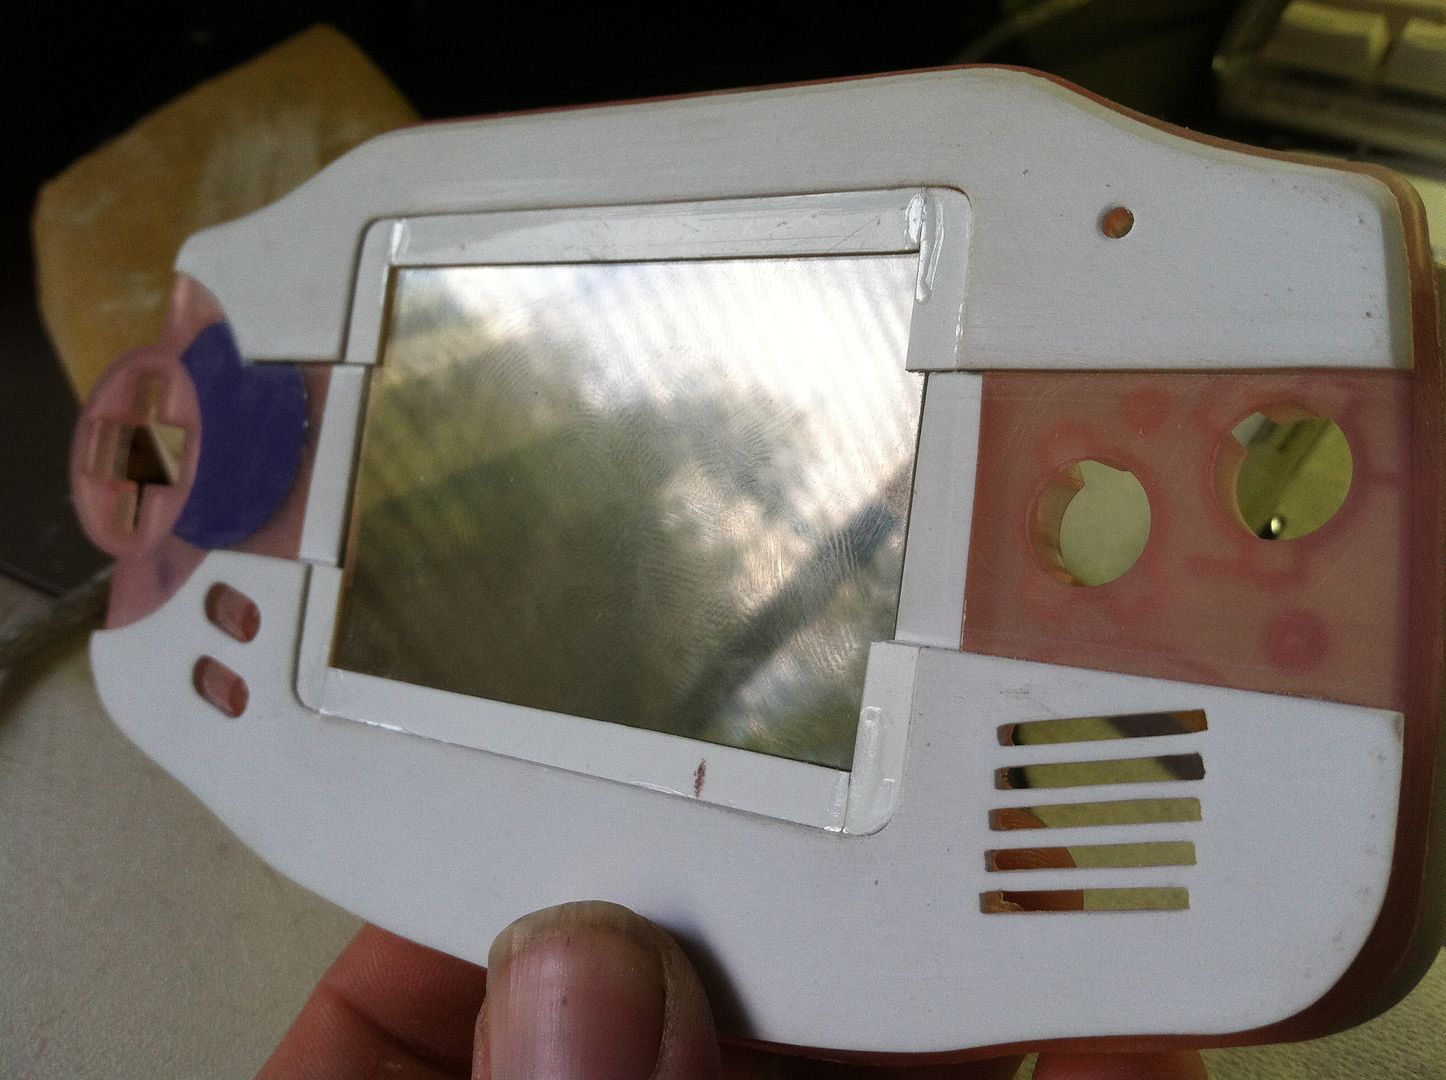
I did a little sanding and cleanup just to make it look a little more crisp.
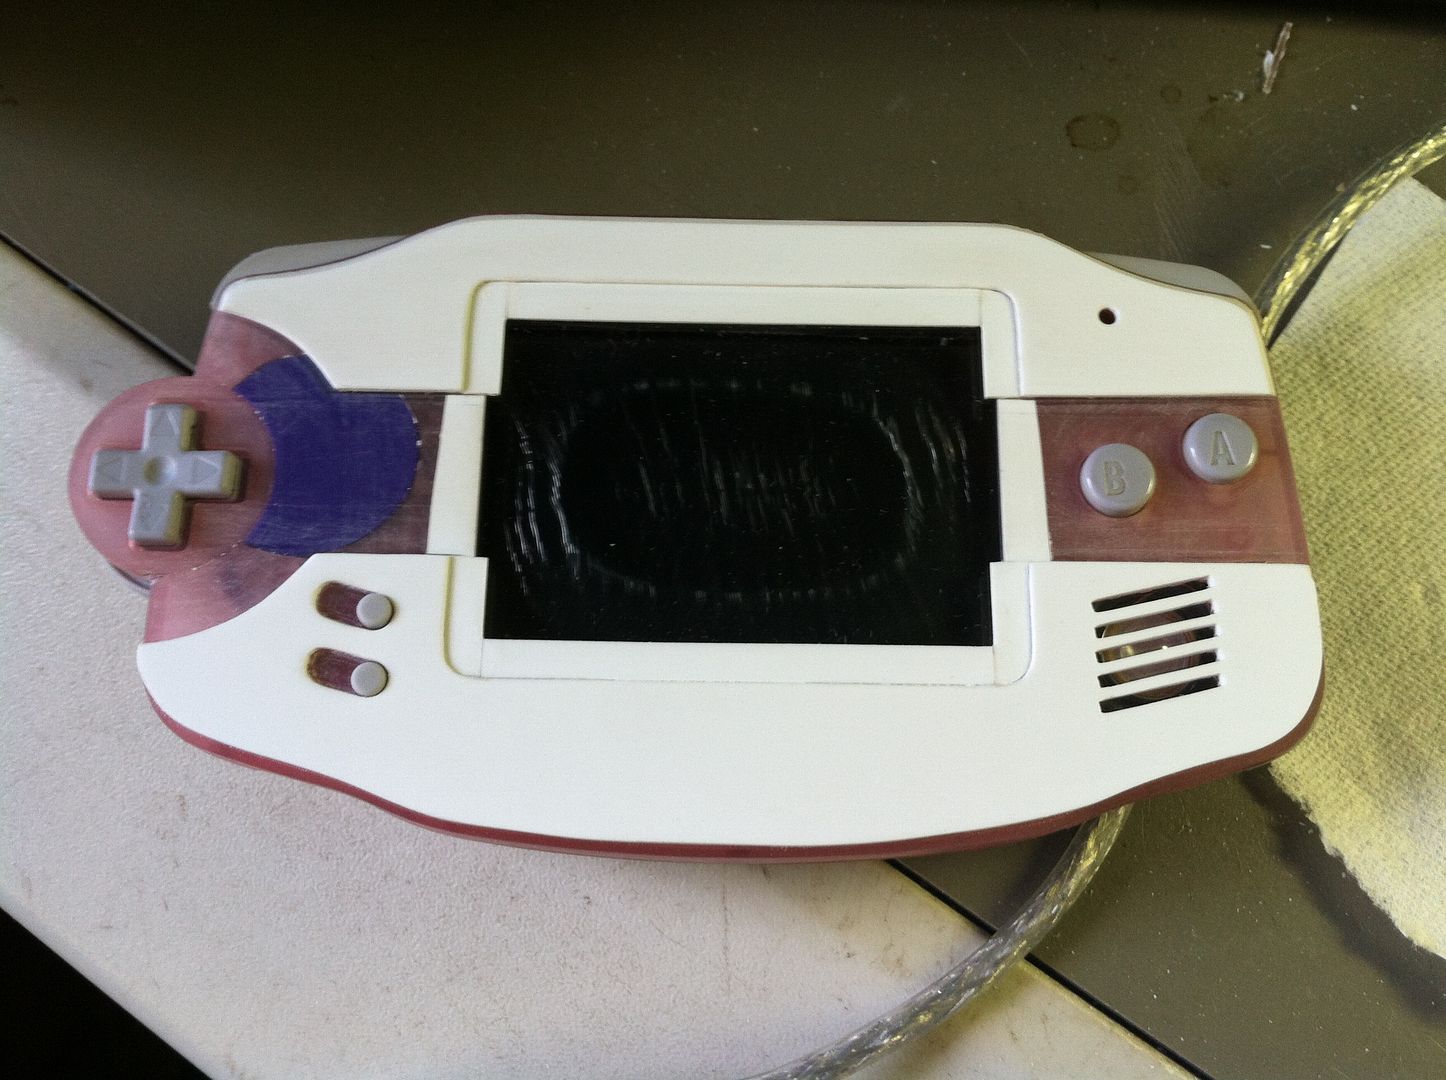
What do you guys think so far?
Offline
Santa Cruz, California
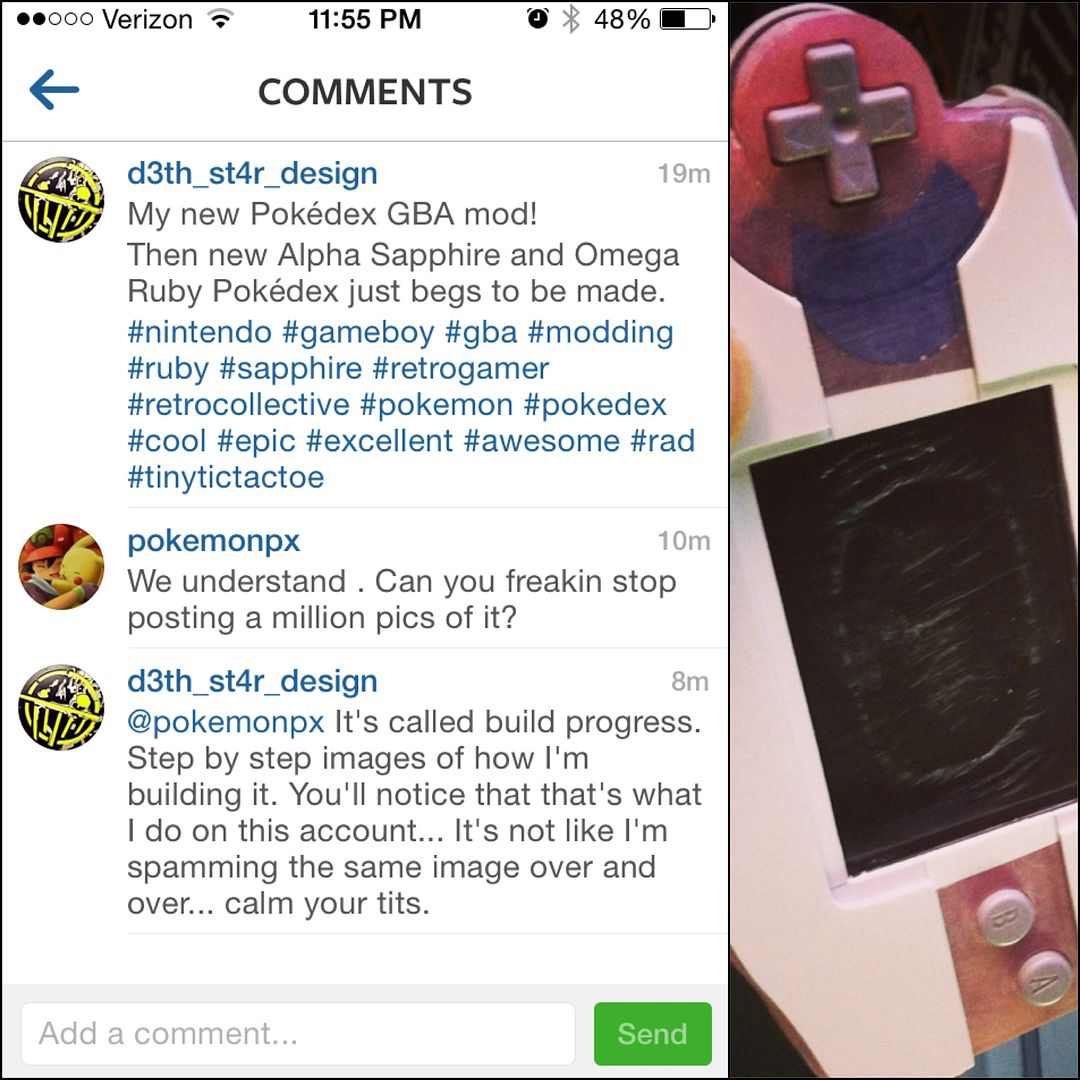
LOL!
Looks like some people on instagram don't like seeing how things get made.
It's weird because they're POKEMON FANS! They have a Pokemon fan account! You'd think they'd be interested in knowing the steps so they could make one of their own.
Offline
South Korea
This is a fucking DOPE build man! Loving EVERY picture you're posting. Wow, people on instagram can be whiny pussies!
Offline
Dallas, Texas
Man, it's their loss. I love long documented builds. I did one myself with my Sega video machine. I don't do builds often but when I do I love to share my experience with others much like you do with all your builds. That GBA looks ace as heck! Can't wait to see a backlight in that thing ![]()
Offline
Santa Cruz, California
DeerPresident wrote:
Wow, people on instagram can be whiny pussies!
To a level I never thought was possible.
TylerBarnes wrote:
That GBA looks ace as heck! Can't wait to see a backlight in that thing
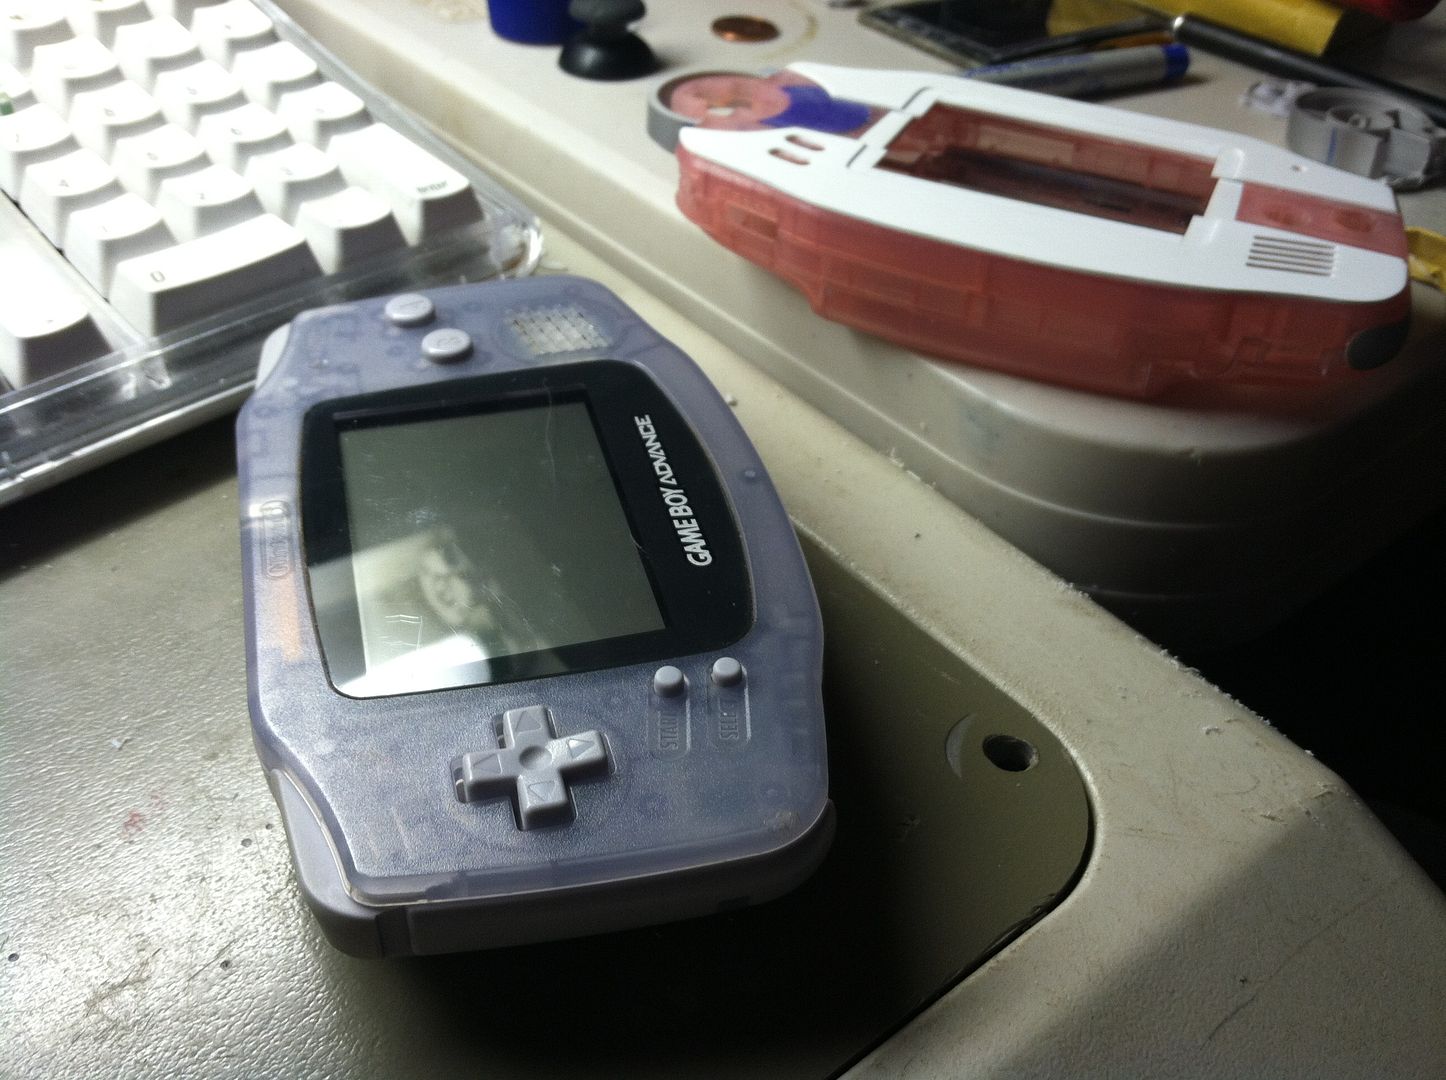
I ordered the backlit AGS-101 screen this morning. It'll look TITS!
Offline
Santa Cruz, California
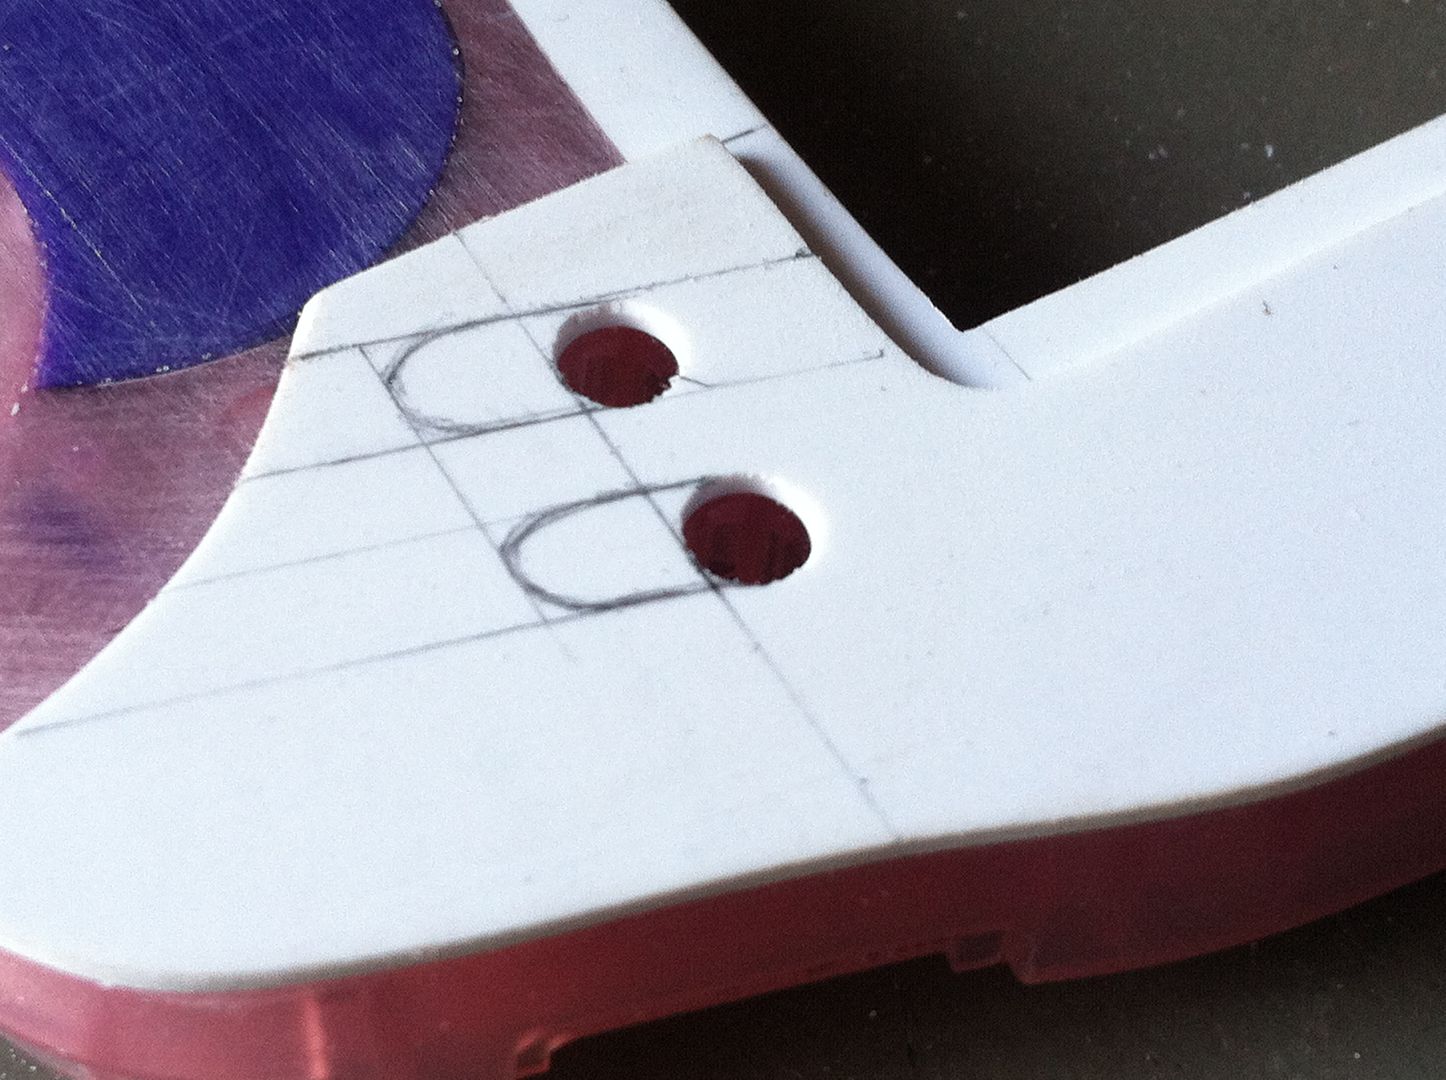
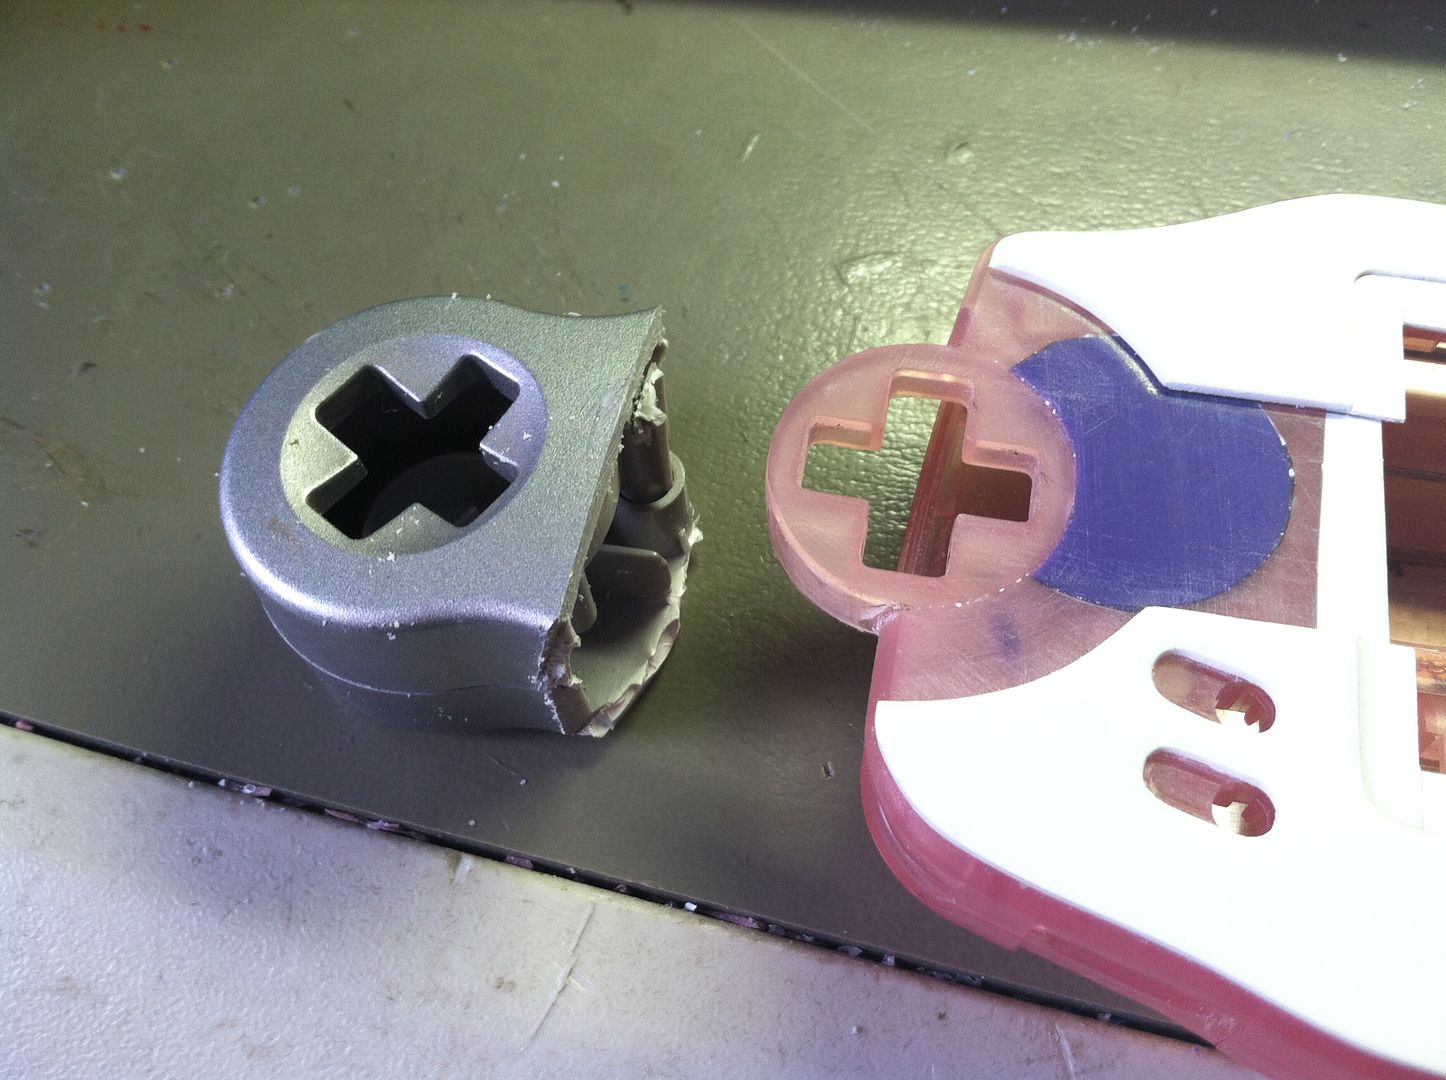
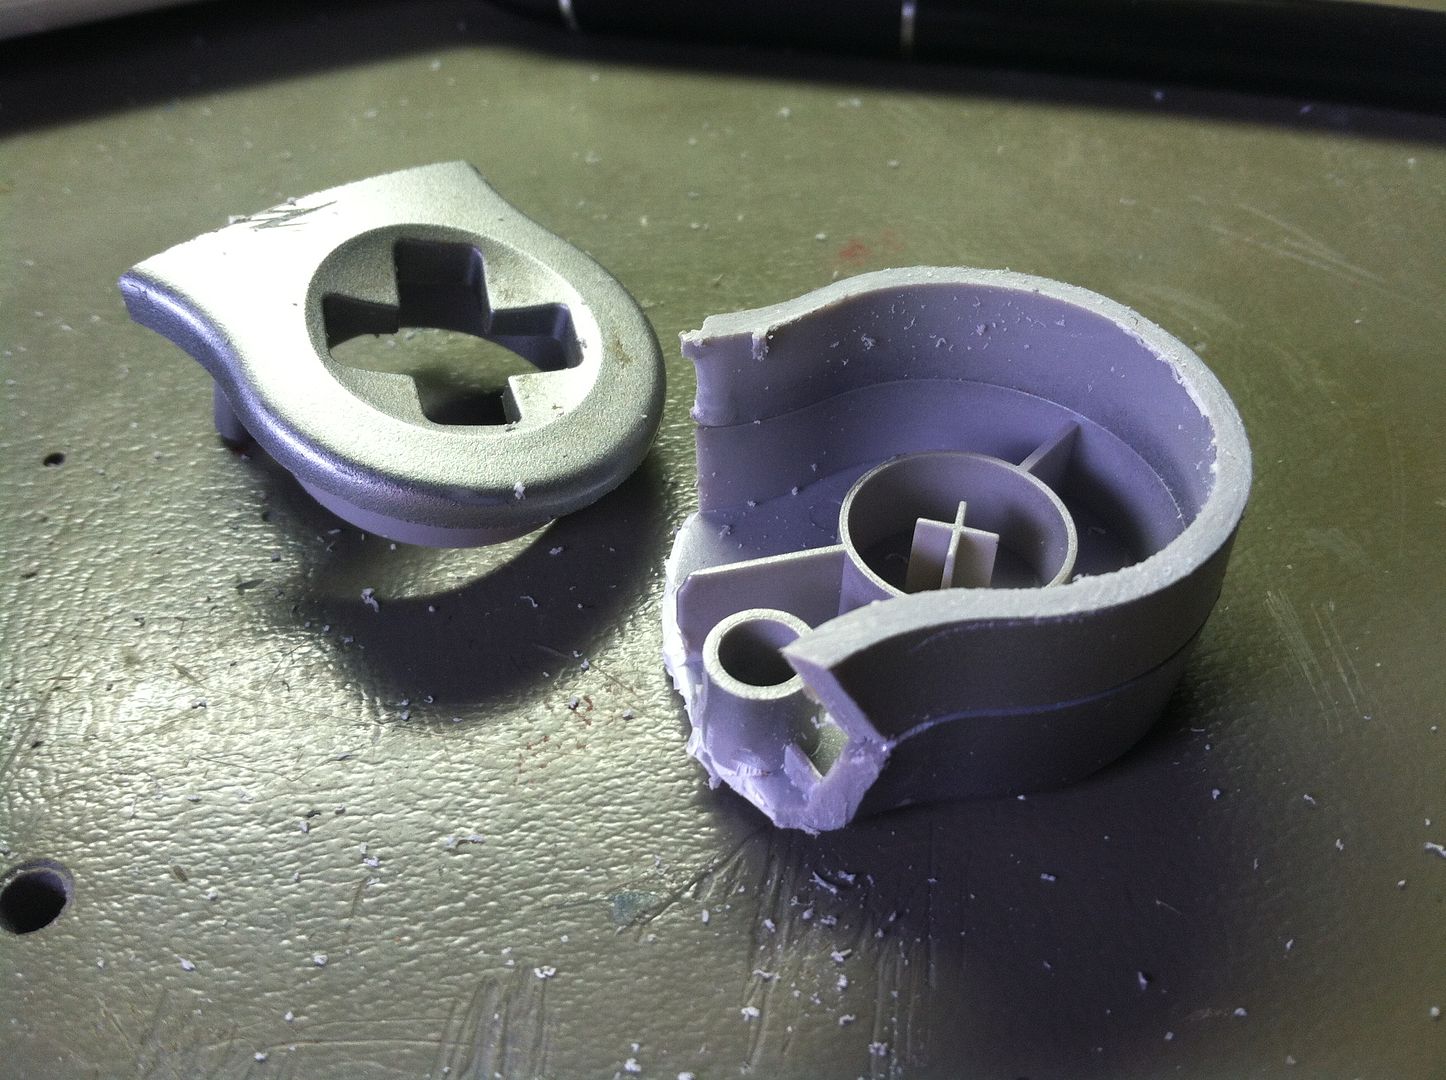
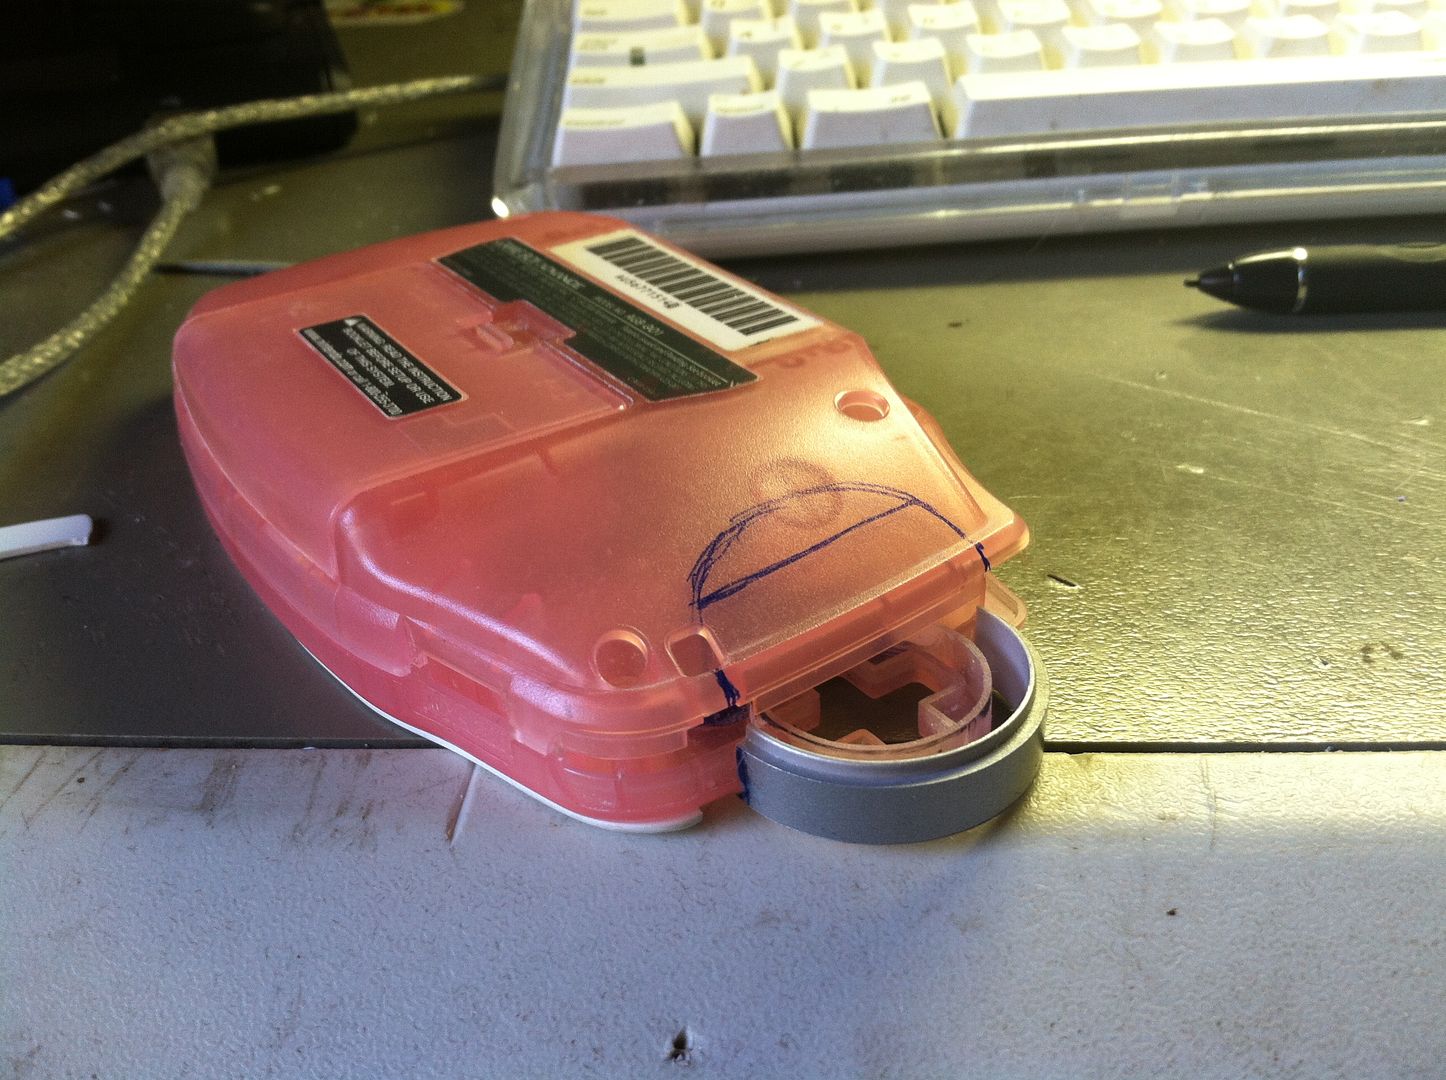
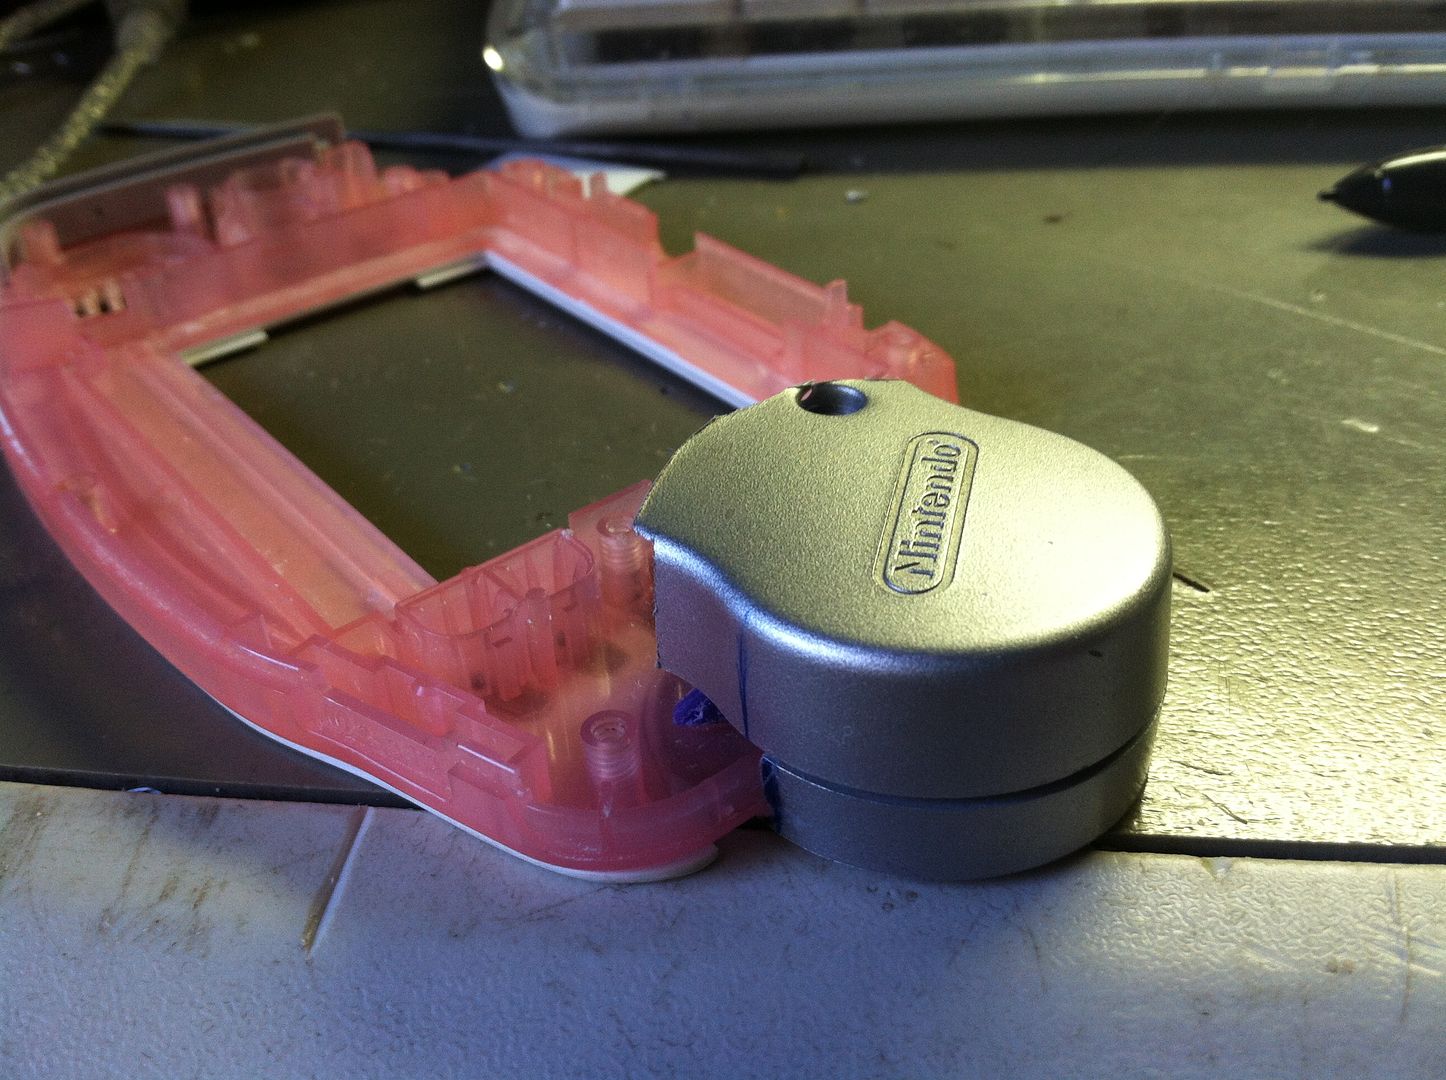
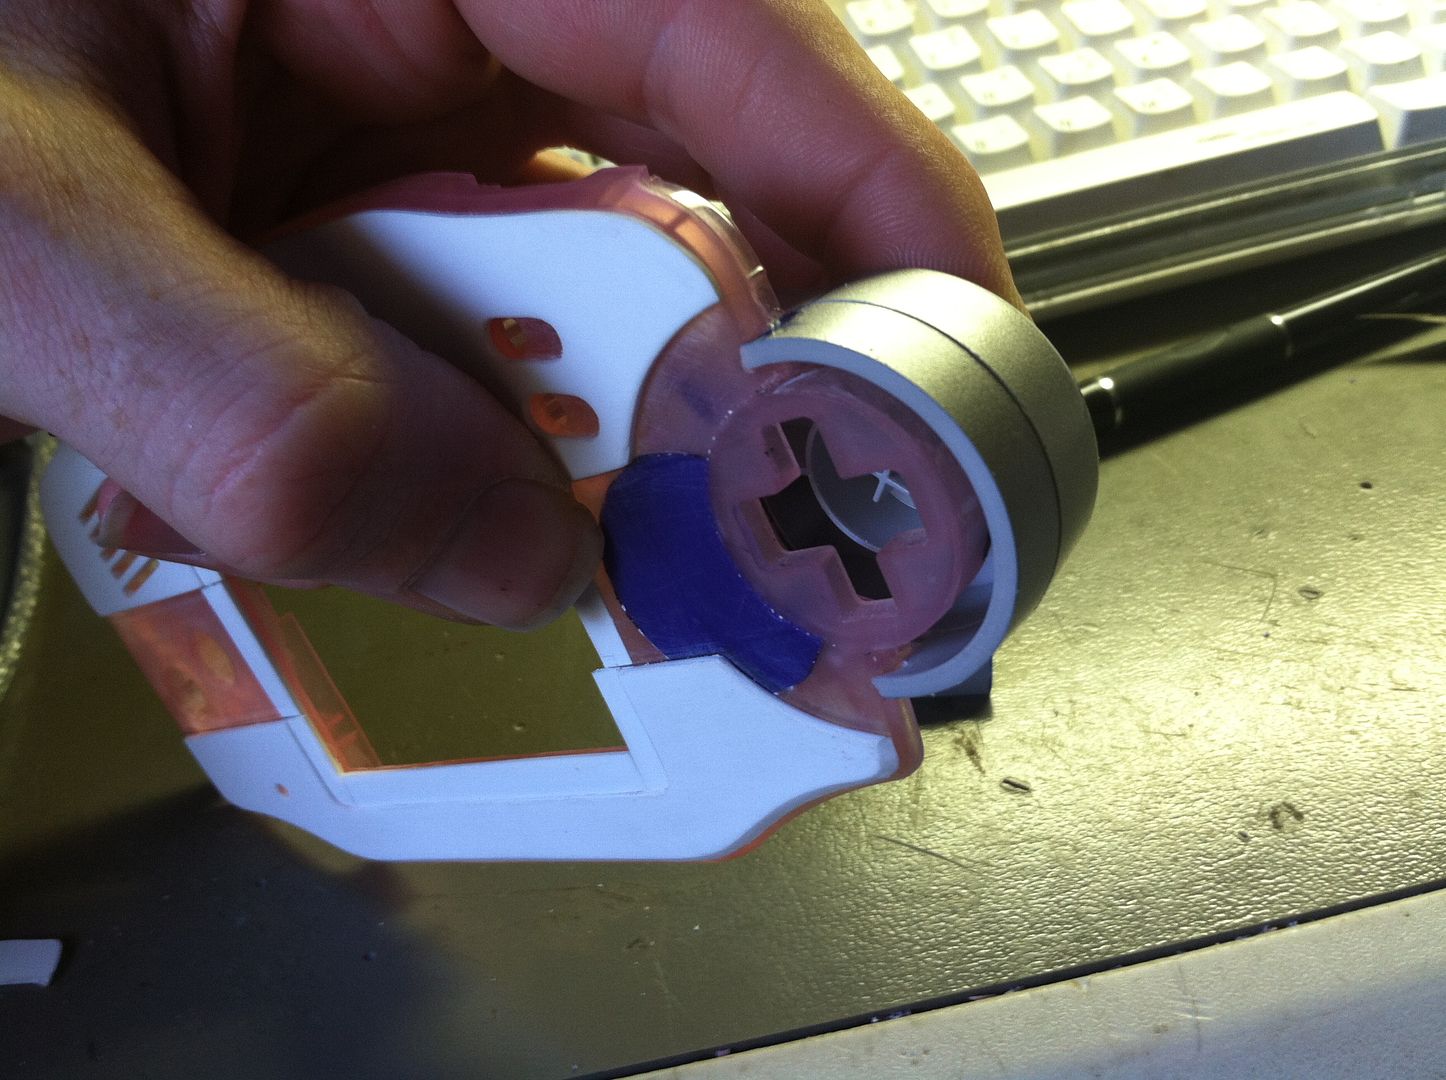
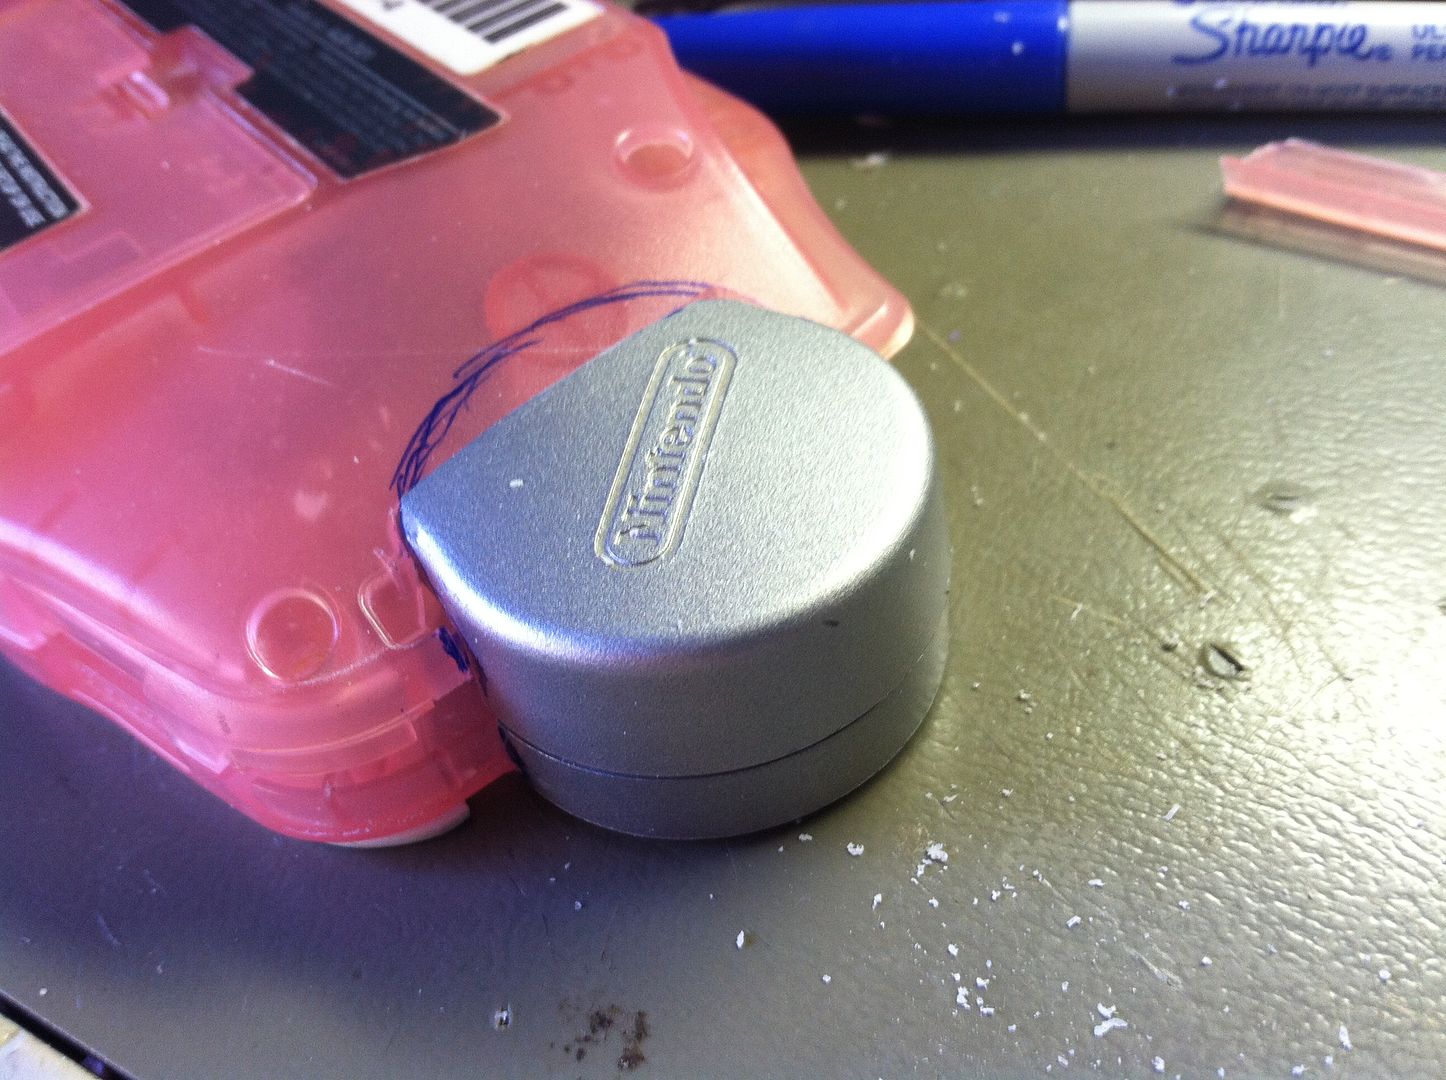
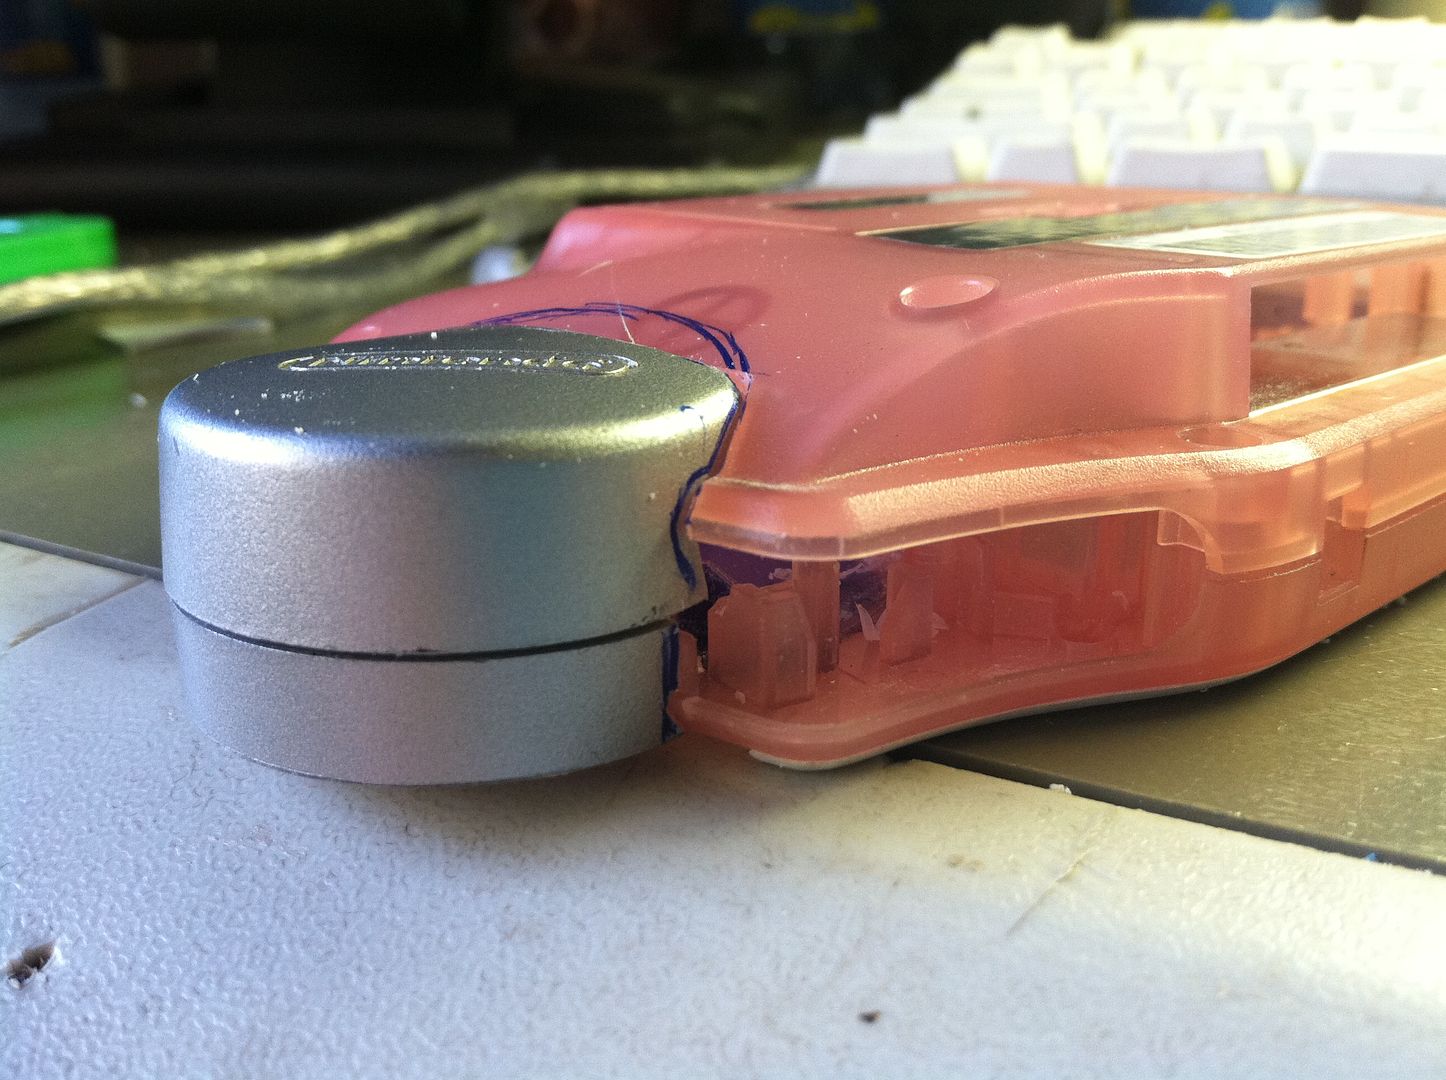
Then there was that one time when that I didn't plan my order of operations, and I suddenly had to build the part that should have been done first.

I need housing for the D-pad/Lens/Whatever.
This broken Gamecube controller looks like it will work nicely.
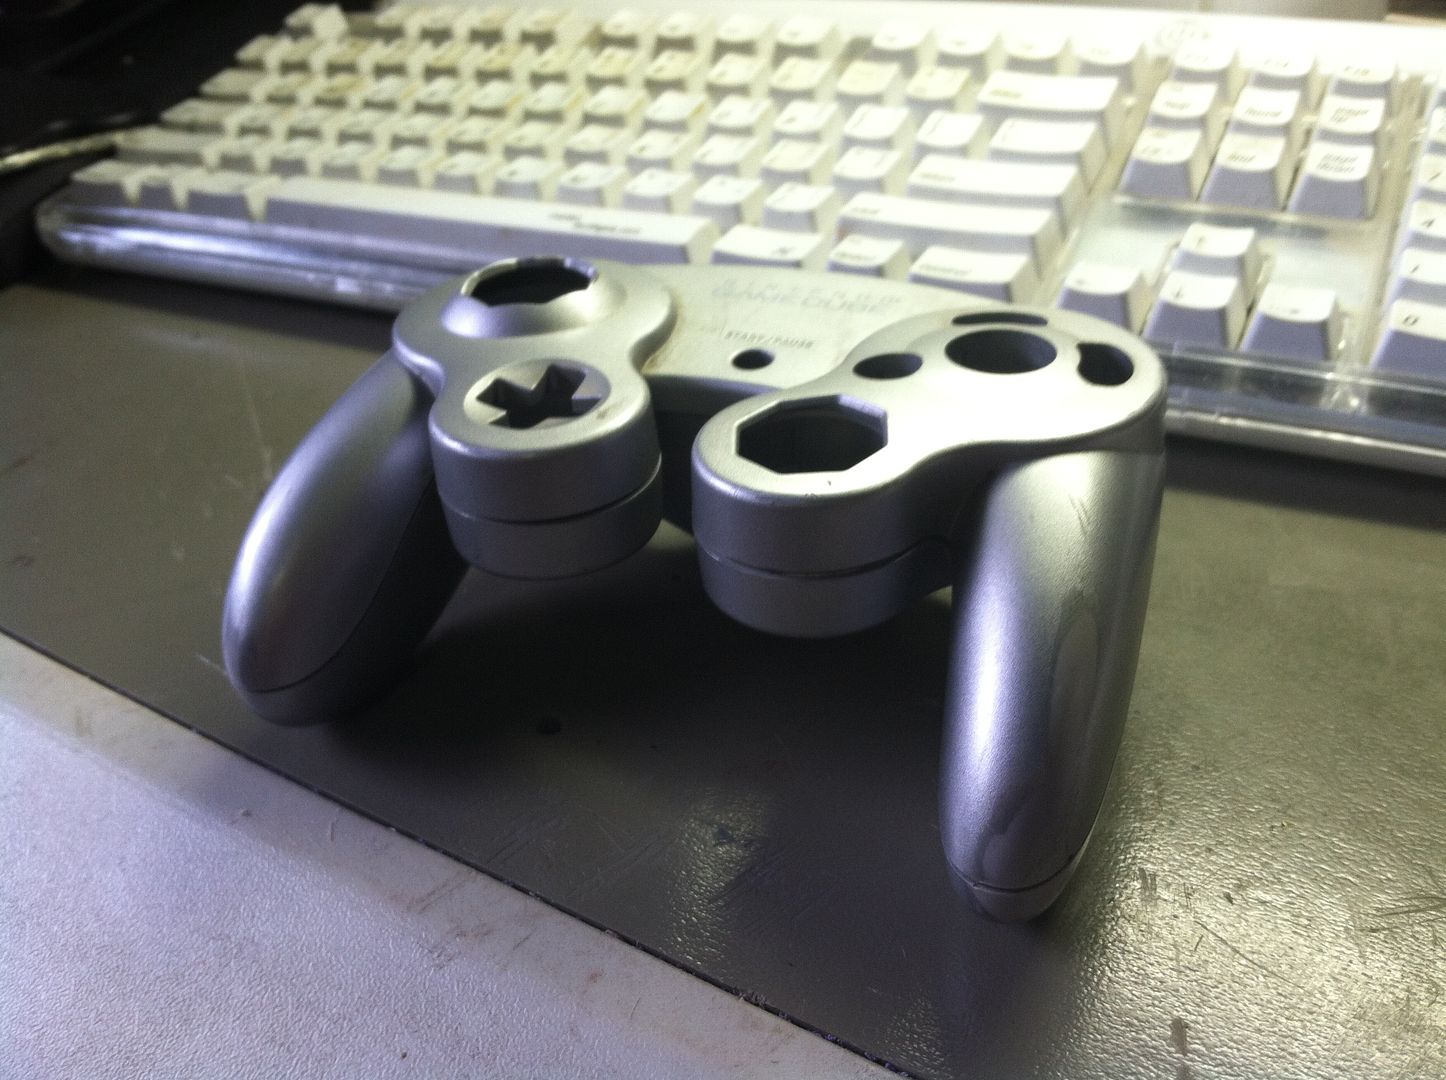
Thickness is pretty much perfect.
Time to hack away at it with reckless abandon (like I always do)
The top half needs to be the correct depth so I can have both halves close back together as if it were a manufactured product.
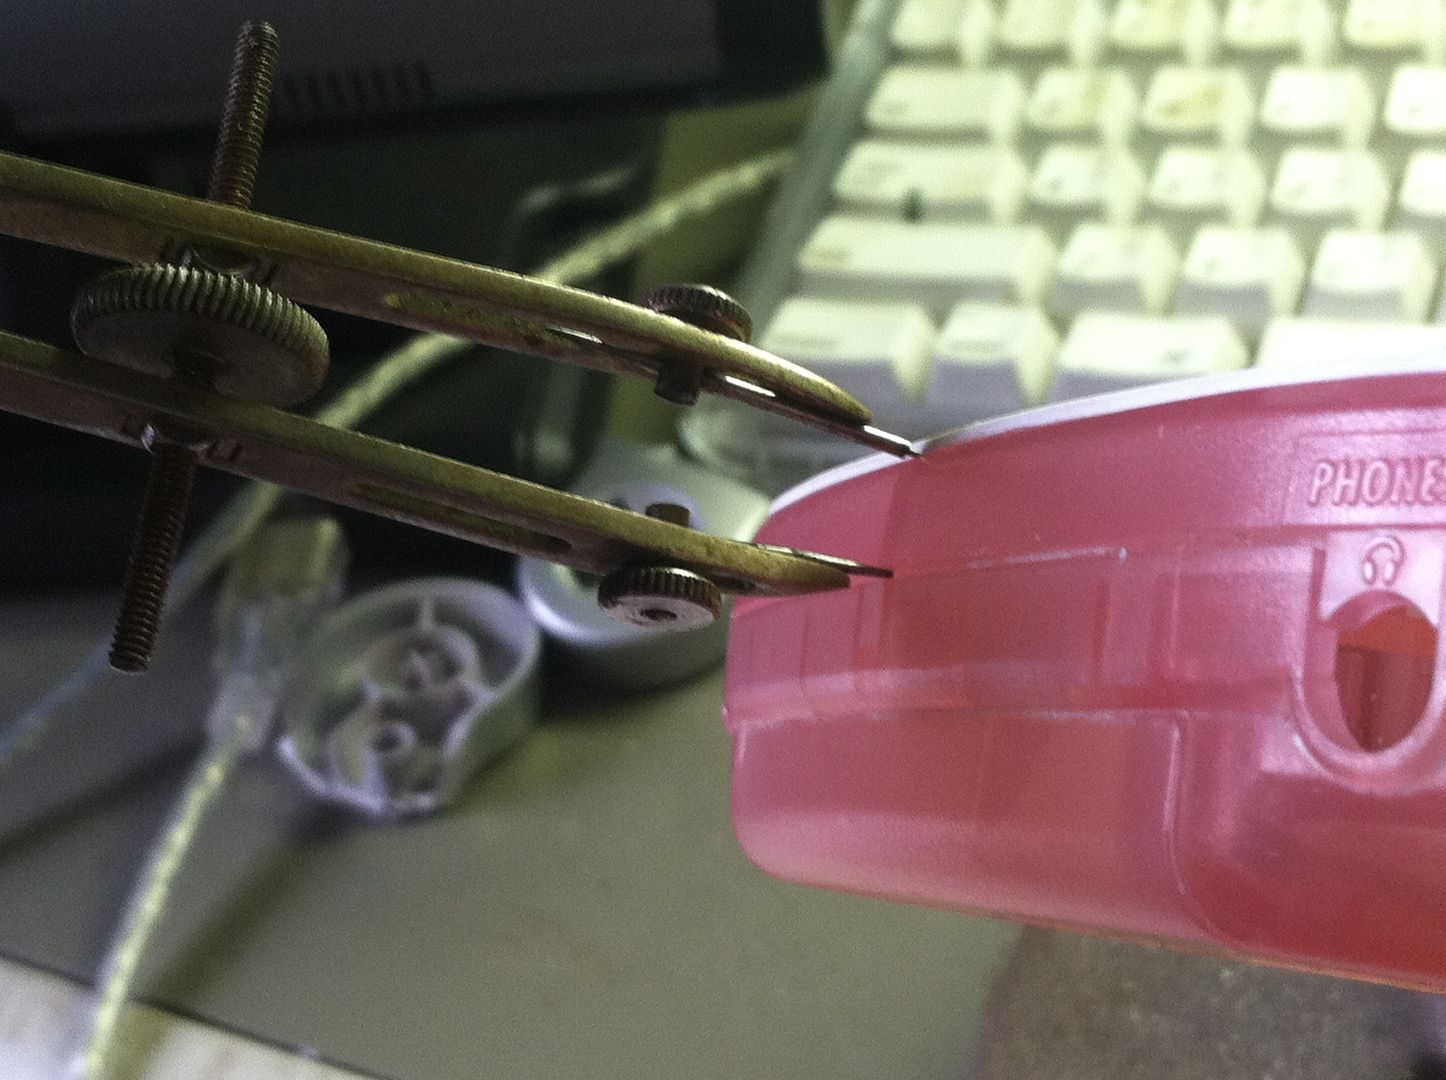
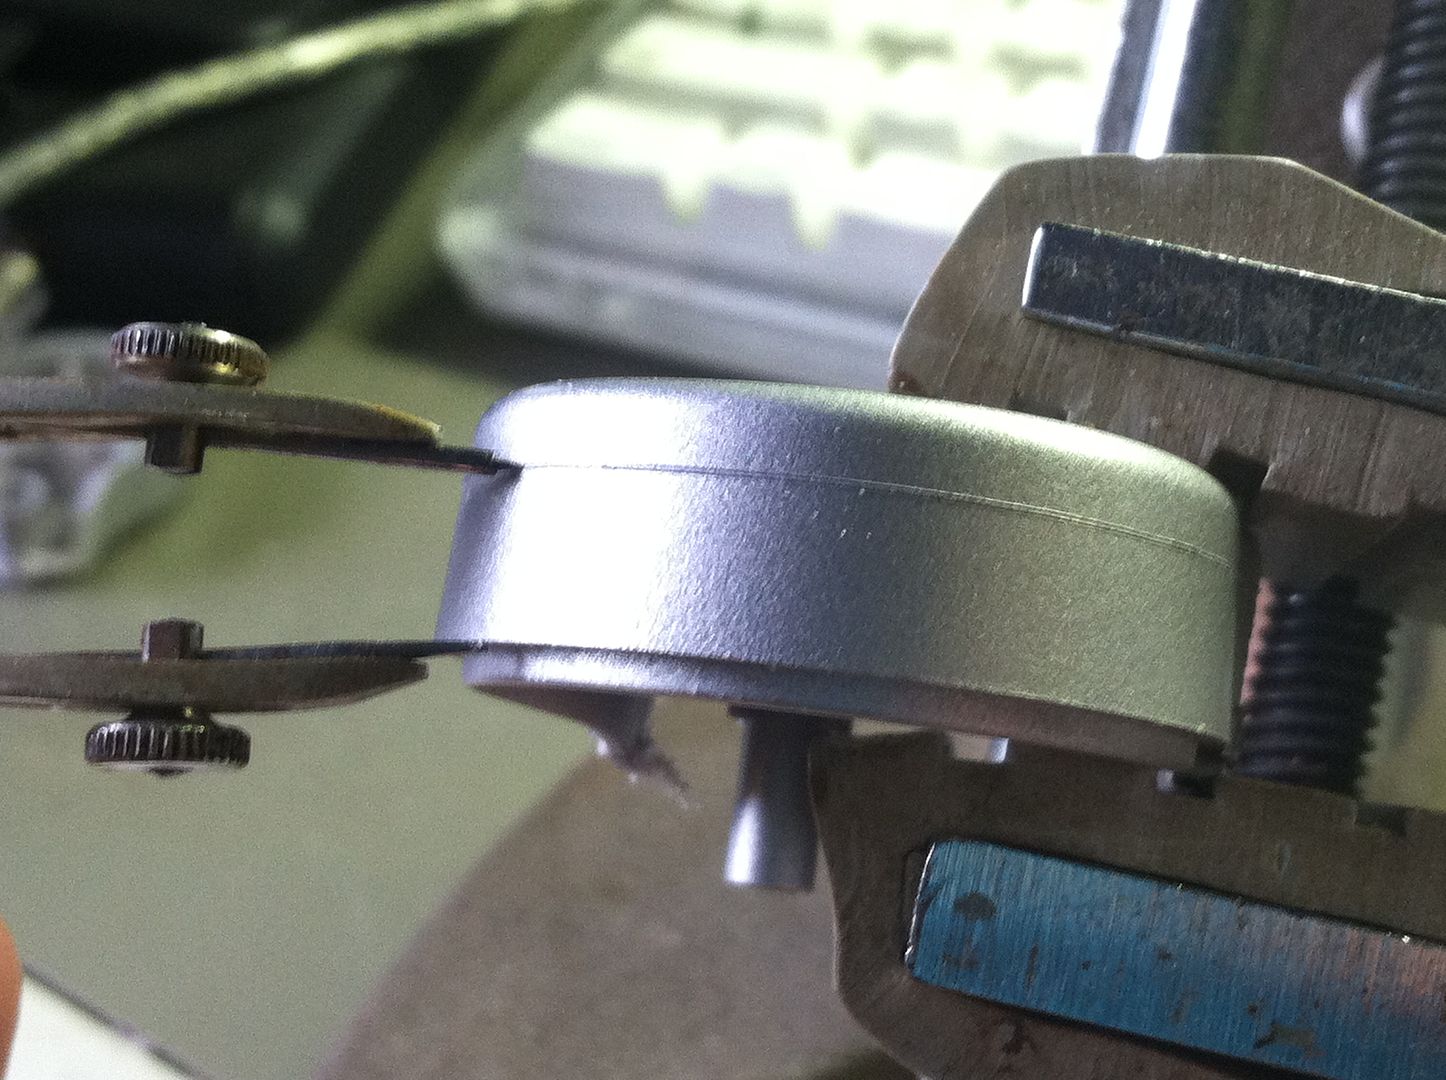
Amateur videogame surgery is one of my favorite games to play.
And now I have to go out and pick up another GBA I found on CL for $10... I need working internals and another set of shoulder buttons to go on the bottom.
I'll be back later.
Offline
CA
Are you going to make bottom shoulder buttons to duplicate select and start buttons?
Offline
Santa Cruz, California
friendofmegaman wrote:
Are you going to make bottom shoulder buttons to duplicate select and start buttons?
Nope, that would involve an entirely new level of complication that I don't want to have to deal with on this build.
Offline
Santa Cruz, California
Went and picked up another GBA off CL.
But we don't need that just yet.
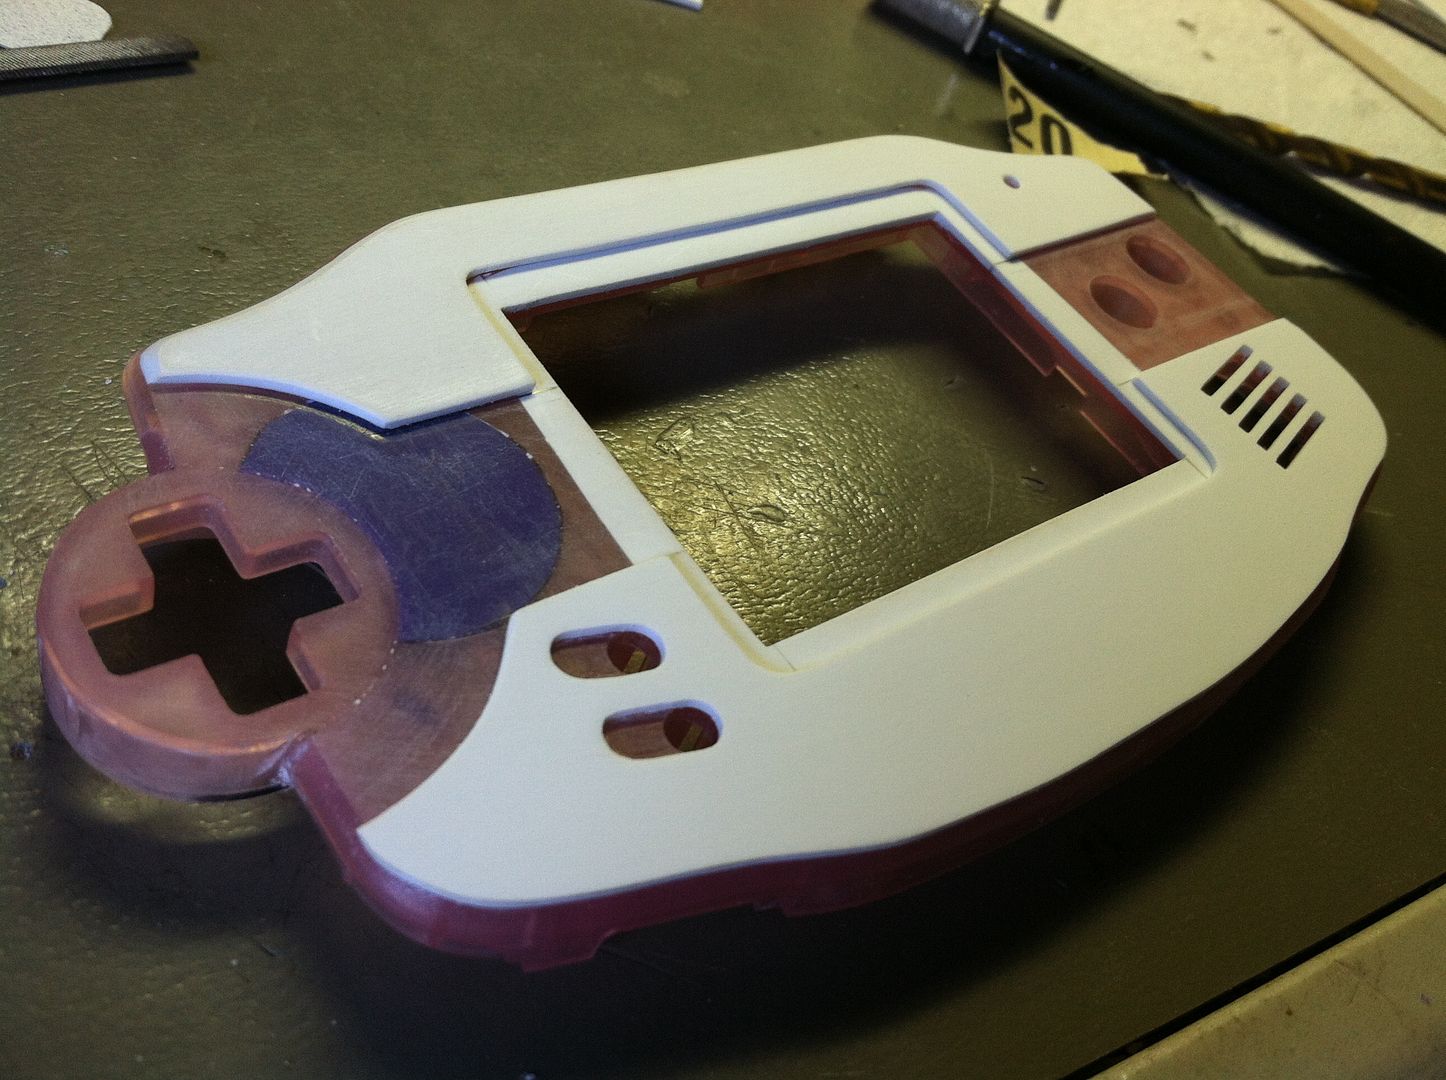
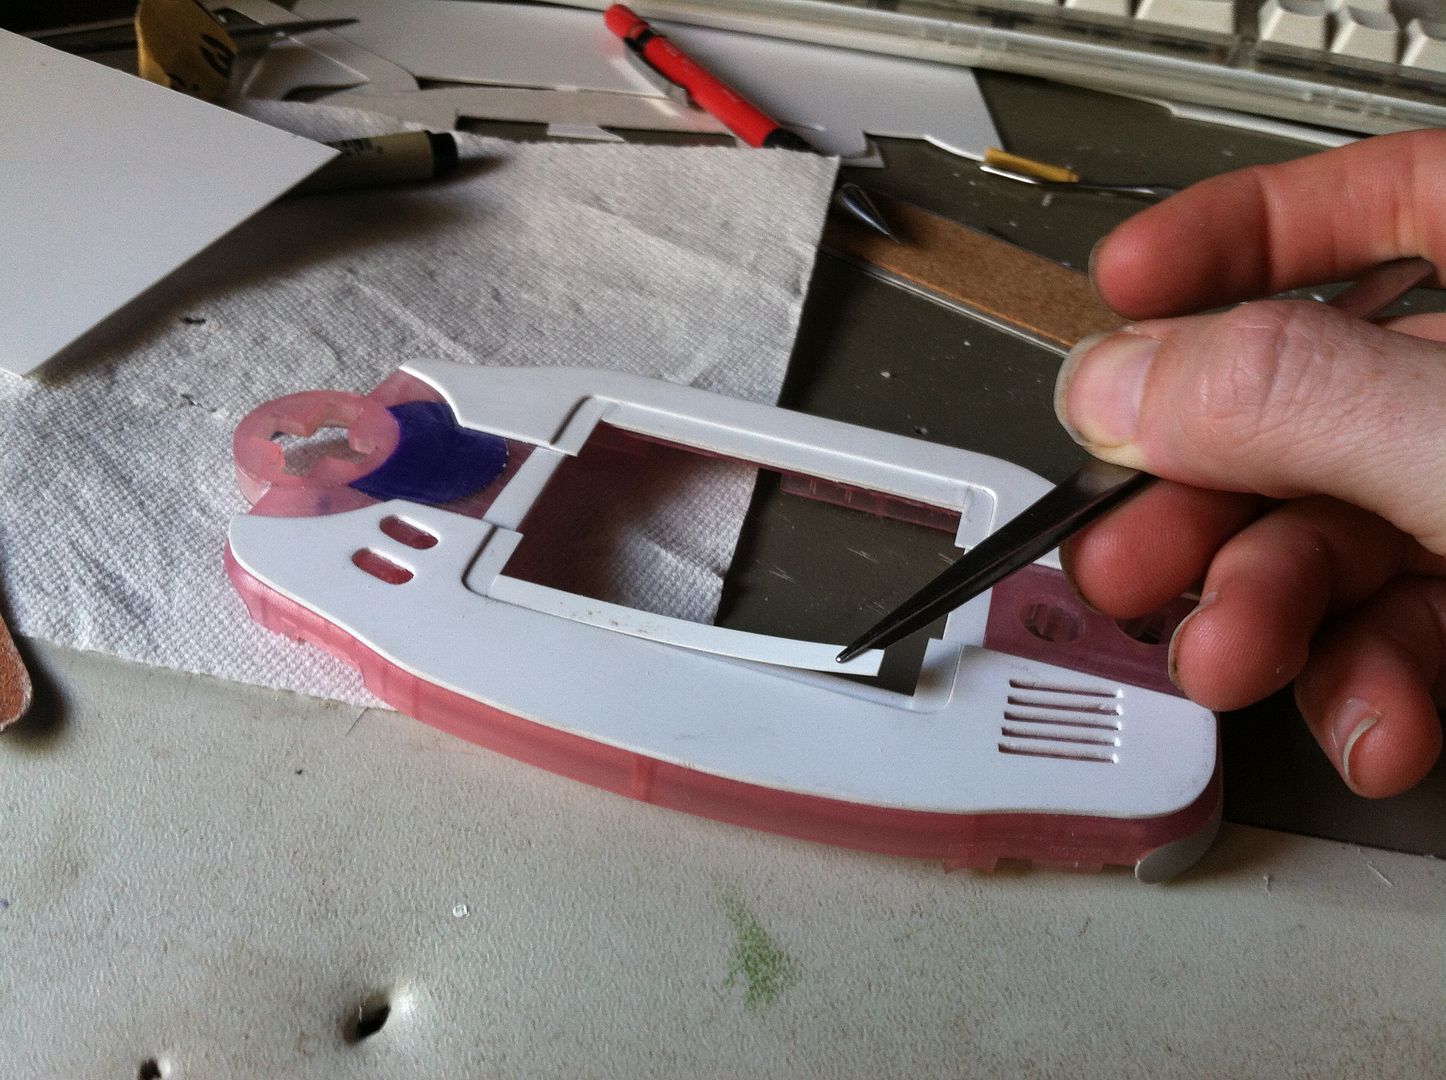
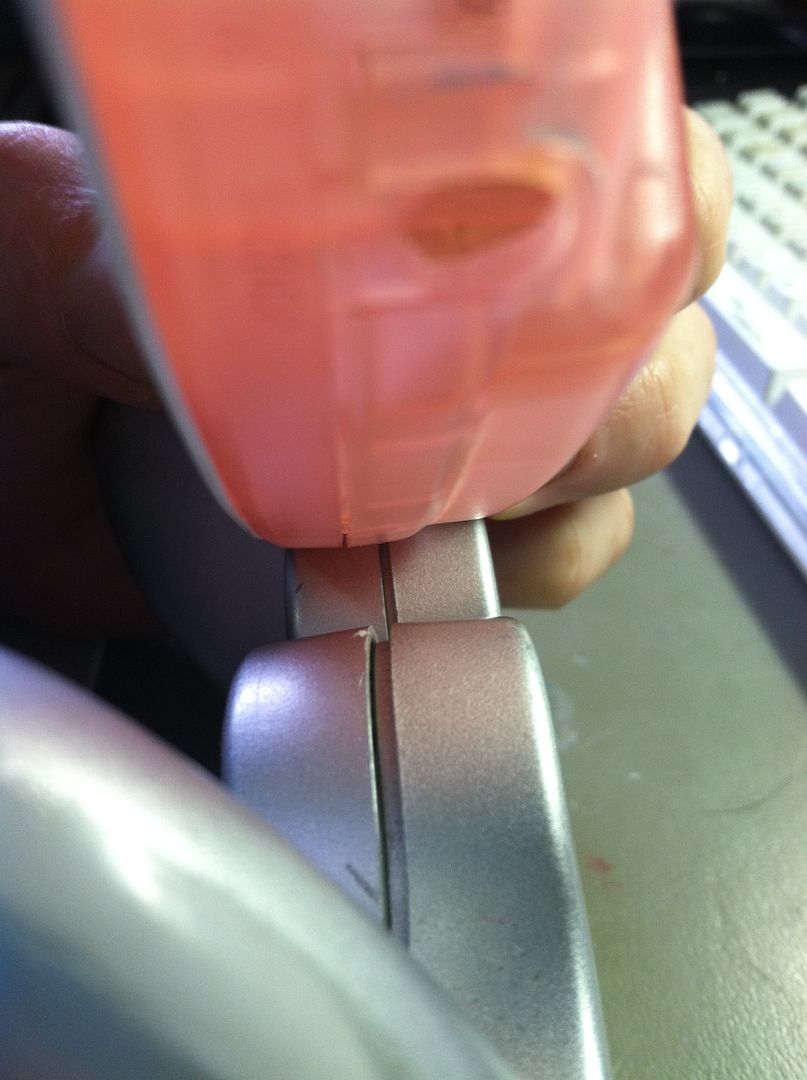
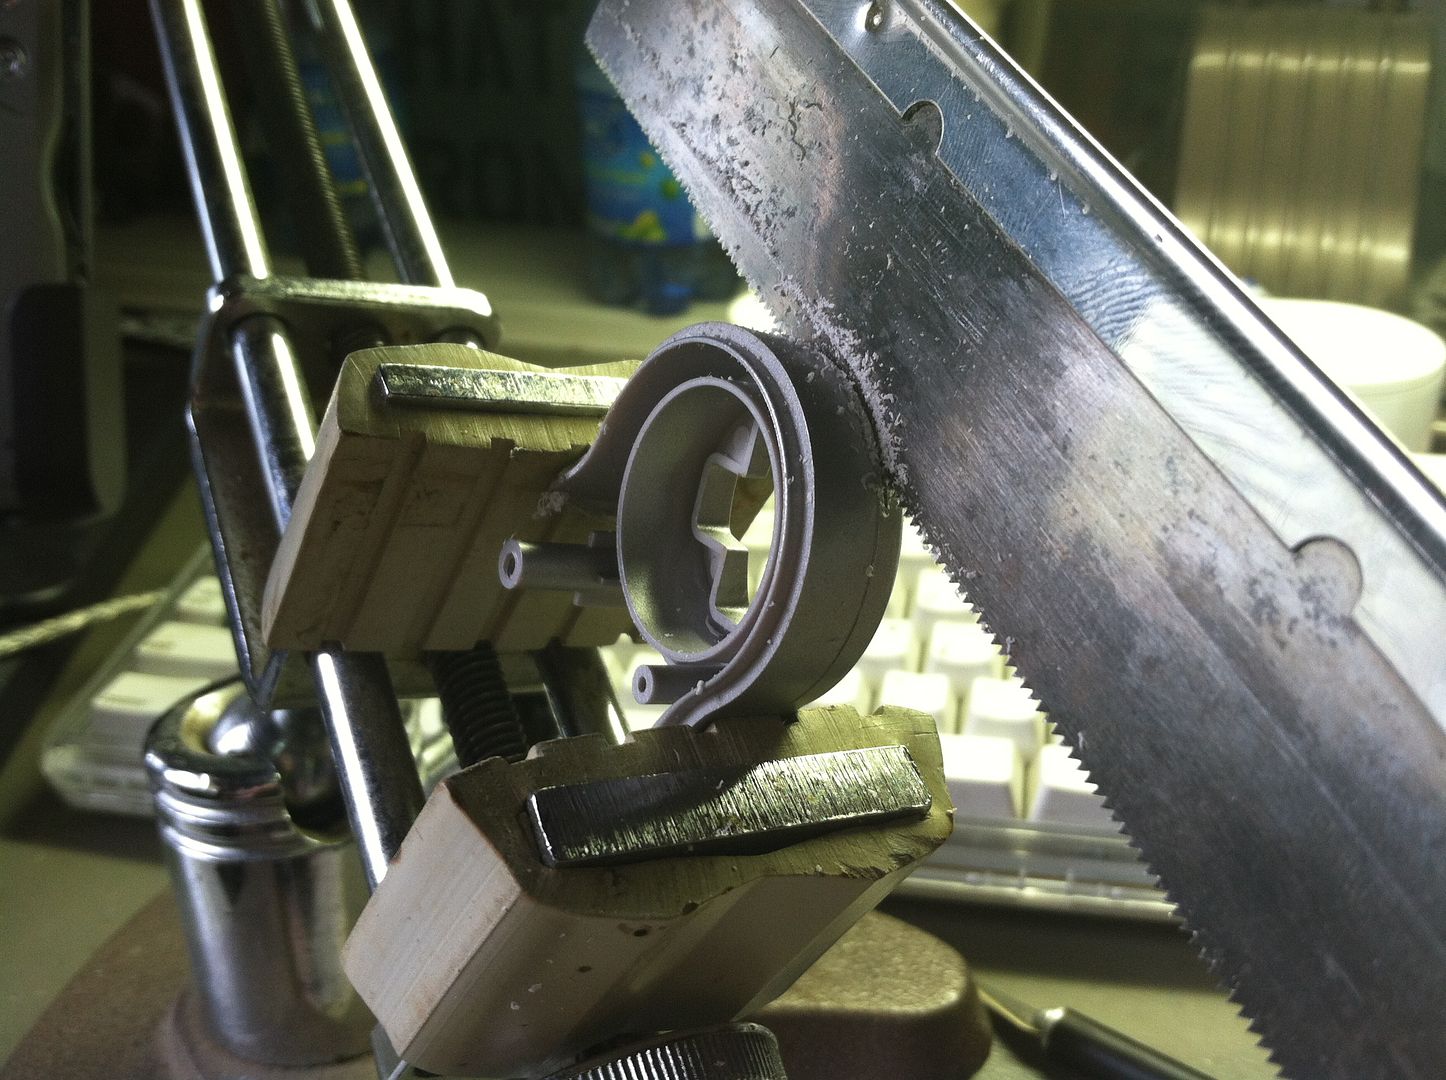
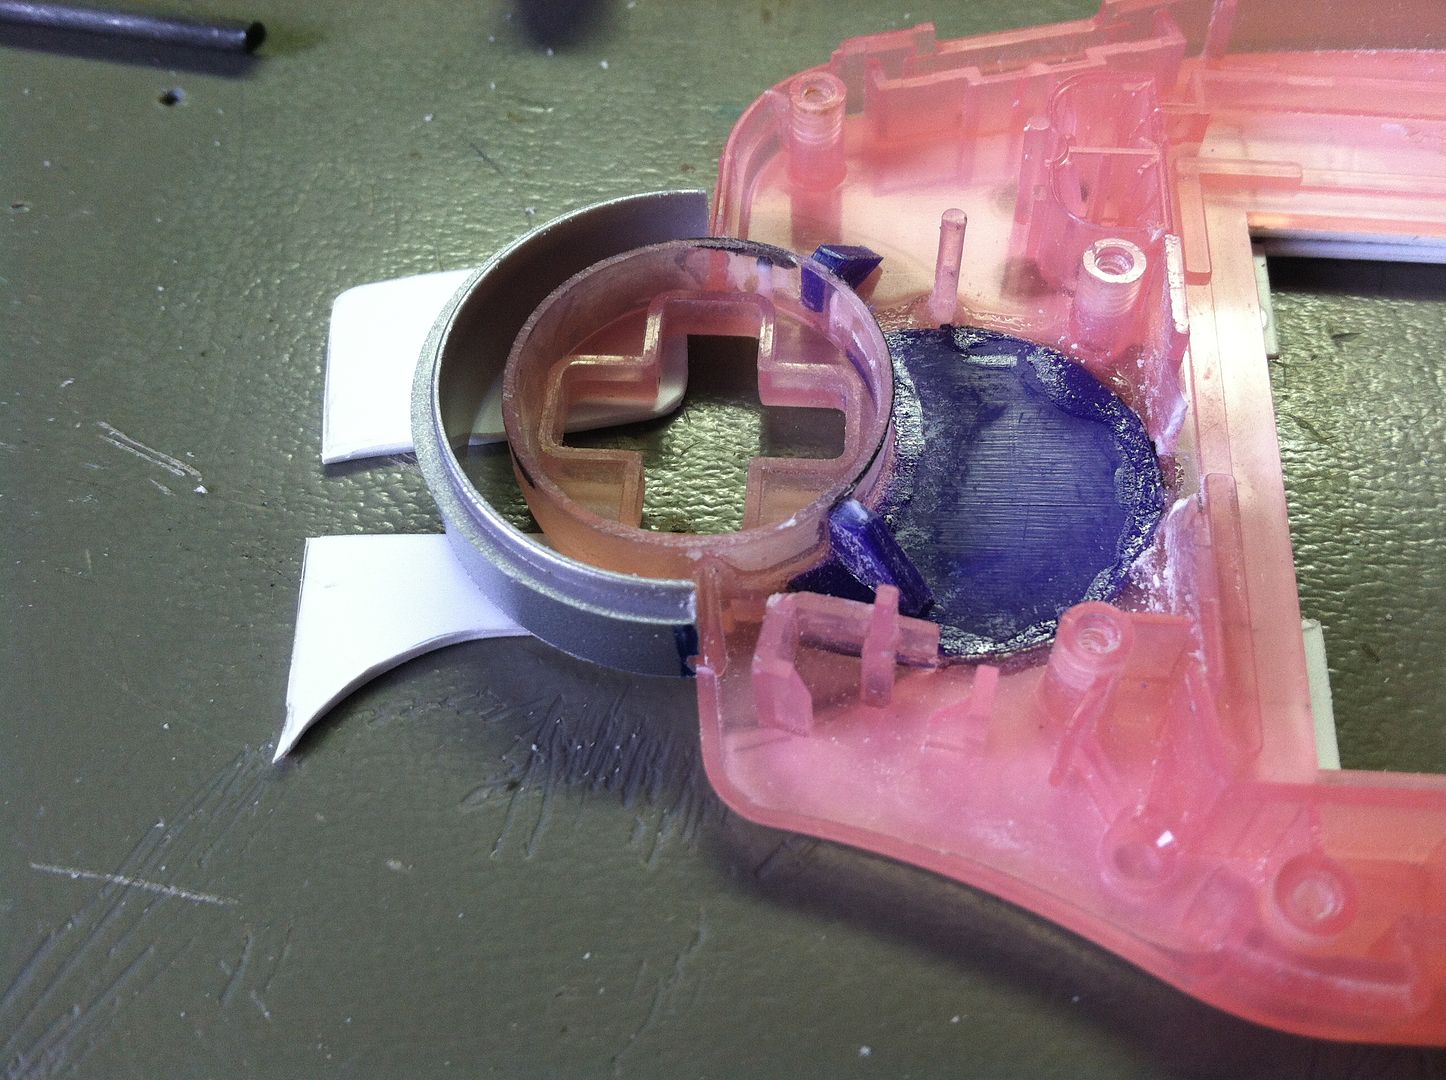
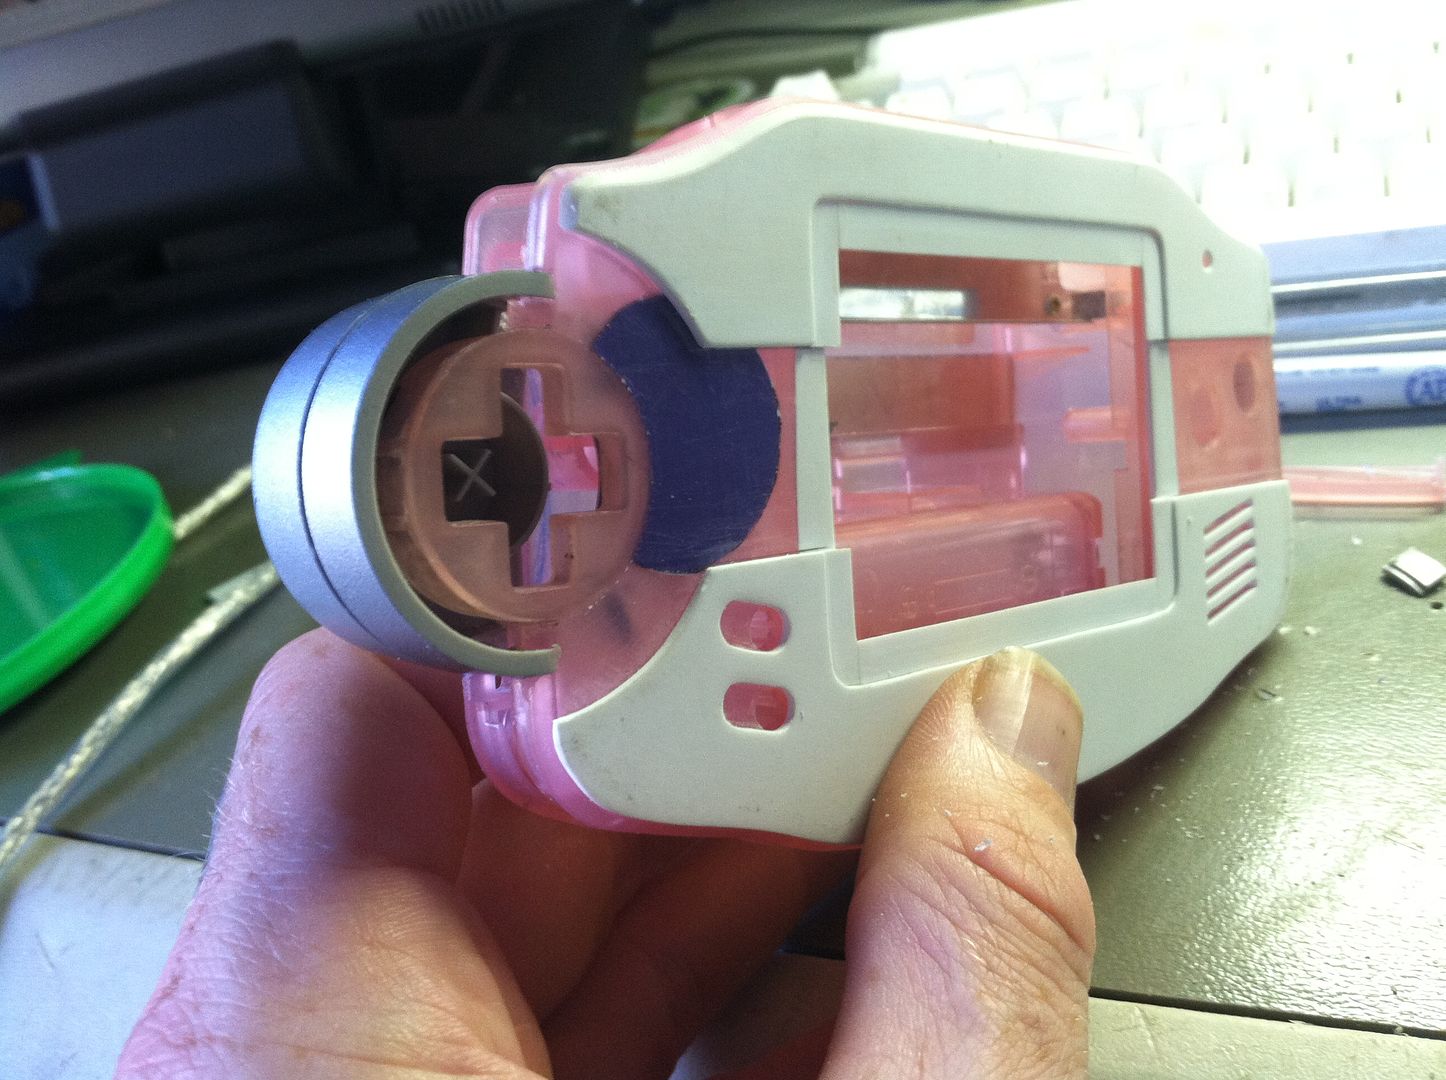
Time to fit the rear half of the D-pad housing.
Observe.
This was actually a little fidgety to cut out.
Now I need to do some shimming, sanding, and figuring out how to mount everything in there and get it to look right.
Offline
What are you using to make all those fine plastic cuts? Looks great!
Offline
Santa Cruz, California
Adil Soubki wrote:
What are you using to make all those fine plastic cuts? Looks great!
These are my tools for all of my delicate plastic work:
Luthier miter saw
X-acto knife #11
5mm jewelers file
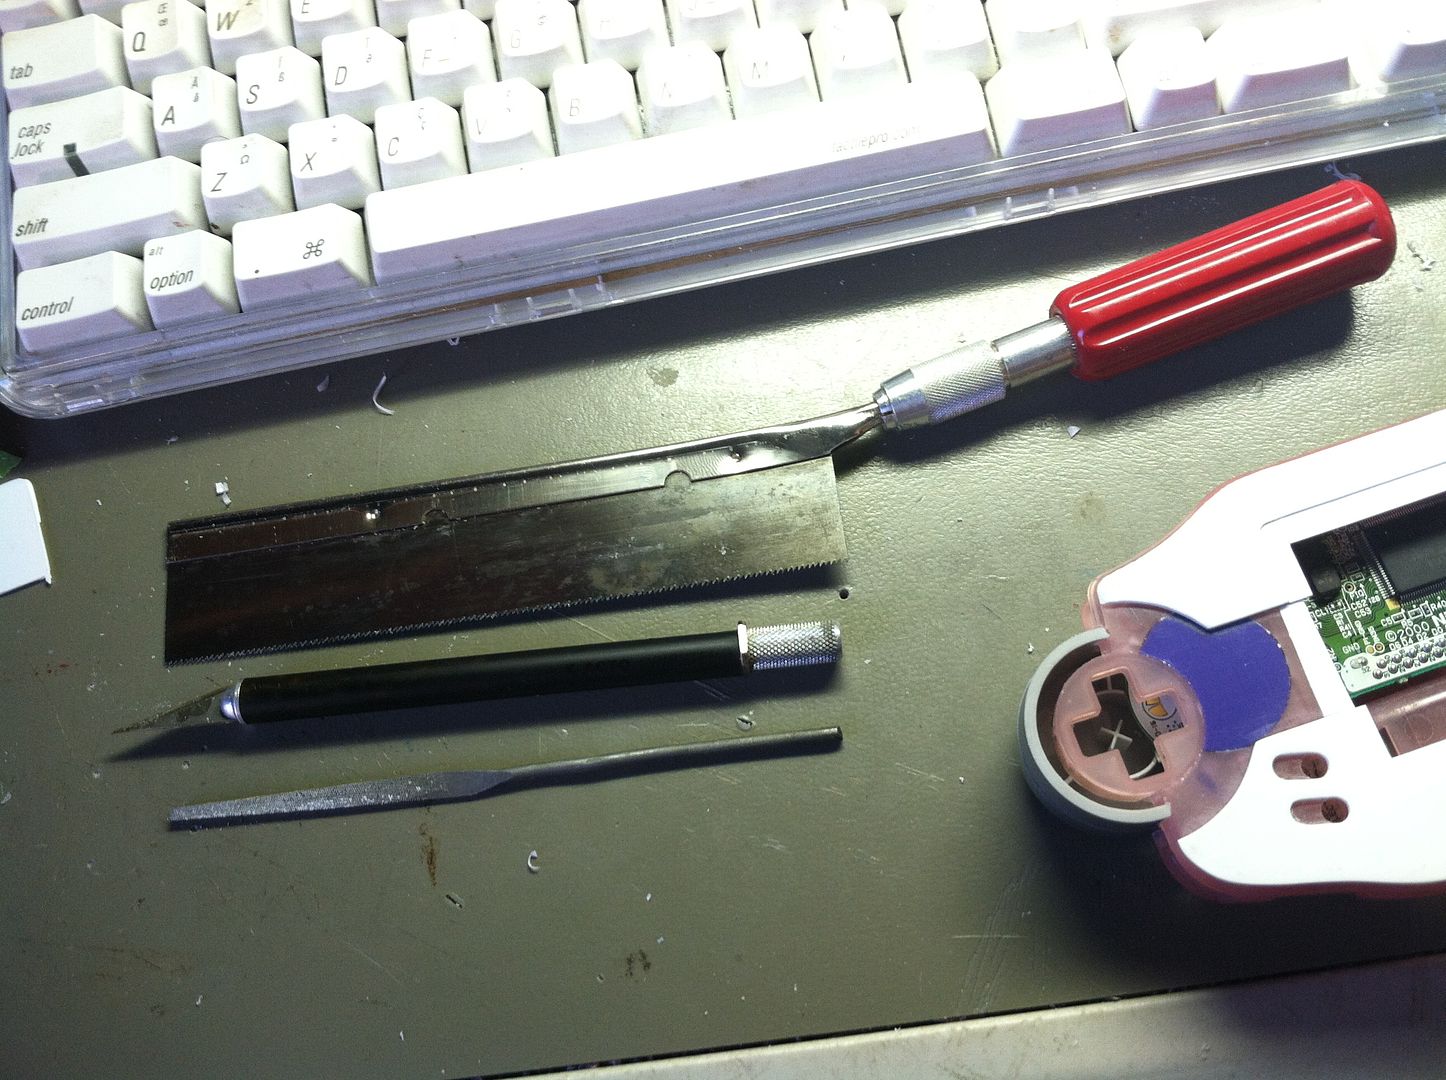
I also have a vast amount of patience and a steady hand from decades of model building.
EDIT: also various light grits of sand paper.
Last edited by Teh D3th St4r (Jul 19, 2014 2:24 am)
Offline
Dallas, Texas
Looking clean as heck so far!
Also a dremel would be a good addition for smoothing out fine curves to exactly how you need them. I usually keep mine of a low speed and a finer grain bit attached.
Although that saw might be superior than the dremel. I've just never used one like that before.
Last edited by TylerBarnes (Jul 19, 2014 3:46 am)