Offline
Santa Cruz, California

I suffered a huge photographic failure this evening (accidentally deleted everything from photobucket).
I think it would be a huge pain in the ass to go through my whole build thread, and try to remember where all the photo's went, I'm just gonna start a fresh one. It'll essentially be the same things as before, but I'll try to zazz up the writing a little bit.
I'll try to do this in 3-4 posts, and have everything back on schedule ASAP.

(Click on the spoilers to view additional pictures)

› SPOILERS!


Let's start at the beginning... again:

1/30/2013       11:46 pm

Okay. I started this project this morning at about 9:00.
I had an extra PS/2 keyboard, and a friend had just given me her tired looking Gray Brick... then things started happening.
(these are not the actual pieces I started with... but they are pretty much identical)
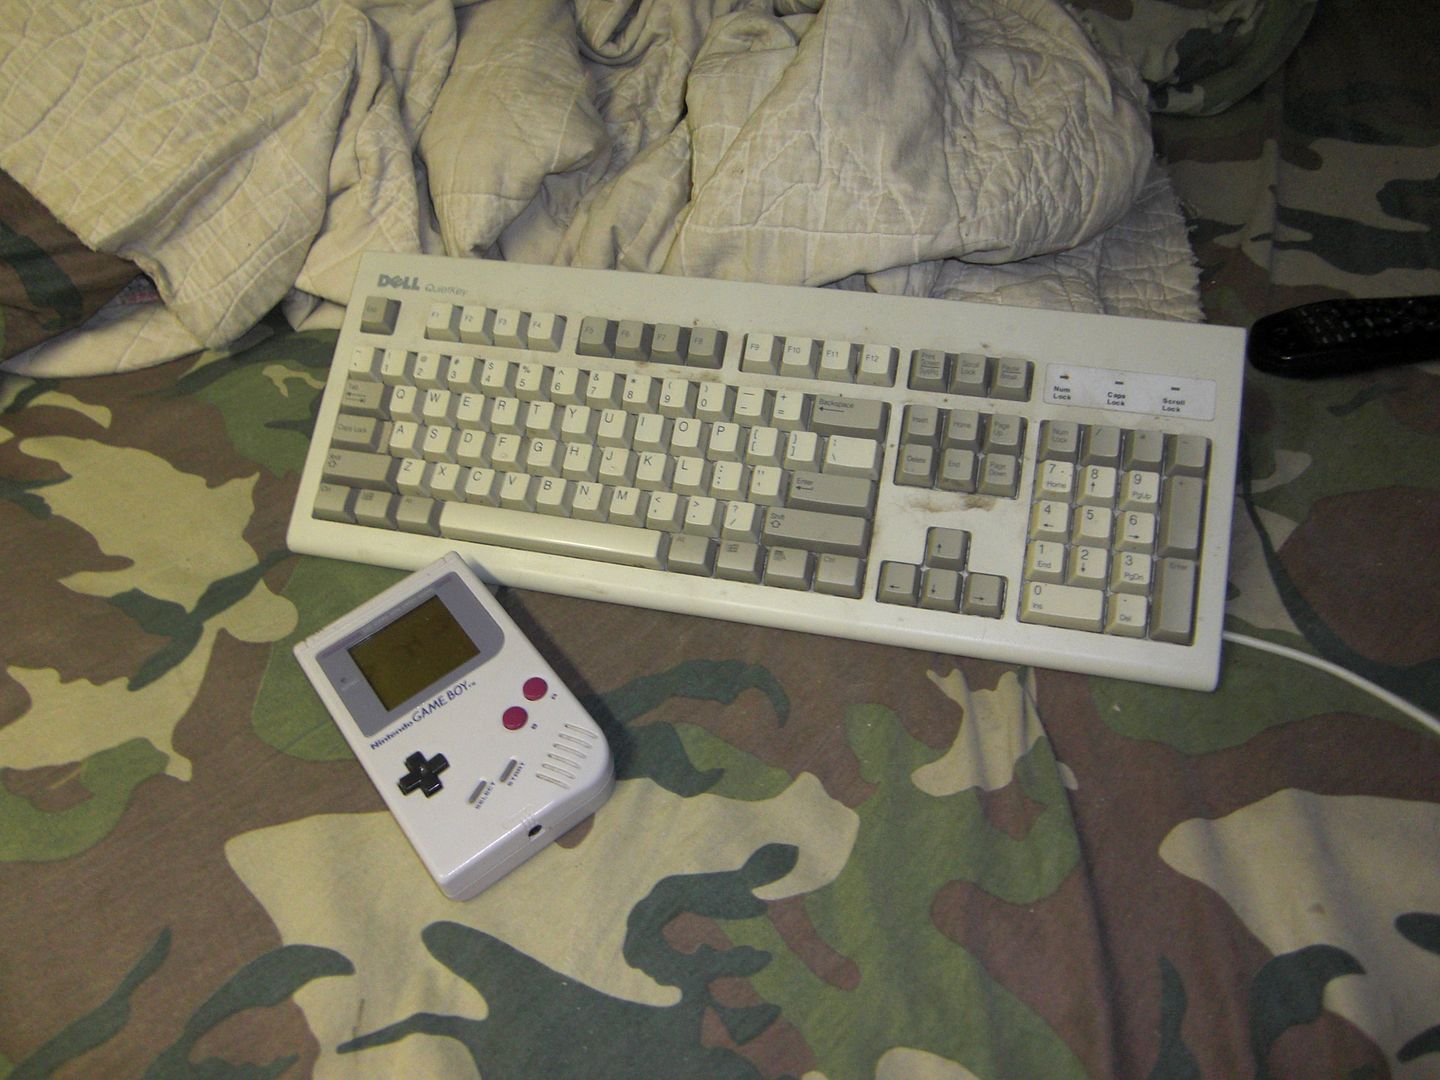

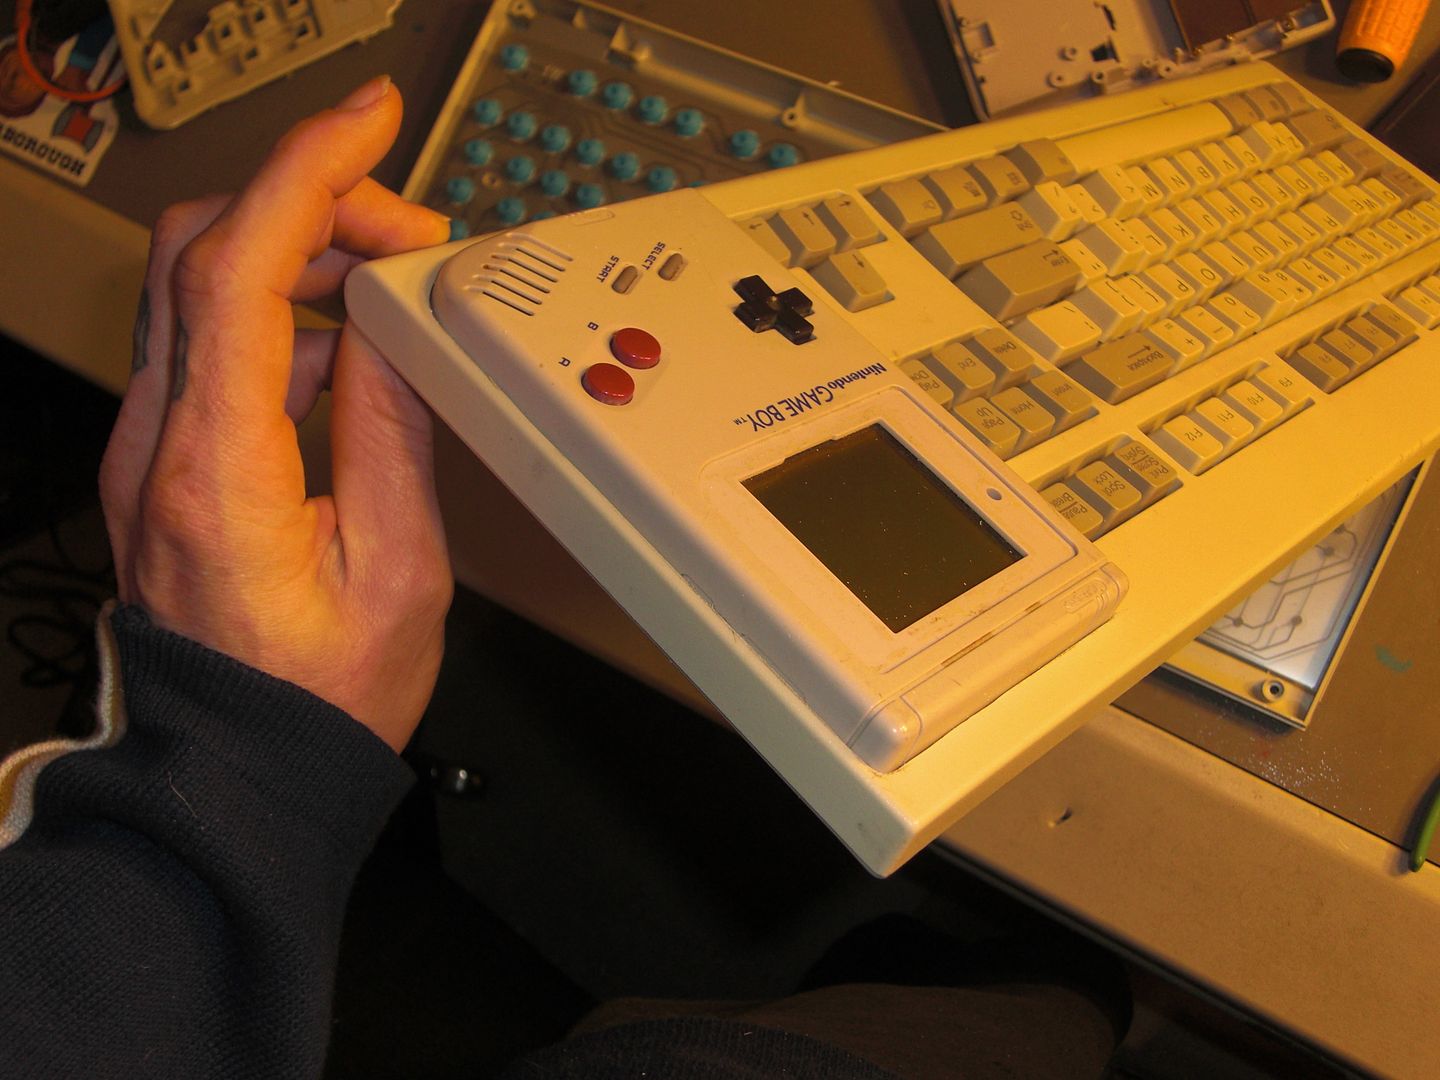
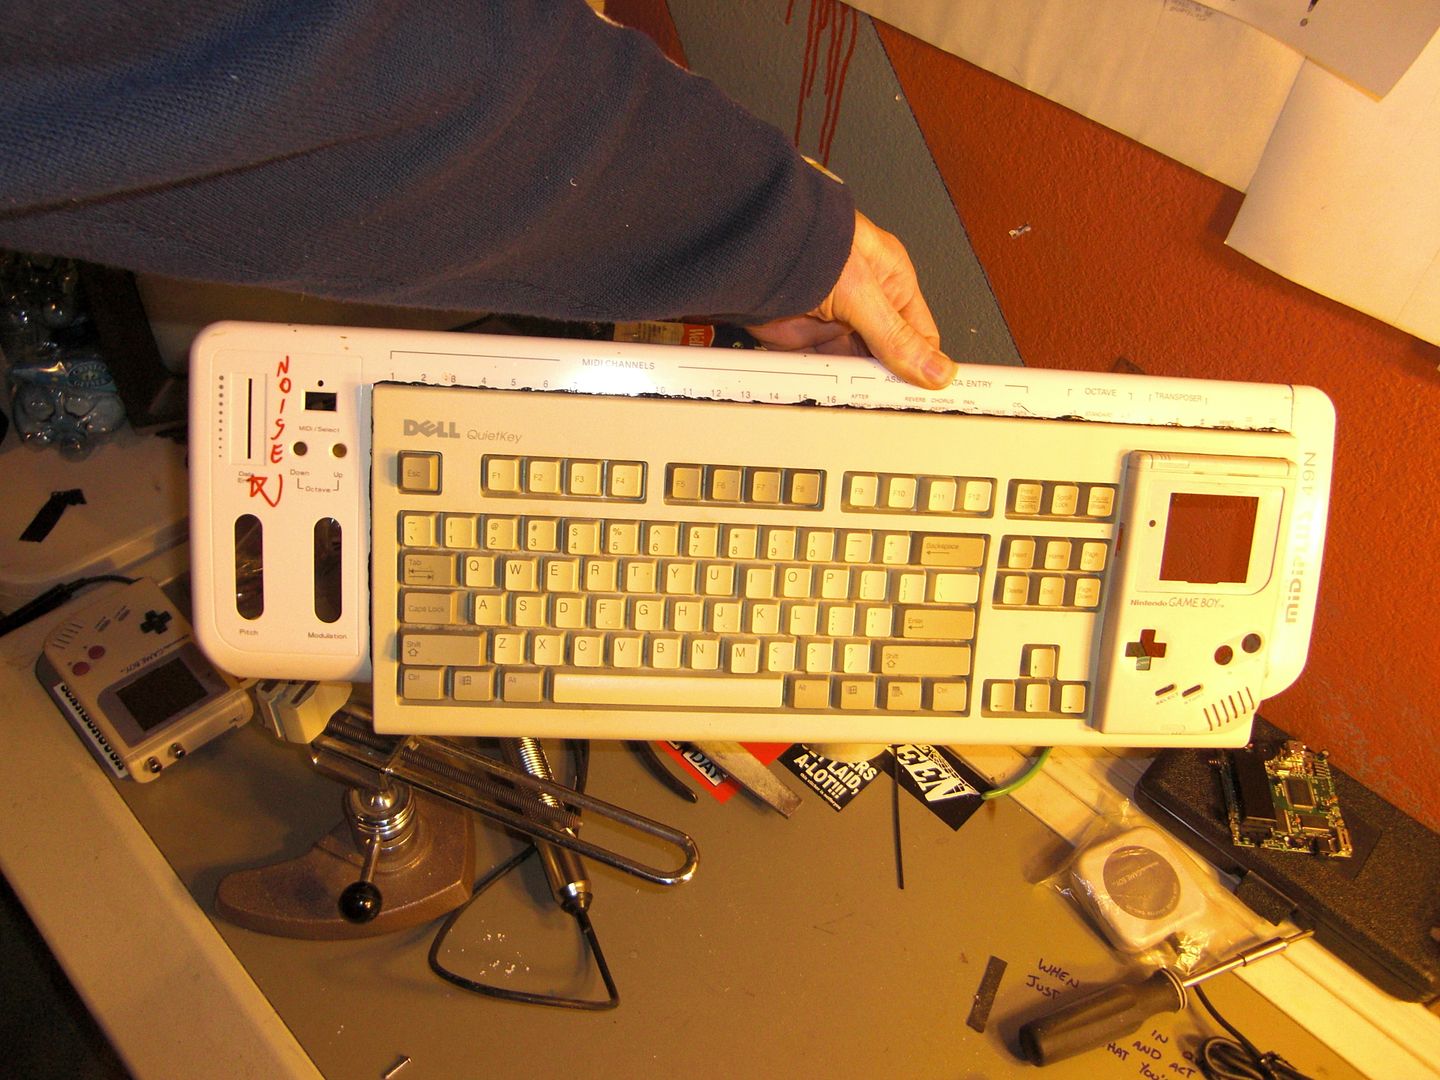
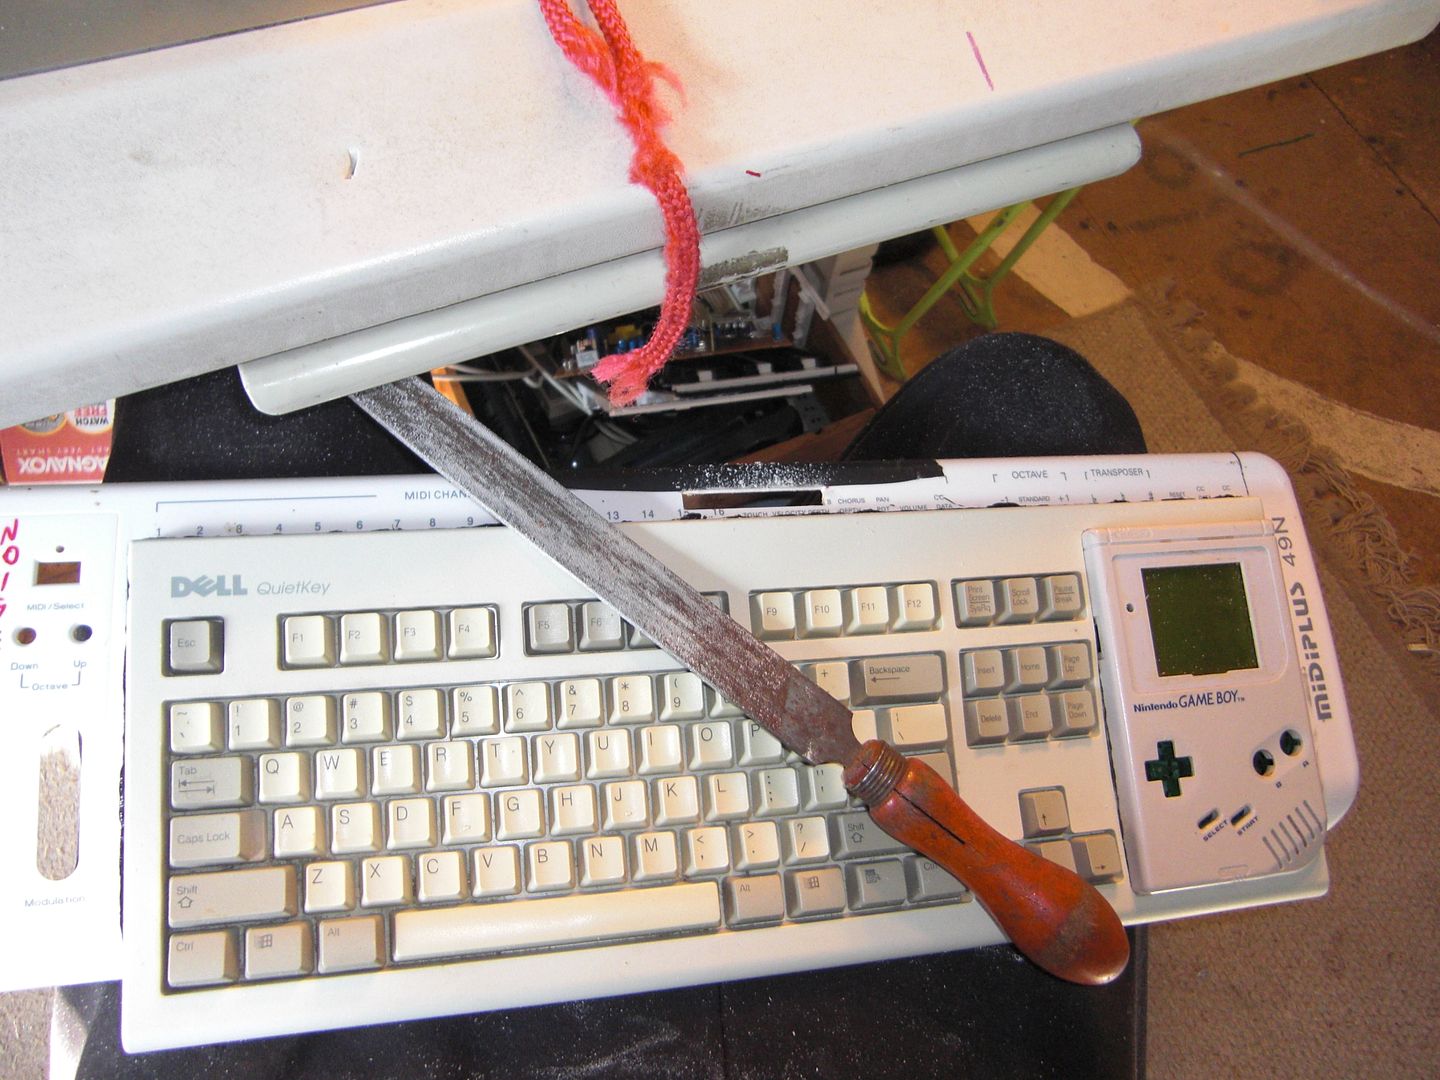
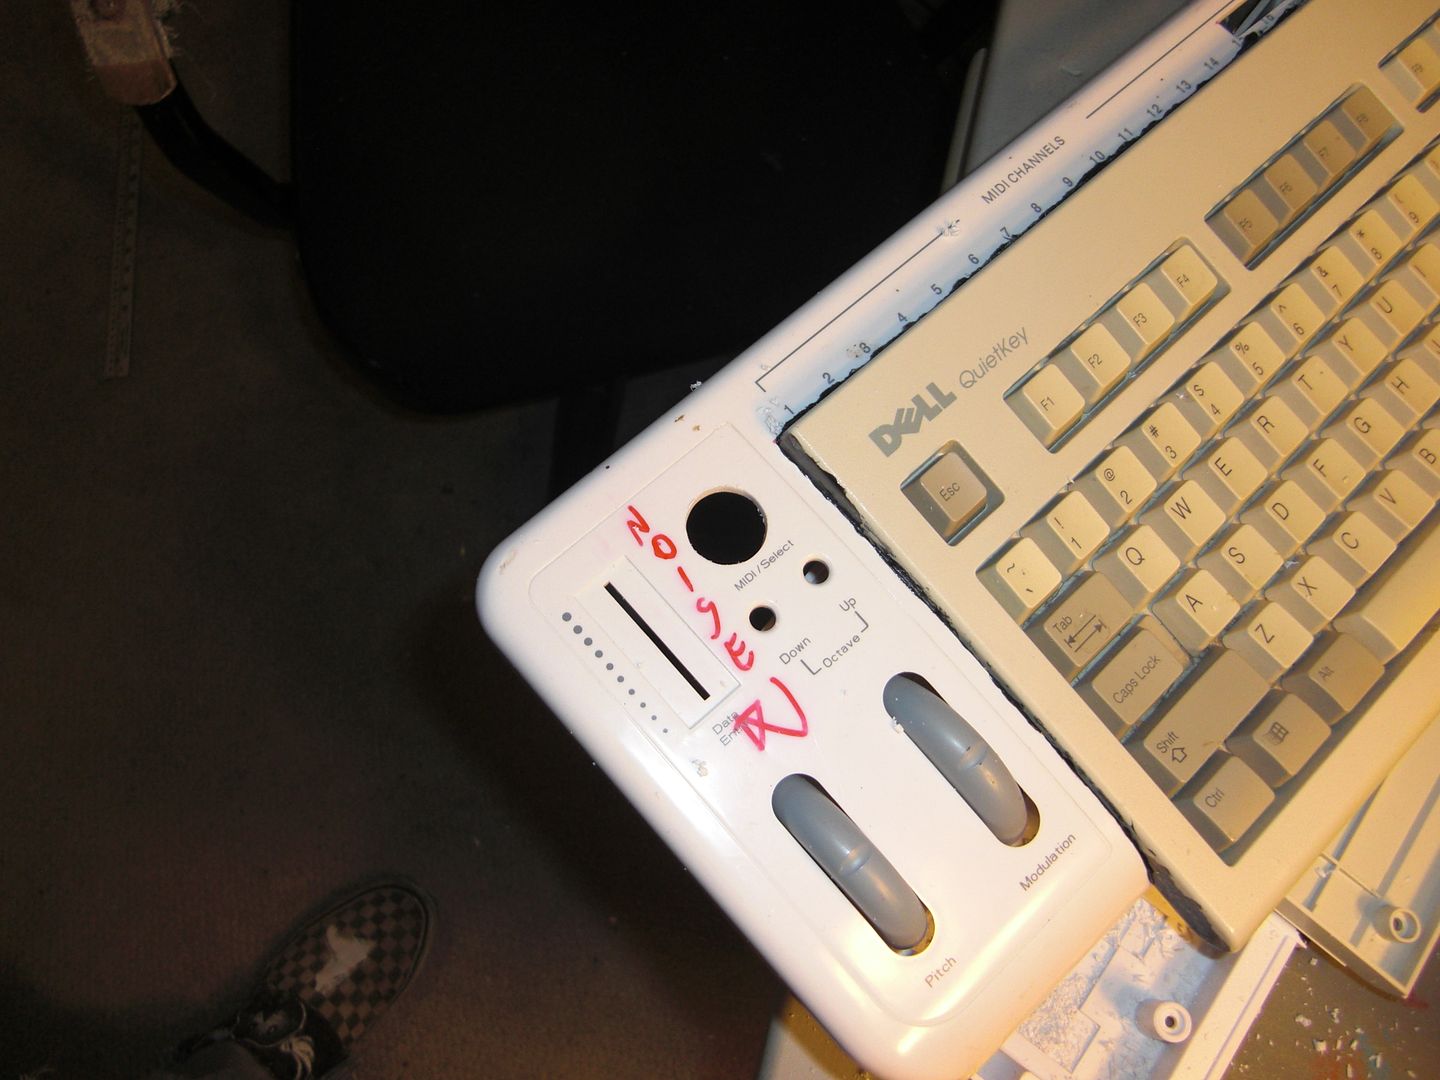
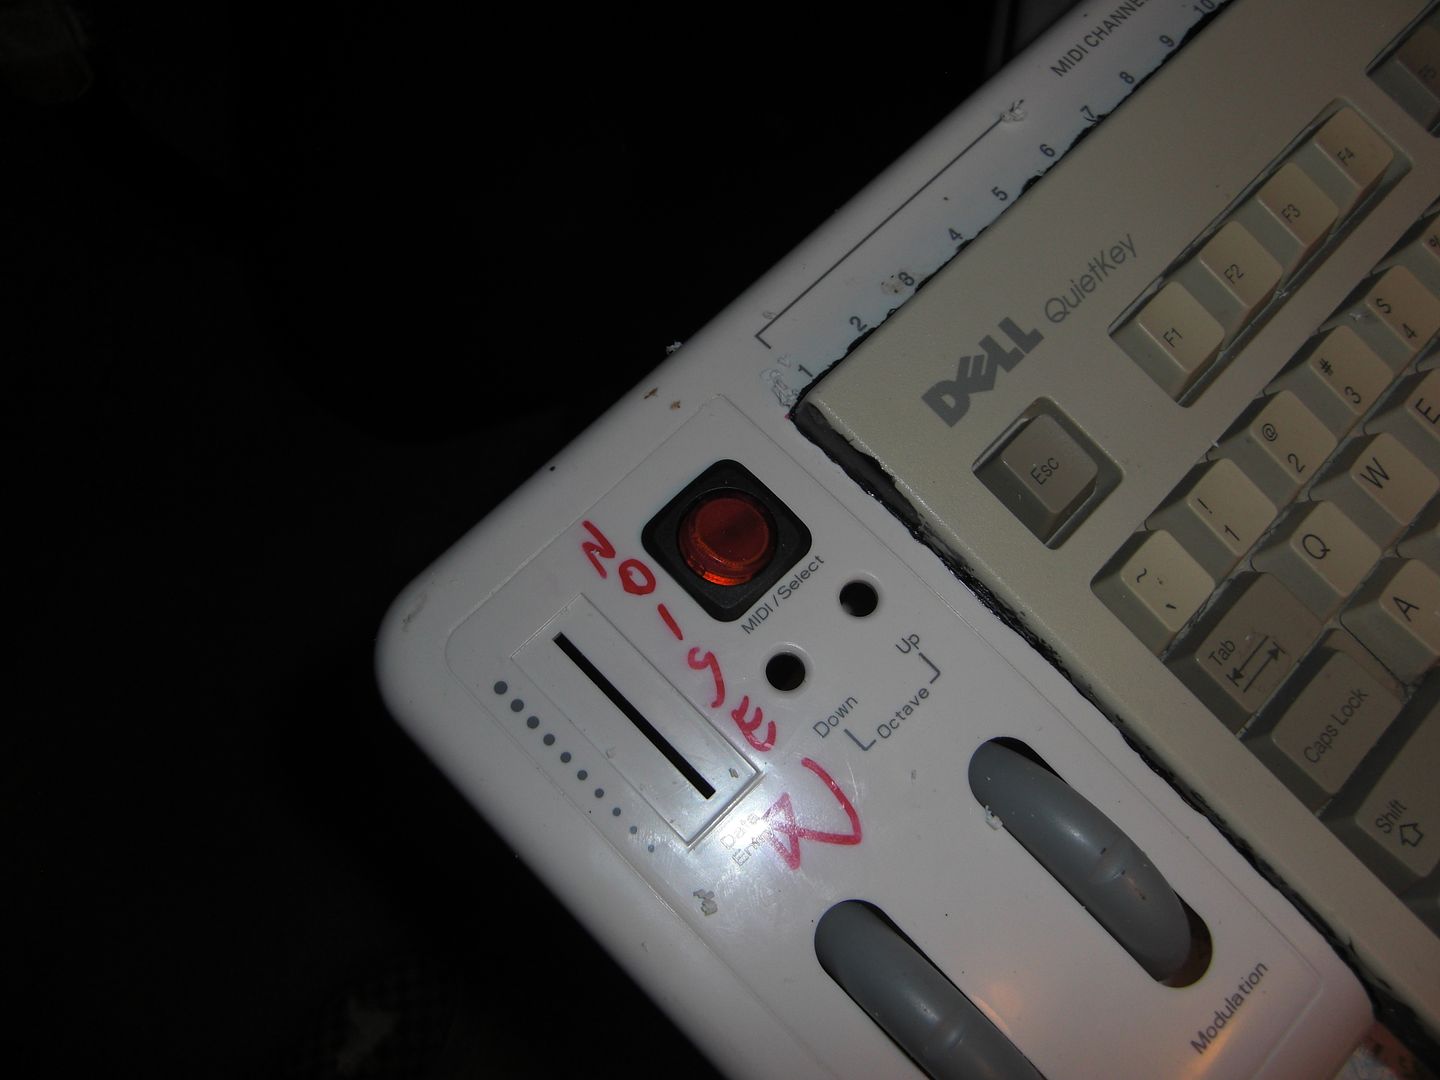
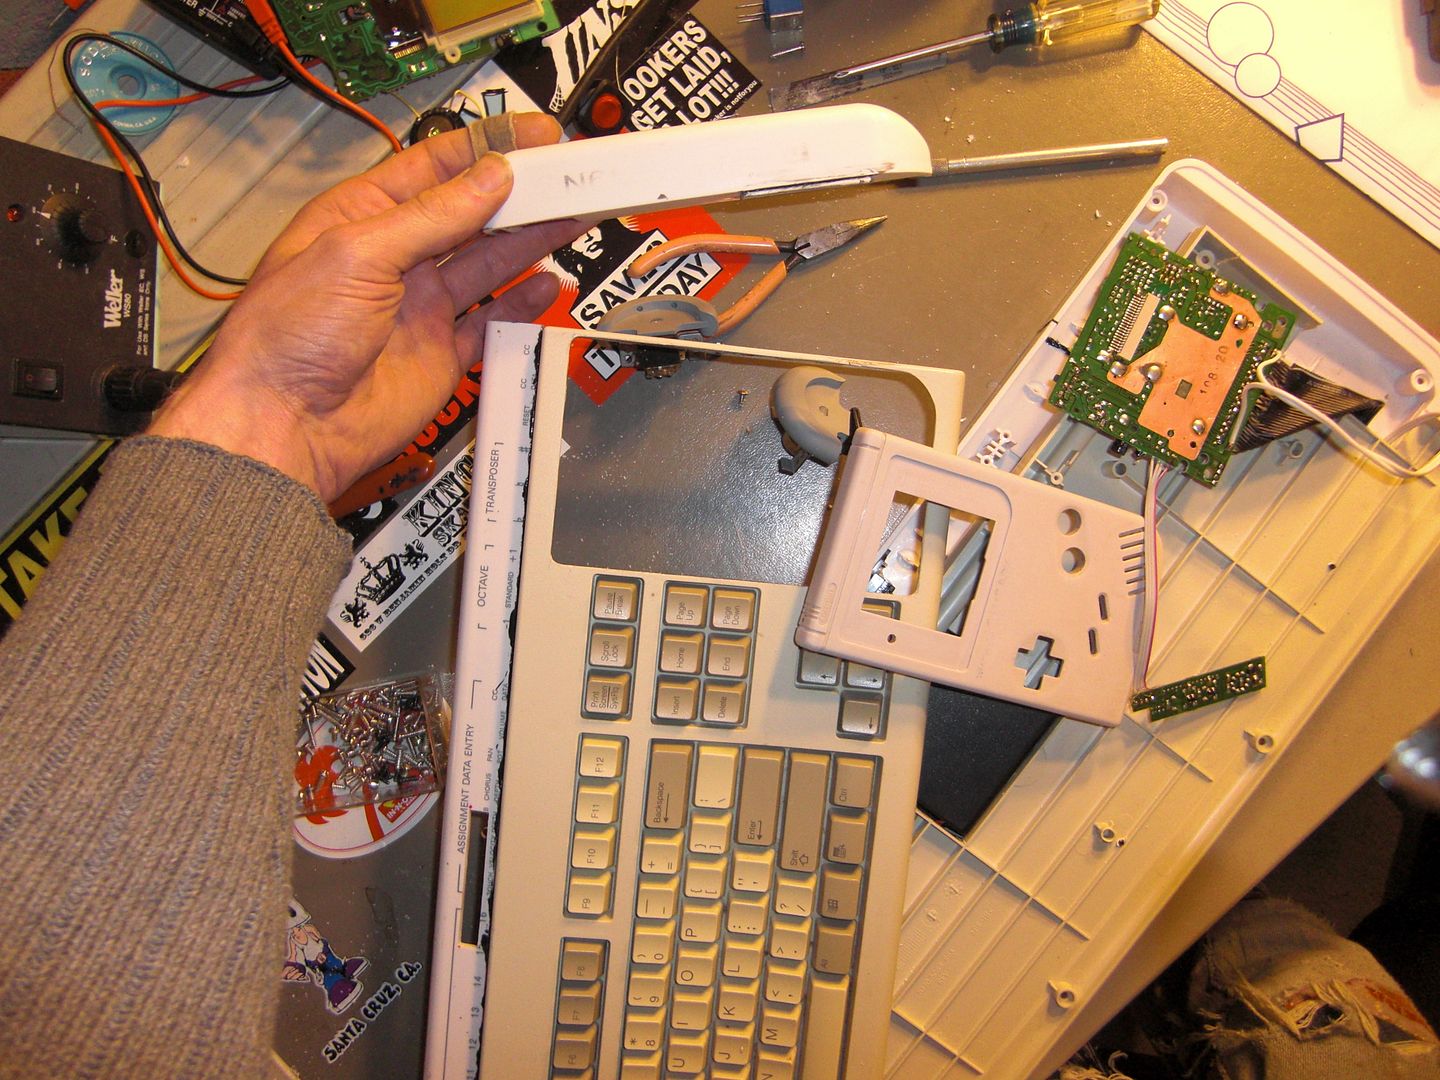
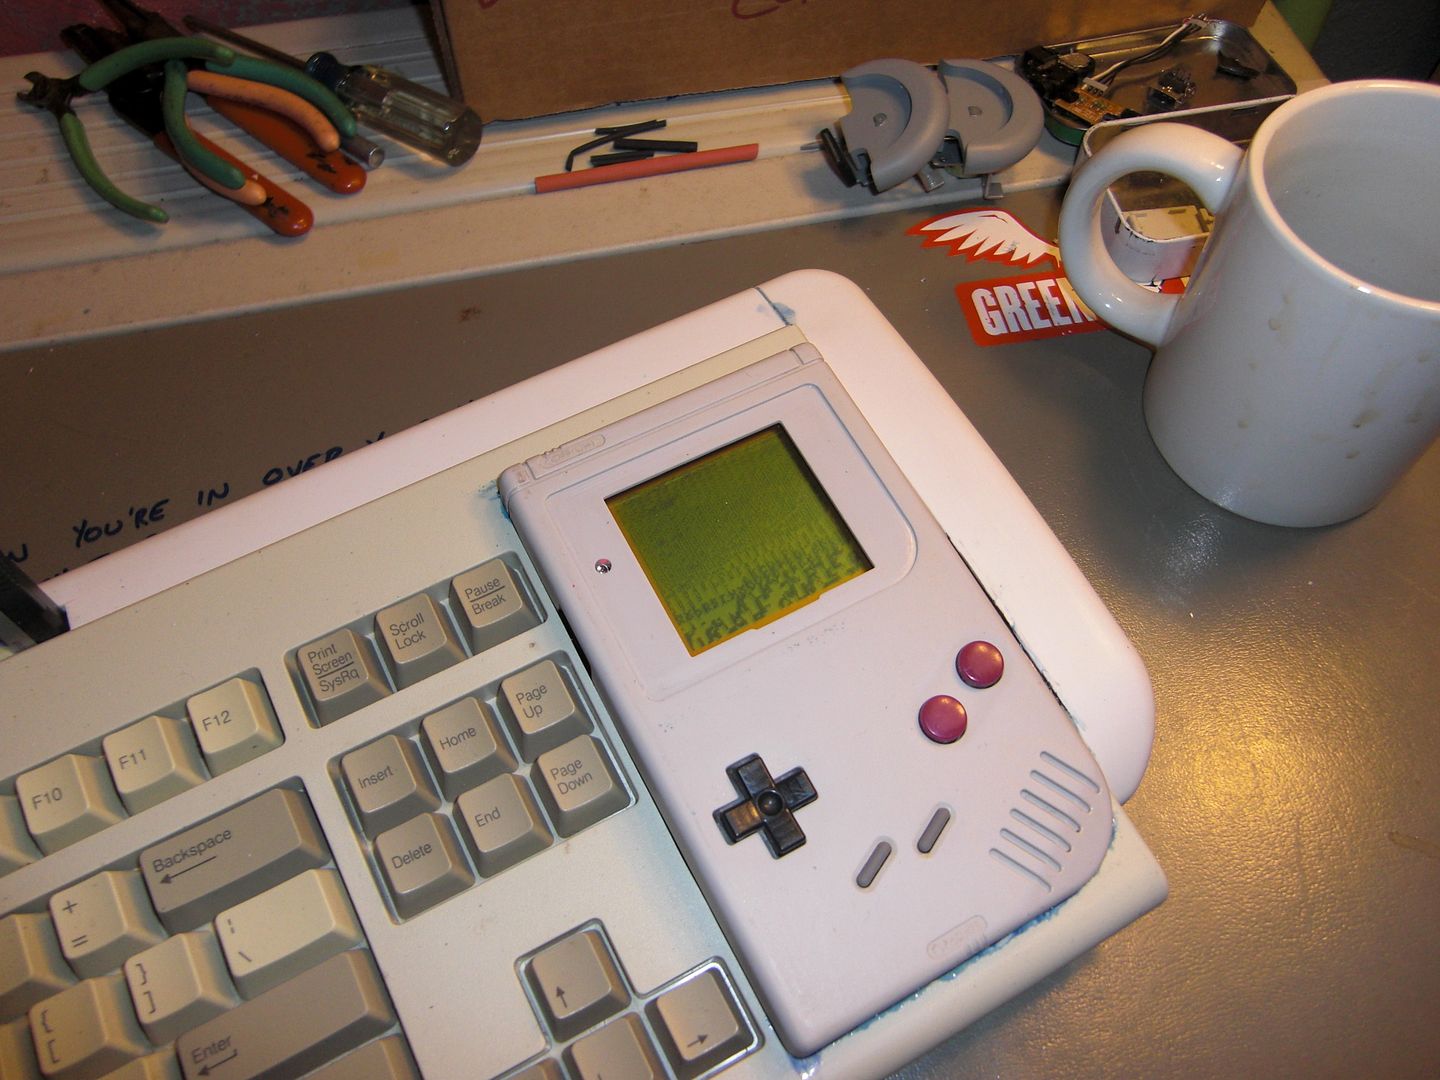
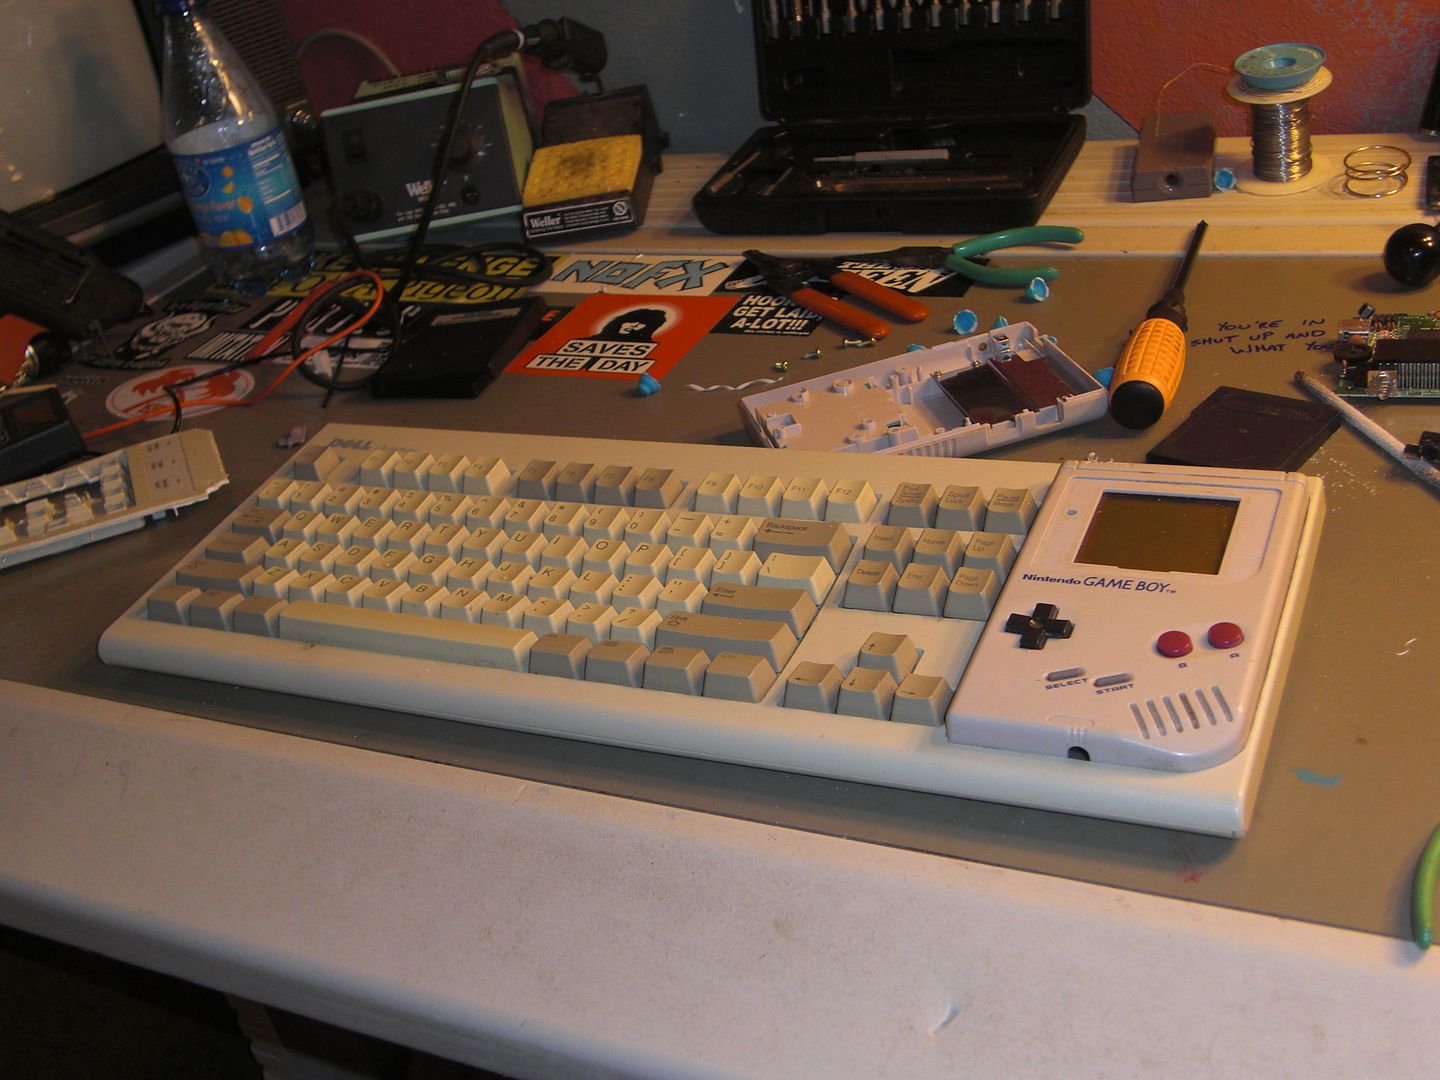
I had just finished learning how to do the DMG-keyboard interface, and as I started to swapping cables and popping off the unneeded keys, I struck on this insanity.
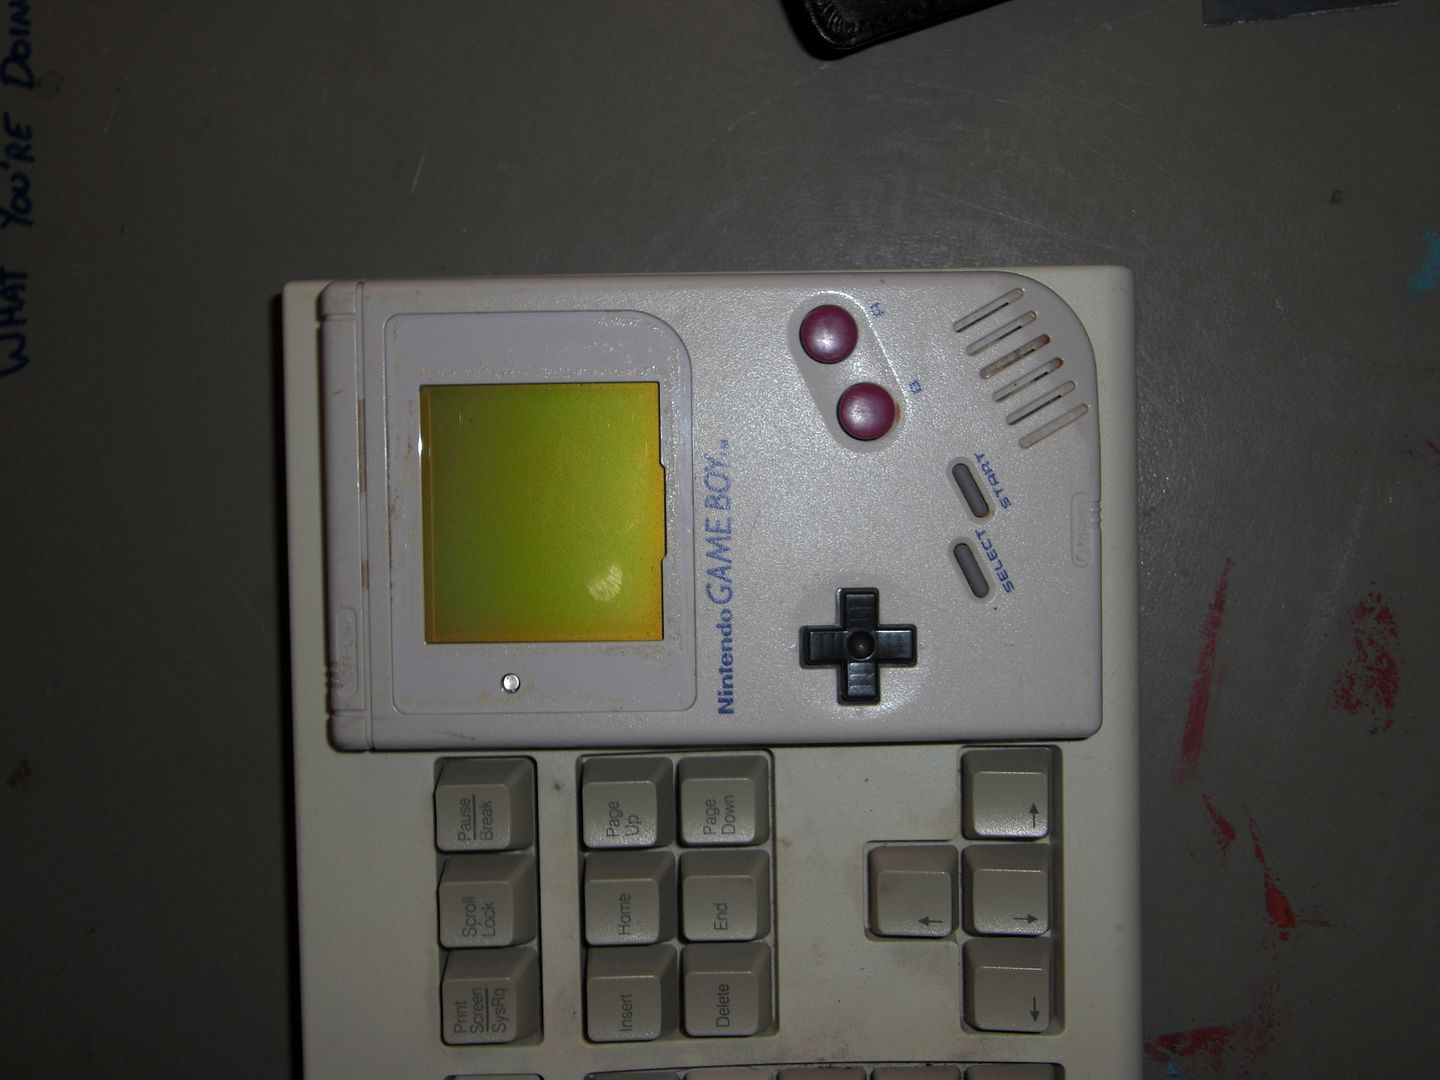
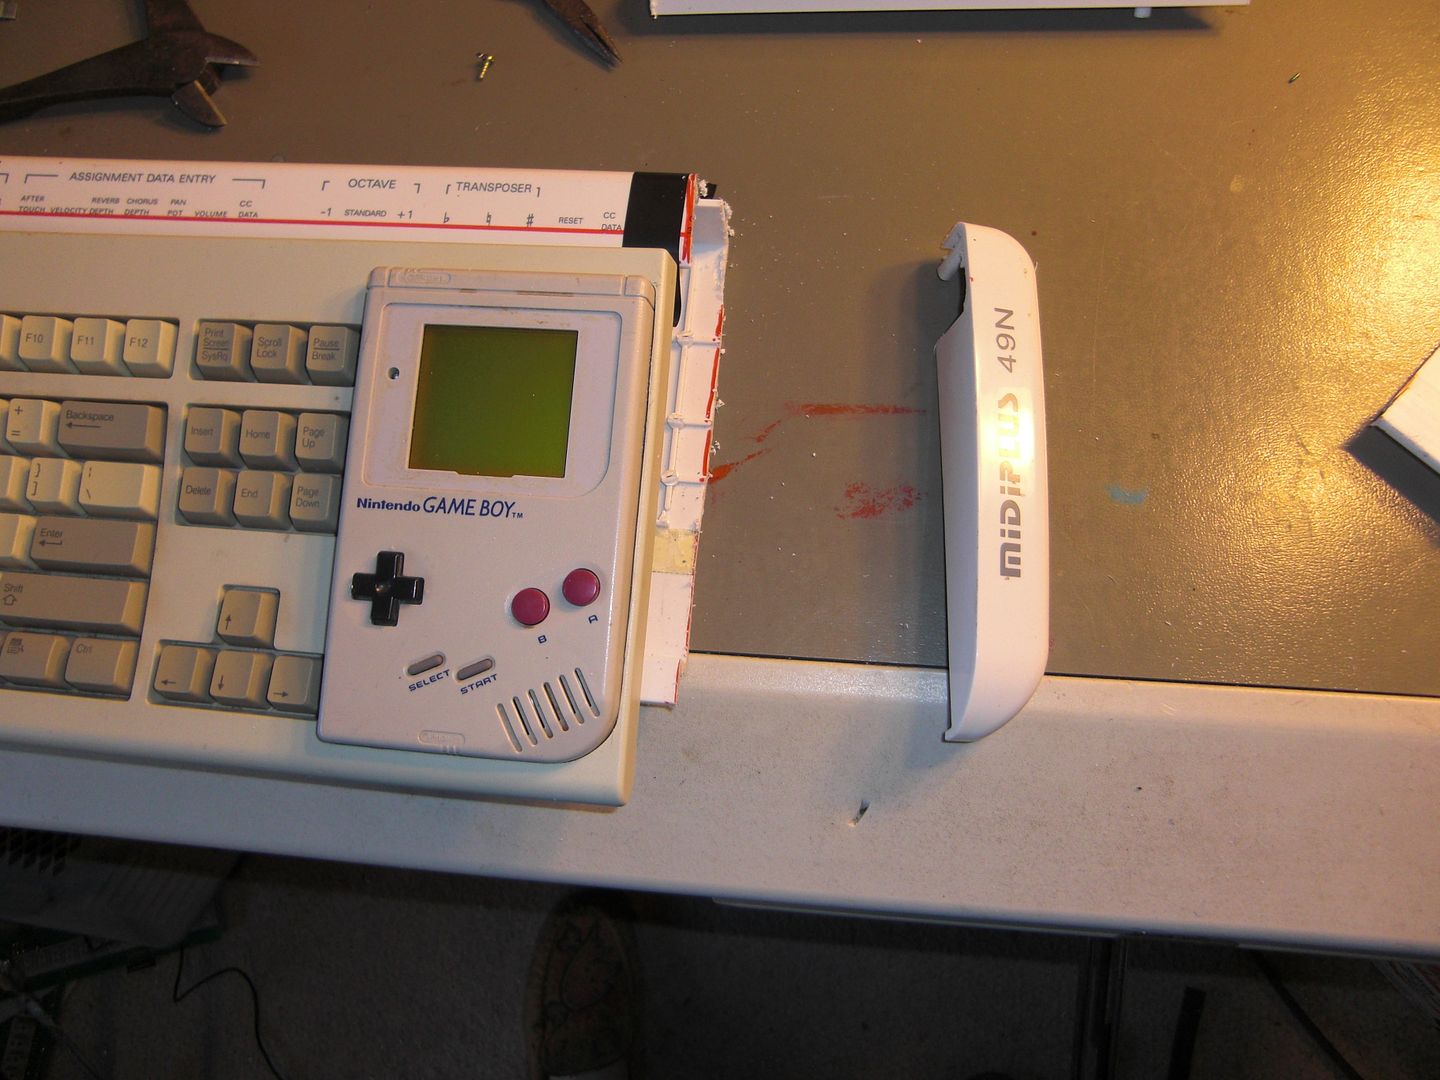
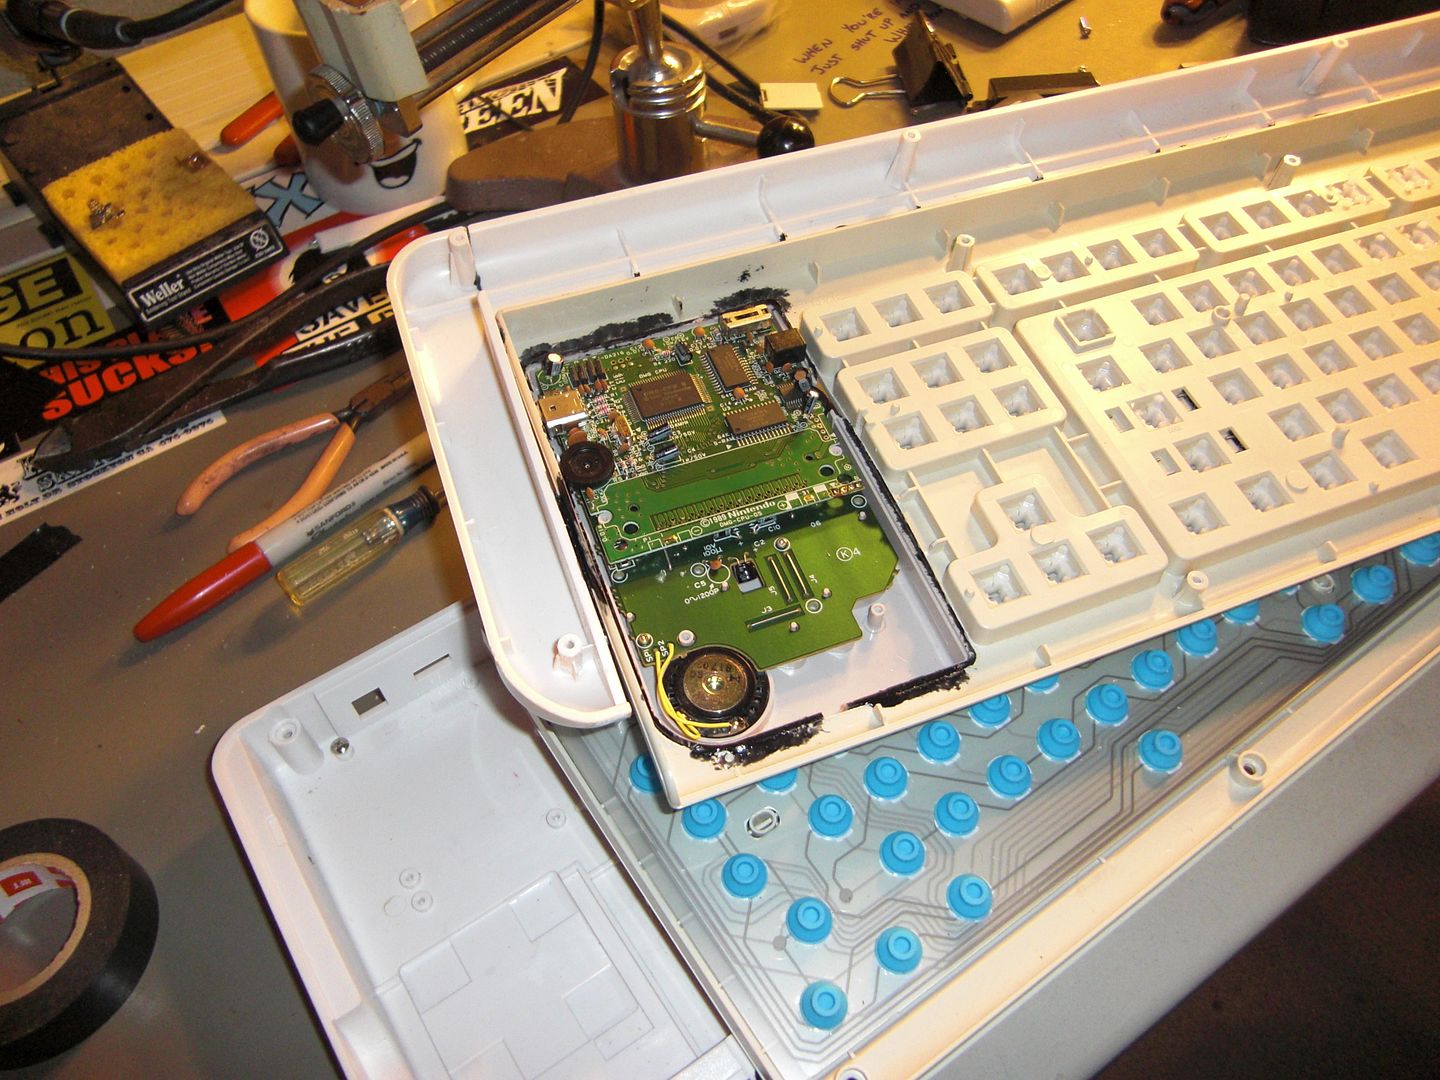
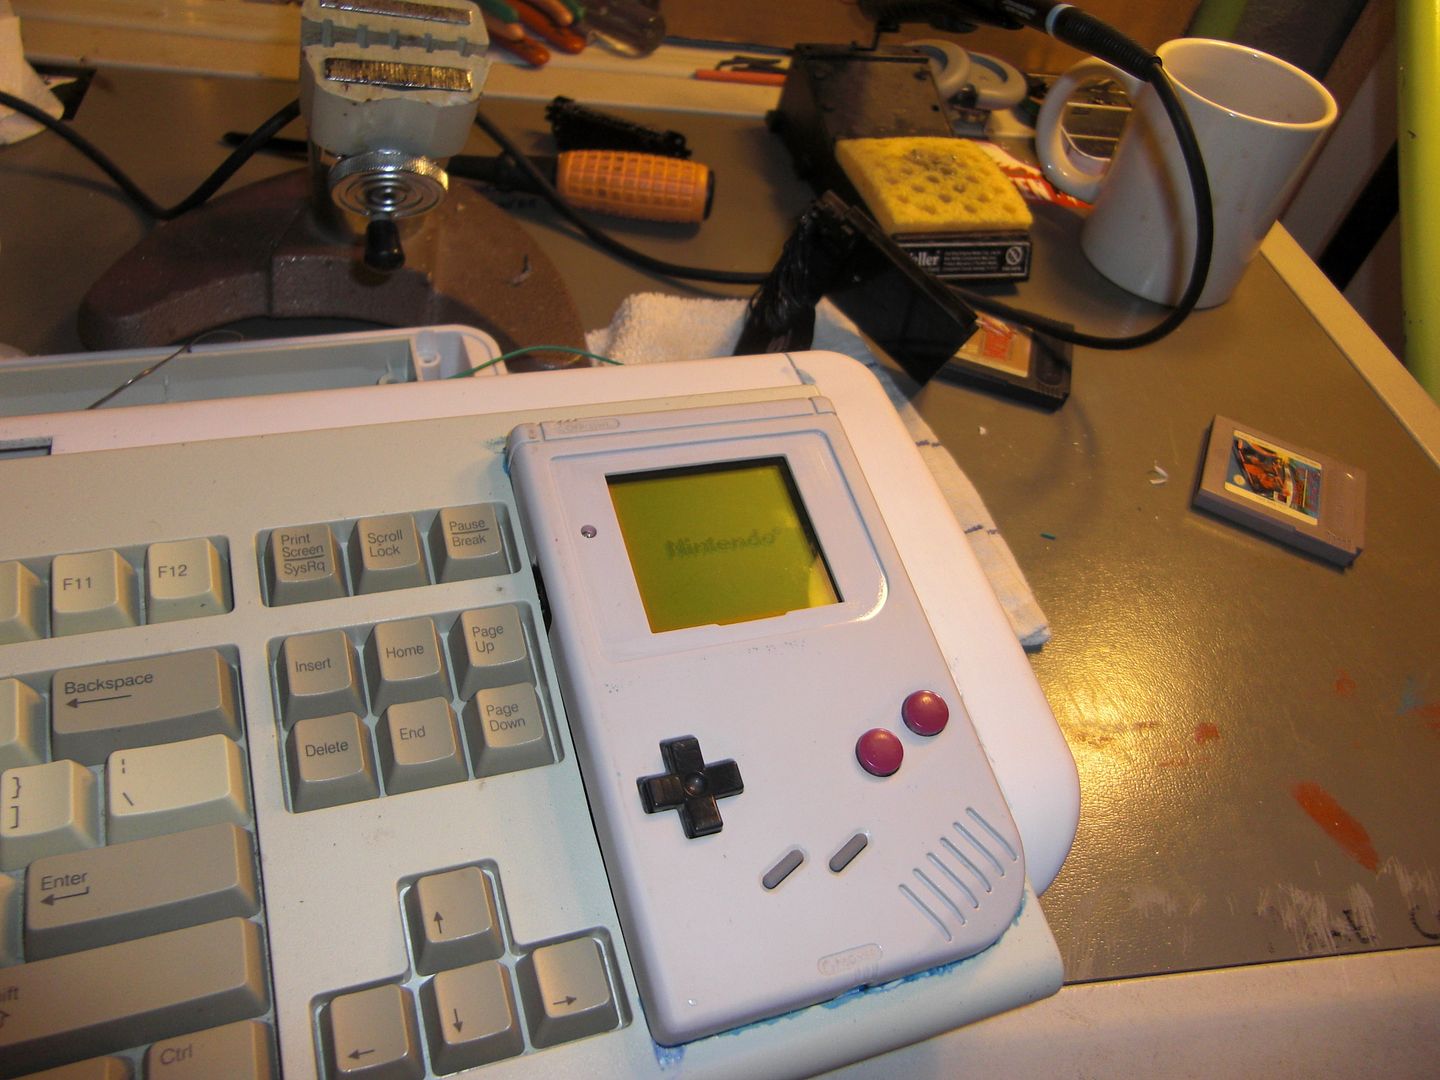
I promptly split the Gameboy open, and slapped the front half down on they keyboard to see what I was working with.
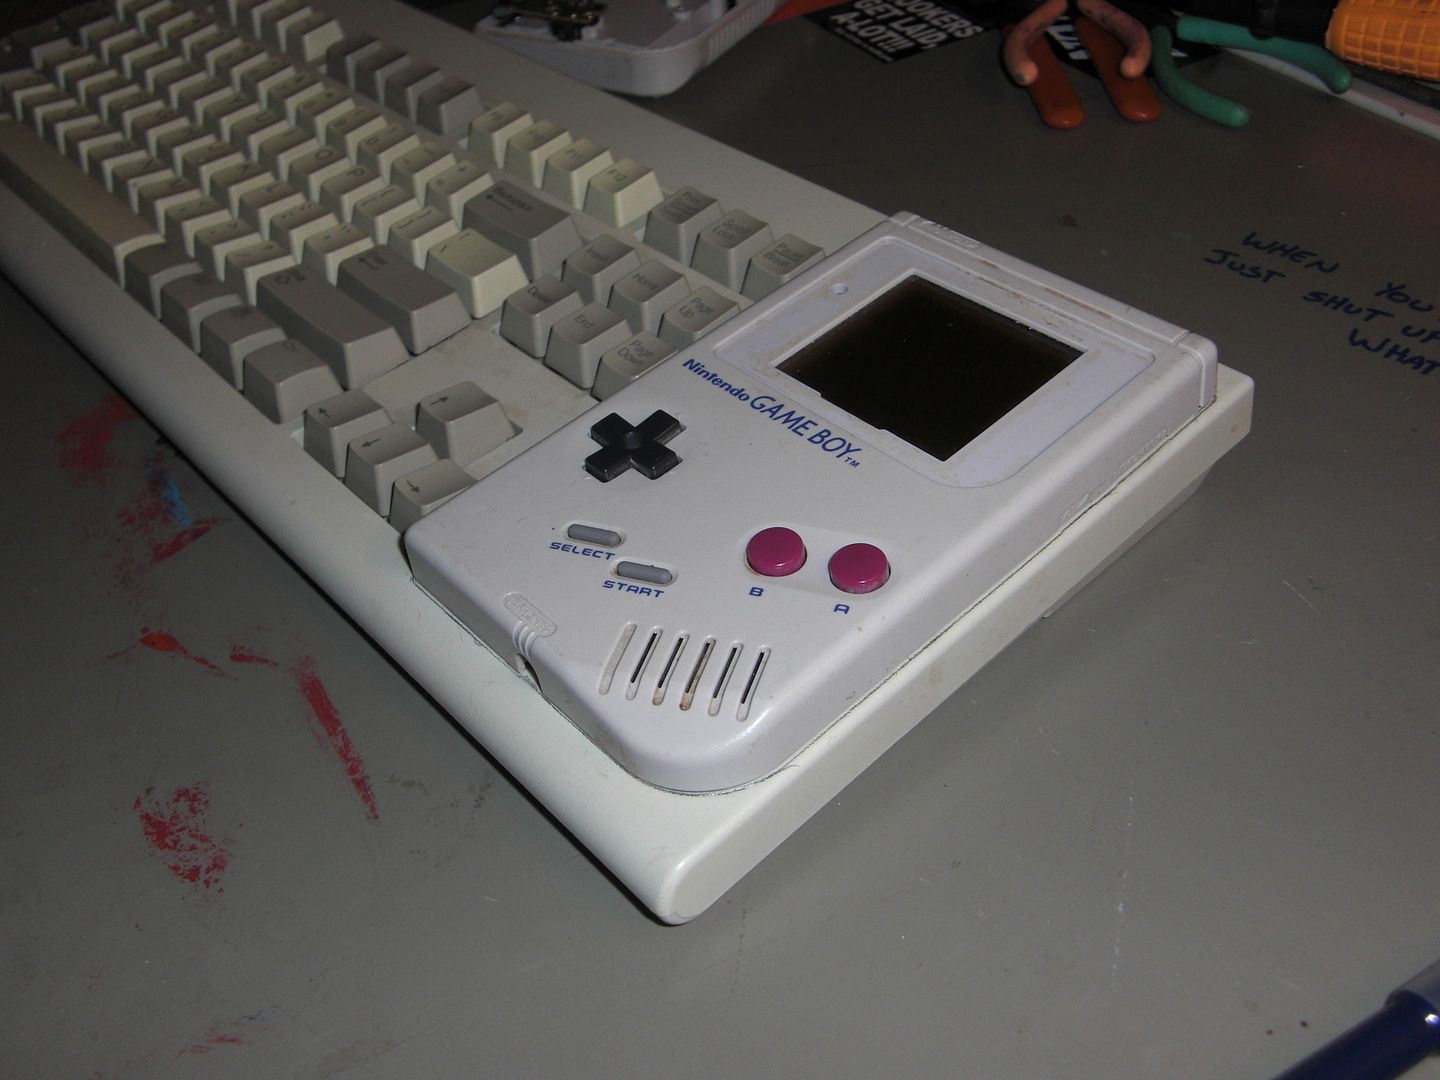
"Looks good to me!" I thought, so I grabbed a pencil and took a quick trace... you'll never guess where this is going *sarcasm*
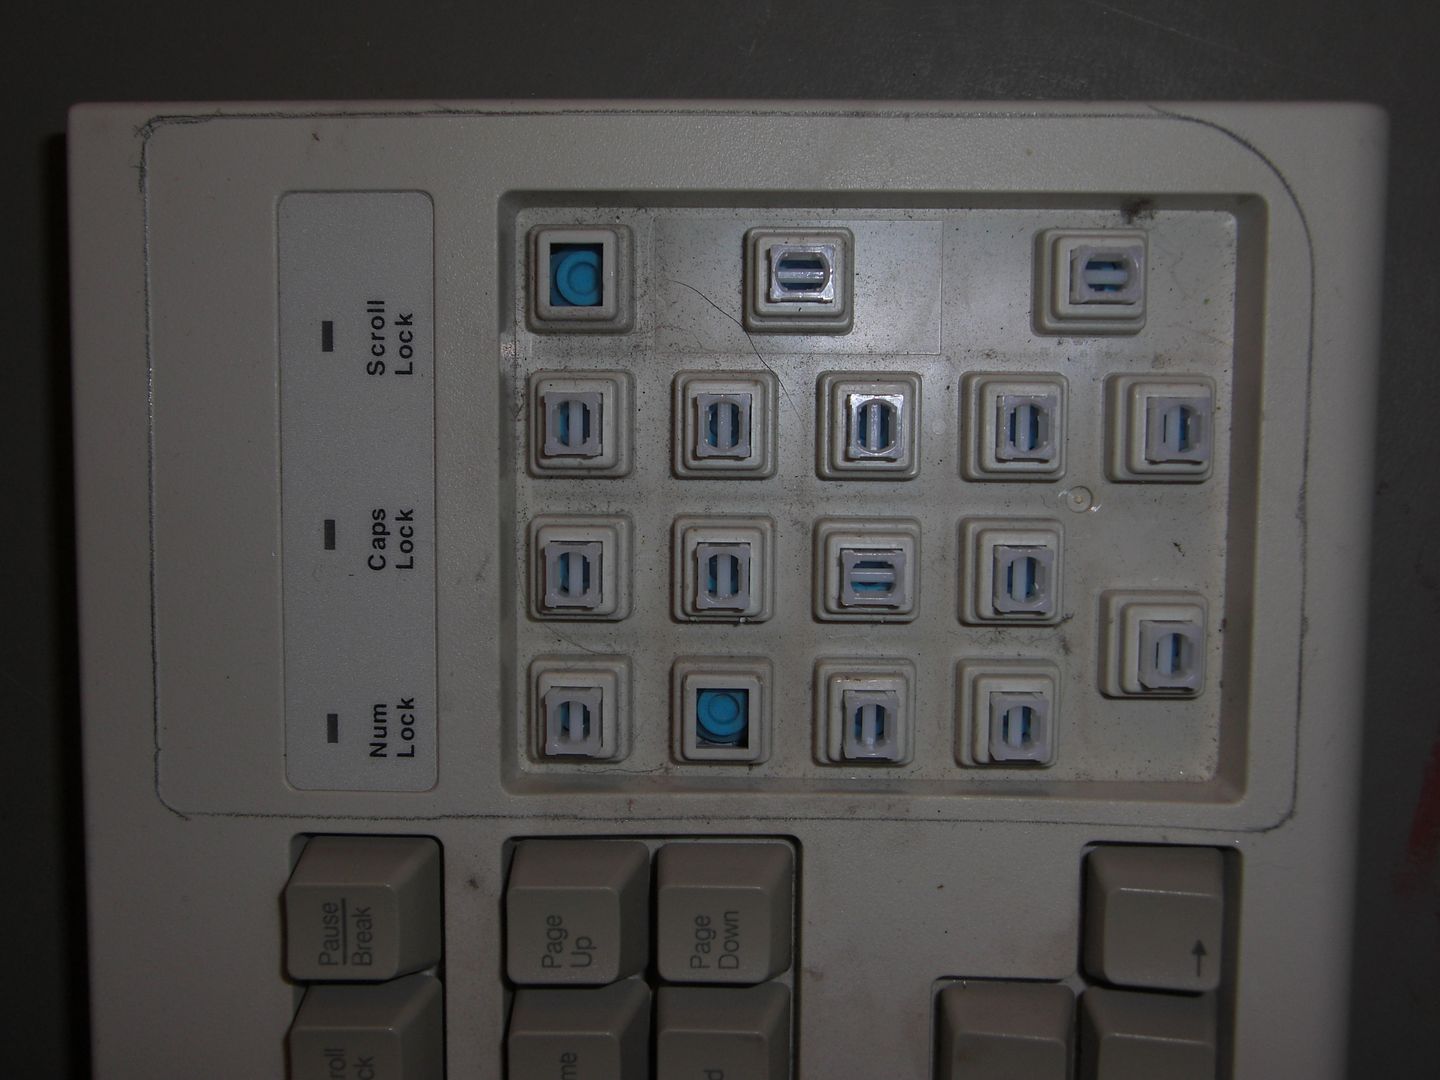
Using a box cutter, I slowly cut through the plastic (a dremel tool would have made a jagged mess out of it). I snapped the core out with a pair of pliers. The result was a nearly perfectly shaped hole, and only required minimal filing to finish the edges.
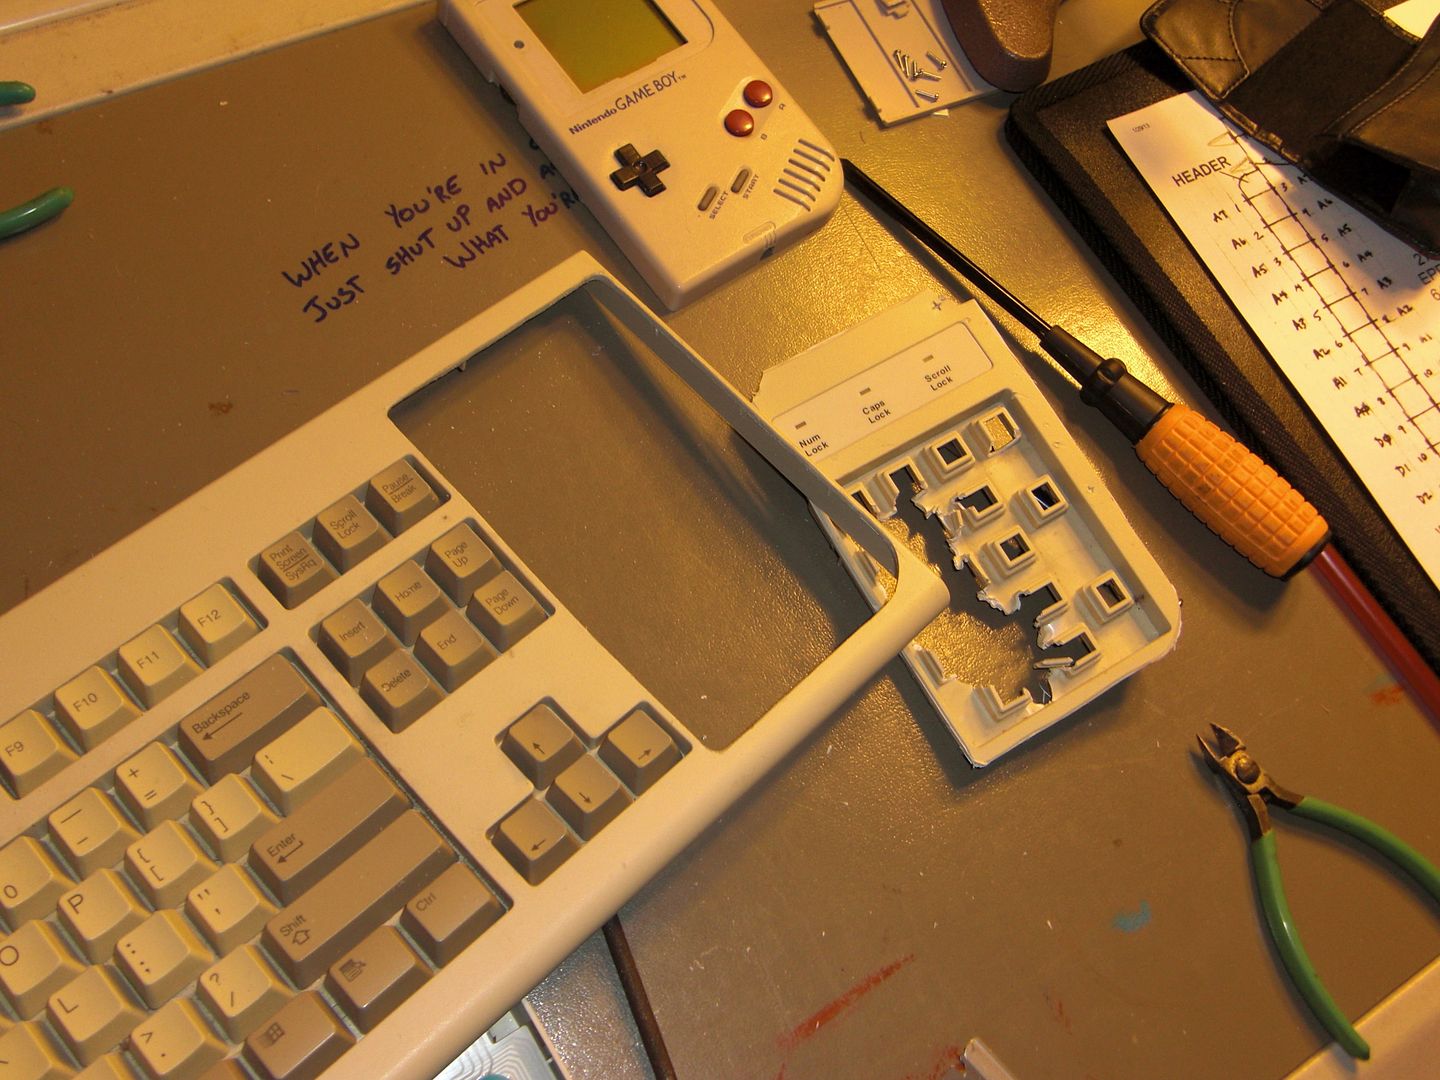
Hot Damn! It's a perfect fit!

› Like a glove...


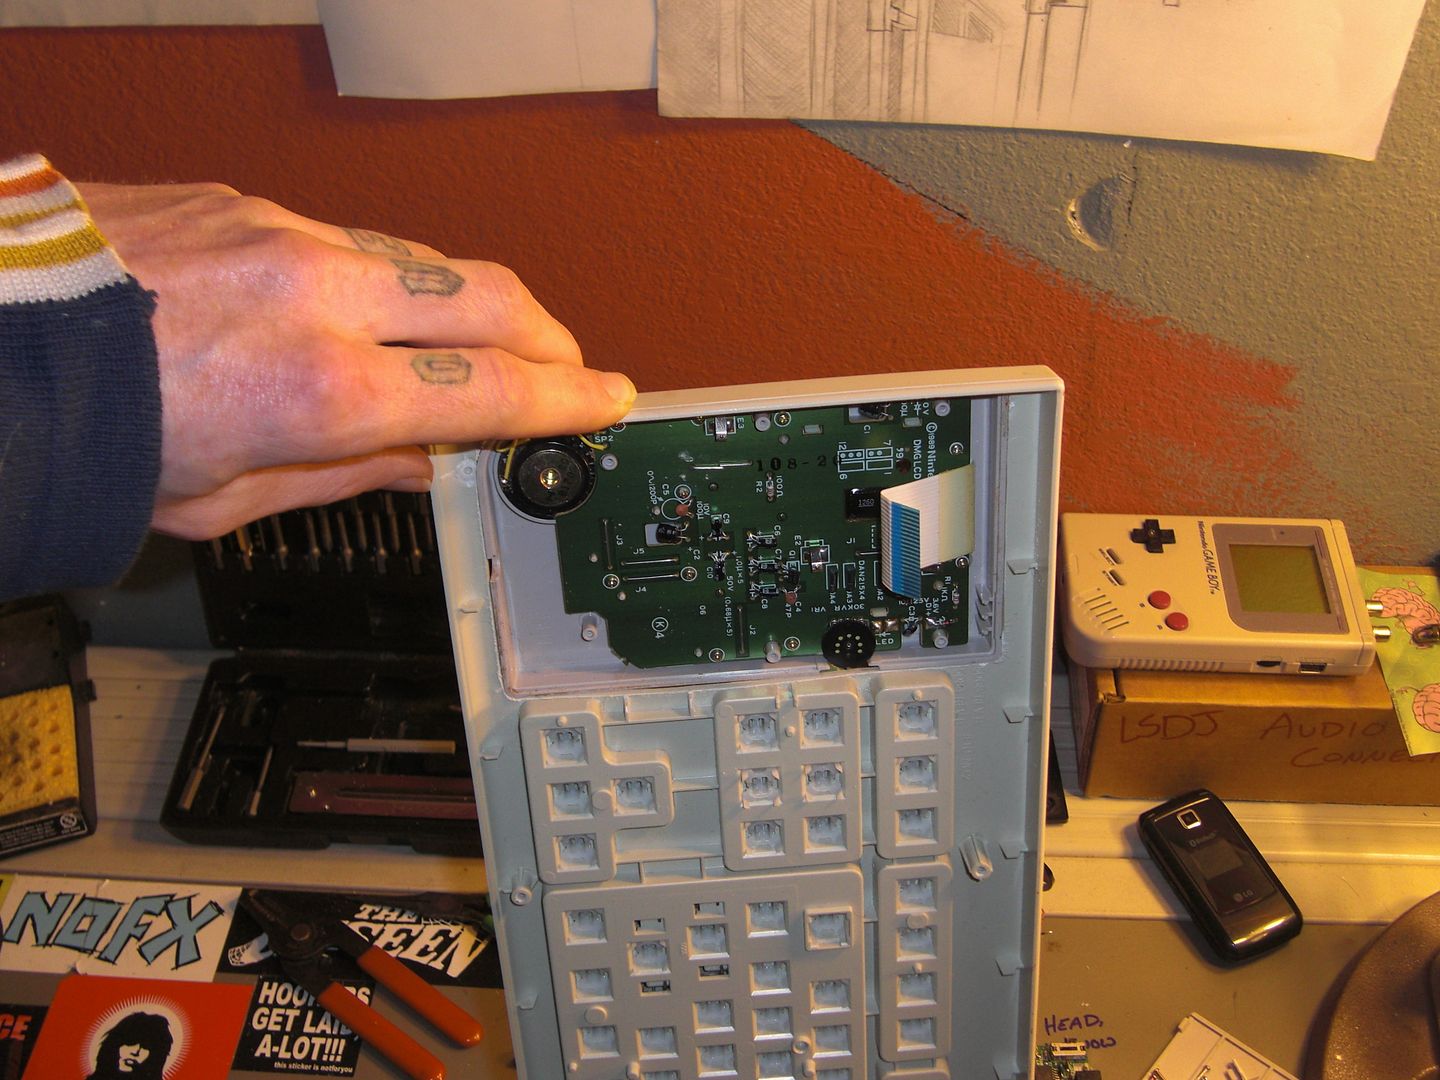
I then encountered my very first problem; Where the hell was I going to put all of the hardware? I had room for the daughter board, but that was about it. I'd need more room if I wanted to have any chance of this working.
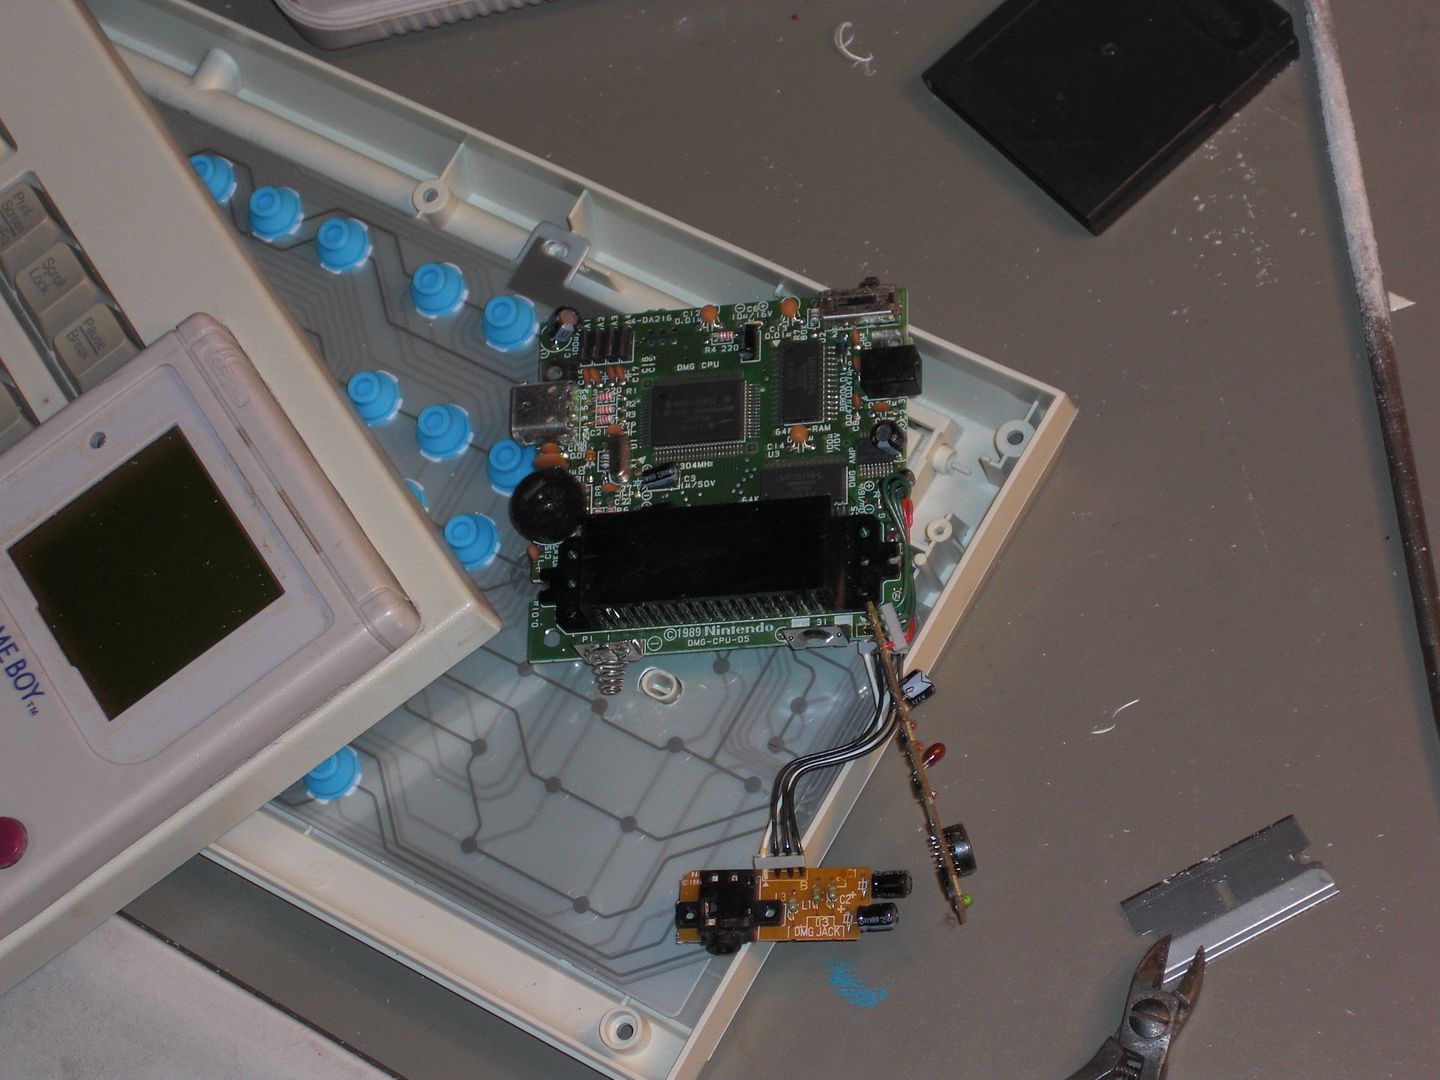
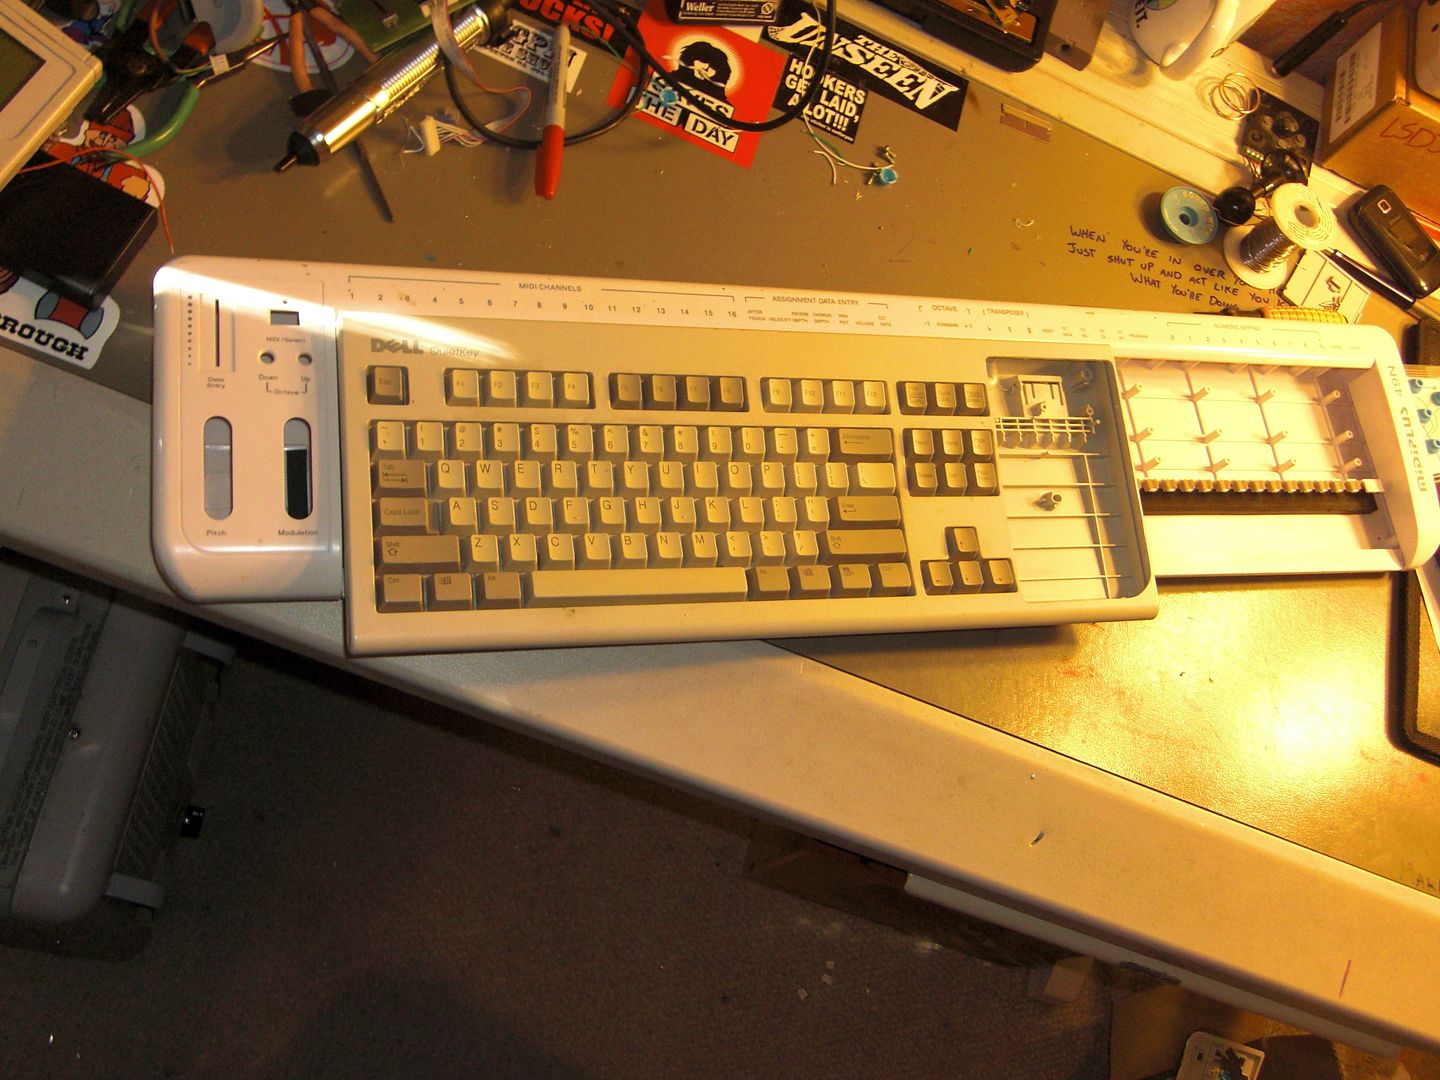
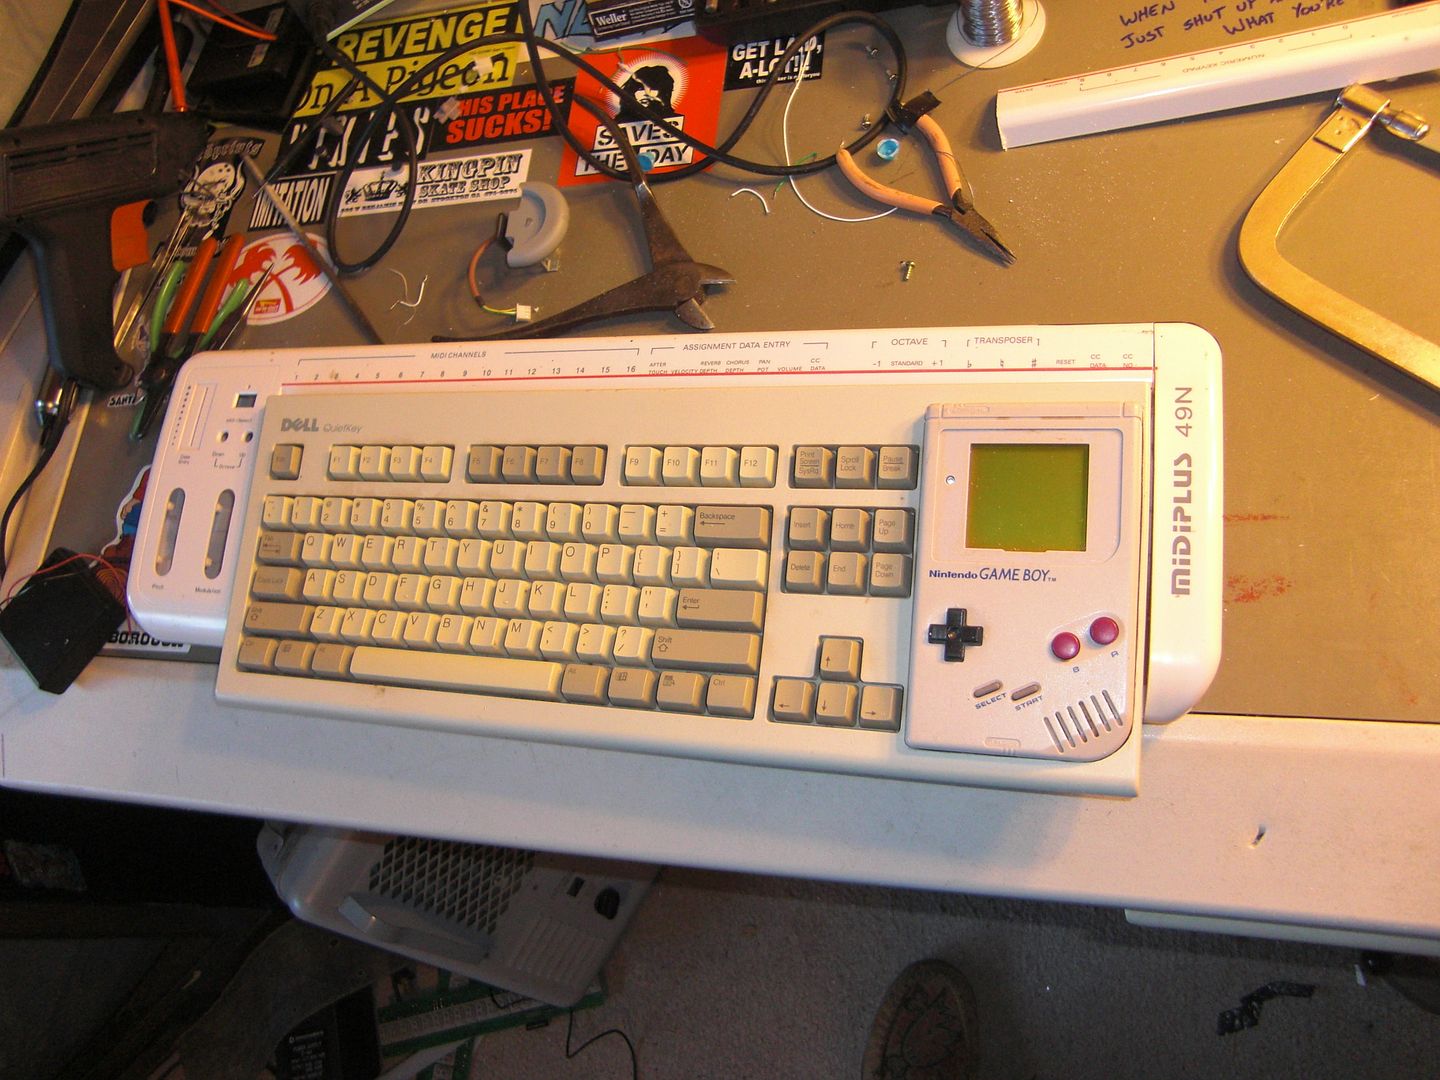
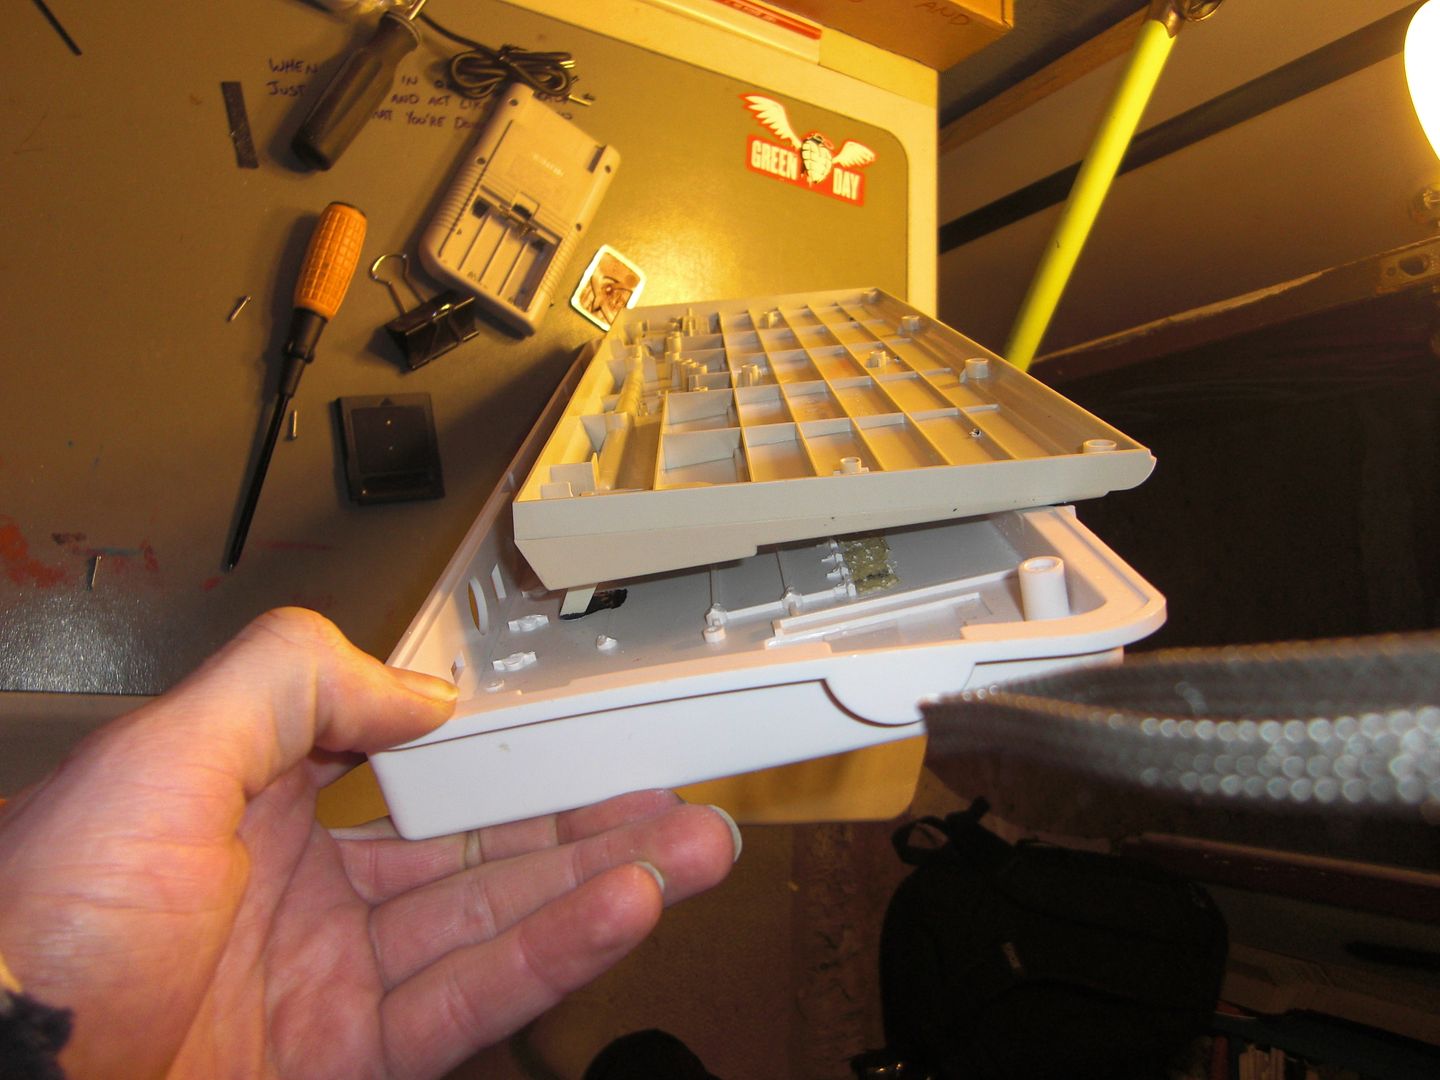
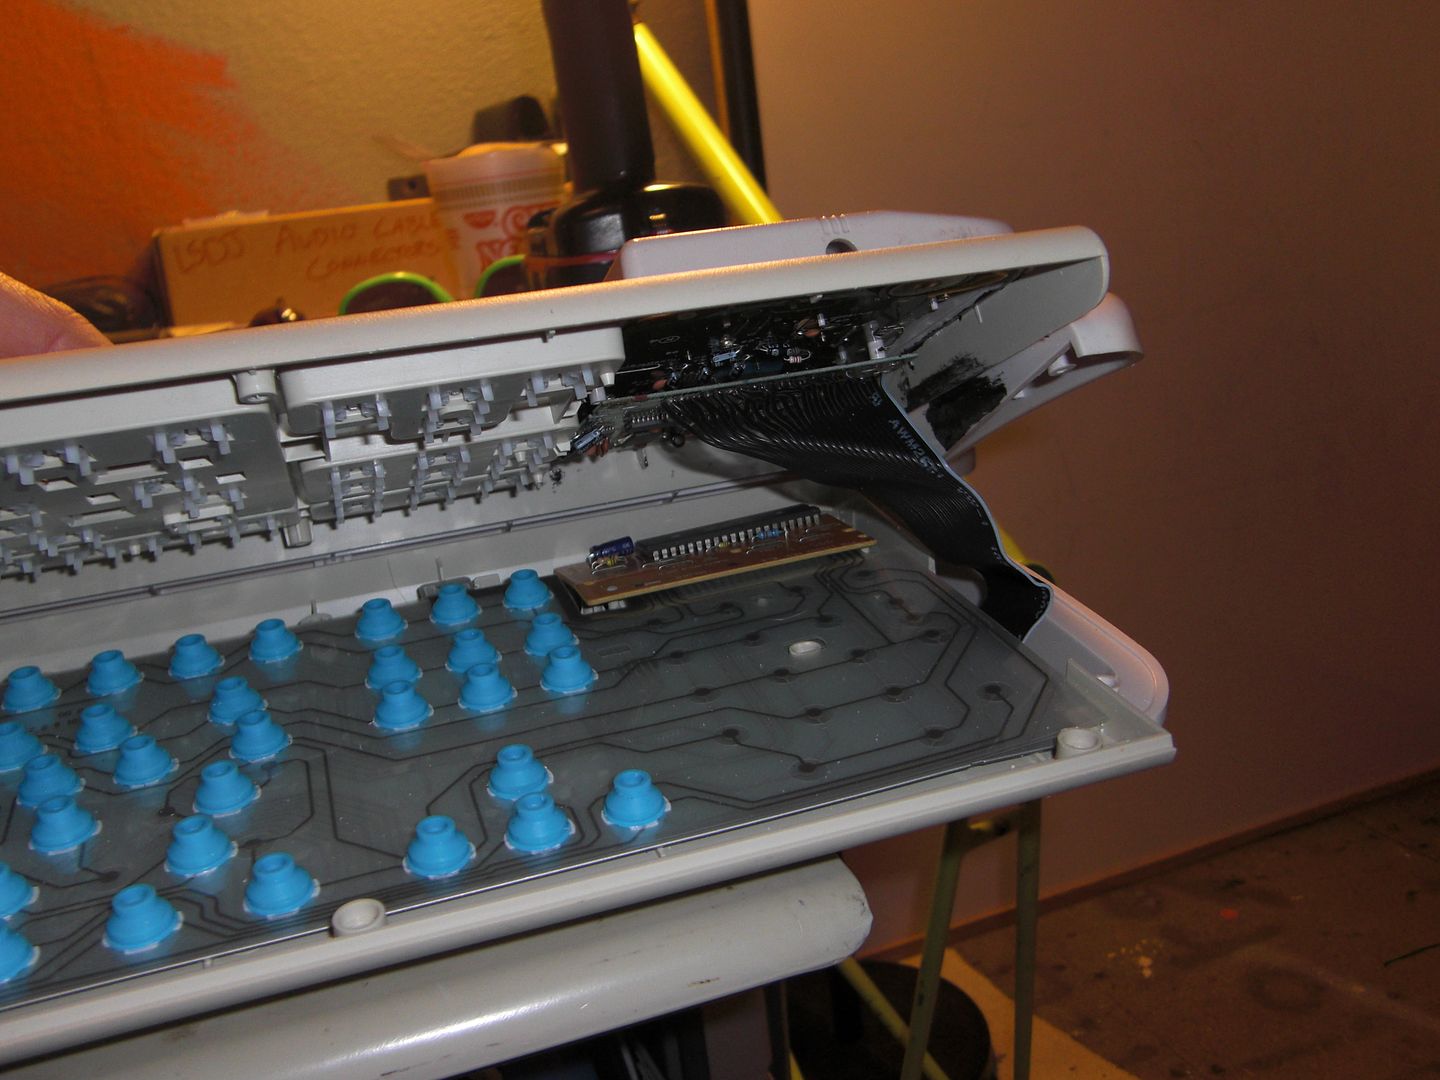
For about an hour, I rummaged around in my garage and in my closet, hoping to find some suitable plastic case or dead game console I could cut up adhere to the keyboard... I was coming up with nothing. As I wandered through the garage, I spotted this old USB Midi keyboard that I had harvested parts from years ago... this might make my build a little (re. a lot) more complicated, but if I get it right, it'll be a thing of beauty.
(I got excited when I found the keyboard, and forgot to take pictures before I gutted it out)
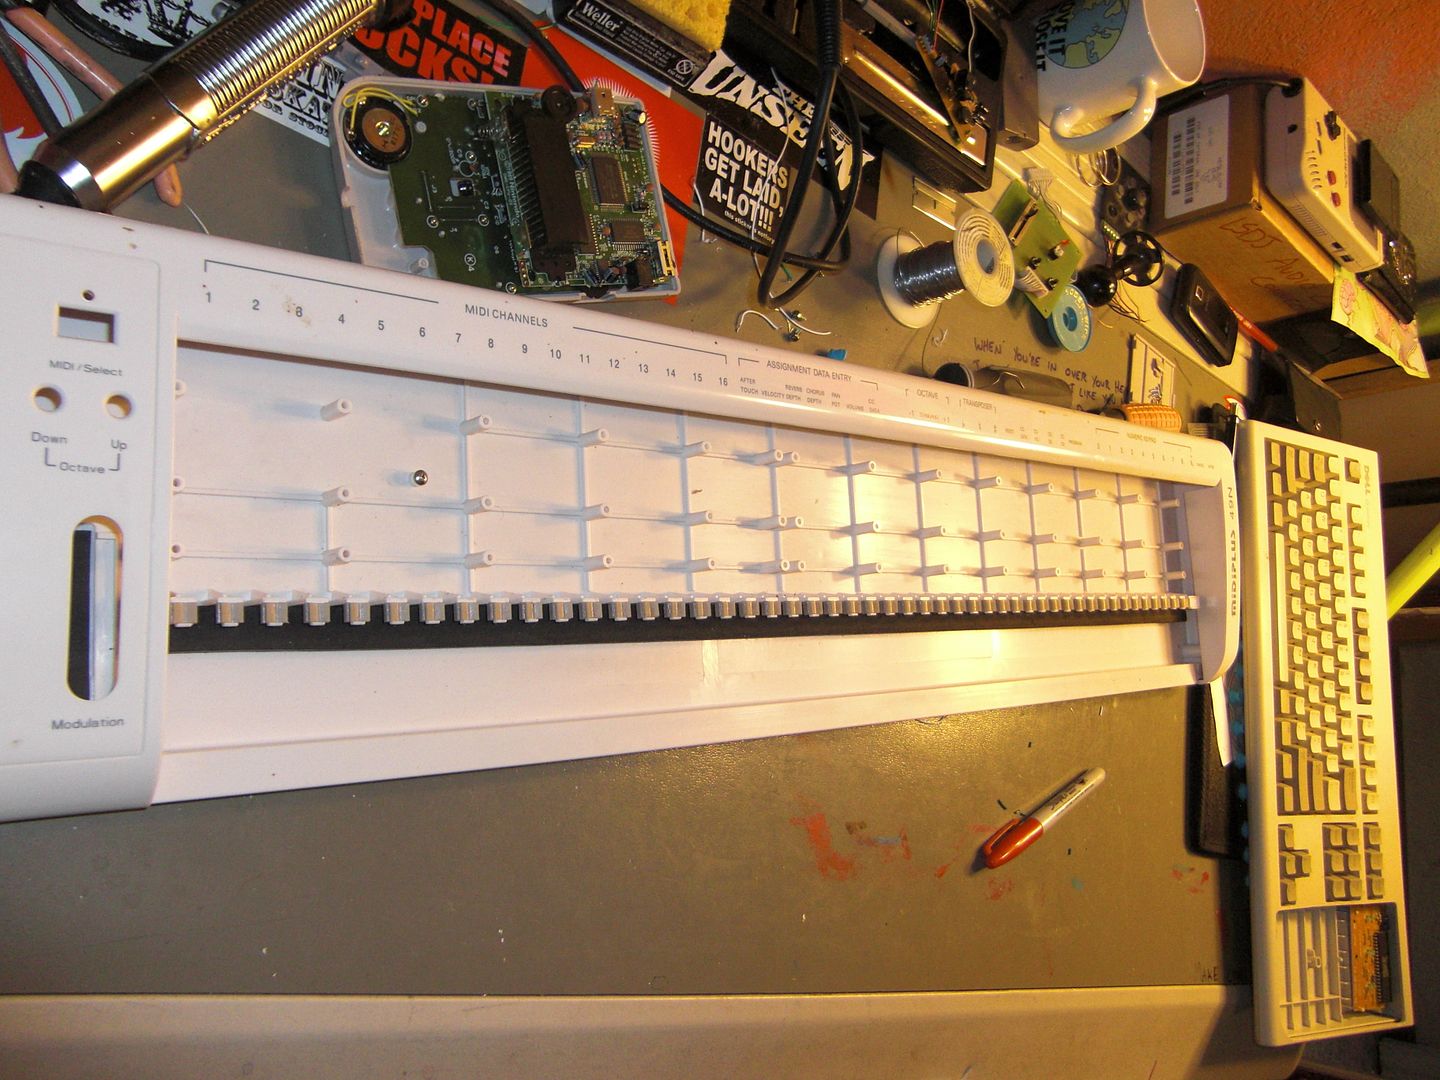
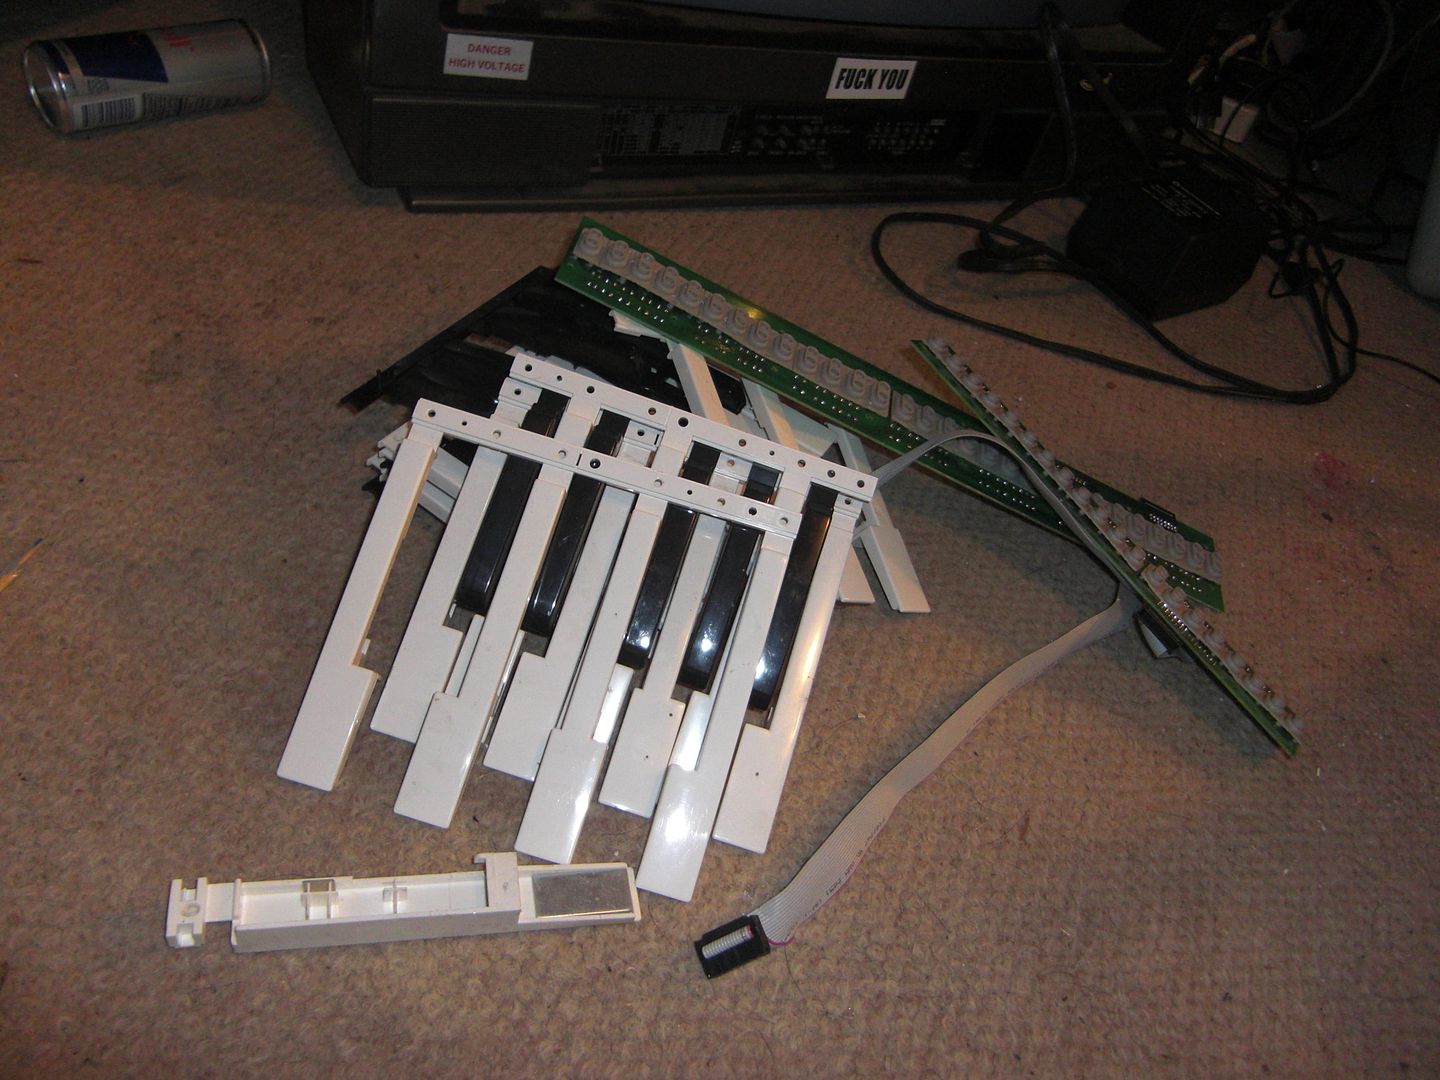
Are you thinking what I'm thing?

› You'd better be


I still have most of the hardware that goes here, so I can easily add volume and pitch control (and any number of other mods... because now I have plenty of room!)
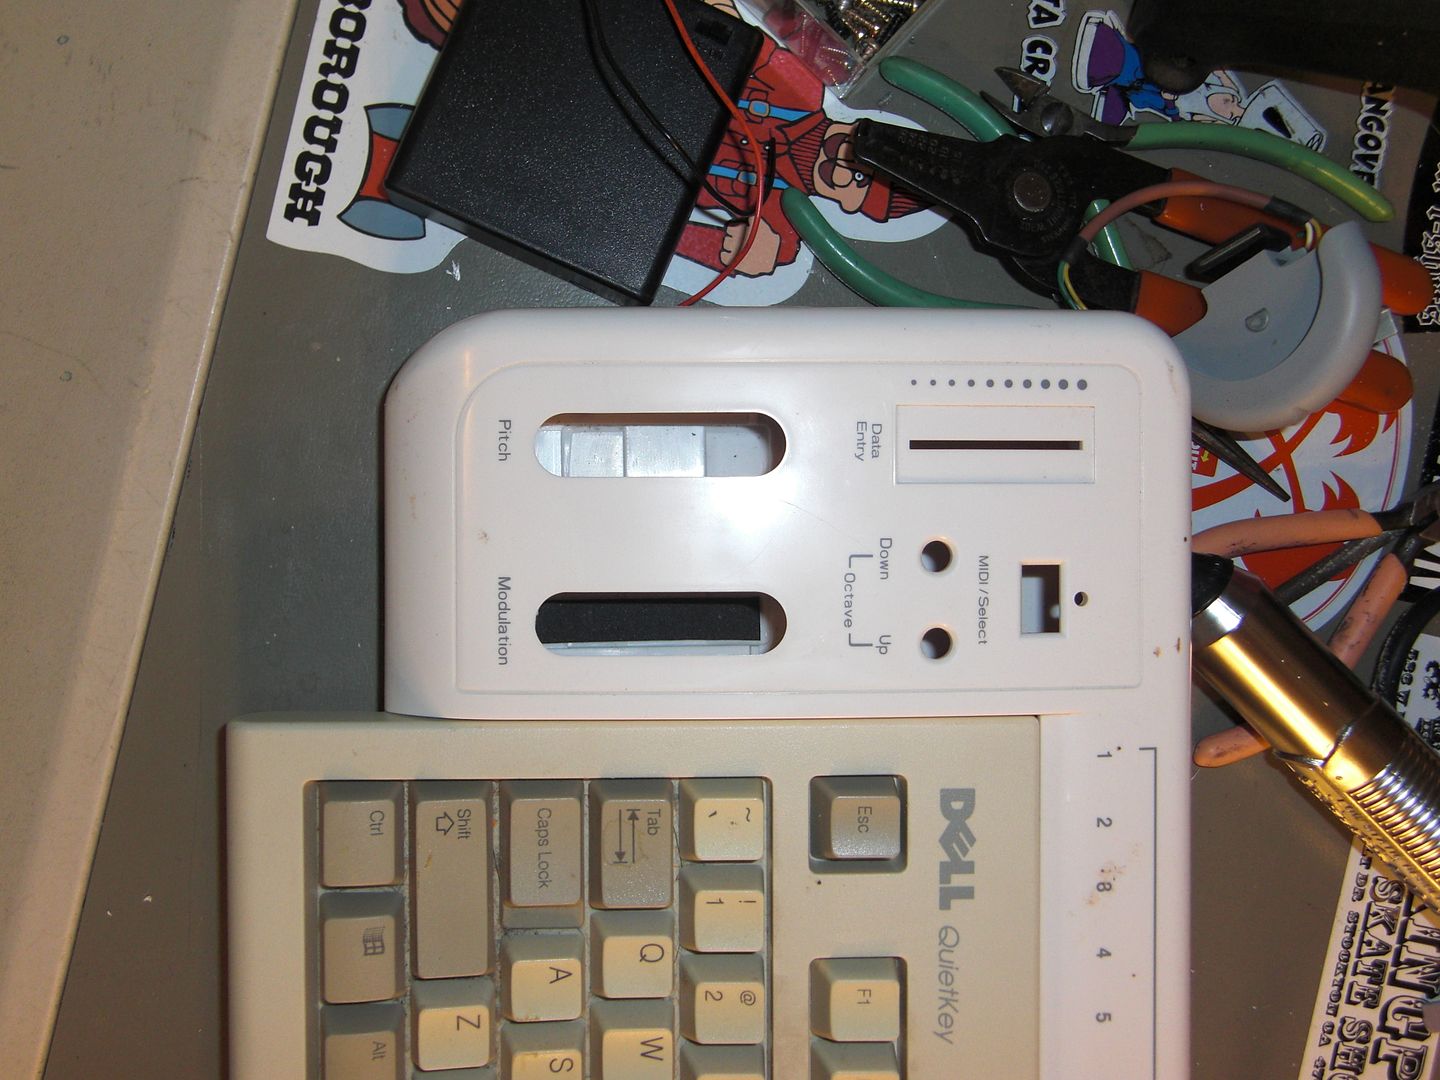
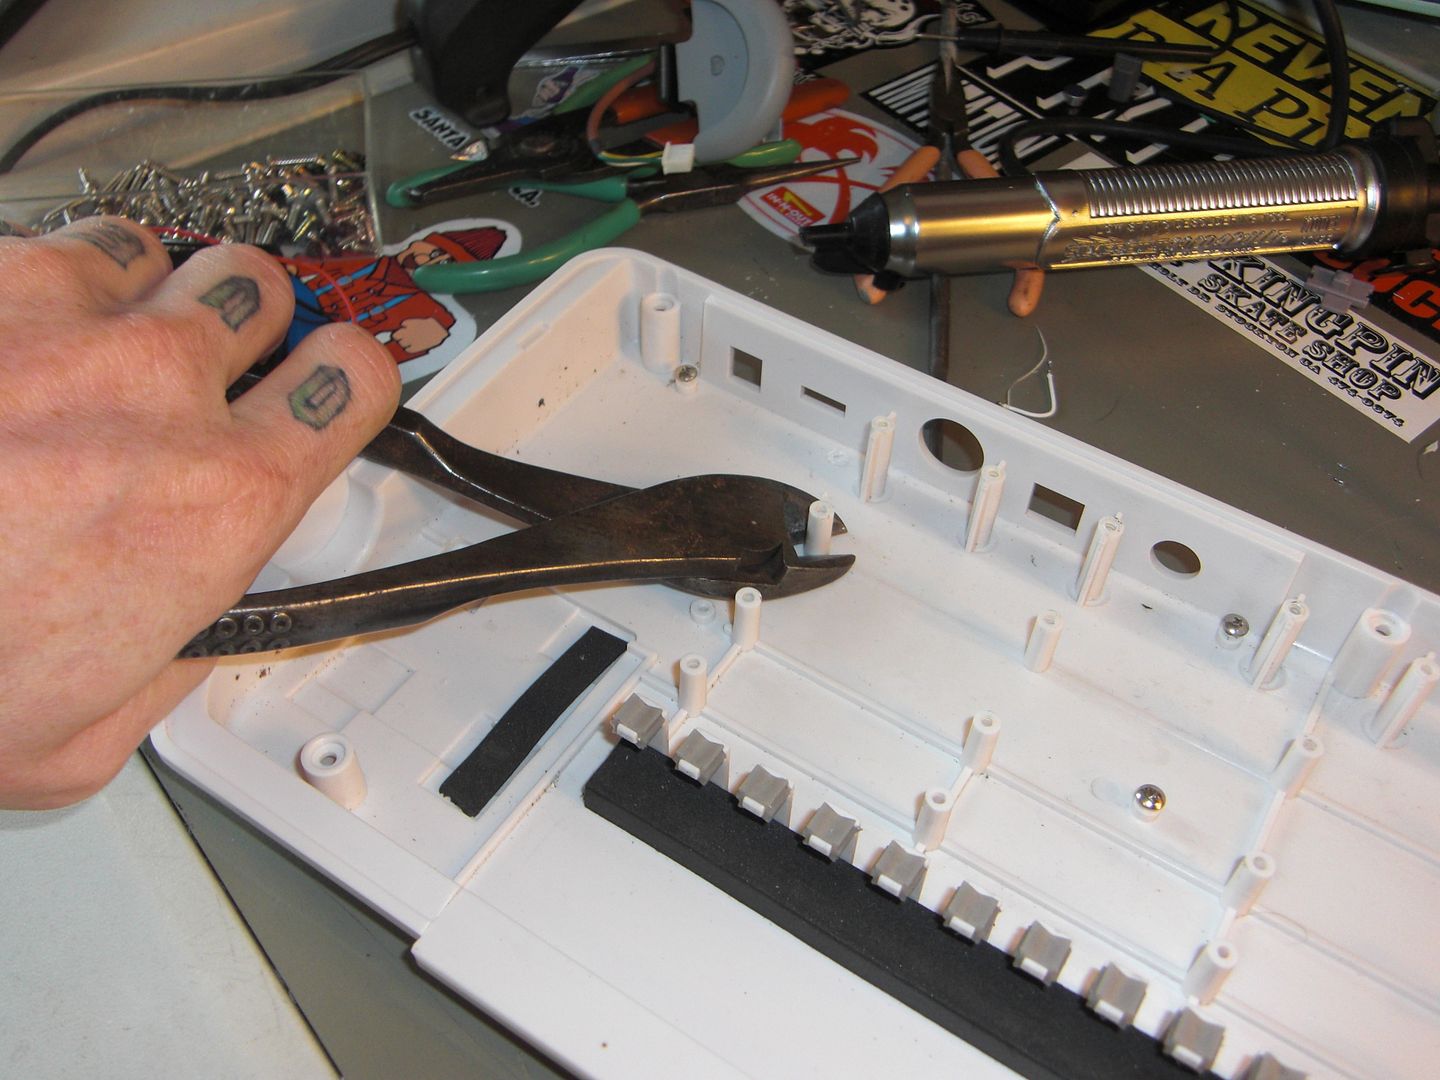
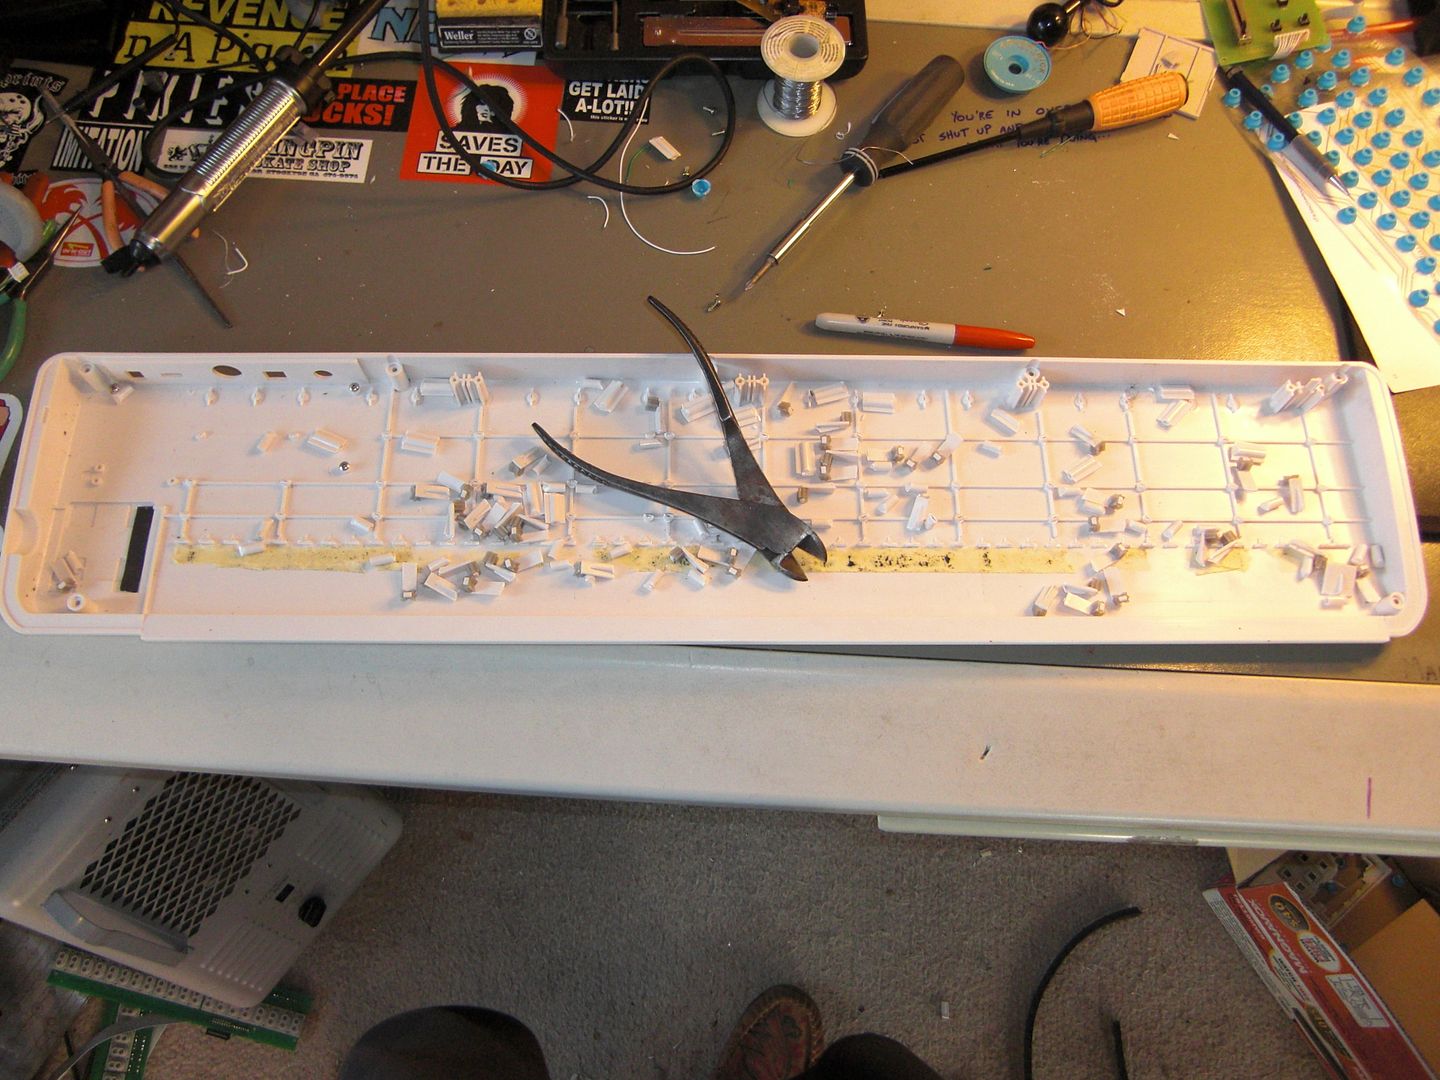
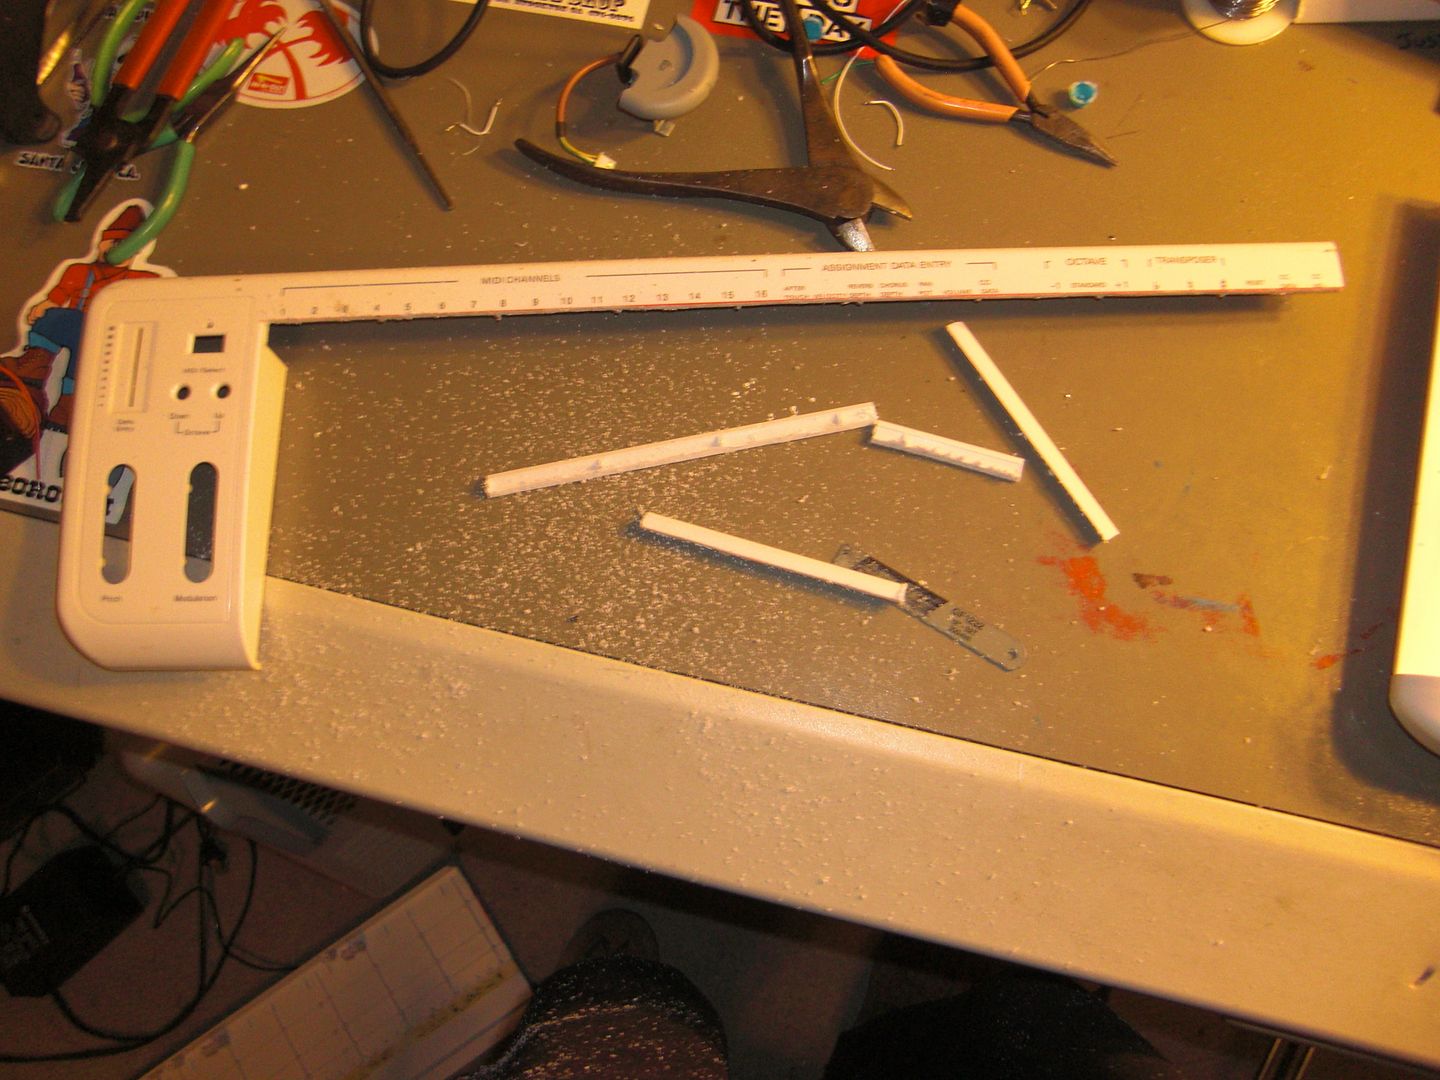
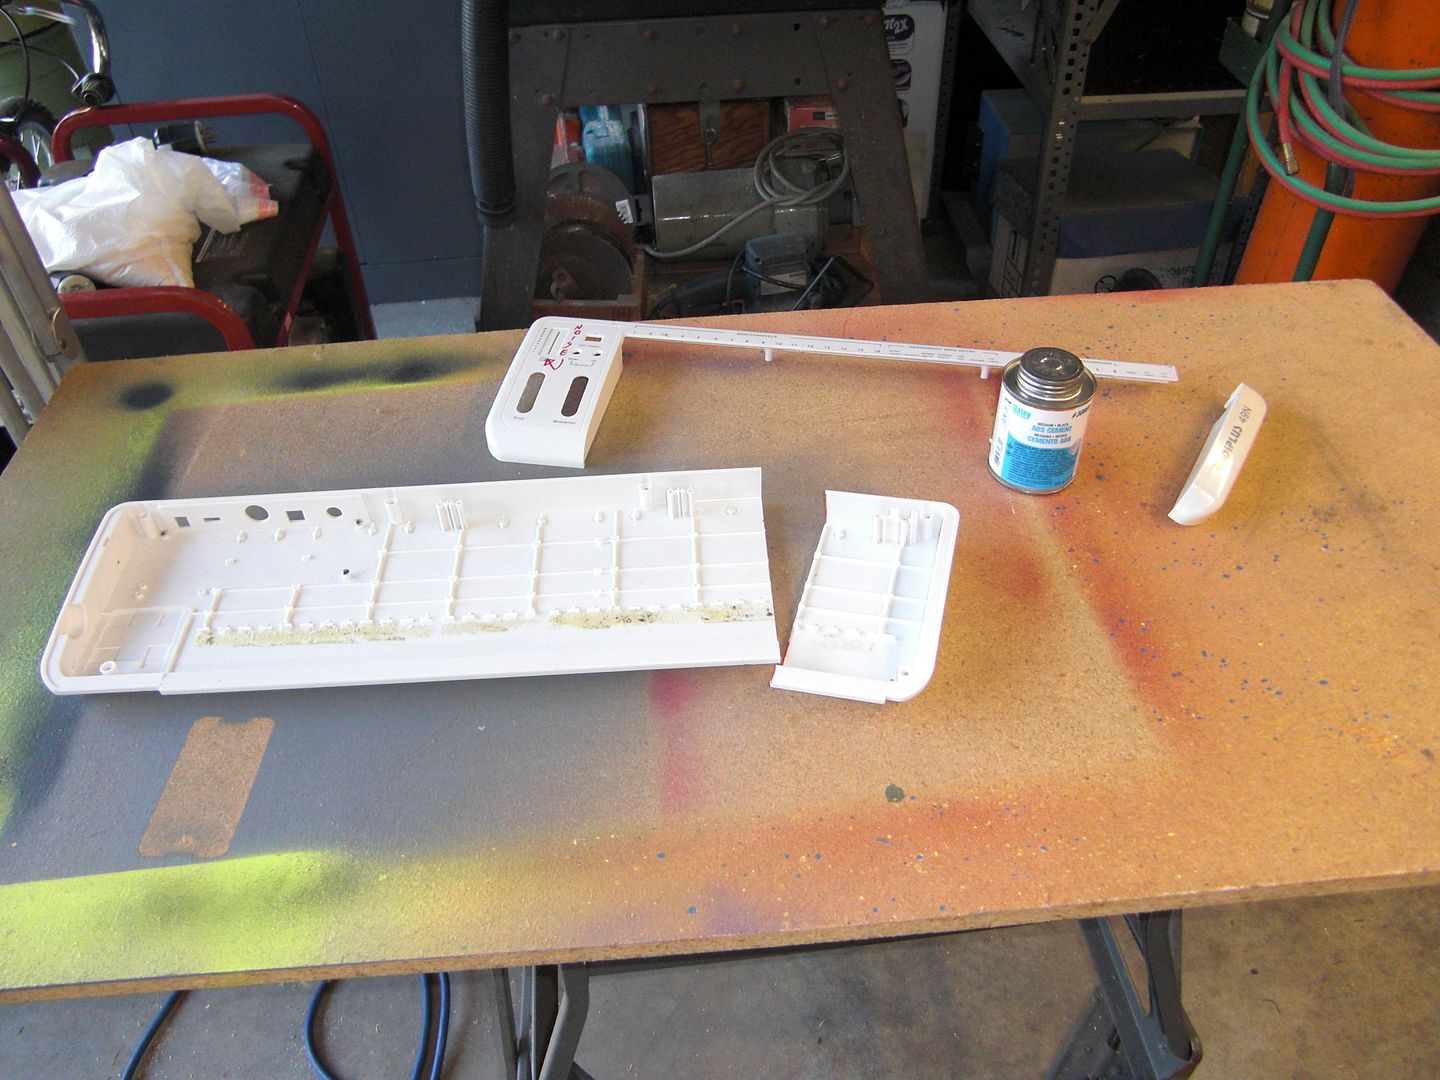
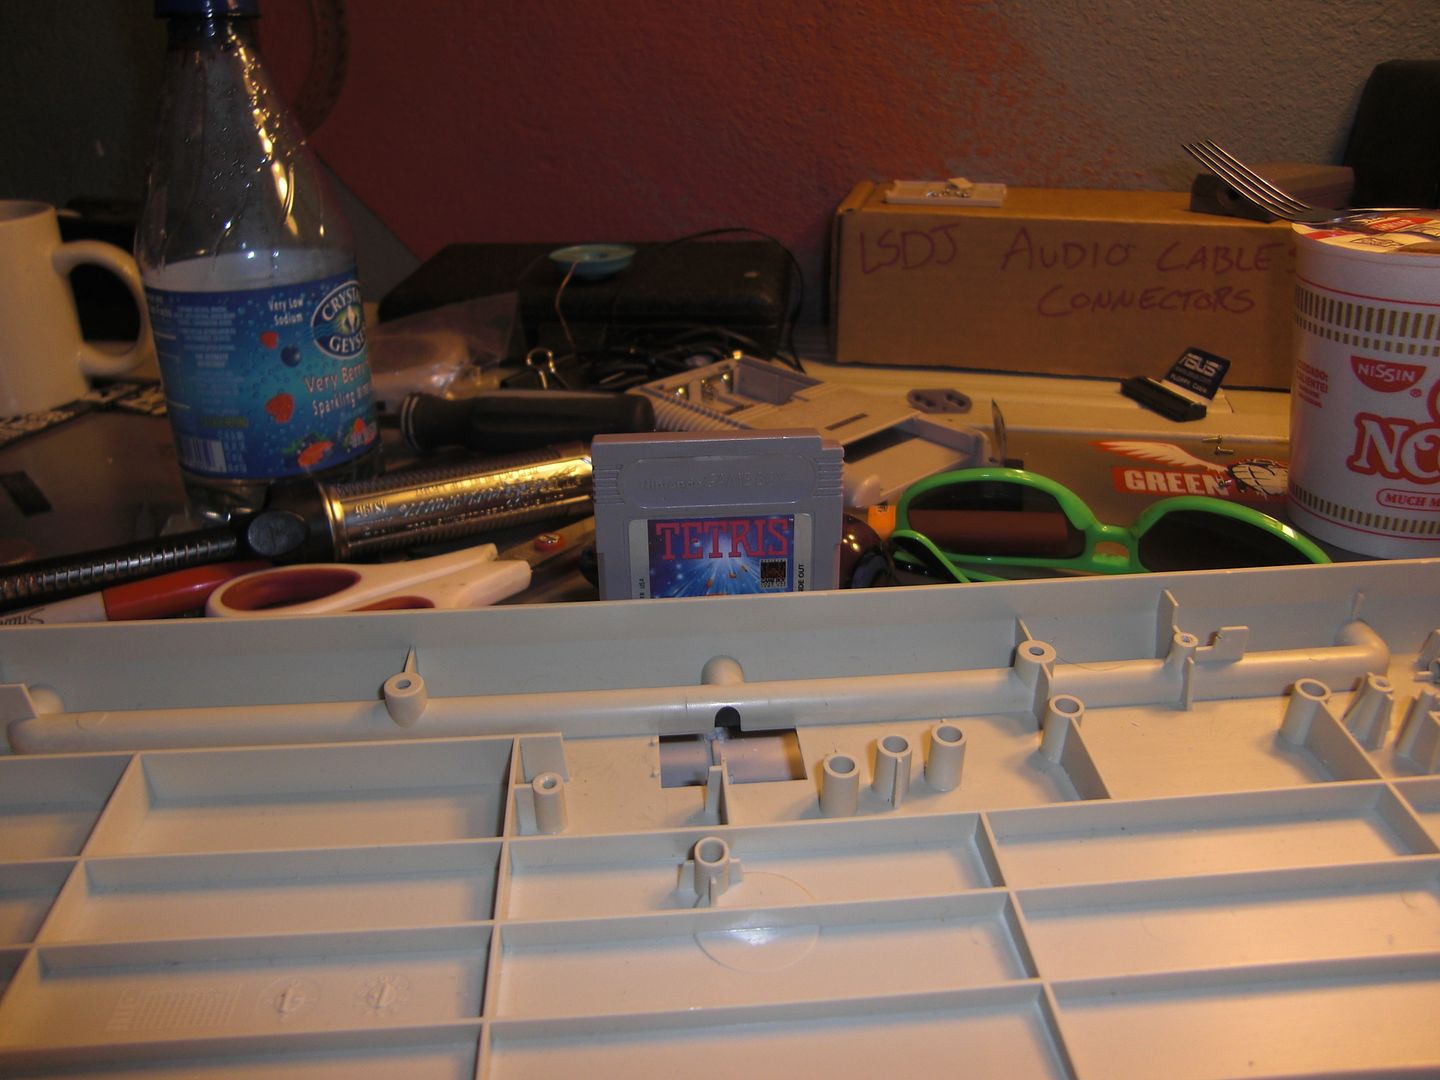
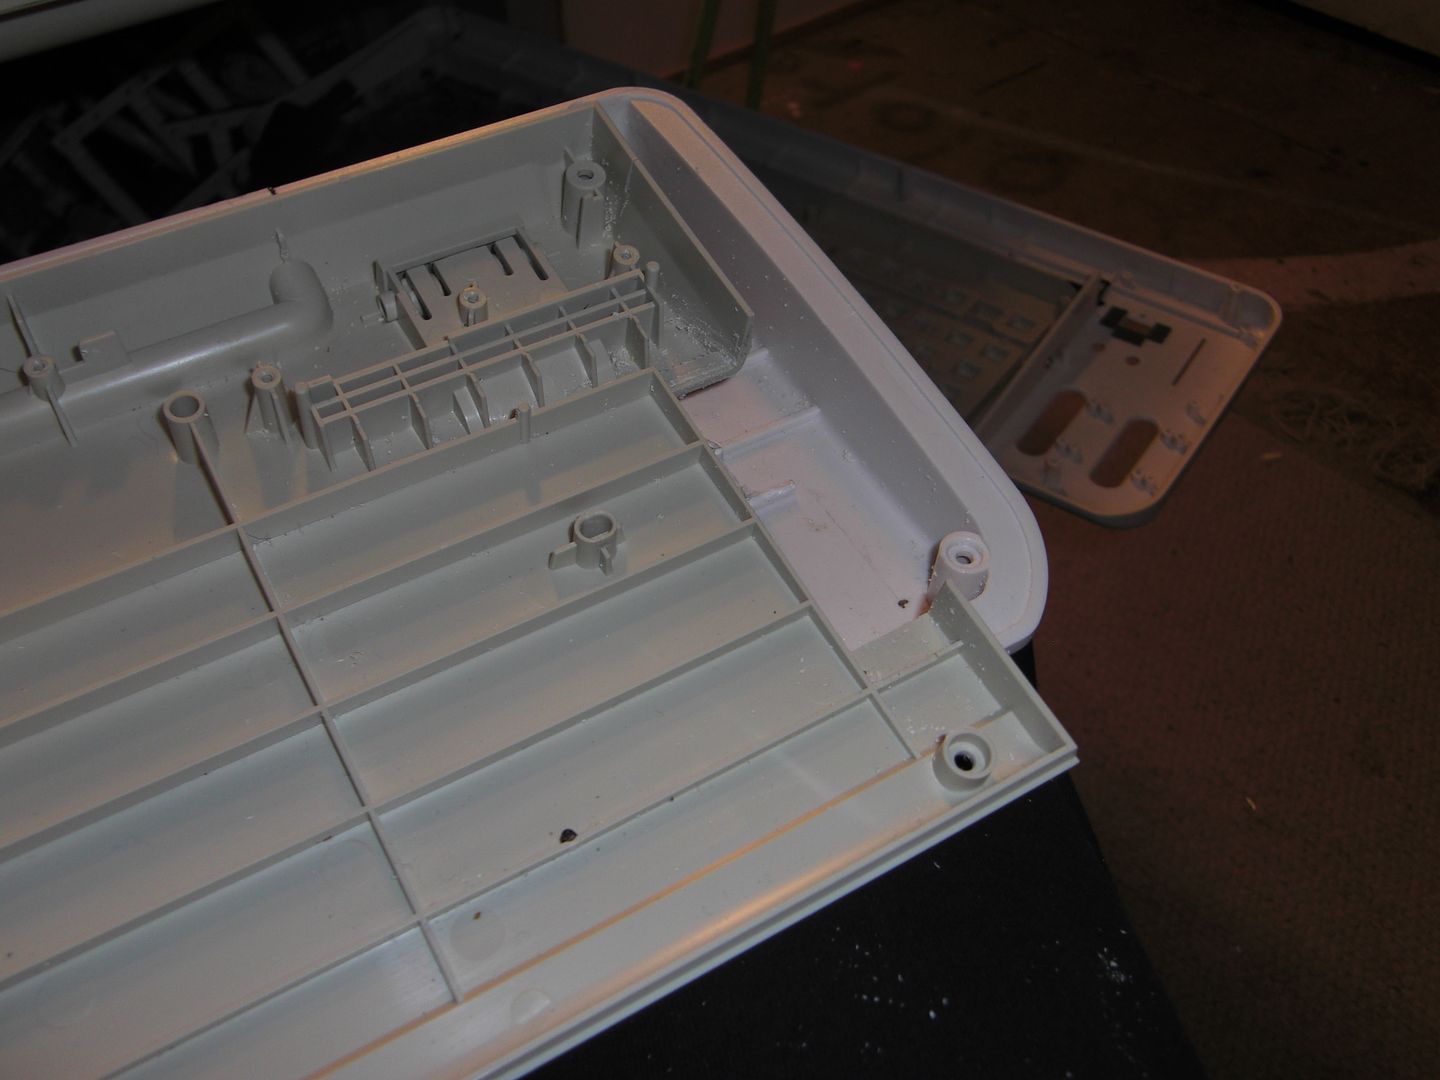
First step was to remove ALL of those support pegs from the innards.

› Mega hand cramp


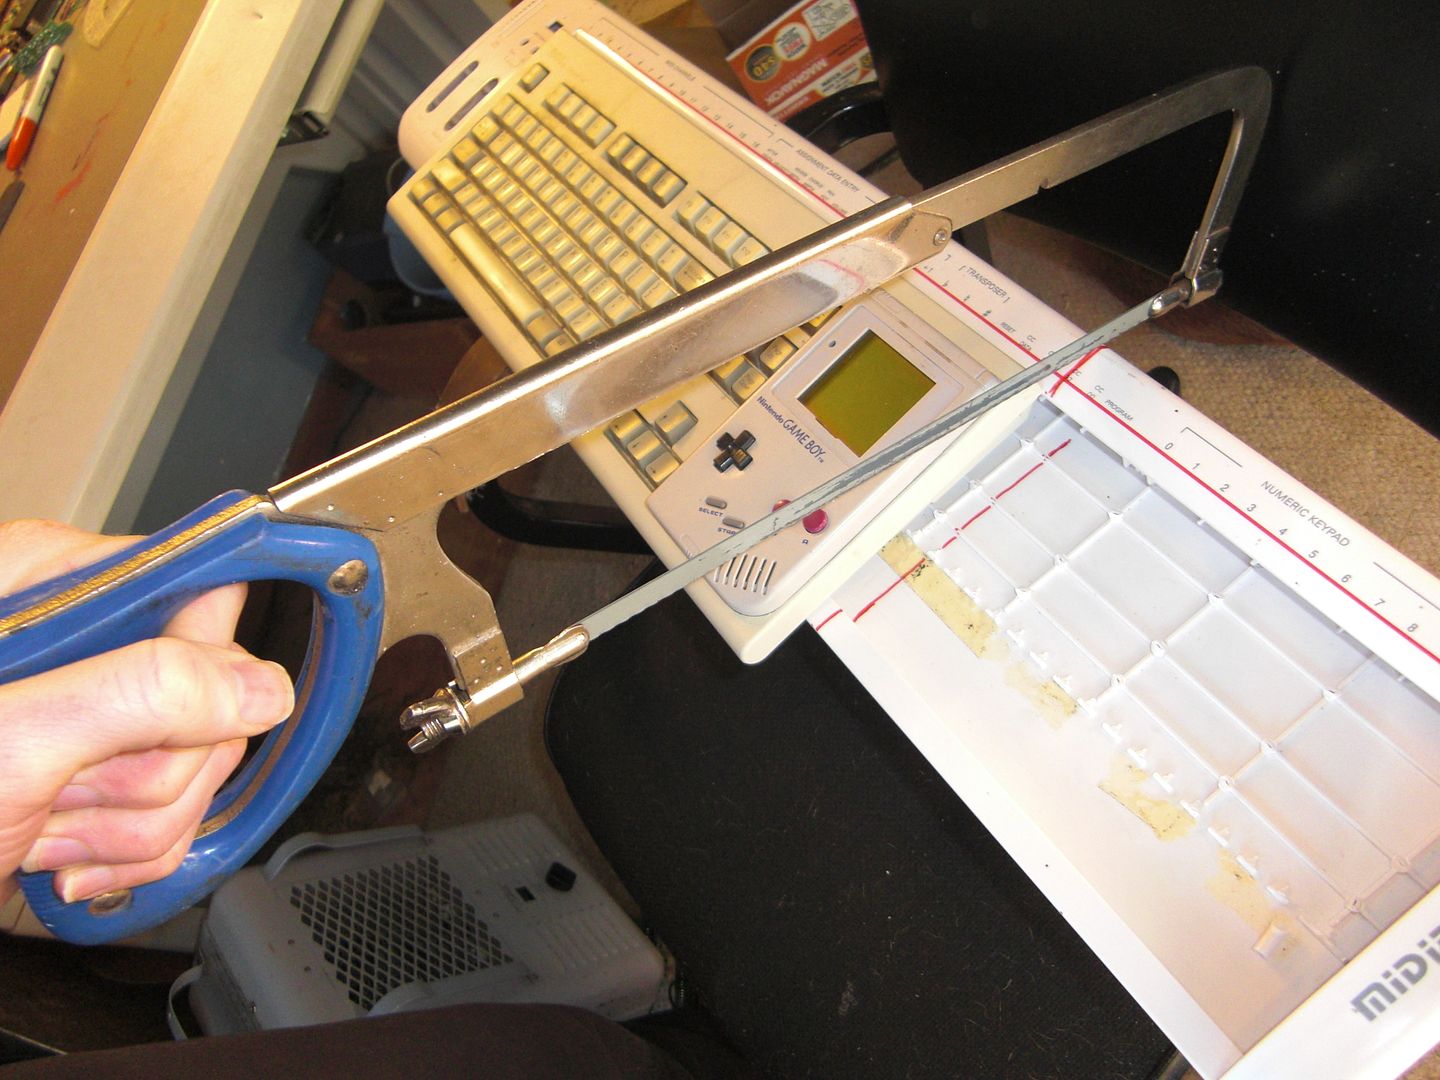
Step two: Take careful measurements and bust out the hacksaw!

› CHOP! CHOP! CHOP!


Definitely wasn't a fan of how the back of the keyboard set with the new plastic, so I busted out my trusty razor saw trimmed it back about a centimeter.

› Metric system, Bitches!


The cut wasn't perfect, so I spent about a half hour cleaning up my gap problem with a hand file.
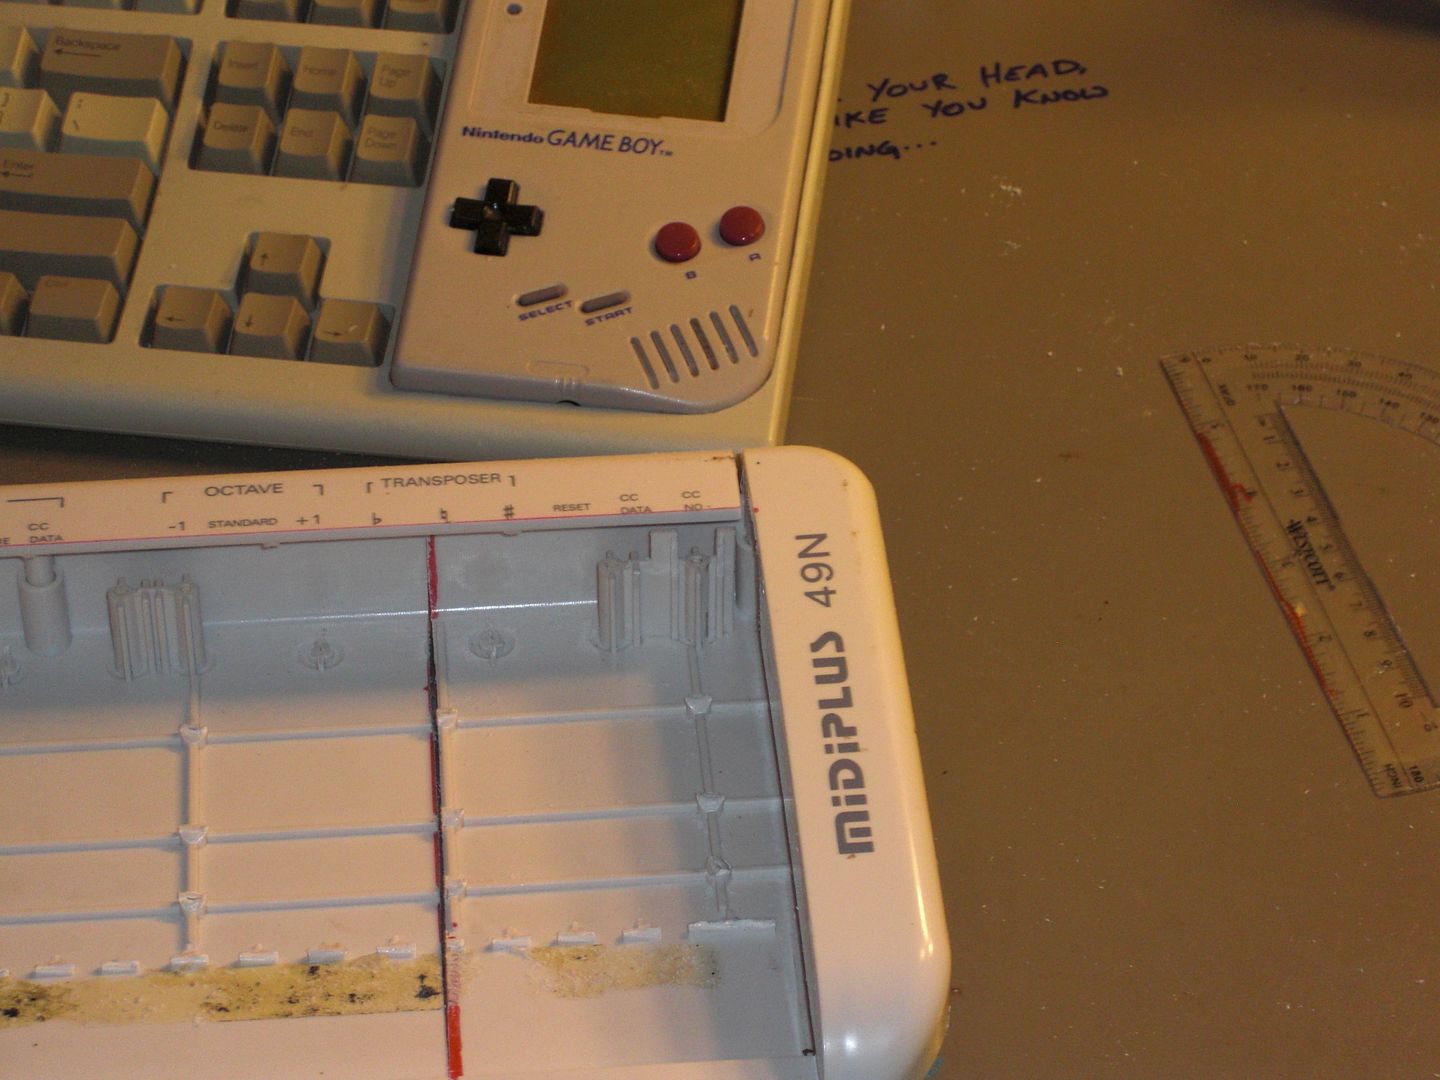
Hard work pays off. Everything seems to fit up nice and tight.

› Toit loik eh Toiger


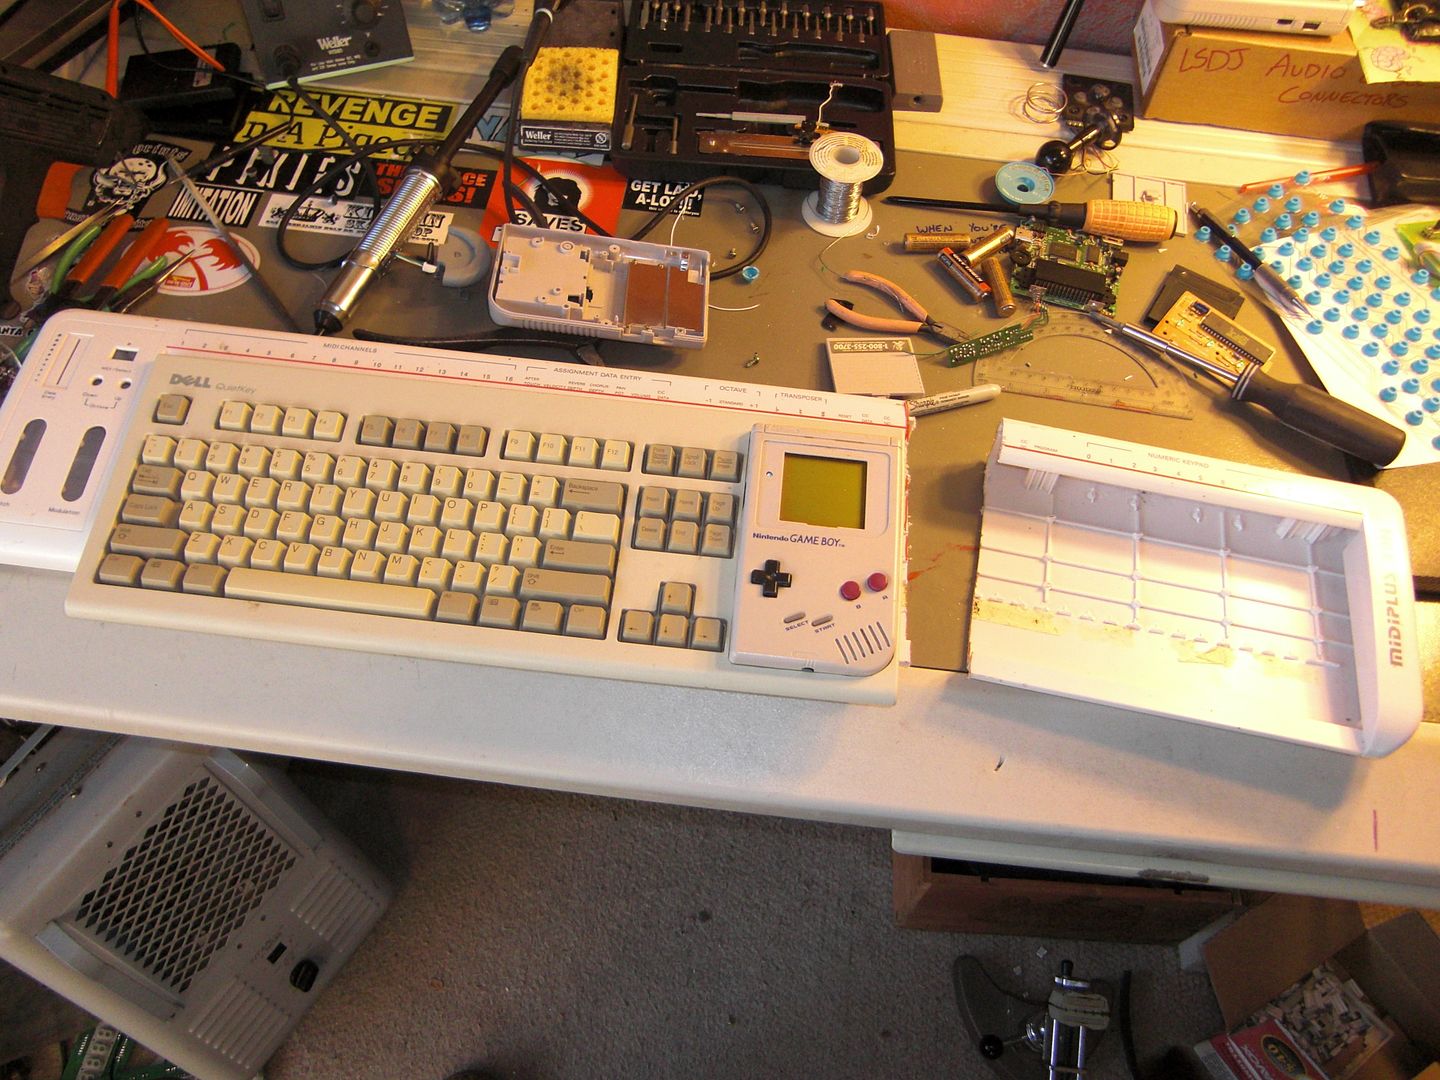
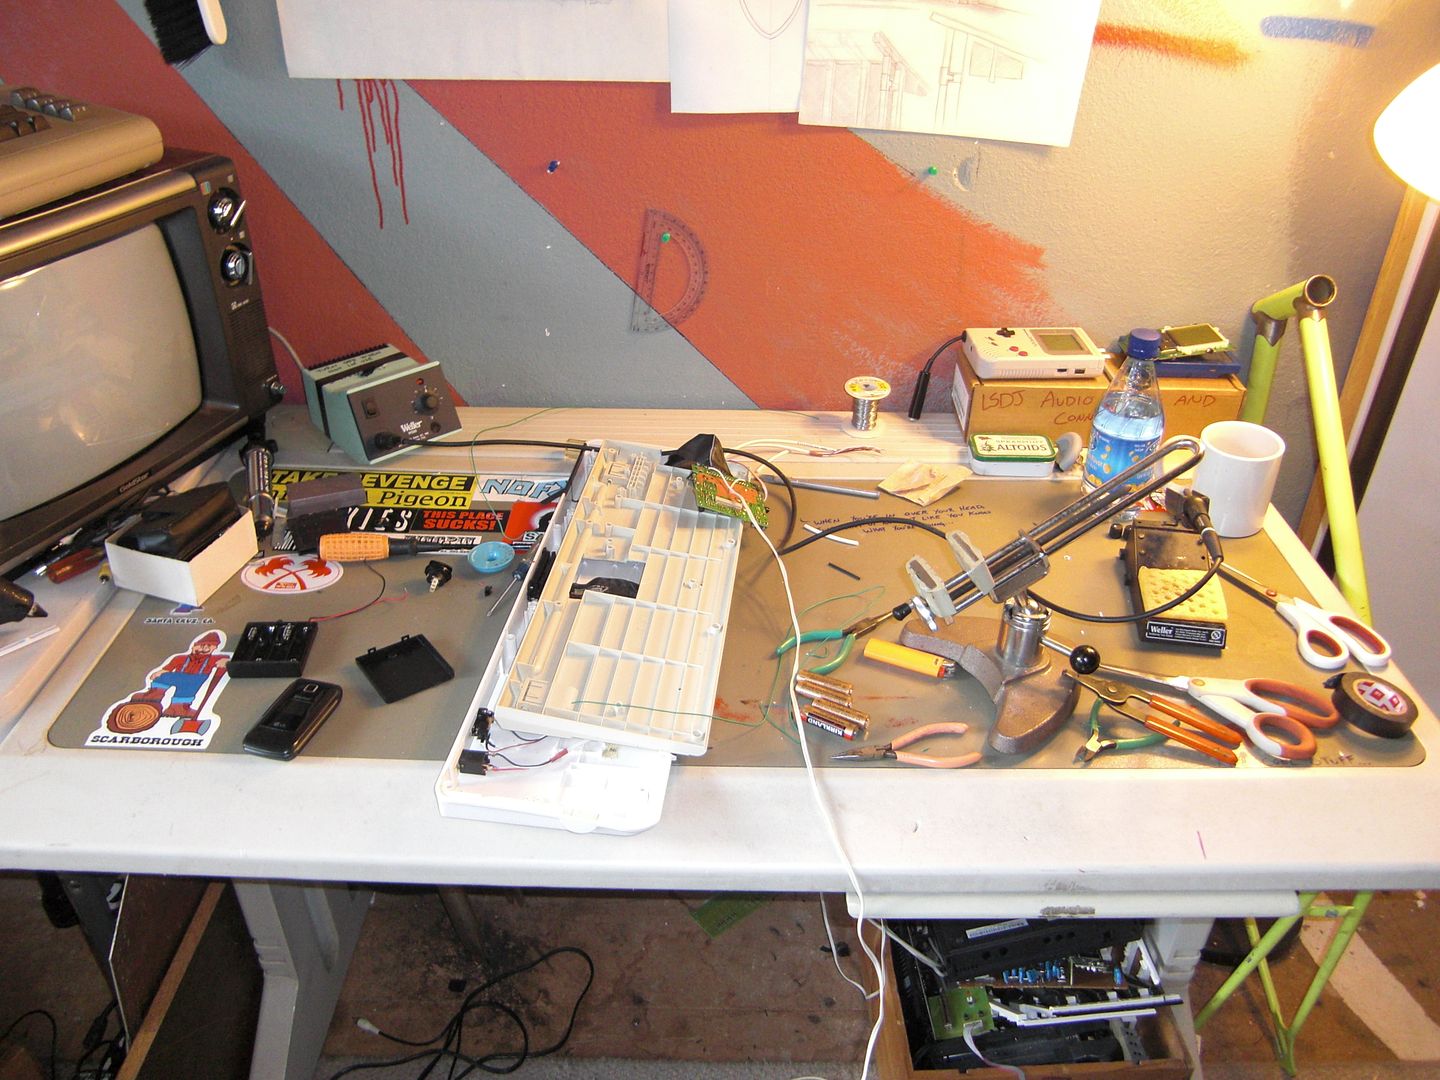
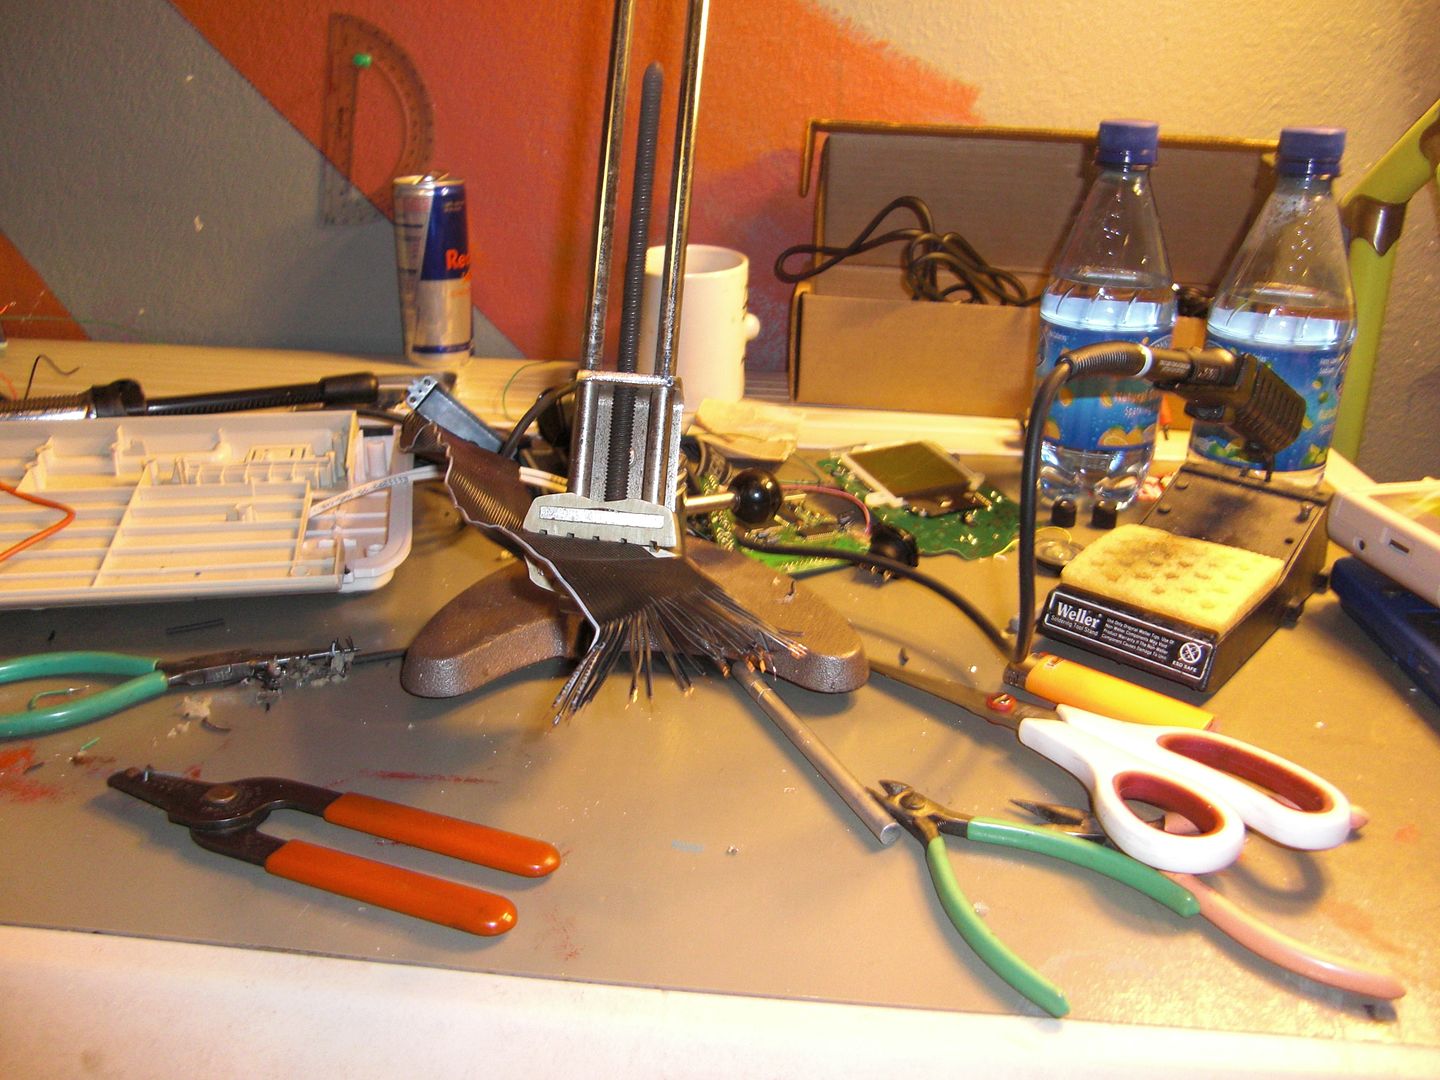
My work space got kinda hectic, so I took a break to clean up.
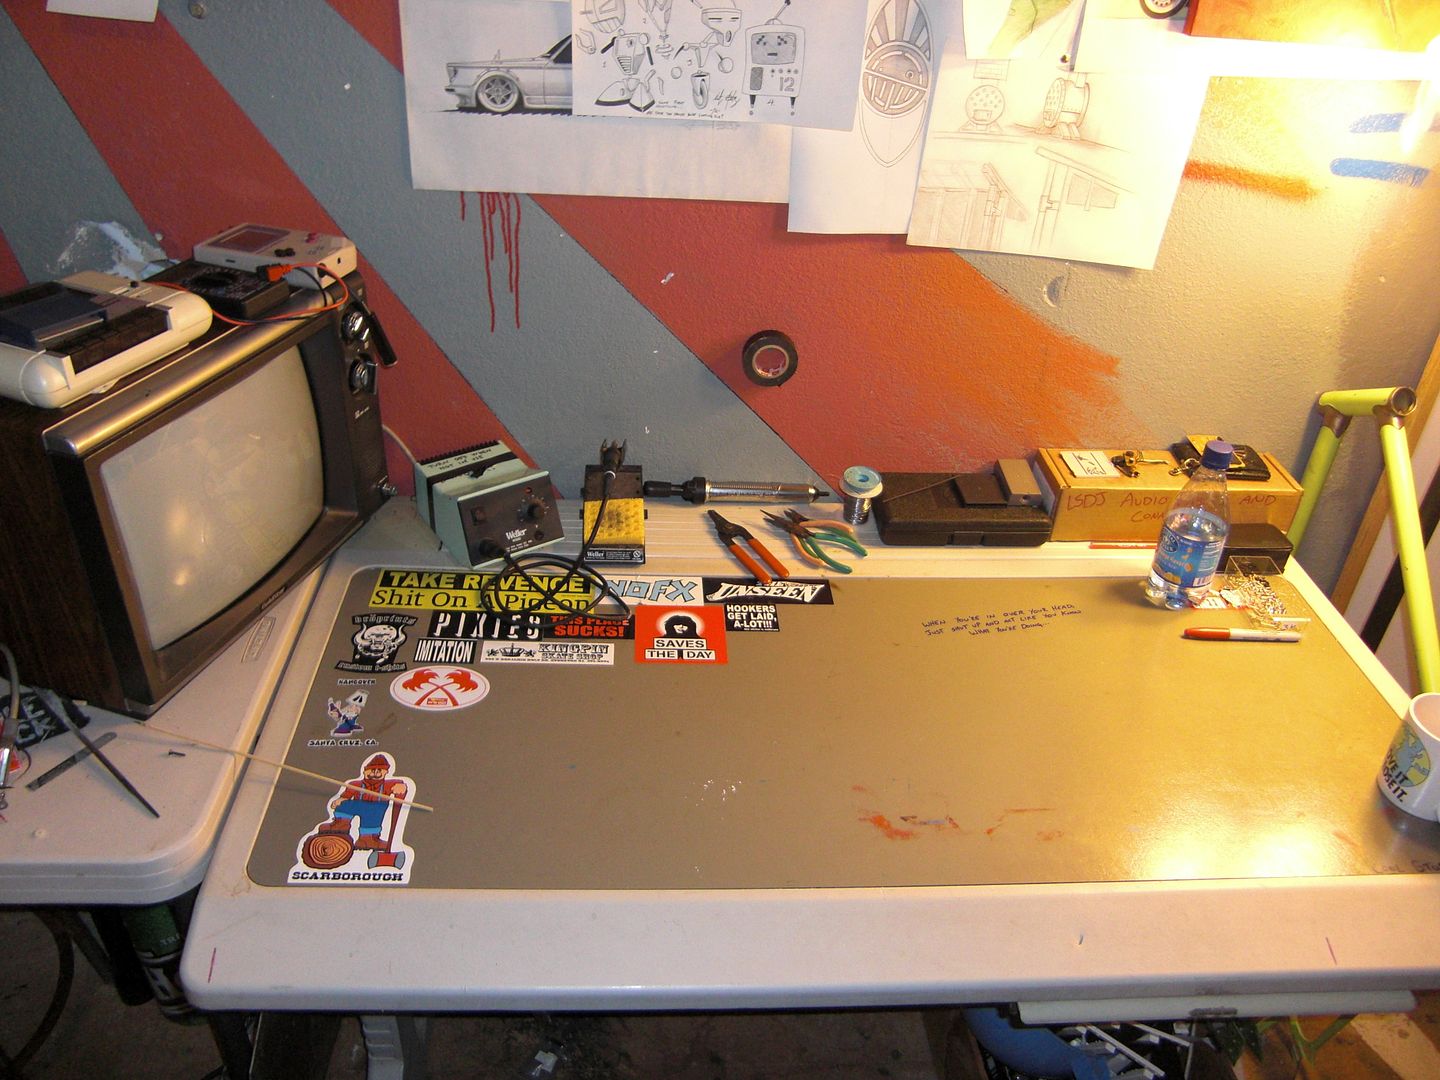
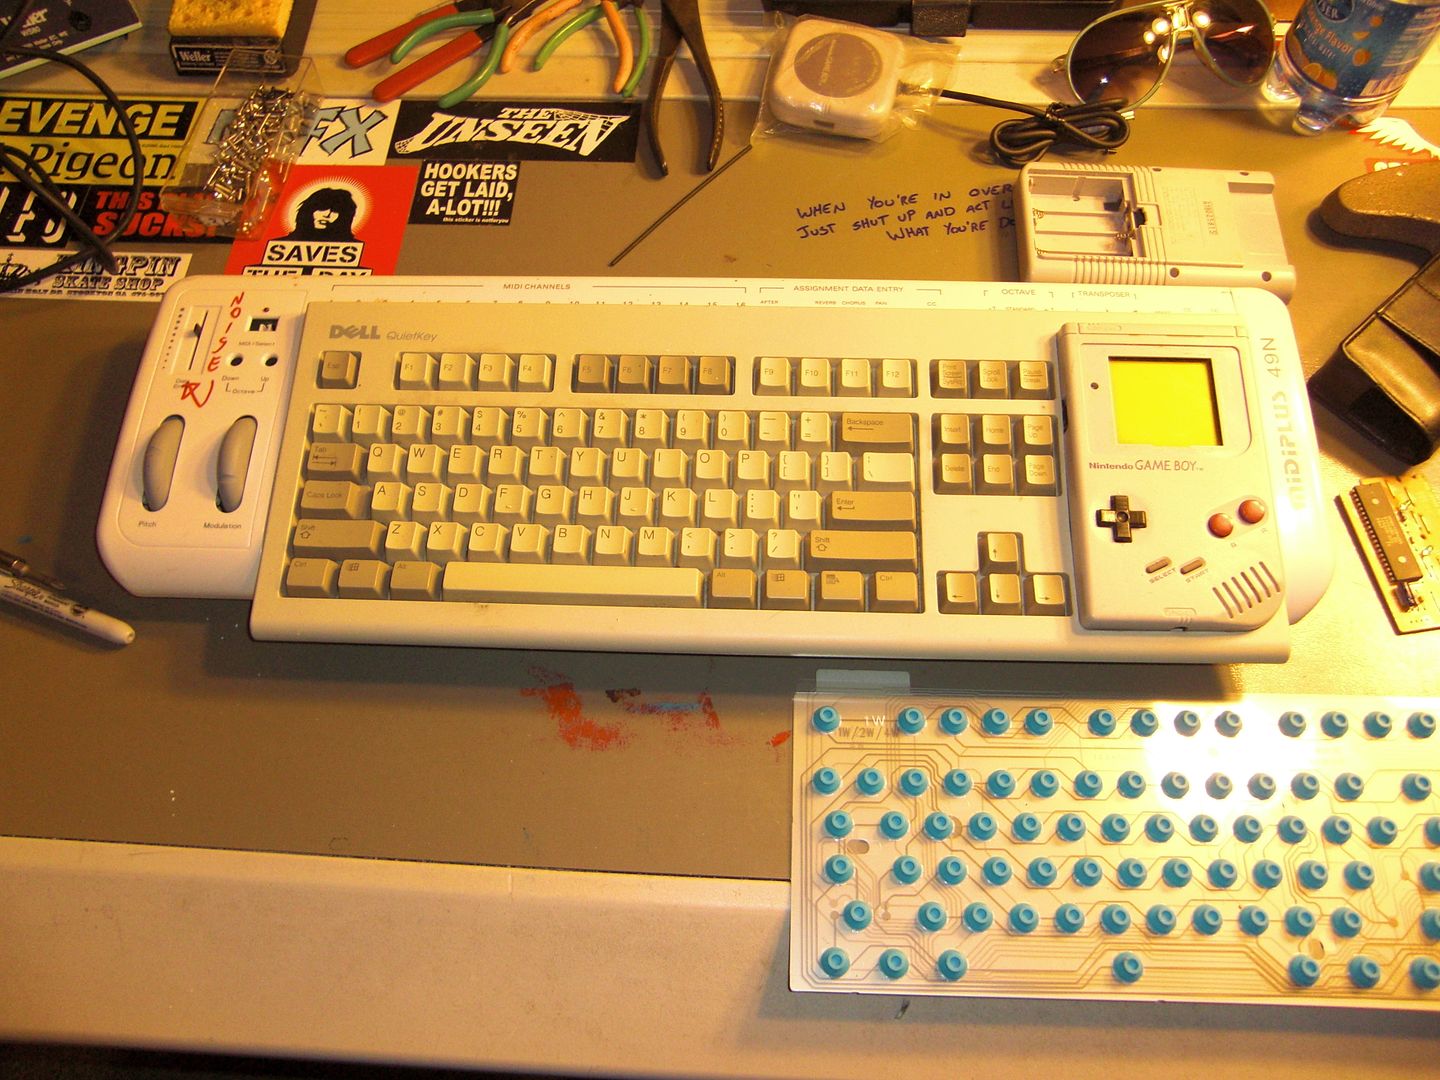
And here we are, at the end of a LONG day. I dug out some of the old components and installed them.
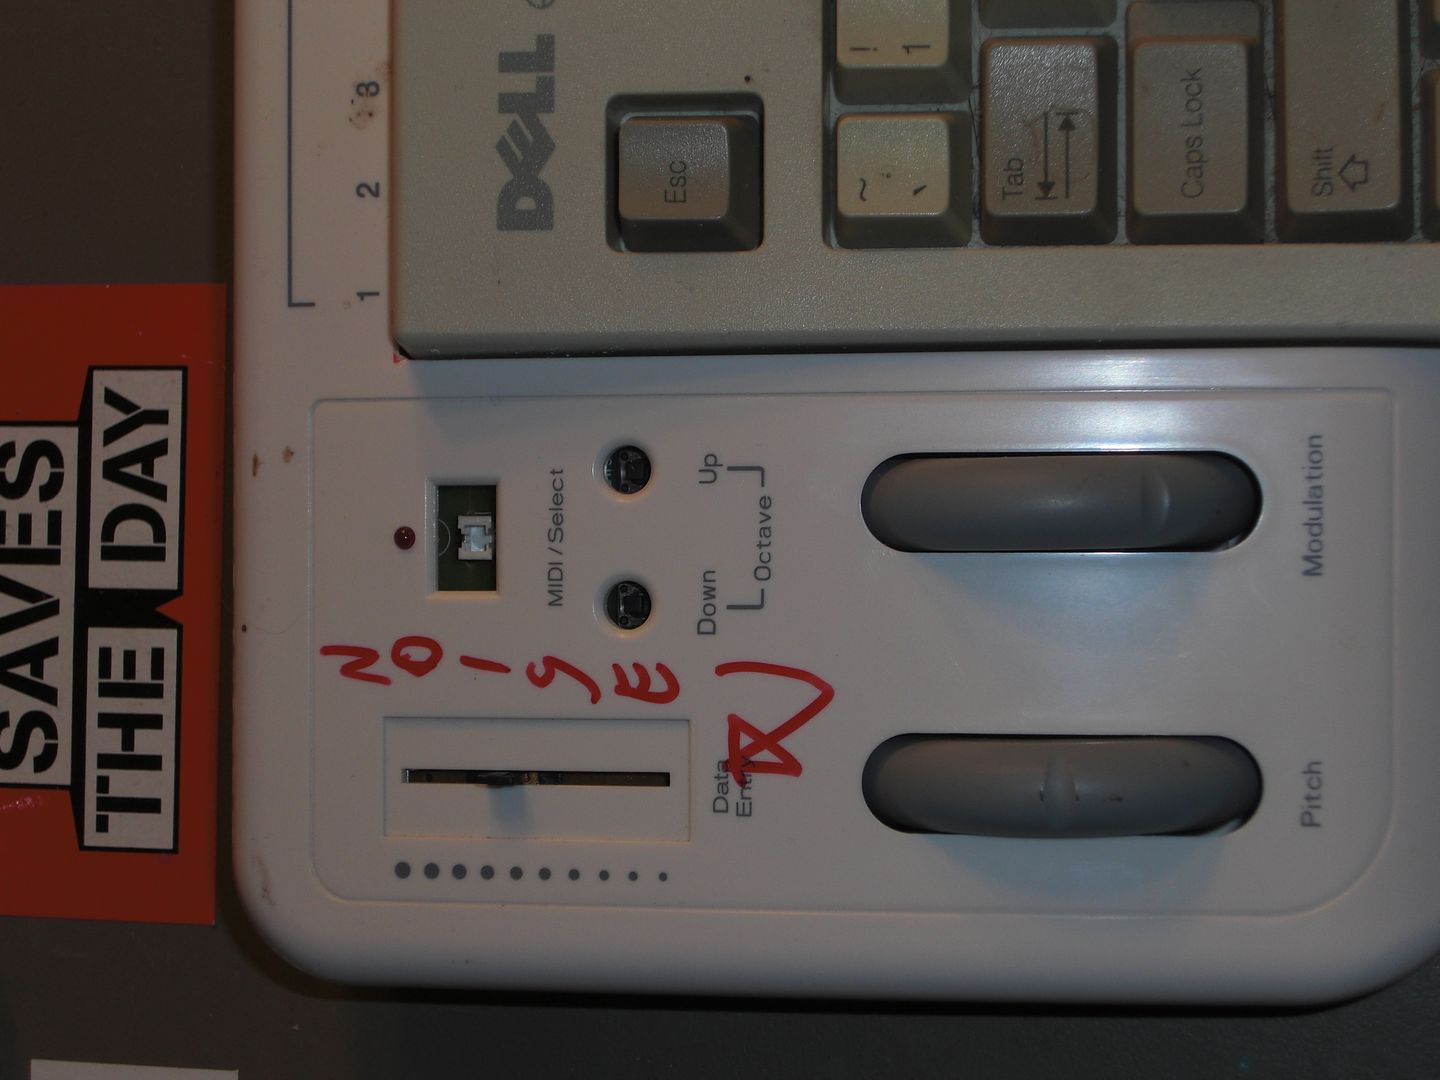
I'll wake up bright and early, start in with the epoxy, and turn this thing into two solid pieces. I can't wait to start doing the wiring and get this monstrosity up and running!


1/31/2013       6:24 pm

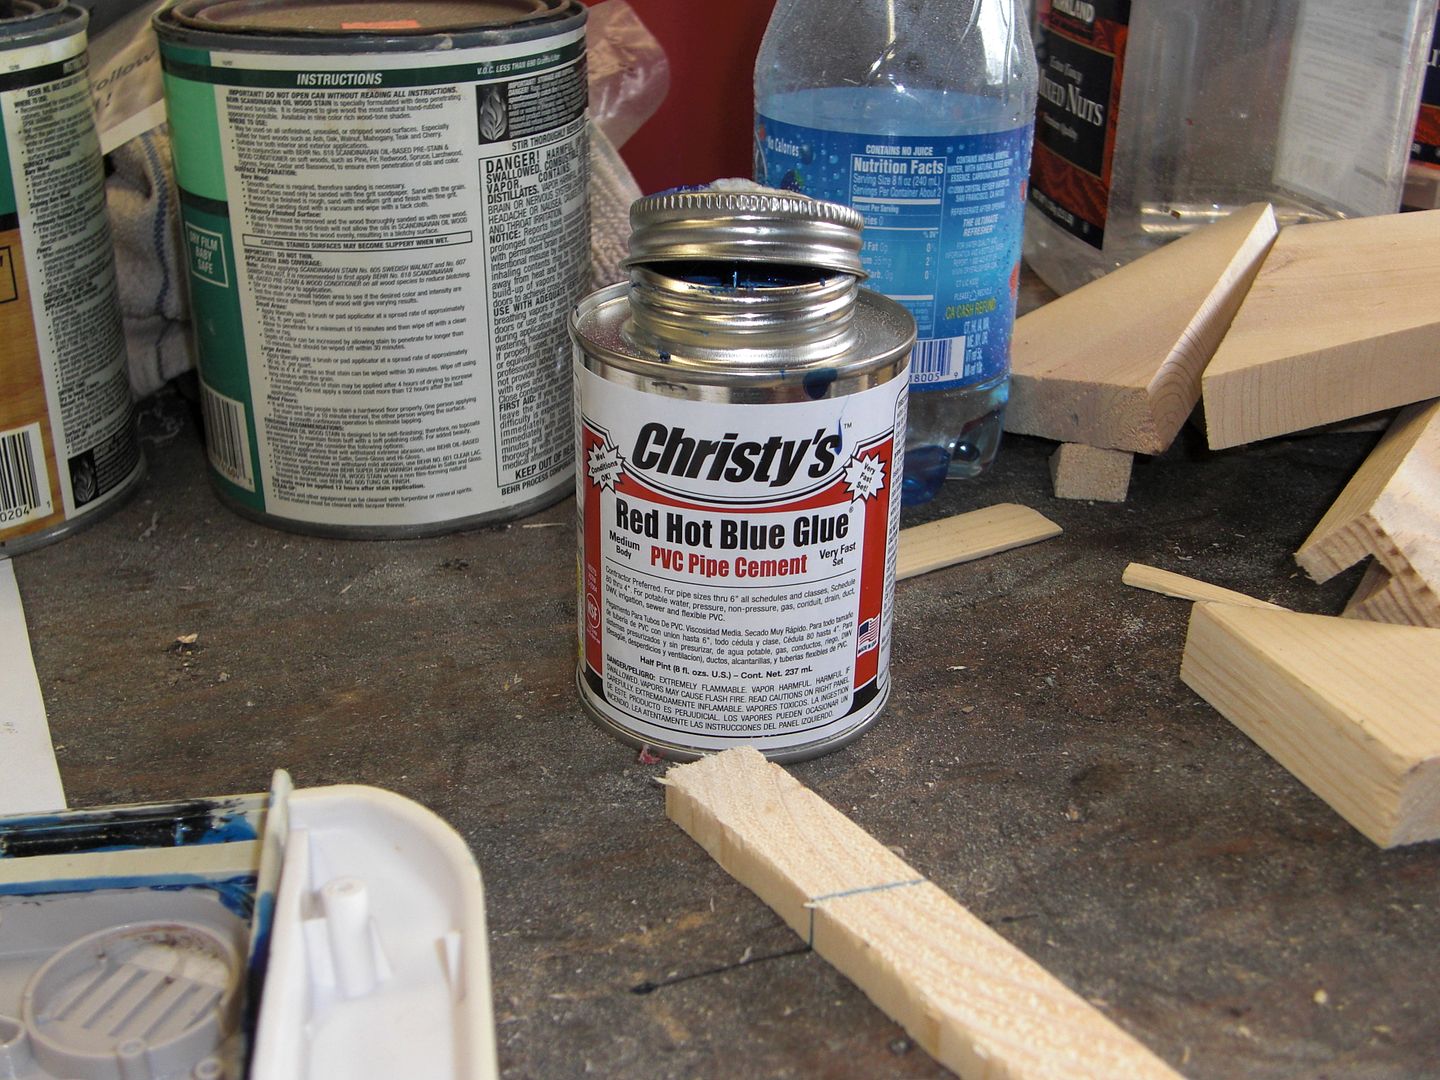
I didn't have and PVC cement, but I did have ABS. Initial tests were promising... Let's proceed, shall we?
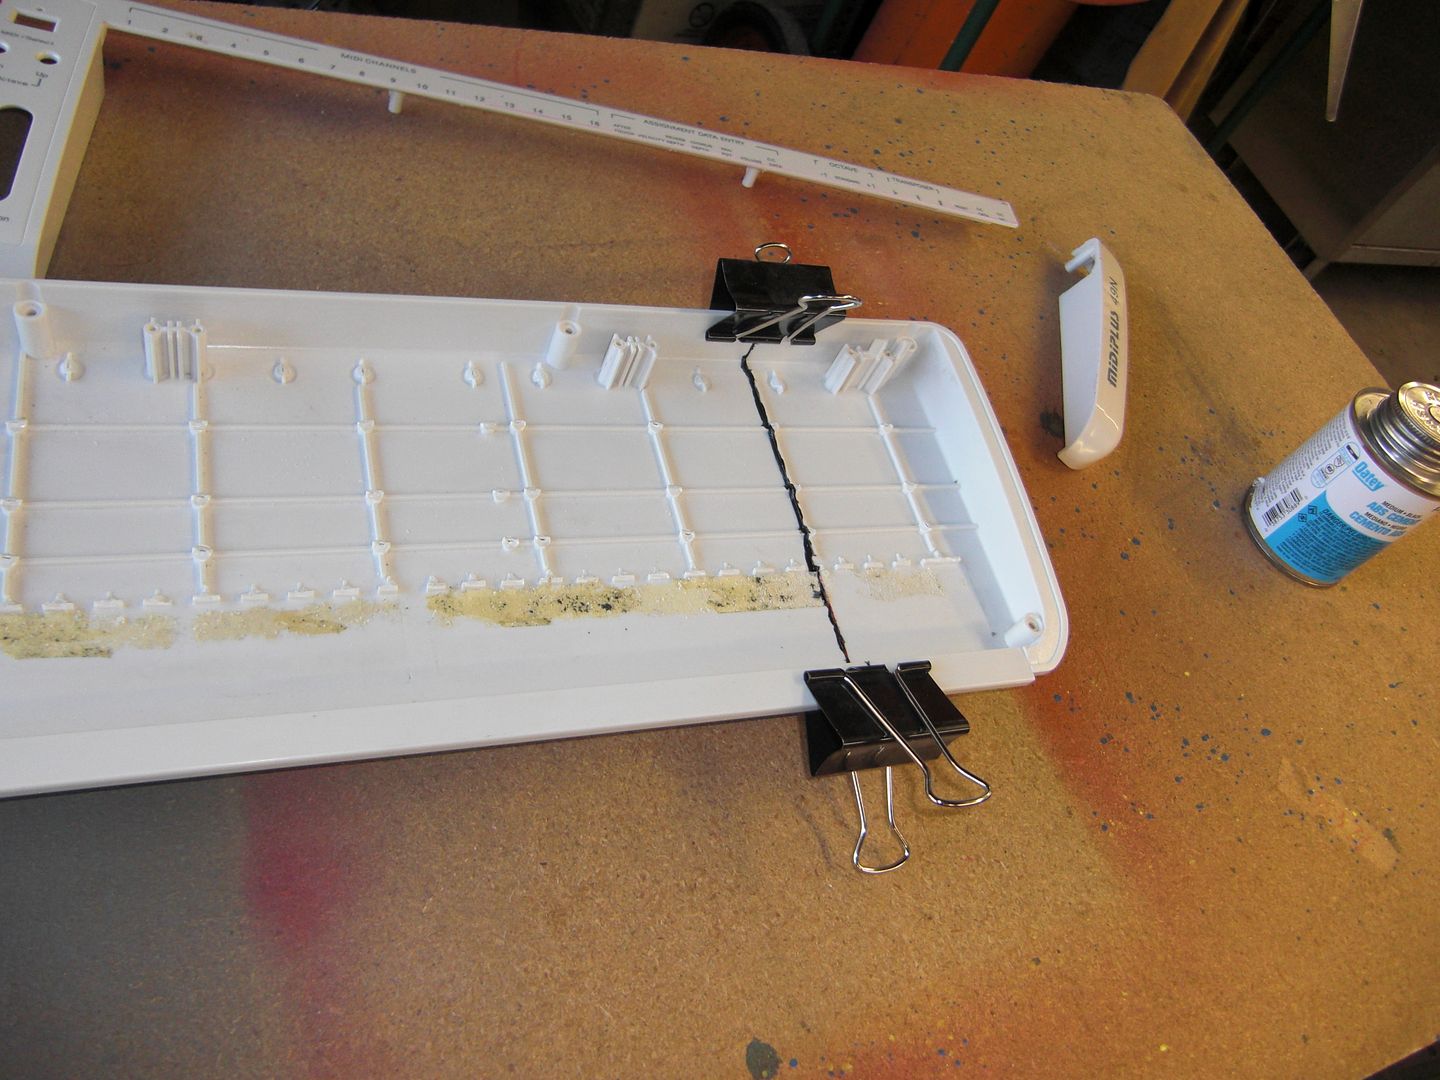
So, I cleaned all of my parts with Isopropyl alcohol, used a few binder clips and lined up my plastics, and took a deep breath (you only get one shot when you work with this stuff). I started with the base, using a liberal application of the stinky-ass adhesive.

› Black Goop


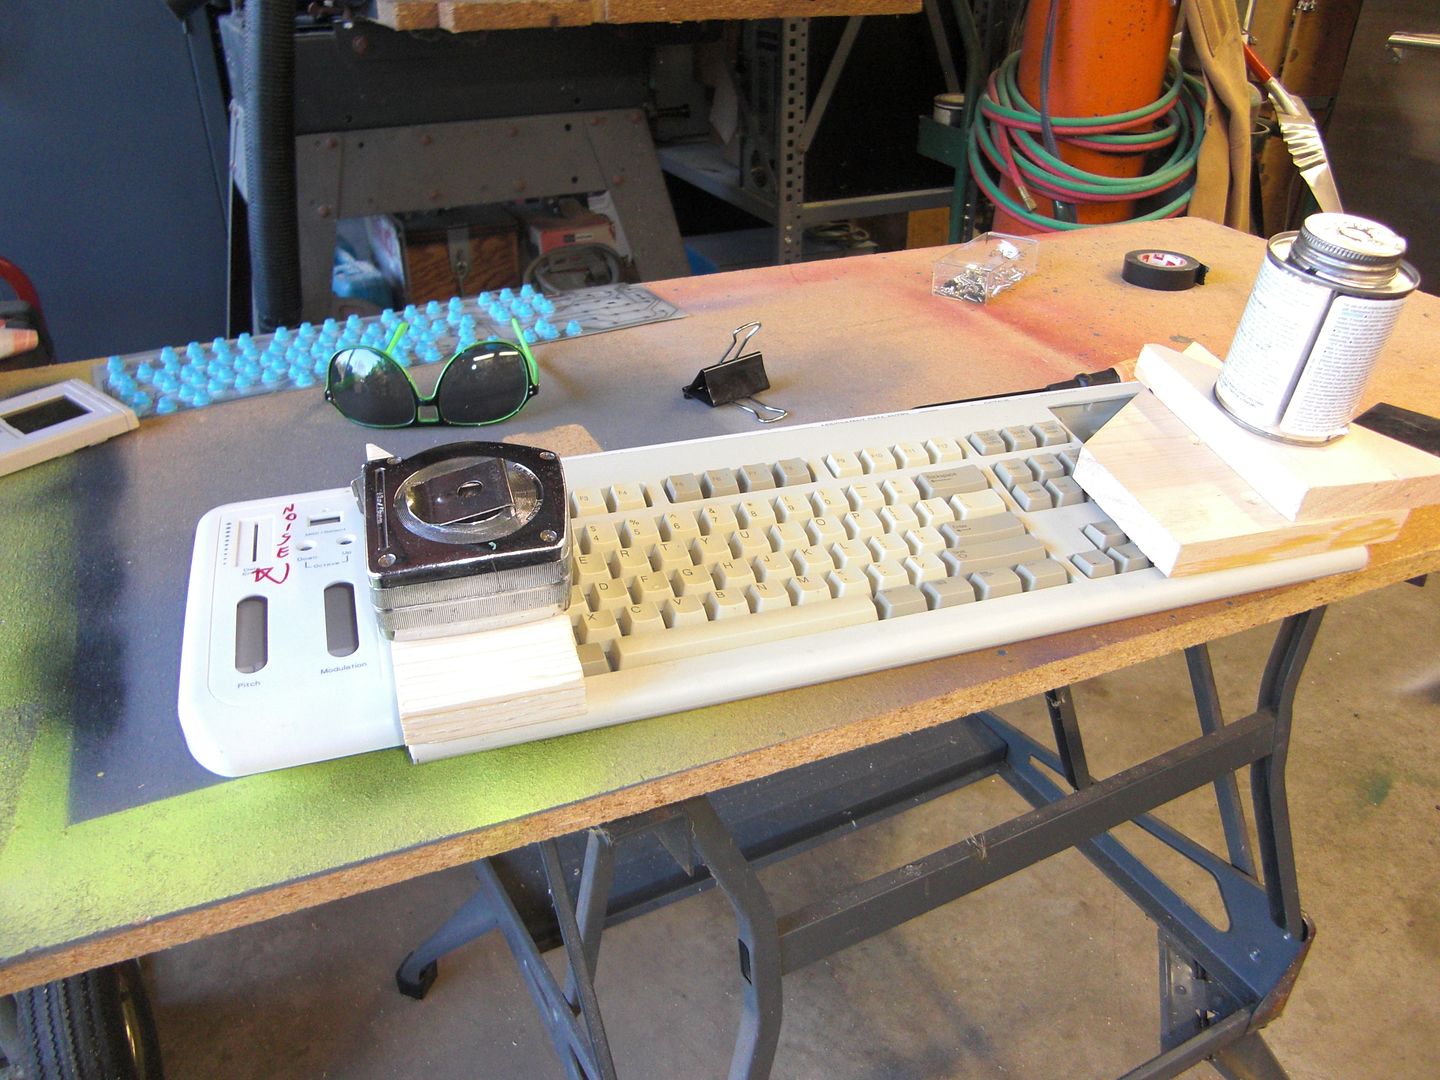
After that had dried, I assembled the rest of it in one shot. Seriously, this is high stress; the glue sets up hella quick, and you have a limited amount of time to get everything aligned... I persevered, and stuck a bunch of random crap on top to weigh it down and hold everything place.

› DOG PILE!


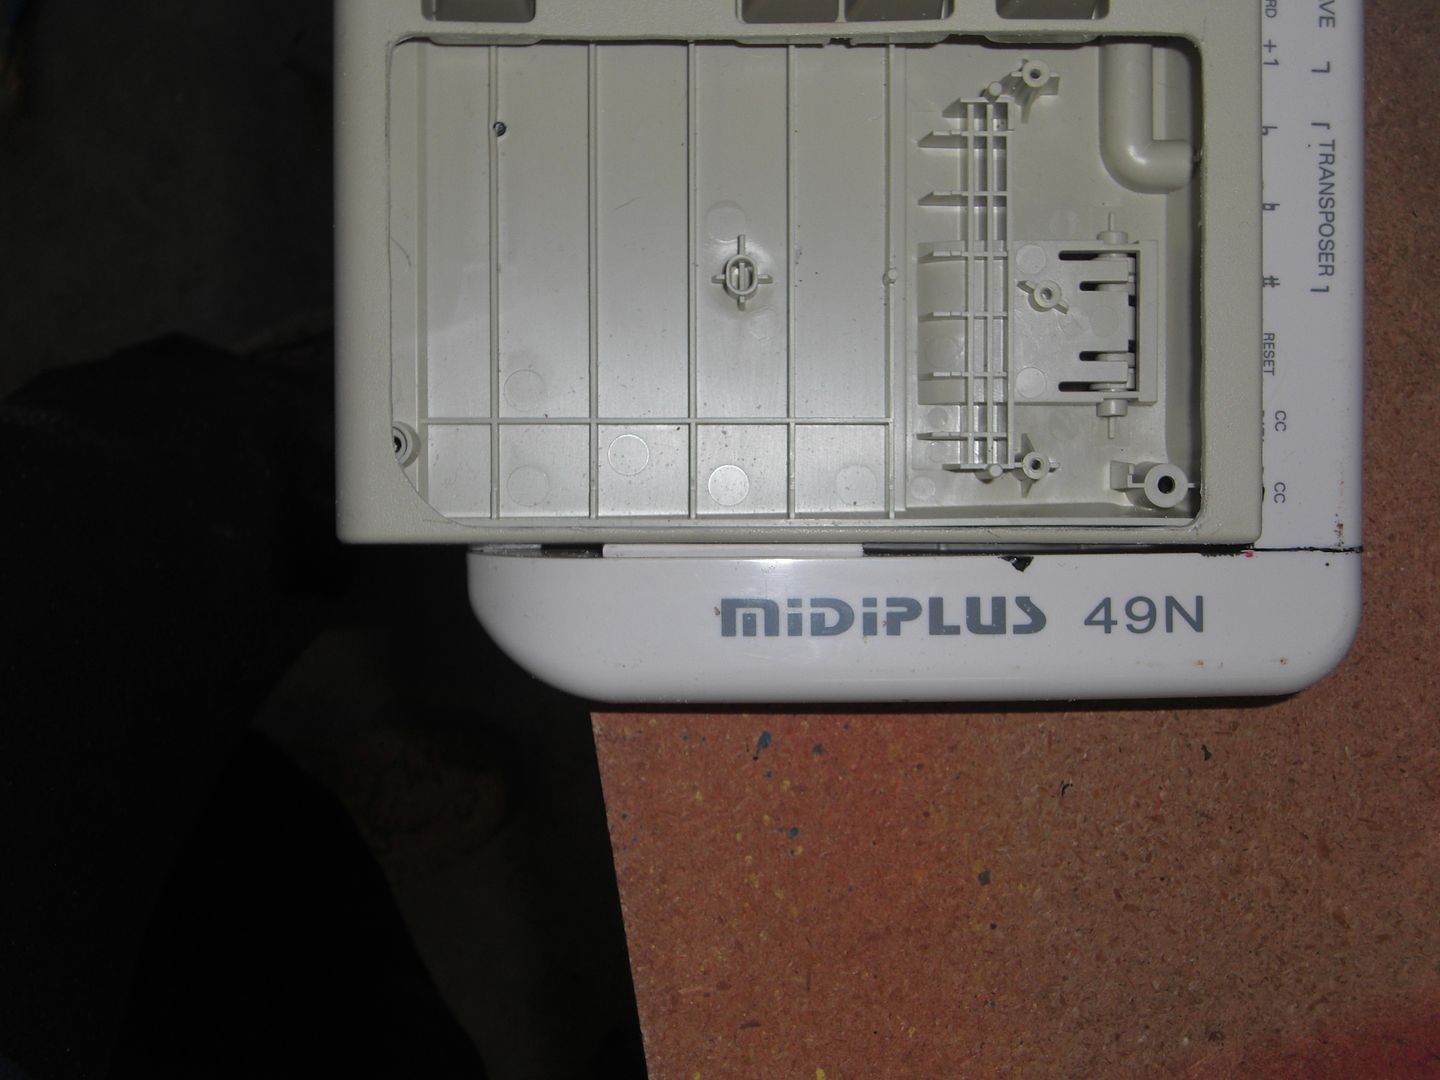
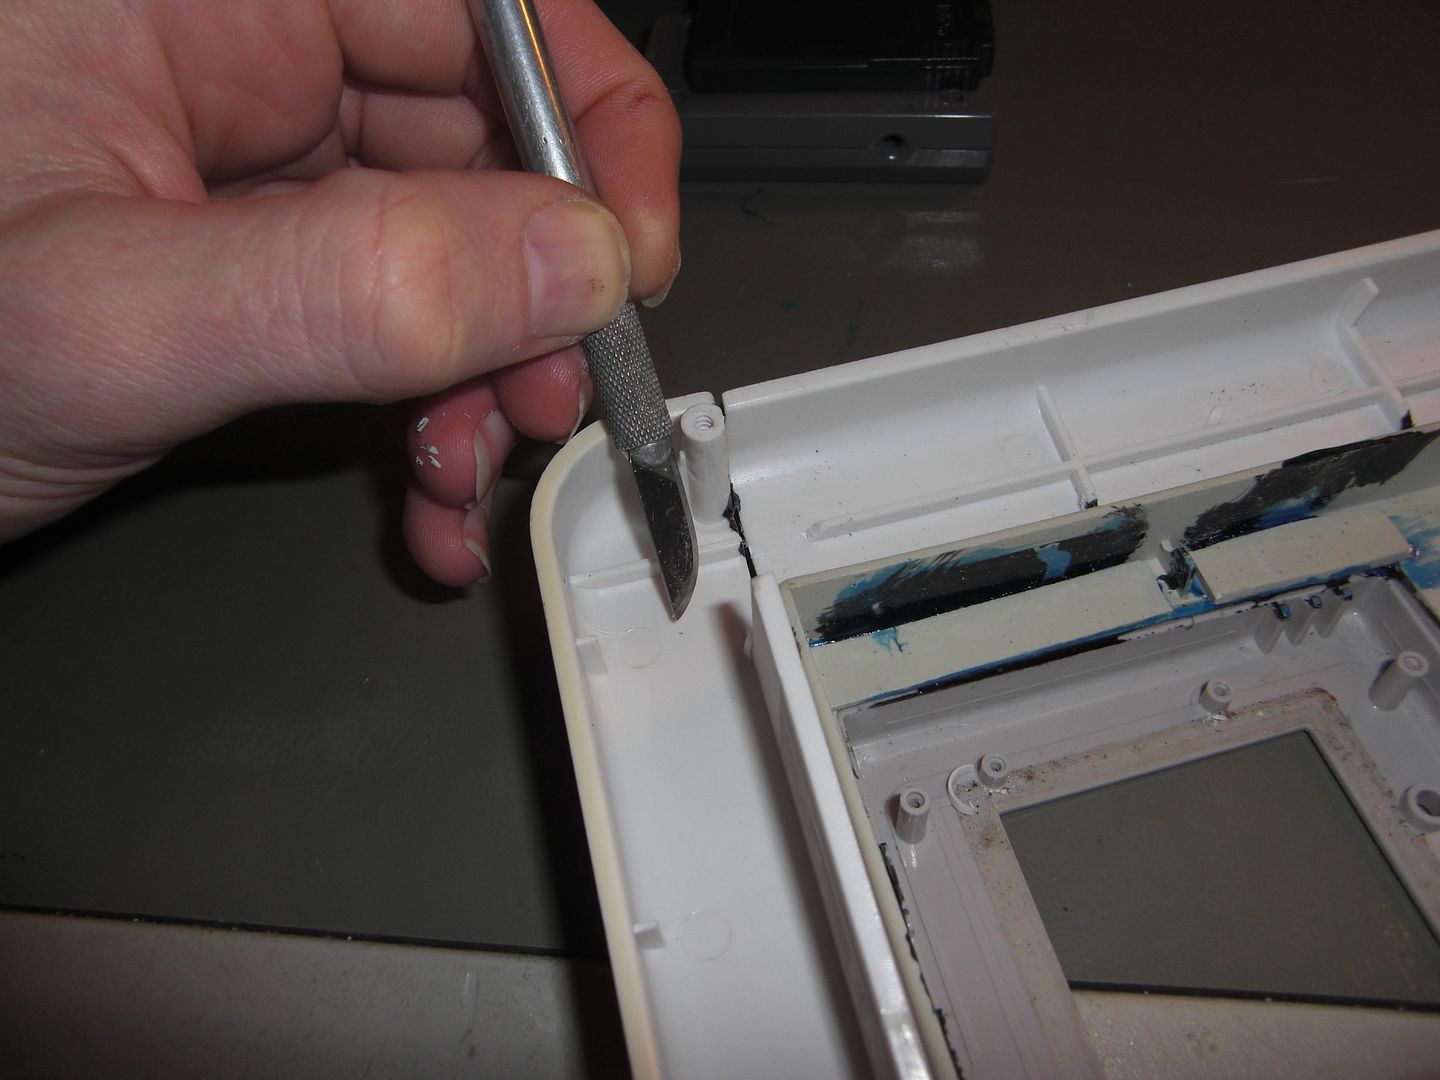
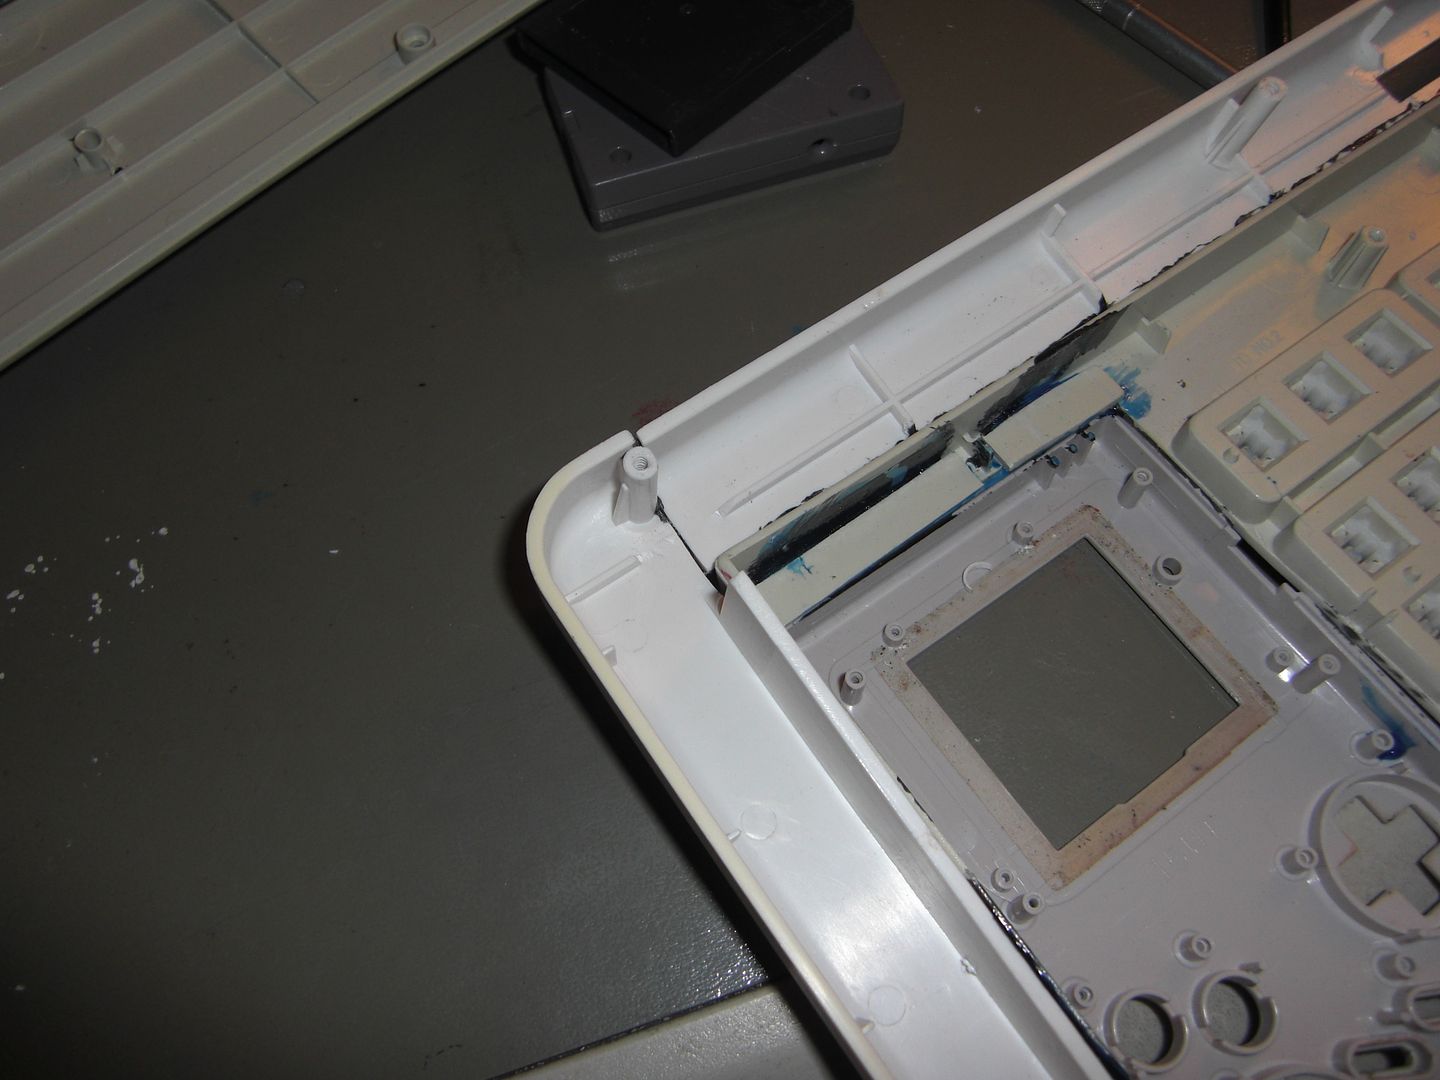
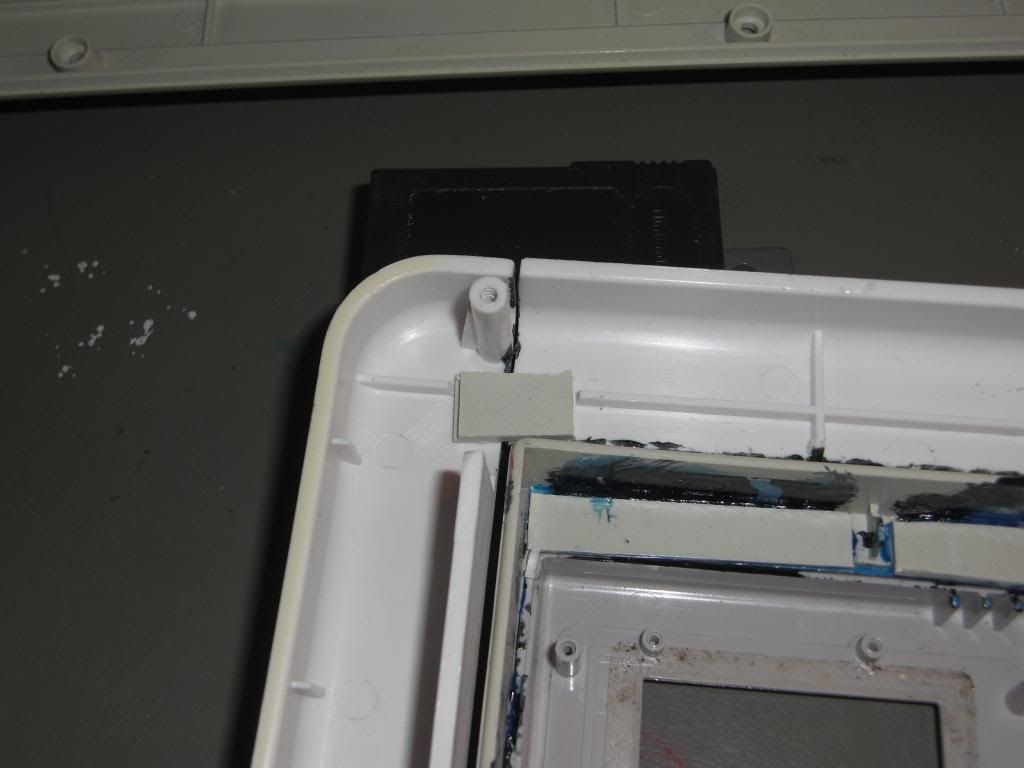
Shit. Unfortunately, my initial measurements weren't quite right, so I ended up with a gap.
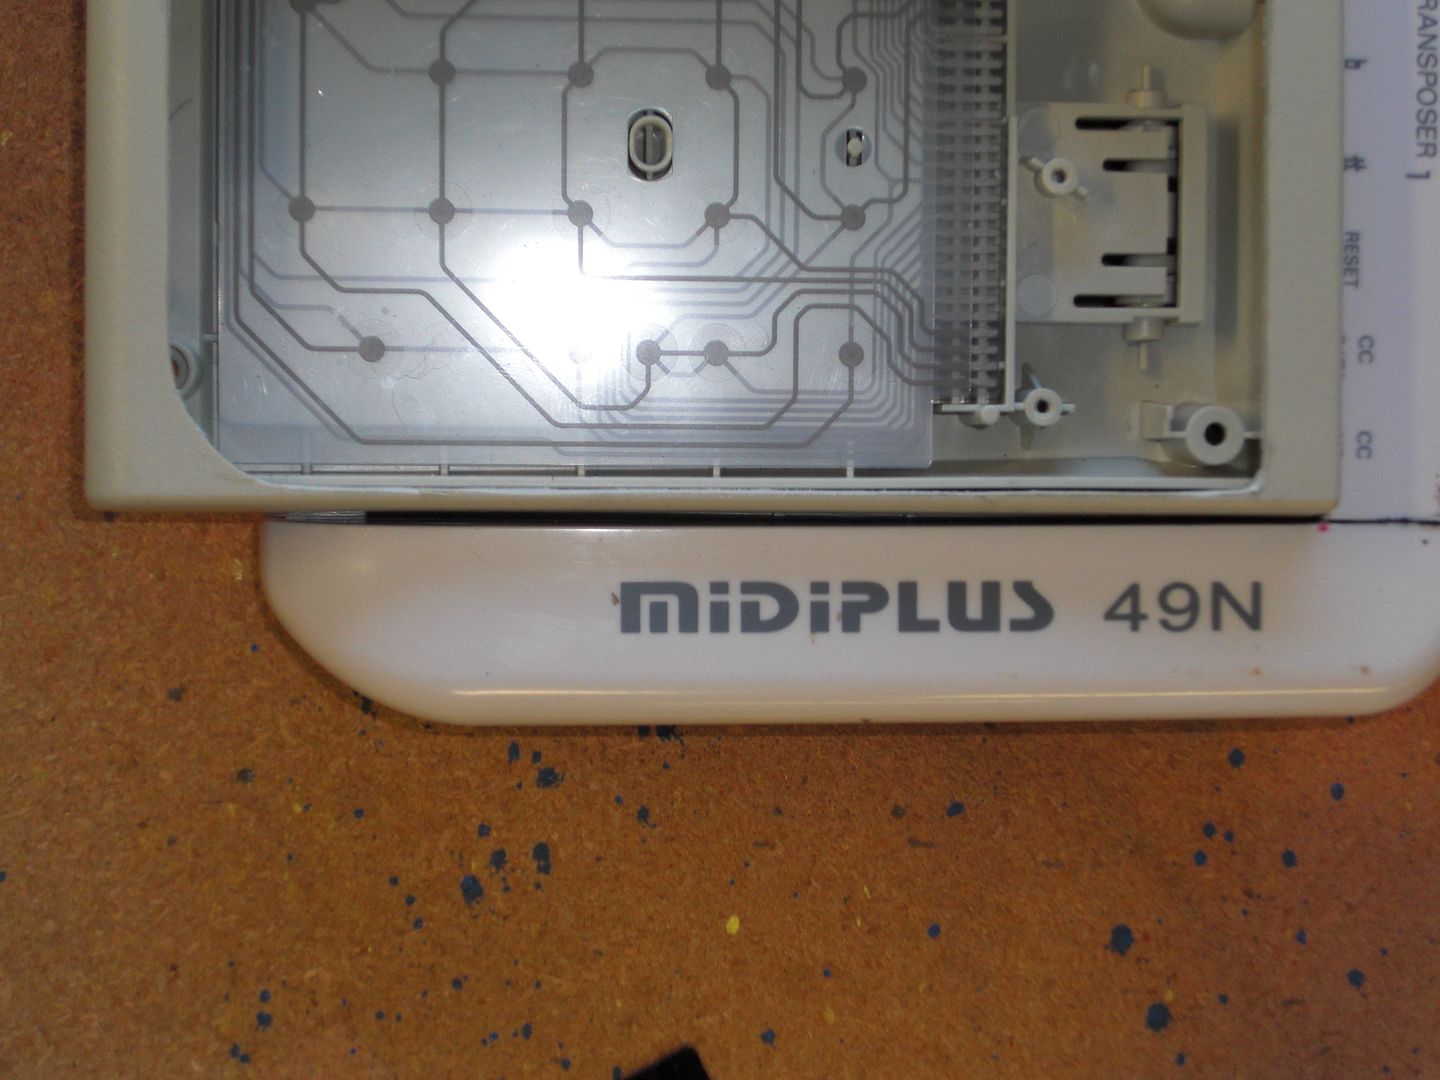
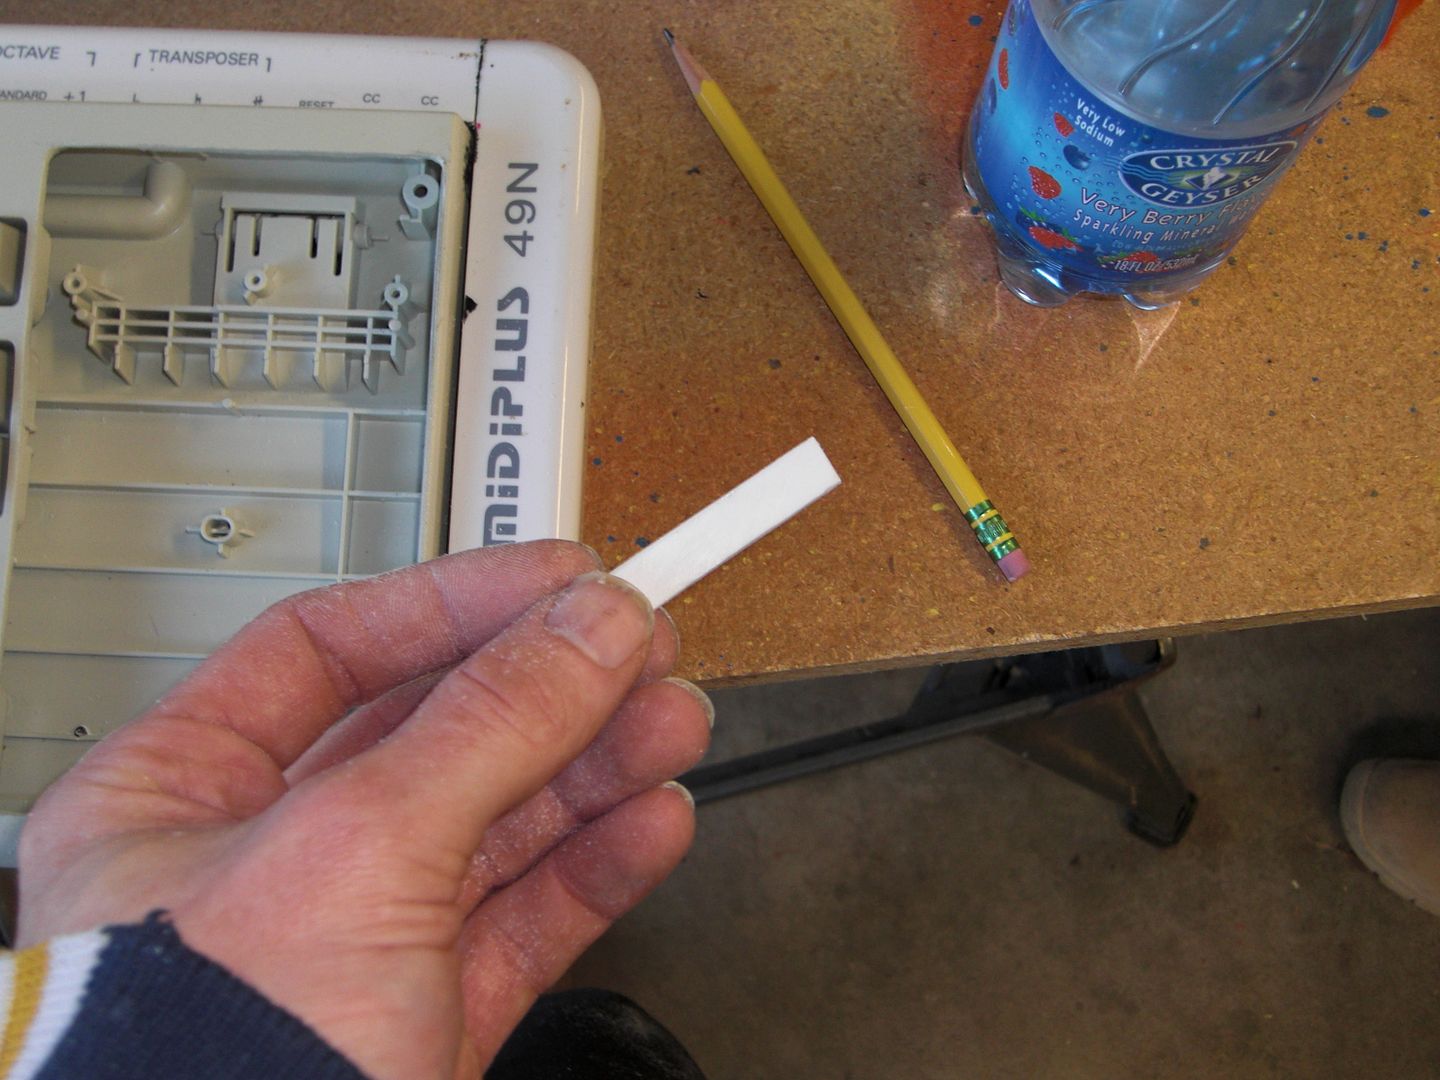
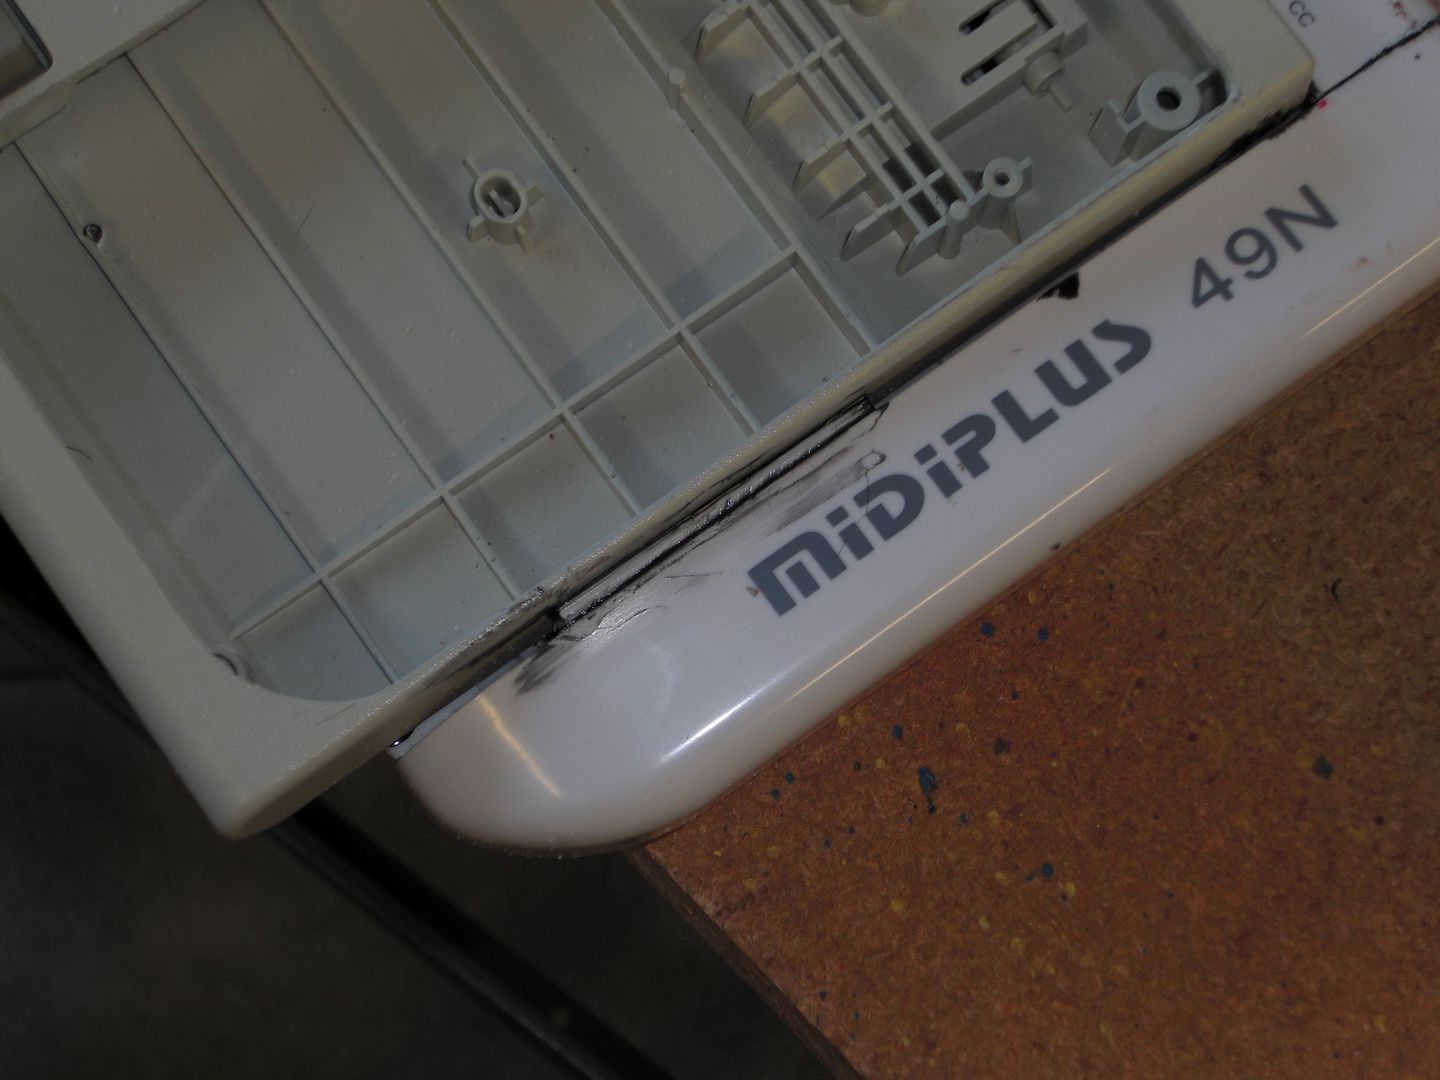
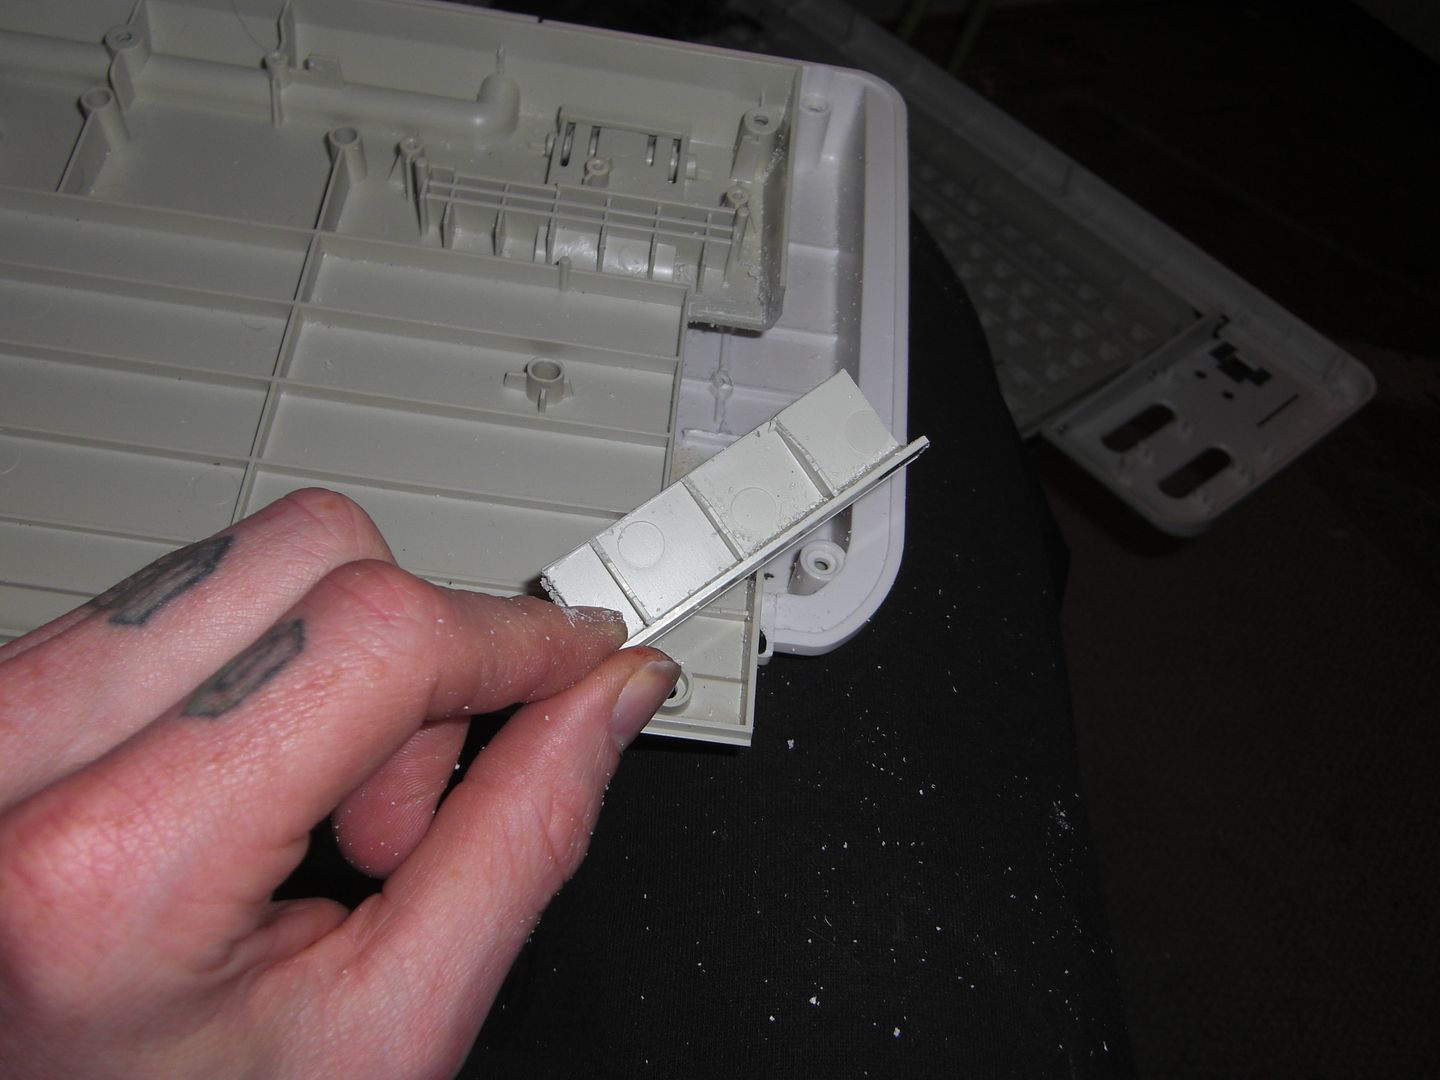
Since I'm filling all the seams with bondo anyway, and all I need is a surface for the two pieces to adhere, I filed down a chunk of PVC and glued it in there.

› Shims are the Band-Aids of carpentry


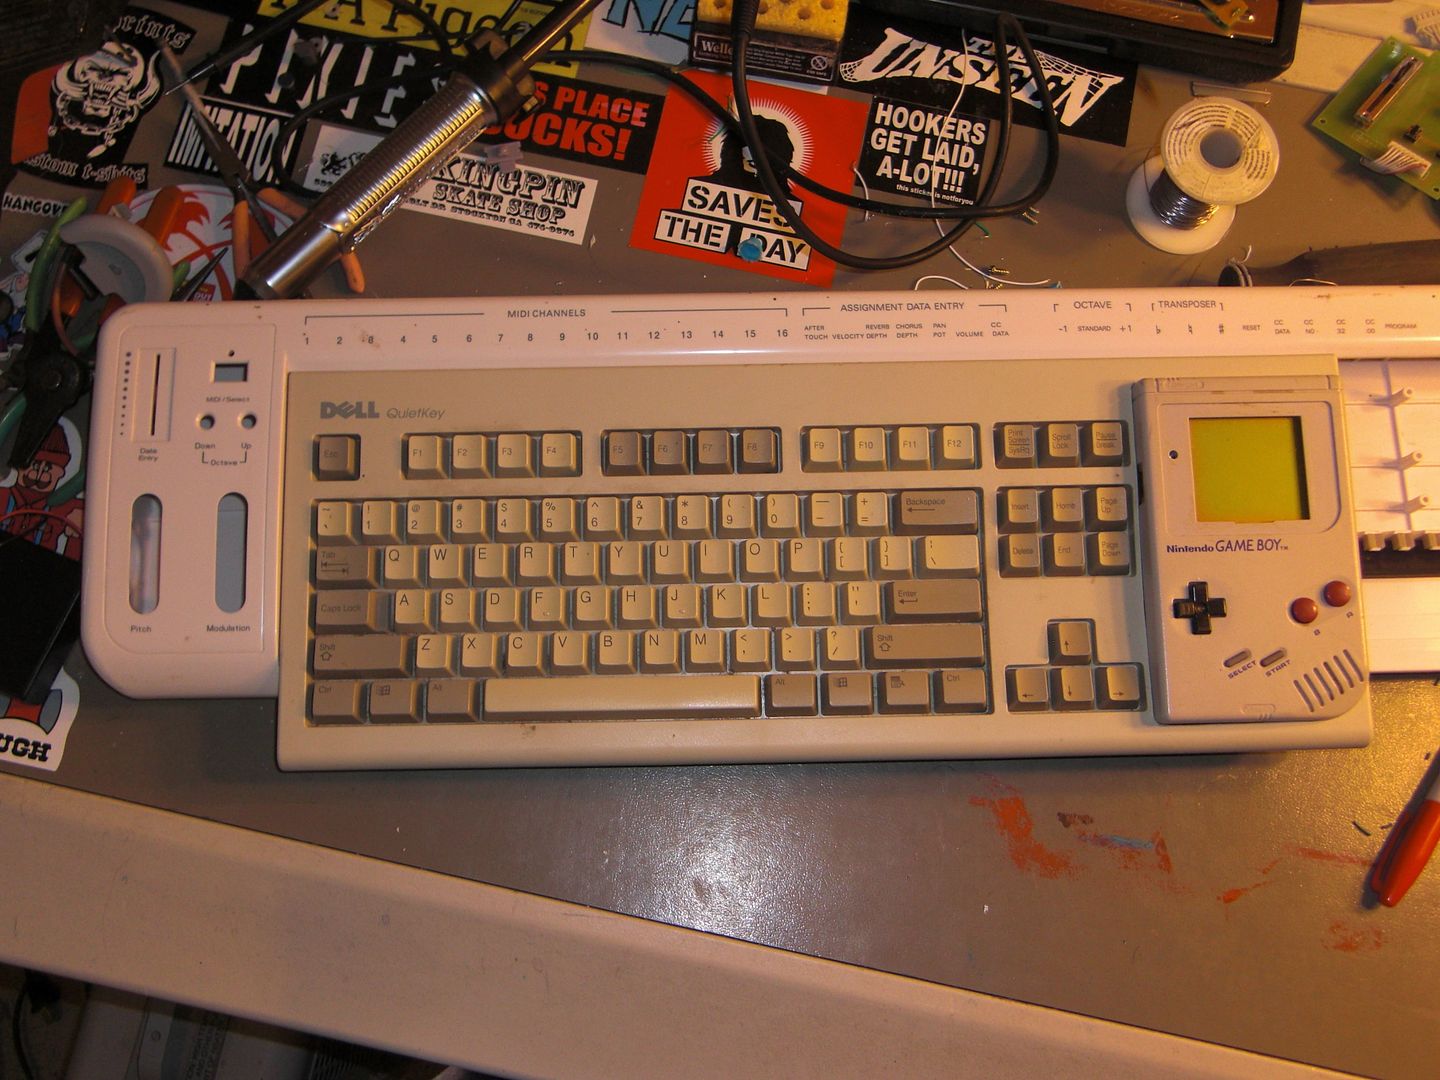
So, after a long day of watching glue dry, I'm pretty satisfied with the results.

› It's was like watching paint dry


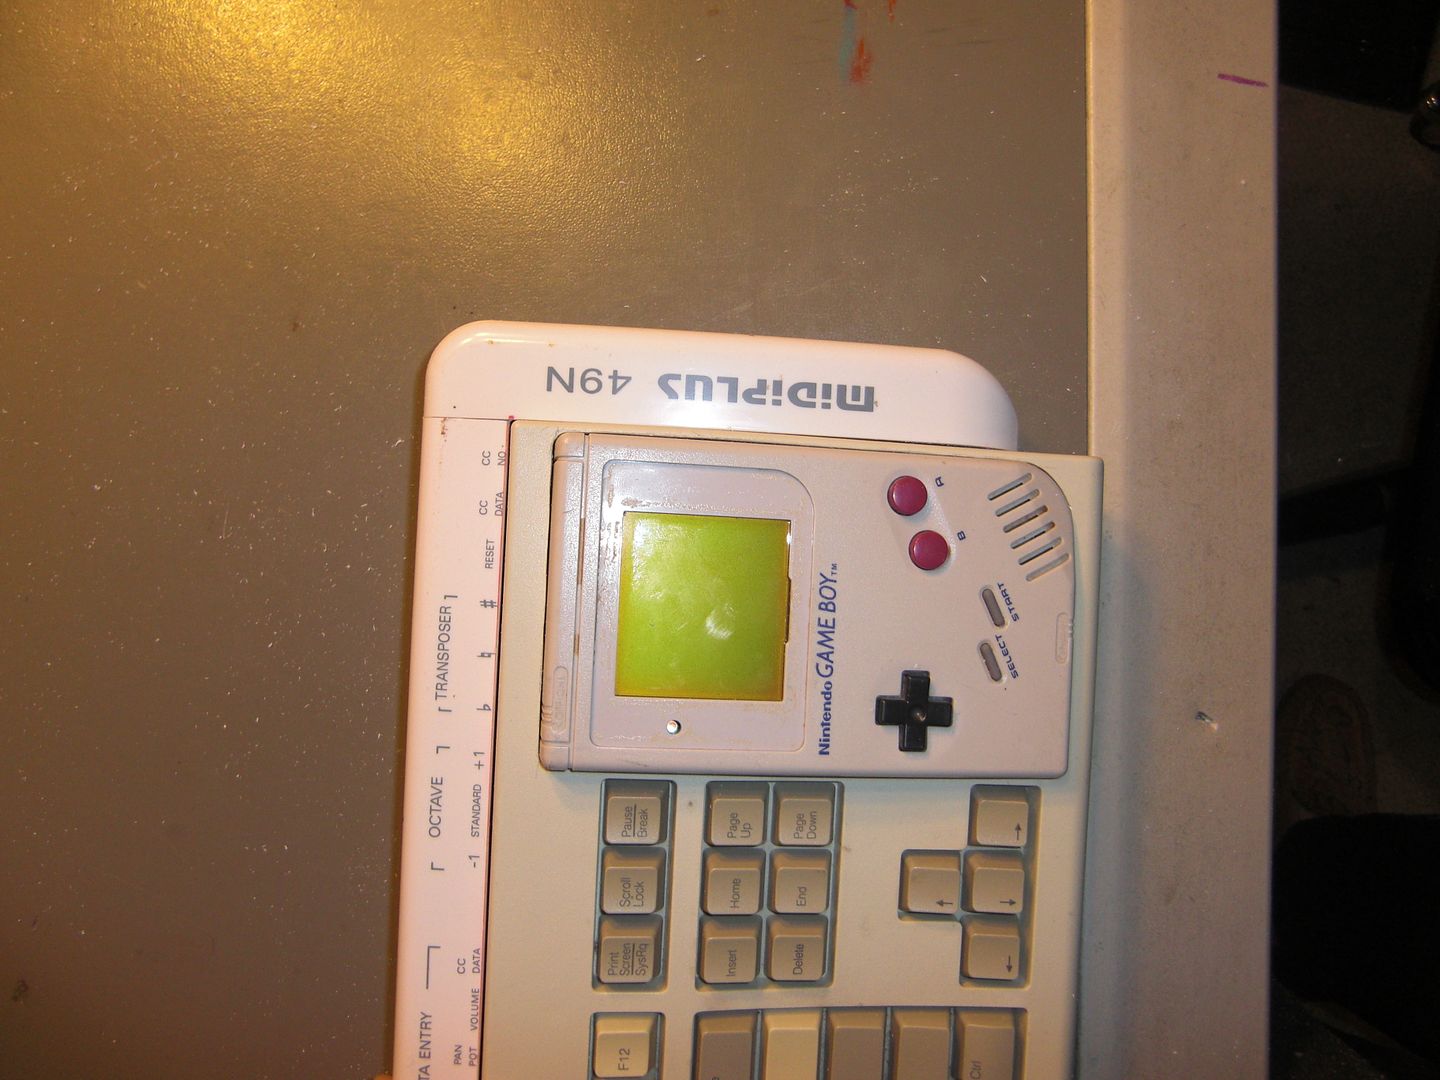
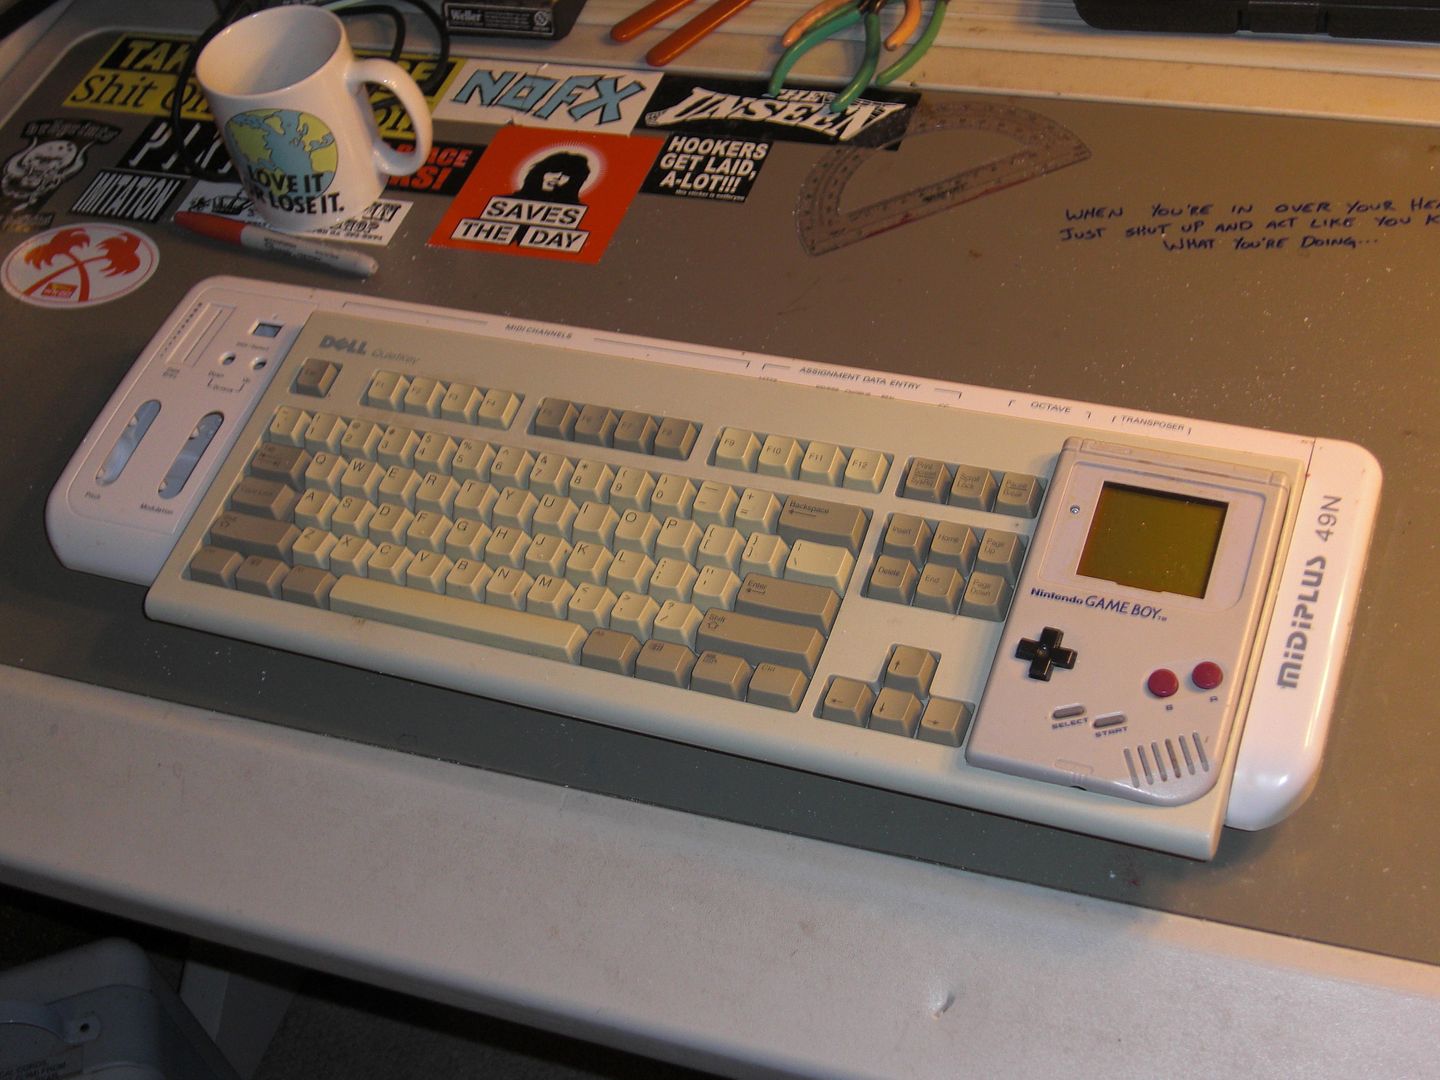
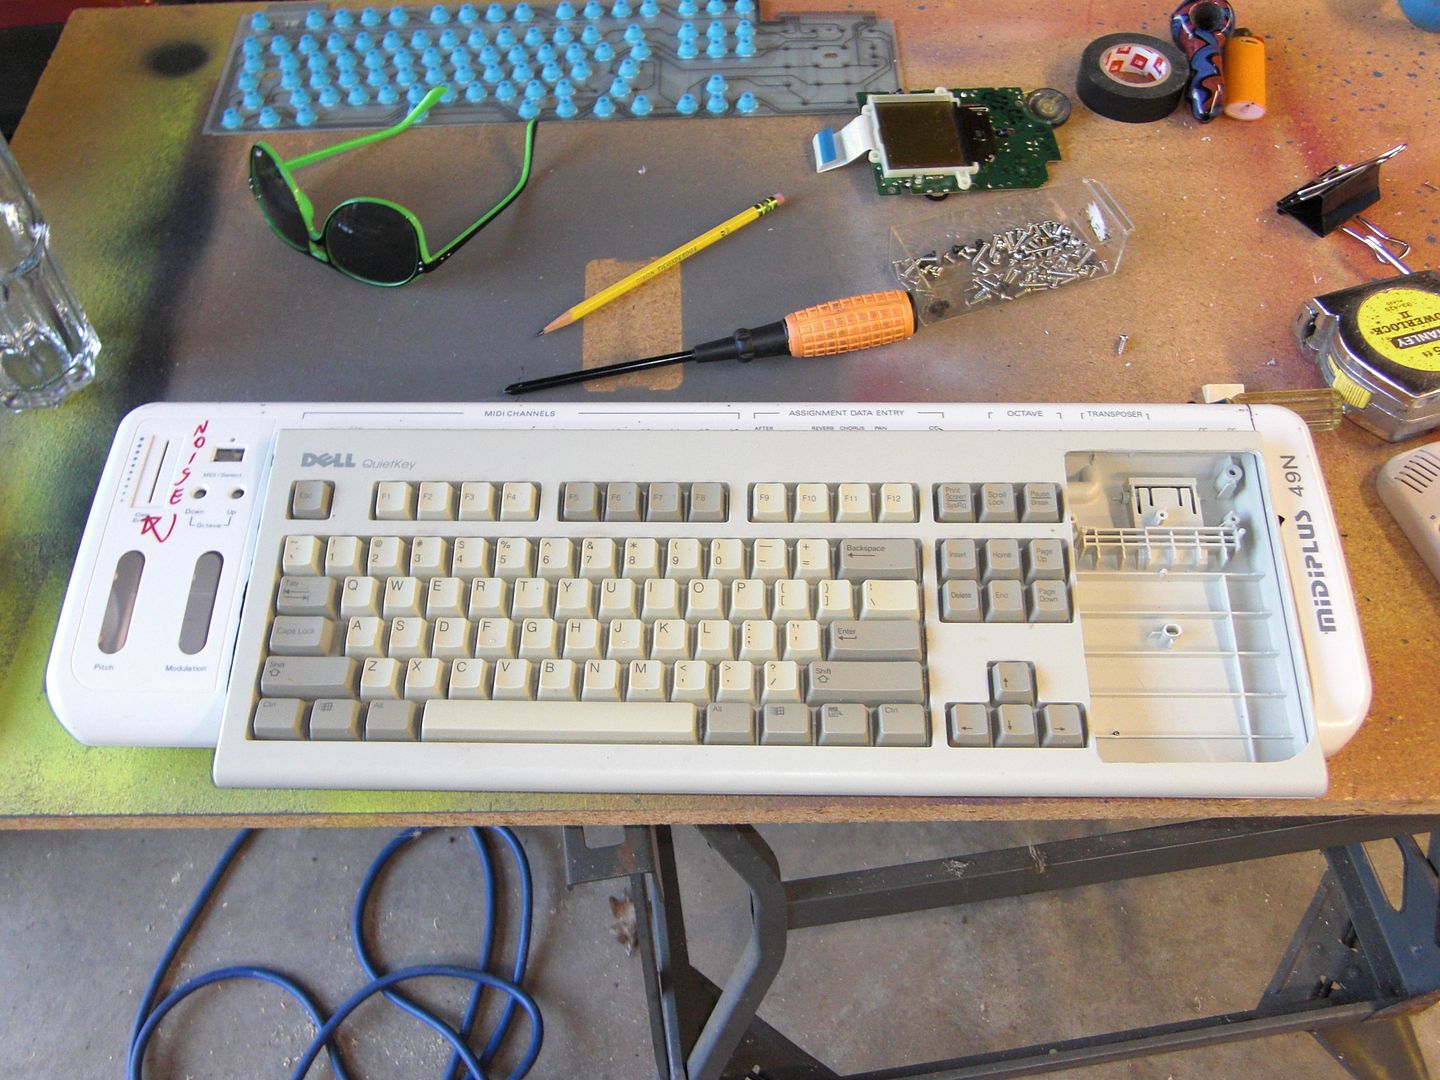
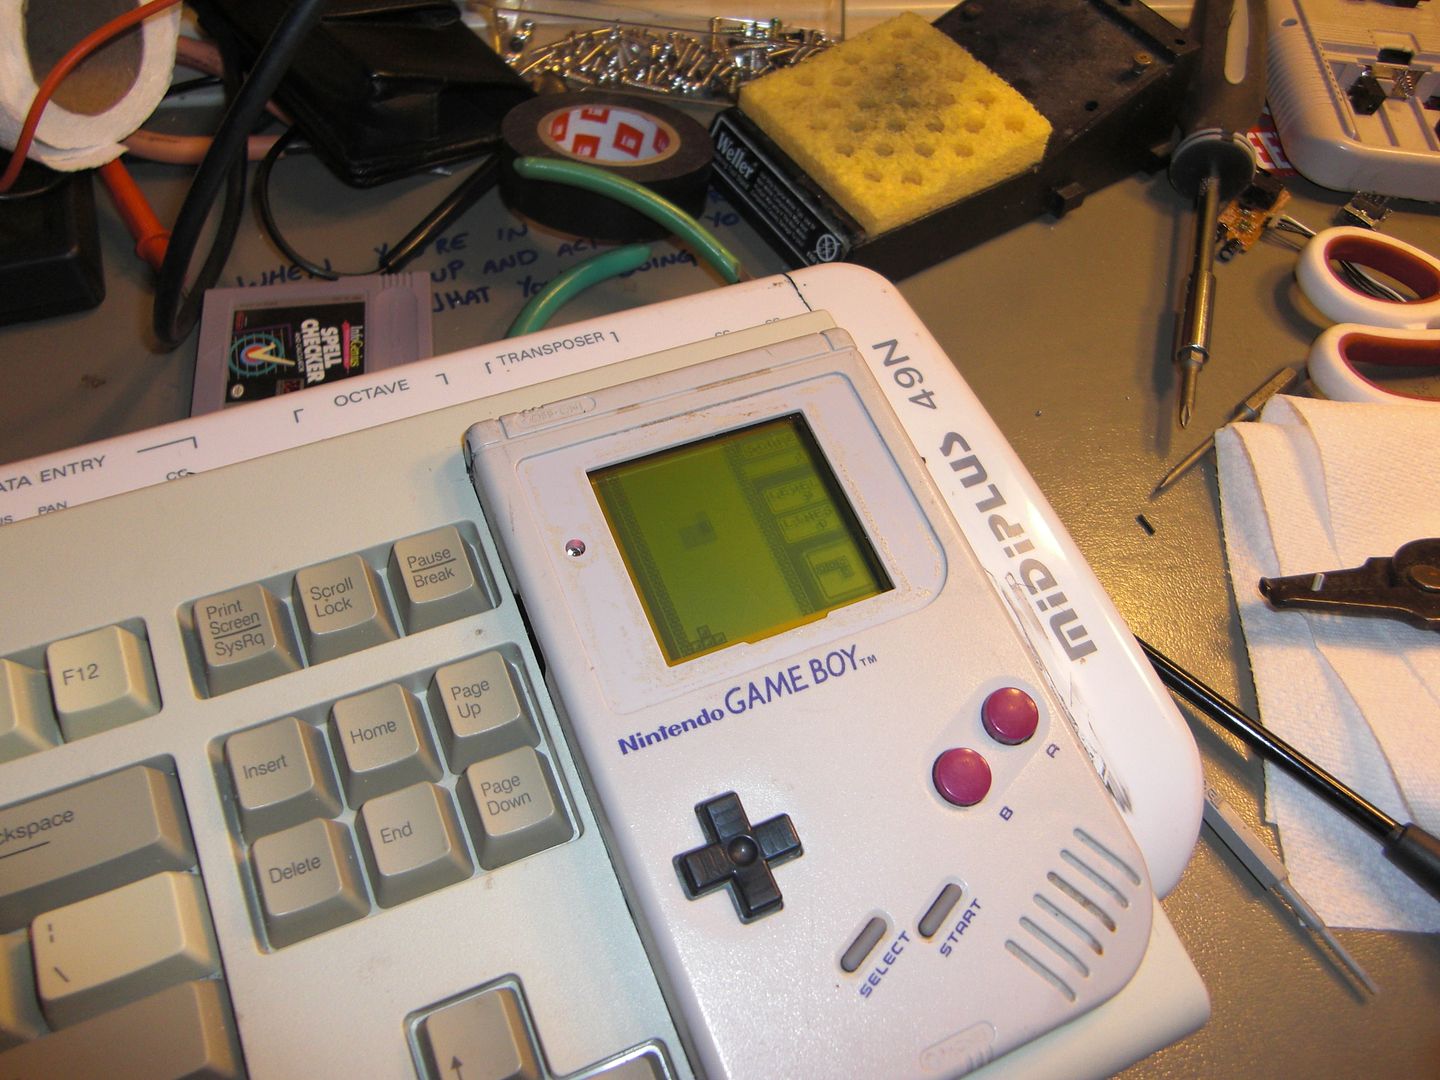
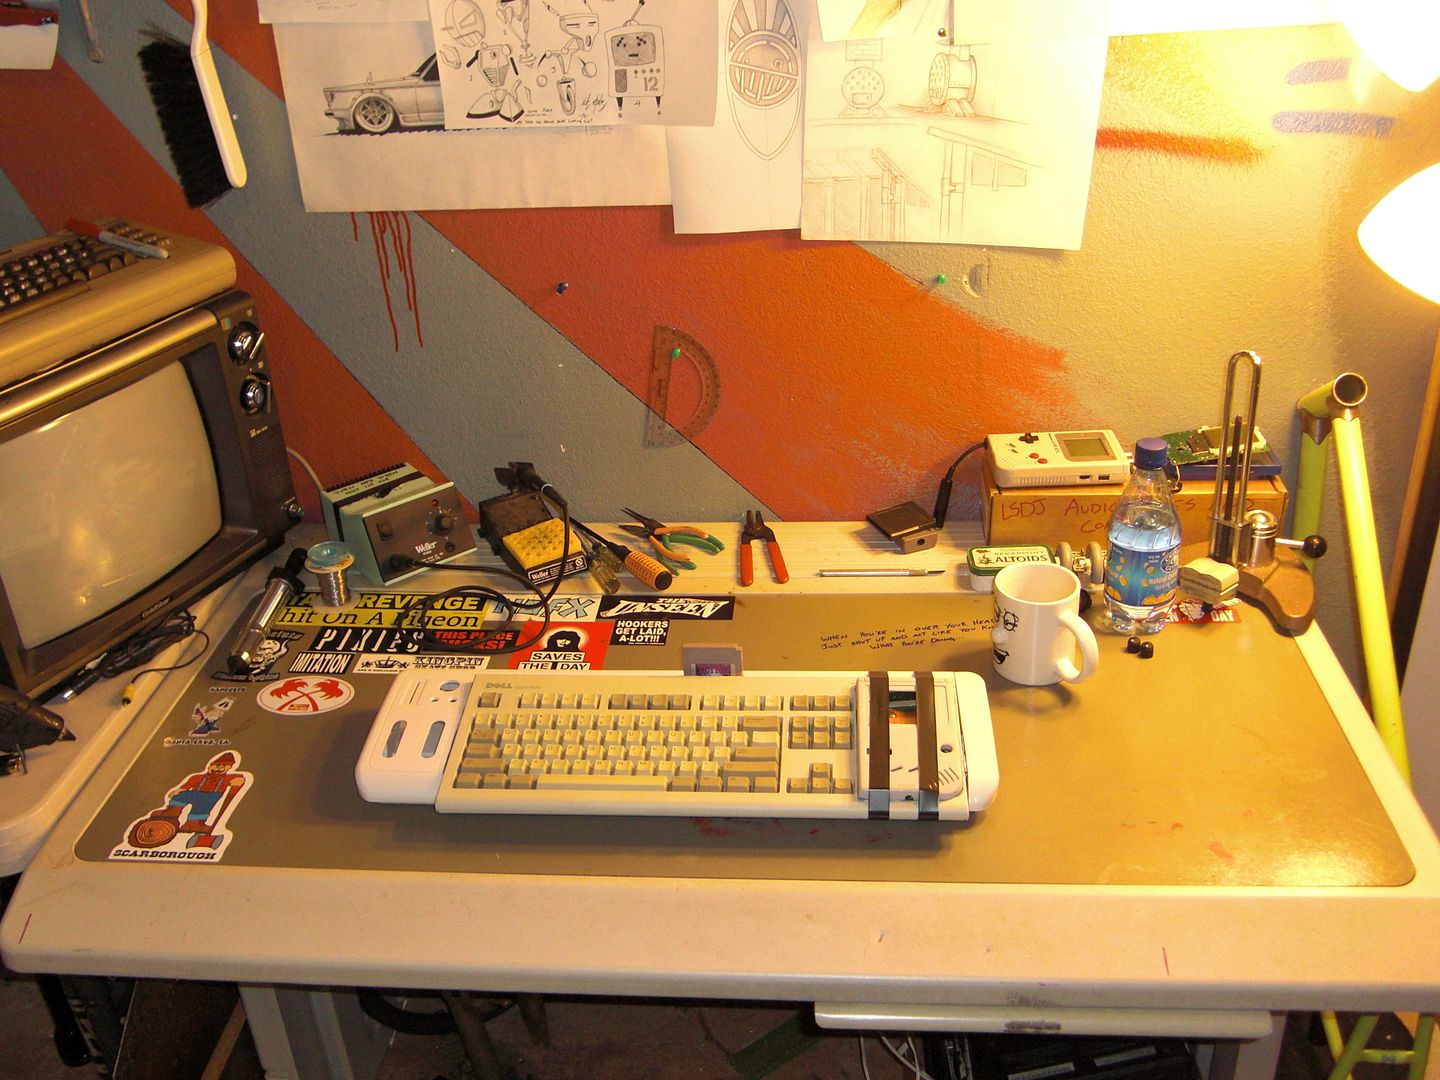
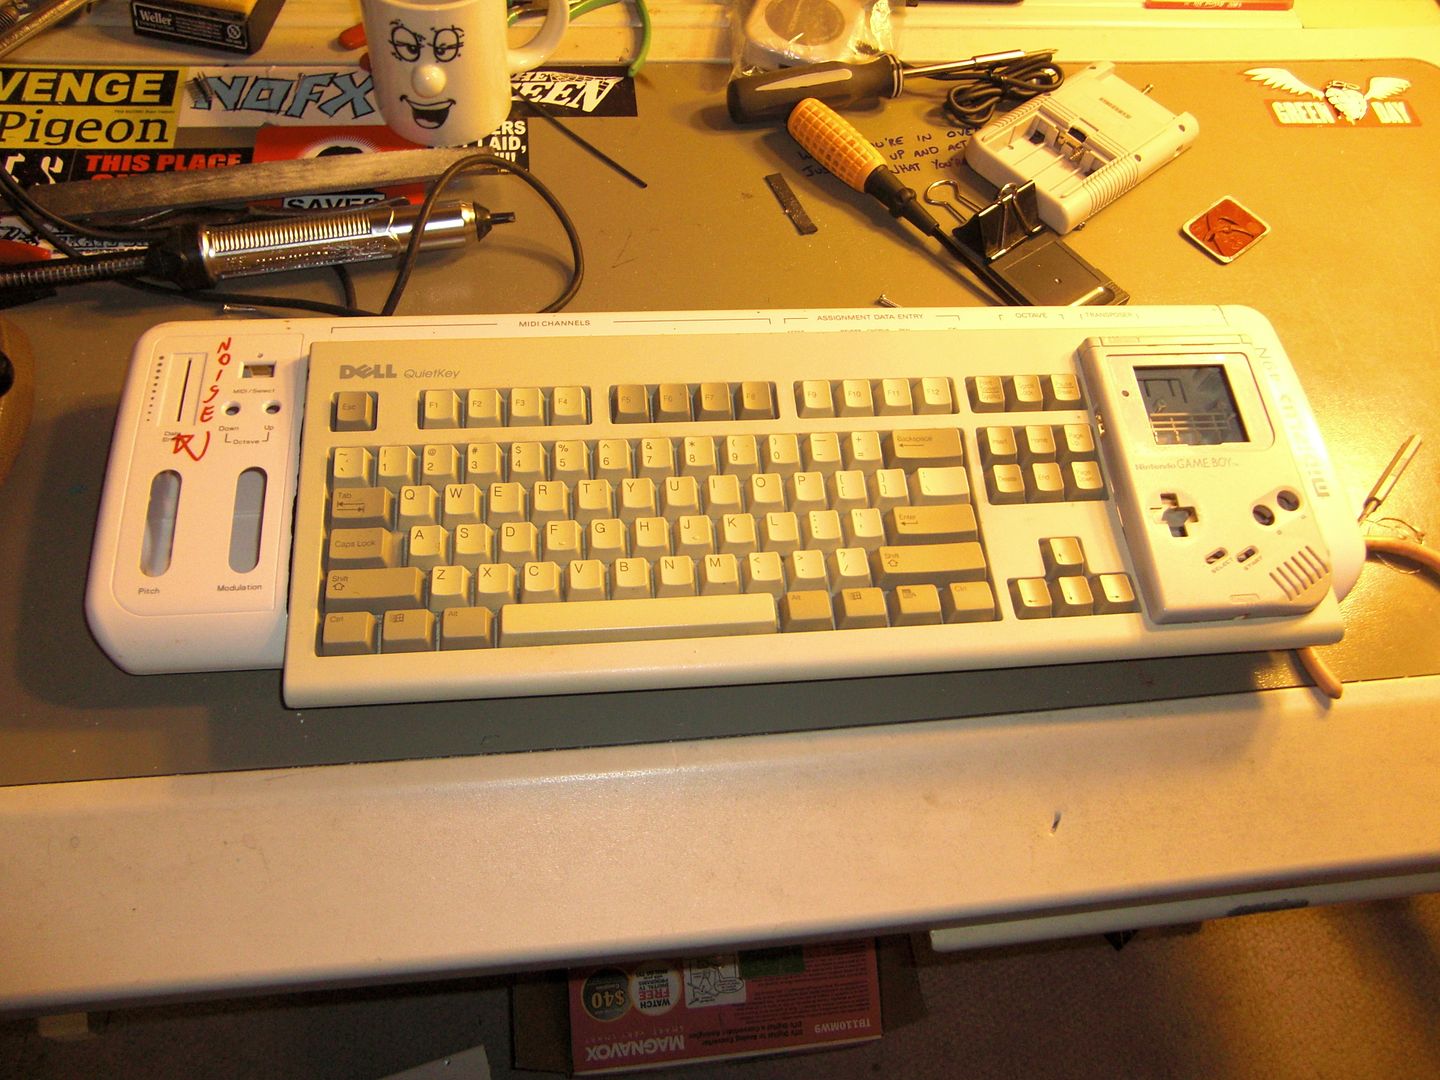
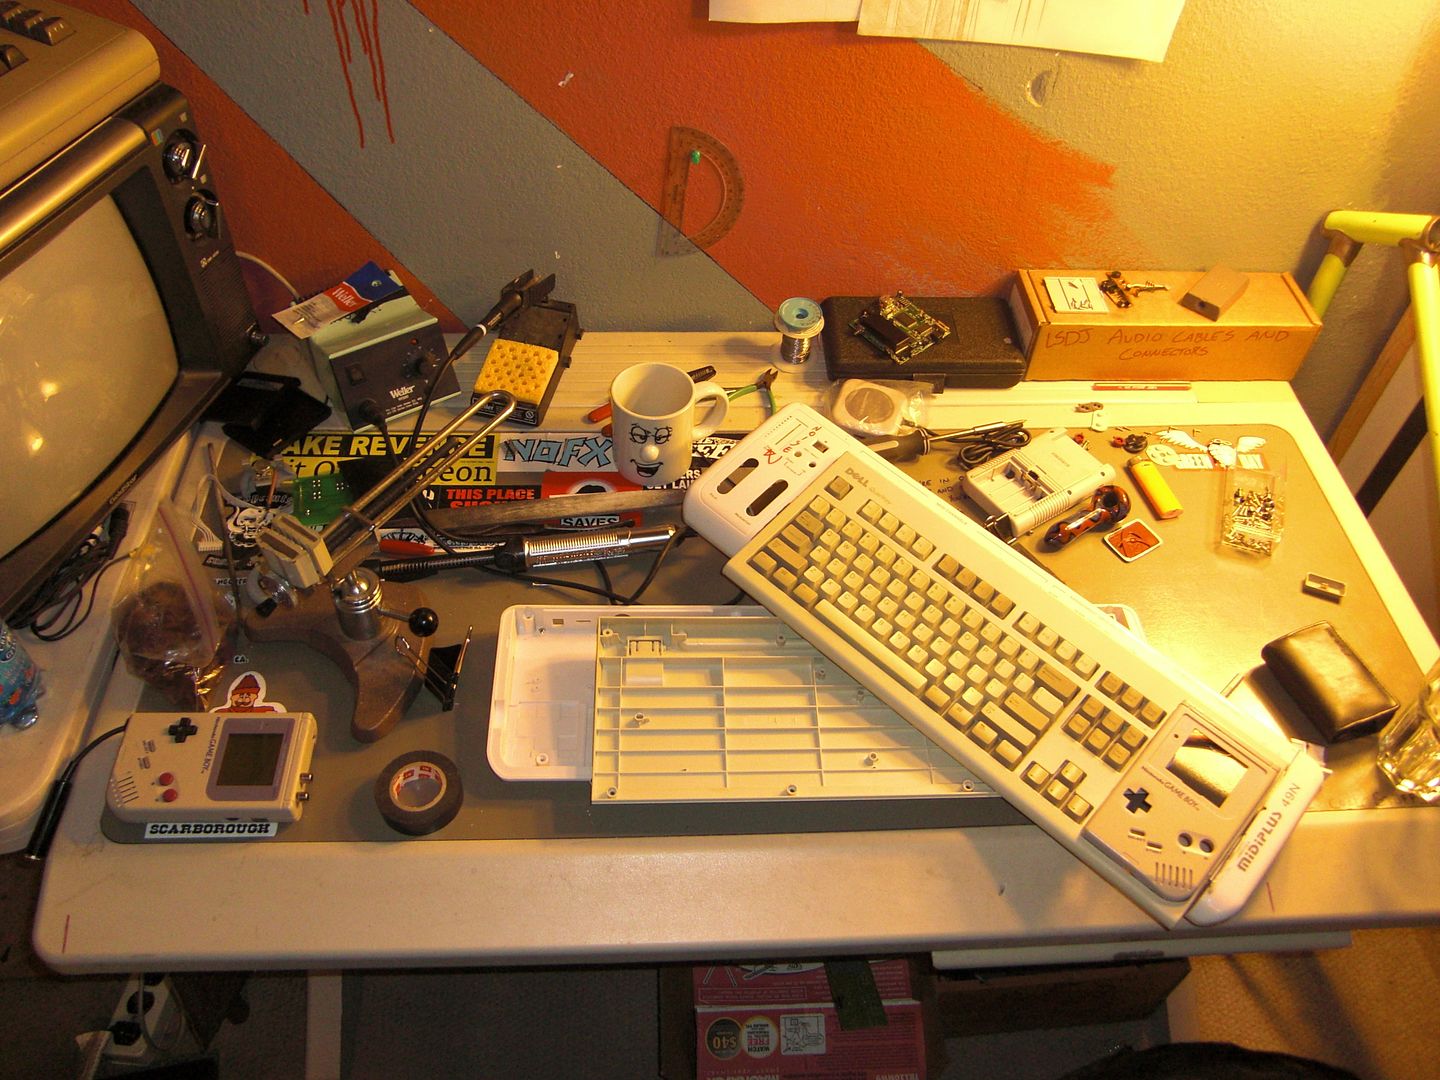
Some closing shots. One before the DMG was glued in, and another of my trashed work station... with a cemented in DMG.
Last edited by Teh D3th St4r (Aug 25, 2013 4:56 am)

Offline
Tokyo, Japan

you want I should lock the old thread to keep the new comments here?

Offline
Santa Cruz, California
Lazerbeat wrote:

you want I should lock the old thread to keep the new comments here?

Yes Please.
Perhaps redirect people to this thread.

Offline
Santa Cruz, California

2/1/2013       2:28 pm

So, now that the plastics are done, I can start in on making this thing work.
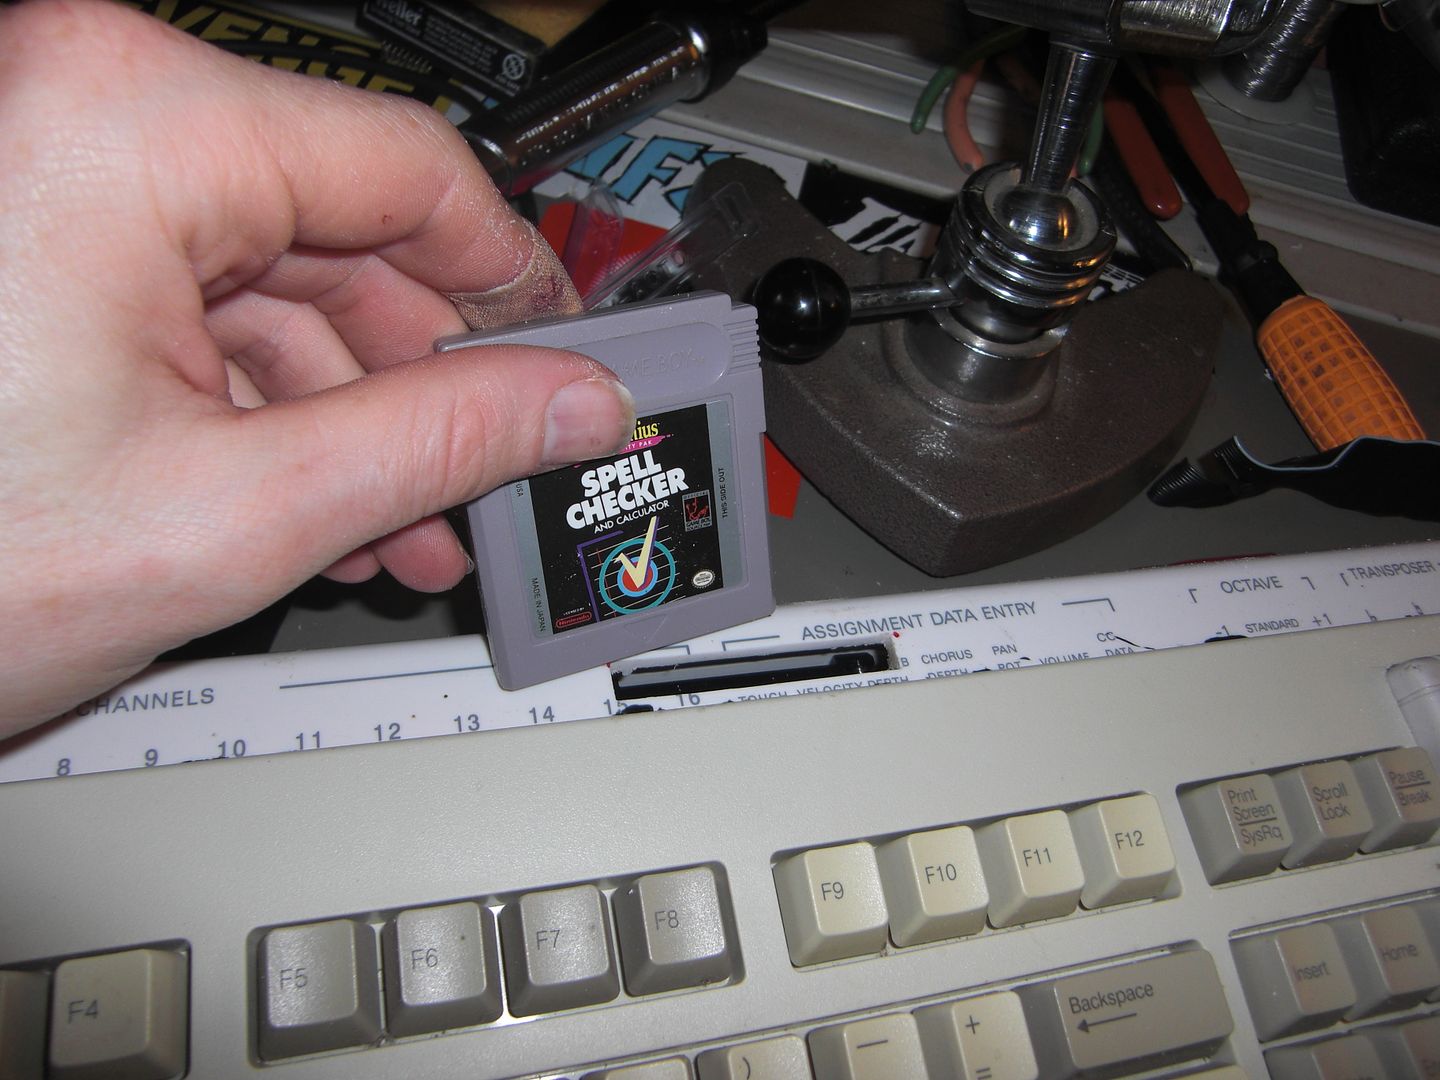
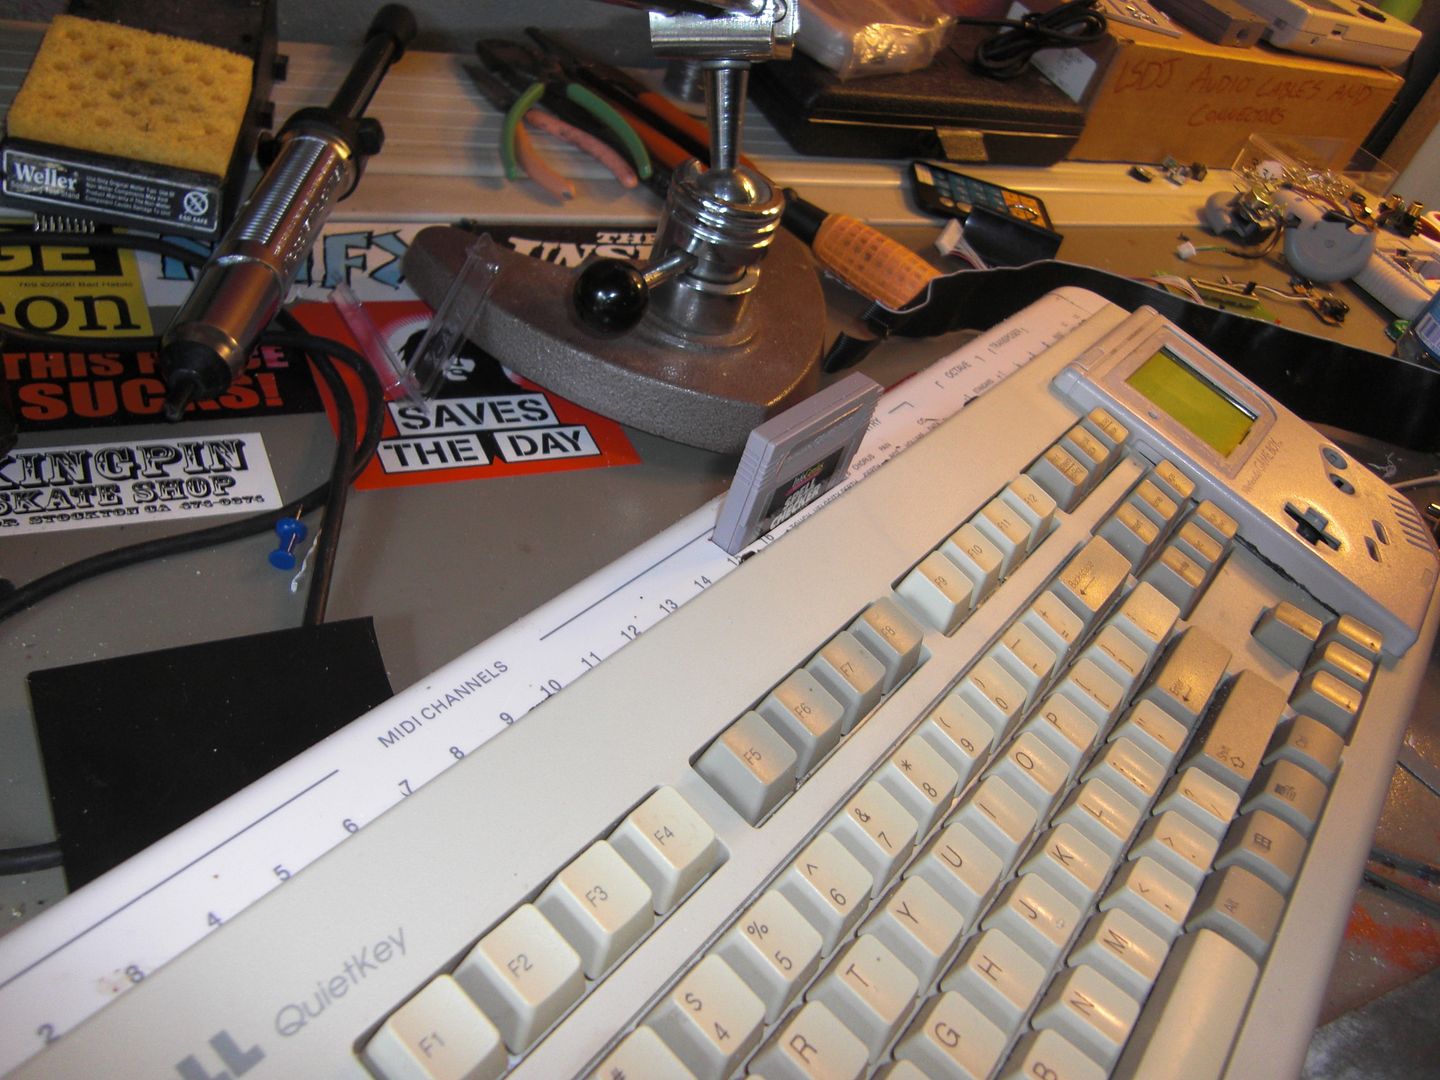
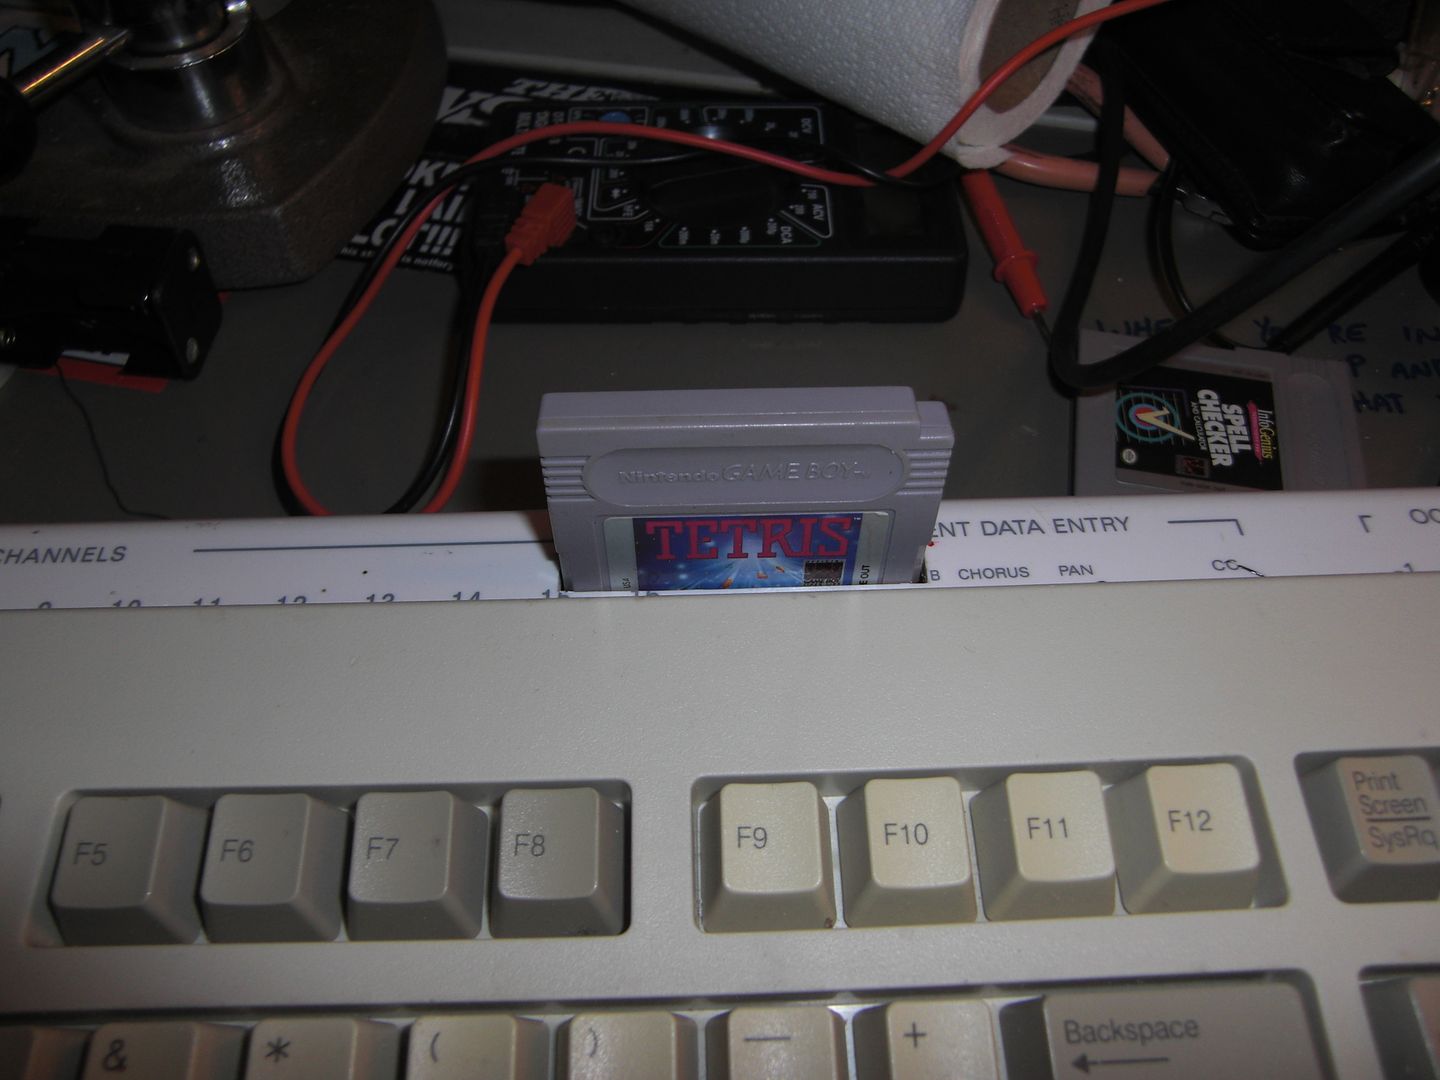
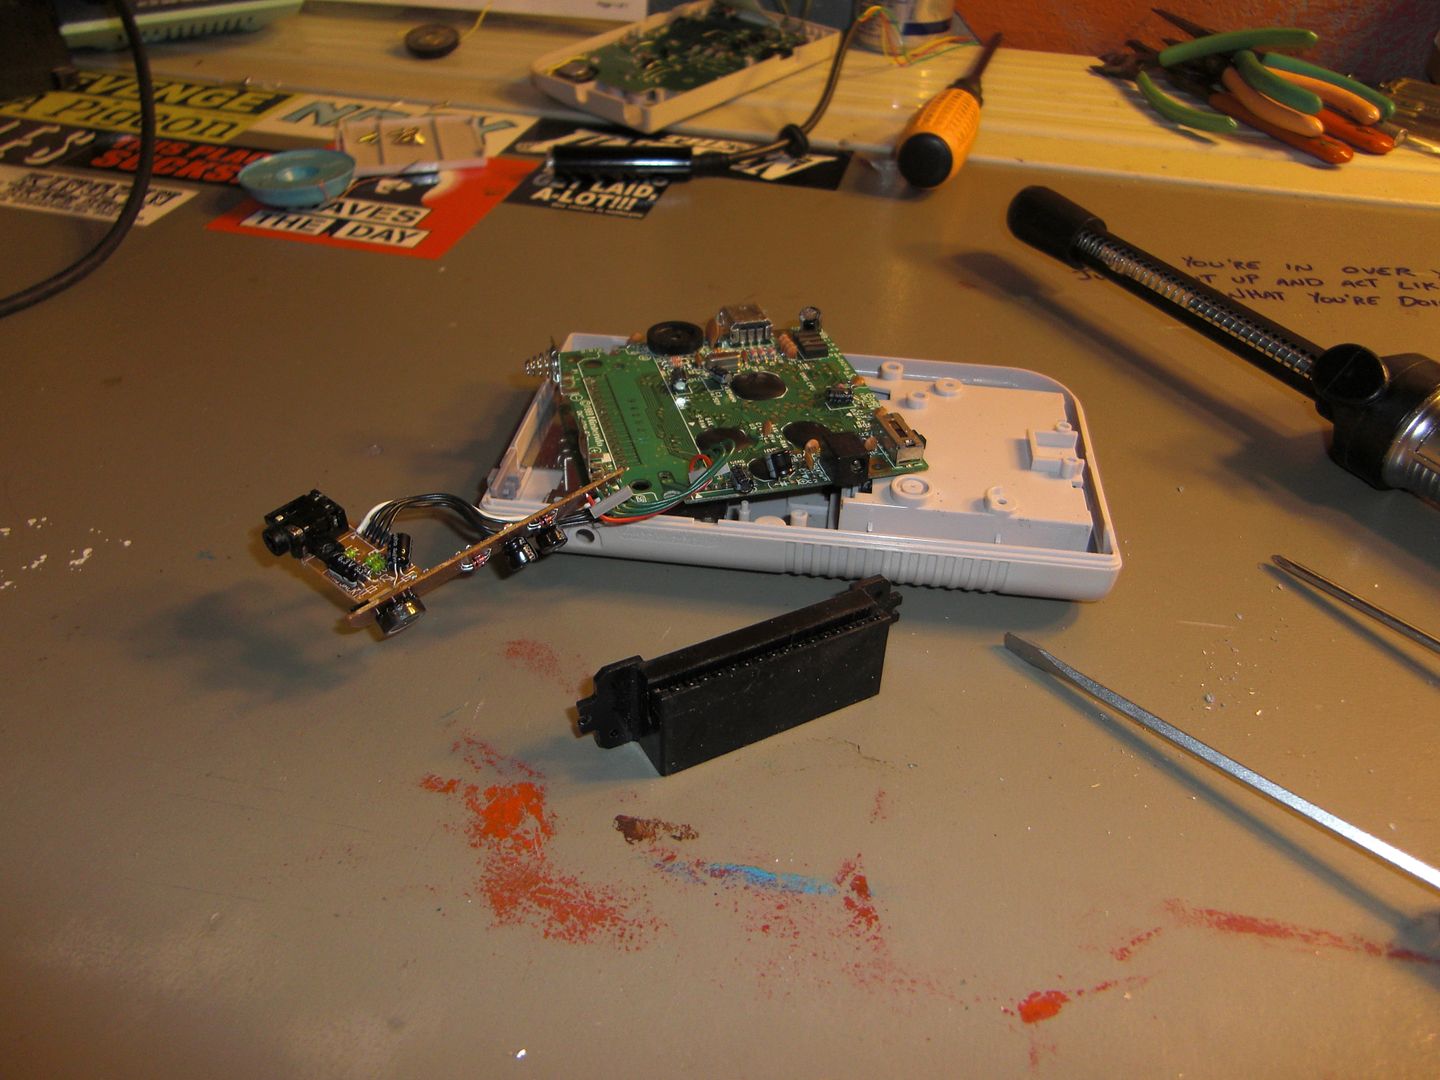
I wanted to relocate the cartridge port to a more centered location. Having the keyboard be a toplaoder with a cart poking out of a prominent position just tickles my nerdy bits... let's just yank you out of there, eh?

› Cartridge Portectomy


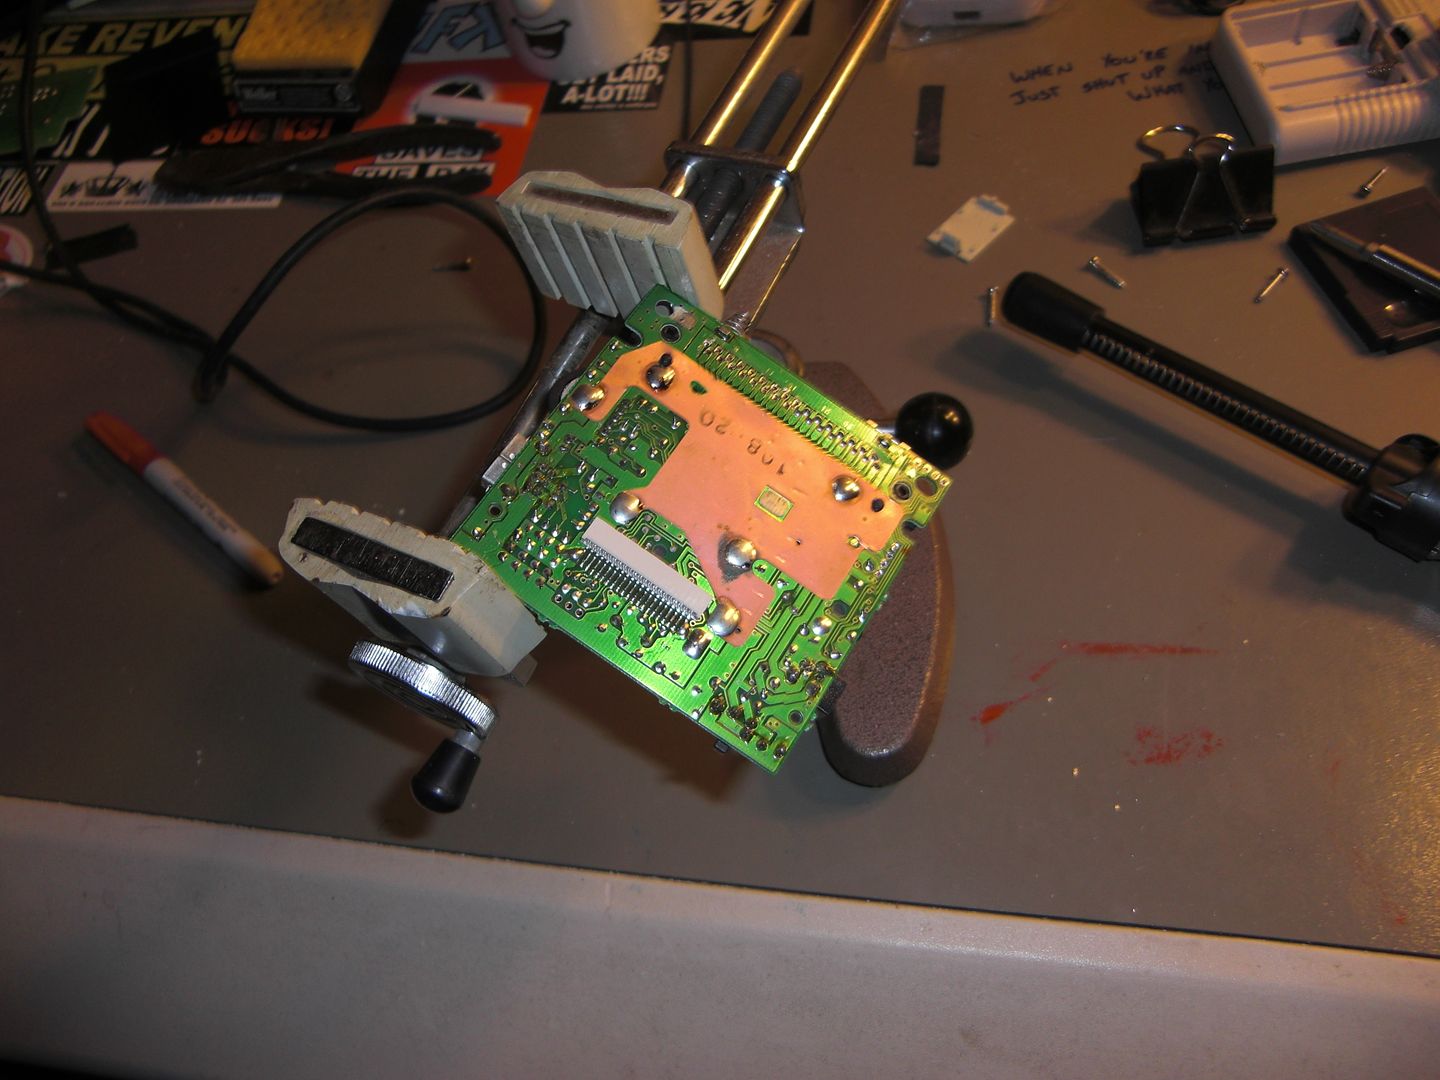
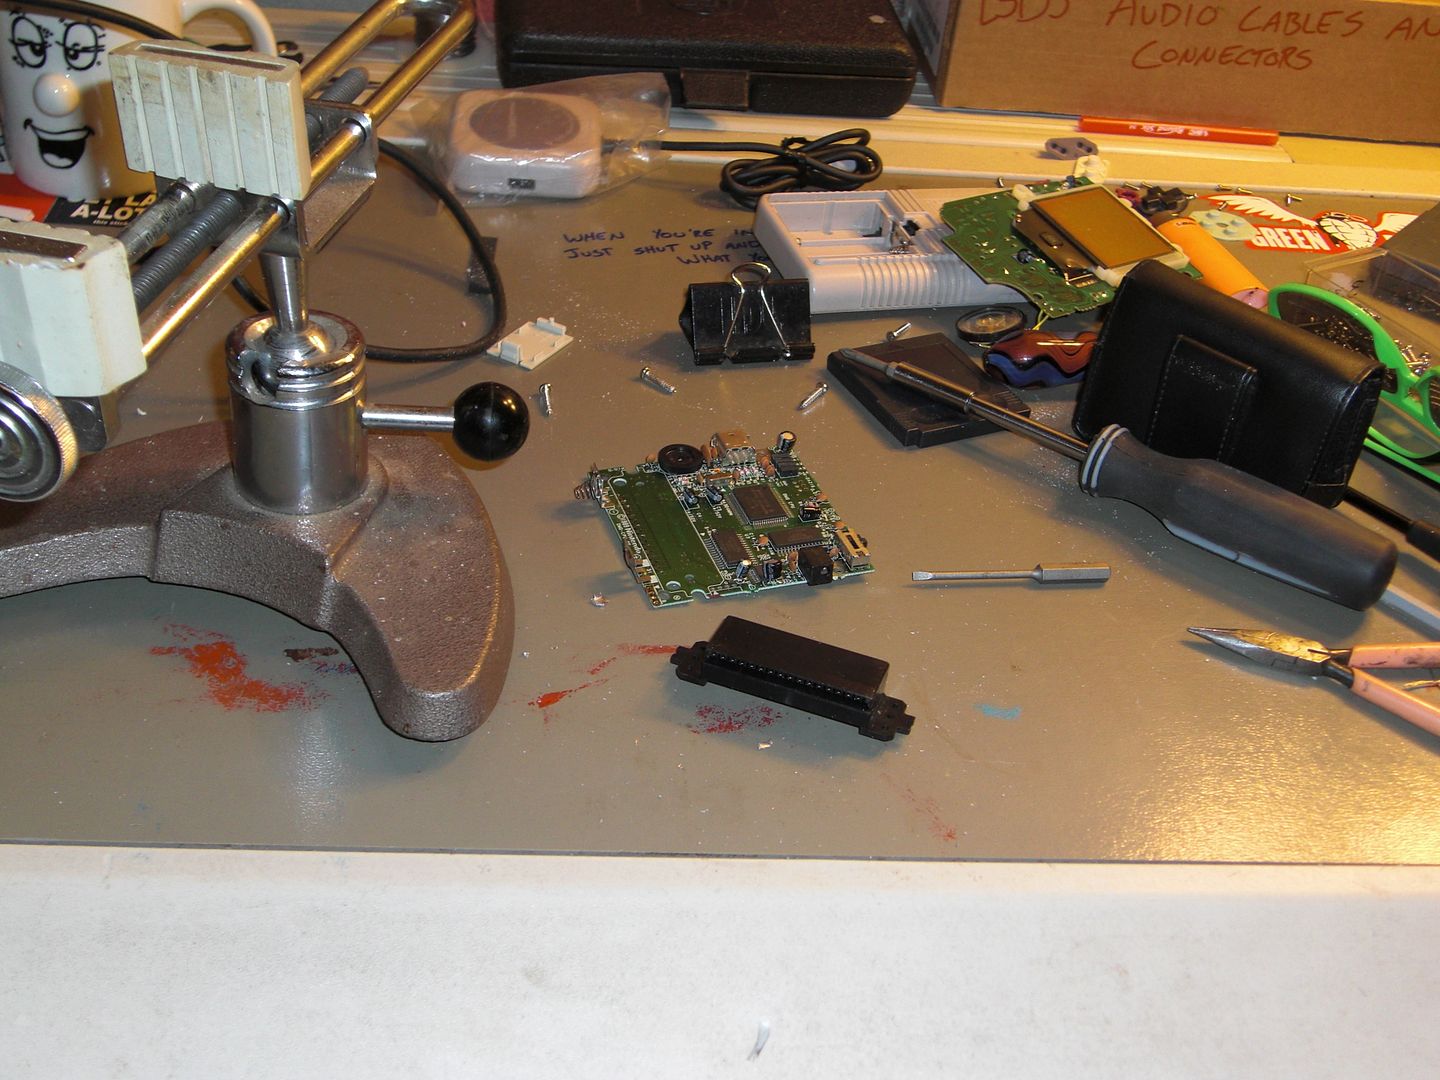
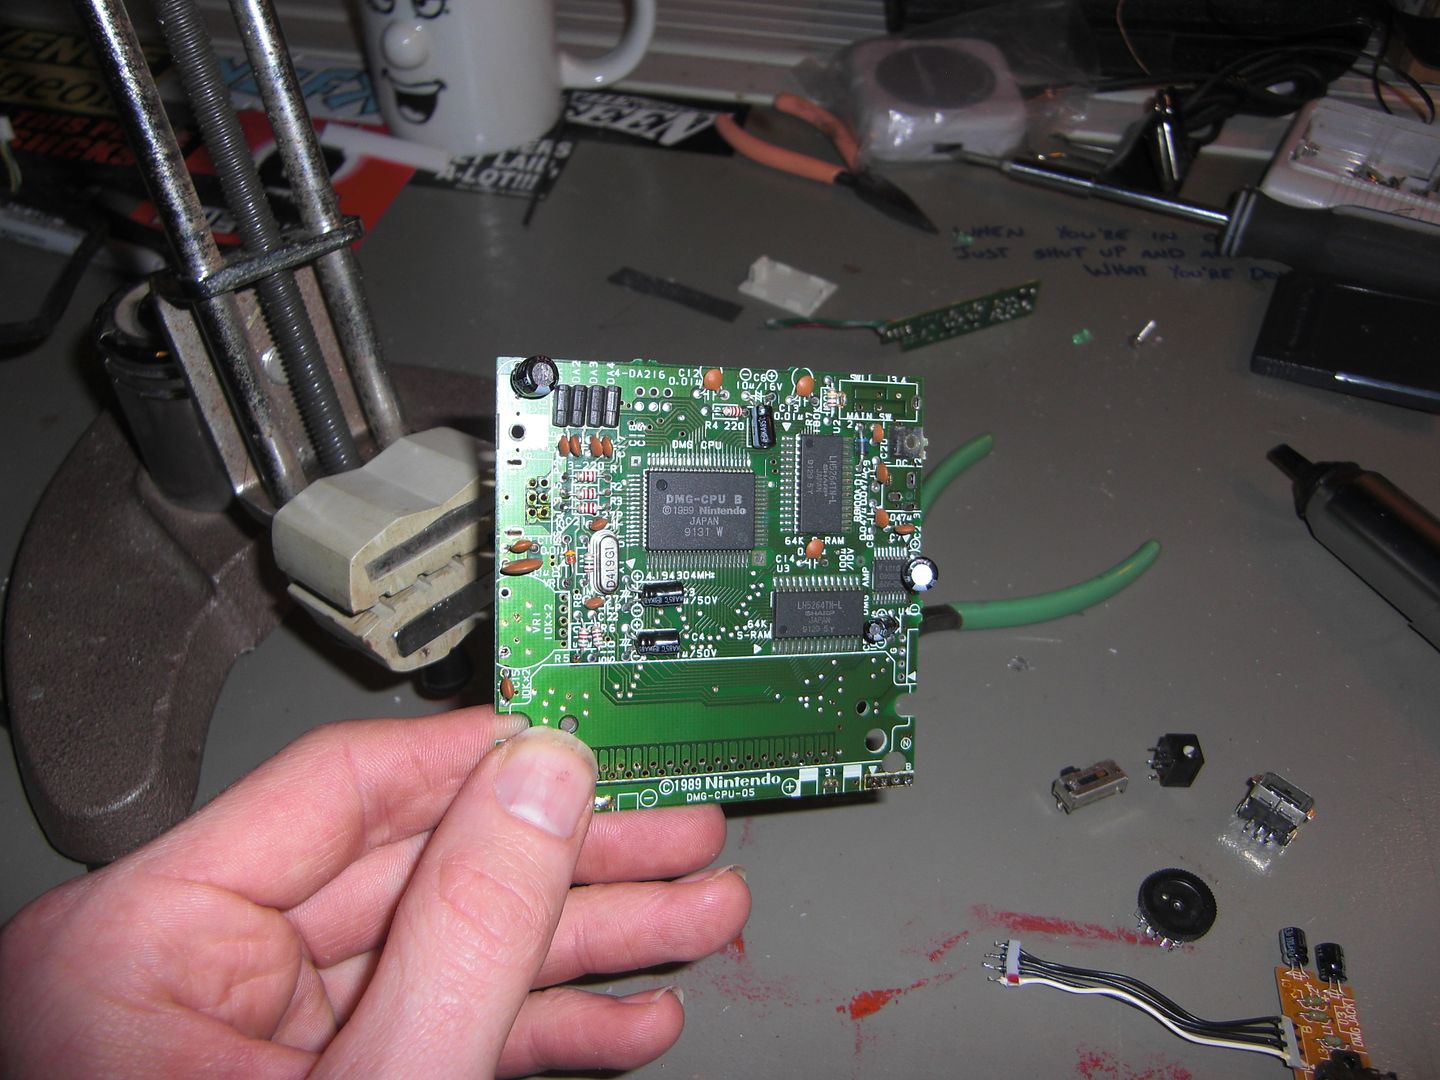
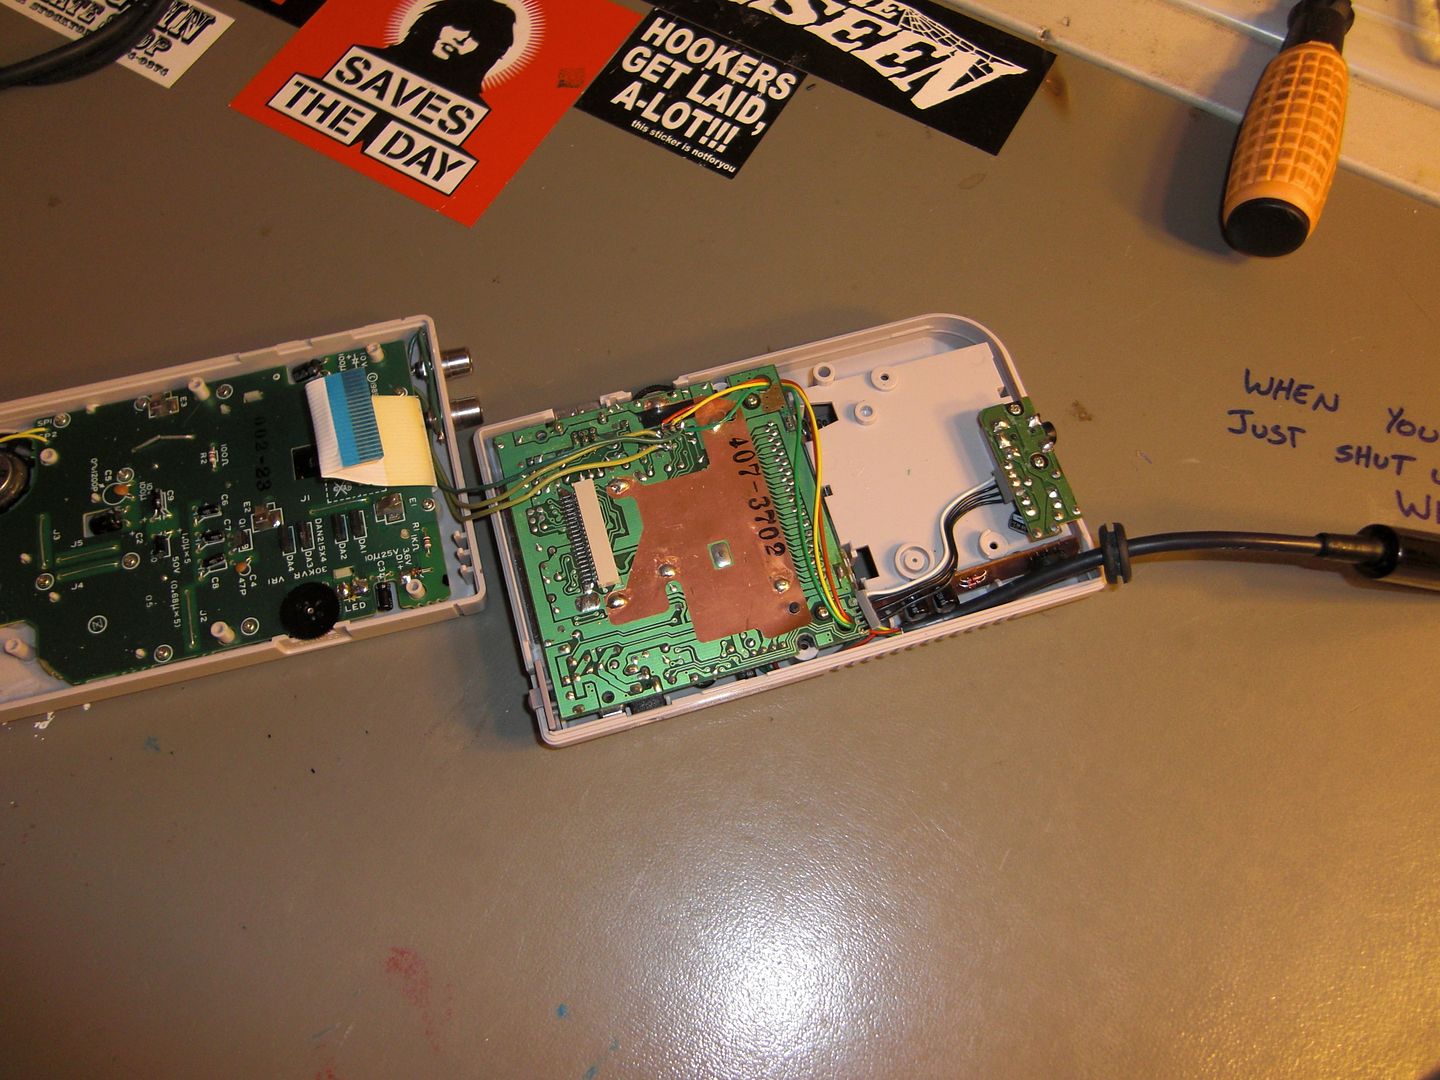
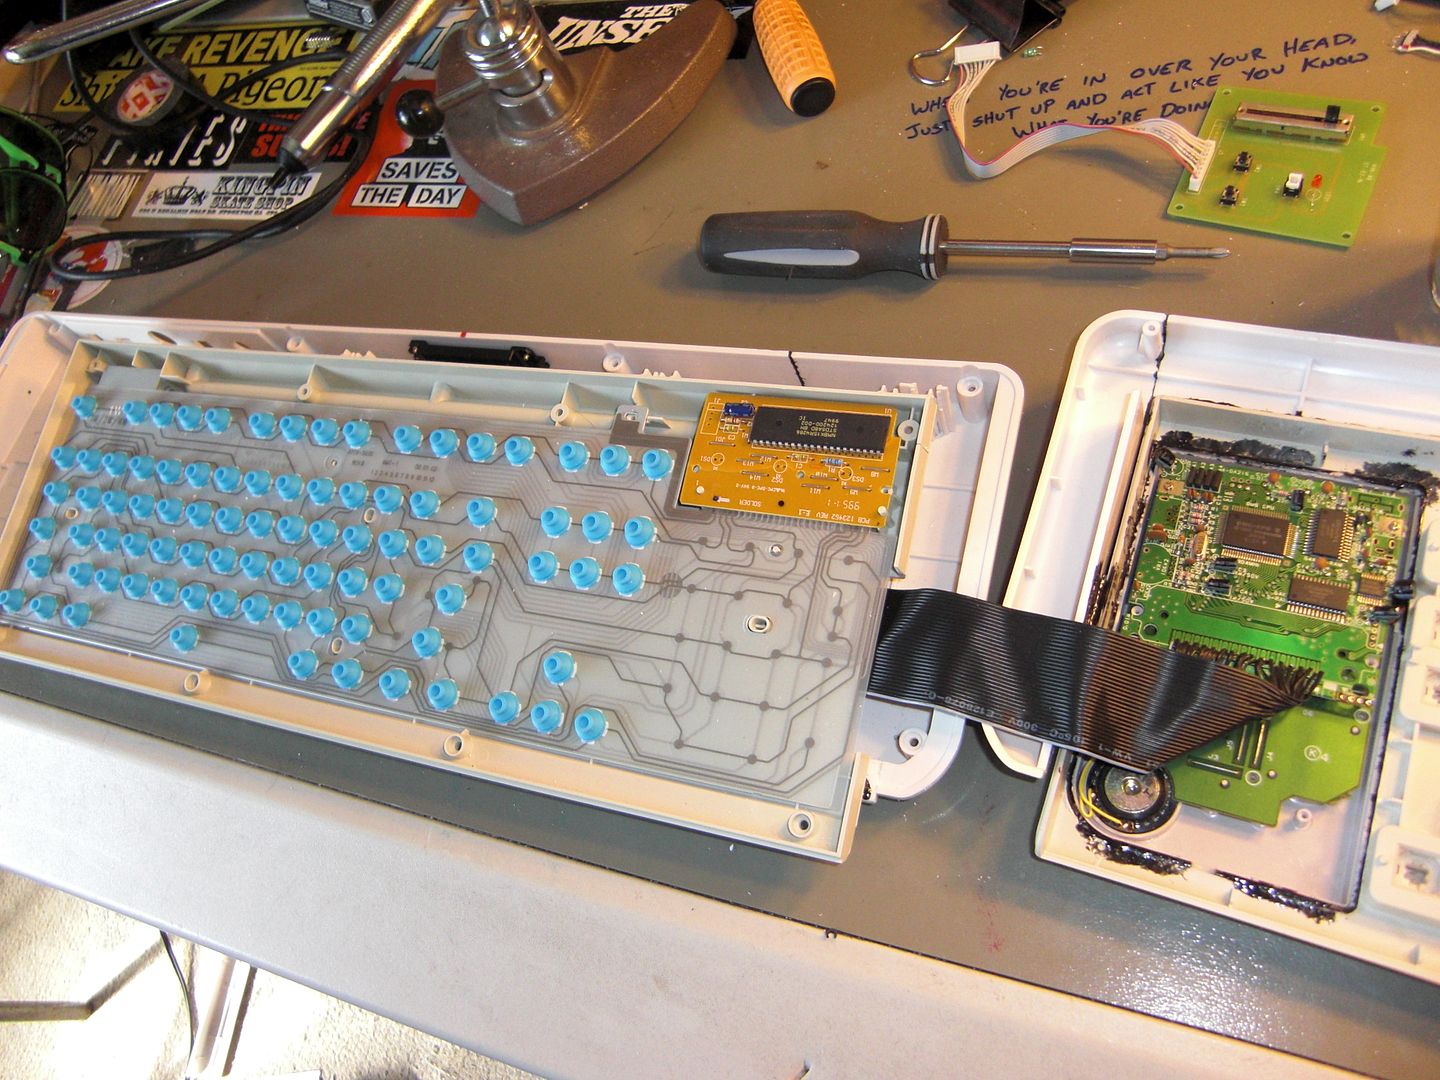
Remember how I was saying there was no room for the motherboard? That was only half correct; there's room for the board, just not the things attached to it.

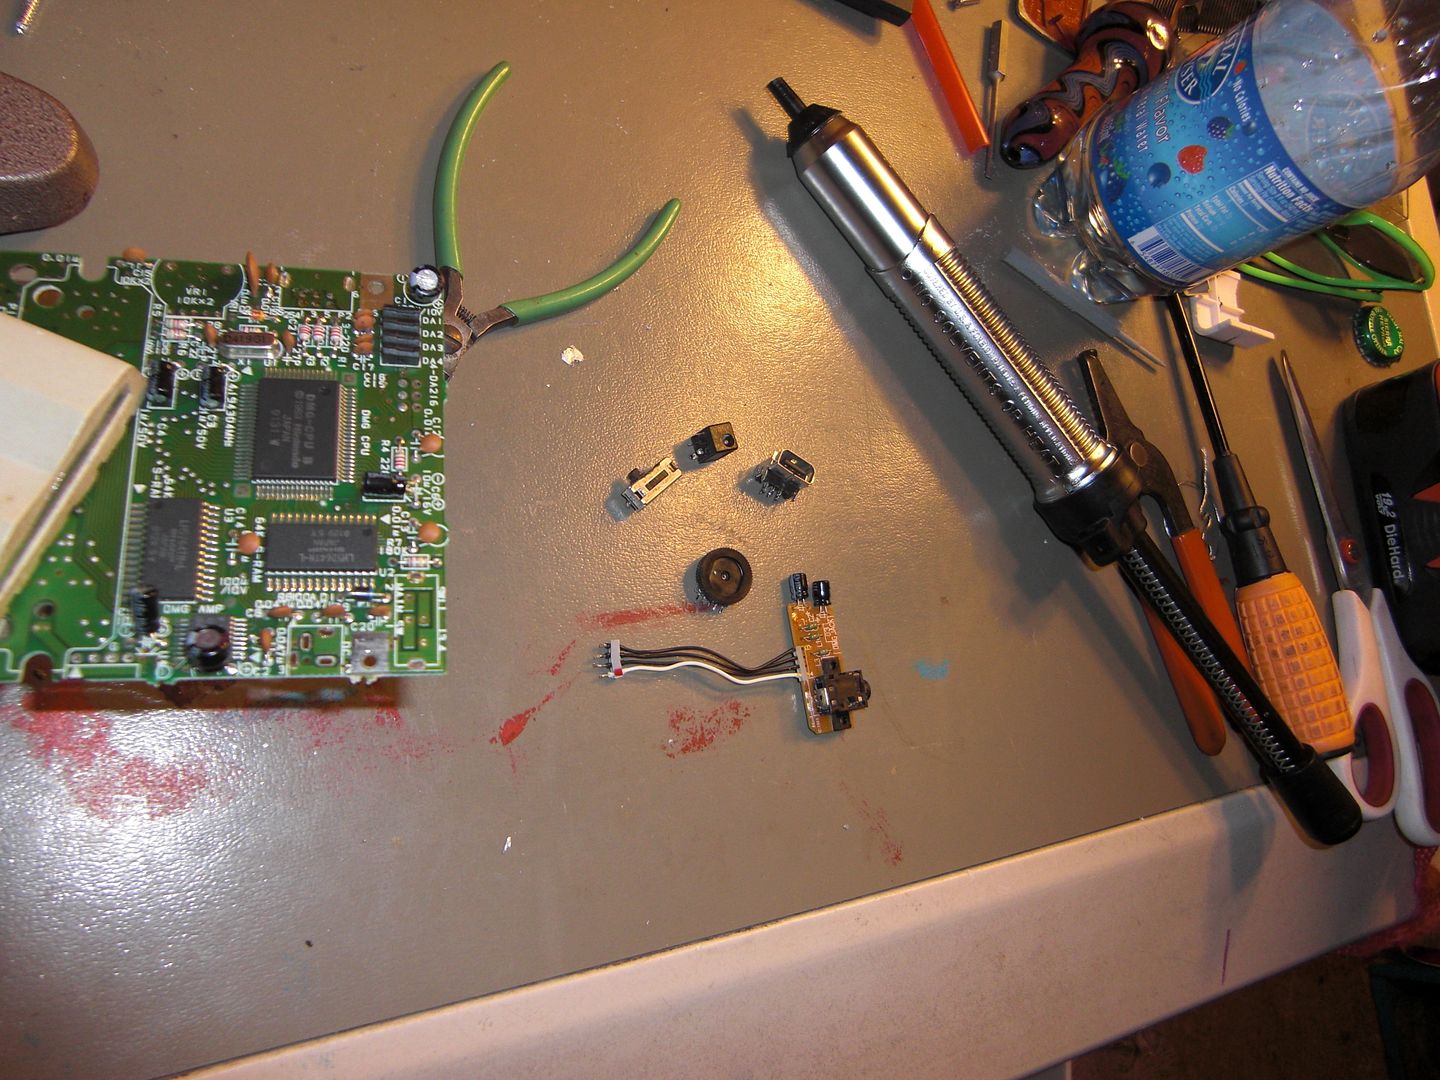
Now, say goodbye to the volume control, link port, power switch, and the a/c jack. In fact, I don't need any of these pieces for the rest of my build, so they'll be tossed in my parts bin.

Now it'll fit.

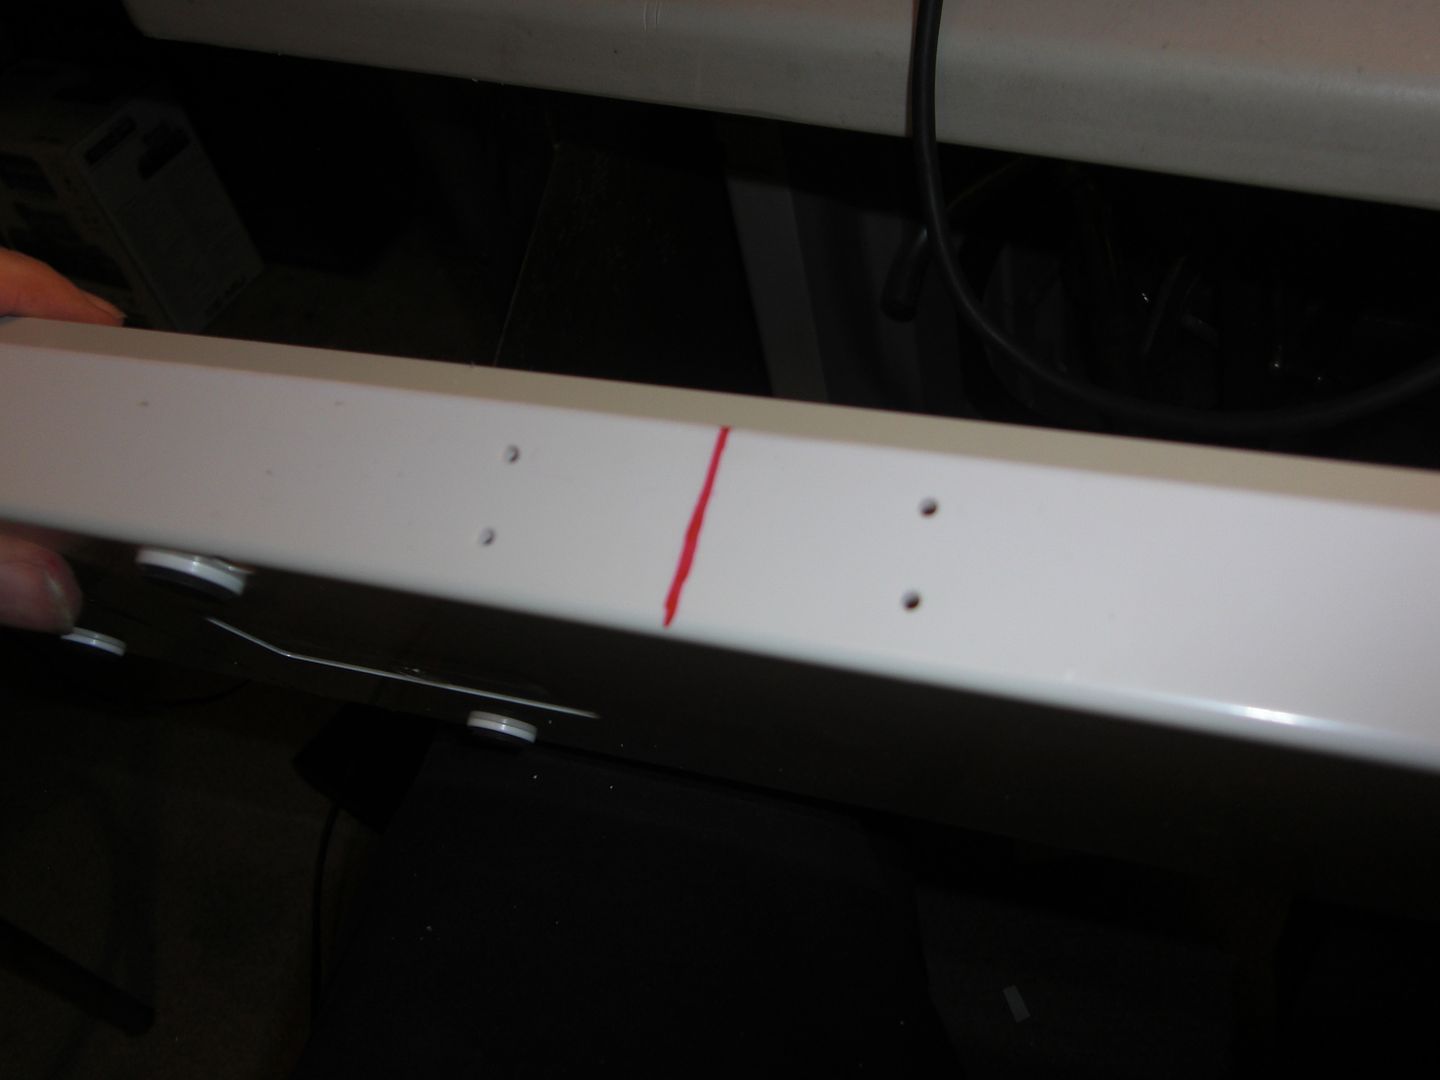
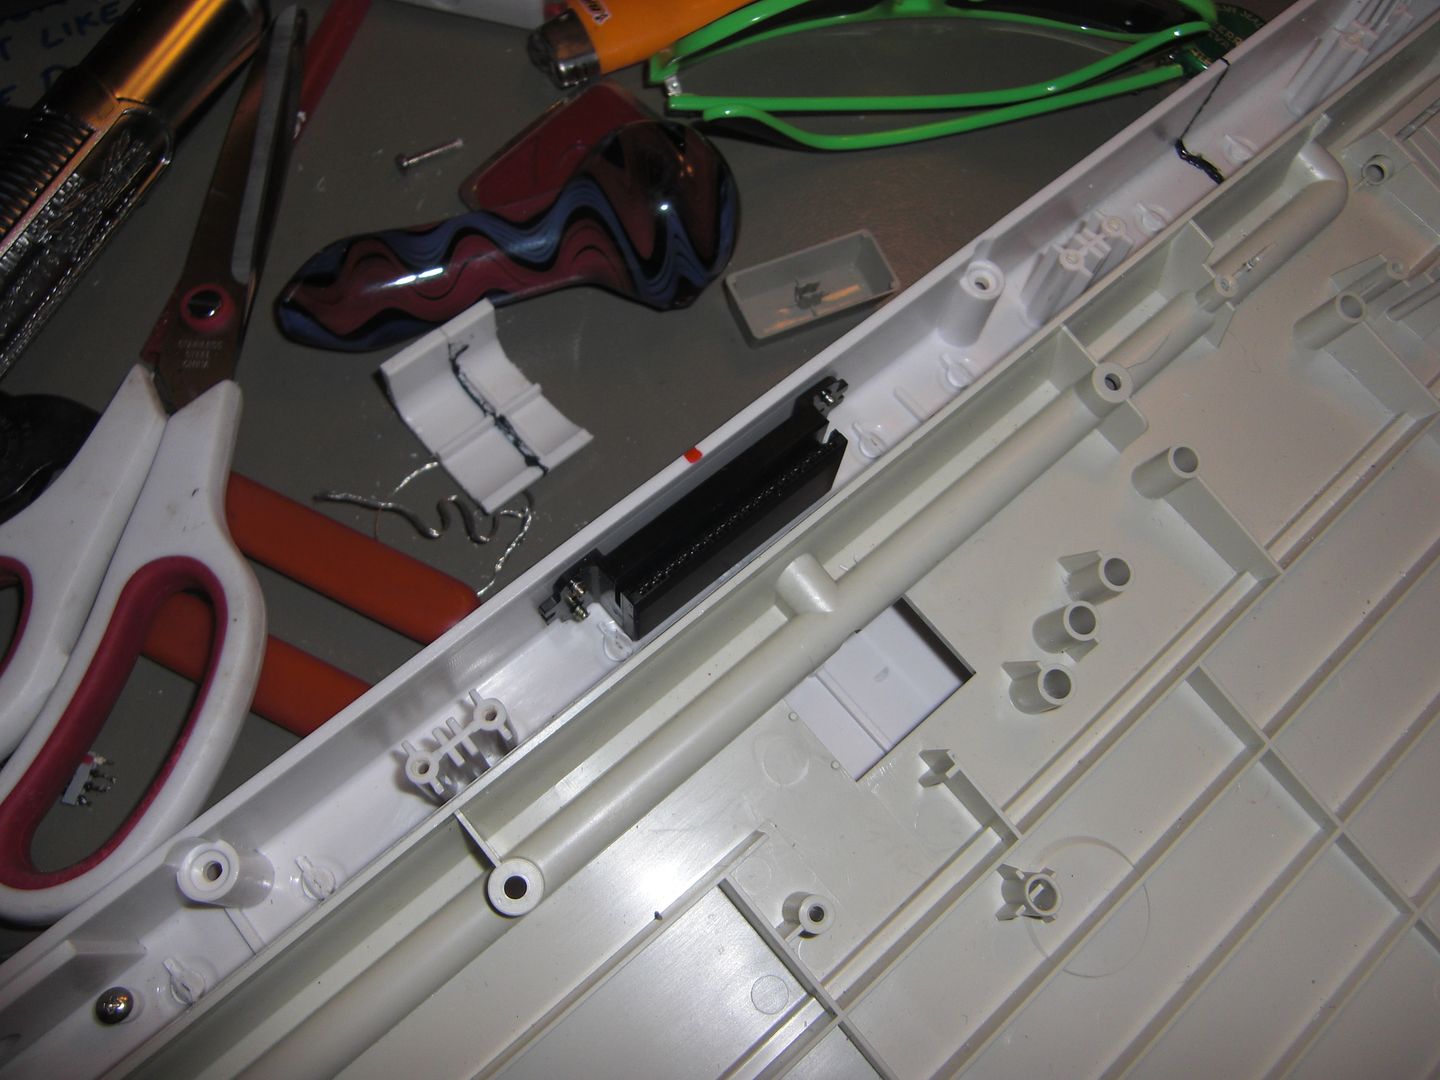
Now, back to my cartridge port. I needed to mount it, so I took careful measurements, and drilled some holes in my case to run some plastite screws through.
(this photo is of spectacular quality, no?)

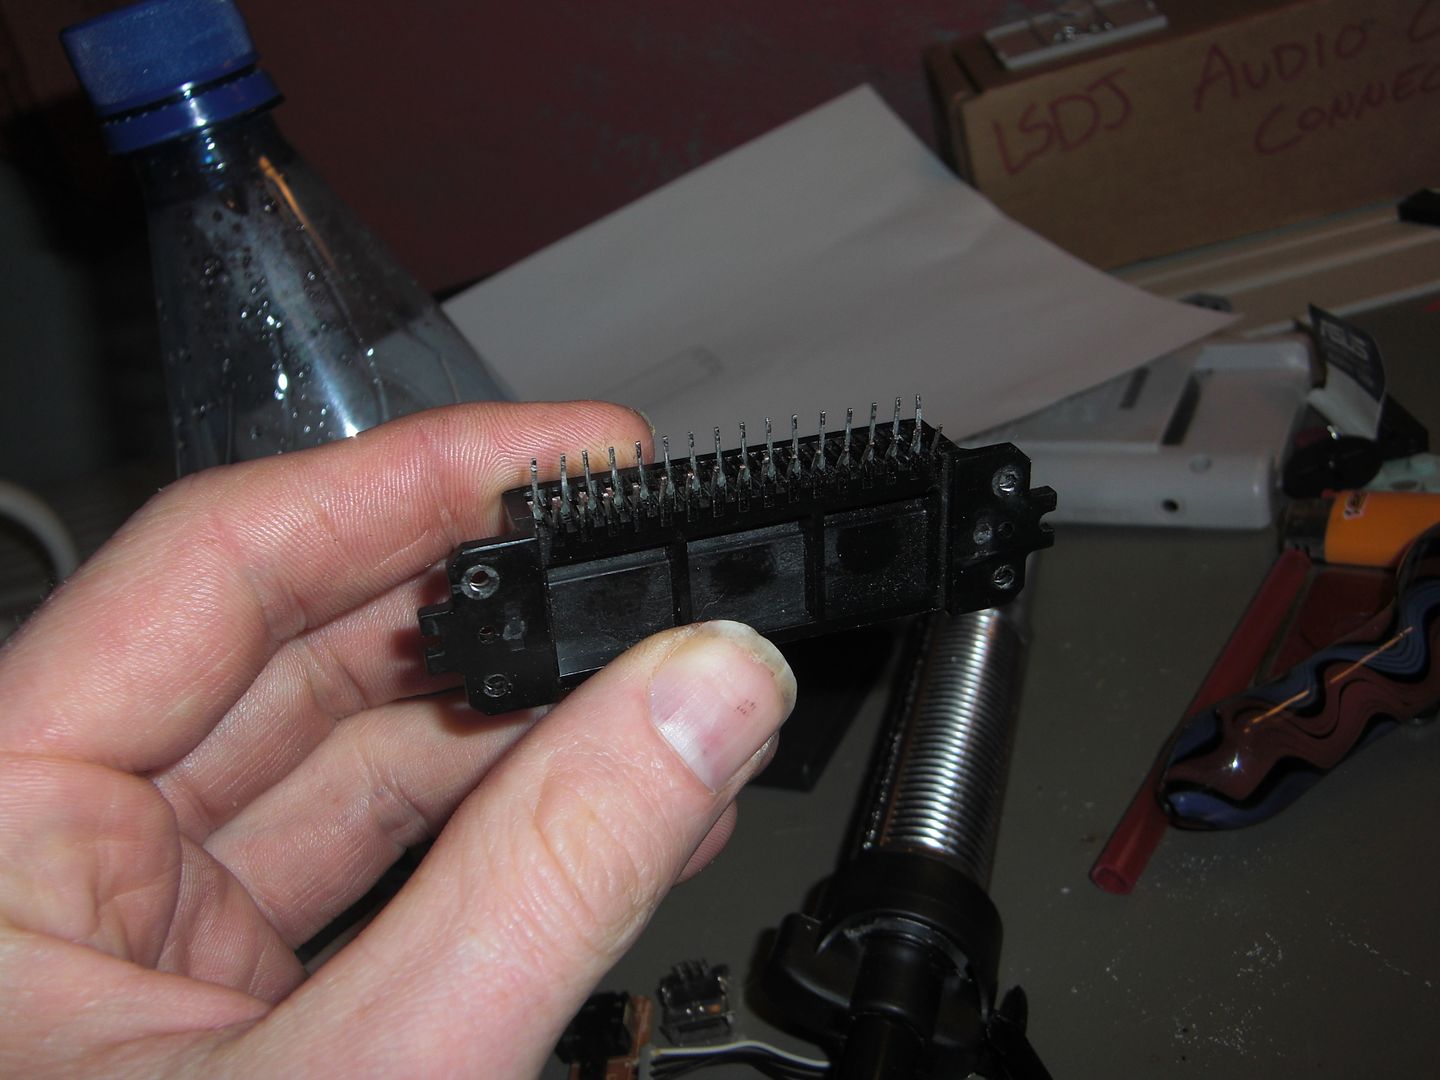
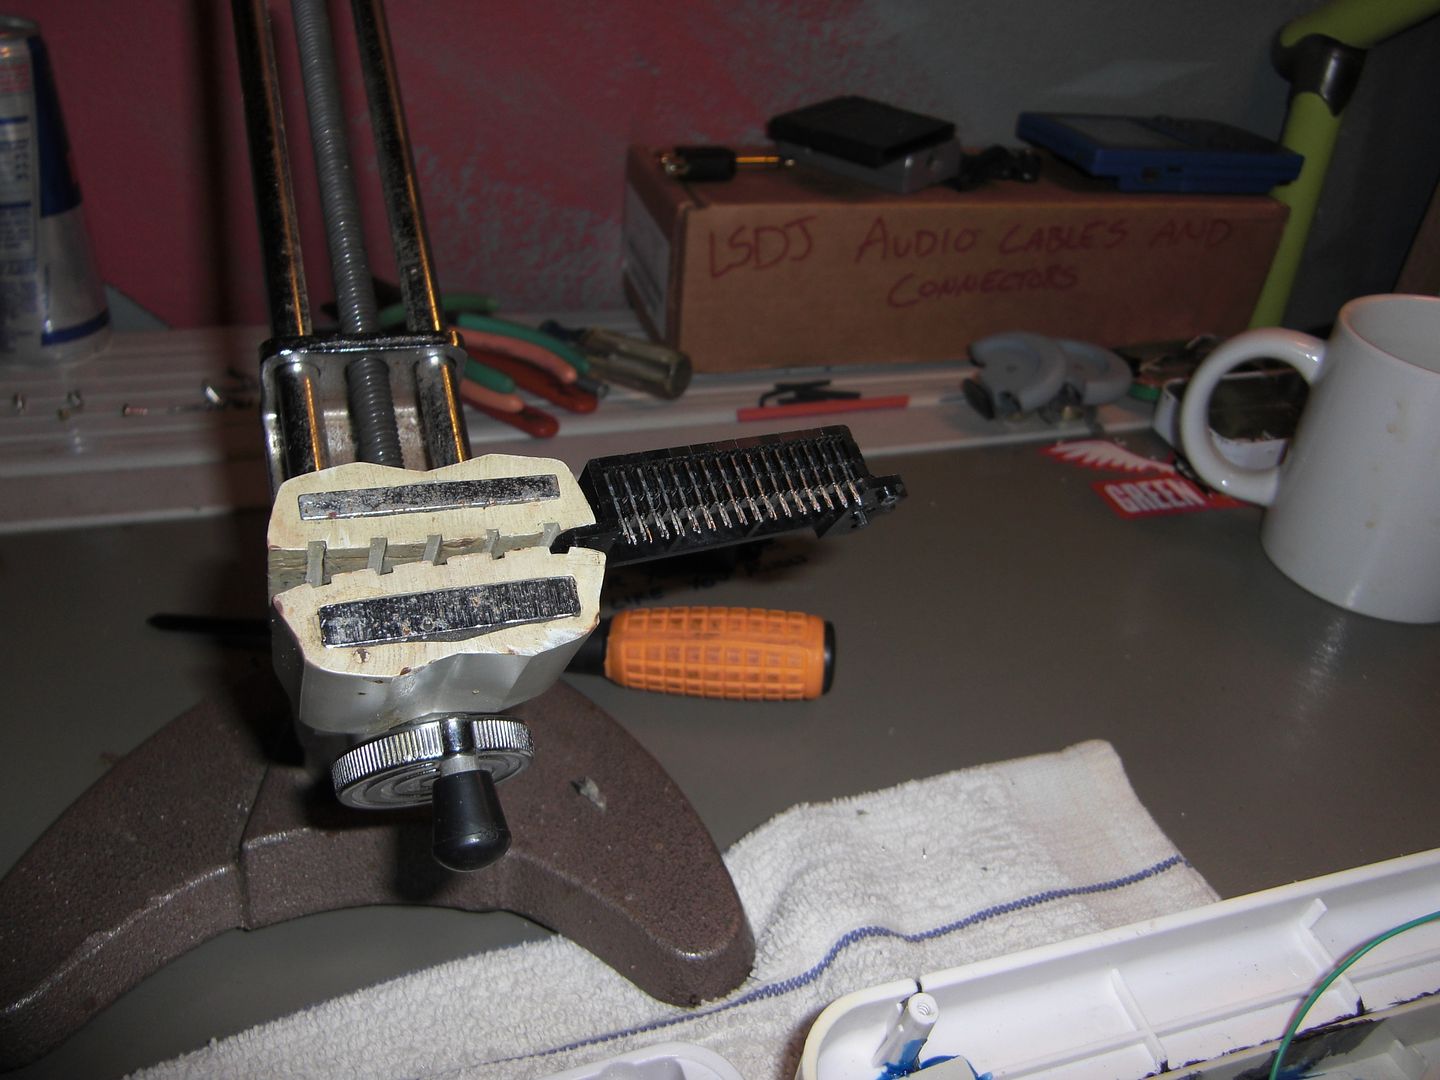
Then I had to cut off the plastic pegs and bend up the pins on my cartridge port.

Puttin' the screws to 'em.

› Installation: Complete


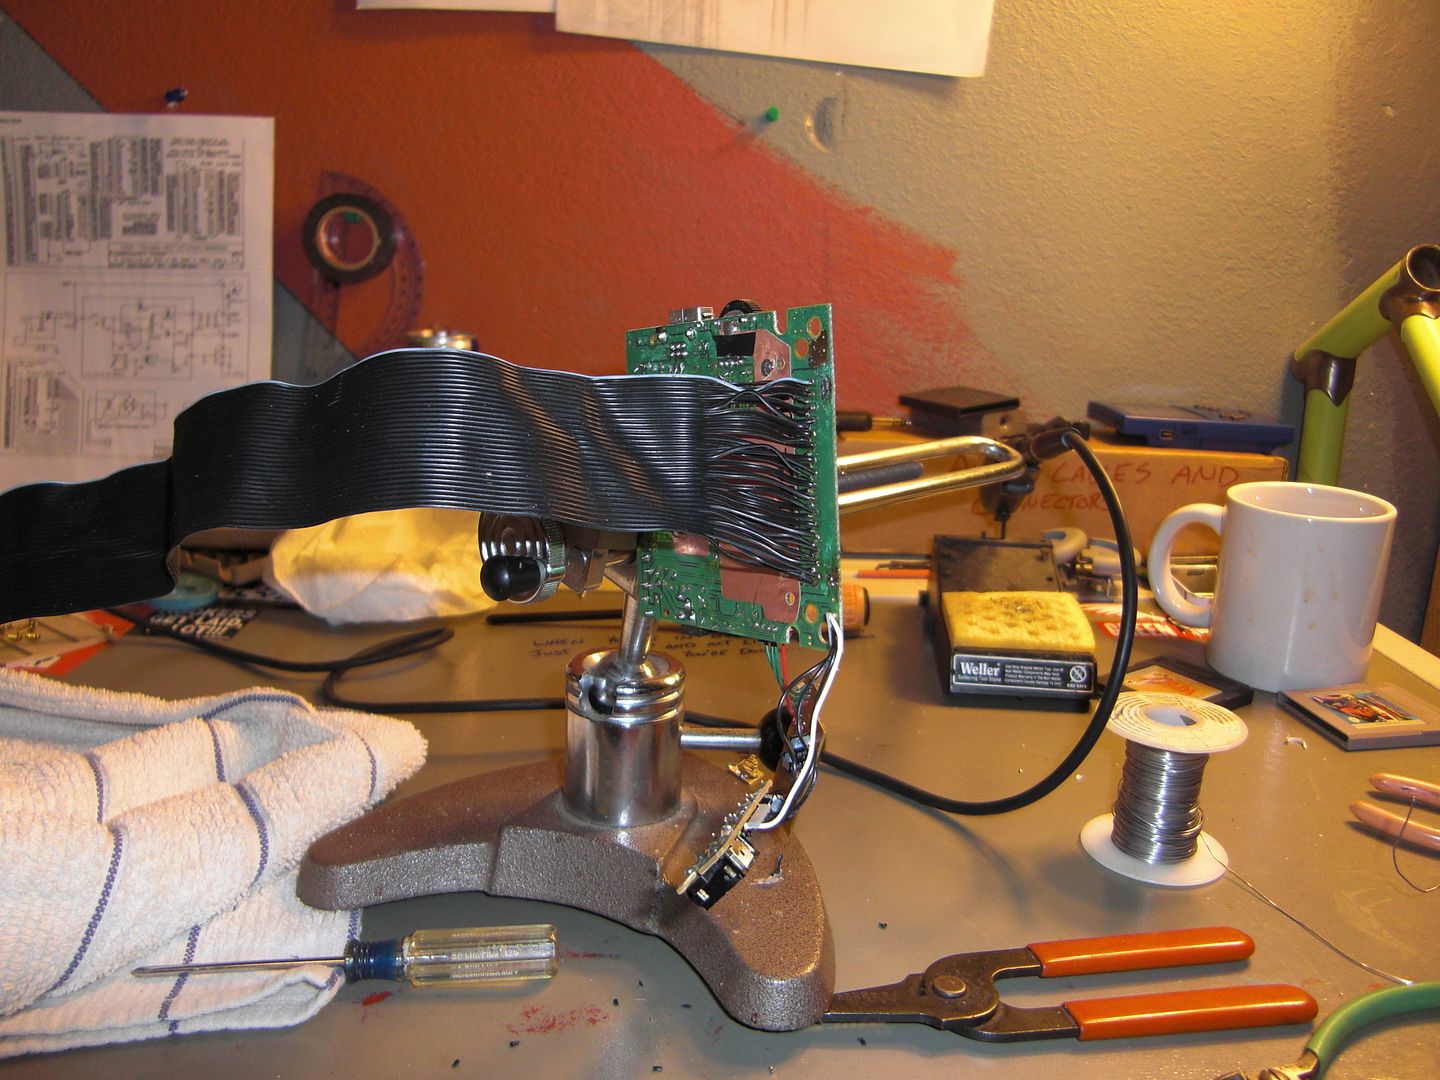
Then there was the issue of connection back to the motherboard.
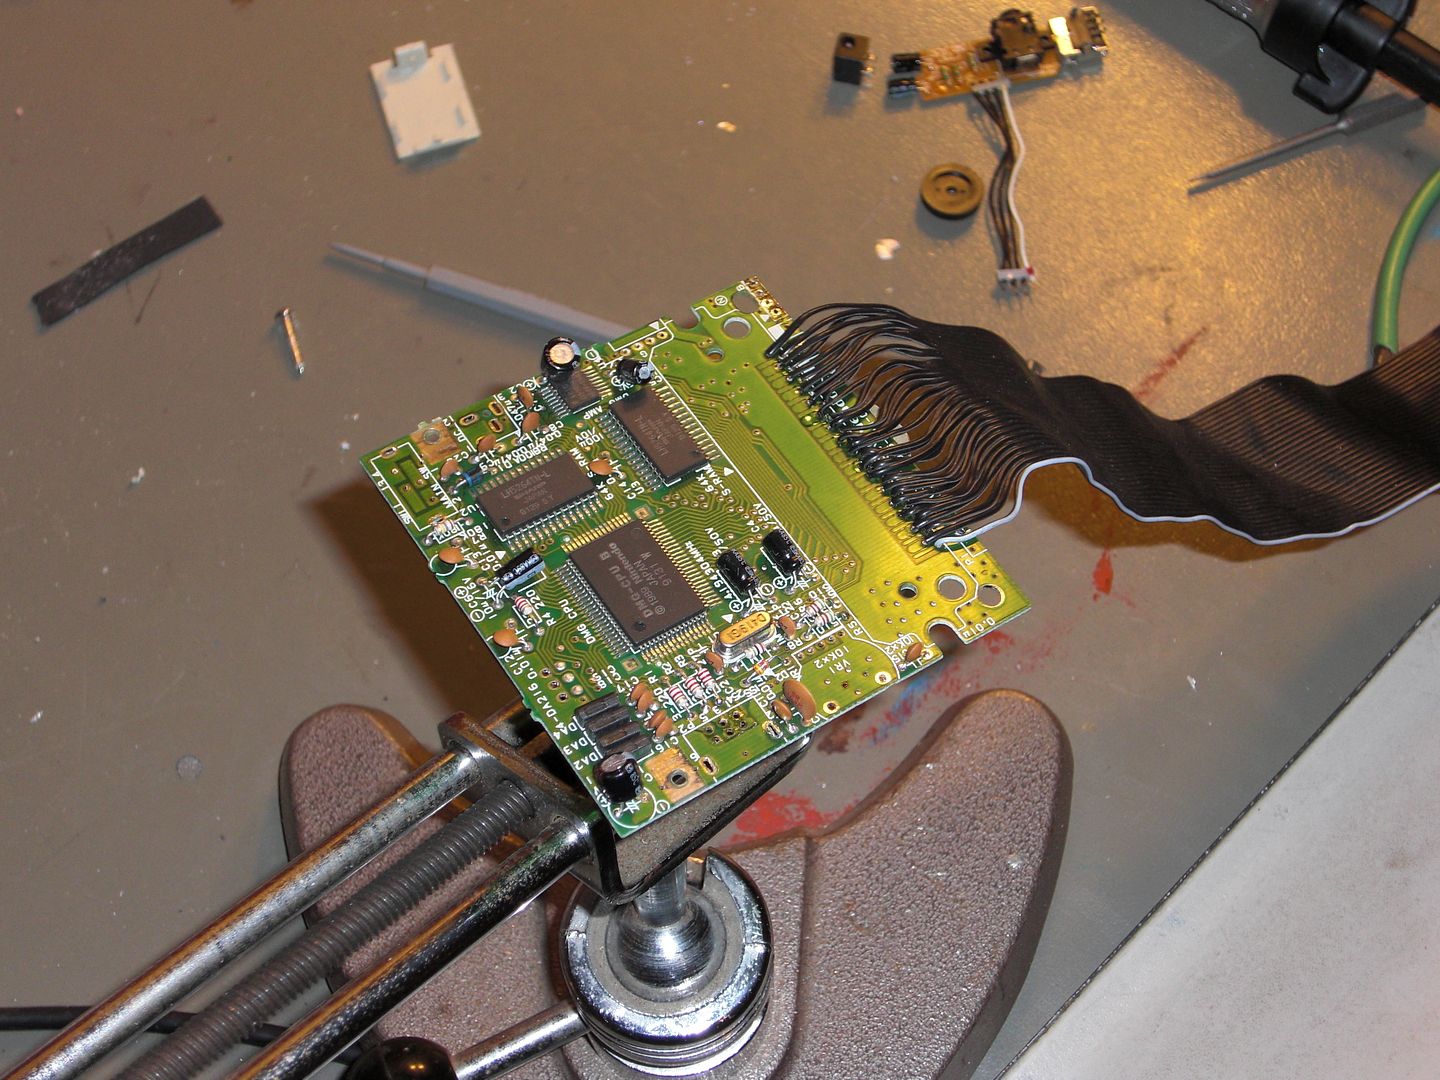
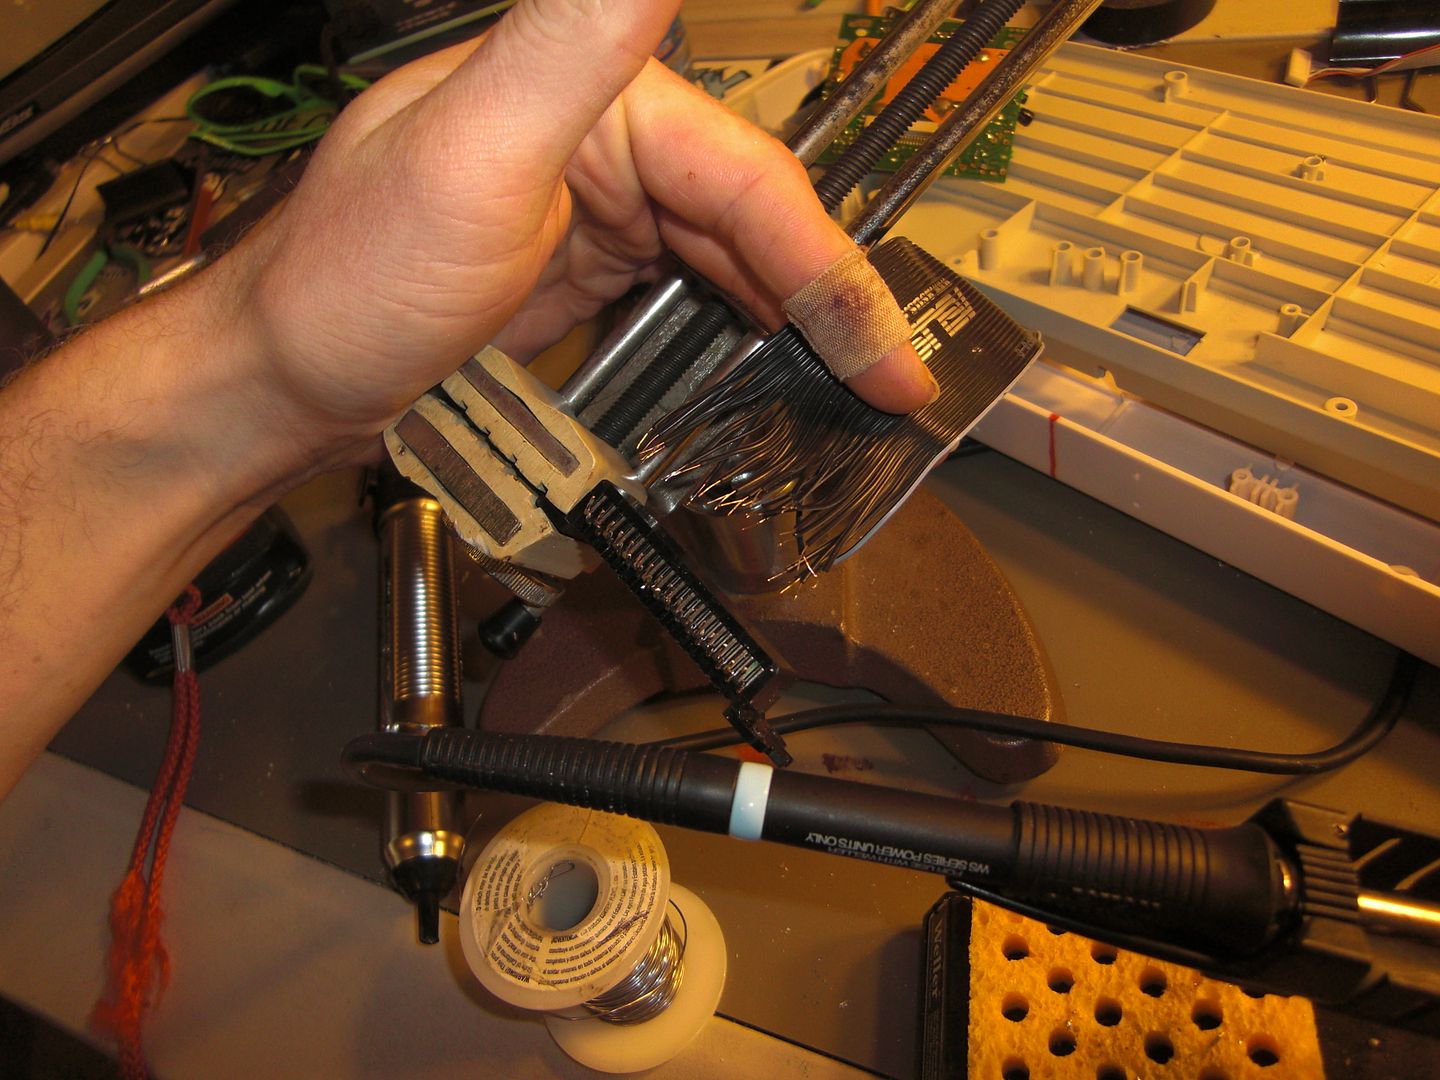
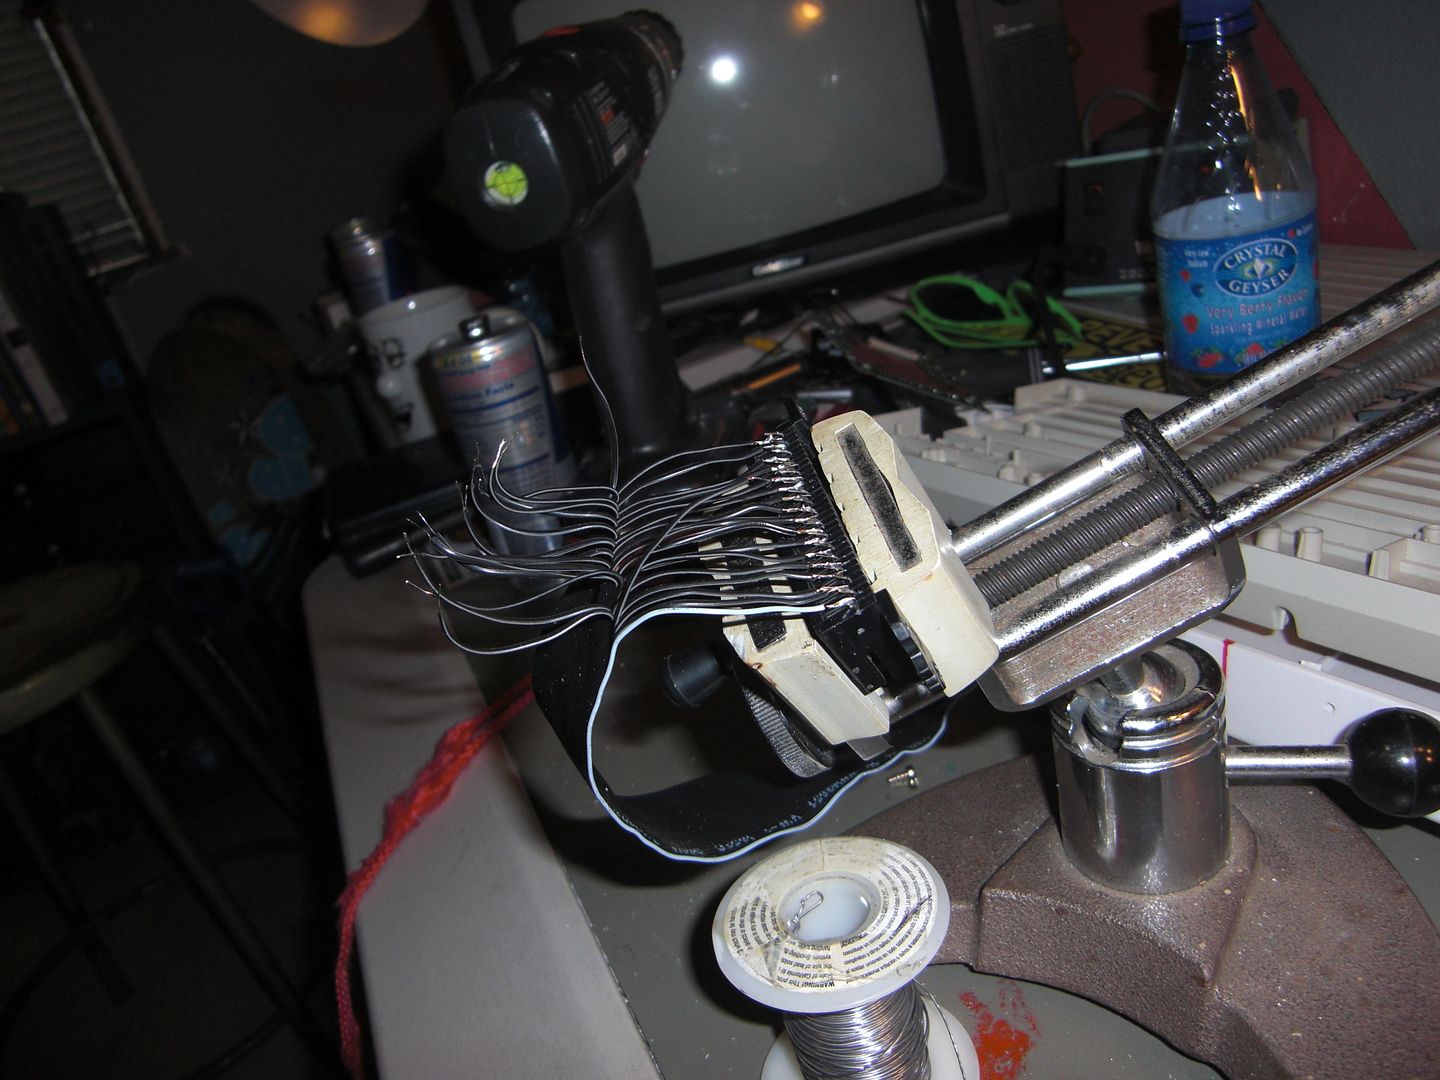
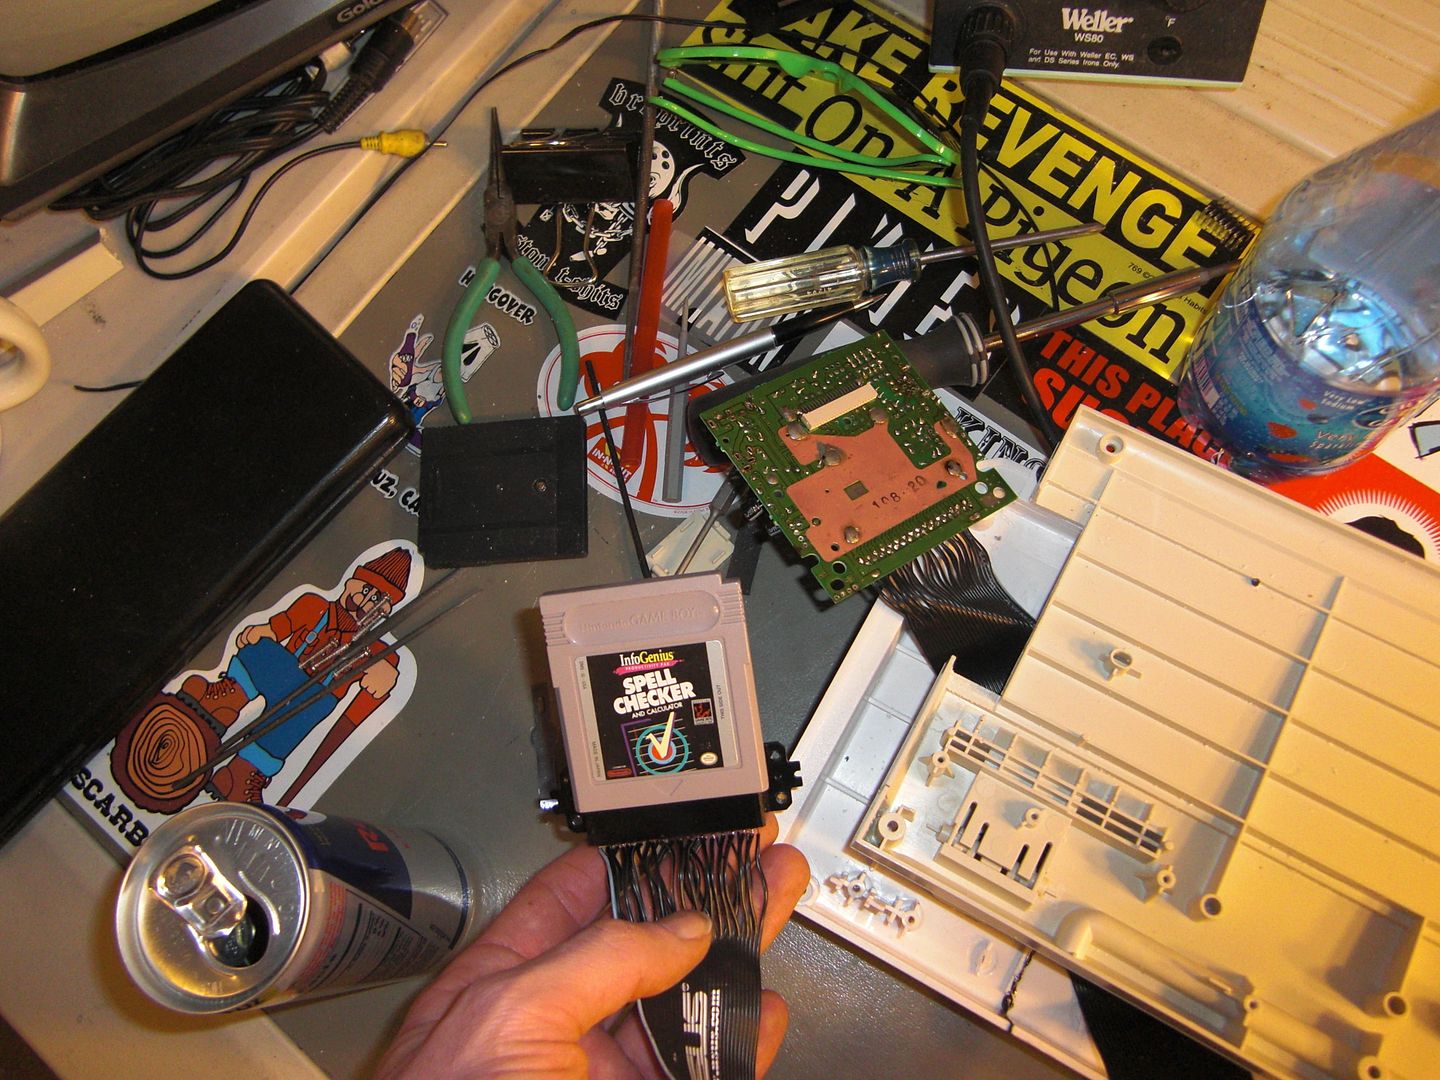
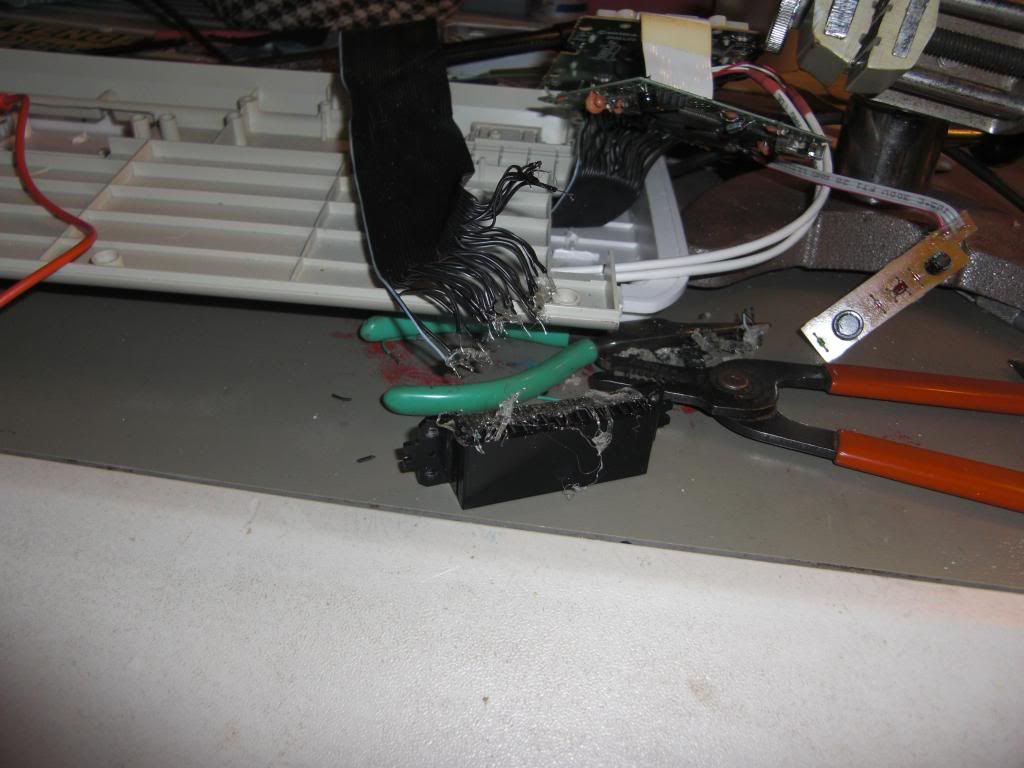
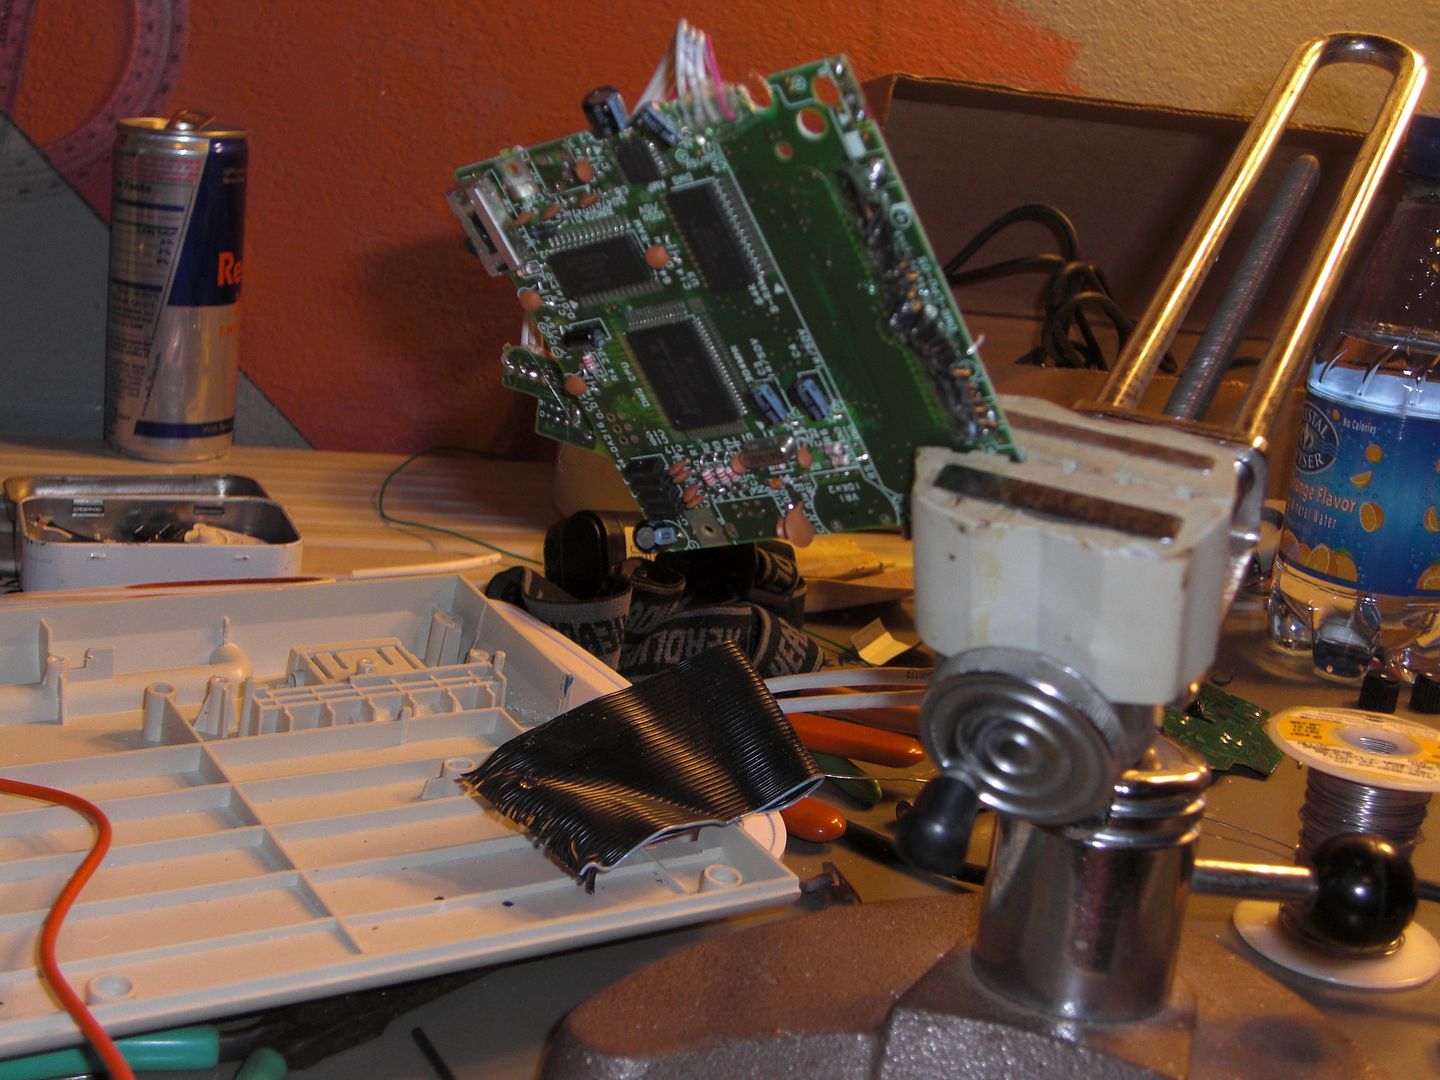
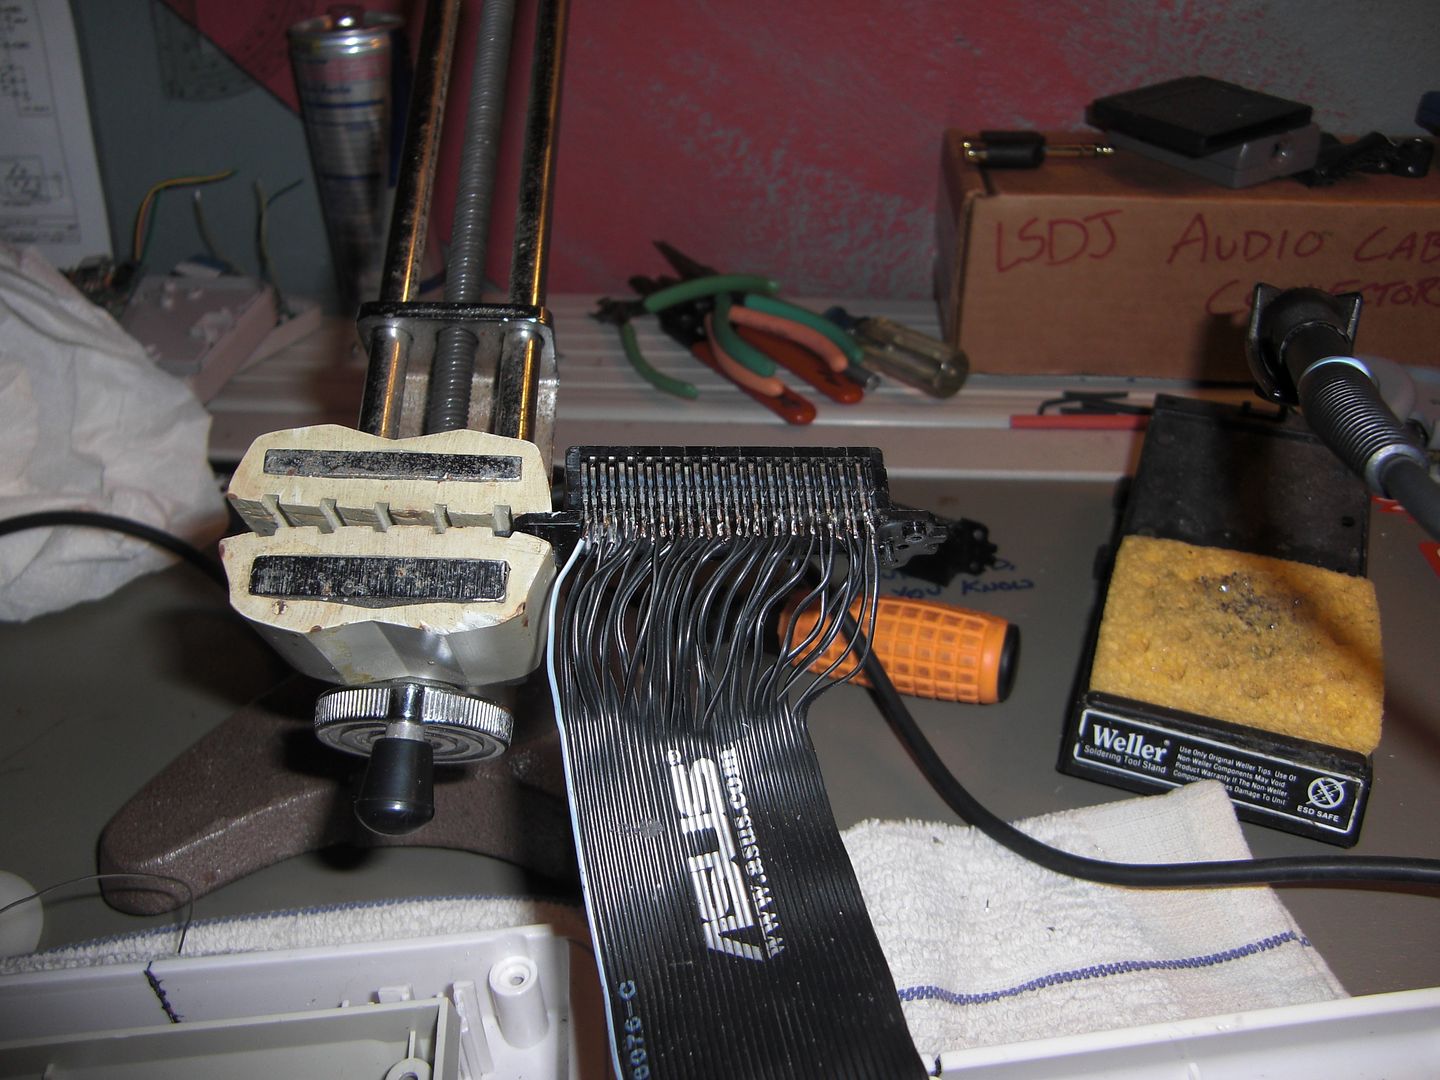
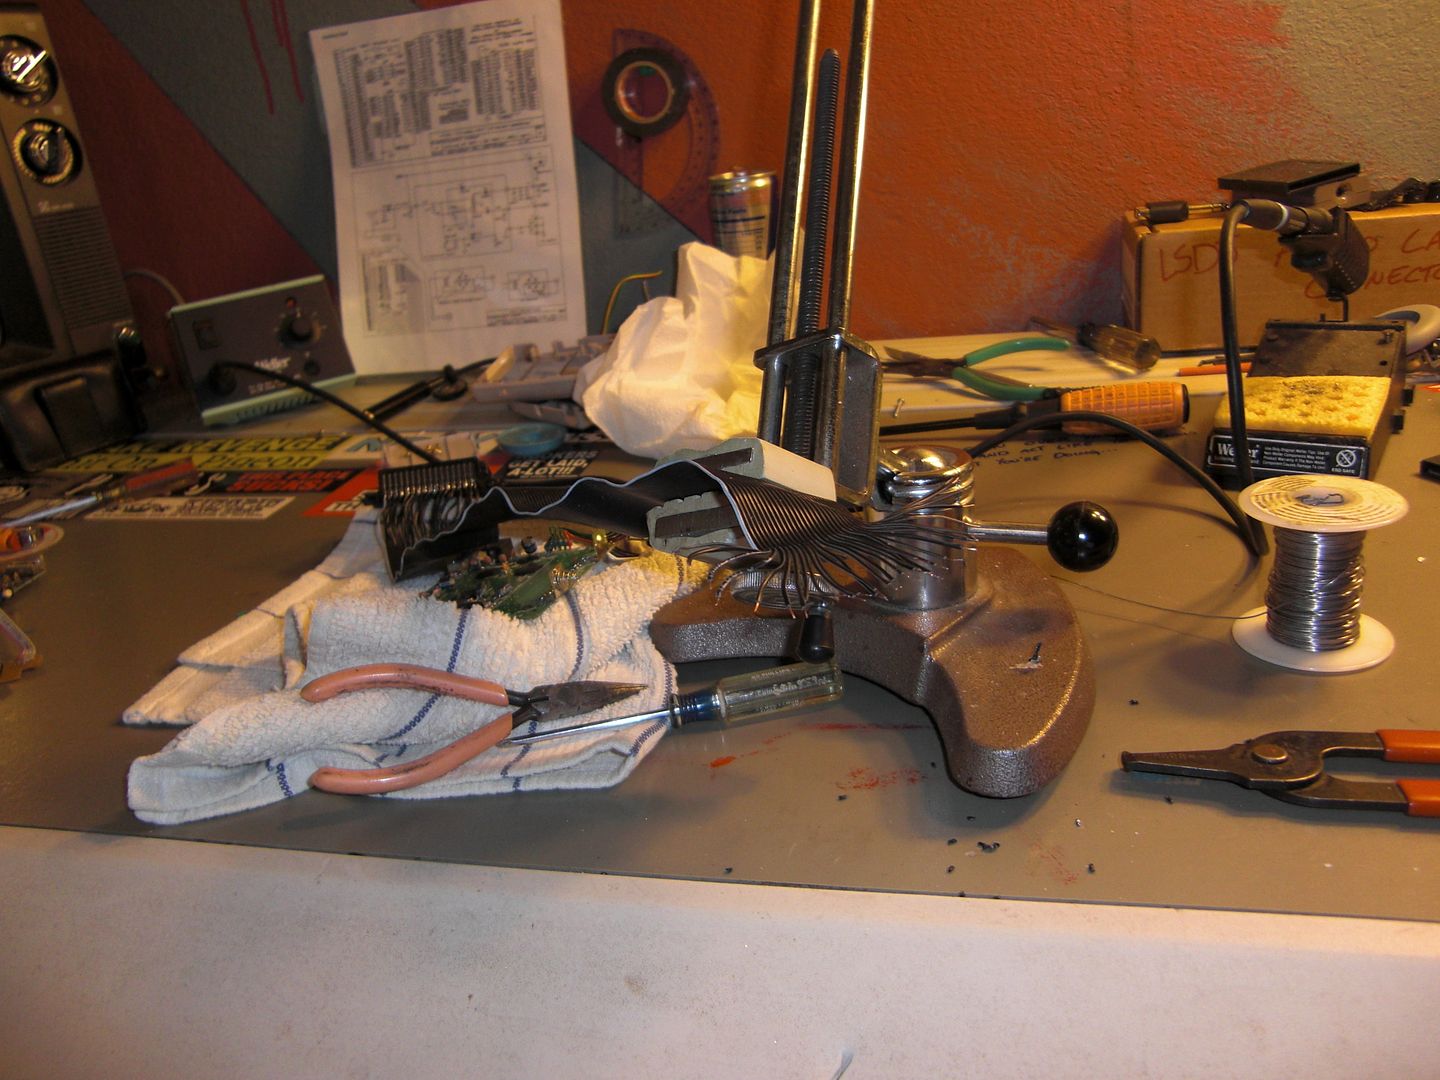
Simple, Ribbon cable... and a lot of frustrating soldering.

I'm a master of improvising. There was a short lived snag, where I had no way of running the ribbon cable from the motherboard to the cartridge port. Enter careful cutting with a small razor saw. This alone took me about 20 minutes, but I'm glad I invested the time to do a clean job.

› Oh good... more cutting


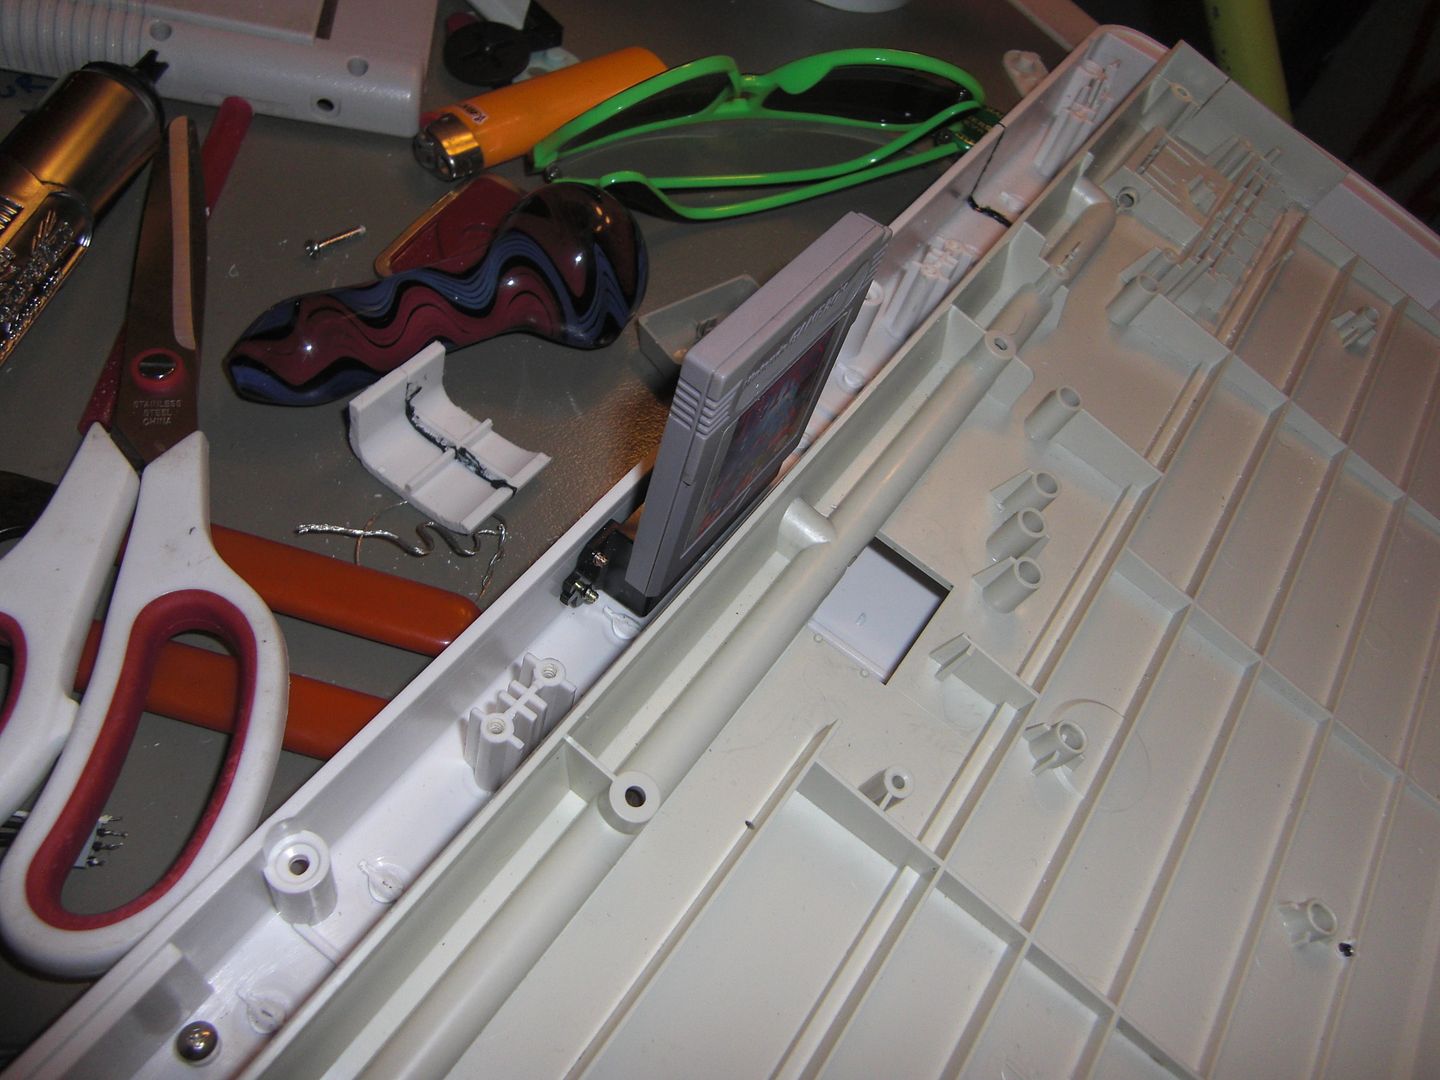
TIME OUT! Let's do a quick test to make sure everything fits.

›  test fit


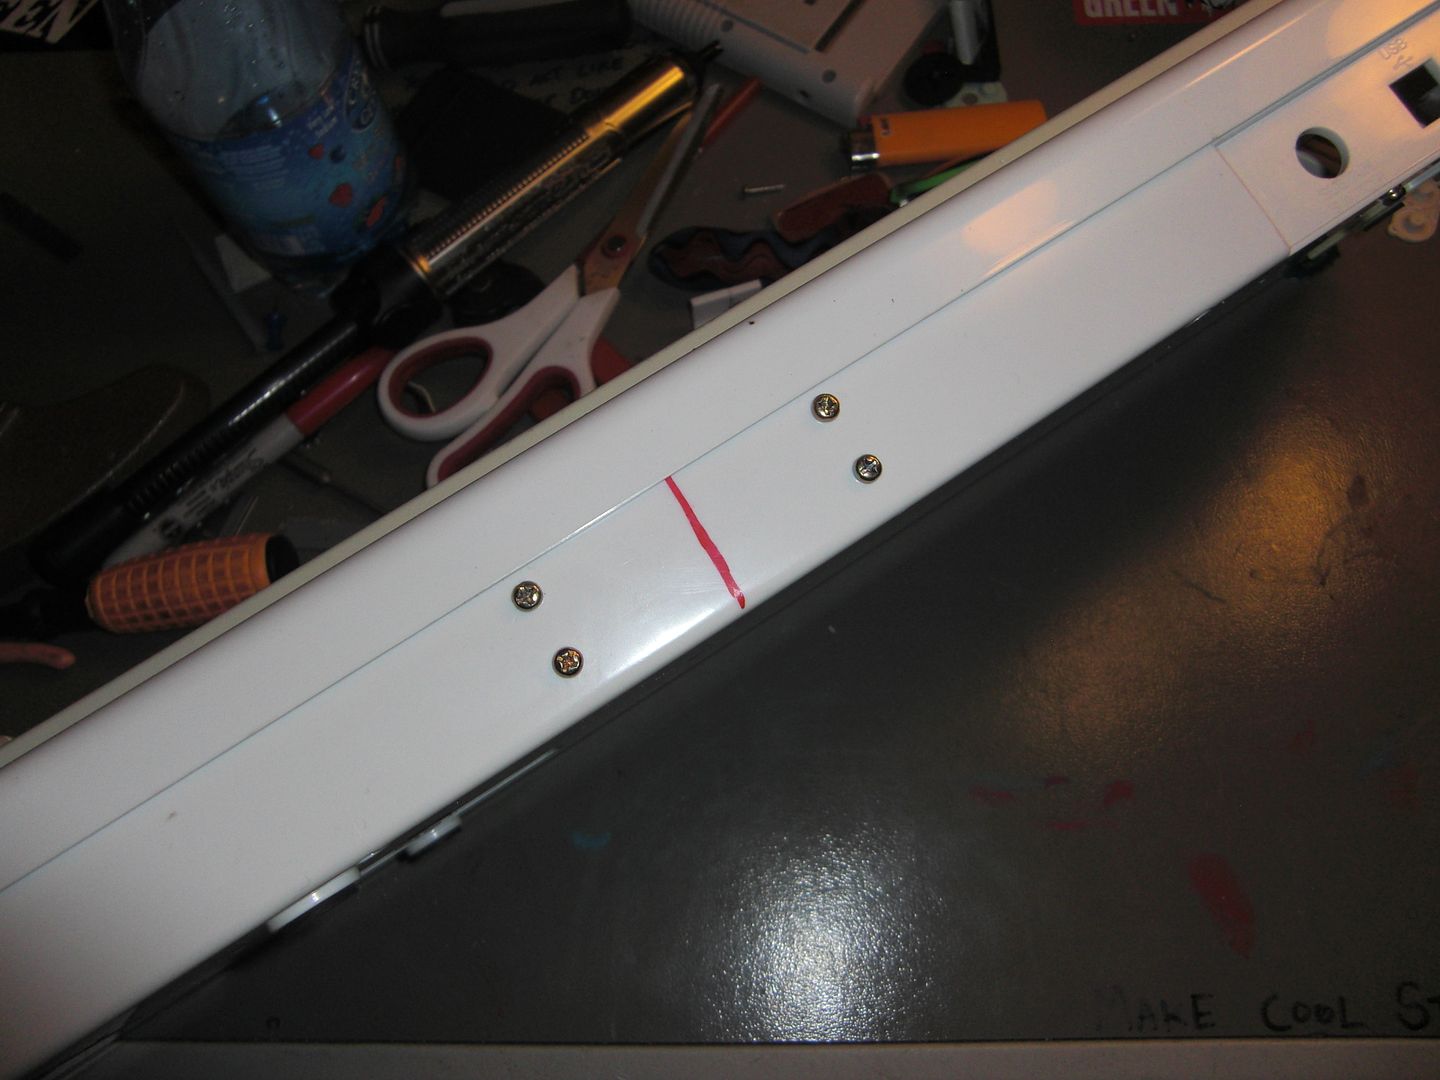
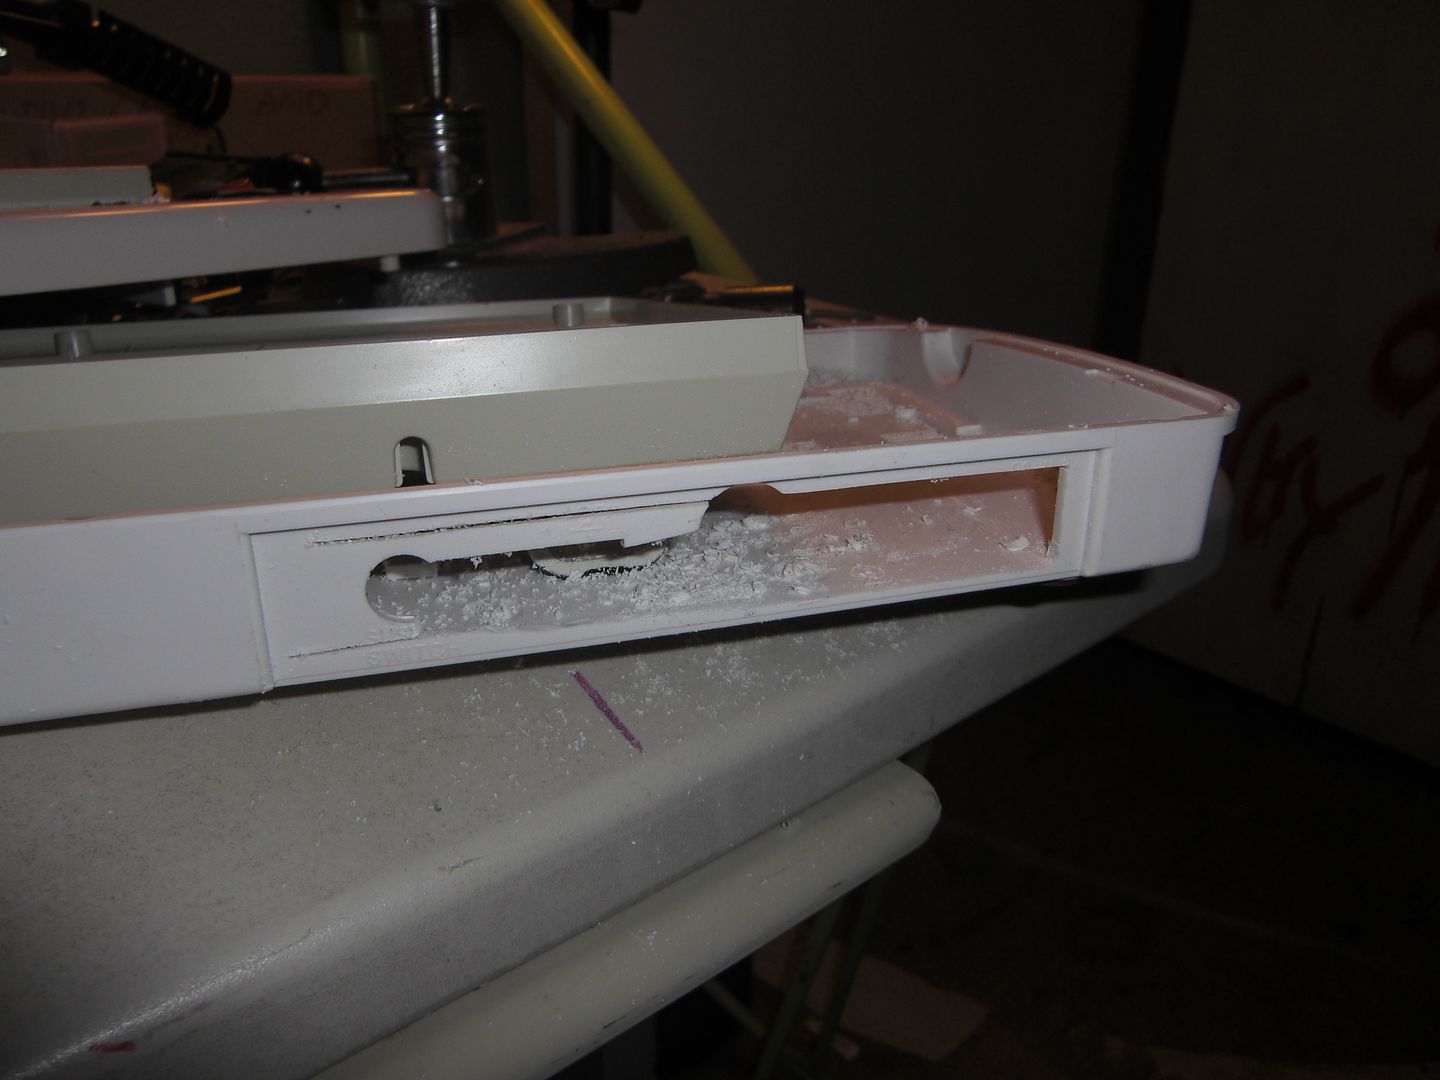
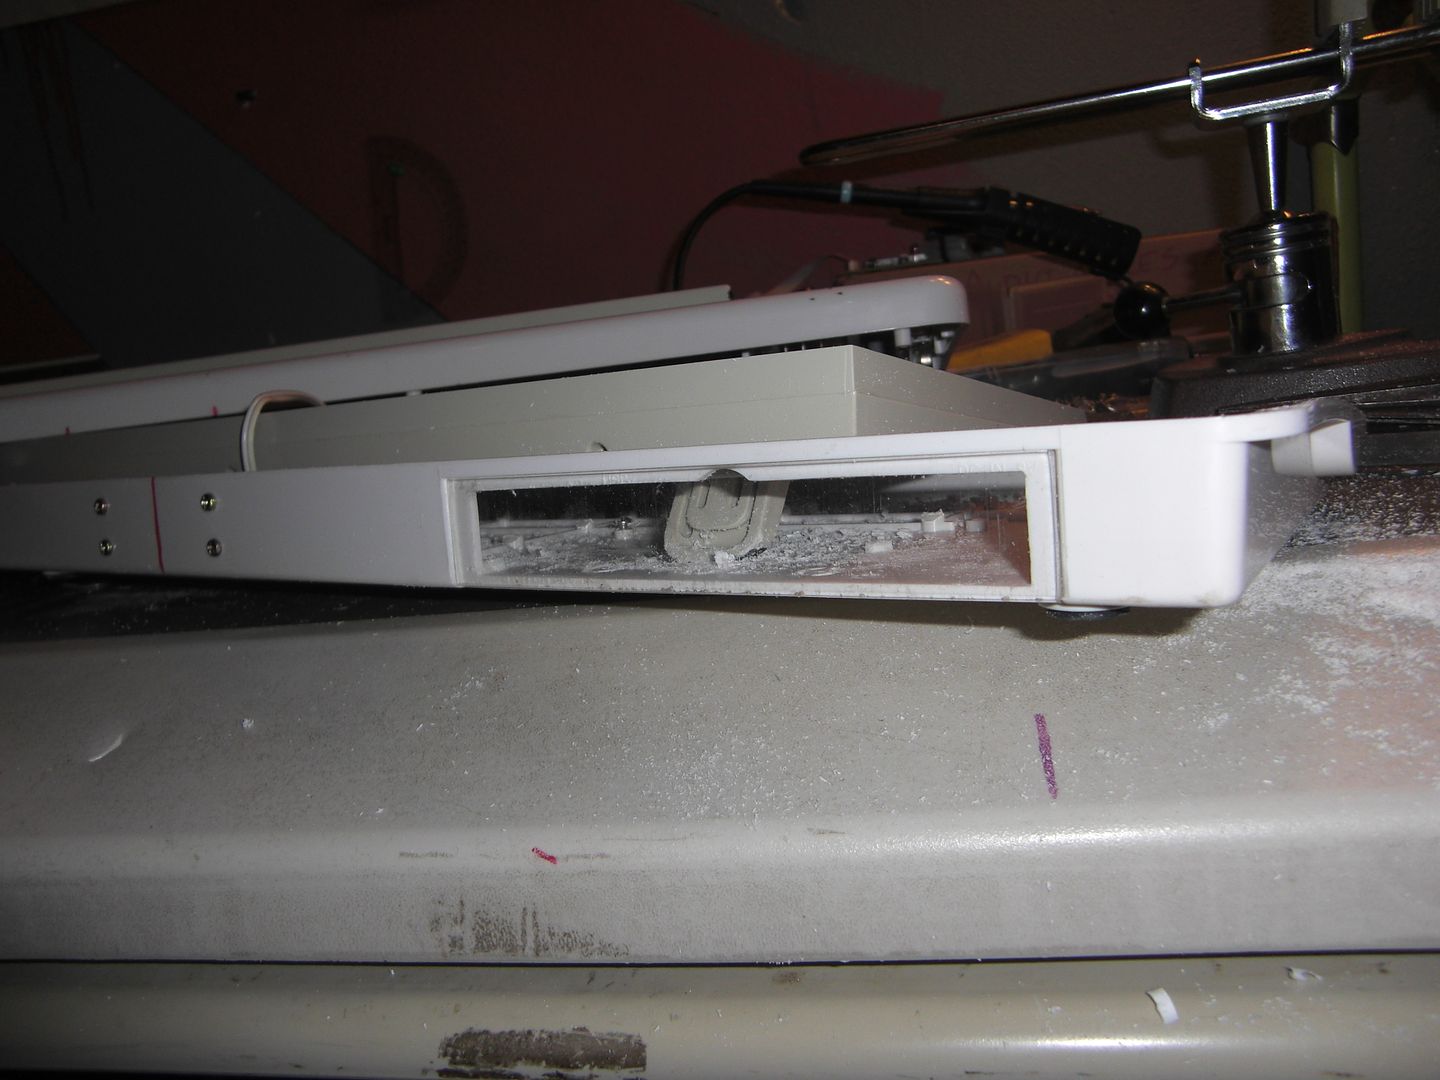
This is the part where patience and finesse come into play: Cutting out the cartridge slot. This was done with a drill, a small razor saw, a pattern file, and a large flat rasp. I wanted it to be perfect, so I really took my time, and did dozens of test fits. I was at it for almost 45 minutes.

› You're a filthy Slot, aren't you?


Fuck yeah. I'm awesome.


2/2/2013       1:05 am

Now, to be completely honest, I only got into chiptune stuff about a week ago. This is only my third DMG mod, and it's the first that involves more than installing optional audio-out. So, don't be too critical of how long it takes me to get this stuff done.

I spent most of my day soldering, being angry, troubleshooting, and then being angry again.
I'm amazed there aren't any references for spreading your Gameboy as thinly as possible throughout a keyboard, and have it still work.
I honestly spent a lot of time being frustrated, and didn't take many pictures today, but I'll show you what I've got.
We'll start with wiring the cartridge port.

› My misery smells like hot lead... and I don't mean bullets


Then there was a lot swearing, and tons of this:

Until 11:00 pm...

› I'm on the edge of my seat!


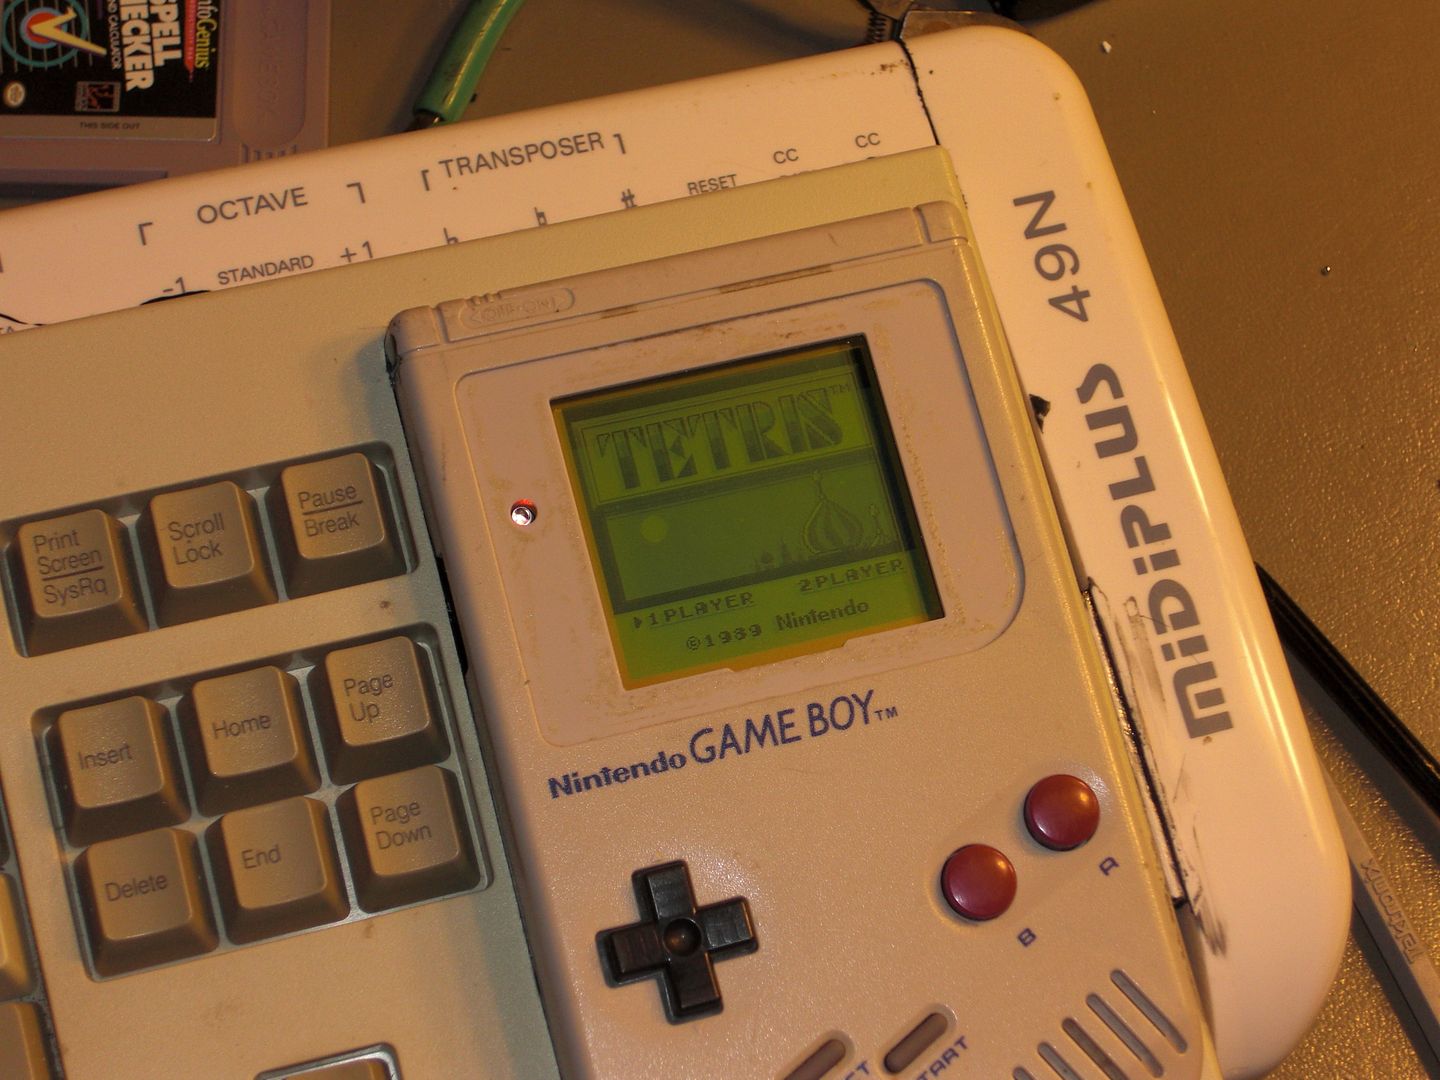
IT LIVES!!!!!

HOLY SHIT!
I'm going to bed.

Last edited by Teh D3th St4r (Feb 8, 2013 9:37 pm)
Offline
Tokyo, Japan
Teh D3th St4r wrote:
Lazerbeat wrote:

you want I should lock the old thread to keep the new comments here?

Yes Please.
Perhaps redirect people to this thread.

Groovy : http://chipmusic.org/forums/post/155335/#p155335

Offline
Santa Cruz, California

Thank you.
I think I have at least another hour of this bullshit, and then I'll be all caught up.

Offline
Finland

Nice one! Can't wait to see it finished.

Offline
Tokyo, Japan

Nice, also just a quick hint, bearing mind mind your posts tend to have a lot of photos making them a bit on the long side. you can use the "spoiler" tag to collapse them and make the posts a bit more readable.

http://chipmusic.org/forums/help/bbcode/

Its about half way down that page

Offline
Santa Cruz, California

I'll be sure to do that.

Offline
Santa Cruz, California

2/2/2013       10:55 pm

CATASTROPHIC FAILURE!
Apparently it's difficult to adhere different types of PVC together, and a ridiculous notion to expect them to stick.
Long story short; while I was busy installing hardware, all if the seams started delaminating. Now I get to spend an entire extra day waiting for glue to dry, and get nothing else done.

However, I did take some pics while I was working (amid the failing adhesive) and I did make some progress.
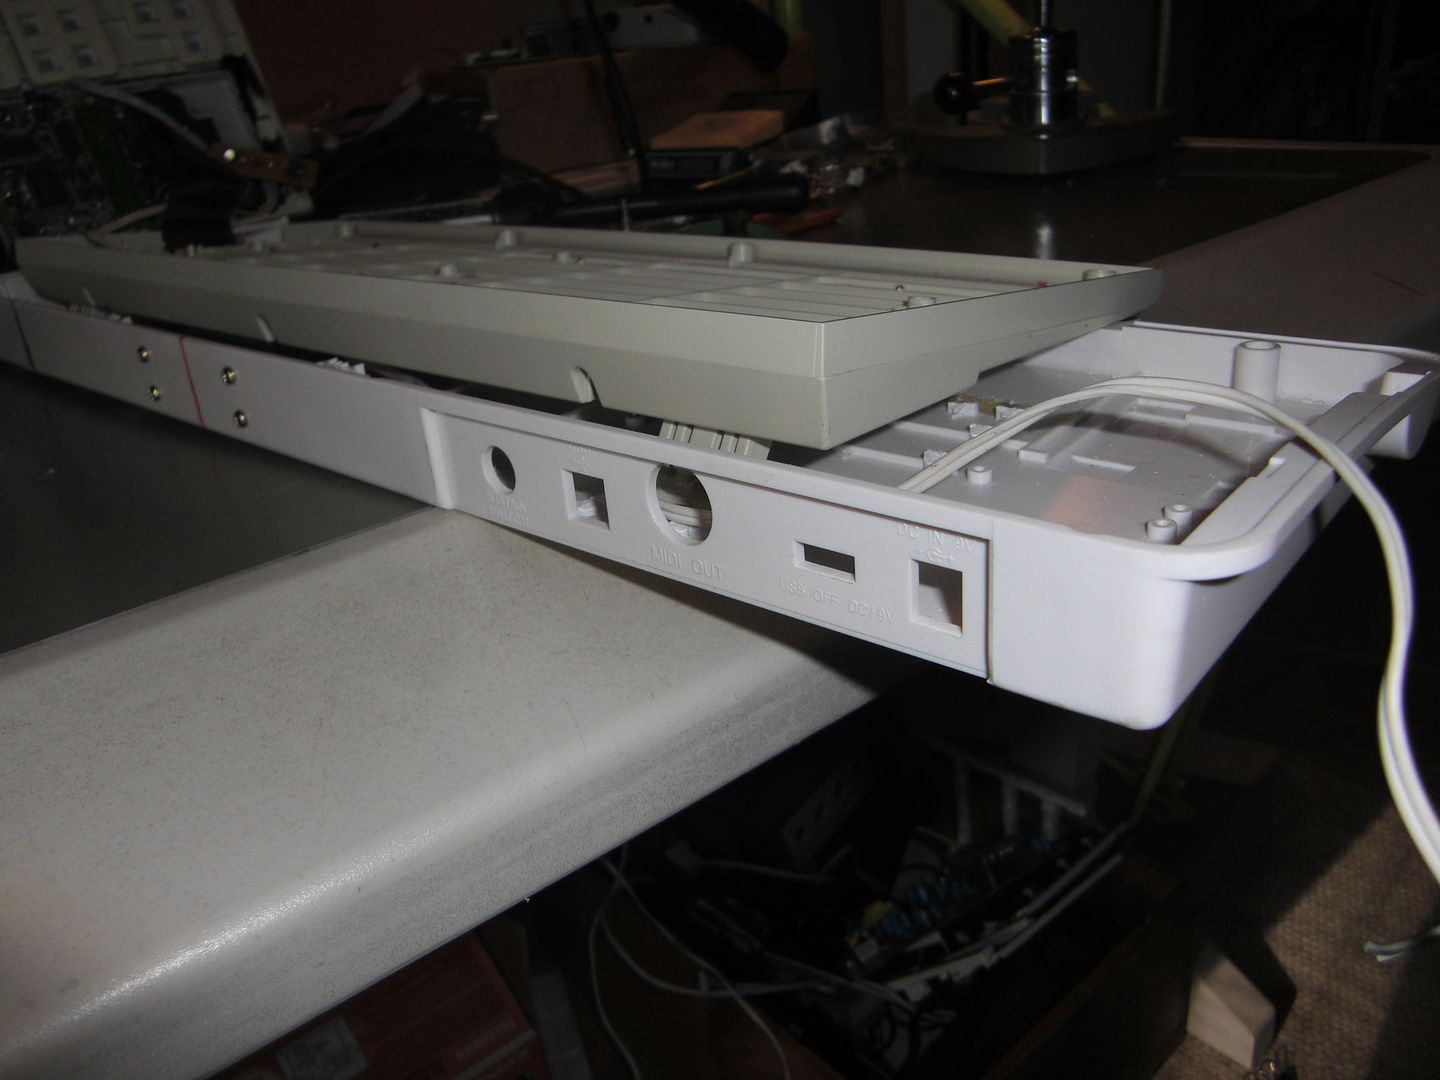
The first thing I jumped on this morning was the rear panel area for my audio-outs.

› Making a hole


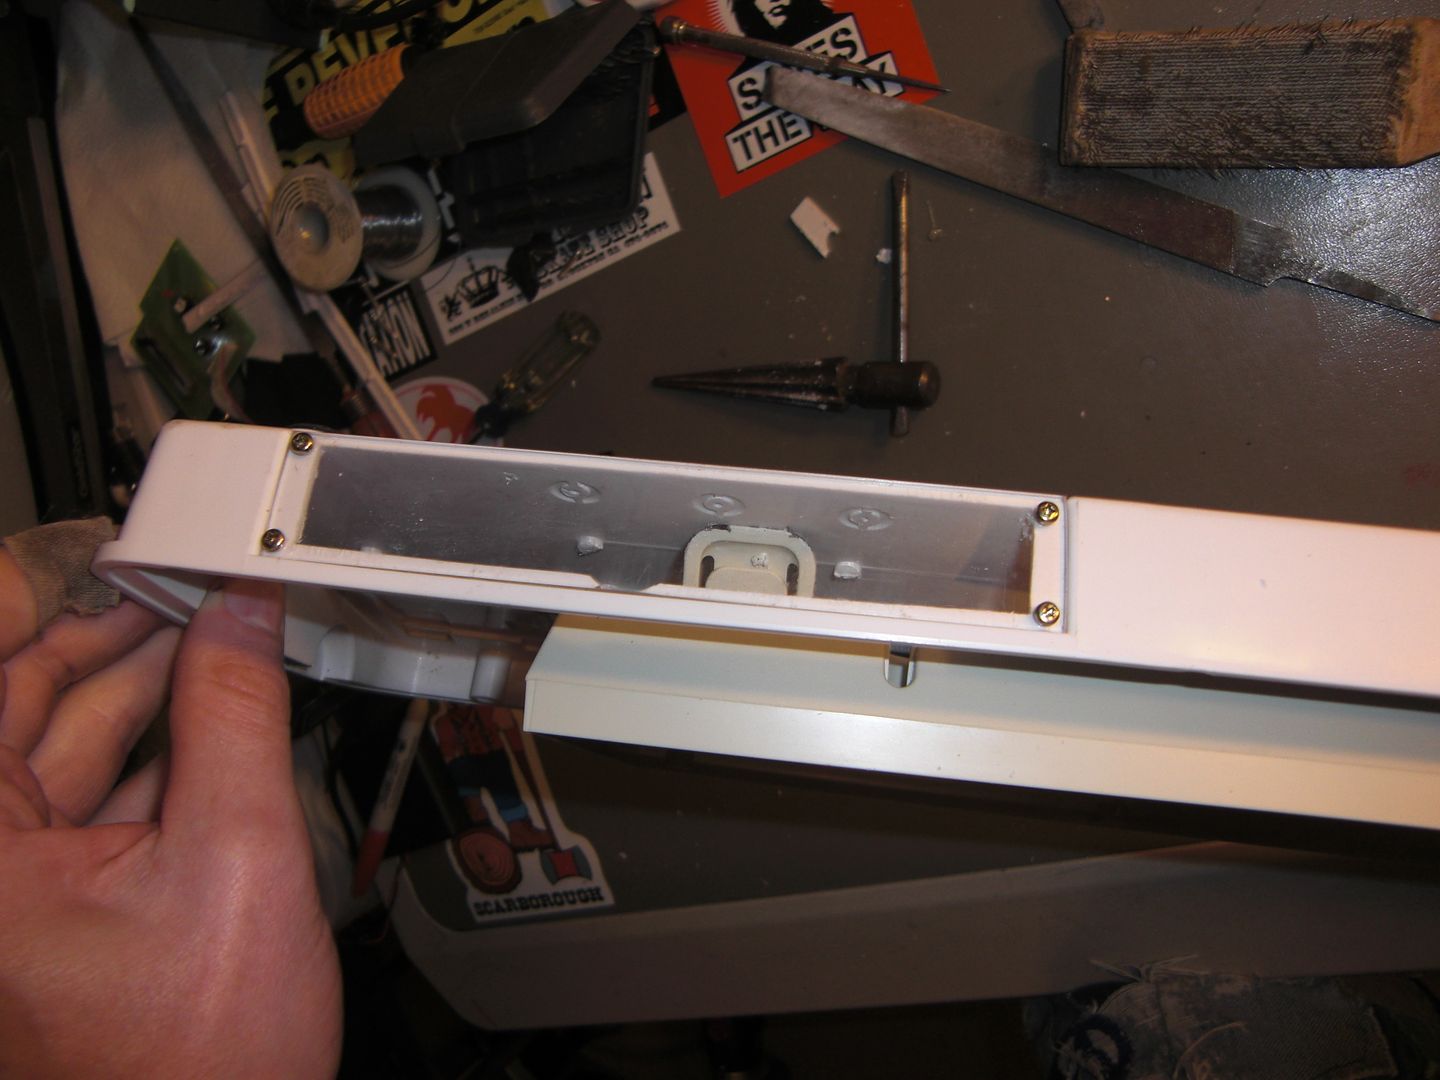
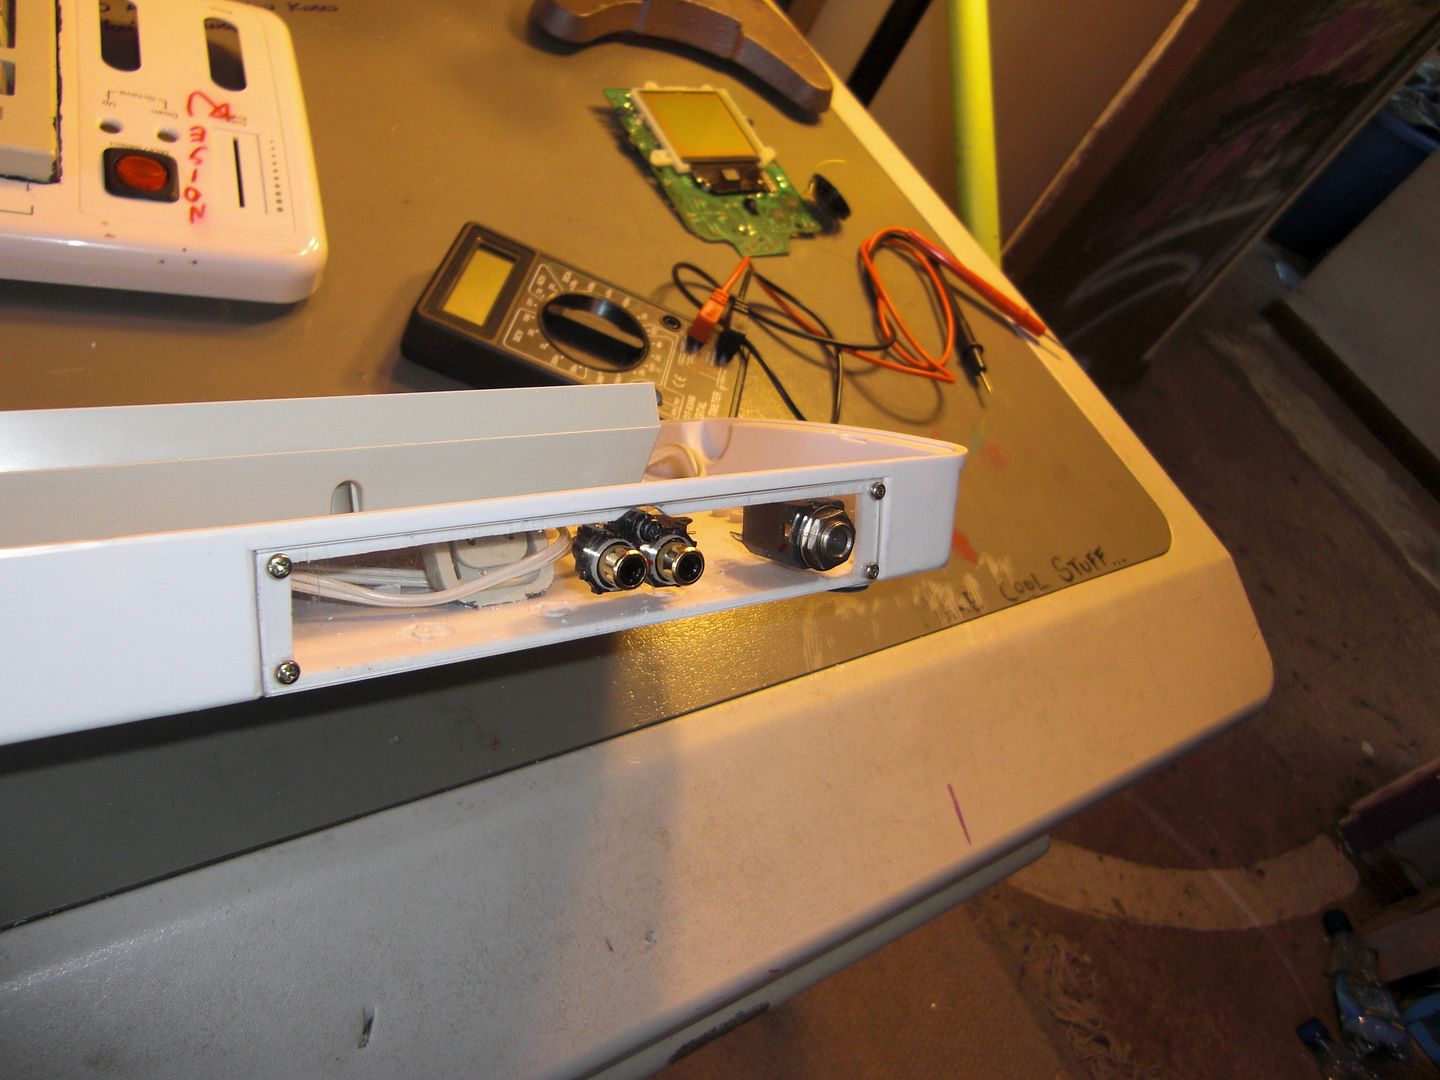
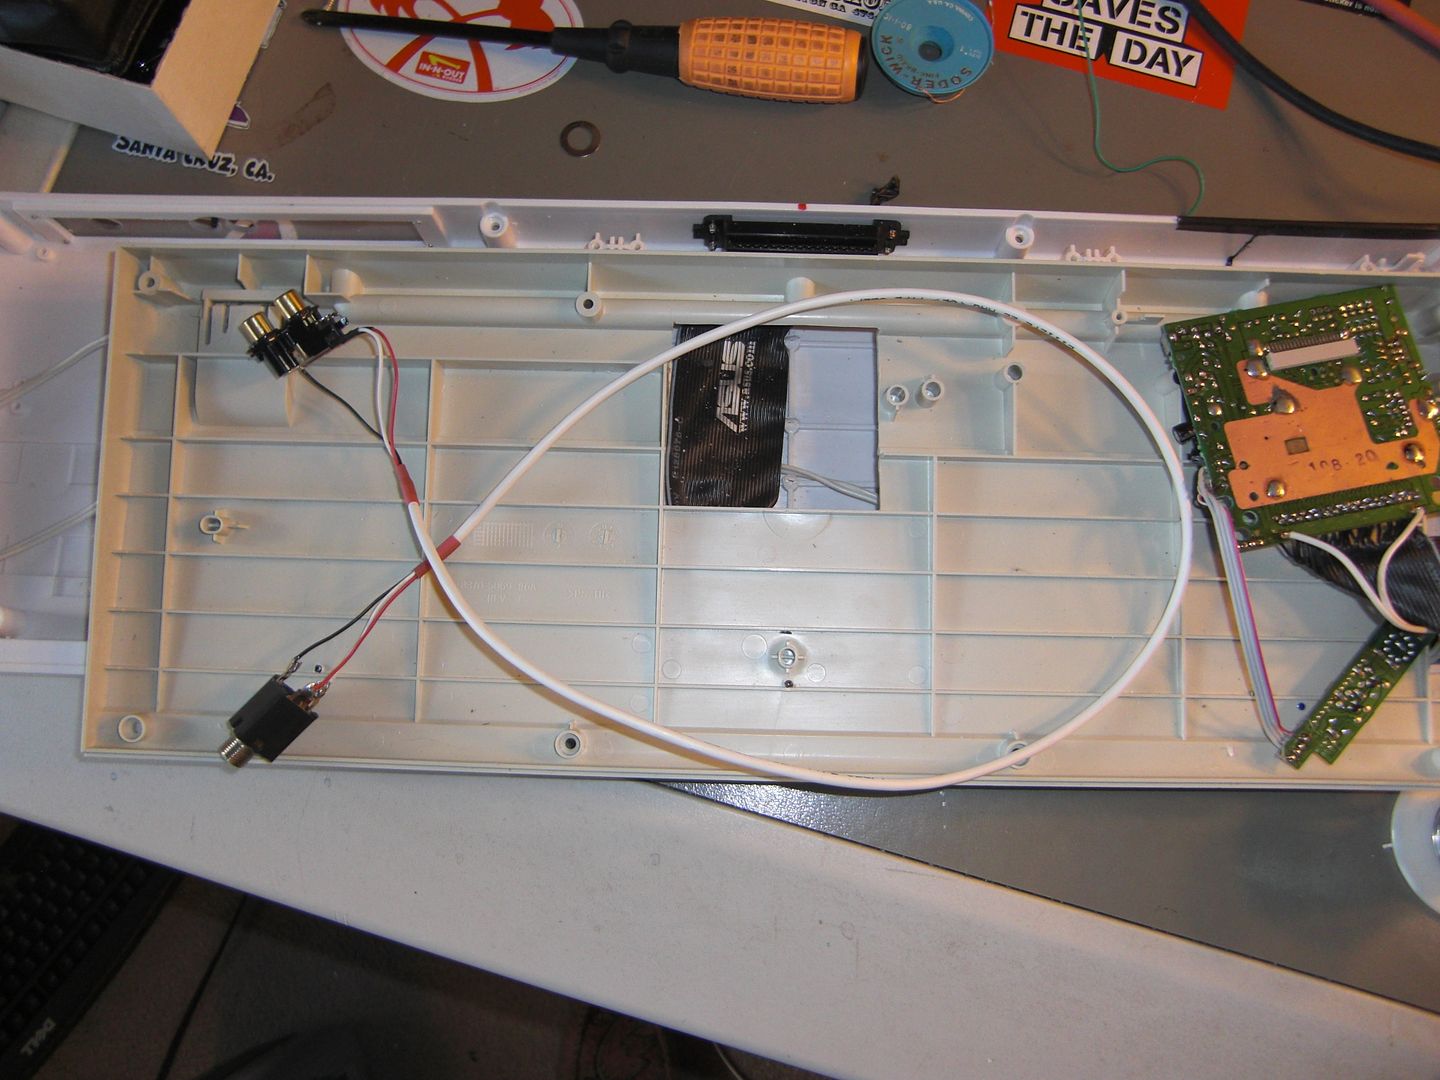
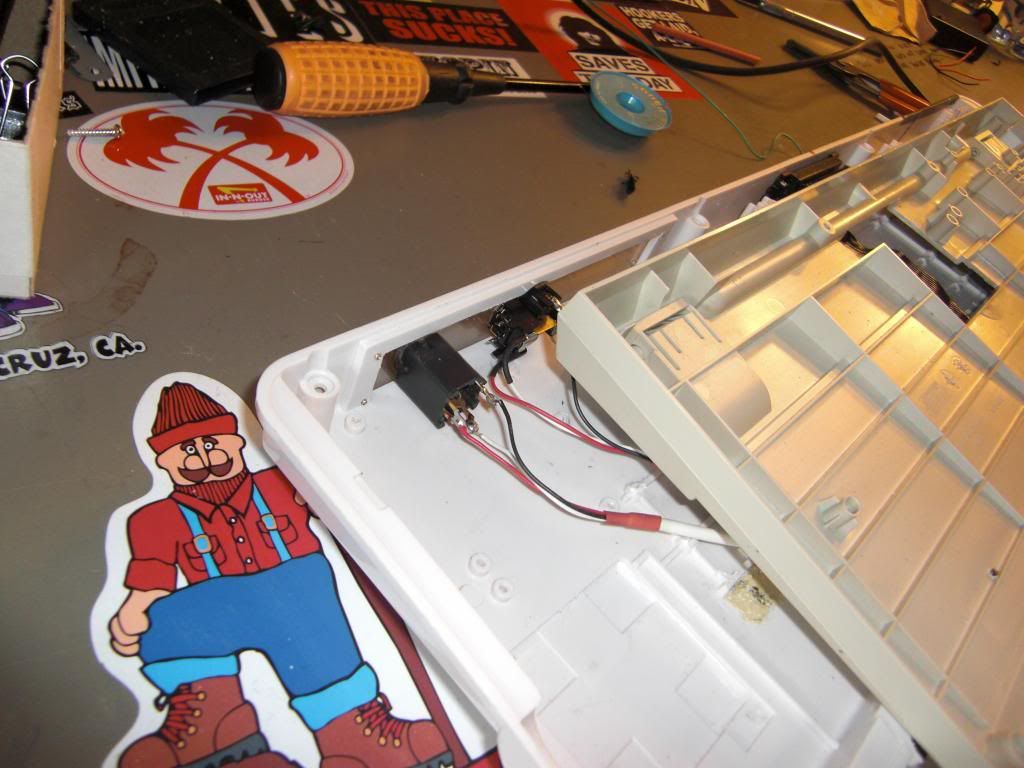
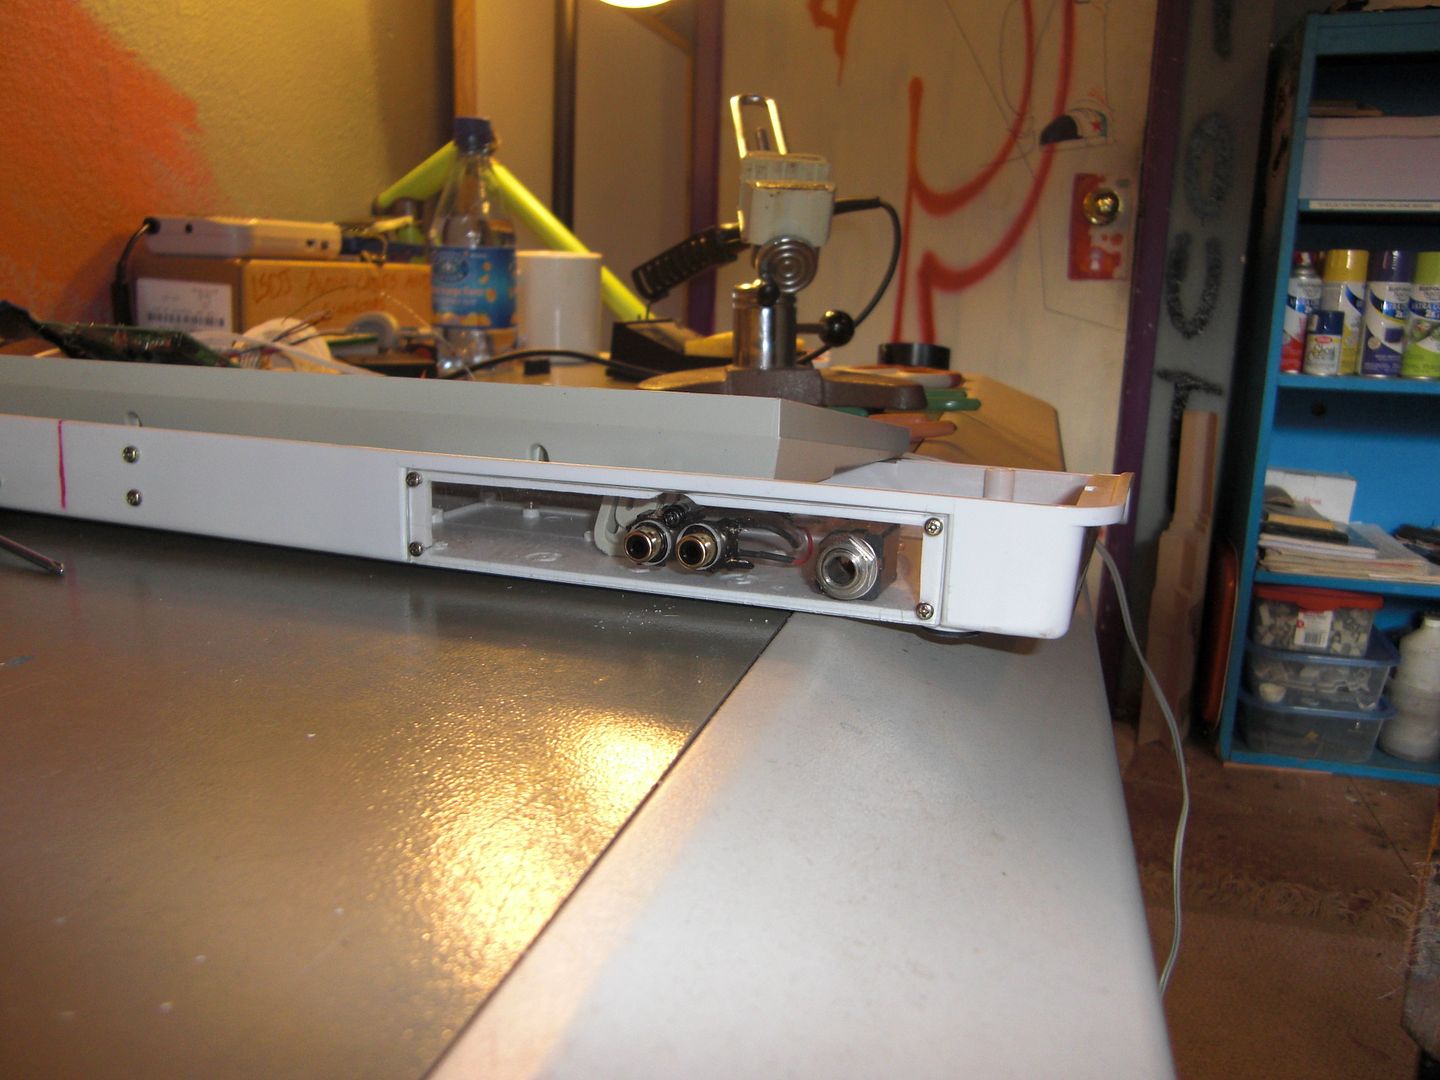
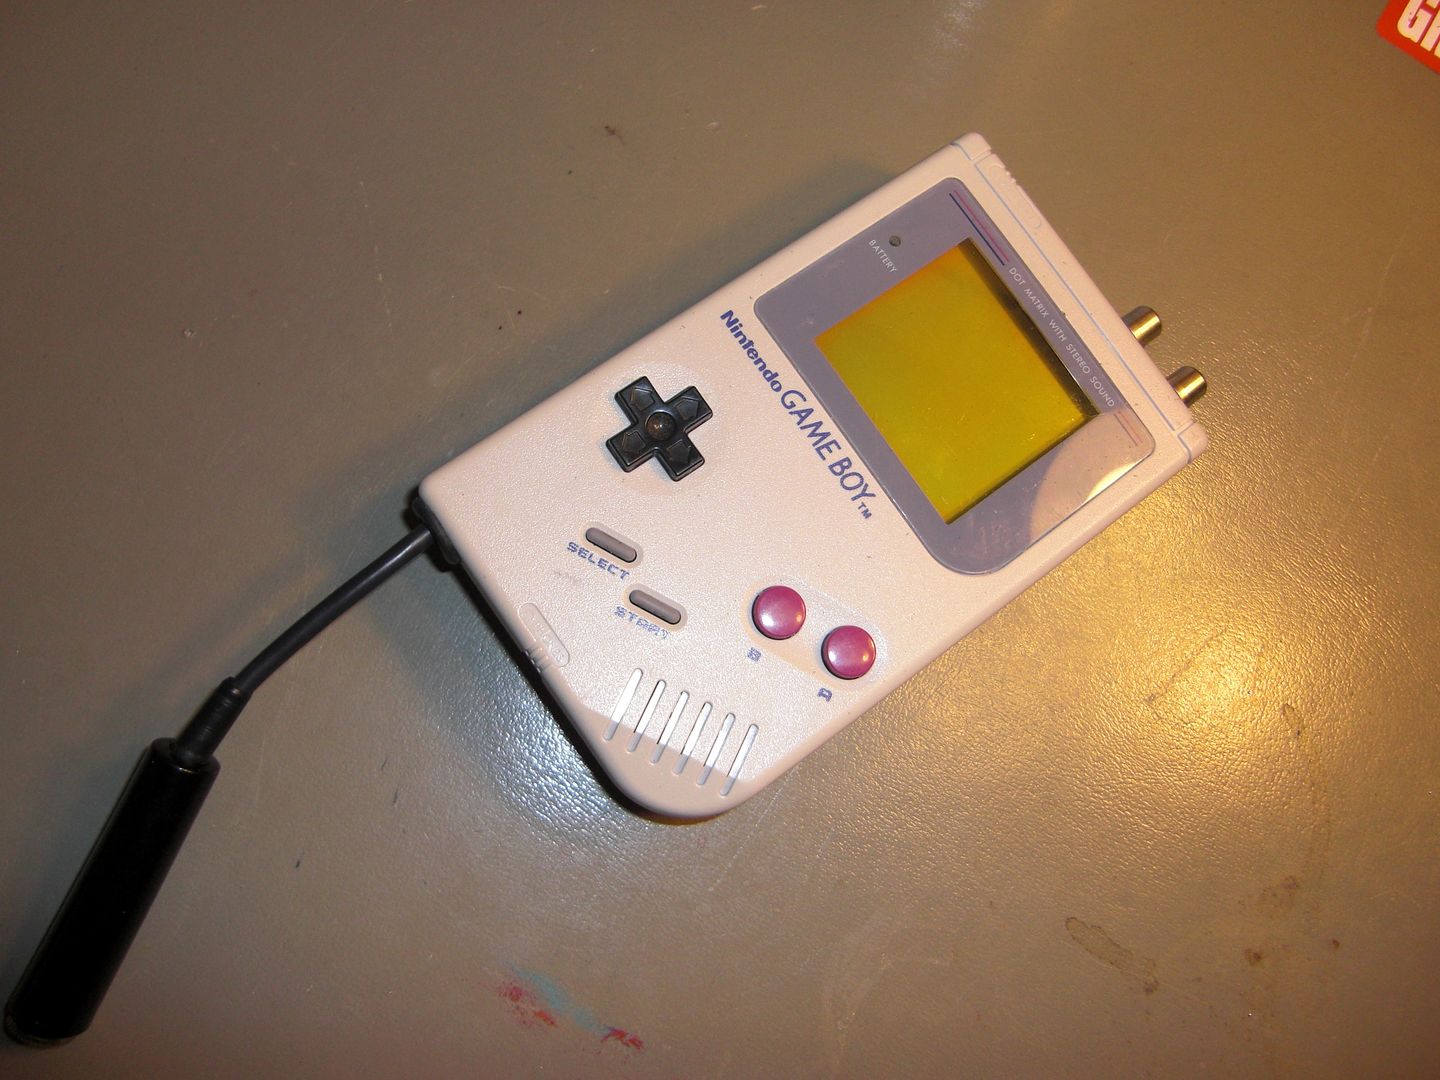
I made a new panel out of plex to mount various 'outs' to. I wanted to have a little "Window of Truth" because, when this is done, it'll to look like a manufactured product, and I think it's important to be able view all the crapulence within.

I reamed out a hole for my cool illuminated rocker switch (the only thing I've bought for this build so far)

› Turn me on, baby


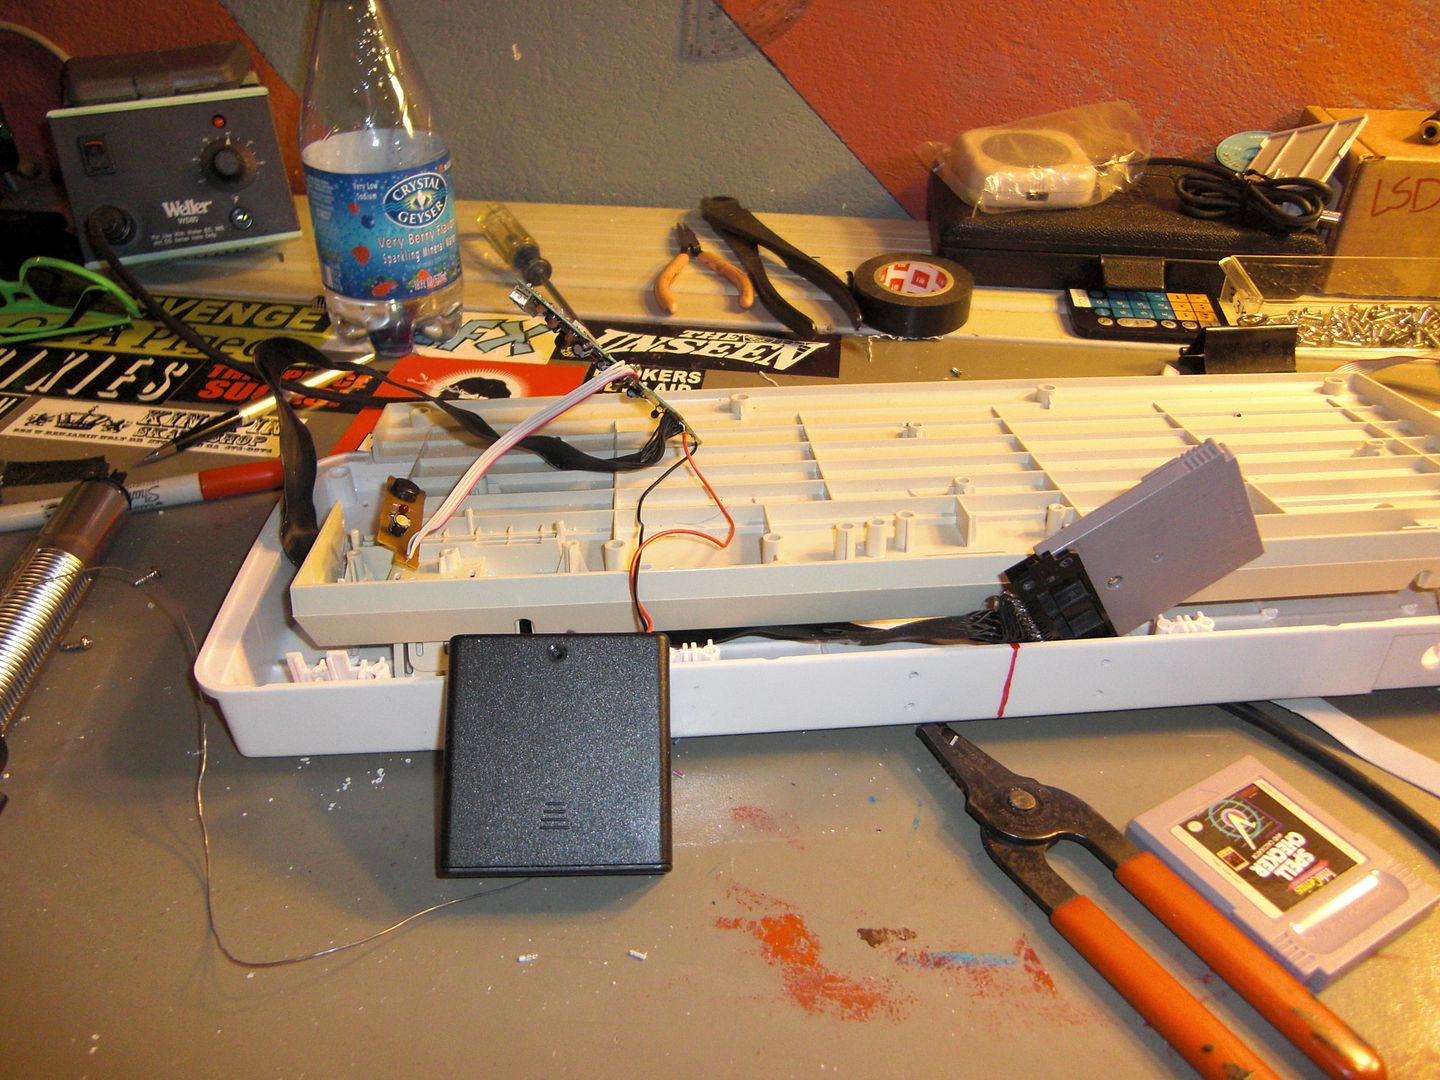
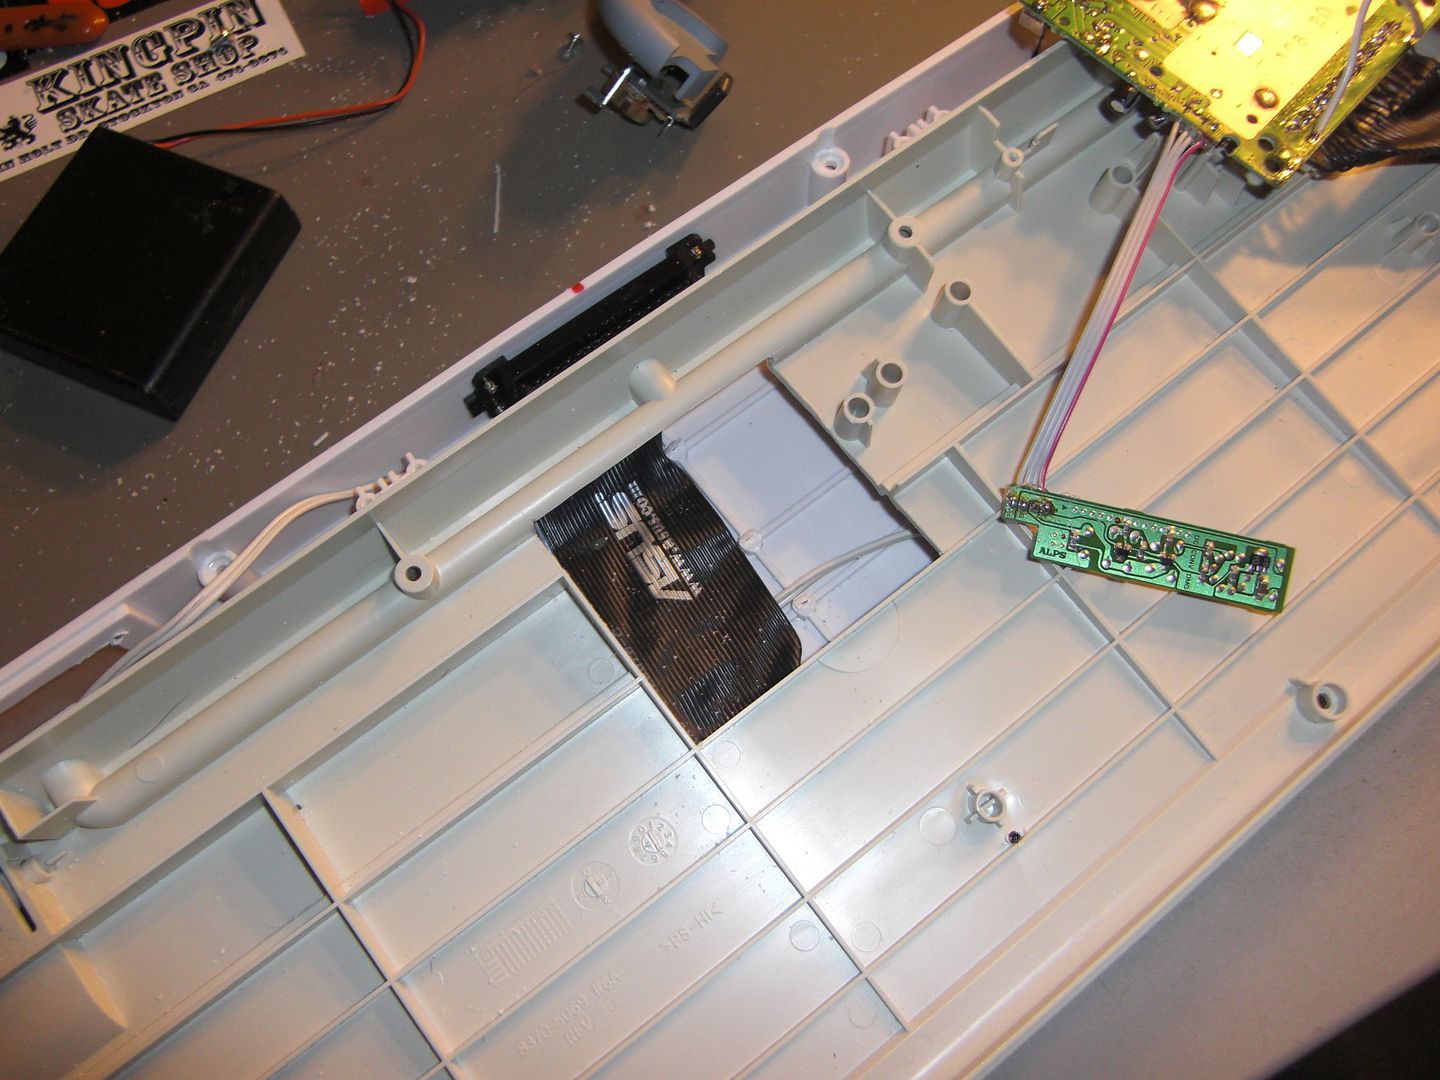
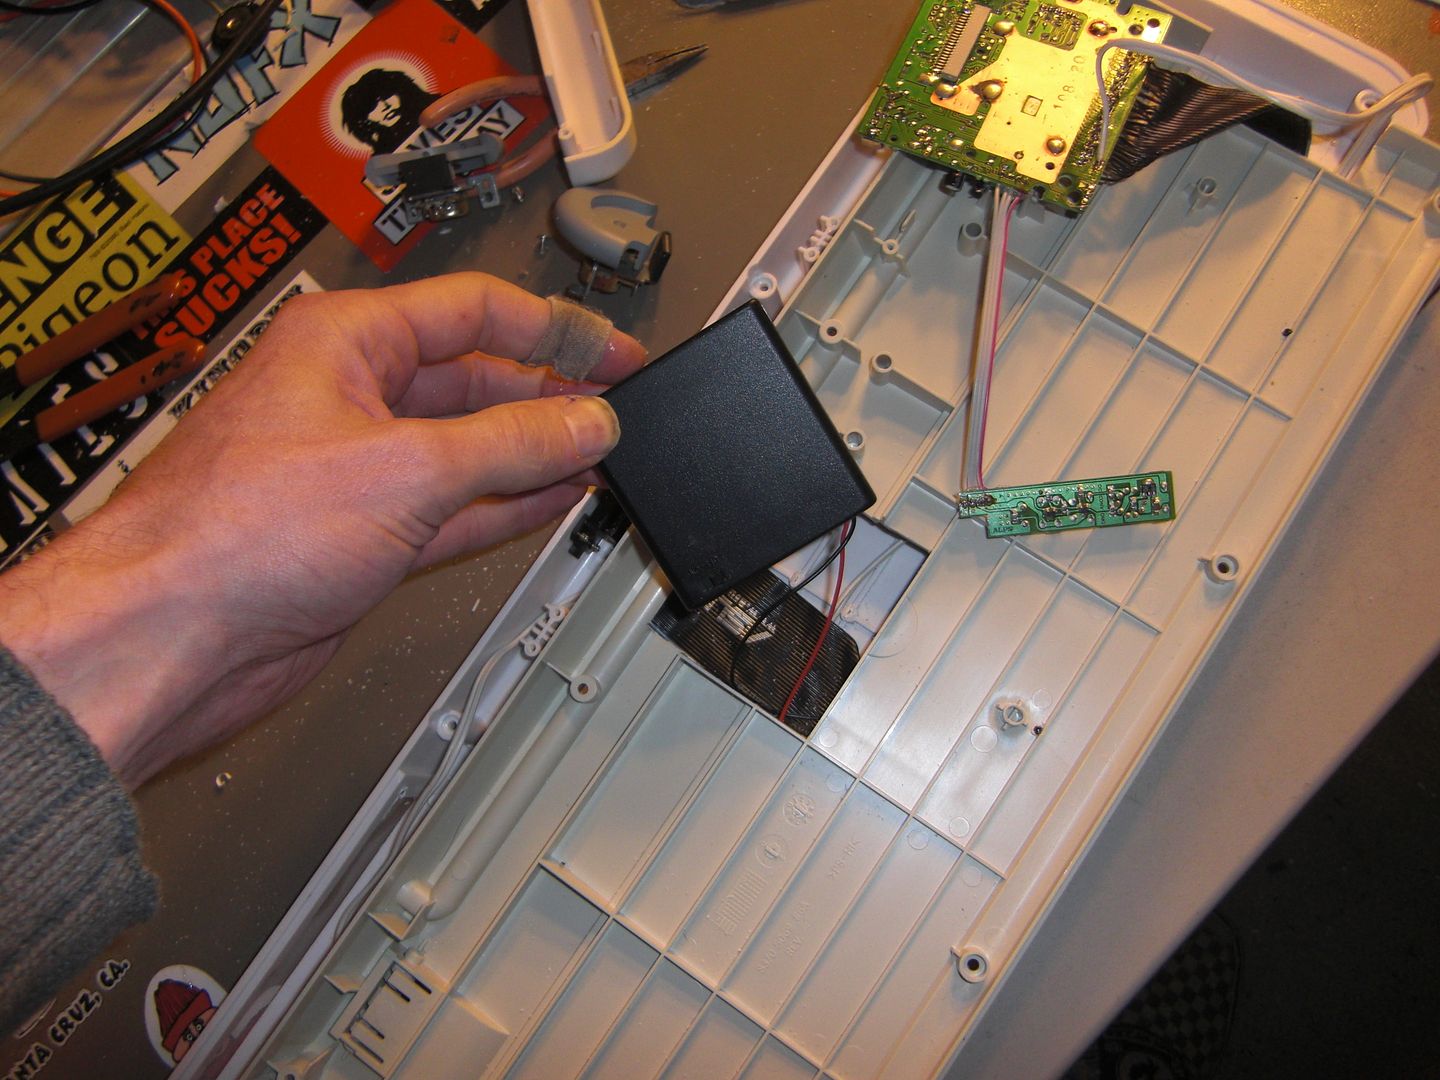
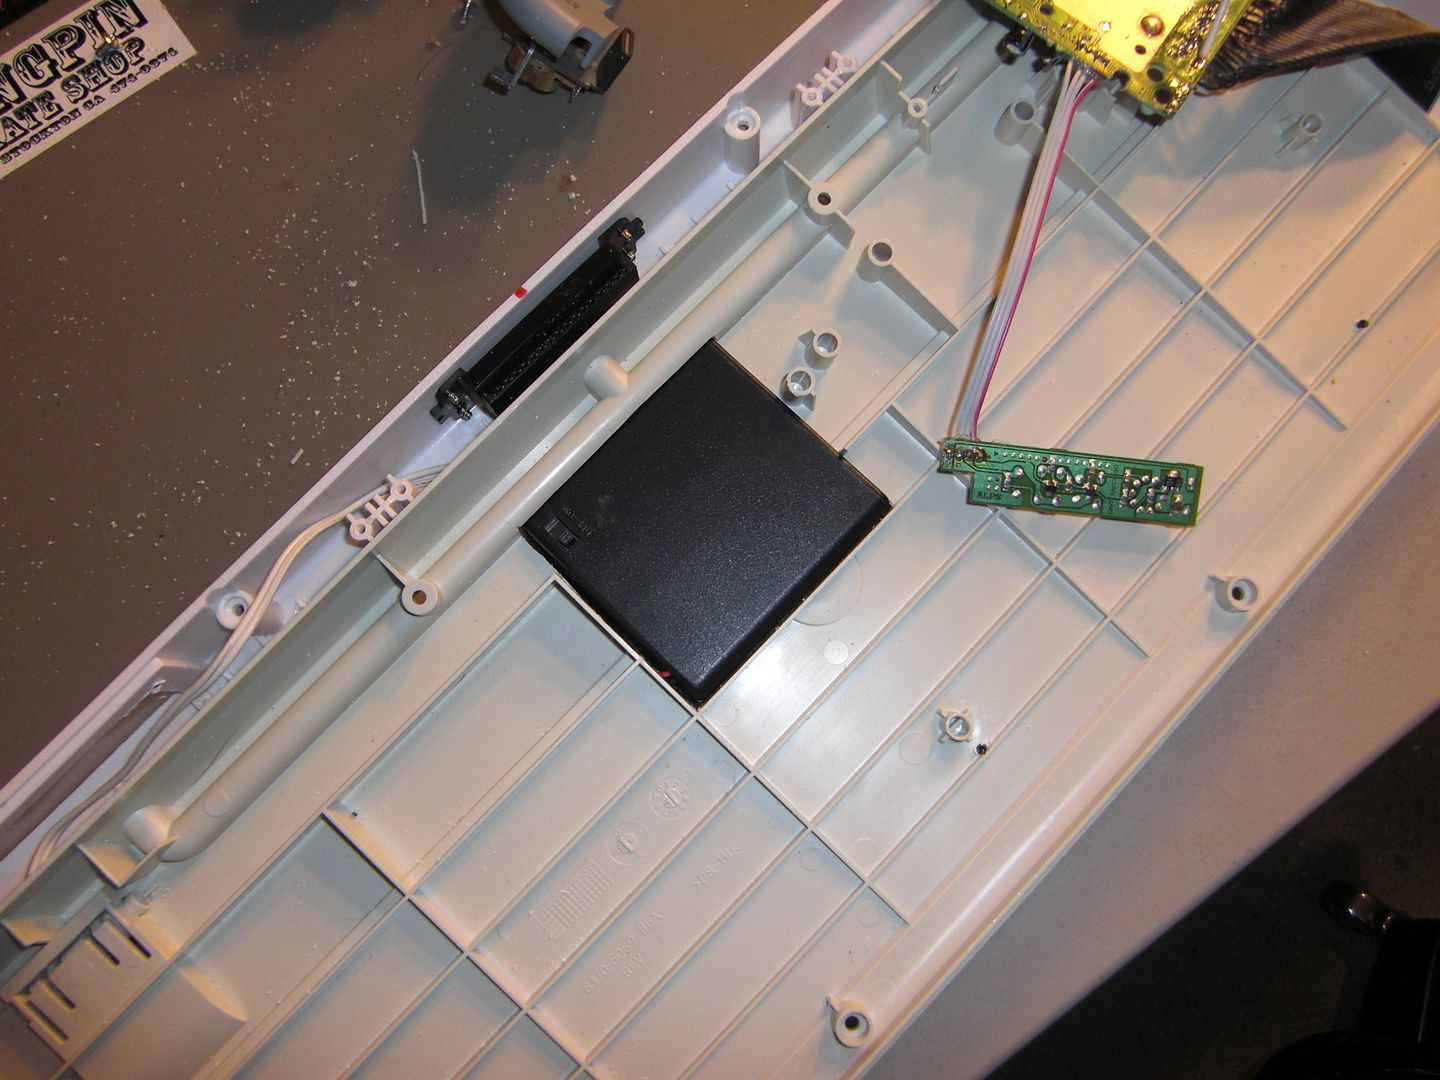
I spent a lot of time going through various battery placement possibilities. This is what I came up with.
(this battery pack is only temporary until my rechargeable nicad pack and charger show up)

› Where should I stick this?


And then... while I was doing some wiring...

Dammit...


2/3/2013       7:26 pm

So, most of my day was spent watching glue dry... again. BUT I HAVE PICTURES OF IT!

› Observe:


And I drilled the holes for my RCA and 1/4" jacks..

More time will be spent watching glue dry tomorrow, so don't expect much activity... Maybe I'll paint something for you guys in the mean time.

Offline
Santa Cruz, California

It's almost 2:30 in the morning where I am. I'll finish rebuilding this thread in the morning.

Offline

2:30?  Thats it?  Toughen up and get to work!

Offline
Santa Cruz, California

Okay, let's finish this shit up so I can get back to normal posting.
(I'm not going to include repairing the pre-modded DMG I got with my flash cart)

2/5/2013       3:51 pm

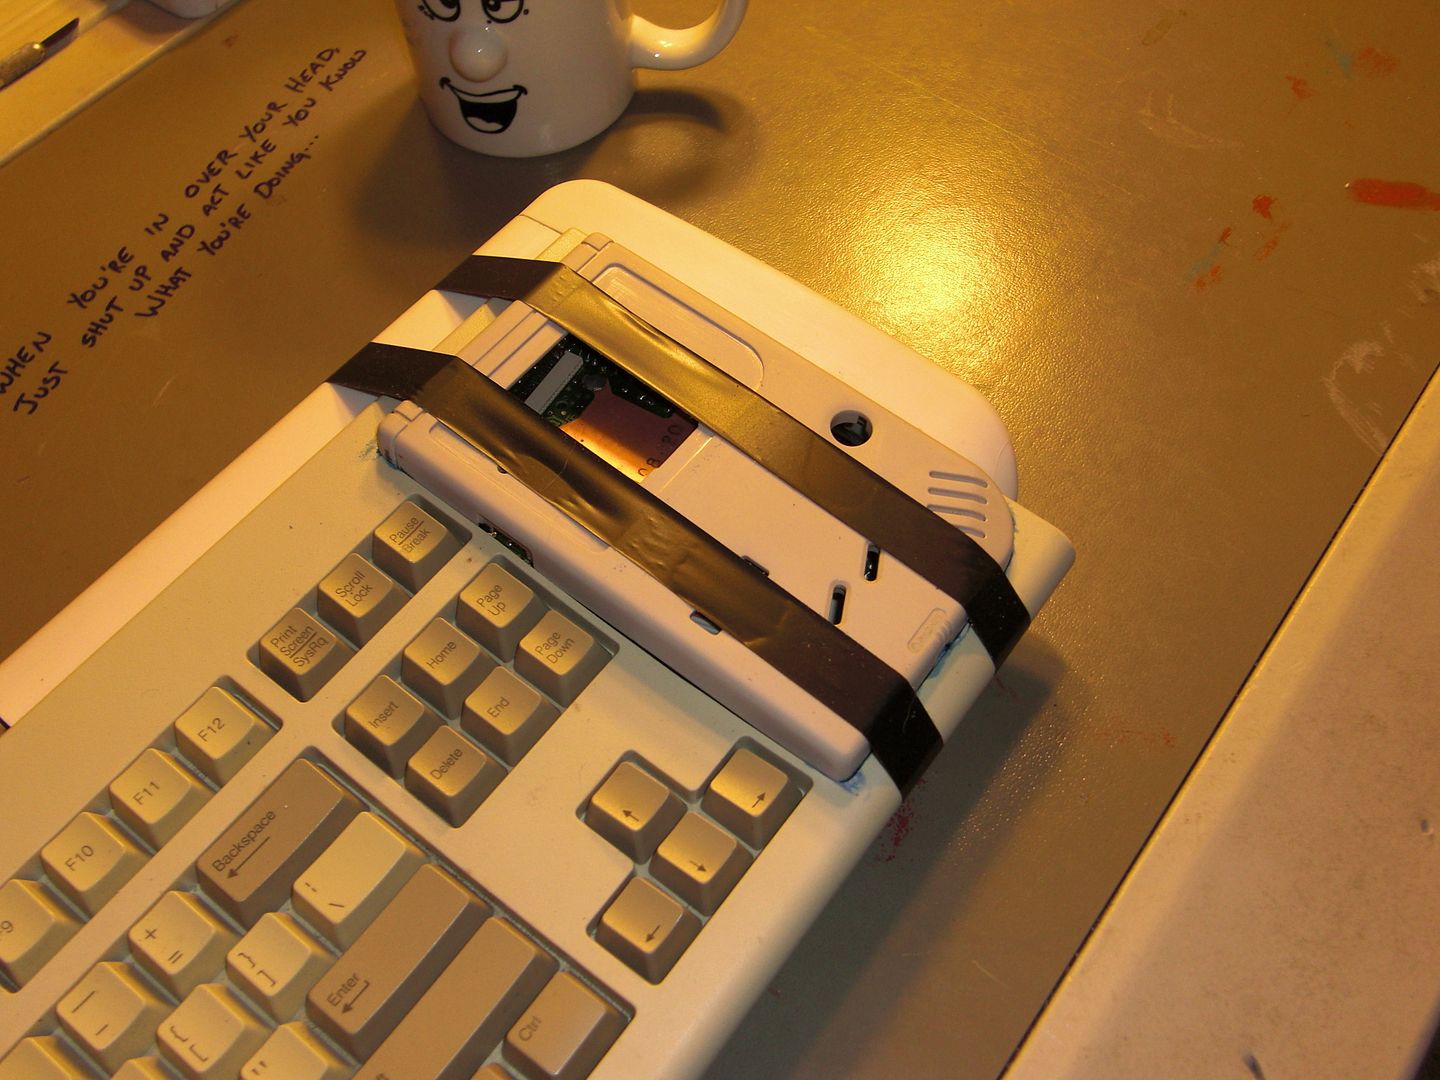
So, after two days of WAITING FOR GLUE TO DRY, I get to wake up to this:

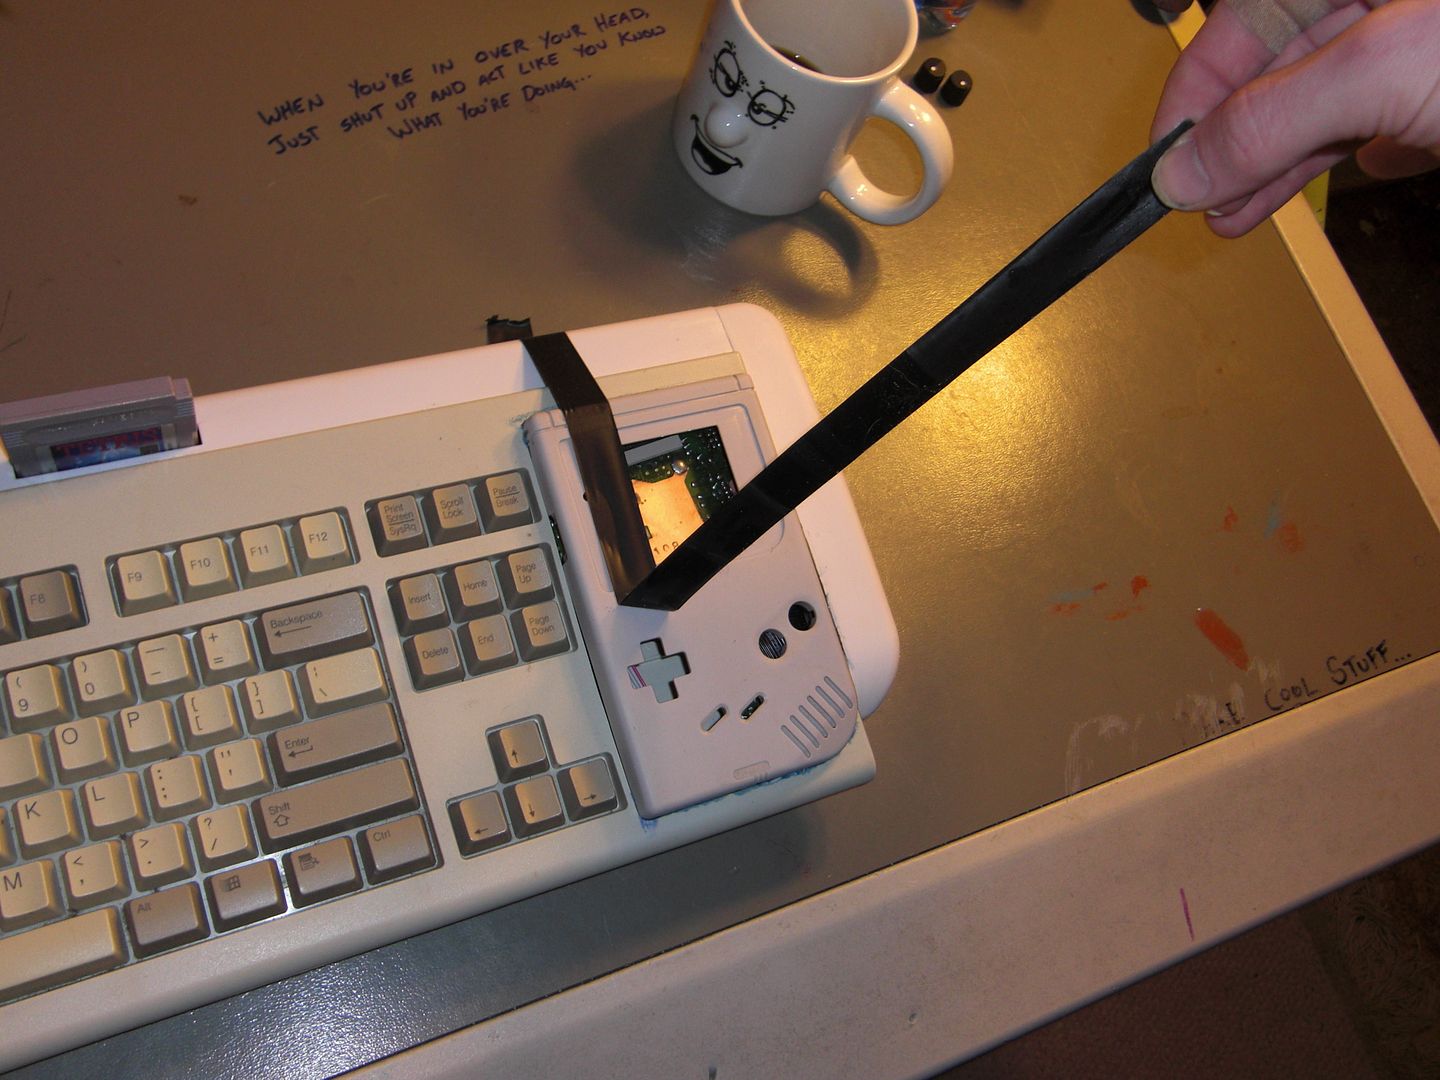
The glorious thing about electrical tape is that when you stretch it tight to hold something down, it will never relax. I gives constant tension.
Let's peel that off and have a look.

› Electrical tape can be useful


I gave this thing a good hard twist, and nothing shifted. Looks like we're in business.

› What a twist!


"Amazing" you think "Now we'll finally get to see some real magic happen."
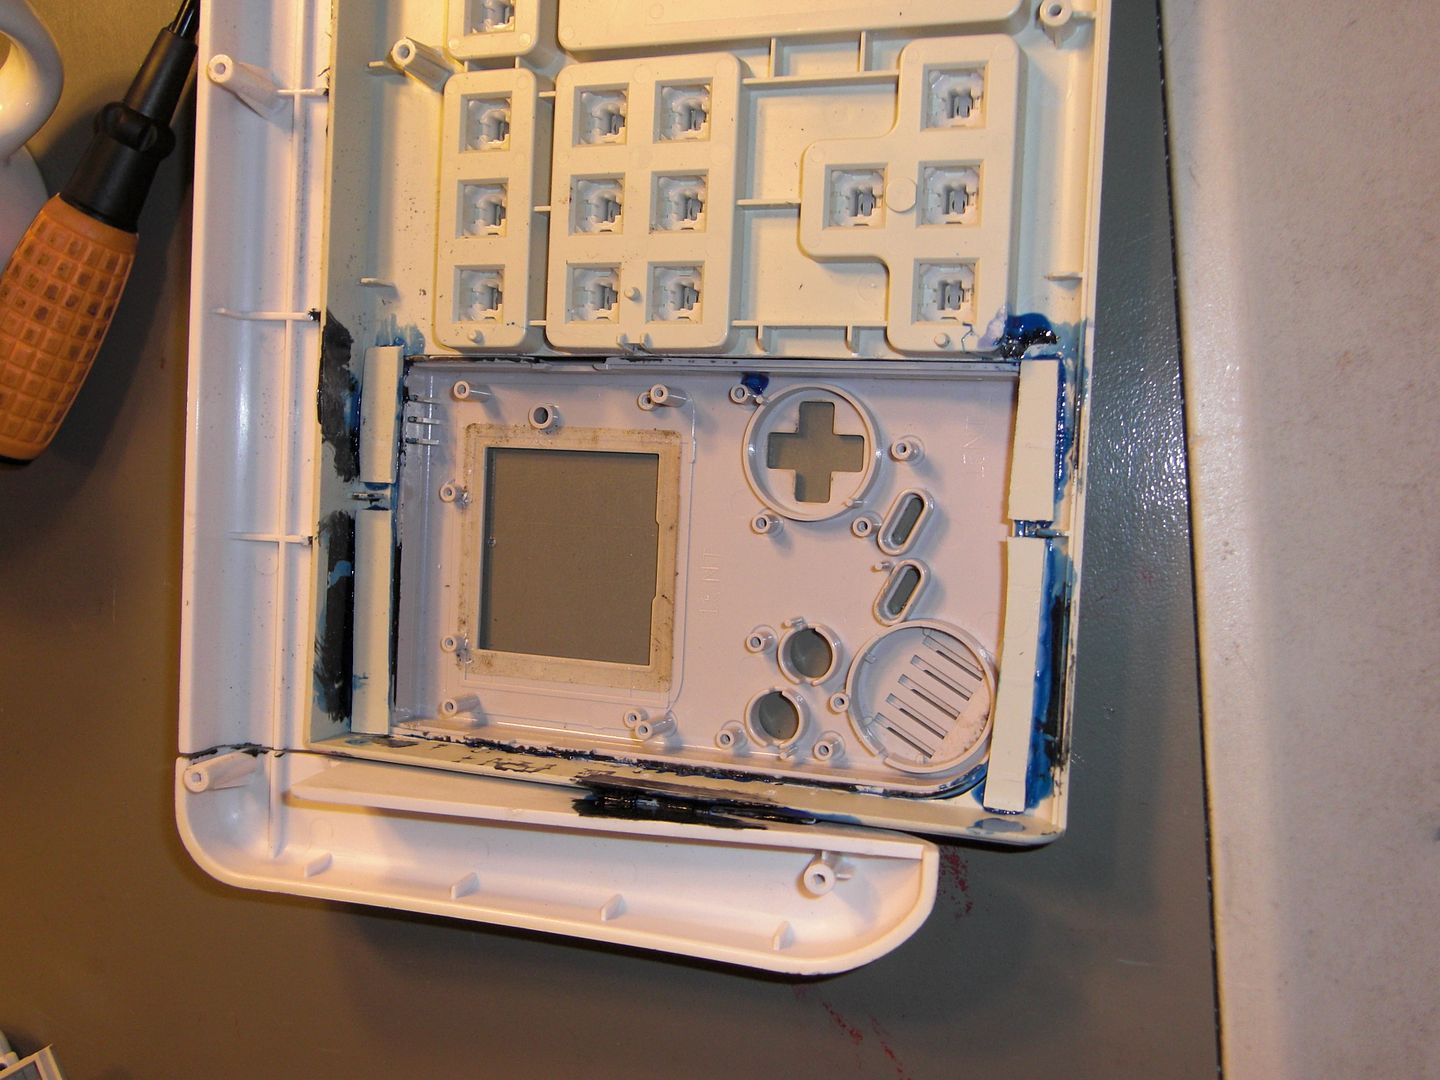
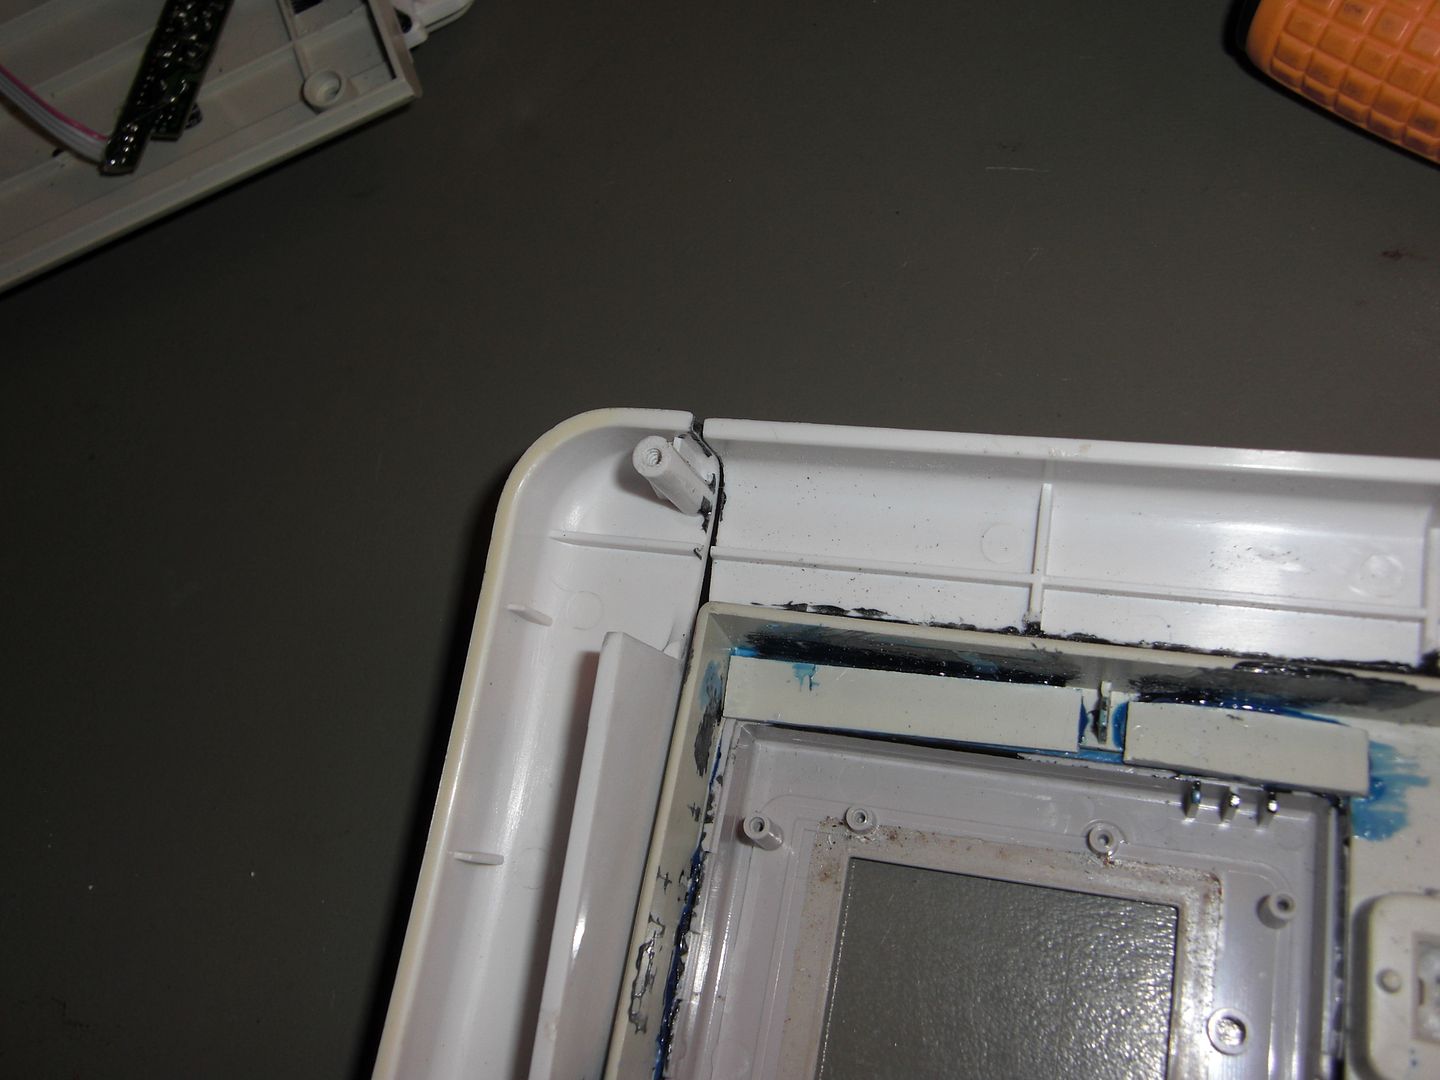
Well, you'd be wrong... because there's STILL MORE TO GLUE! Nothing major.

› Witness exhibit A.


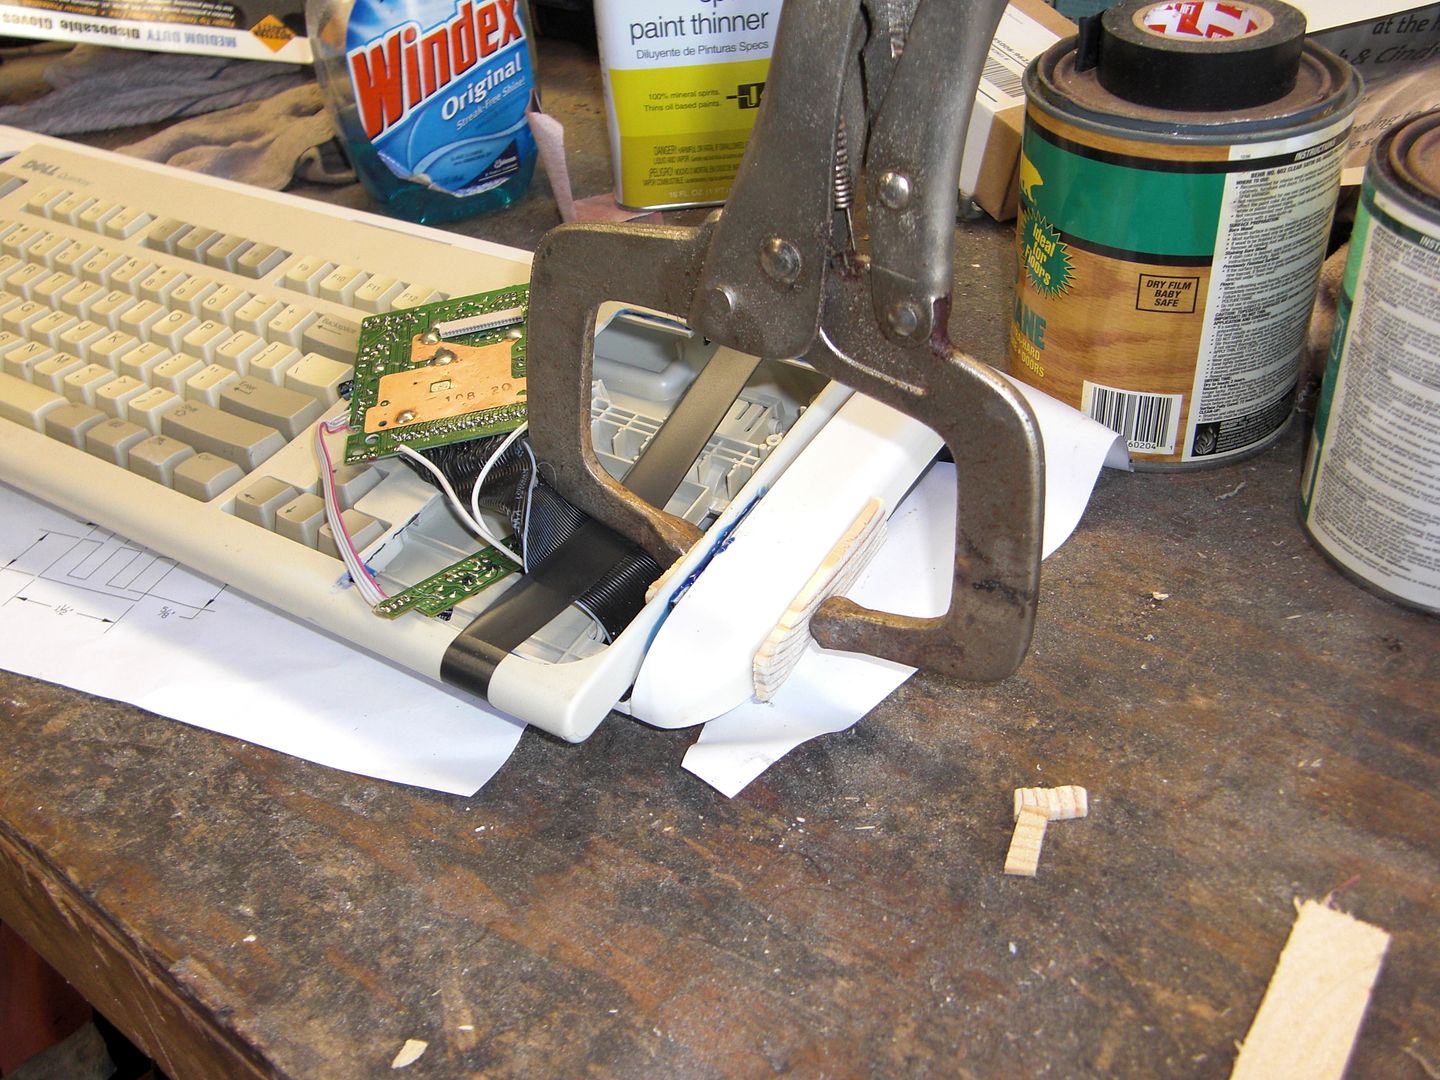
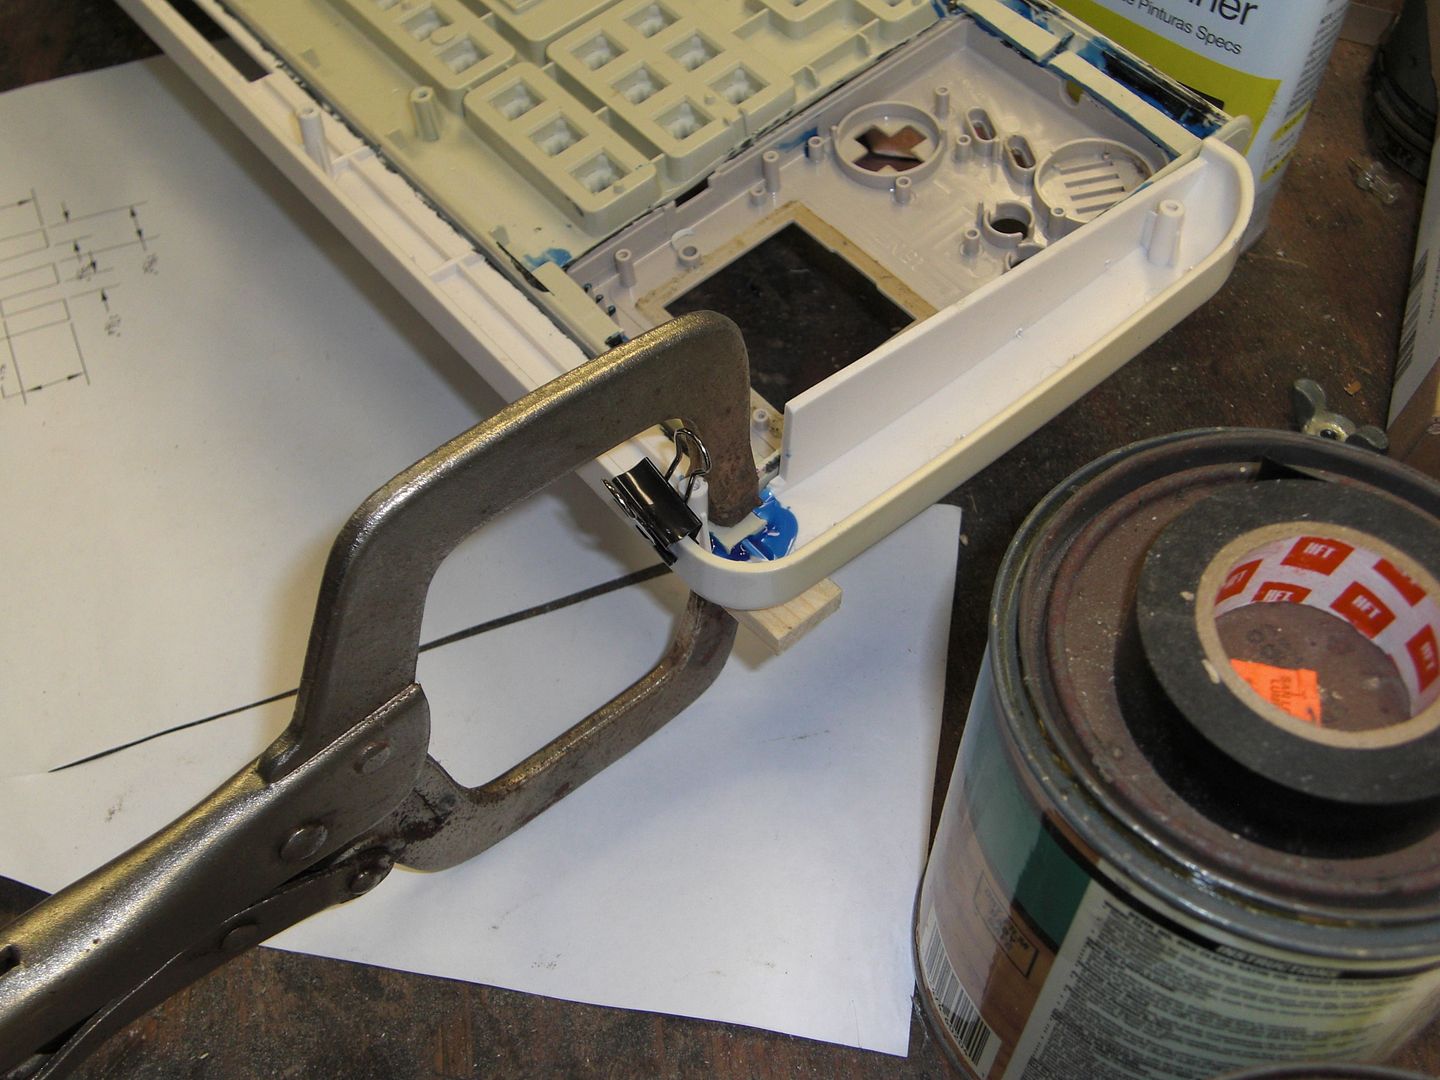
Those need to be bonded together so we don't suffer any further structural failures.

› Send in reinforcements!


This is my favorite PVC cement.

Give him the Clamps!

"Oh no!" you think "We have to waste another day WAITING FOR GLUE TO DRY?"
HOGWASH!
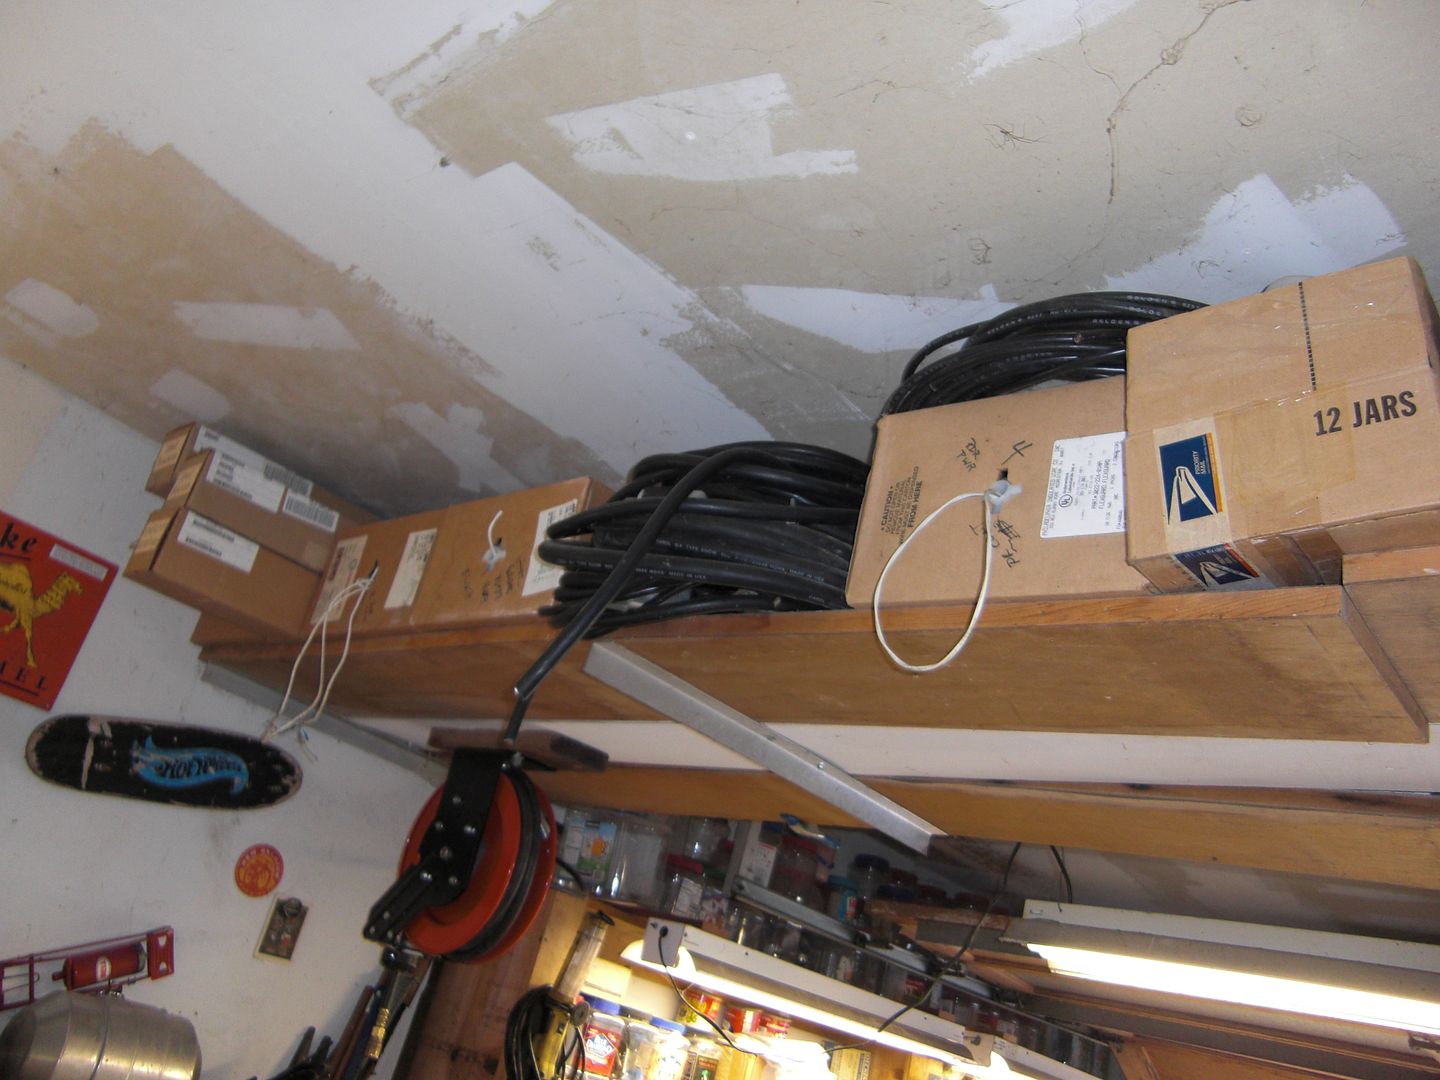
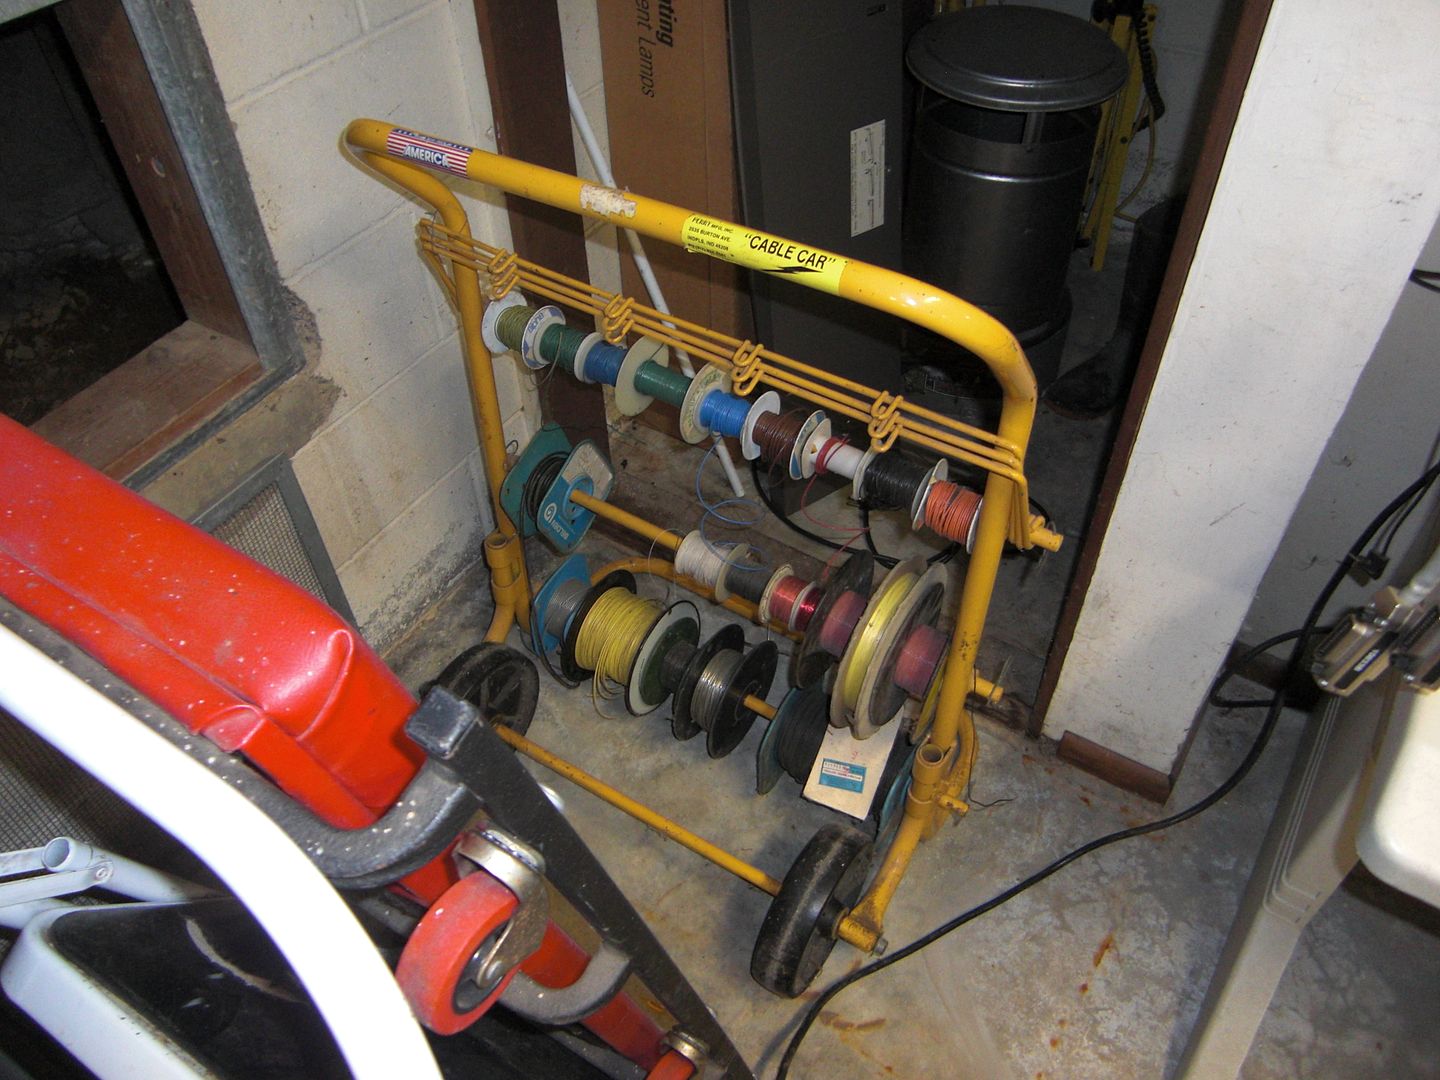
I have the base back, so I can work on some wiring... and wire is one of those things I definitely have at my disposal.
See; when your dad's been an electrical engineer for the last forty years, and has worked in places from Atari to Creative Labs, there tends to be a TON of spare parts laying around.

› Especially wire.


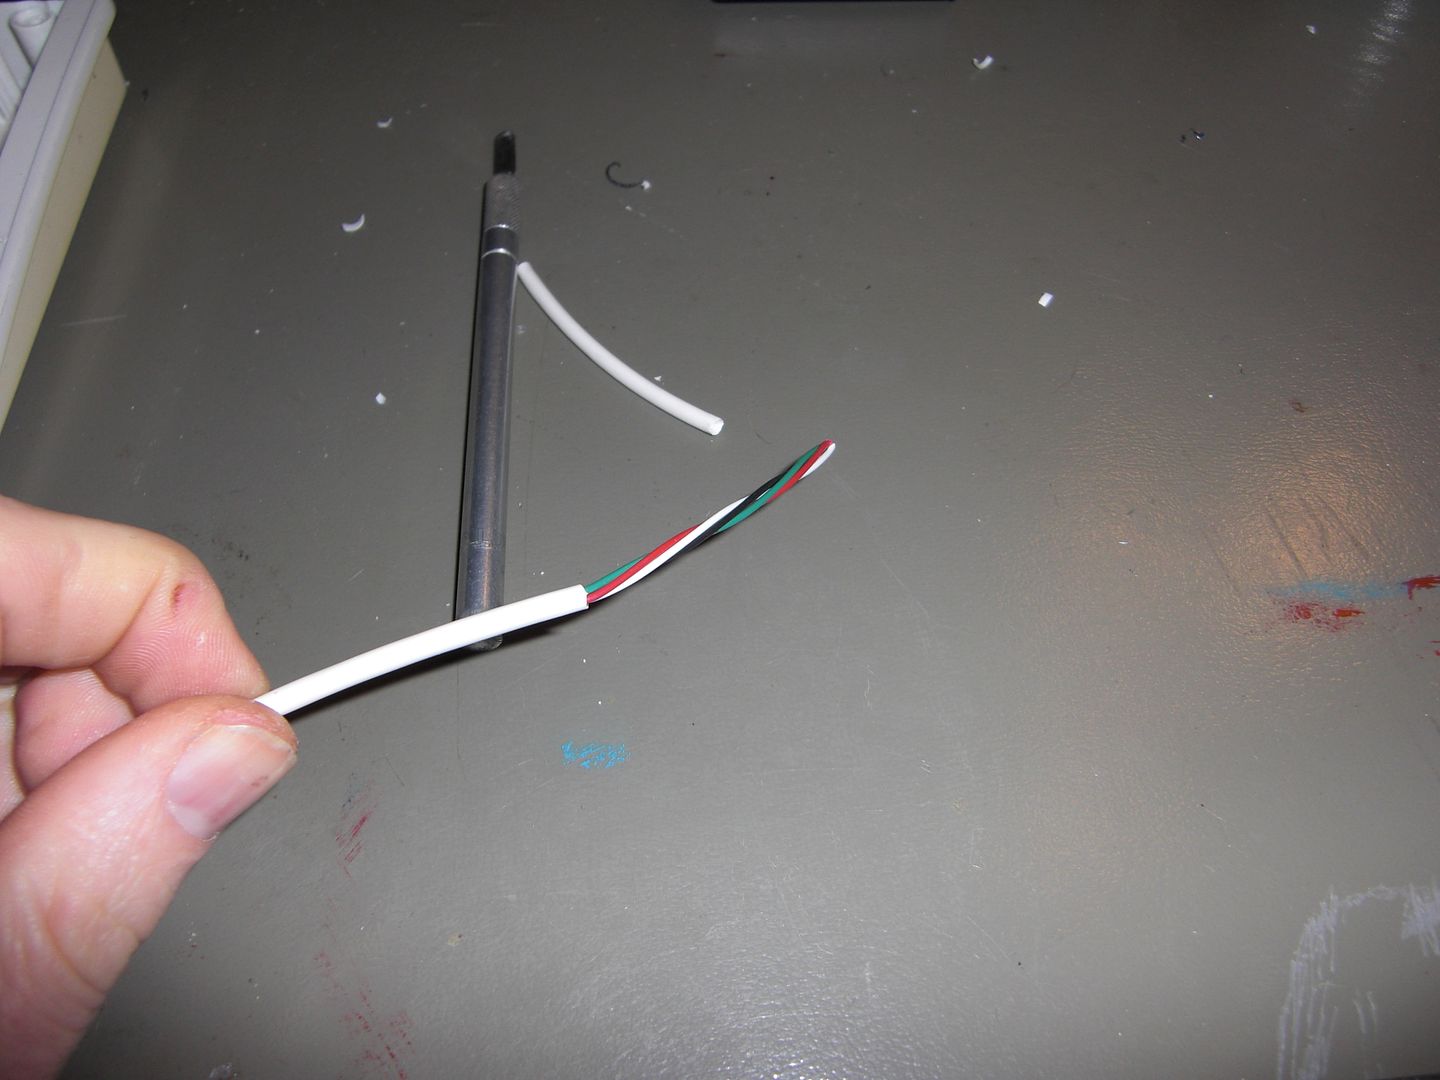
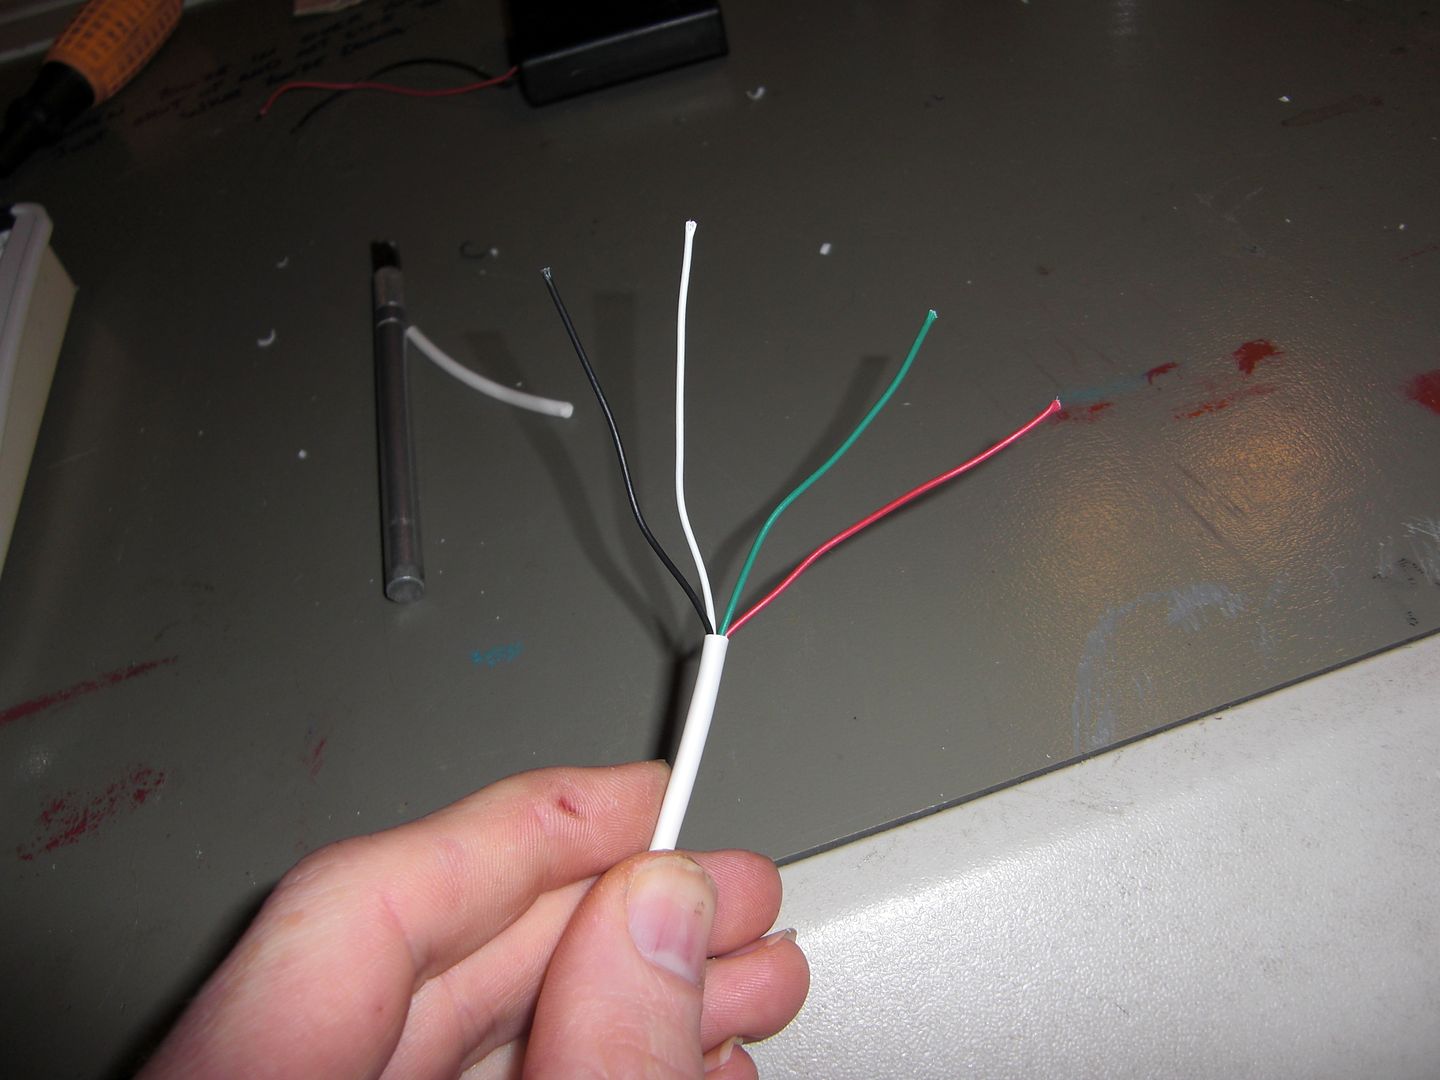
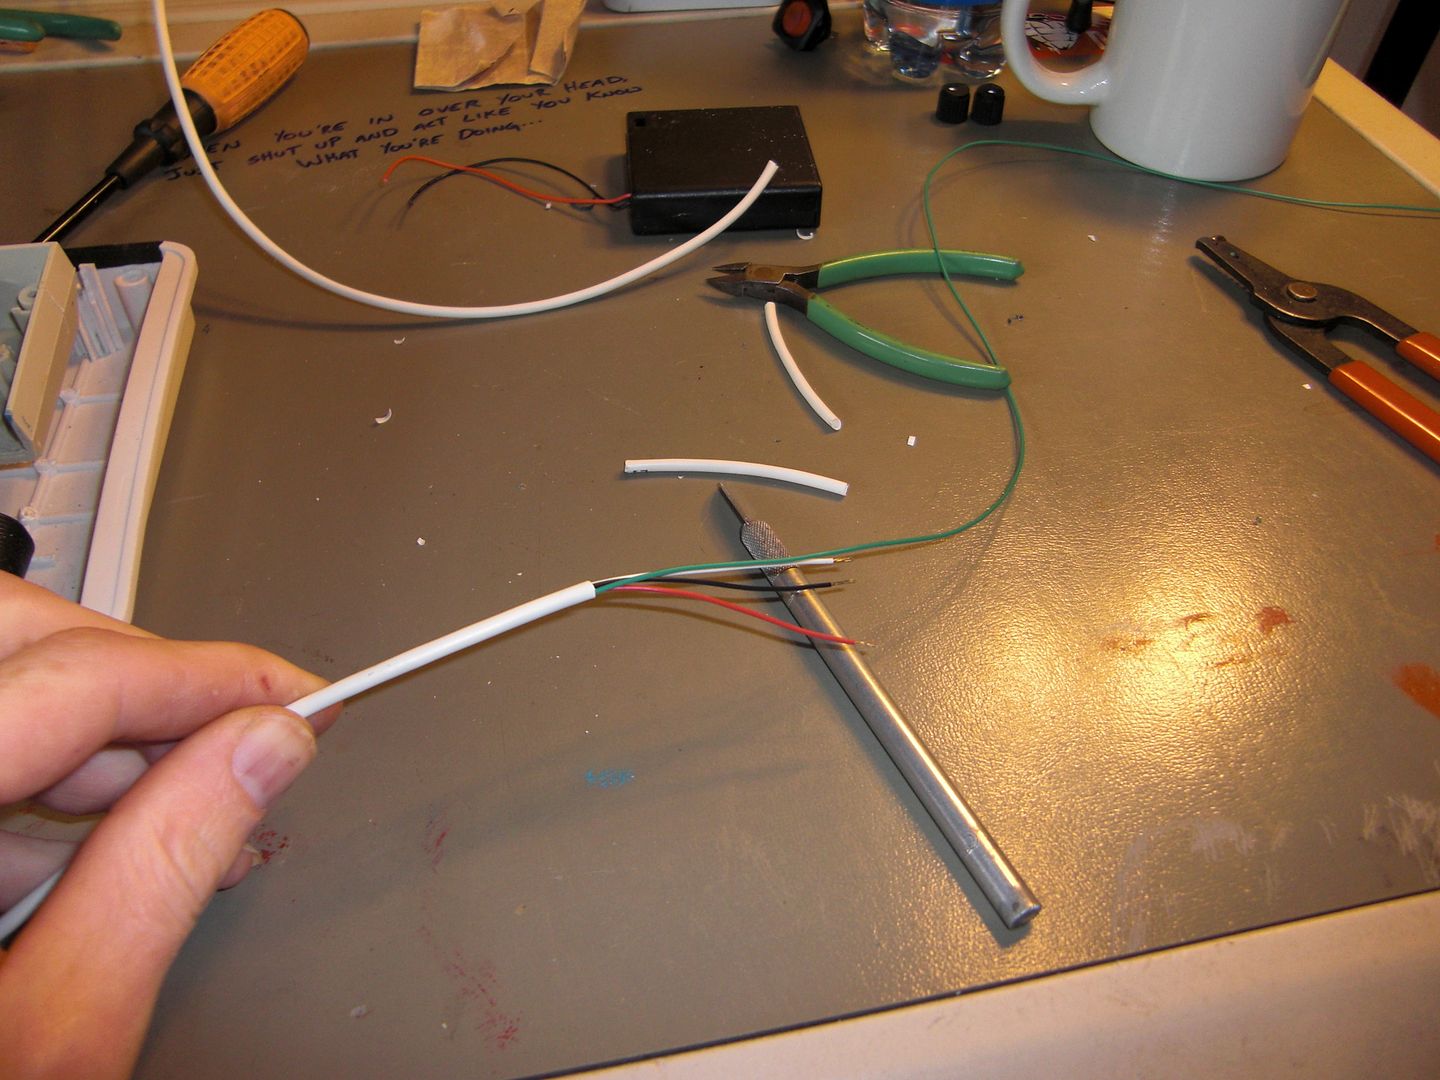
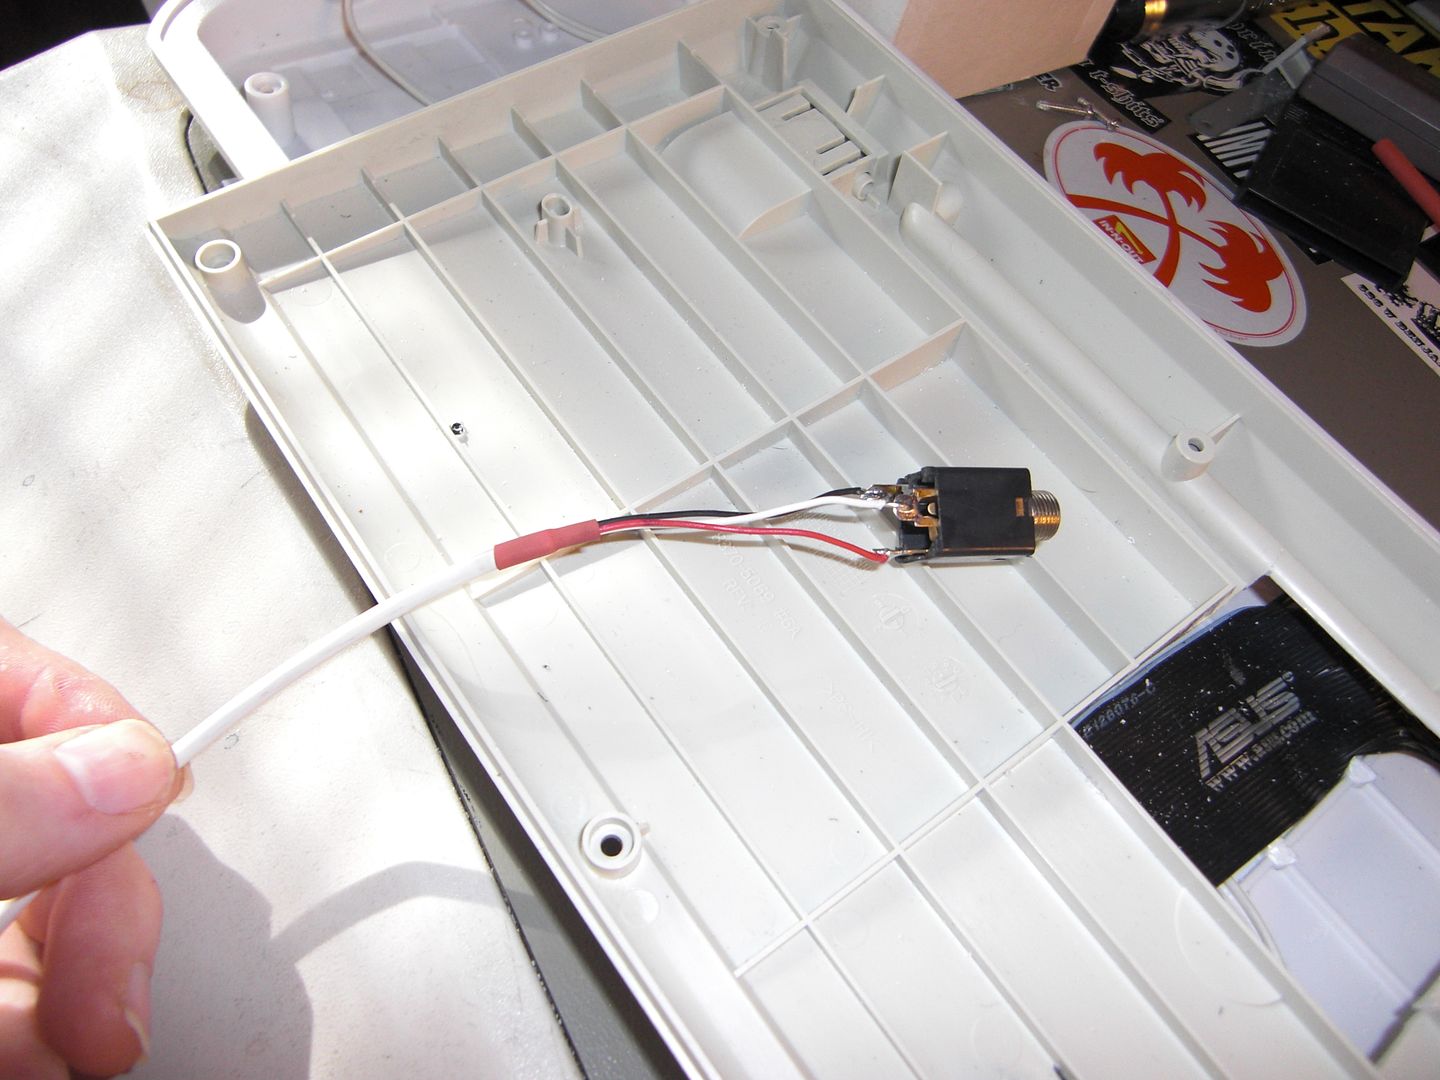
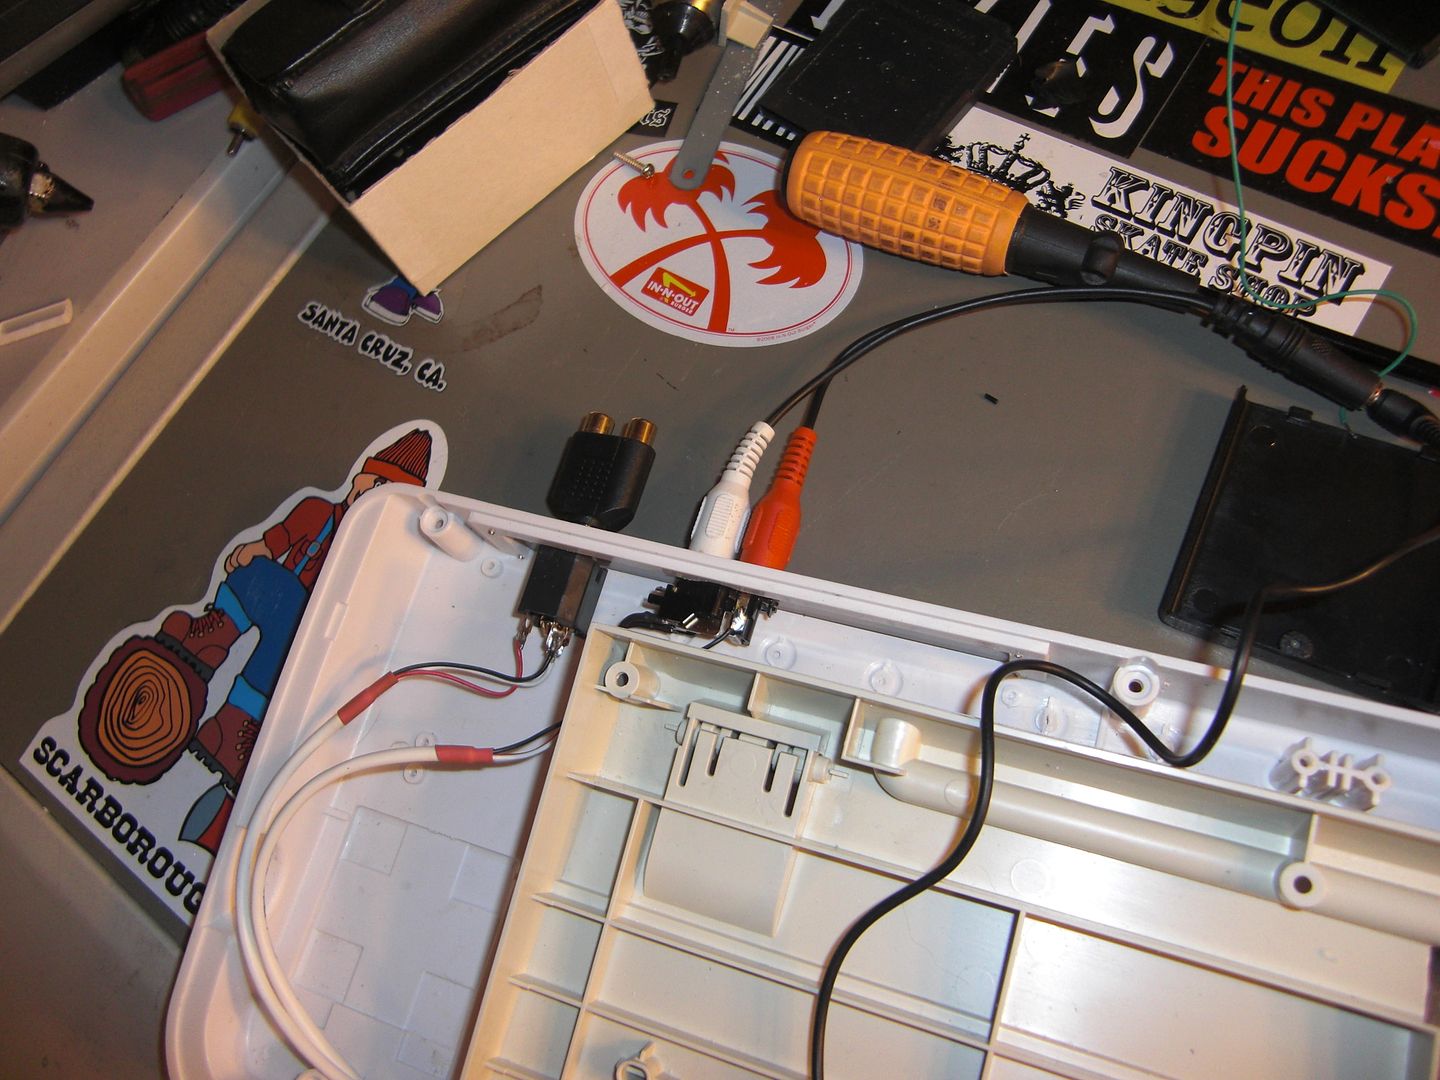
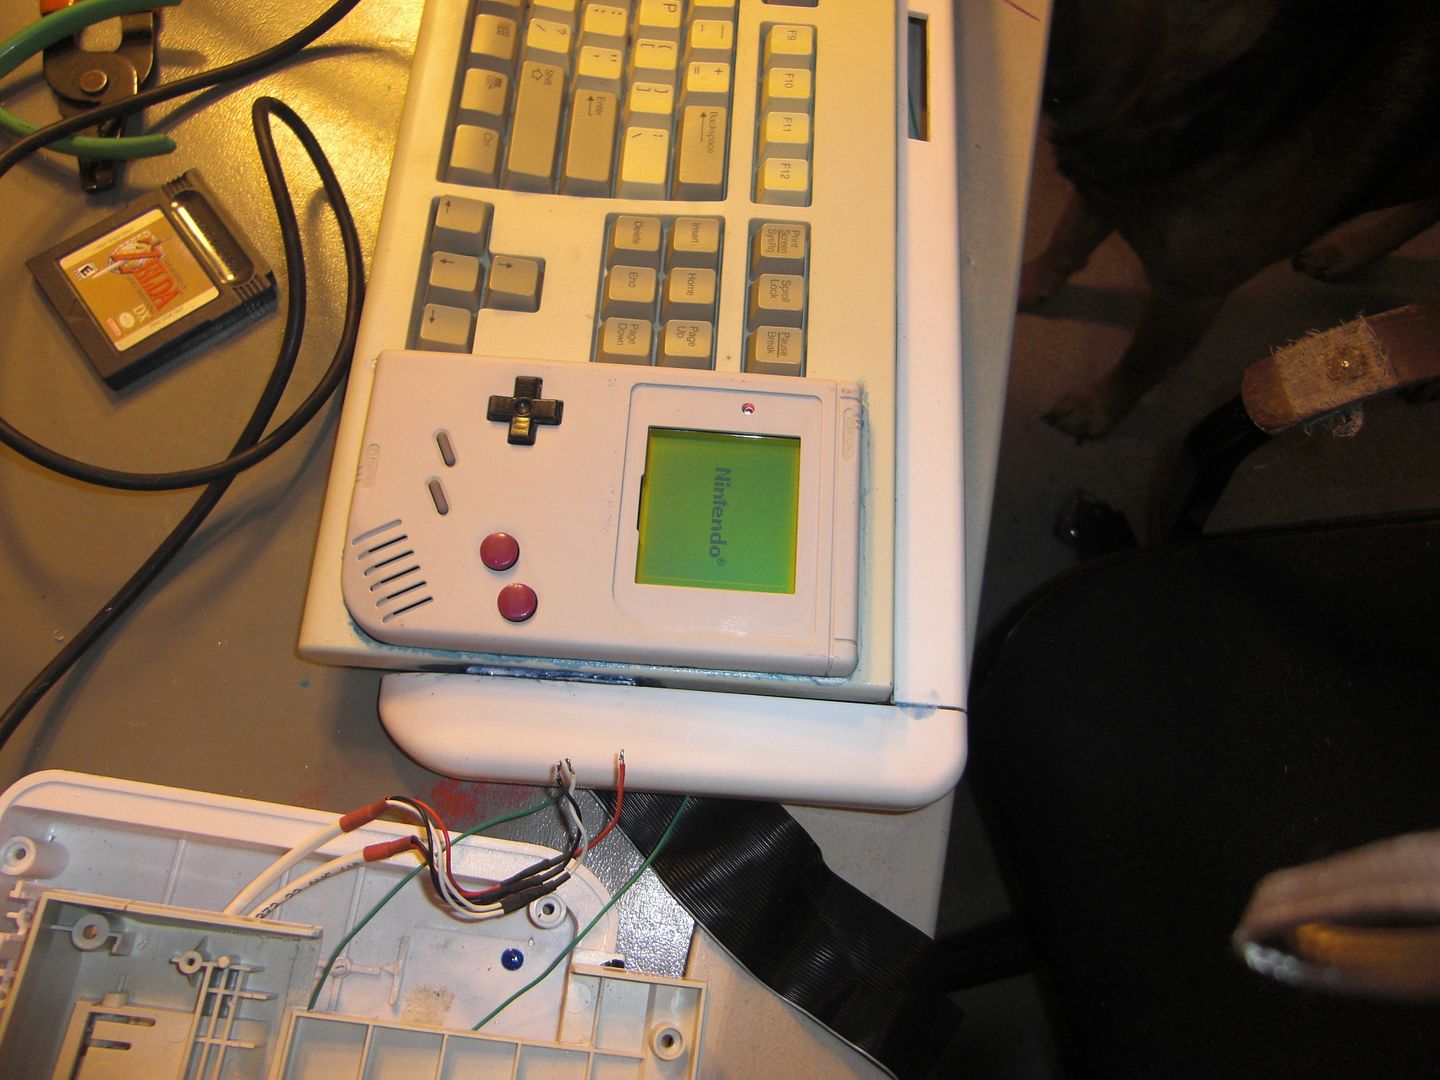
I think I'll start with my 1/4" stereo jack and a length of 4 strand.
I yanked out the green wire (because I don't need it)

› Stranded


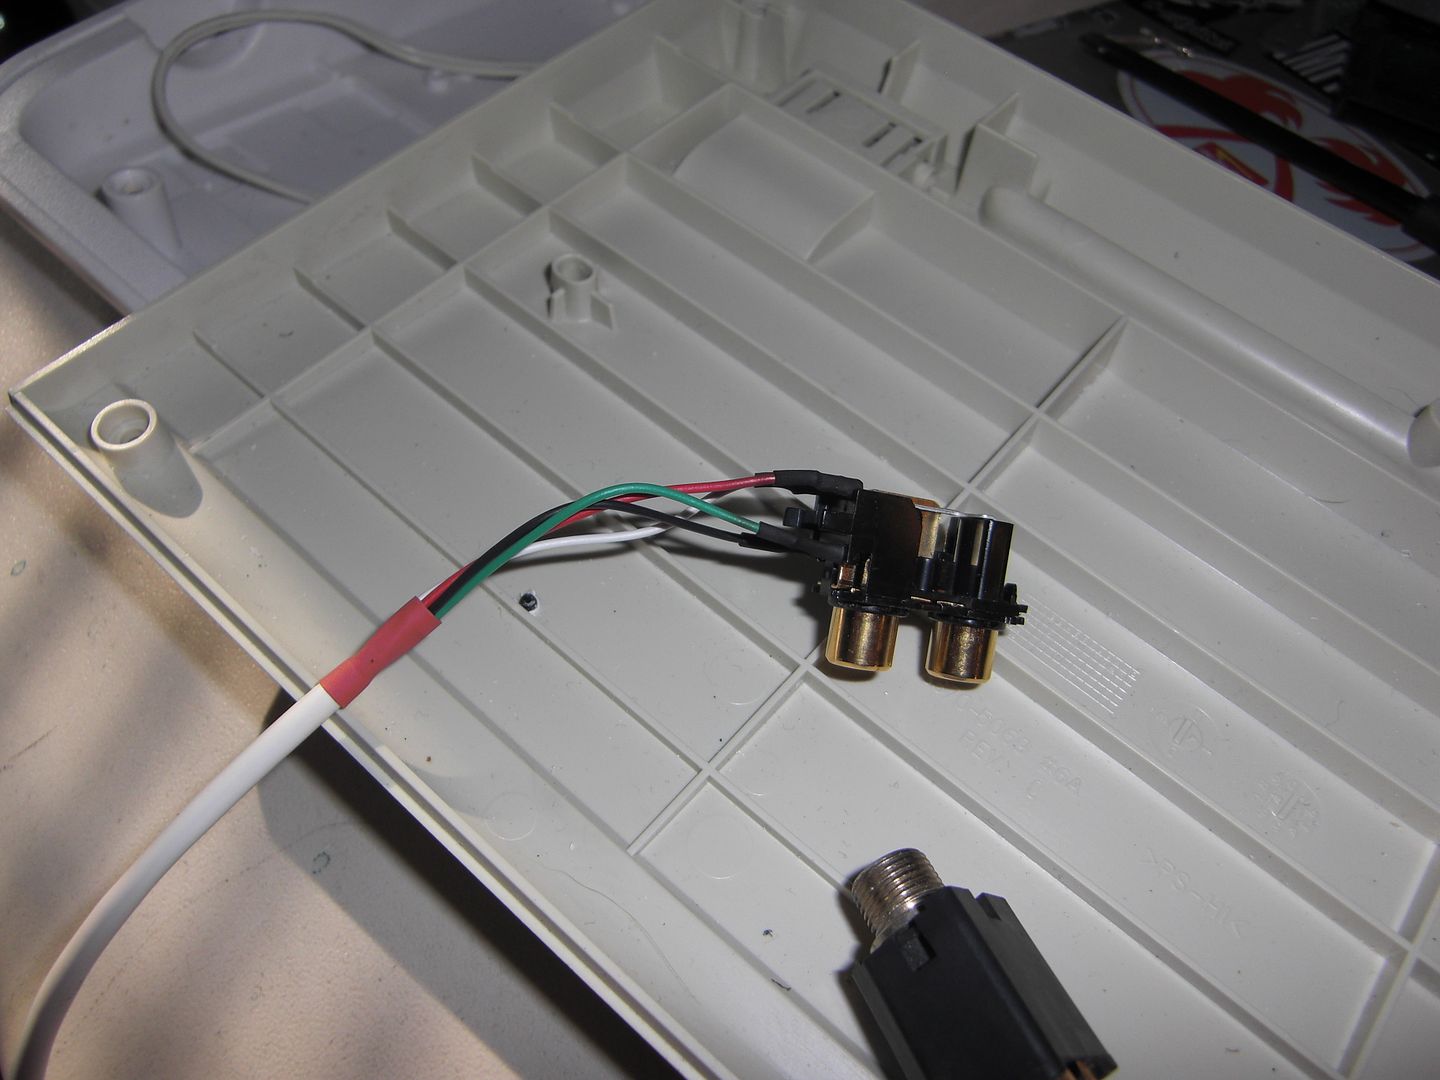
No real place to put shrink tube on the 1/4" so I'm just gonna leave it naked. Then I did the RCA jacks. It was essentially the same as doin... WTF? Shit, you're not going to believe this.

› I wish I could blame this on weed.


Anyway, after some swearing and calling myself a dumbass, I fixed that problem (it's always important to pay attention to what you're doing) and installed the jacks back into my "Window of Truth". I think it looks cool from the outside.

› Picture doesn't accurately depict levels of radness.


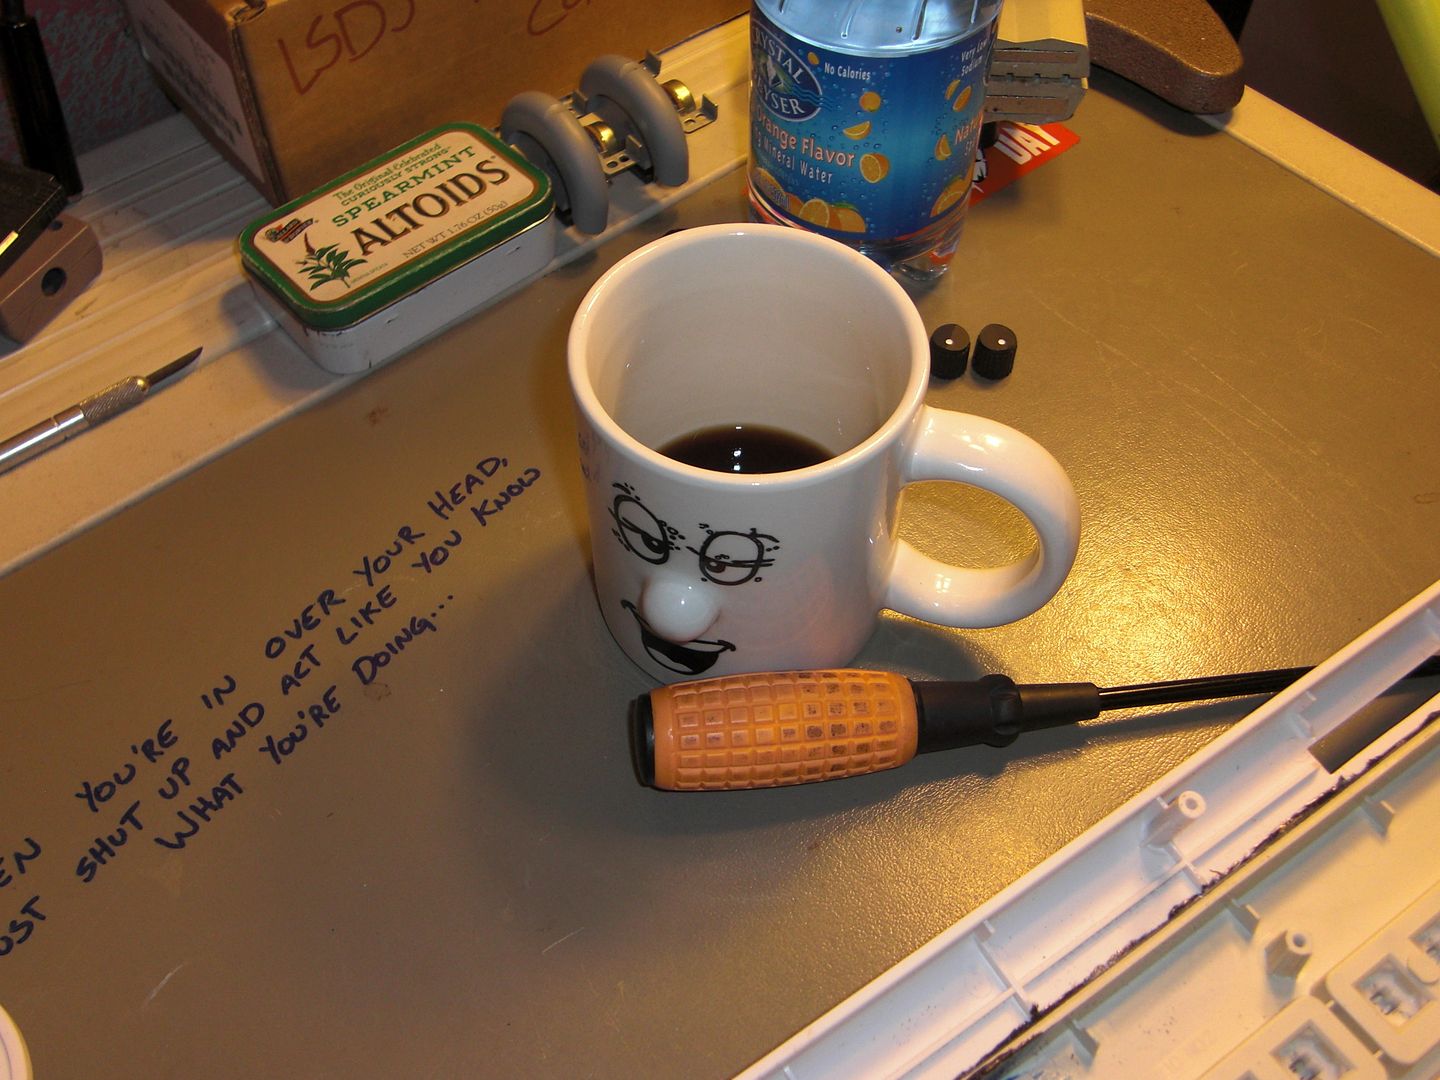
Now my desk is a mess, I'm out of coffee, and it's time for lunch.

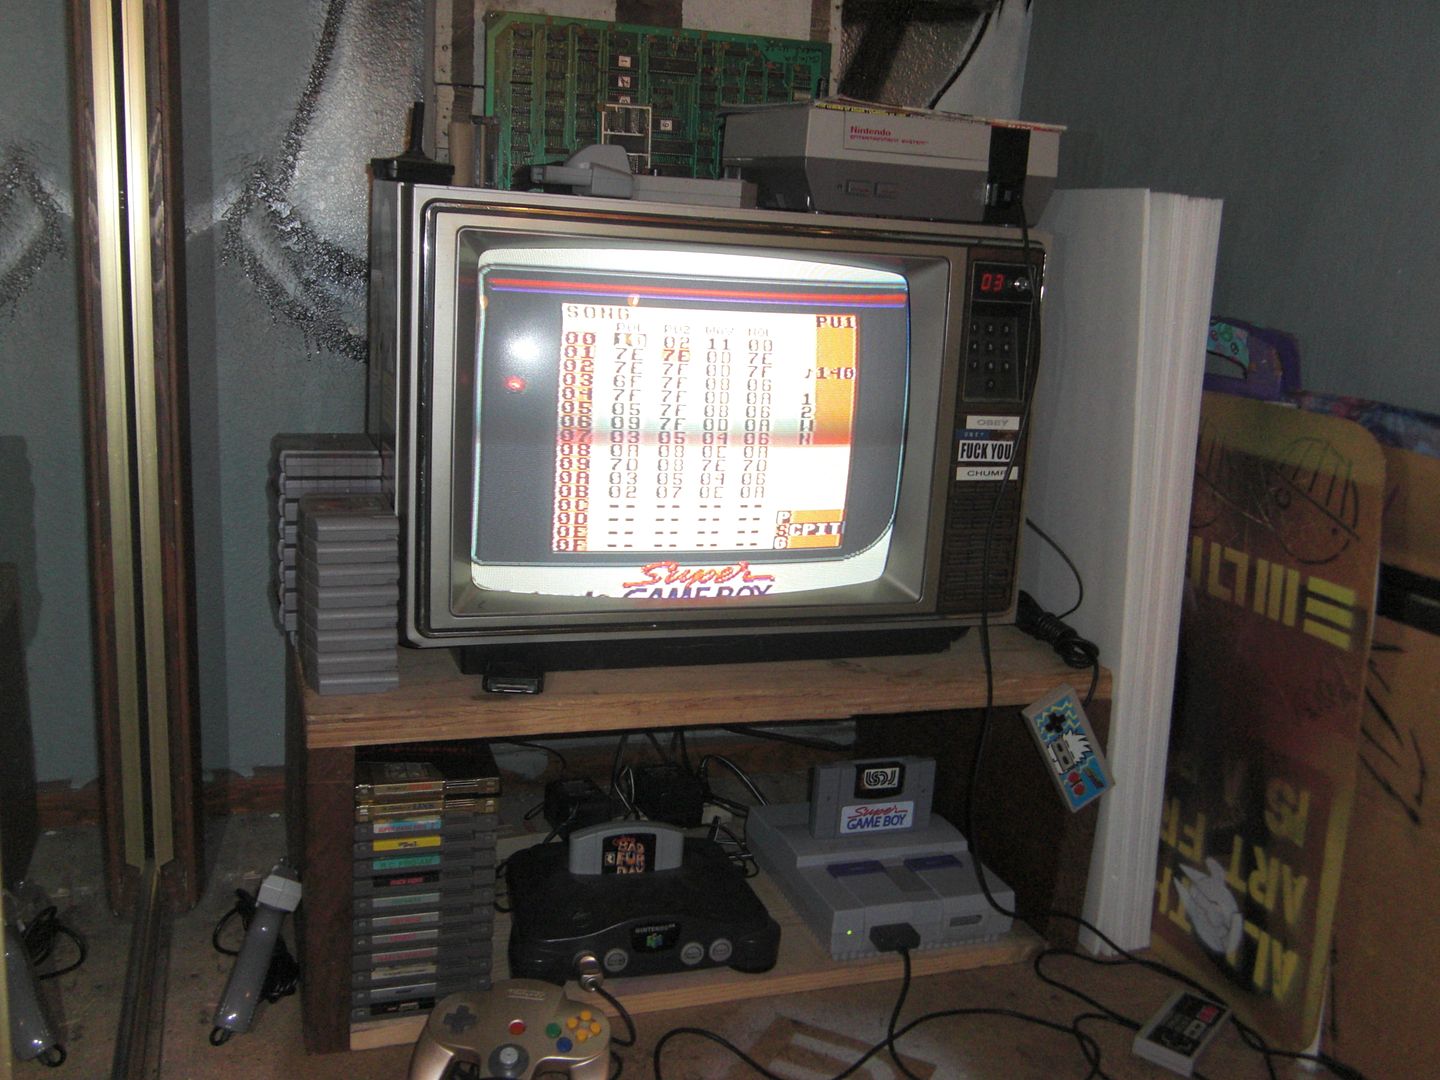
Then it's time to learn some more LSDj before getting back to work. Oh, and this is my little retro corner for games that have to be played on a CRT television.
(Note: I haven't taken a picture of a TV since the early 90's when I was sending in high scores to Nintendo Power)


2/5/2013       7:19 pm

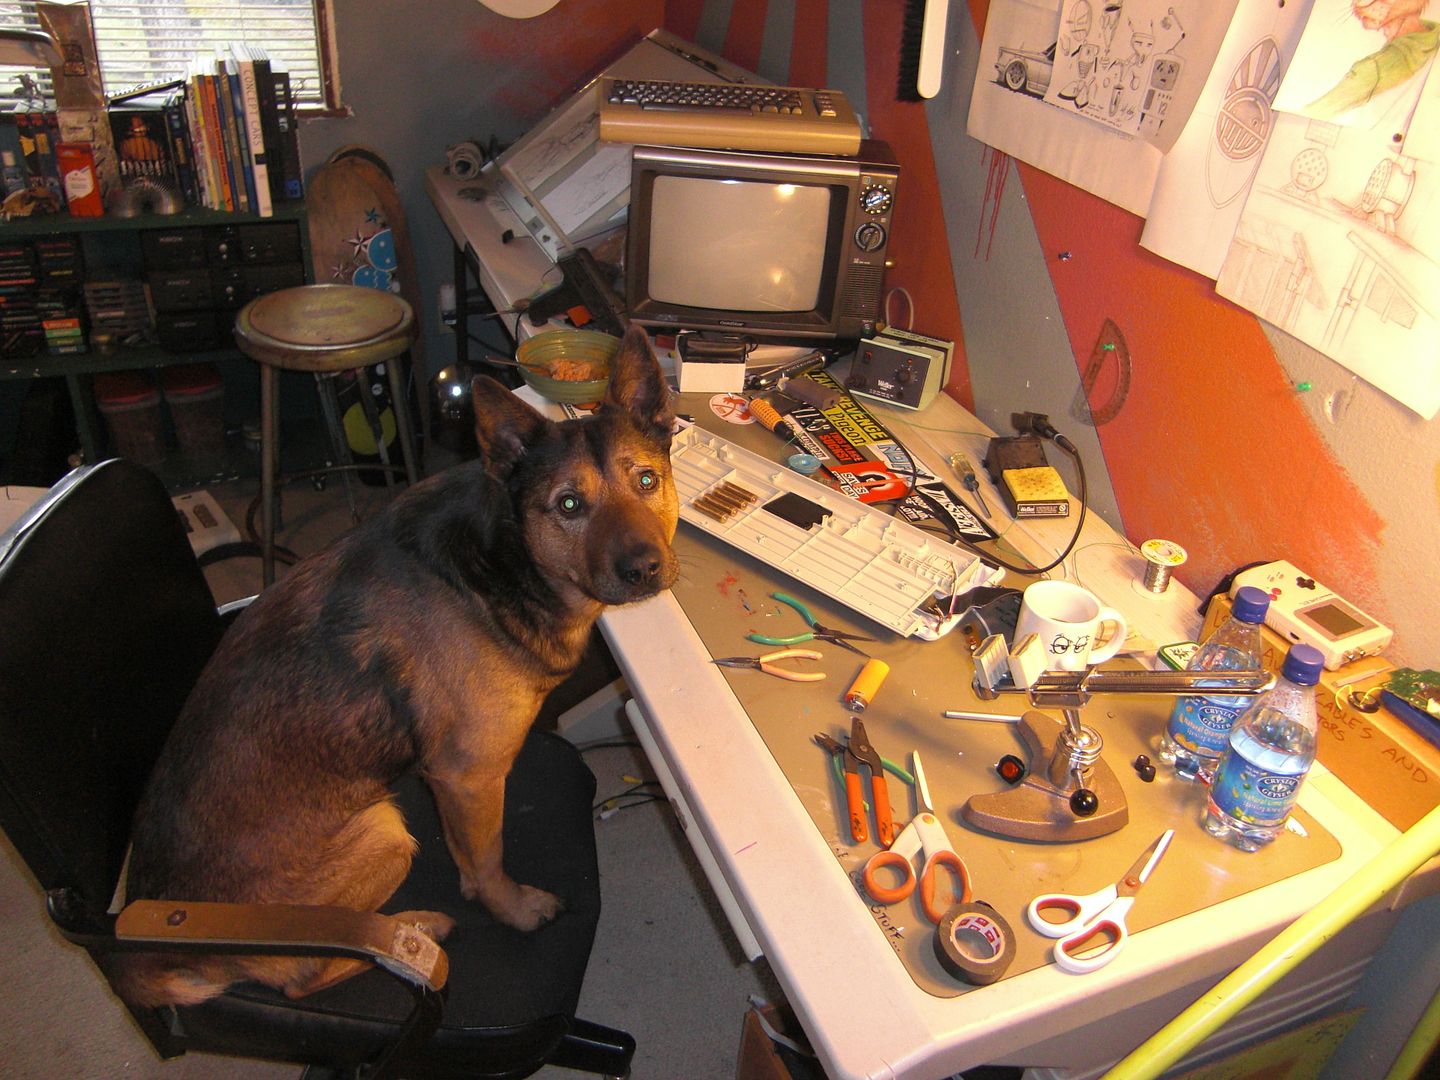
Apparently, coffee and a burrito turns me into a dog.

› Here I am, hard at work.


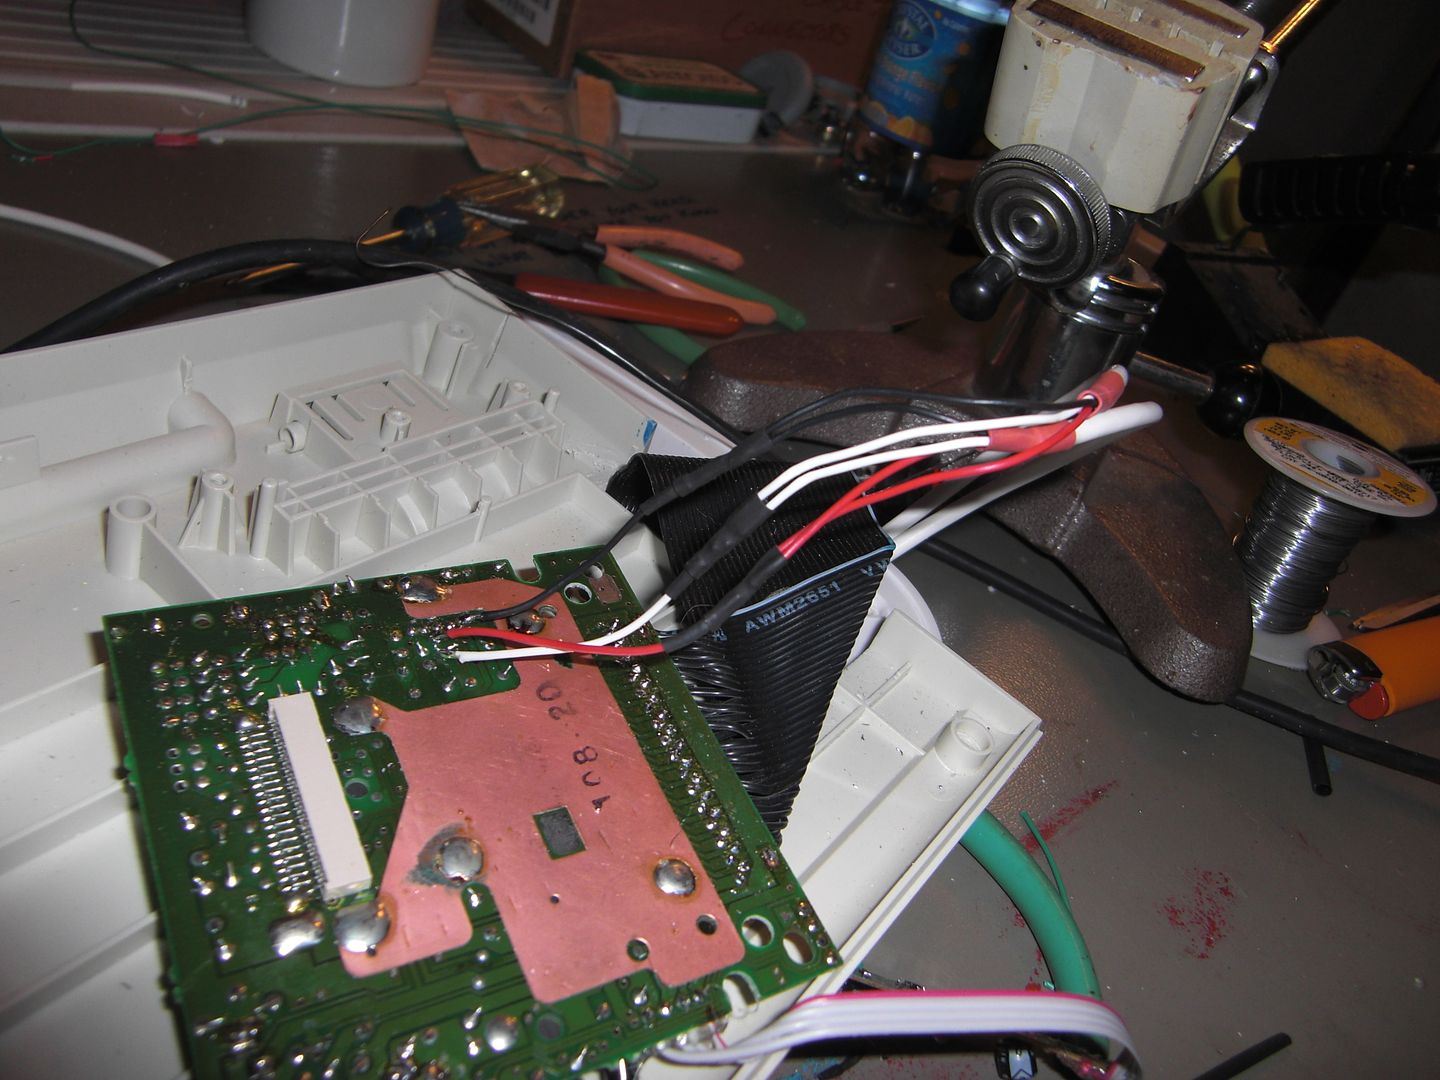
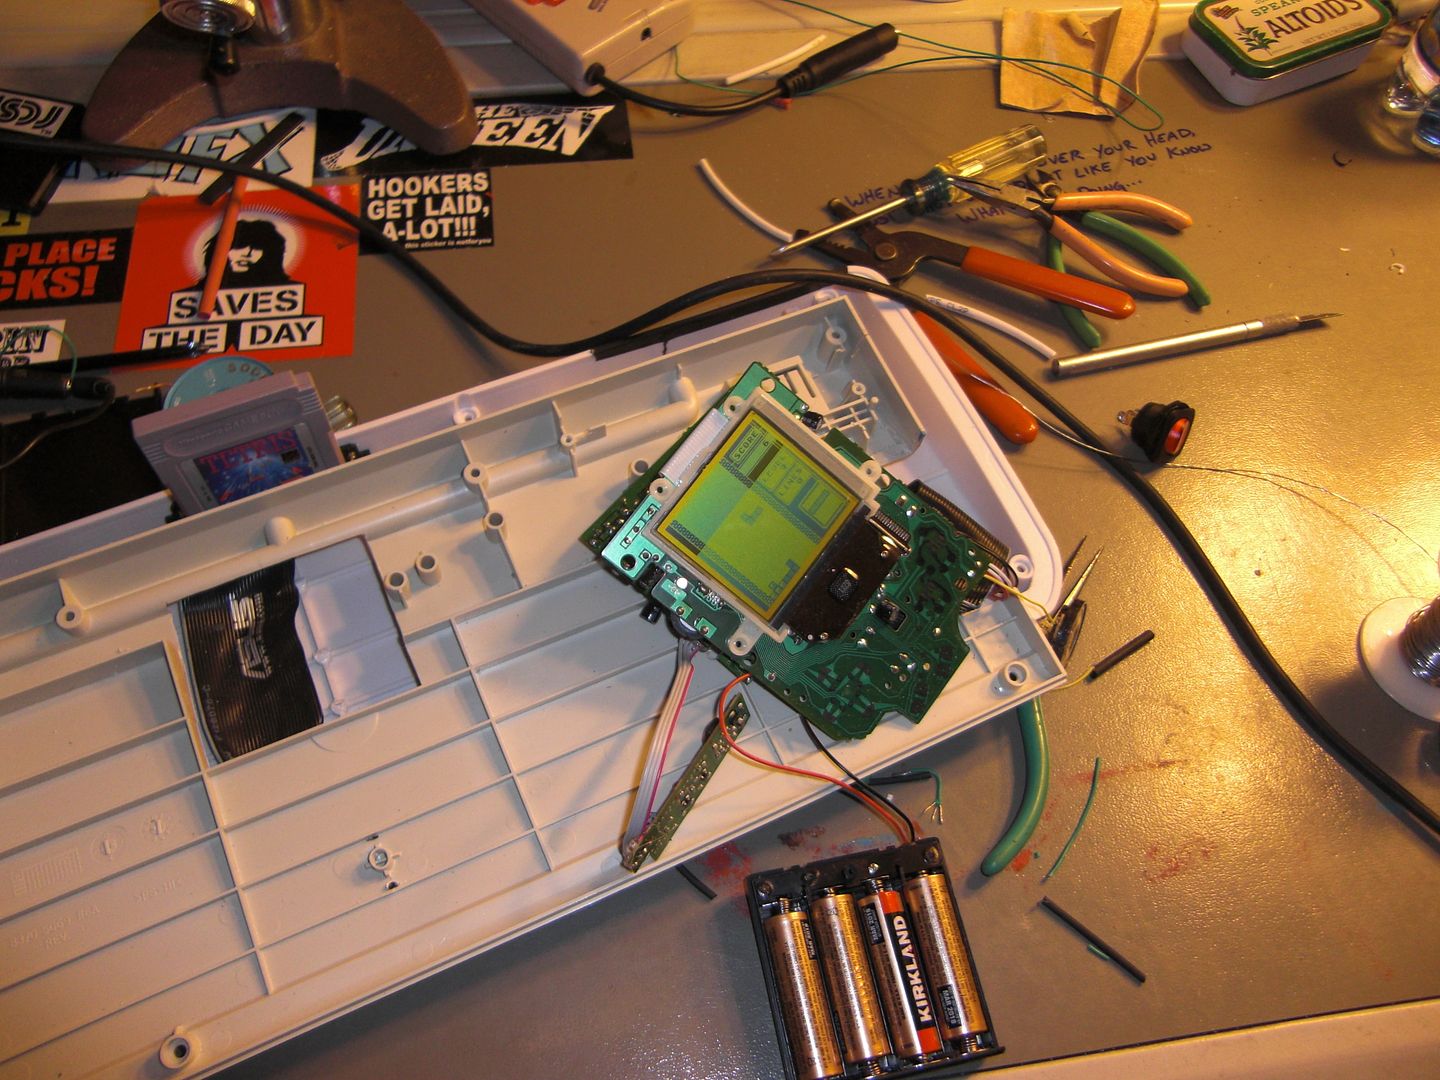
Here's a little more wiring action! Yay! The sound works too (not that I had a doubt).
Remember: Shrink tube IS your friend. Electrical tape will stab you in the back.

› Always wire. Never tired


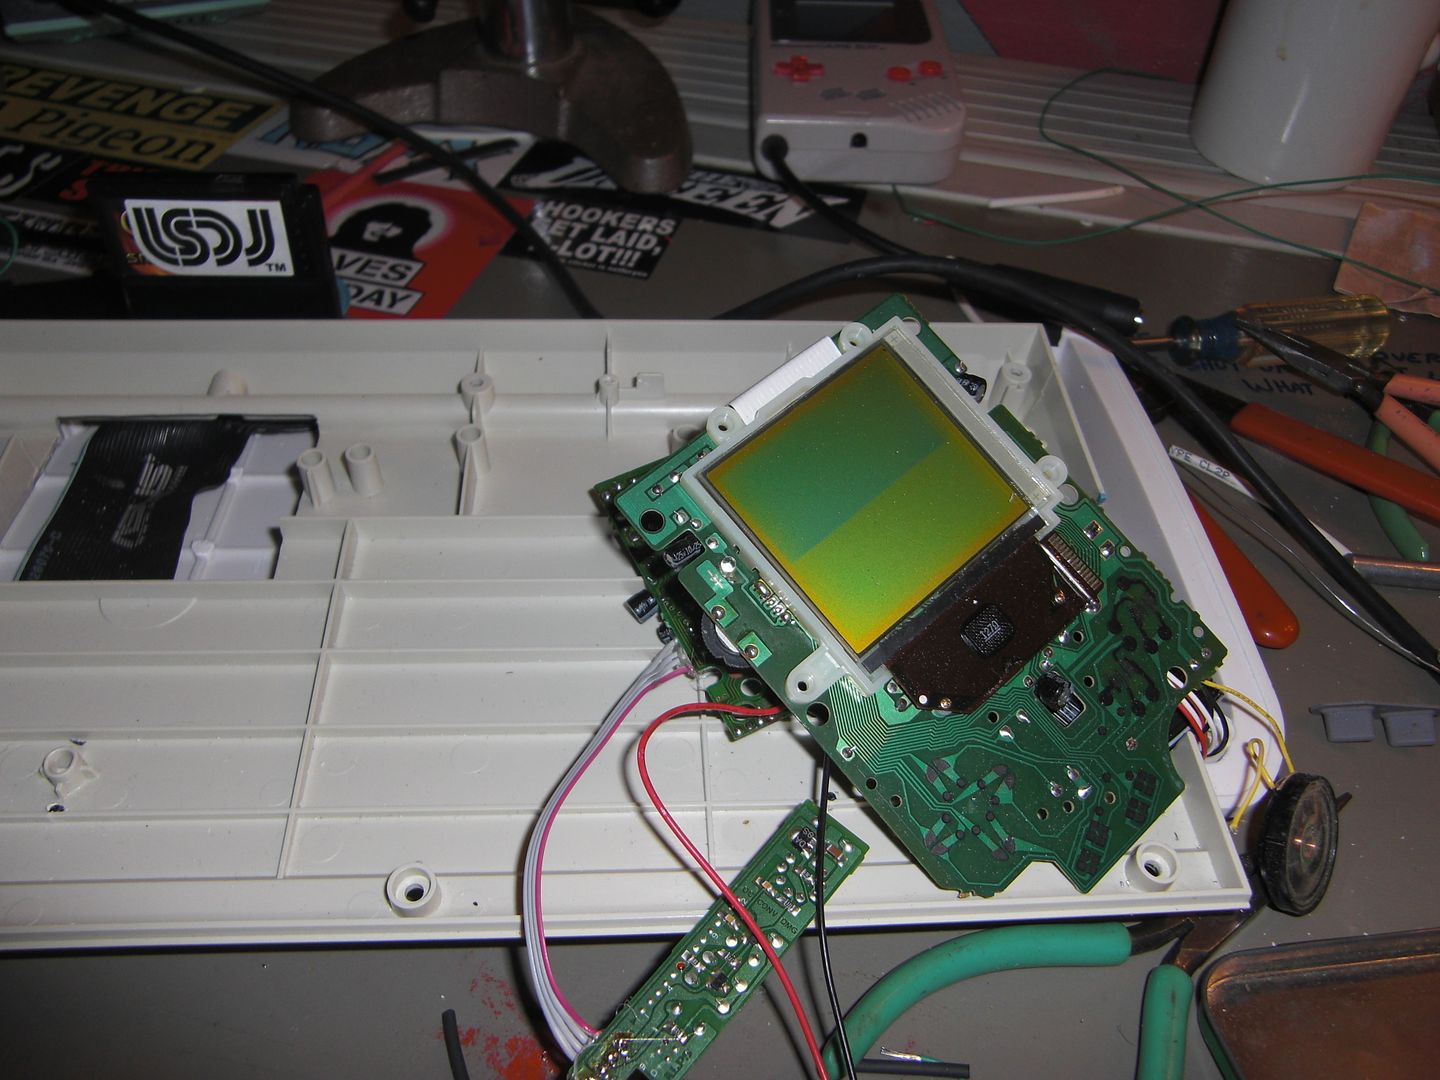
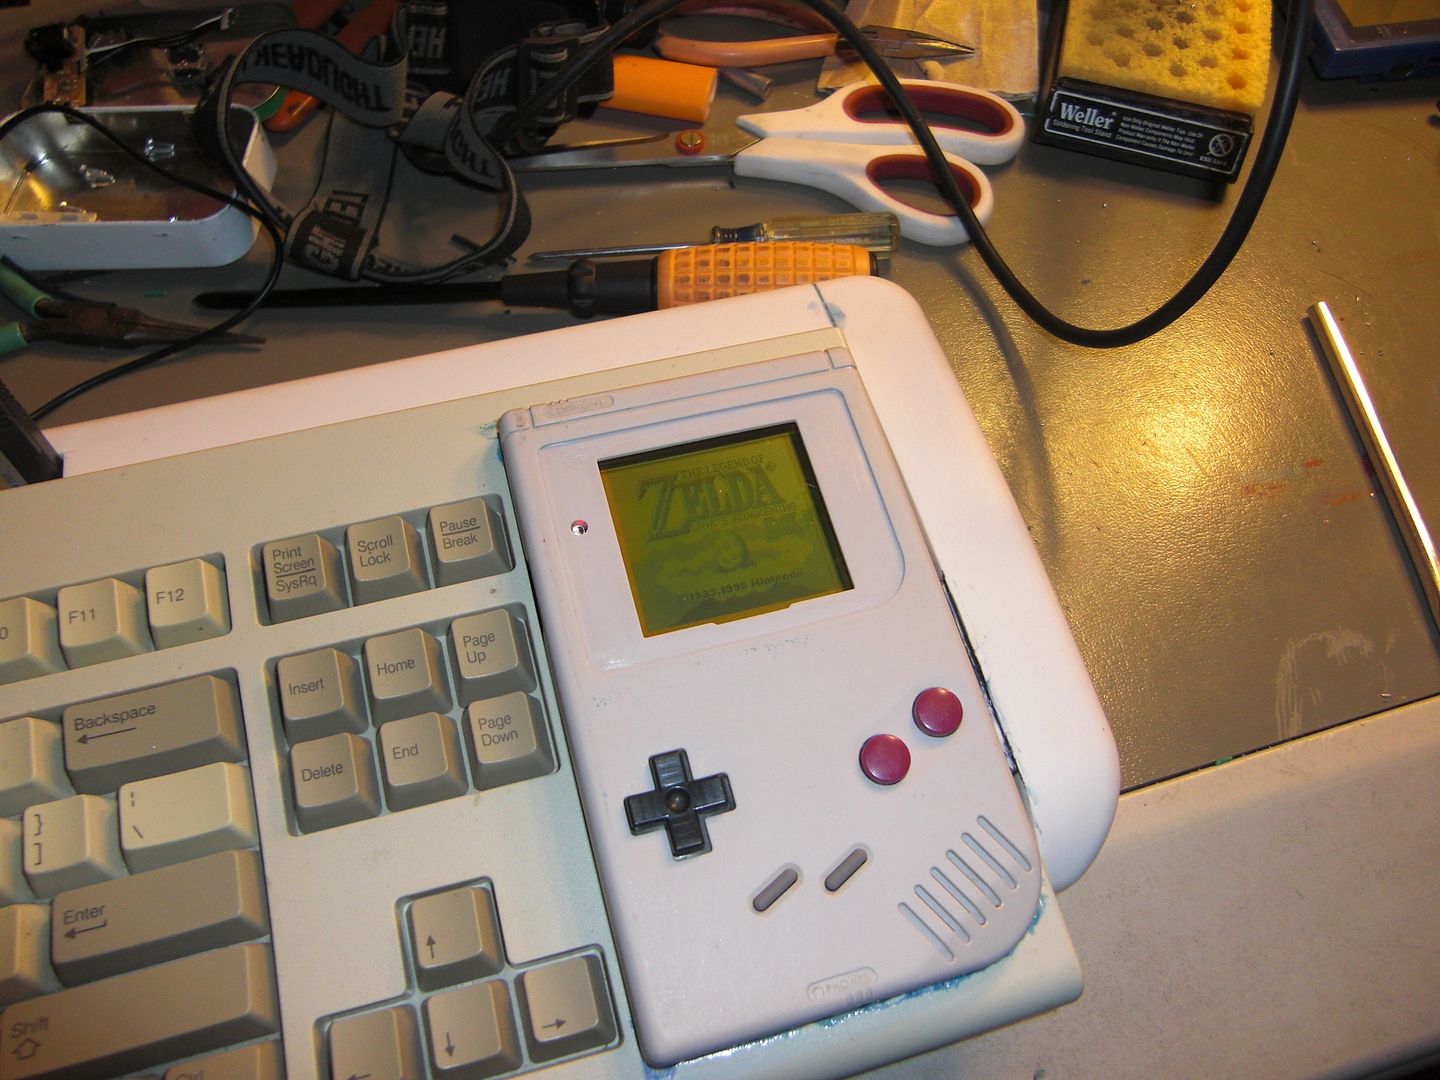
Awesome, now lets plug in LSDj and... wait, what? WTF is this?
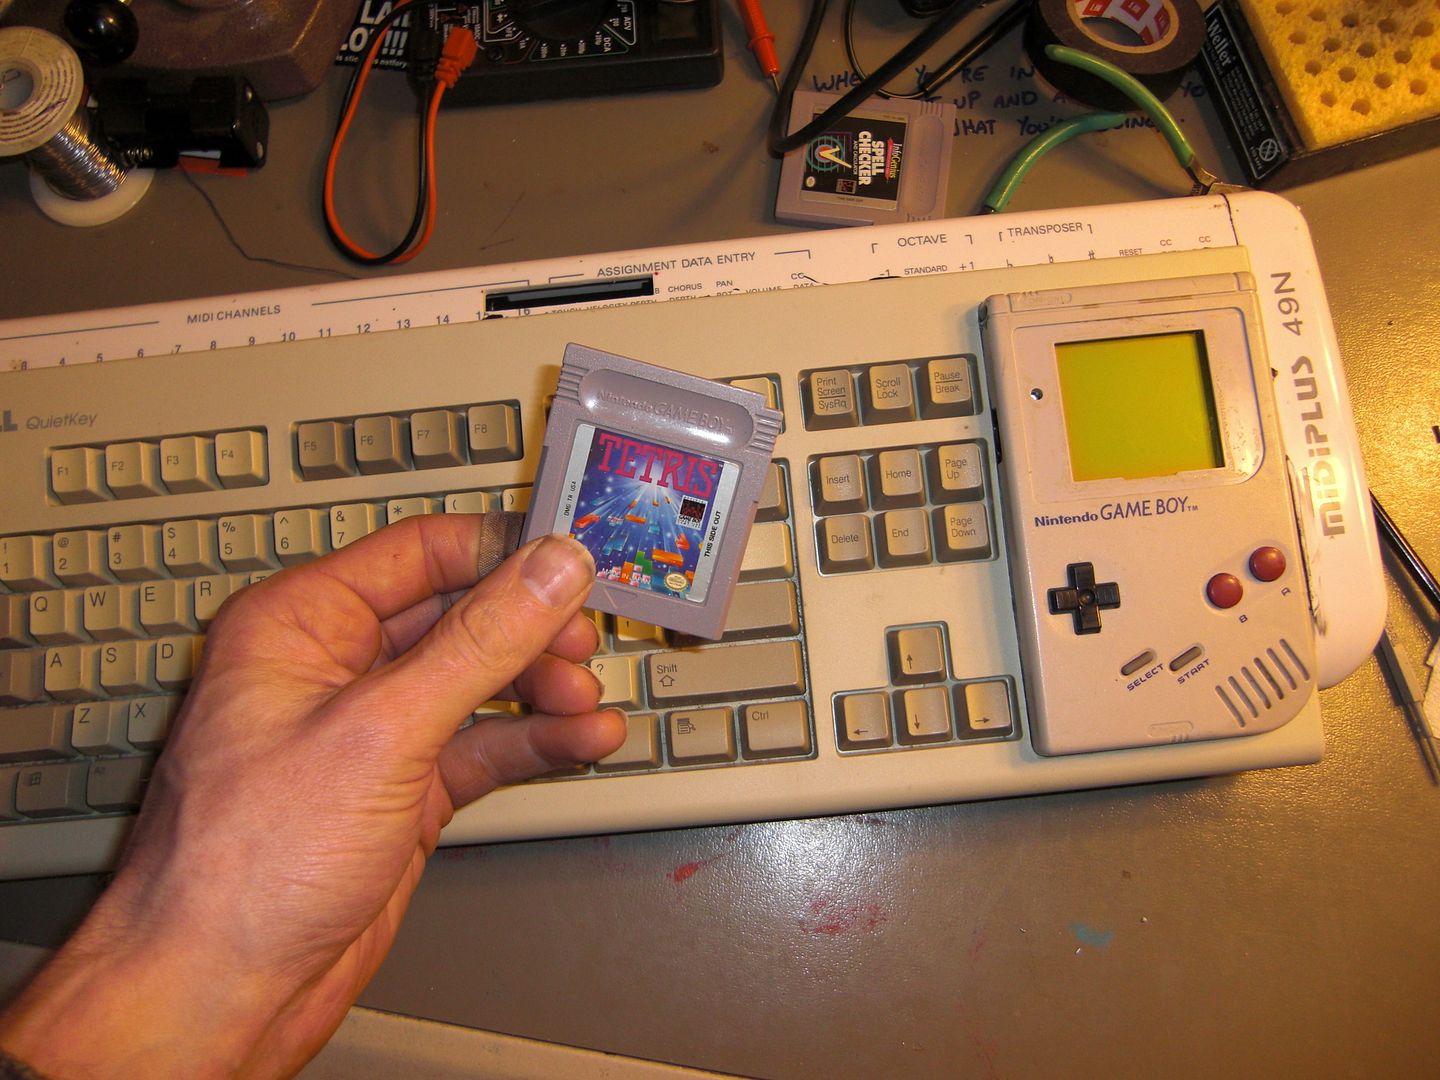
You were just playing Tetris...


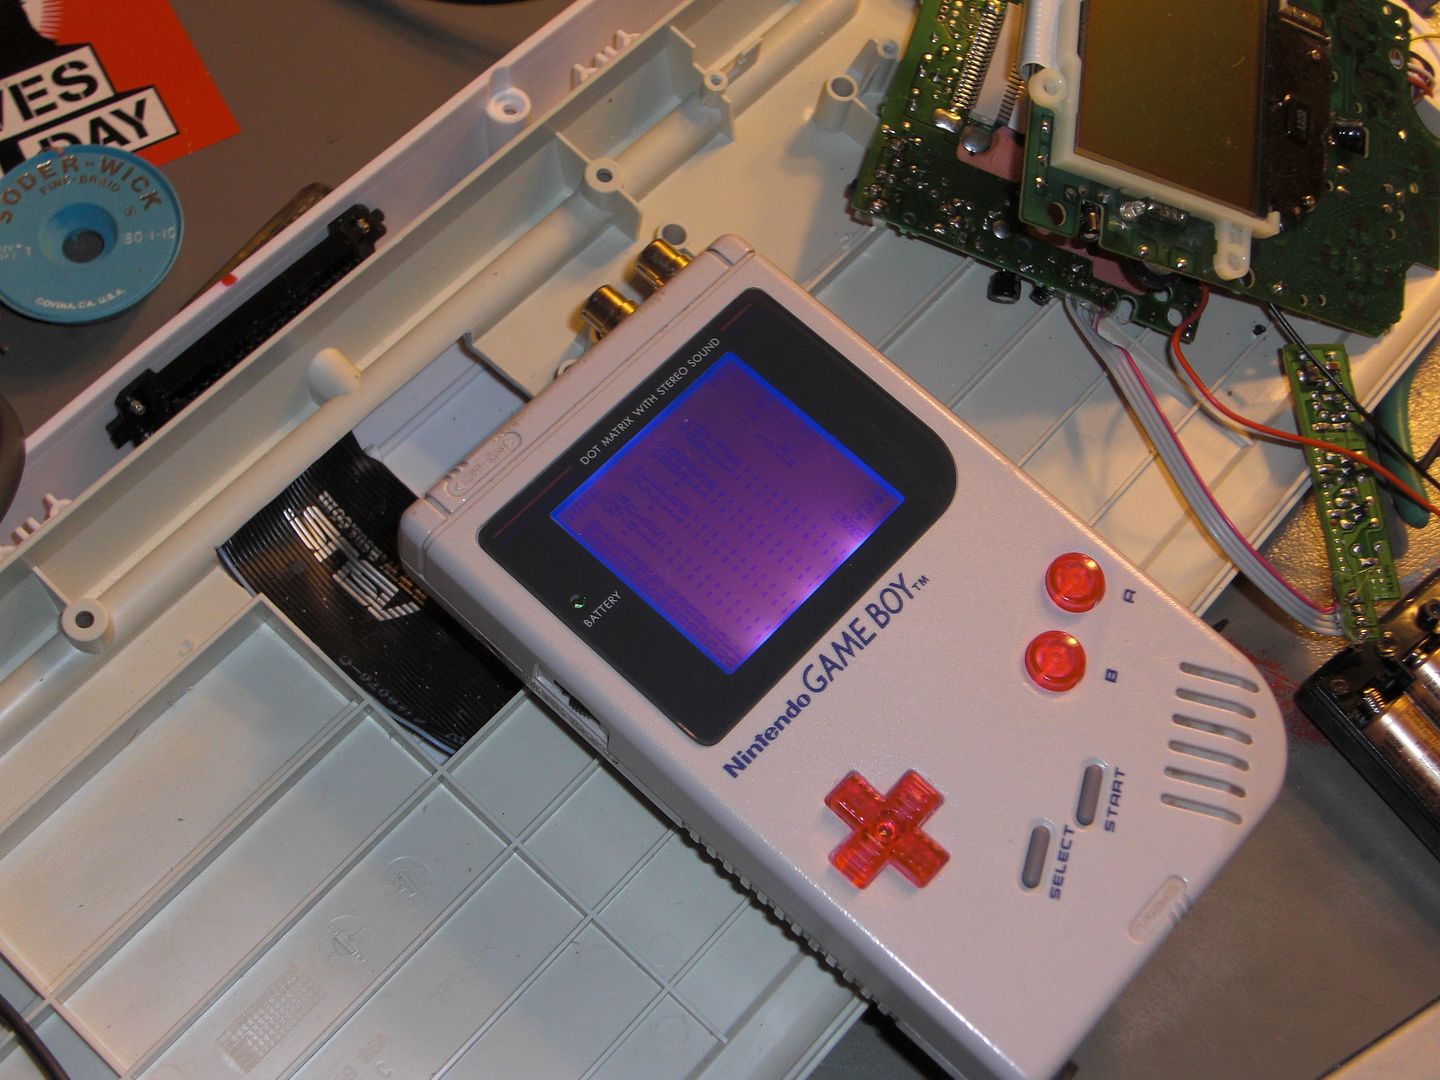
Lets see if you play on the other DMG...

Well, I'm stumped. Alright people, any thoughts?
It plays every other game I have (I checked all 127 carts) but LSDj wont boot. WTF?

Last edited by Teh D3th St4r (Feb 8, 2013 9:33 pm)
Offline
Medina, Ohio

This may sound stupid, but did you try the cart on another gameboy?
Maybe you could:
Reformat the cart via computer.
Try different batteries?
Idk, just some shots in the dark.

Offline
ohio gozaimasu
dsv101 wrote:

This may sound stupid, but did you try the cart on another gameboy?
Maybe you could:
Reformat the cart via computer.
Try different batteries?
Idk, just some shots in the dark.

He said the cart works with every other rom

Offline
Santa Cruz, California

2/5/2012       7:58 pm

DISCOVERY!
I didn't try all of my games (forgot the ones in my backpack).
Apparently it has something to do with batteries and the save feature.
When I plugged in Link's Awakening and my Pokemon games, the same thing happened: The "Nintendo" came down, BLING!, and then NOTHING.
Seriously guys, I have no idea what's going one here. Help me out.

2/5/2012       8:45 pm

There was a wiring issue. I found a solder bridge between pins 15 & 16 on the board side of the ribbon cable.
I'm also going to shorten the cable by several inches (I had left it long just in case something like this happened).
I'm gonna cross my fingers and solder this pig back together.
Wish me luck.

2/5/2012       10:27 pm

*sigh* I rewired the whole thing. Still doesn't work, but there is progress: Both Pokemon and Link's Awakening bleep and bloop before not booting.
Again, the only games that don't work are the ones that have a memory bank. I guess the wires are too long.
Well, this complicates things a little bit. Not sure how I'm going to solve this one... guess I'll go study some DMG schematics (it's probably something stupid/simple that I overlooked).

2/6/2013       2:11 am

Okay, here's some happenings of untold weirdness:
I went over ALL of the connections, implementing visual and electrical inspection... no issues found.
I re-soldered all of my work. I literally took everything apart and reassembled it.

› Fox Sports Action Replay!


When I put everything back together, it still wouldn't boot LoZ, Pokemon, or LSDj...
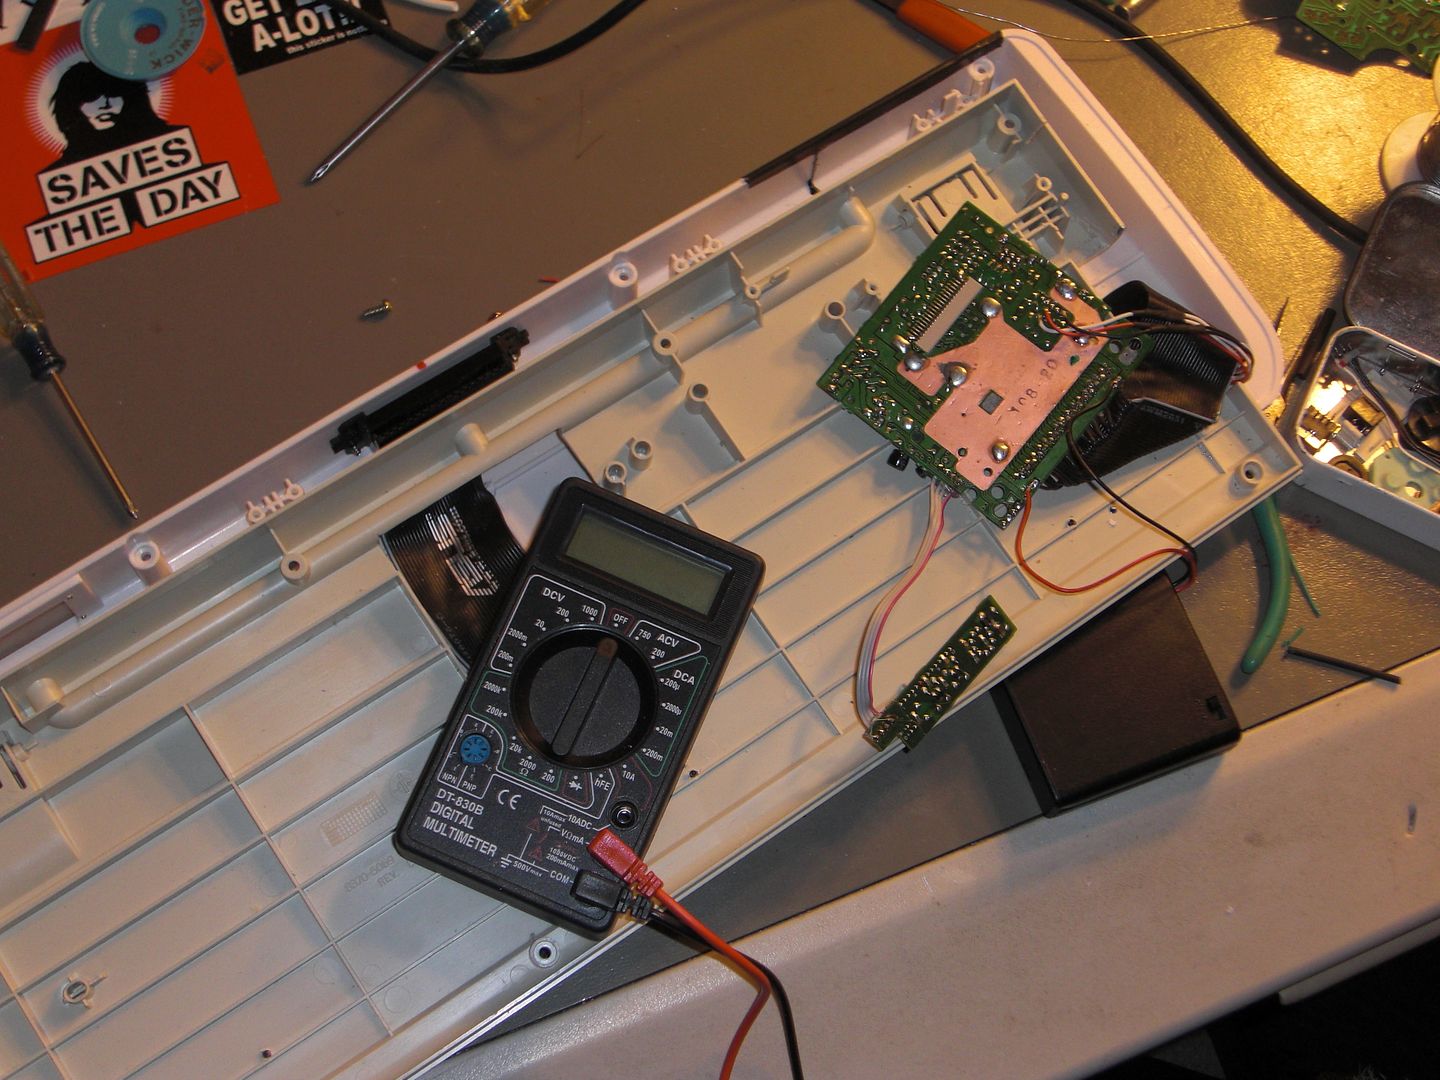
I was getting ready to go to bed, and decided I would sleep better if I installed my rocker switch and completely assembled the keyboard. Just for the hell of it, I plugged in Zelda and flipped the switch.
For no apparent reason, Link's Awakening started... it was glitchy, but it was working. Here's the thing: it only works intermittently, and I can't actually play the game. Every time I try access the stored data, it freezes, crashes, or restarts.

I'm thinking that my motherboard might be the problem...
Thoughts?

2/6/2013       1:15 pm

After carefully reviewing pretty much every DMG schematic on the internet, I think I can safely say that the length of the ribbon cable has nothing to do with my problem. After consulting my old man, I have come to the conclusion that what's happening is there's some contact problem along the system, and the higher addresses aren't being accessed.
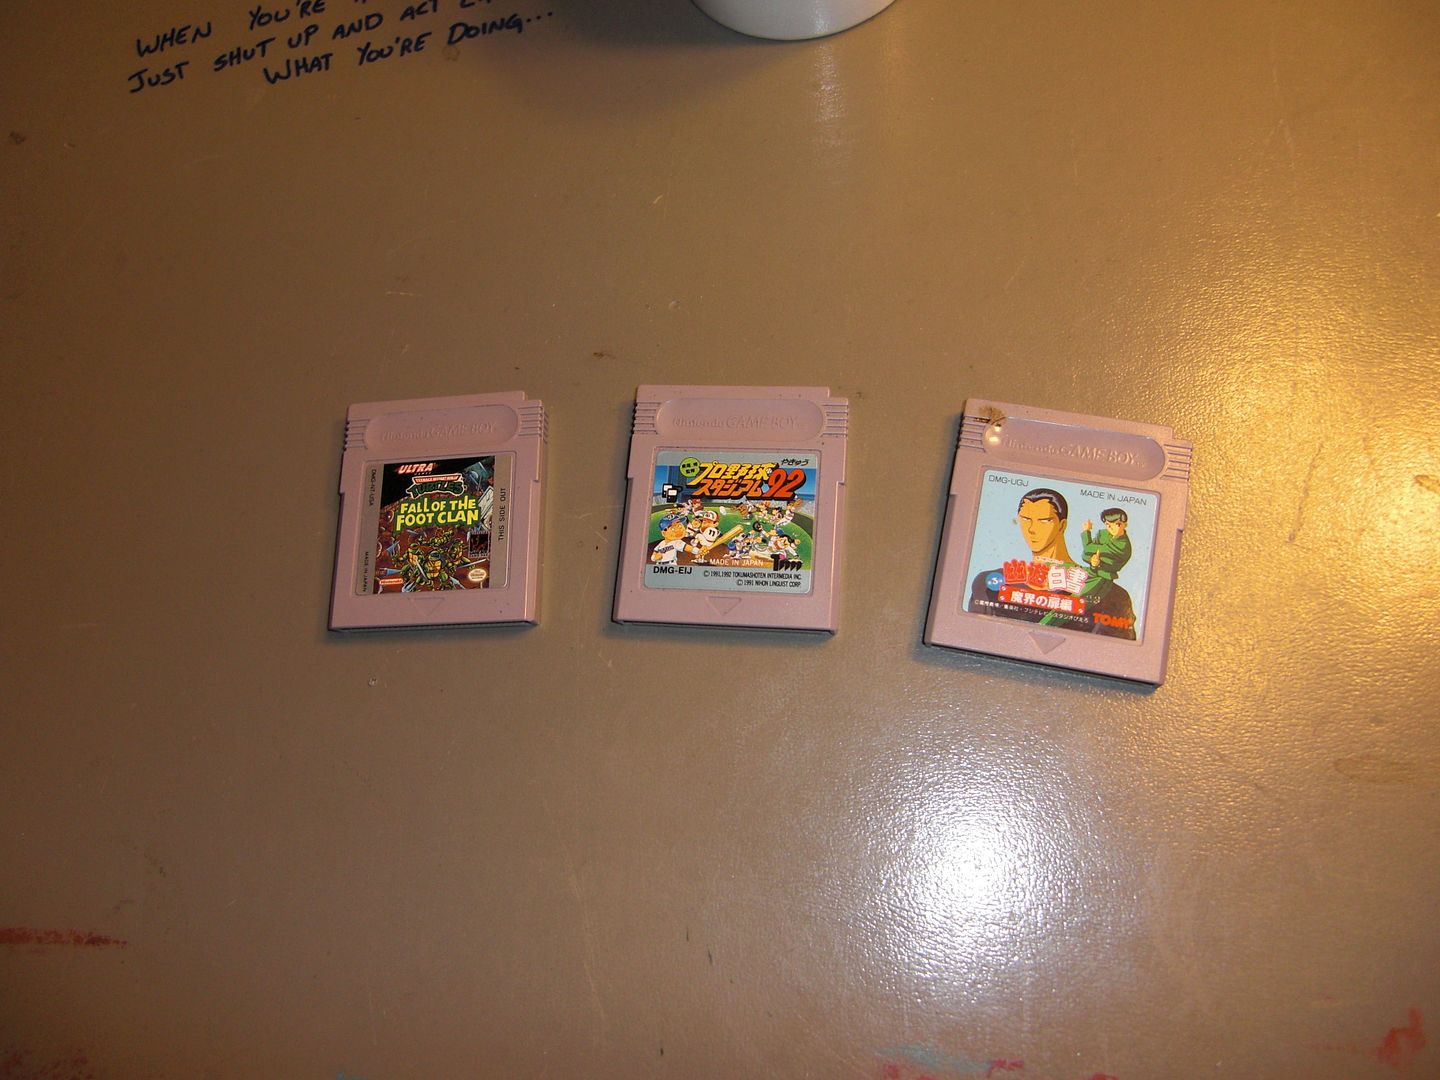
For example; here are some of the games that don't work at all. [spoiler=(save for Zelda, but that can't be played, so we'll call it "not working")
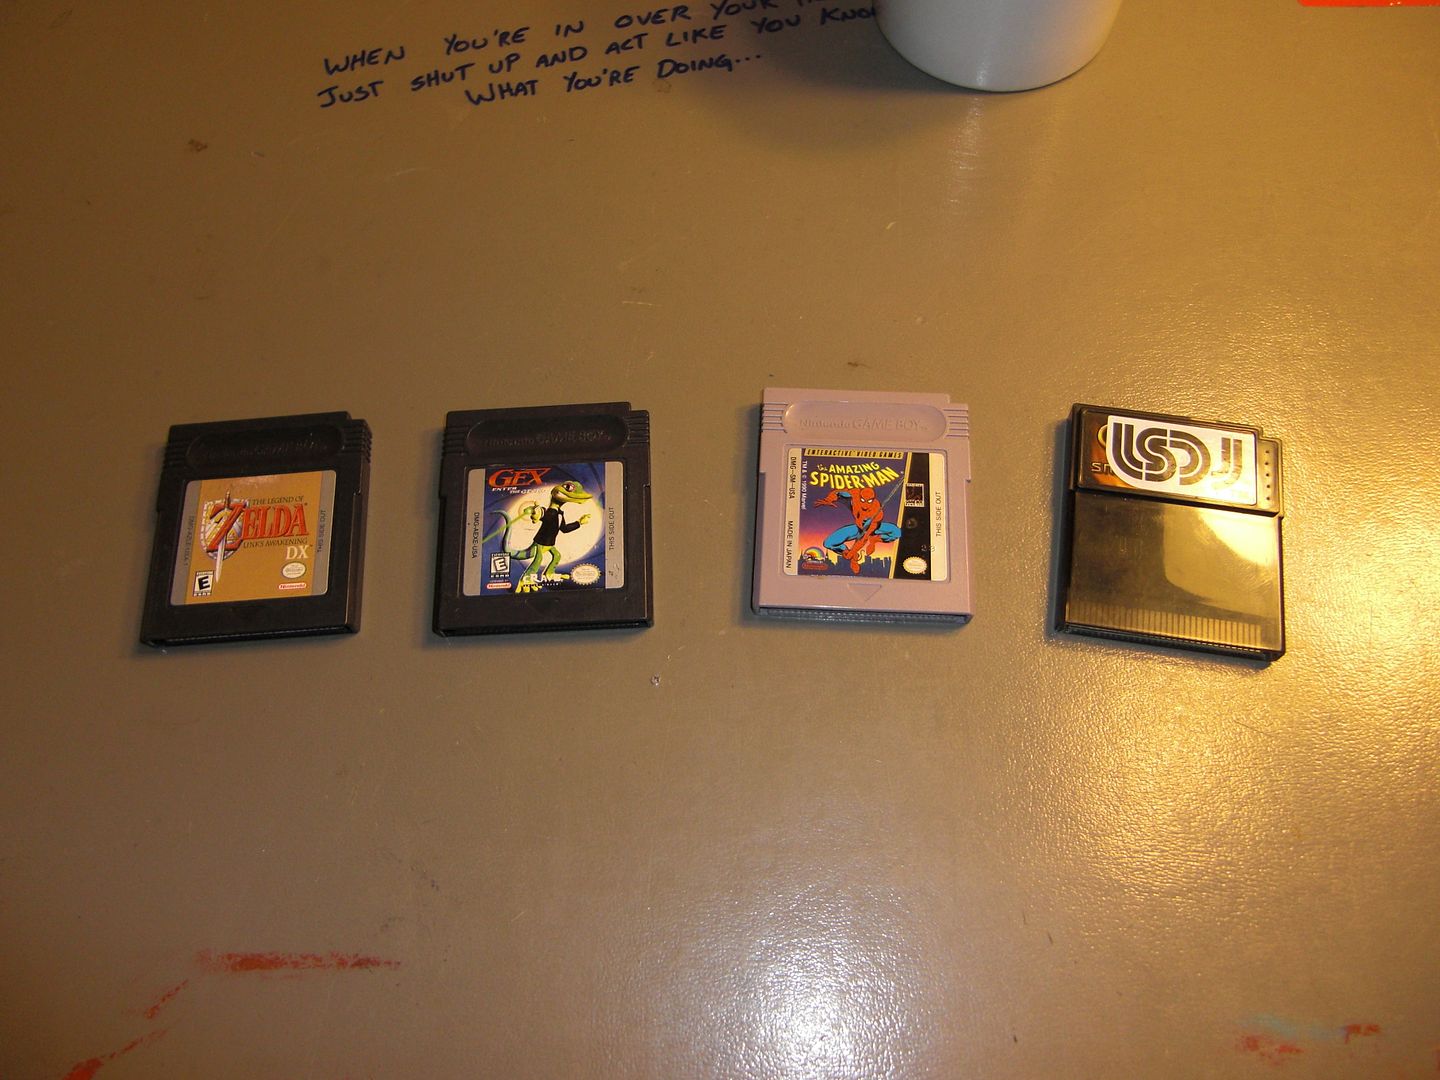

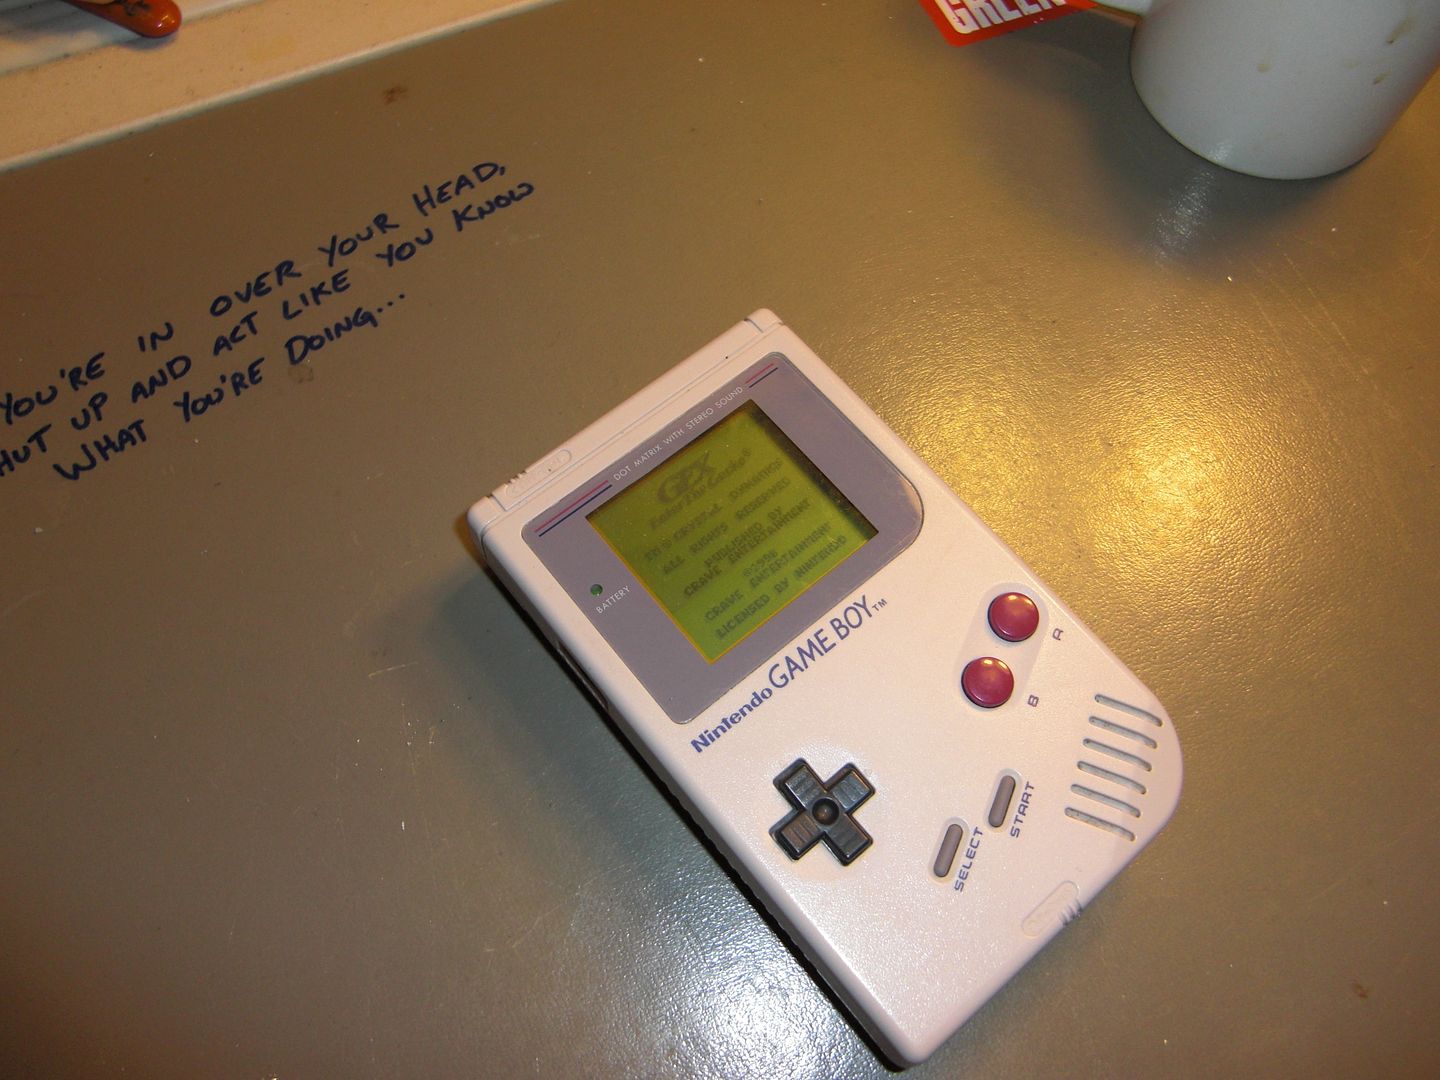
Here's an example of address lines not being accessed. Gex plays just fine on my gaming DMG.
But when it's plugged into the keyboard, it glitches heavily, and doesn't boot.

› Double standards...


Now here's some games that play, but are heavily glitched (graphically). Again, they play perfectly fine on my gaming DMG, but look hella messy on the keyboard. Ninja turtles is interesting, as it plays just fine until a bad guy is on screen, then it freezes and dies.

I suspect that I may have warped the old cartridge port or the pins while working on this thing (I've been bending pins and soldering on it A LOT). So, I'm just going to replace it. We'll go ahead and use this Prosound DMG. Don't worry, it's the first one I built, so the mod isn't that great, and it's parts are going to the greater good.

› Kidney theft.


I have this weird feeling... like I've done this before...

› Déjà vu.


Okay. Let's test it...

Hmmmm... so, now it won't make it past the BLING! This is kinda interesting. Well, I'm already through the rabbit hole on this one. Let's swap motherboards!

› Why the fuck not?


Let's take this thing for a test drive!

Damn... more of this bullshit.
Time for lunch and then I'll check my wiring. I suspect this hangup is actually my fault.

Last edited by Teh D3th St4r (Feb 8, 2013 8:50 pm)