Offline

Recently got a 1/4" prosound mod for my birthday for my second DMG and want to install it, but I have only found this documentation regarding the installation of the 1/8" mod:

I would like to know if theres any full documentation/instructions regarding the installation of the 1/4" prosound mod specifically or whether it is installed in the same way as the 1/8" version?

Help would be appreciated!

J3wel

Offline
California

Im pretty sure its done the same way  making sure you have a Stereo 1/4 female jack. ask Katsumbhong. He does a lot of 1/4 pro sound mods

Last edited by AuburnKitsune (Feb 7, 2014 7:24 pm)

Offline

Yeah thats what I was thinking but some proper instructions would be great to just confirm!

AuburnKitsune wrote:

Im pretty sure its done the same way  making sure you have a Stereo 1/4 female jack. ask Katsumbhong. He does a lot of 1/4 pro sound mods

Offline
Cincinnati, OH

The installation is the same but in order to get it to fit you have to move the board from the bottom left.

I think that with Kitsch cases you can fit the 1/4 jack in the bottom right but in original cases there isn't room for it.

Offline

Thank you very much!

DMGer wrote:

The installation is the same but in order to get it to fit you have to move the board from the bottom left.

I think that with Kitsch cases you can fit the 1/4 jack in the bottom right but in original cases there isn't room for it.

Offline
西安

FYI - I just did this procedure yesterday with a Kitsch shell. The fit is *real* tight, but you barely even have to hot glue/epoxy it in there because it's so snug. Just the right amount of space between battery compartment and side.

The tutorial above (from ASMRetro, I think) worked for me, although on my DMG (and I suspect this is the case for most) the extra board that you need to switch sides doesn't have enough wire length to go over to the right side. I installed the 1/4" prepot and confirmed it works great, but I can't close the case until I get some more wire and 'extend' the wires on the extra board so that I can move it all the way over to the other side and tuck it in.

I can provide a pic if this doesn't make sense.

Offline

Pictures always help smile

viciousitaly wrote:

FYI - I just did this procedure yesterday with a Kitsch shell. The fit is *real* tight, but you barely even have to hot glue/epoxy it in there because it's so snug. Just the right amount of space between battery compartment and side.

The tutorial above (from ASMRetro, I think) worked for me, although on my DMG (and I suspect this is the case for most) the extra board that you need to switch sides doesn't have enough wire length to go over to the right side. I installed the 1/4" prepot and confirmed it works great, but I can't close the case until I get some more wire and 'extend' the wires on the extra board so that I can move it all the way over to the other side and tuck it in.

I can provide a pic if this doesn't make sense.

Offline
Detroit, MI

So is there anything special I should do when swapping out those 4 wires with longer ones to move that little board to the other side of the case? I'm not really sure what I'm doing. :S

Also once that board is out of the way, I know where to connect the wires to the volume pot, but on the other side I'm not sure how to connect them to the actual 1/4 jack...

Anyone think they could help a newbie out?

Offline
西安

So, here's an image that shows the layout of the jack (I had to look this up too). You solder right to the little posts/arms - I had a real fun time setting up my helping hands thingie to do them all at once, but it eventually worked out (yes, I own up to my crap tier soldering).

edit: the shorter post on the jack is right audio, btw - realized image doesn't really show that. long post is left, hook is ground.

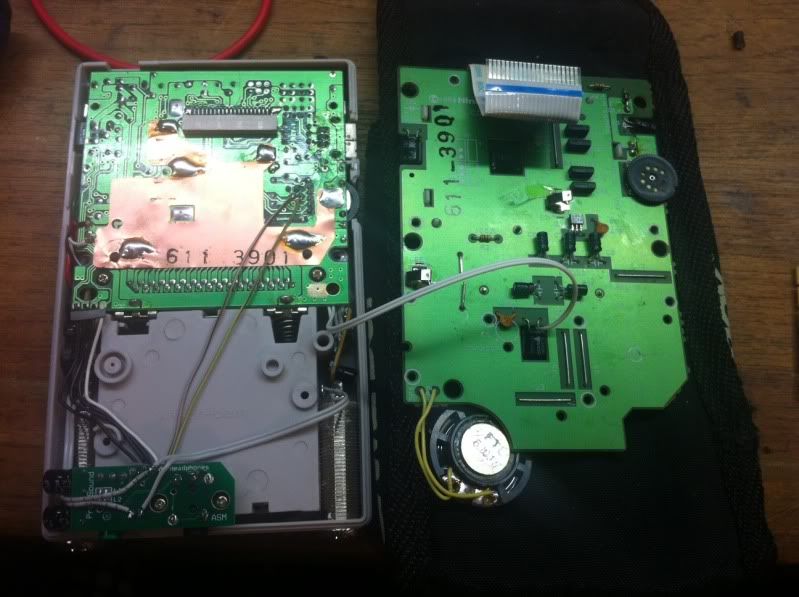
As far as swapping out the board goes, I honestly haven't done it yet. I imagine as long as you get similar gauge wires (which Kitsch provides with the 1/4 kit, so I'm sure he at least has them) and 'extend' the wire by cutting, stripping, and re-soldering in a longer piece, you should be good.

Somebody who *actually* knows things should correct me.

Last edited by viciousitaly (Feb 16, 2014 9:06 pm)

Offline
Detroit, MI

That helps SO much, thanks!

This may be asking too much, but do you think you could post close up pics of your DMG where the new longer wires attach to the battery regulator board? I'd really really appreciate it because I'm still a bit confused on how to go about redoing that and I think it's the only thing left I need to figure out before I can finally dive in and try to get this mod done.

Offline
Cleveland, OH

Sorry about that! We haven't yet made full guides on 1/4" or RCA prosound mods. Just the 1/8" so far.

Offline
Detroit, MI

Will it be within the next few weeks you think? I know you dudes are super busy but that would be dynamite if that got on your to do list! ^-^

Offline
Matthew Joseph Payne

A couple other hints:

There's a few different models of jack, some with and some without threads. The ones with threads are designed for guitars, but I think they work best because the threads hold the epoxy well, and they can actually grip to the case of the gameboy. They take more work though - you have to do some dremeling to get them in there.
This is the stereo verison of one I like: http://www.mouser.com/ProductDetail/Neu … pf%2FHz2Yq
They fit easier in the kitsch-model cases than in originals.

1/4" jacks CAN fit in either side of an original case, but they look a little scrappy on the speaker side of an original case because some of the body of the jack will be exposed. I built a 2x1/4" gameboy like that for KeFF a while back but I can't find the photos...

Last edited by kineticturtle (Feb 24, 2014 9:34 pm)

Offline
Cleveland, OH
CYBERP_NK wrote:

Will it be within the next few weeks you think? I know you dudes are super busy but that would be dynamite if that got on your to do list! ^-^

Sorry. I won't have time anytime soon.

Here's a little walk through for you assuming you bought the jacks we have available at thursdaycustoms.com

It's the same general concept of the 1/8" prosound as far as wiring goes.
You will want to remove the regulator board from the bottom left of the Game Boy.
Use about 4" long wires to rewire it and place it in the right side.
You may need to remove some plastic from the button post the for it to fit.
Drill an 11/32" hole if you want to screw the jack in(this can be very tight and difficult). Drill a 1/2" hole if you just want to hot glue it in place.
Make sure you wire up the jack before gluing it in place. This will make it much easier!
Wire it up and test it out!