Hello,
I'd like to share my experiences with setting up Renoise for mgb here for everyone who is trying to do the same. I've been able to fully control mgb on the Game Boy, get the audio fed back into Renoise in sync with the rest and apply two different DSP chains on certain instruments. I'm assuming you have made music with Renoise before and are familiar with DSP chains, Automations and Instrument setup.
The parts
one DMG-01 (unmodded)
a nanoloop 1.6 cartridge with mgb 1.3 on it
a link cable
the nanoloop USB MIDI adapter
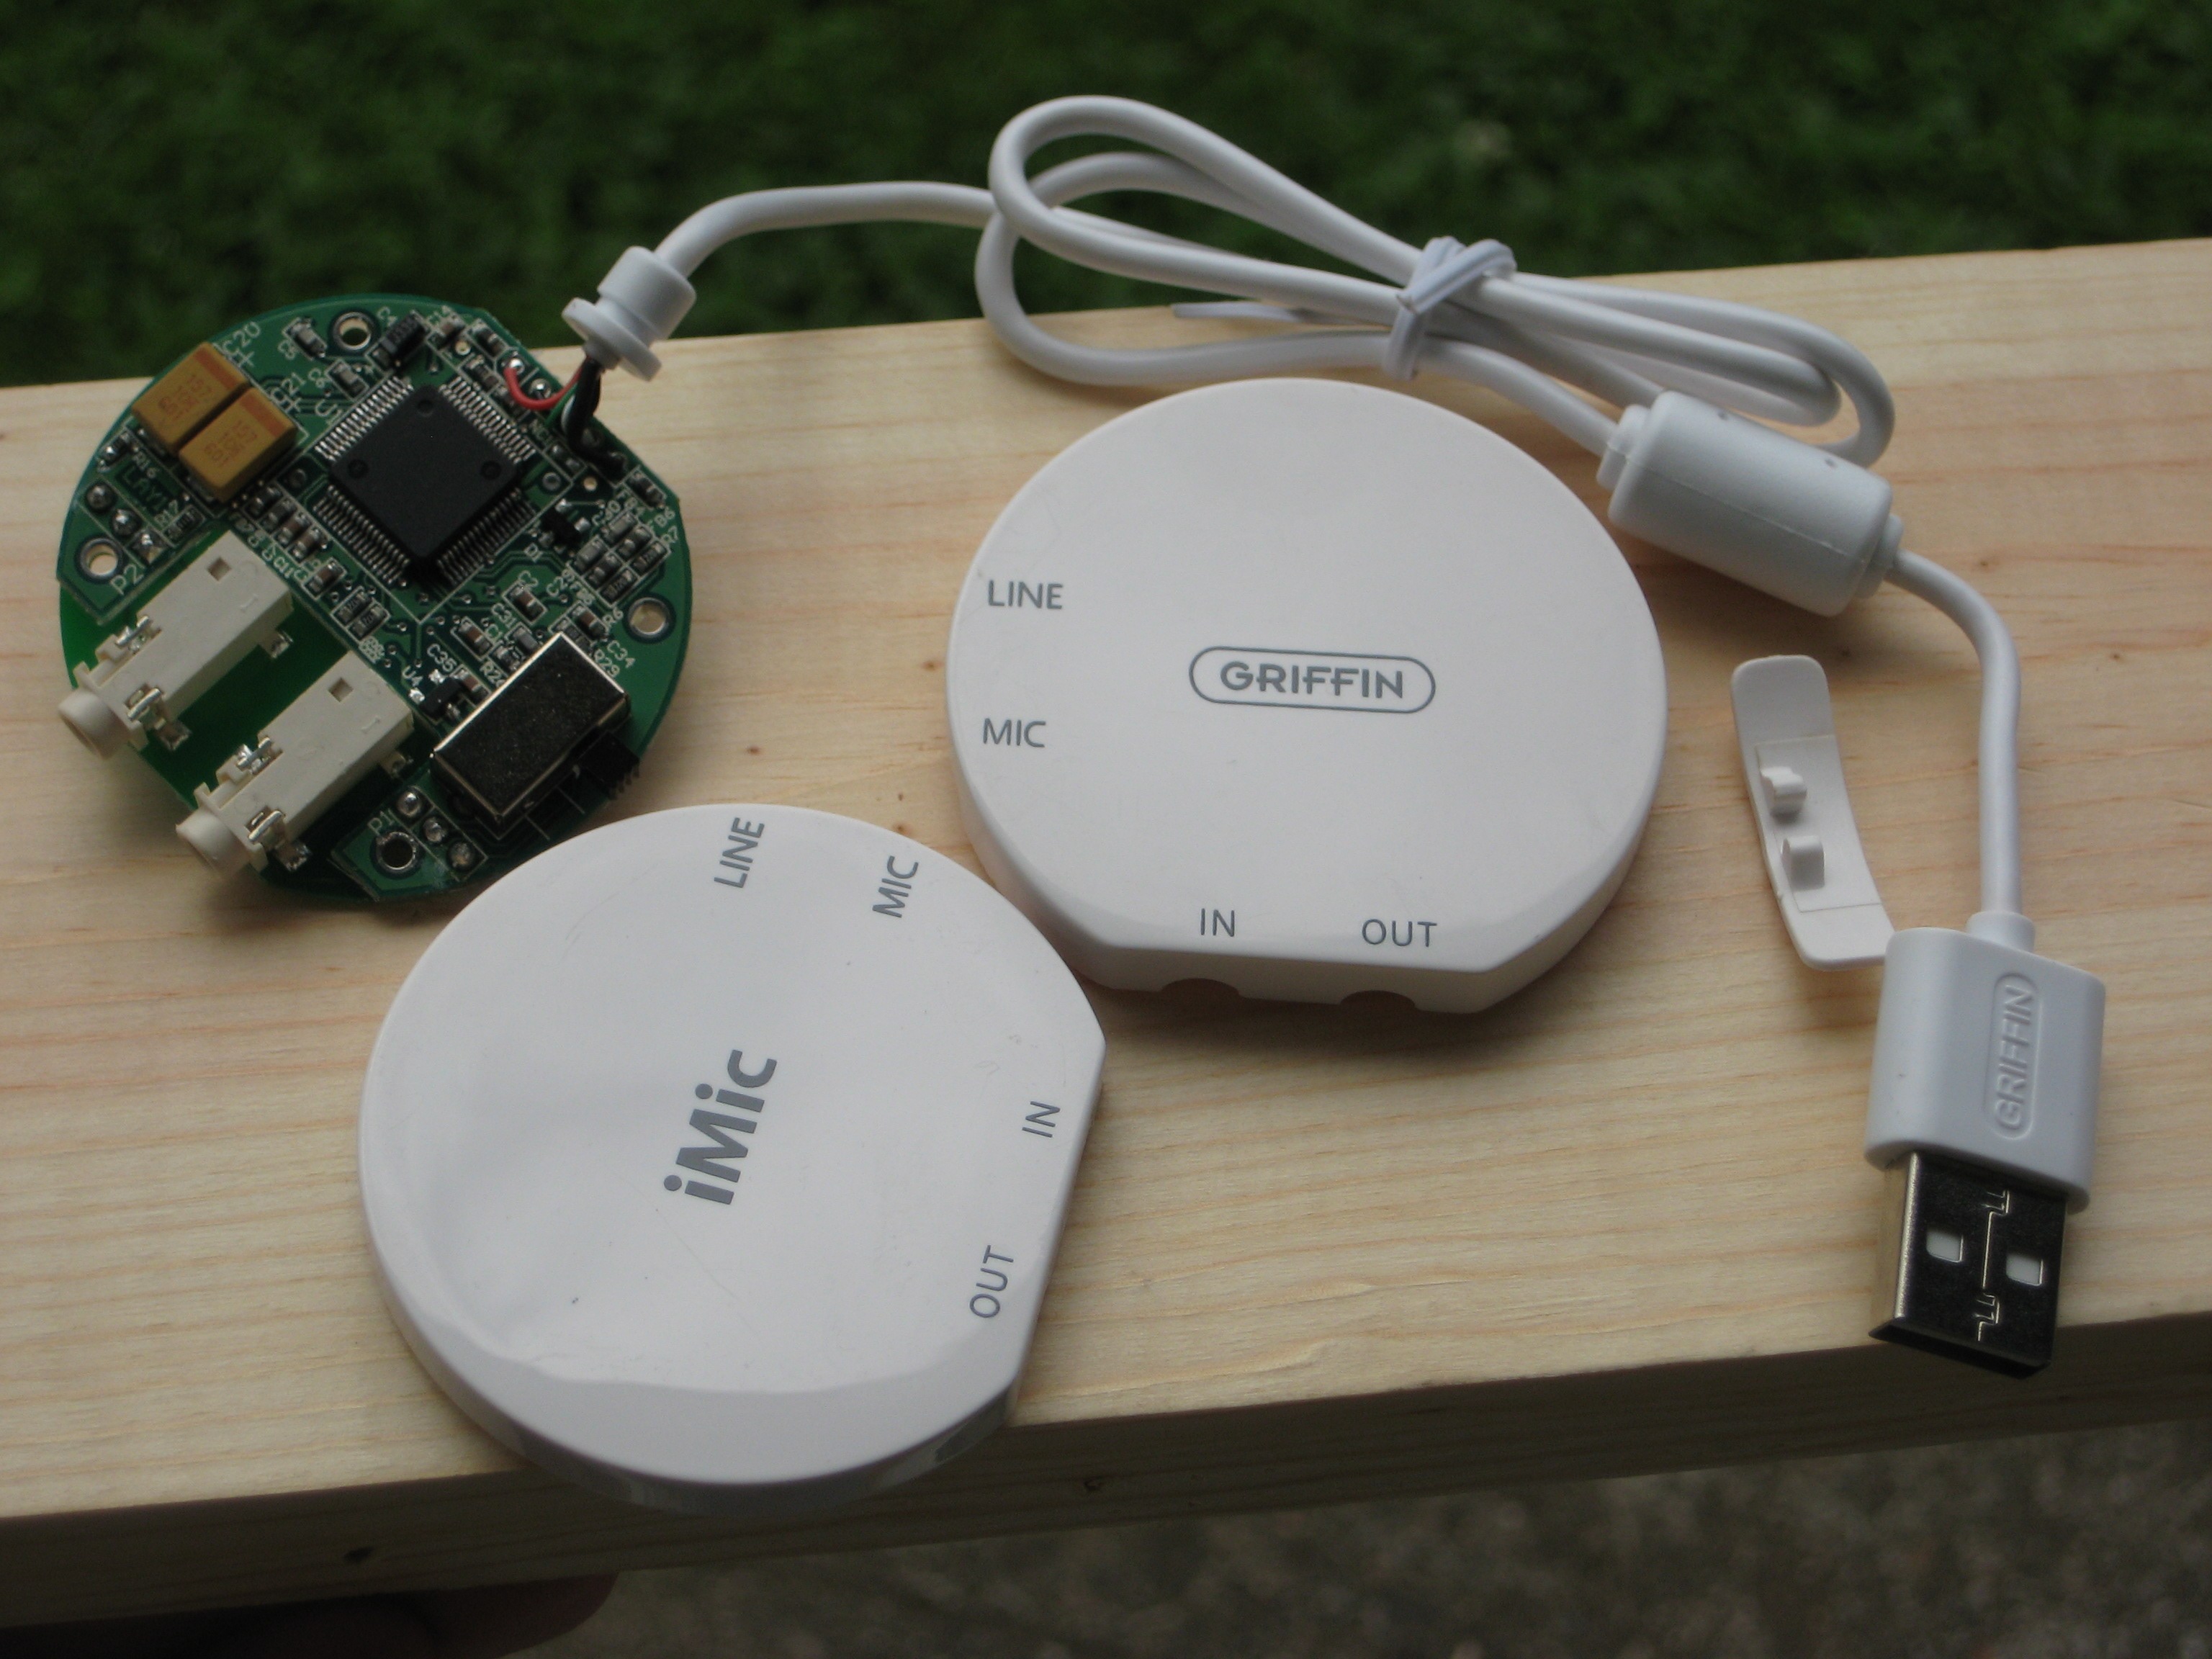
a USB sound card (Griffin iMic in my case)
one 3.5mm to 3.5mm stereo audio cable
Renoise 2.8
The hardware setup (let's connect everything)
The link cable is plugged into the Game Boy on one end and plugged into the USB MIDI adapter on the other, which in turn is plugged into the computer. The audio cable connects the Game Boy's headphone jack with the input of the sound card. It's set to mic level and connected to a second USB port of the computer.
Setting up the software (let's set up MIDI and two audio return channels for effects)
Make sure mgb is on the cartridge you're using and the USB MIDI adapter is in MIDI mode. Start mgb on the Game Boy. In case you're using the nanoloop cartridge you have to press B once to put it into the correct state.
Open a new song in Renoise and select Instrument 00. In the Instrument Settings switch to Ext. MIDI, set the Device to "nanoloop MIDI" (name may be different in Windows), set Mode to LineIn Ret and leave the channel on number 1. Repeat the same steps for the 3 other instruments, setting their channels to 2, 3 and 4 respectively. Make sure each instrument's Mode is set to LineIn Ret, this will be important for audio latencies later.
When you select one of the instruments and jam on the QWERTY you'll hear nothing yet. The Game Boy does produce sounds already, and you can hear them when you unplug the audio cable from the Game Boy, but we want to have the sounds in Renoise so we can add effects and perform rudimentary mixing and mastering, so plug the audio cable back in after jamming for a bit 
If you've not set the external sound card as an input device, go to the settings and do so now. Next we're going to set up the line returns so we get some sound back into Renoise. Let's select Track 1 and switch to the empty Track DSPs. Add a #Line Input device, found under Routing and set the input to "L" and the Latency to MIDI Return Mode. The latency setting makes sure the sound is in sync with Renoise and we set the input to L because we will be splitting our instruments left and right so we can get different effects on two sets of instruments. Therefore repeat the same process on Track 2 and set its input to "R". Call those Tracks Left and Right, or what ever you want.
Jamming on the Game Boy should now produce sounds that are coming directly into Renoise and get played back on Tracks 1 & 2. We will not add anything to those two tracks, they're just for audio playback for now. (and DSP chains later)
Since only one note can ever be played simultaneously on any channel, it's a good idea to put all notes for a specific channel into one track. Name Tracks 3 through 6 "Pulse 1", "Pulse 2", "Wave" and "Noise". If you want you can get rid of the remaining two tracks, we won't be needing them for now.
Now add one *Instr. MIDI Control (found under Meta) to each of the four Tracks we set up for the channels and set the number of the linked instrument accordingly. If you created your instruments in order, the MIDI Control device in Track "Pulse 1" should get linked instrument number 00 and so on. Now since we're going to save this track as a template for future songs, it's a good time to go ahead and set these MIDI Control devices up with all CC messages mgb understands for each channel. For a complete list look at http://code.google.com/p/arduinoboy/#mG … ementation or just take your Game Boy and navigate through the options in mgb, then look at the lower right to see which CC the parameter listens to. Please note that every channel has a slightly different set of paramters. If you're using the nanoloop cartridge, you shouldn't set up the "Load Preset" CC05, since at the moment saving and loading of presets is not supported and may even mess up the running program.
By the way, we're using the MIDI Control devices instead of Renoise's Mx yy zz pattern commands for two reasons: First and foremost, we can automate these parameters in the Automation tab later, and secondly it will enable us to change more than one parameter at a time in the same track when we're using the effects columns since Mx commands can't be used with multiple effects columns. The Mx command's awkward use of the panning column prevents this. I believe the Mx command may only be included for backwards compatibility.
Only one thing left to do now before we can save this song as a template and start adding notes. It's important though, so don't miss it. Go to the song settings and change the Ticks Per Line from 12 to less. You want to do this, because that way the number of MIDI messages that get sent when we use automation curves gets limited as well. That's right. If Renoise sends too many messages at once, mgb or the USB MIDI connector will choke. (Ableton Live users are supposedly painfully aware of this problem, too) The right number to set here really depends on the tempo of your song. I found 8 to be a good starting point. Adjust this number downwards later if you hear missing notes or notice slow down/wobbly timing.
Save your file now. We can use this as a template again and again and skip all the above steps.
Actually making some music
As I said, I'm assuming you have made music with Renoise before and know how to automate parameters and use DSP chains.
Start by laying down some notes. You'll probably notice that the default settings of mgb only get you so far, so go ahead and dial in some different parameters in your shiny new MIDI Control devices. It's tempting to change the parameters directly on the Game Boy, but I'll tell you a little secret: If you set the parameters using Renoise instead of in mgb directly, you'll have the right values to create an init pattern in which you can set up each track to recall the exact parameters you've used for the song. That way you can start renoise and use any mgb cartridge in any Game Boy that you happen to find and it will automatically set up all parameters before playing the first note. Pretty nifty, eh? And since the nanoloop cartridge can't save presets this is our best bet short of writing down or photographing the mgb screen.
Since we also set up the song to use two separate Line Input devices for the left and right channel, it's possible to pan some instruments right and some left, and apply different effects on them. Unless you've changed the panning in your Line Inputs they will both be played back in the center. You may want to have a delay on an arp while the drums get a nice distortion and EQ for example. In fact it's best to not leave any of the instruments panned to the center, since they'll be double as loud as the rest and will be fed through both DSP chains simultaneously, potentially resulting in something you don't want.
Once you've set up the instruments in a way you like using the MIDI Control devices go ahead and create an empty row of patterns above the rest of your song and create automation curves for each parameter that you changed from the default. I found that if I leave the automation envelope with only one point mgb doesn't register all changes, it does register all of them however, if I create a small ramp from anywhere else to the right value. For example to pan a channel left before the song starts I create a small ramp from the middle to the bottom.
That's it, you can play with your song now.
Some things to note
A few things work slightly different over MIDI than they do using VSTs or samples. A lot of the pattern commands will not work for example. You can't use vibrato or retriggering, arpeggio, note glides etc. Instead try to find automations that will do the same for you using the CC messages or pitch bend.
If you automate parameters using the effects columns, and change something on a note to note basis you may have to put the command issuing the change one line before the note that it should apply to. I found that to be the most reliable way. Either MIDI sends the CC after the note or mgb just prioritizes them the wrong way around.
Reducing Noise
If your setup is like mine the Game Boy will introduce some unwanted noise. In addition to that my USB sound card also added some high pitched whine at 1kHz and multiples thereof when the Game Boy was connected to the link cable. Find the noises that you would like to avoid and filter them out in your DSP chains. For whines you can use Renoise's built in filter and use a band stop. For more complex frequency patterns if you're on Windows download the Cockos Reaper standalone plugin pack and use ReaFir, build a noise profile while nothing is playing in Subtract mode, then turn off profile building and you should be good. It's also a good idea to add a gate, you can use Renoise's built in one.
Also don't forget that mgb can turn off the Game Boy's screen using select+A which will not only help reduce noise but also adds a small performance boost.
Achieving advanced effects
Automation curves are your friends and so are LFOs. If you couple an LFO to a Key Follower device and set it to reset the LFO, you can use custom curves, even one-shot, and apply them to pitch bend if you want to add vibrato, custom slides, sweeps on the wave channel or even arpeggios (using a custom curve with 3 points instead of a line or curve for example). This is the closest thing to tables I could come up with.
Arpeggios that retrigger the note can of course also be achieved with higher LPB and a series of notes. Watch those TPL in the song settings though if you're going heavy on automation and you hear missing notes or jitter.
Use different instruments on the same channel either by using clever automation or by issuing the corresponding pattern commands between notes to switch between sets of parameters.
Do more chip atypical things by adding DSP chains to the left and right tracks. You can automate them in the same ways, for example adding a custom one-shot LFO with a falling curve and a Key Follower that resets the LFO to add a filter-cutoff automation to every note.
Obviously apart from controlling the Game Boy and processing its output you can also add instruments that don't control the Game Boy but are just regular sample or VST based instruments. Since we've set it up so that Renoise is entirely in sync with the Game Boy, you won't even need to adjust anything. And don't let anyone call your music "fakebit" 
Finally, if you want to use two (or more?) Game Boys and you have two audio inputs and two USB MIDI adapters with link cable you can either add another 4 channels of chip goodness to your song or if you want to experience the original limitations but want to process each channel with an individual DSP chain, just use 2 channels on one Game Boy panned left and right, and the remaining two channels on the other Game Boy, also panned left and right.
I'm sure you can think of many more, feel free to share your ideas and techniques below.
Hope you've learned something. Don't hesitate adding your take to this topic.