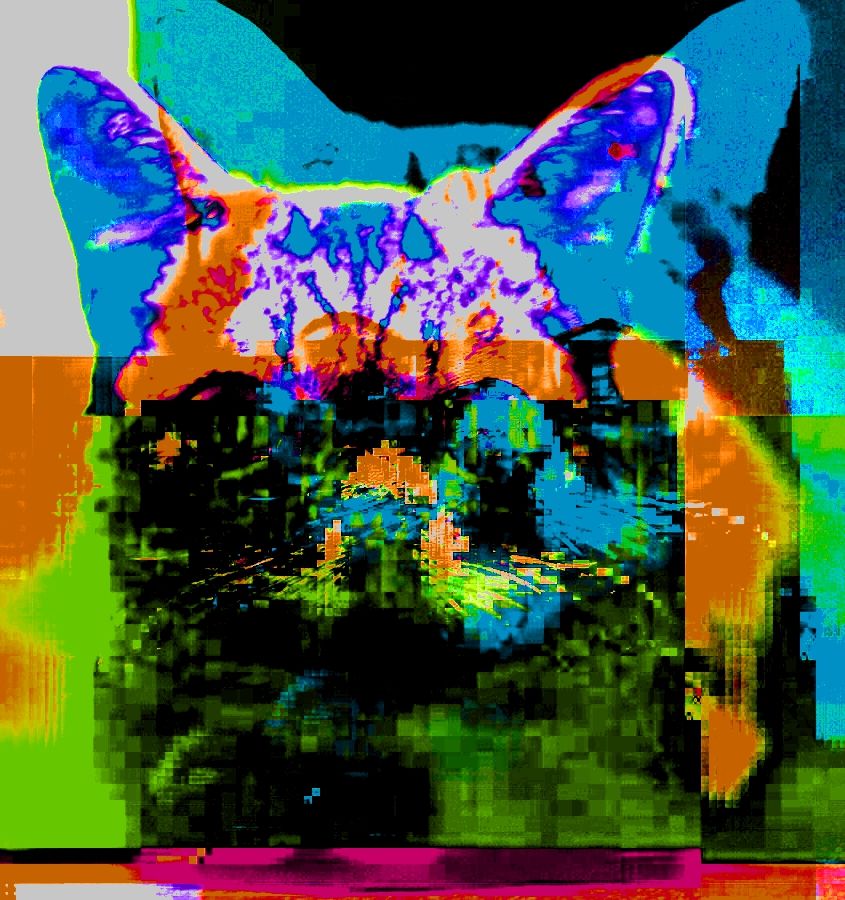
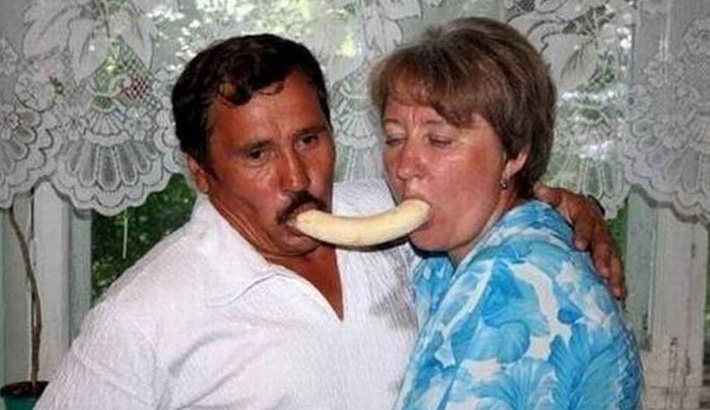
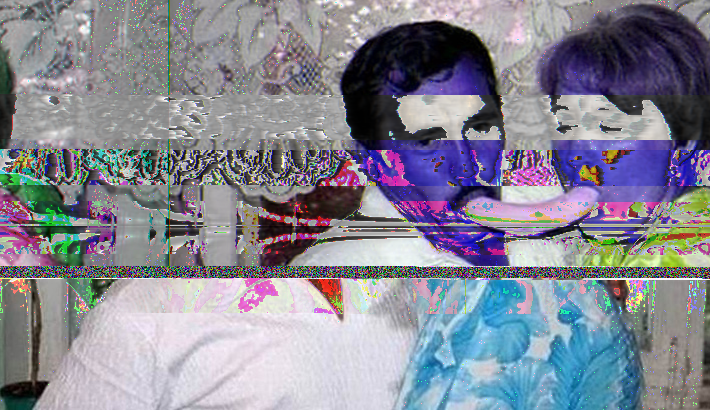
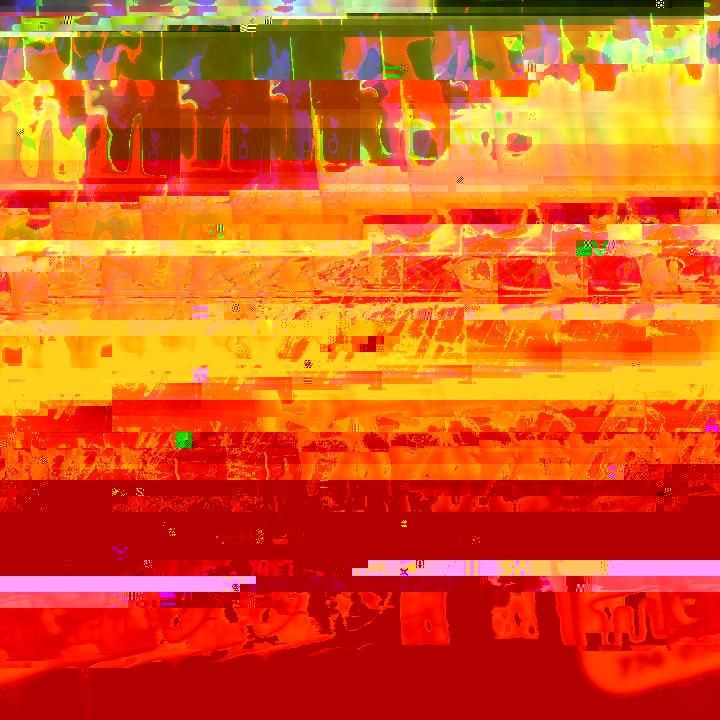
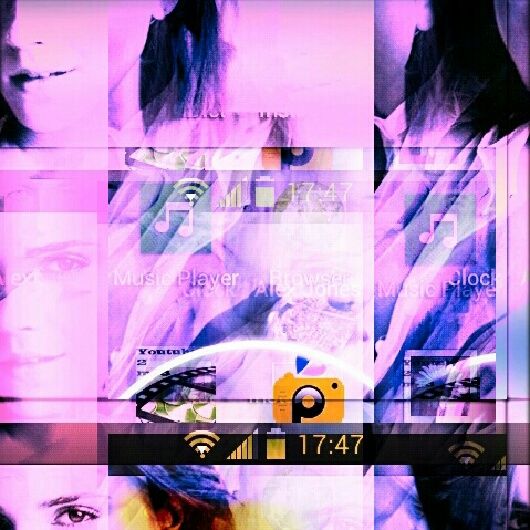
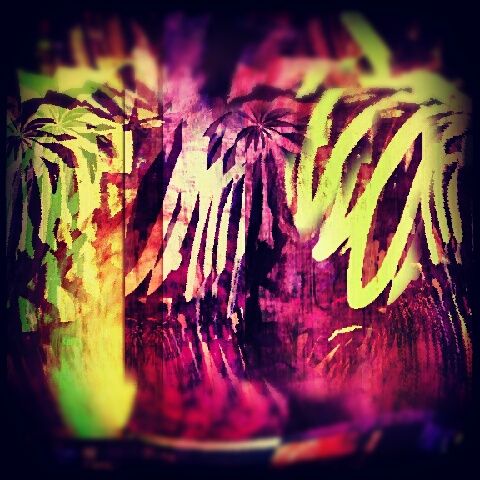
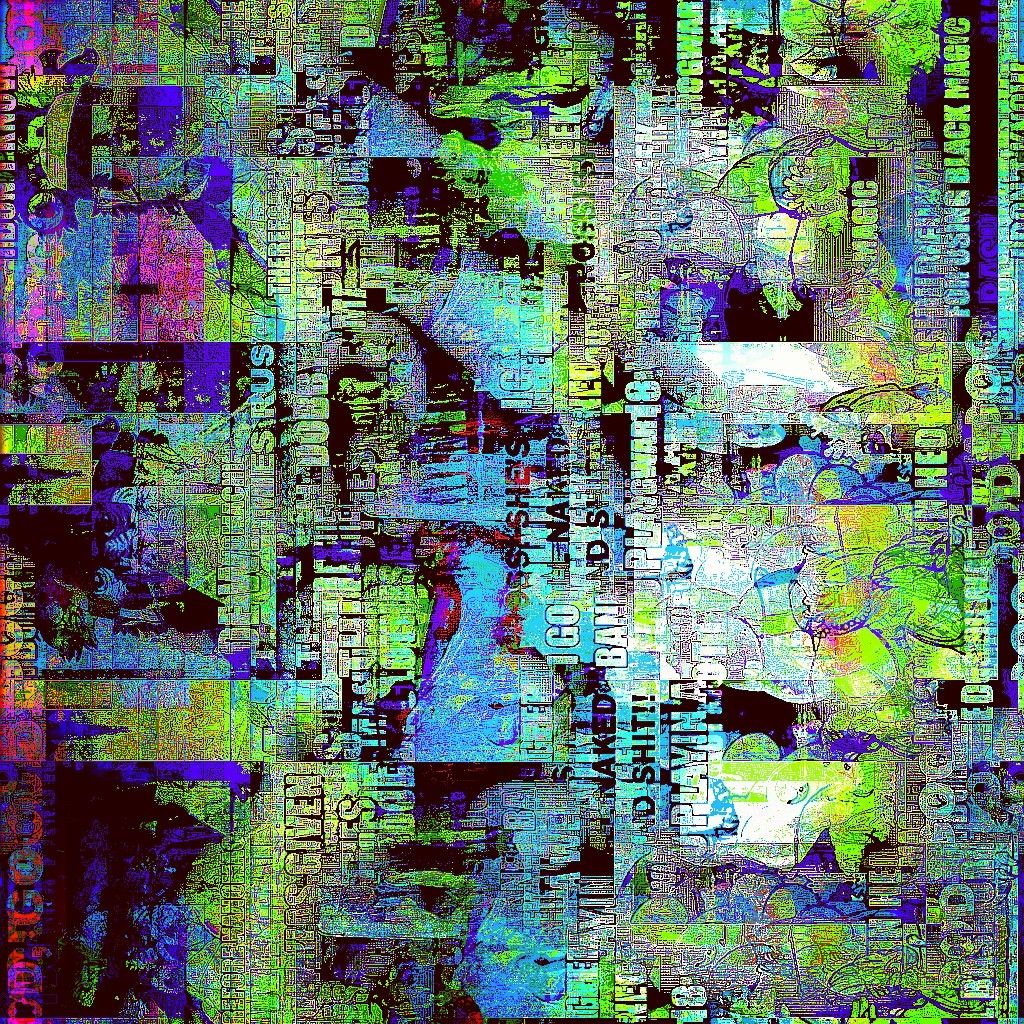
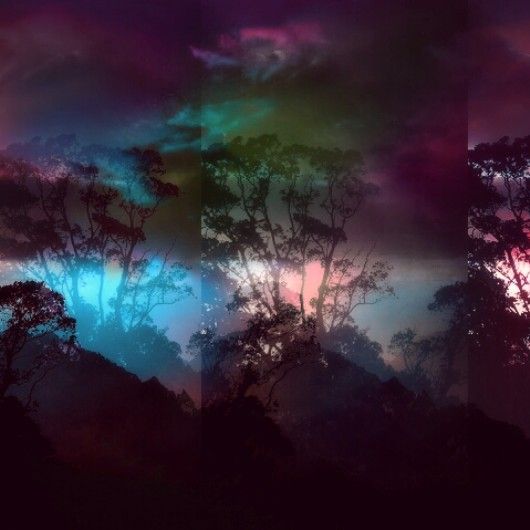
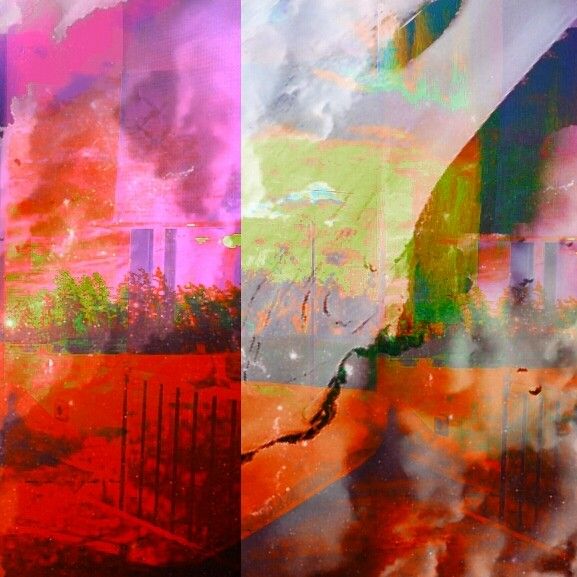
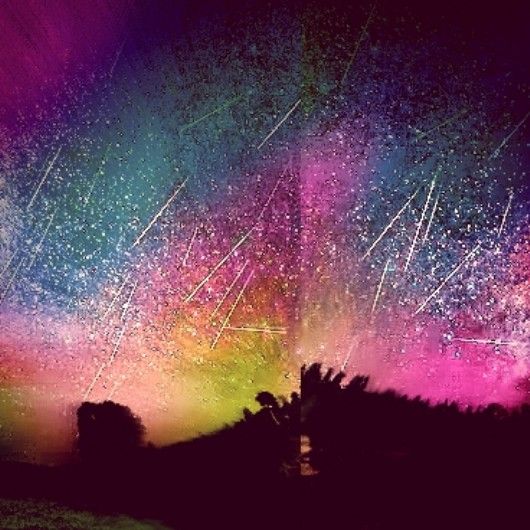
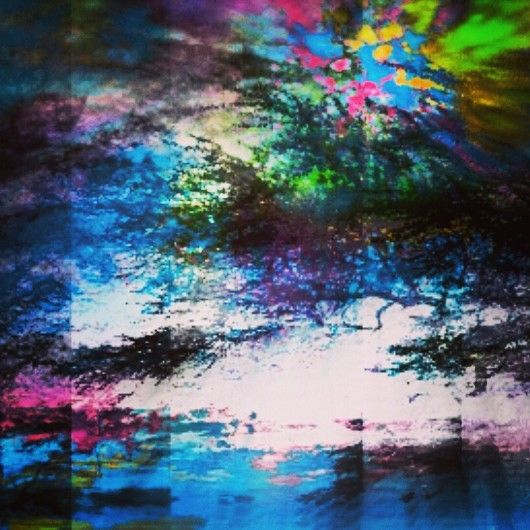
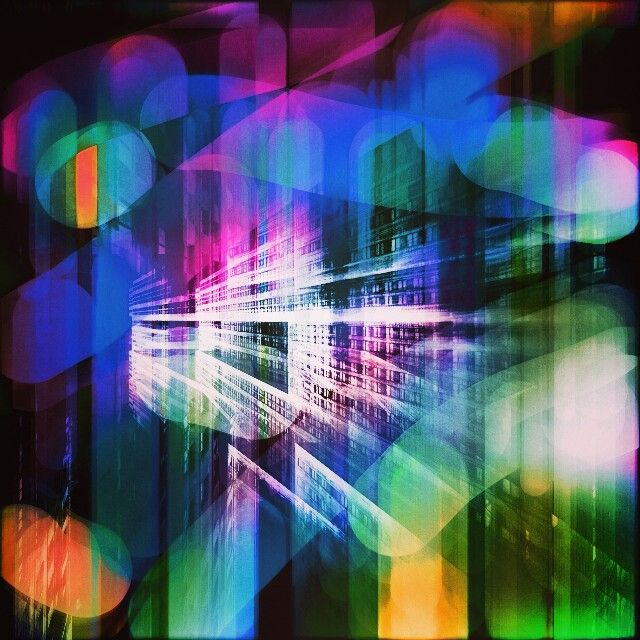
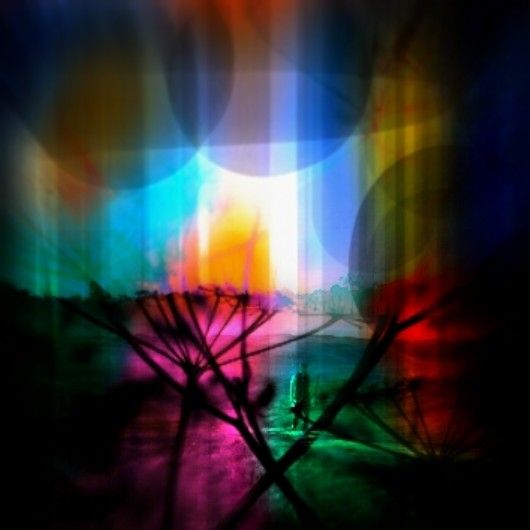
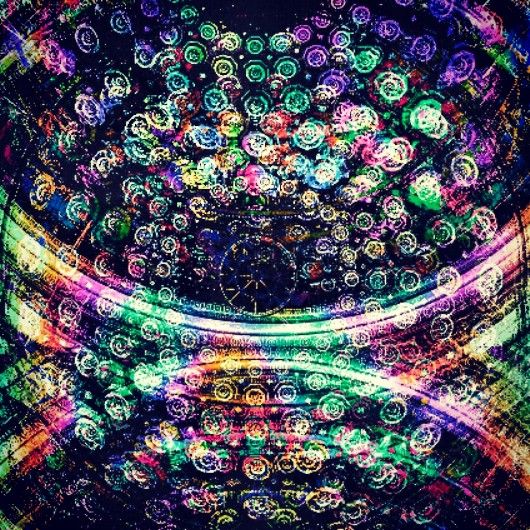
*now taking artwork commissions pm me for details
*added audacity bending tutorial
*added photo use theory check the end of the post..
OFFICIAL PUKE FLYTALKER DATABENDING THREAD!!!
ok so i guess i will do this thread thingy i dont really know how great this is going to be
because ive been spoiled by using photo editing software but here it goes
what is databending?
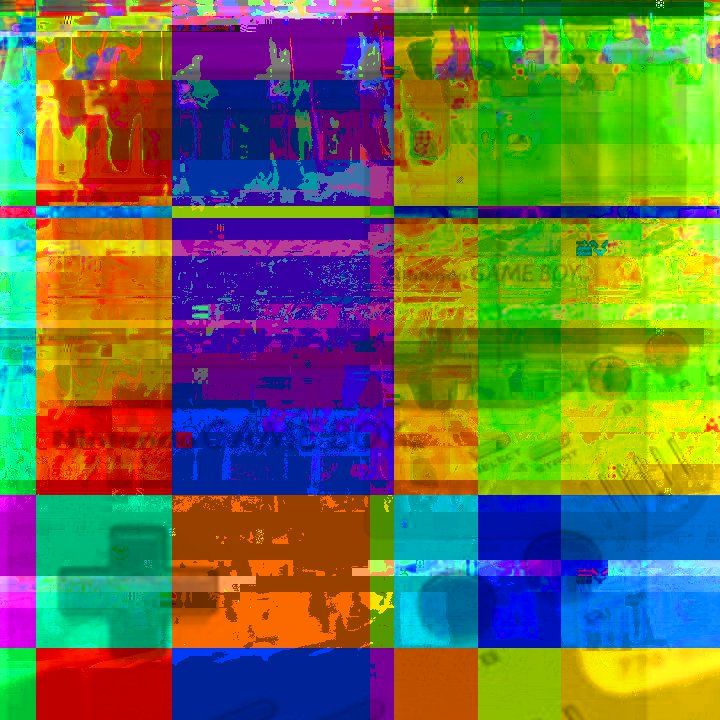
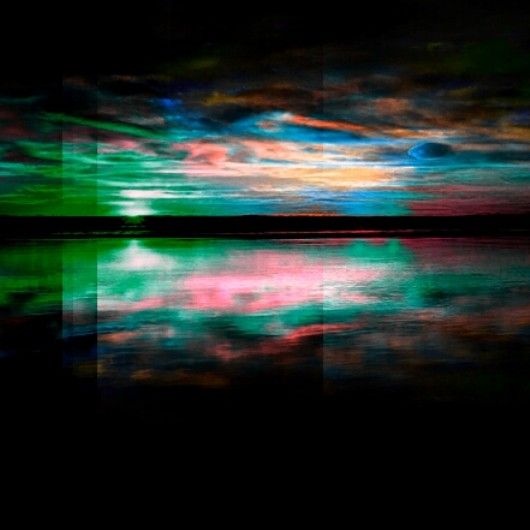
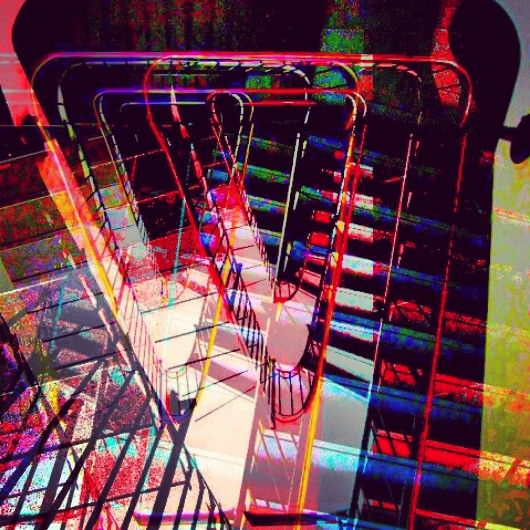
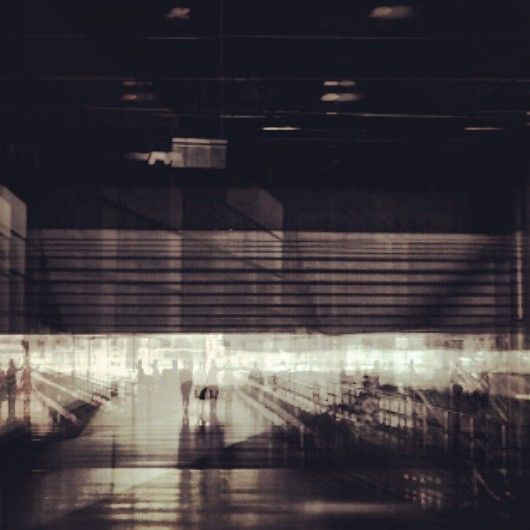
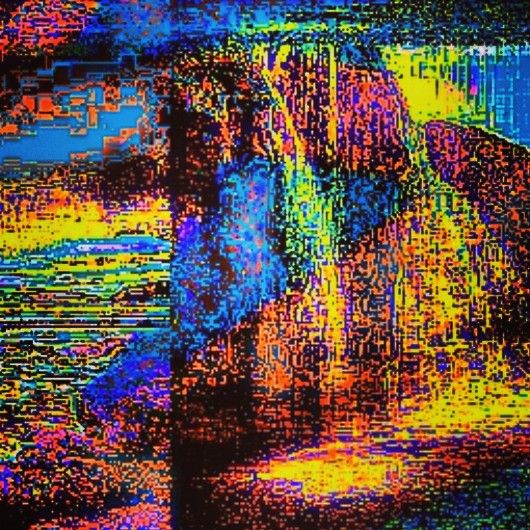
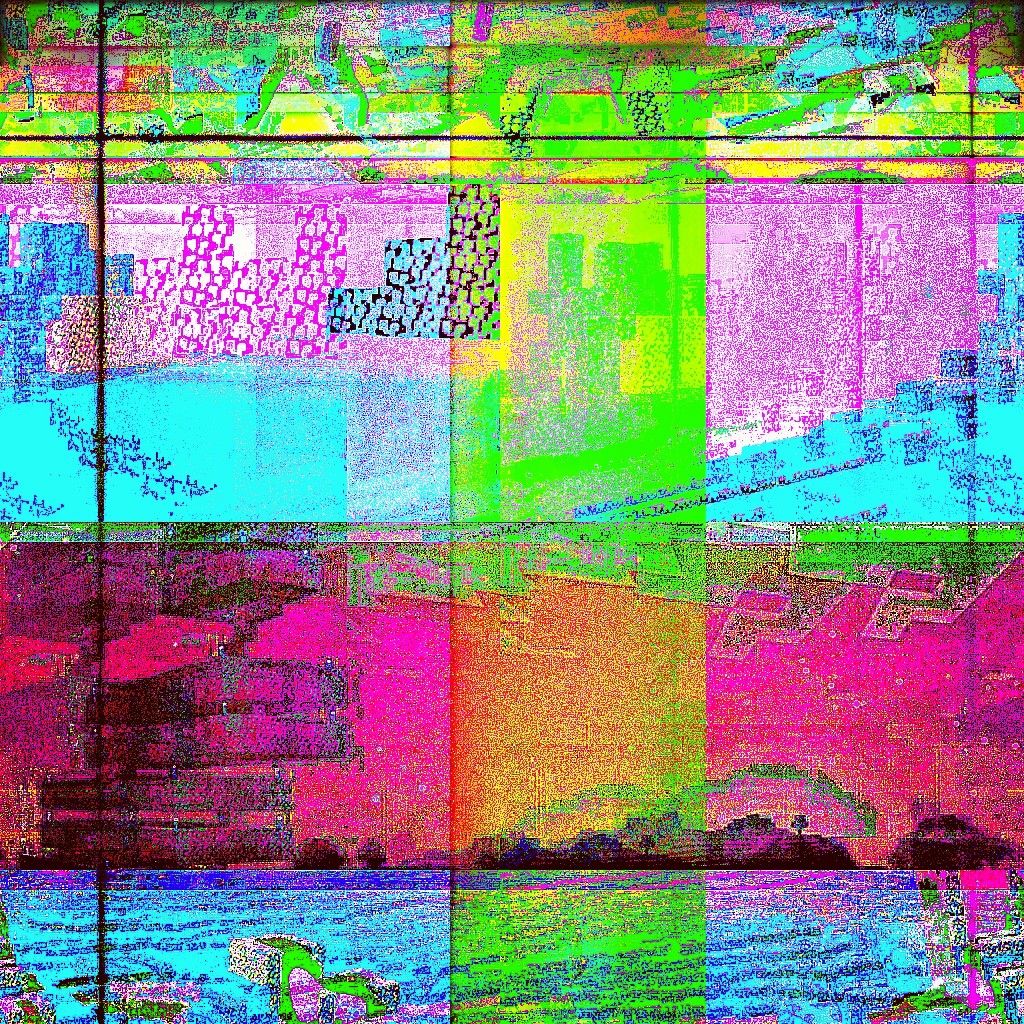
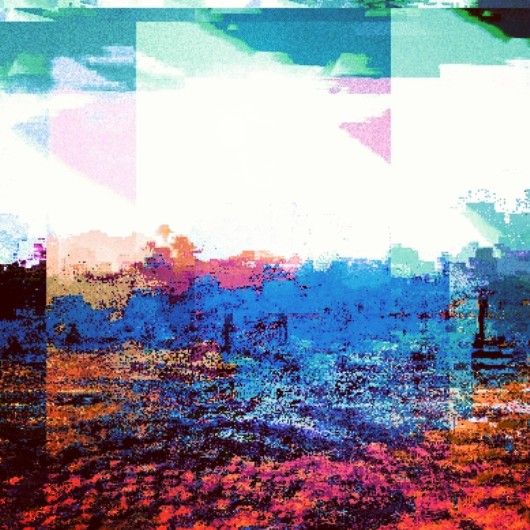
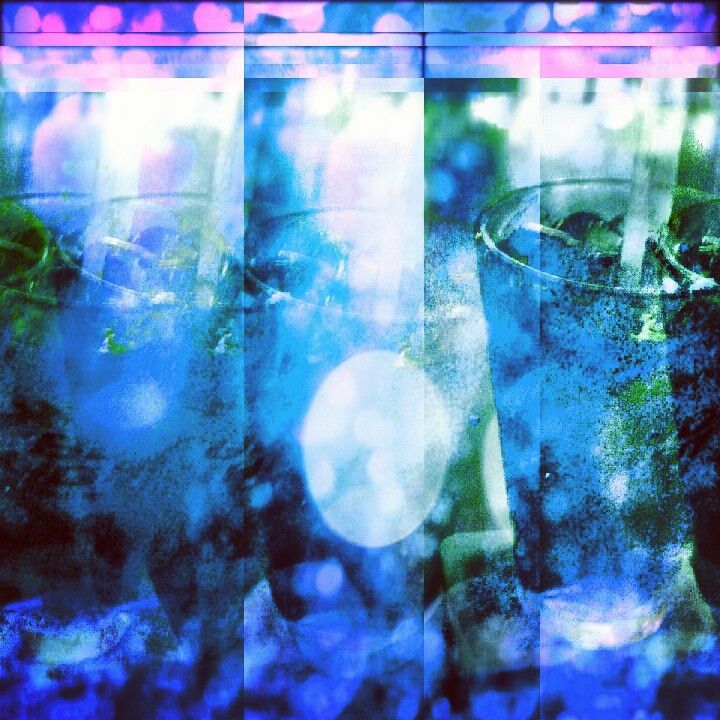
databending is when you use some sort of editing process to corrupt the data of an image to
create glitches and other imperfections in a photo for an artistic effect.
can anyone databend?
well it does take a certain level of understanding of what is going on to truly grasp it but once
certain bases are covered it becomes an easy process..
my first 5 rules to databending images are
1. dont f*** up the header
2. everything can be edited and cropped later in poduction
3. dont over do the bend you can either break the file or make the image crappy
4. take tons and tons of pix the quality doesnt have to be good but a picture you take will
always come out better than a stock photo off of a site..
5. always back up your work.. if you are working on a bend and you get to a point where you like
it but you want to go a step further back up the image because that next bend could possibly
break the file... ive lost a lot of cool images because i didnt back up my steez
concepts to remember when databending:
use a jpeg.. they corrupt a lot easier and its easier to differentiate where the header starts
and stops
always always always edit the image and save it to a fresh file afterwards
sometimes when you post a databend thats the original corrupted file it will show up differntly
on different pcs/devices because of how that pc/device renders the image.
avoid using a hexidecimal editor.. it is possible to do this but ive had bad luck and most of the
time the image file broke on me.. i remember on 8bc there was this guy who posted tutorials on
using hexidecimal editors and i followed everything to the tee and i was still getting broken
files left and right.. about only 2-3 of the images i have ever made actually used a hexidecimal
editor
always edit hue and saturation trust me it makes it pop lol
i will also be covering physical corruption later on at the end and how that works..
here are links to softwares i will be using and explaining in this thread
PC:
notepad++
http://notepad-plus-plus.org/download/v6.5.1.html
3d analglyph maker
http://www.stereoeye.jp/software/index_e.html
gimp (or alternatively you can use the edtor of your choice)
http://getgimp.com/lp/index.php?pk=6542 … p_US_Broad
mspaint (you should have that lol)
now for the bending
notepad++
notepad++ is exactly what the name implies is it an editor like notepad with extra features.. the
feature you will be exploiting is the fact you can open just about any file edit the coding and
save it as its original format..
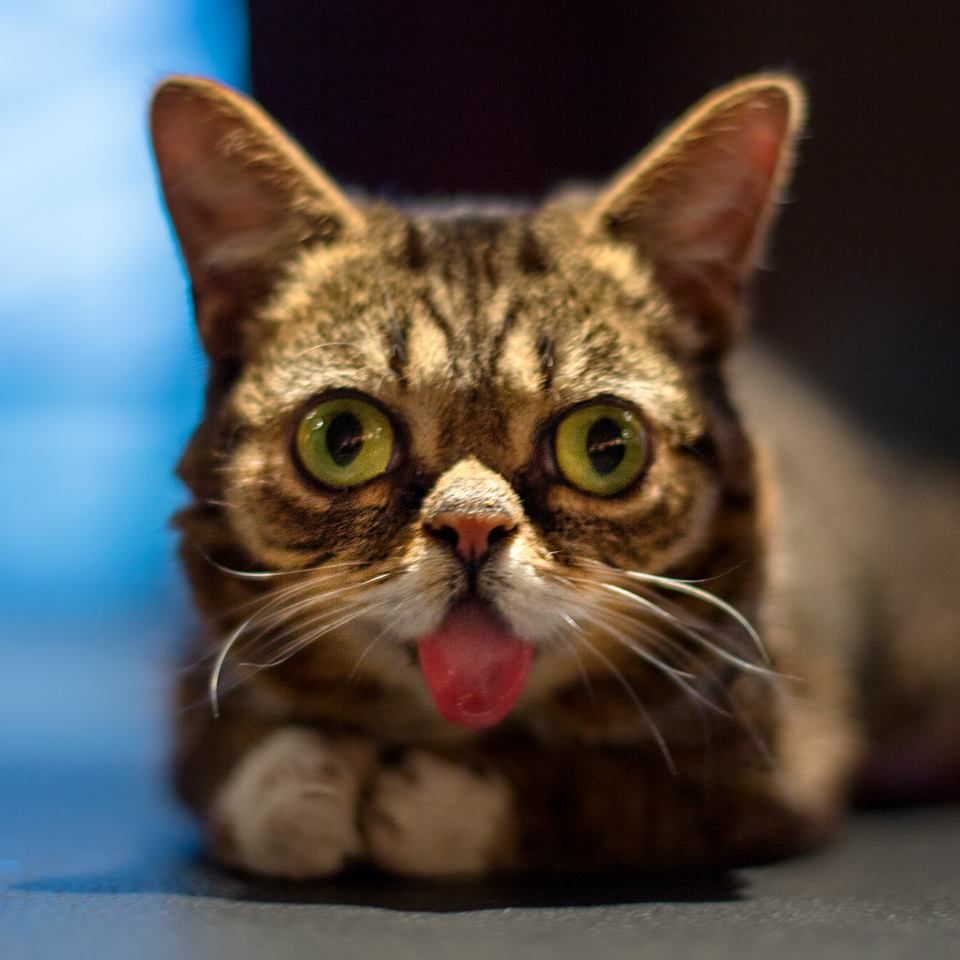
this is the image i will be using for this tutorial... lil bub of course
so we shall open up a photo in notepad and figure where the header is.. the header will always be at the top and bottom of the code.. i suggest switching on word wrap it will make it easier for you to veiw the code and image at the same time..
this is the header (there is more if you scroll down but you will know because after the header the characters get super scrambled)
so yea dont mess with that.. scroll past it and start messing with the code like this:
now save your image and do not exit out of notepad++ because if the file breaks or if you dont like the outcome of the bend you can "undo" in the edit menu or use the key stroke ctrl+Z and save it to return it back to its original state
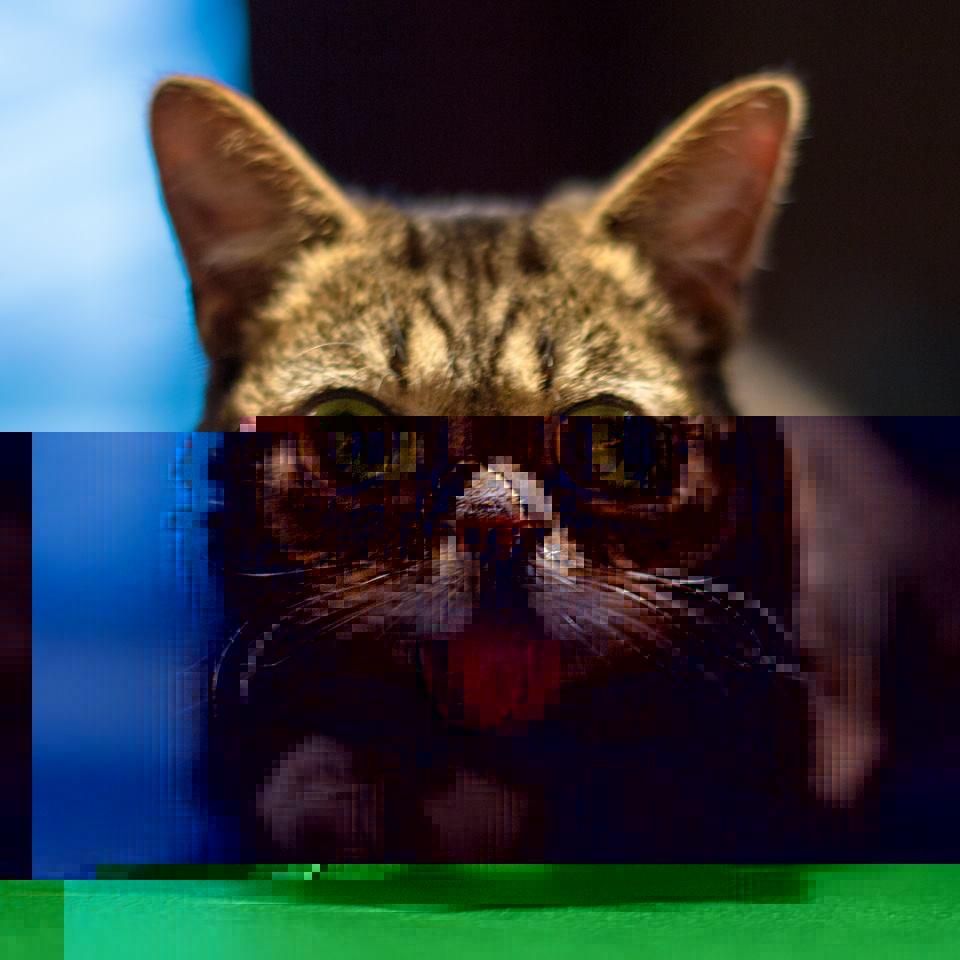
so you should get something a bit like this:
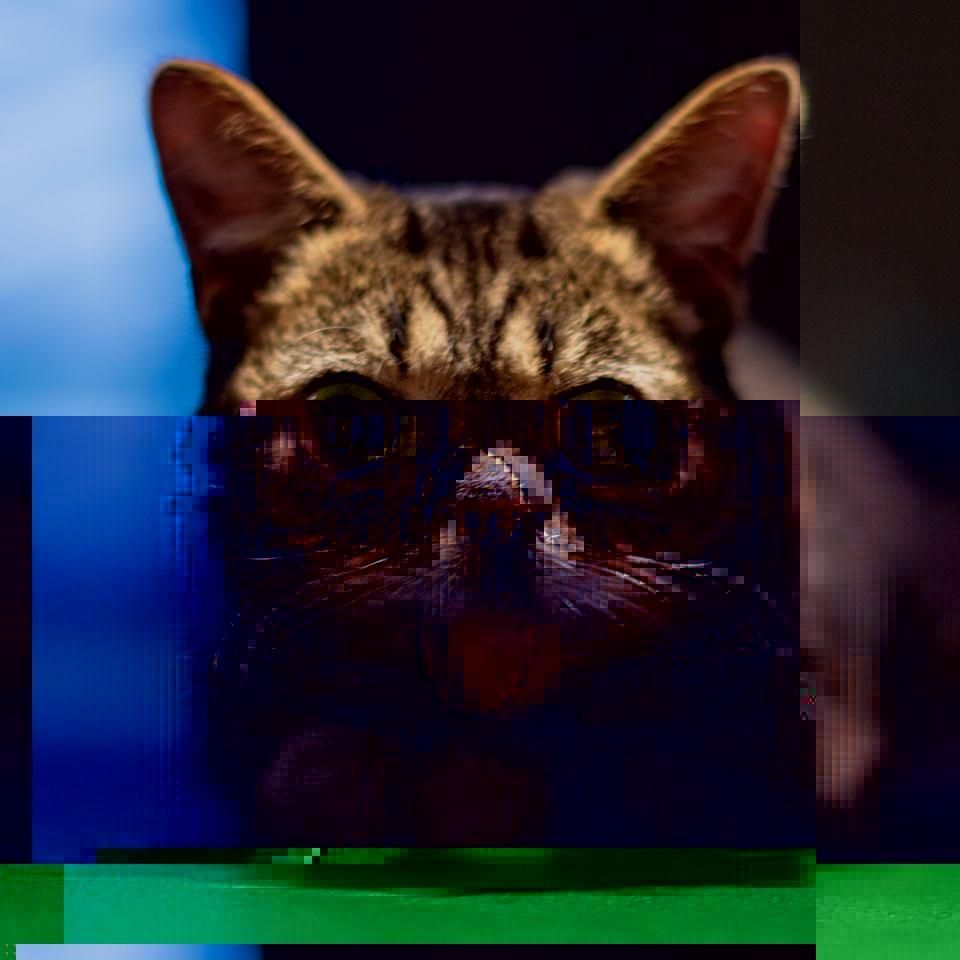
rinse and repeat as needed.
you can also rotate the picture and do it to give the image vertical bends (lol obvious)
like such:
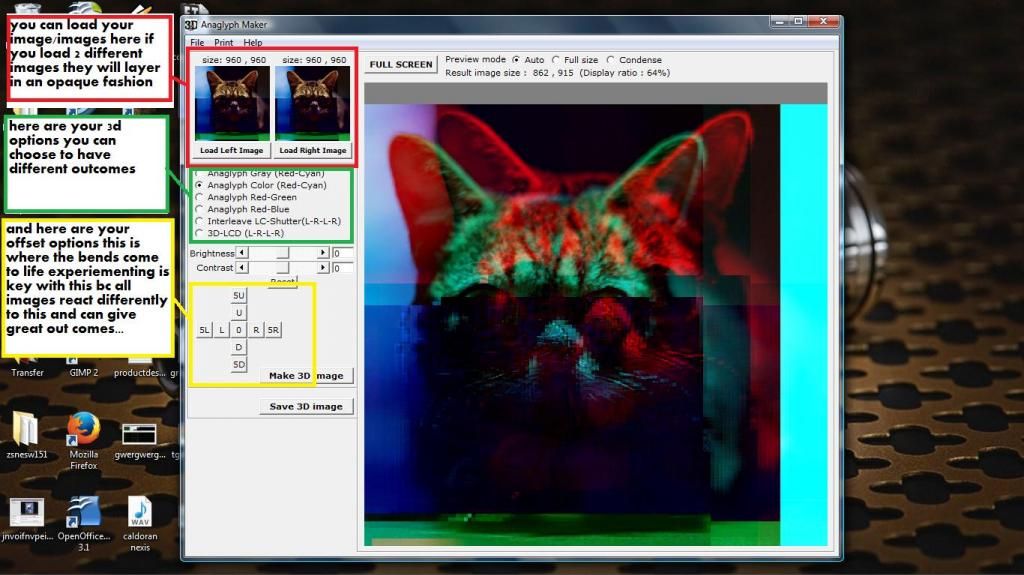
now that ive covered that lets move on to using the 3d analglyph maker ![]()
i will be using the pre-bent image of lil bub for this but you can incorporate this into any step of the process you like or not at all.. its all about creativity
this is what the program looks like and here are some caps and descriptions..
now you can pull the image into the editor of choice and fix what ever doesnt looke good or add filters for this image i will be editing the brightness, contrast, hue and saturation
here is the image:
addtionally you can add what ever you like.. maybe bring it into you editior and use it or another bend as an opaque layer to make an even more glitchy looking bend..
PHYSICAL CORRUPTION:
ive never actually done this but its easy to explain ill do it in steps:
1. burn like a million of the same image to a cdr
2. scratch the living fuck out of it
3. use scratched cd recovery software to get the images off of the cdr
4. search through the files for most bendy/the one you like
5. ????????????????????????
6. profit
Audacity bending
so im not exactly a huge fan of this method but it is valid and can bring new light to your bends if you feel you have lost it or your images keep coming out kinda the same... here are the steps:
1. always use .bmp because it imports into audacity as raw data a lot smoother (although i will say this does work with .jpg and .png but the files break a lot easier).. have your import settings set to this:
as a side note ive noticed that files that import like this as default before you change the settings often dont work right so remember not all .bmp are created equally...example:
onward...
2. figure out where the hell the header is when bending data in audacity its not as obvious as notepad.. the section i have highlighted is where i can assume the header is:
3. now go ahead and start applying effects but avoid the header.. afterwards you should have something that looks like this:
4. now it is time to export!!! go to export and you will notice below save and cancel there is an tab called options go into there and save your settings as such:
5. now before you export remember to save the picture with the .bmp file extension (example: databendphoto2.bmp make sure to put something at the end so you dont save over the original file or not its up to you..
6. bask in the glory of your bend..
original photo:
bent photo:
as you can see in audacity you can get some radical effects but i would definitely suggest combining multiple methods and post editing to come up with something a bit more unique... in this photo i mixed audacity bending and notepad bending to get this outcome:
but additionally in post edit i added a bunch of stuff and came up with this:
bend art theories of mine:
taking your own photos will always be better than stock and i will tell you why.. i feel that when you are in the moment and you take a photo you capture that feels in the picture.. then as you process the picture its more intimate and more of an art.. i love talking photos of skylines and weird textures like the grating of a fan or the leaves on a bush. it brings the perspective into play when you go to edit. sure the actual bends are randomish but the bends are just a basis for the composition. for instance i will use this picture:
i took this picture in a park in portland maine. its kinda like this bayish area and i just had my smartphone.. i took a picture it was about 9am but when i edited it was late at night.. so the original picture is actually a lot bigger. i zoomed in and cropped it square.. next i rotated it to the right and proceeded to bend it in notepad++. after that i returned it to its correct orientation and hit the photo with a couple blur filters, 3d analglyph, created a duplicate super opaque layer then sifted it south slightly and finally i blasted it with hue and saturation.
the concept in my mind about this image is day and night.. dark high contrast with brightness cutting through to give the warth of the day kinda? lol idk.. up here where i live theres a lot of days where its overcast and i kinda wanted to convey it in this image.. sorry for being artsy fartsy lol..
POST EDITING:
the post edit can be something very useful.. lets say you have a bend that is really great but there are a few things about you it you dont like... for instance color well theres an easy fix for that you simply alter the hue and saturation to being the color warmth and hues you desire.. graininess is something i really enjoy from the old gif conversions to jpg and back and forth you can add grain that way (it being tedious) or you can apply grain in a photo editor.. sometimes when im feeling froggy i like to bring the bend into gimp duplicate or add another layer set to multiply so its really only the "shadows" or dark parts left and the rest of the image is opaque.. then i will move selection into the angle i like and layer over the original bend you can also do this with plain images.. color scribbles and spot/splashes can be created by duplicating the layer, changing the hue of the top layer and then taking an eraser with the brush of your choise negateing part of the top layer and allowing a different hue set to pop through..
i will keep posting more on this in this thread and answering question but remember im not a programmer im an artist and musician i dont know a ton of tenchical crap asside for simple circuitry.. but im sure there will be fellow benders who will chime in when needed
please feel free to pm me
Last edited by Puke_Flytalker (Nov 22, 2013 6:44 pm)
