Offline
Cleveland, OH
kitsch wrote:
bit 9 wrote:

Ok, so let me pick your brain for a moment. How on earth do you make oblong through-holes? I'm doing unspeakable things with layers to get the battery contact points, DC jack, switch, and link port to look right. Part of my reluctance of releasing the file is that whole 'there has to be a better way to do this' thought.

check this out, we discussed this very thing farther down in this thread wink

http://chipmusic.org/forums/post/202935/#p202935

That's what actually spurred our discussion on oblong pads. He edited that post before we started talking about it.

Last edited by thursdaycustoms (Mar 10, 2014 5:00 pm)

Offline
matt's mind

oh ishhhh

thanks!

Offline
Seattle, WA

Thursdaycustoms is currently proofing the CPU PCB eagle file for circulation.

In the mean time, I've got a couple questions some of you may be able to help me with:

  • What is the purpose of the copper sticker on the back of the PCB?

  • Does the cap with unregulated power directly over the amp (C2) affect the audio coming out if it?

  • What's the significance of the six soldered holes near the top of the board?

  • Why are there leads from the screen socket going nowhere?

  • The rectangular stop masks on the back are for grounding the screen’s PCB, what are the circular ones for?

  • How dost one safely remove the DMG’s screen?

  • How dost one safely re-attach the DMG’s screen?

  • Can anyone ID the parts on the power regulation aux board? (is this right?)

  • Why are there jumpers (?) on the back of the screen’s board?

  • What would you want to change/add to the DMG’s circuitry to aid the musician/modder?

  • Is there anyone on this forum that would be willing to work collaboratively on an modded PCB?

Also, I don't actually know about the accuracy of the CPU/RAM pinouts and wouldn't know where to start. Can anyone corroborate this?

Last edited by bit 9 (Mar 16, 2014 11:11 pm)

Offline
Arizona

I've got a front pcb with a desoldered screen, I can take pics or scans of the pcb.

Offline
Seattle, WA

Scans would be great! Thanks!

Offline
Sweeeeeeden
bit 9 wrote:

What is the purpose of the copper sticker on the back of the PCB?

Most likely just to provide a lower impedance ground path to the full circuit, plus perhaps shielding, perhaps for regulatory reasons. Belts and braces type of stuff.

bit 9 wrote:

Does the cap with unregulated power directly over the amp (C2) affect the audio coming out if it?

C2 and (I think from the schematic) C9 are connected from the respective amplifier output (pins 12 and 15) to ground, and provide some high frequency attenuation, so yes, they do affect the quality of the sound. (In the neutral meaning of the word quality.)
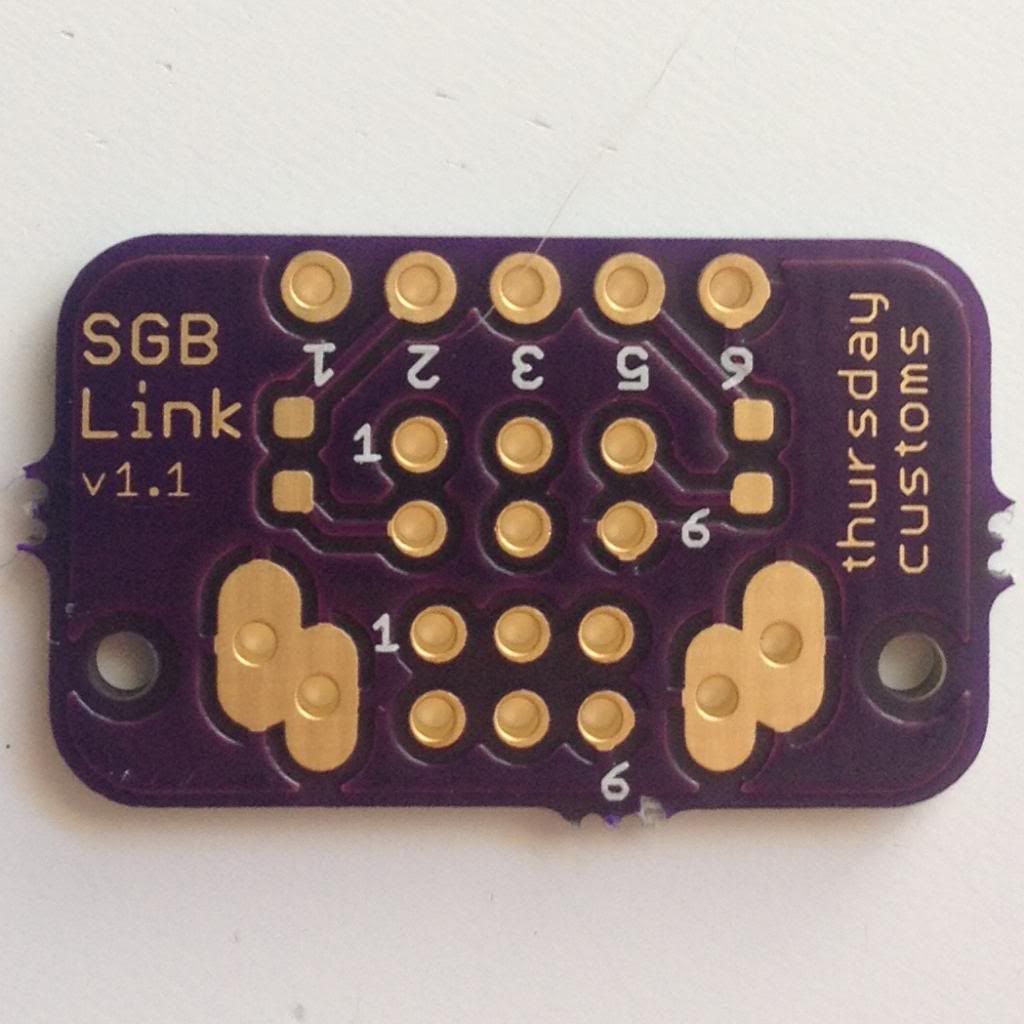
bit 9 wrote:

What's the significance of the six soldered holes near the top of the board?

The Gameboy Wideboy development unit gives a hint. This development unit has a dummy piece for the Gameboy, with no CPU, but buttons and an LCD. Those same holes exist there, but have silkscreen marked out. They are intended for capacitors, for some overshoot limiting or so. However, they are not populated even in this dev unit.

bit 9 wrote:

Why are there leads from the screen socket going nowhere?

Those are test pads for probing the video signals. On older DMG motherboards they are exposed to so you can probe them, but they remain in later revisions as vestigial traces. I would recommend exposing them if anyone for any reason want to probe the video signals.

bit 9 wrote:

The rectangular stop masks on the back are for grounding the screen’s PCB, what are the circular ones for?

You may have been looking too long at the schematic compared to a real motherboard. wink
The round ones are for attaching the copper sticker.

bit 9 wrote:

How dost one safely remove the DMG’s screen?

The connection point to the PCB is mechanically fragile. You want to make sure that all solder is molten before you lift it. Your best bet is likely hot air, but be very careful to not damage the LCD or LCD ribbon interconnect.

bit 9 wrote:

How dost one safely re-attach the DMG’s screen?

With love and tender care. smile

bit 9 wrote:

Can anyone ID the parts on the power regulation aux board? (is this right?)

It should be about right, but good luck ever finding a suitable transformer new. You're likely better off designing a power regulator board from scratch.

bit 9 wrote:

Why are there jumpers (?) on the back of the screen’s board?

The LCD board, despite being double sided, does not have through-plated vias. So those are indeed jumpers. On a modern PCB, just replace them with a track going on the bottom, connected on each end to the other side with a via. Note that one of the links (the one with two end on the bottom side) is not an electrical link, but a mechanical placeholder for the LCD ribbon cable.

bit 9 wrote:

What would you want to change/add to the DMG’s circuitry to aid the musician/modder?

Prosound. A footprint for an LCD signal inverter for a biversion mod using a 6 pin dual inverter. Arduinoboy. Maybe replace the headphone amplifier with something more modern and less noisy. Maybe a rechargeable LiPo battery, assuming this can be done safely. If you want to get funky, an analog audio filter like http://www.youtube.com/watch?v=9KDI3UbW_3w.

bit 9 wrote:

Is there anyone on this forum that would be willing to work collaboratively on an modded PCB?

*raises hand*

bit 9 wrote:

Also, I don't actually know about the accuracy of the CPU/RAM pinouts and wouldn't know where to start. Can anyone corroborate this?

Should be about right, except maybe the naming of the display data pins, and the CLK? pin, which I believe isn't really a clock pin at all, but a gate signal specifying that there's bus activity.

Offline

.

Last edited by Apeshit (Jul 17, 2019 12:31 am)

Offline
Alabama

You can ask kitsch, I have a lot of ideas as to how we could easily improve both the front and back PCB's for music production. Like others have said, arduino/teensy boy integration, easier prosound access, and depending on what we can do in the future with the CPU, traces for individual audio channels (pu1, pu2, wav, noise) would be awesome.

Perhaps we could even see a socketed CPU design?

Offline
Michigan
MaxDolensky wrote:

You can ask kitsch, I have a lot of ideas as to how we could easily improve both the front and back PCB's for music production. Like others have said, arduino/teensy boy integration, easier prosound access, and depending on what we can do in the future with the CPU, traces for individual audio channels (pu1, pu2, wav, noise) would be awesome.

Perhaps we could even see a socketed CPU design?

The four audio channels are summed internally to left and right. The only way I can imagine them being separated would include a hardware and software union with complex multiplexing.

Offline
Cleveland, OH

Well you know I'm game to help with a new revision of the DMG-CPU PCB! I think everyone would want about the same thing as far as adding features to the PCB.
-prosound
-hex inversion
-arduino
-etc.

I really like the idea of a new amp. Something more "modern" like Nitro said. For prosound pinouts I would prefer them to be pre-pot. Maybe we could make a little jumper on the PCB where this could be easily changed?
I think the copper sheet is really redundant. Just being over cautious. There are plenty of wide ground planes on the PCB. I've removed it on several of my own Game Boys with no negative effects.

And since these just came in the mail, the "Milling" layer will not work through Oshpark though I'm sure if you contacted an actual fab house they would be able to make it work. For now we will have to continue using the "Dimension" layer and then drawing the thermal traces to the pad:

Last edited by thursdaycustoms (Mar 17, 2014 5:04 pm)

Offline
matt's mind

^ did you ask oshpark to consider the milling layer?  i don't remember now if you had

they typically wouldn't, unless its requested

Offline
Cleveland, OH

I hadn't because they've never responded to any of my emails. Just figured I'd see if they would just do it. They didn't. But working directly with a fab house I'm sure it would not be a problem.

Offline
clovis CA

the arduinoboy needs some capacitors i think..

Offline
Seattle, WA
Alley Beach wrote:

the arduinoboy needs some capacitors i think..

Only for the clock, which isn't included in trash80's original schematic.

Offline
Sweeeeeeden
bit 9 wrote:
Alley Beach wrote:

the arduinoboy needs some capacitors i think..

Only for the clock, which isn't included in trash80's original schematic.

What? I don't know of any Arduinoboy schematic where there's a capacitor on any clock line. I think what Alley Beach meant, and what you should preferably do, is to add a capacitor between power and ground in order to keep the power supply voltage stable. And, I would probably personally have designed the schematic to use SMD components, but that's just me. Oh, and in that case (and maybe even now) add a programming header.

Offline
matt's mind

^programming header.

want to re-emphasize that.