Updated.
243 Aug 8, 2012 6:20 am
Re: Mute City Electronics For Sale Tread: New Gameboys and Custom Service! (23 replies, posted in Trading Post)
Ouch, just out of curiosity, what's this guy's ebay username?
244 Jul 31, 2012 10:06 pm
Re: Delete Dis thread plz (178 replies, posted in Collaborations)
Hey sorry about the delay, im out of town atm but I'll get the track emailed by midnight!
245 Jul 25, 2012 2:11 am
Re: Delete Dis thread plz (178 replies, posted in Collaborations)
I'll pick up the pace.
247 Jul 16, 2012 1:54 am
Re: Kitsch-Bent.com Updates (latest newsletter!) (1,485 replies, posted in Trading Post)
thebitman wrote:

Those new cases look amazing, when can we expect to see them available for sale on the site?
248 Jul 3, 2012 8:00 pm
Re: Customized gear thread (1,206 replies, posted in Nintendo Handhelds)
Telerophon wrote:
Wow dude, those are all sick!
What all have you changed on the Kaossilator, and what does it do?
Thanks man! I added a clock control LTC module from GetLoFi to the Kaossilator so that I could change the pitch/speed of the preset sounds. It's not much, but I just wanted to be able to somewhat edit the sounds so I wouldn't be stuck with the same presets haha. When the knob is turned all the way down, it gives the kaossilator a really nice fuzzy analog-ish sound.
249 Jul 2, 2012 11:29 pm
Re: Customized gear thread (1,206 replies, posted in Nintendo Handhelds)
Personal DMG's-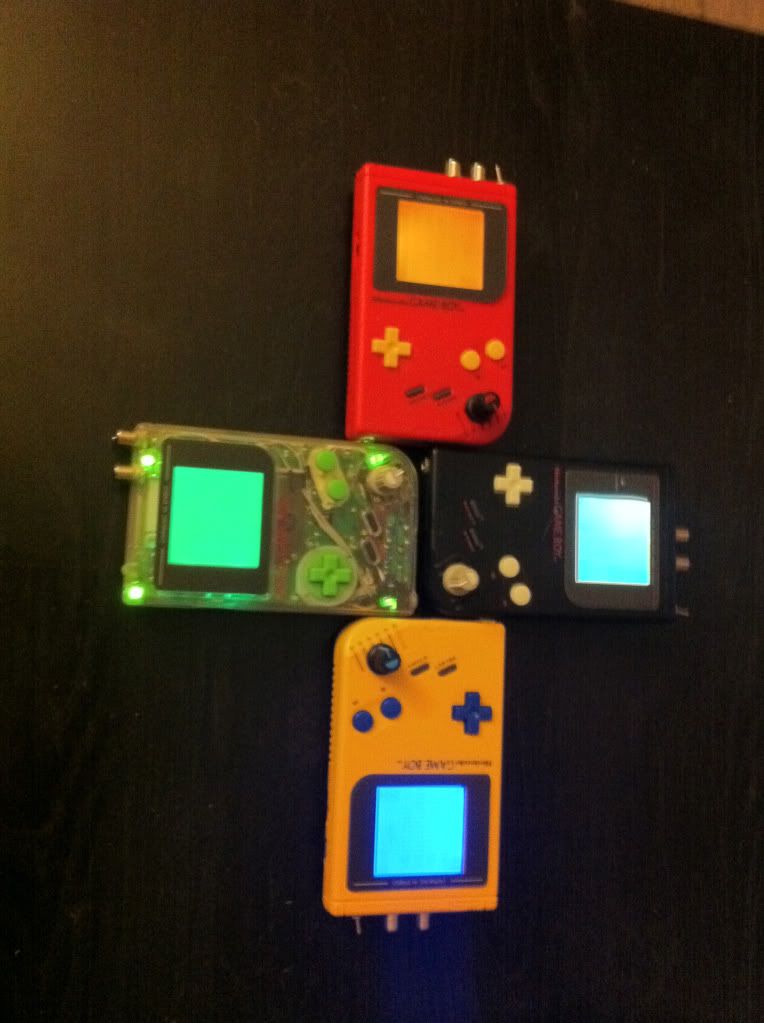
Circuit Bent Kaossilator-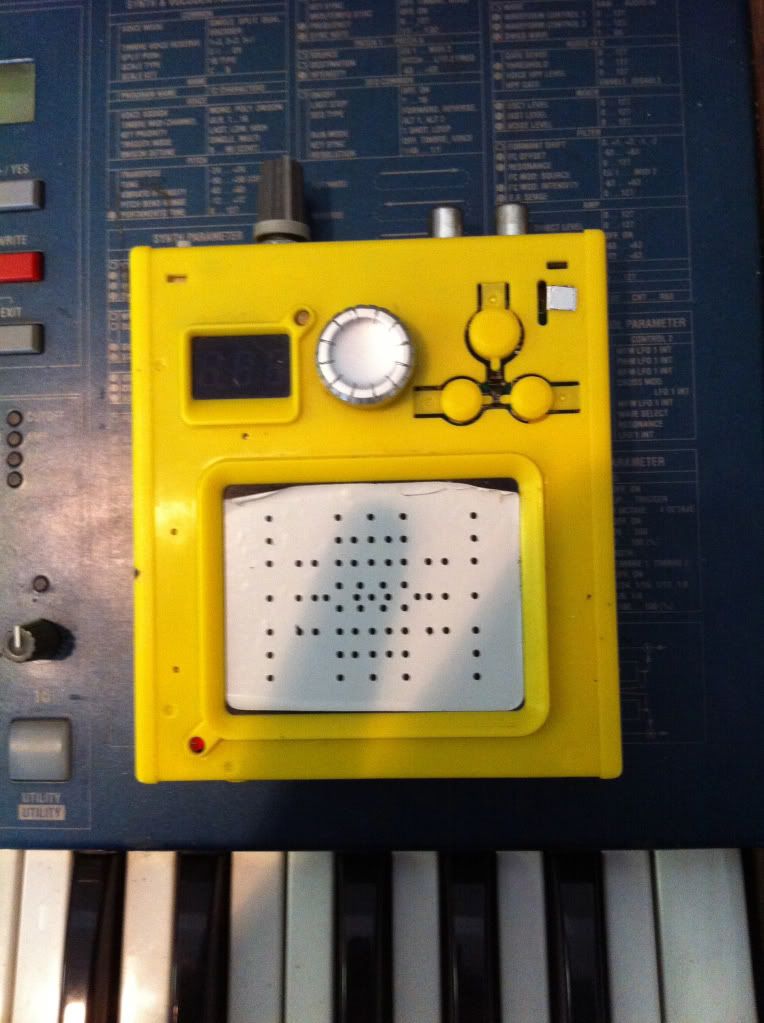
Modded/Painted C64 (not fully assembled yet)-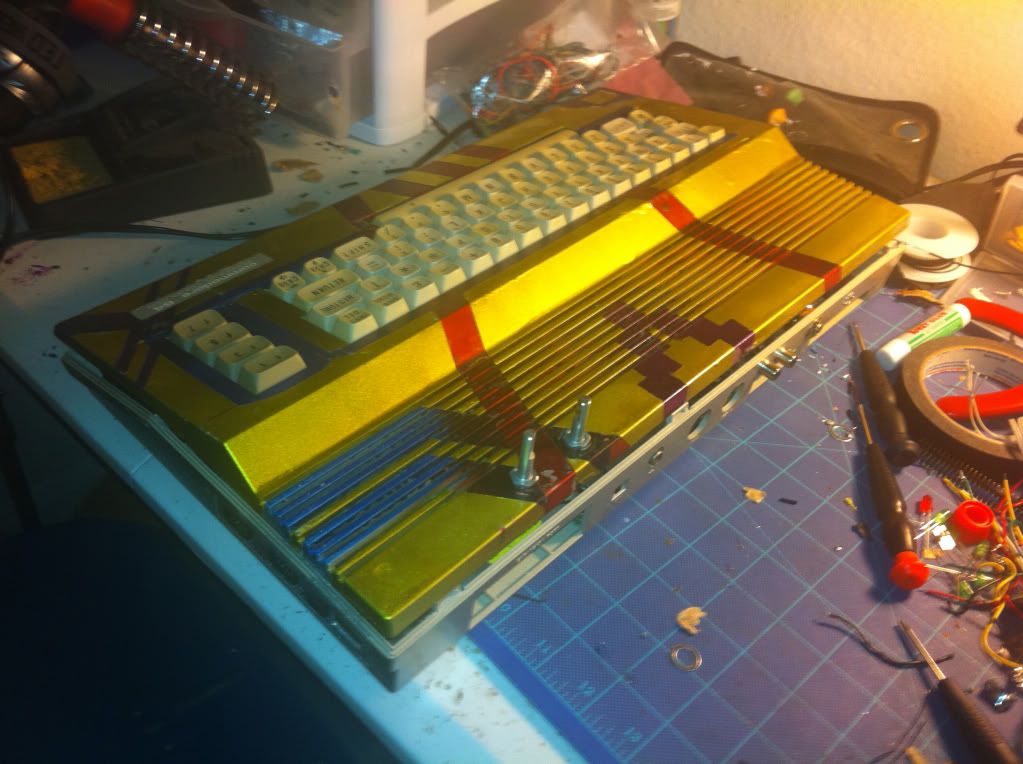
250 Jul 2, 2012 10:49 pm
Re: DMG Build Blog (135 replies, posted in Nintendo Handhelds)
W4LKR wrote:
Love the project. When I modded my DMG last week I didn't do t as precise as you did. Kinda screwed up a couple of things haha
Thanks! I find that drawing everything out first really helps. Before I started drawing blueprints for everything I fucked up quite a few innocent Gameboys... may their souls rest in peace. Here's a tool that I would highly suggest looking into if you don't already have something similar,
http://www.radioshack.com/product/index … Id=3928375
once I got one of these it eliminated quite a few problems I was having while soldering.
251 Jun 30, 2012 12:55 am
Re: DMG Build Blog (135 replies, posted in Nintendo Handhelds)
Vex wrote:
This reminds me of a gameboy that nex did and it was a beauty.
Yeah NeX's Megatron DMG is what inspired some of the designs and features. I love his work.
And if I can find the Gameshark case, you can have it.
Telerophon wrote:
I cannot conceive how you are going to fit all of that shit in there without multiple breakout boxes.
It won't be easy, but I'm confident that it's possible haha. Finding small parts can be tough, but you can find pretty much anything on www.mouser.com, and at very reasonable prices. I got the Ps/2 port for this project from mouser, and it's much better than anything I've found at other electronics distributors.
252 Jun 29, 2012 1:33 am
Re: DMG Build Blog (135 replies, posted in Nintendo Handhelds)
basspuddle wrote:
Yeah, it's probably going to destroy batteries.
Fa sho. I plan to have a way to connect external power for the ArduinoBoy through the D-sub connector, but even then it's still going to drain the batteries. The guy I'm making it for said that wasn't really a problem for him because he planned to keep it connected to an ac adapter most of the time.
Alley Beach wrote:
if your going to trash the mega memory cart case, i can use it =]
It's all yours. I might also have the case from a gameshark if you want that too.
253 Jun 28, 2012 6:28 pm
Re: DMG Build Blog (135 replies, posted in Nintendo Handhelds)
Haha thanks everyone! This is the project I've been waiting for ever since the first time I held a soldering iron and Gameboy at the same time. Space is going to be VERY limited, but the N64 Trans Pak case extension will help because I can move the cart connector and cut out the back part of the DMG shell. That will leave enough room for the ArduinoBoy pcb. The AB pcb will most likely have to be shaped a bit to fit better, so I didn't attach all of the components directly to the board. The midi jacks, LED's, and the power & mode toggles are attached externally so that leaves a large area of the pcb free and can be cut off later.
The Mega Memory Card is an accessory for GBP's and GBC's but works for DMG's if you slightly modify the casing. I'm just removing the cart connector from it and wiring it through the DMG's cart slot with a bypass/power switch. This part could easily fit in the spare space of the N64 Trans Pak extension.
I'll be sure to post videos along with the pics to show how everything works!
254 Jun 28, 2012 7:21 am
Topic: DMG Build Blog (135 replies, posted in Nintendo Handhelds)
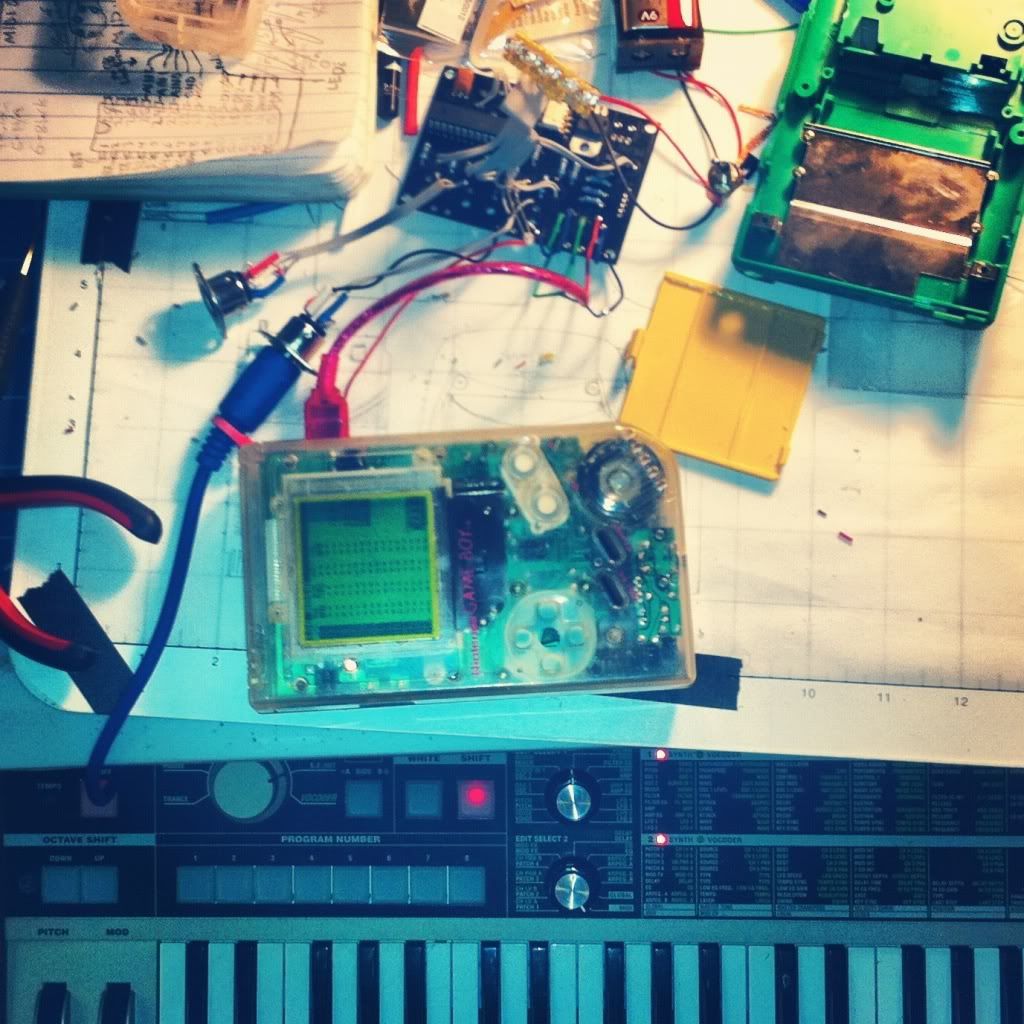
I'm currently working on a customized DMG for a fellow in the UK. I don't have a blog or website, so I thought I'd post my progress here for now. Comments, constructive criticism, and suggestions are all welcome.
-I would like to give a shout out to NeX, he's insanely talented when it comes to GB modding, and his blog is a great source of inspiration as well as very helpful.
Here's what is currently planned for this DMG:
Clear Play-It-Loud DMG with the following modifications:
-1/8" Non-Prosound Jack
-1/8", 1/4", & RCA Prosound Jacks
-White LEDx3 Inverted Backlight (provided by ASM Retro)
-Biverted display (provided by Kitsch-Bent)
-Variable Clock Control w/power toggle (provided by GetLoFi)
-Ps/2 Keyboard Jack
-Start Pedal Jack w/ Foot Pedal
-Full MIDI w/ ArduinoBoy (provided by MEOW Industries)
-Clear D-Pad, Buttons, and Power switch (Kitsch-Bent)
-Illuminated D-Pad & Buttons
-Illuminated Case
-LED pattern sequencer (from some cheap "party" glasses)
-GBA SP Speaker
-Internal Mega Memory Card accessory
-Case extension w/ N64 Transfer Pak
-25 Pin D-Sub Connector for various functions including access to the serial port for the Arduinoboy to upload updates, external power for AB, external controls, etc.
I plan to update this thread as I progress.
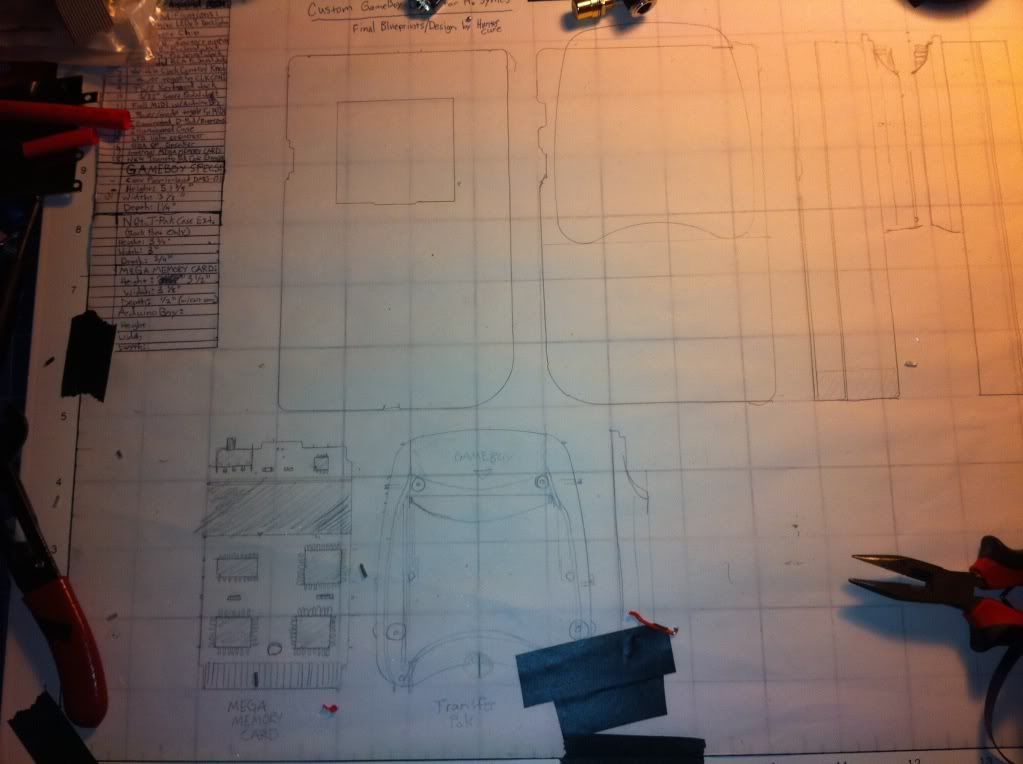
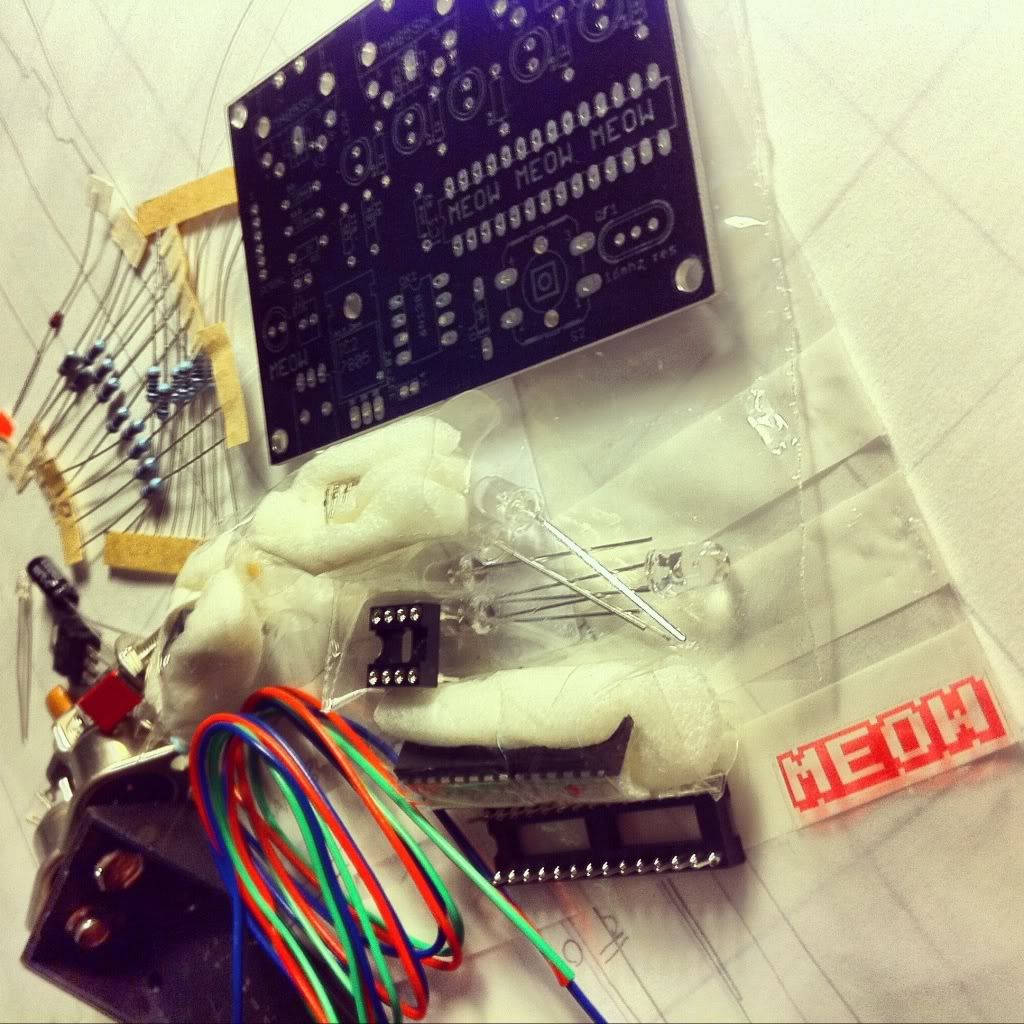
Pre-Build-
I've sketched blueprints for the DMG and acquired all parts. 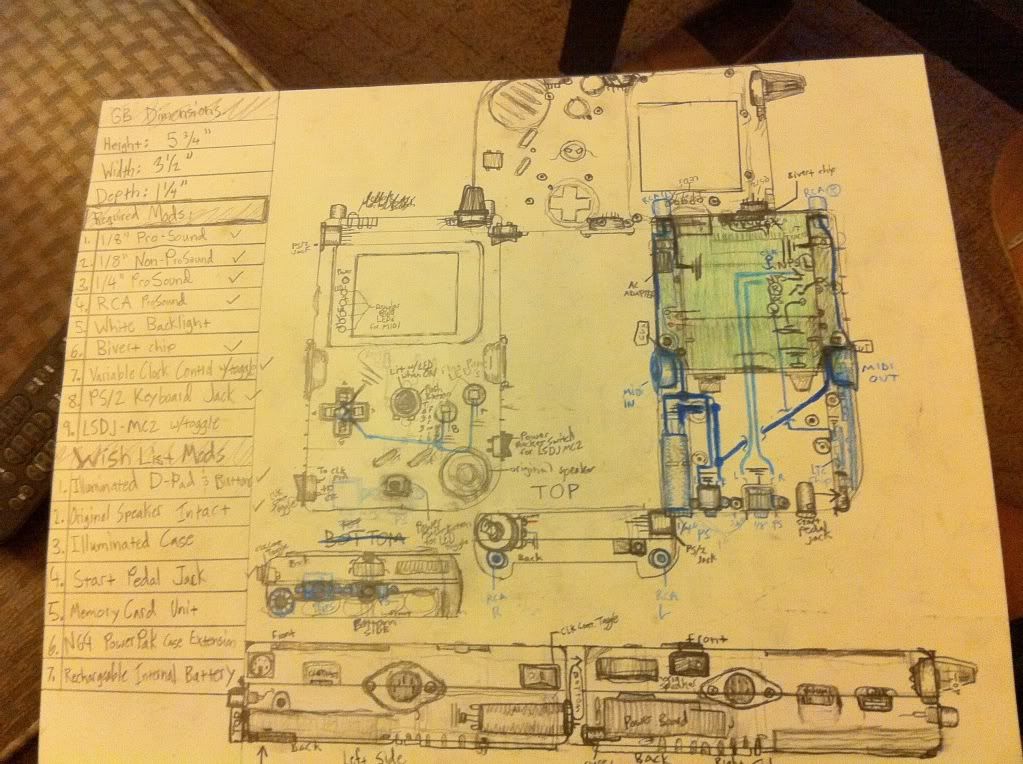
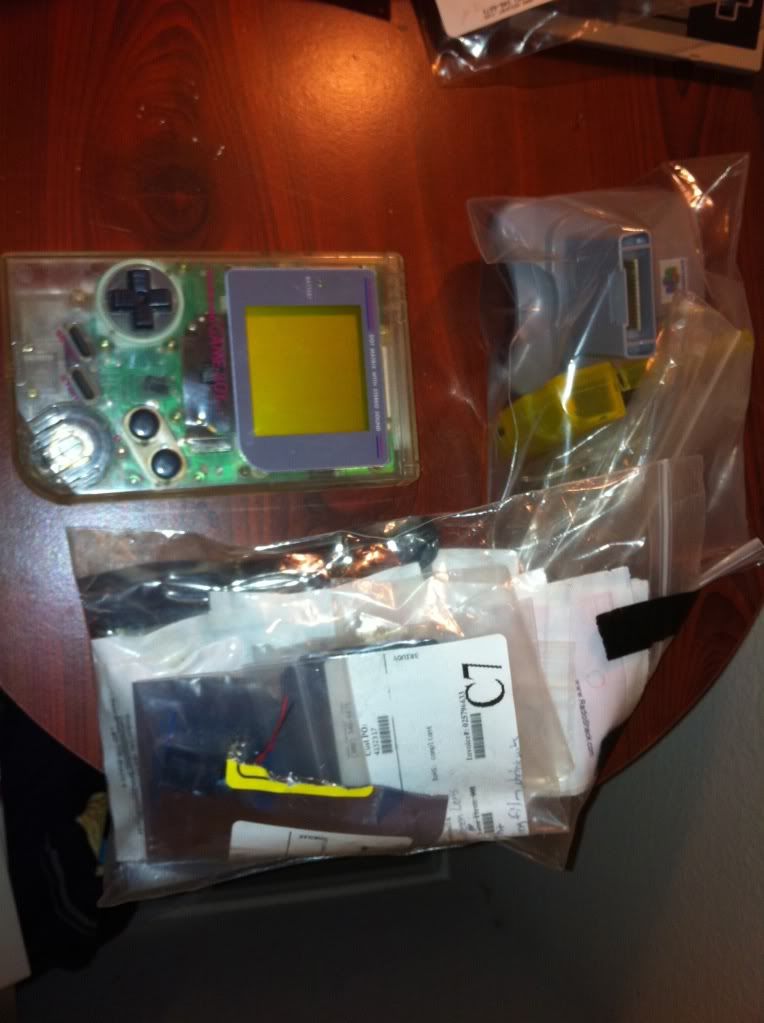
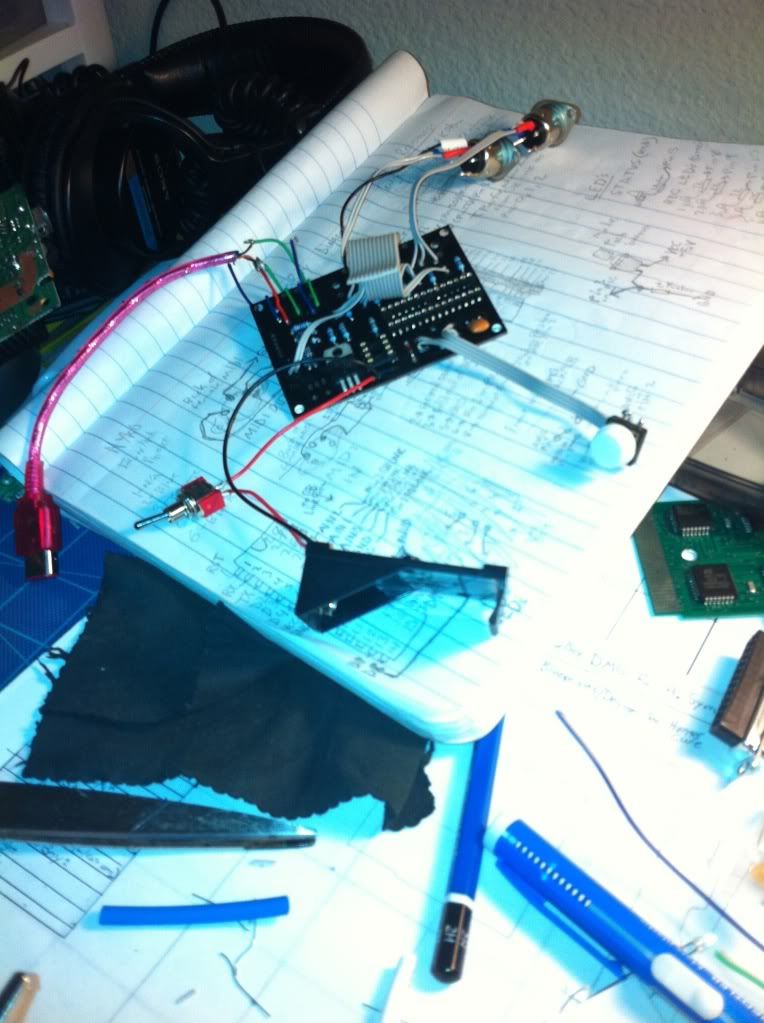
Testing out the illuminated D-pad and Buttons-
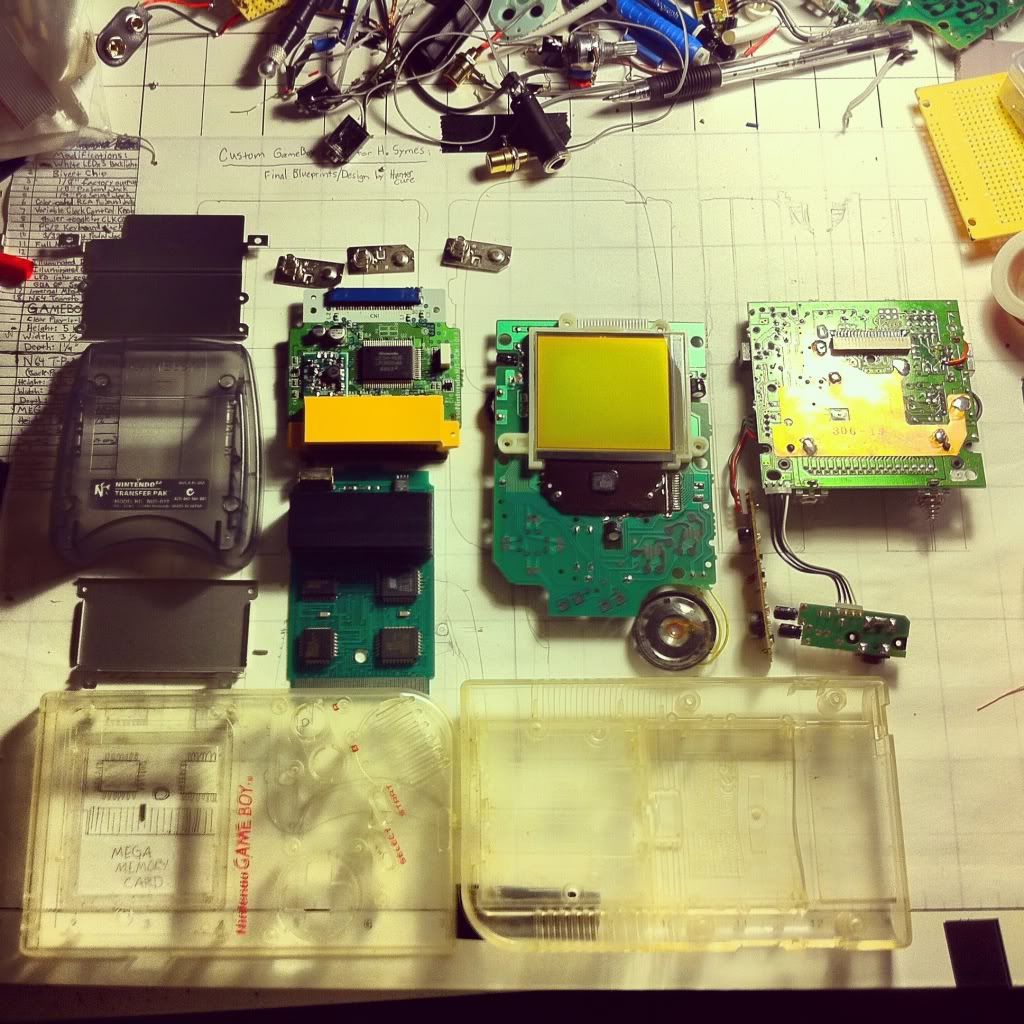
Update 2:
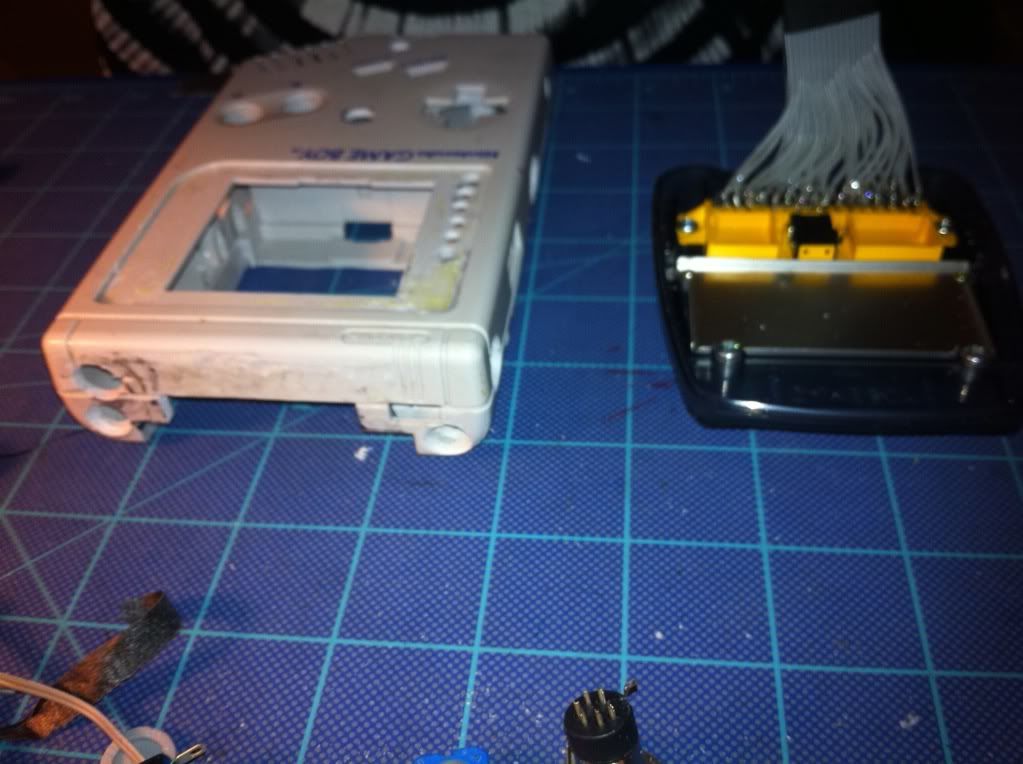
I've made a test model for this DMG out of an old greyboy shell, mainly to make sure everything would fit. I haven't run into any problems with that so far. I also removed the cartridge connector from the N64 Transfer Pak and installed it inside the back half of it's original shell. With the cartridge slot moved back, it gave me more than enough room to fit the ArduinoBoy pcb. I am going to have to sand down all the corners of the back pcb so that all the other mods will fit, but I've drawn out plans and it doesn't look like it'll be a problem. Should be starting the main construction process soon if all goes well.
Pics:
Case extension: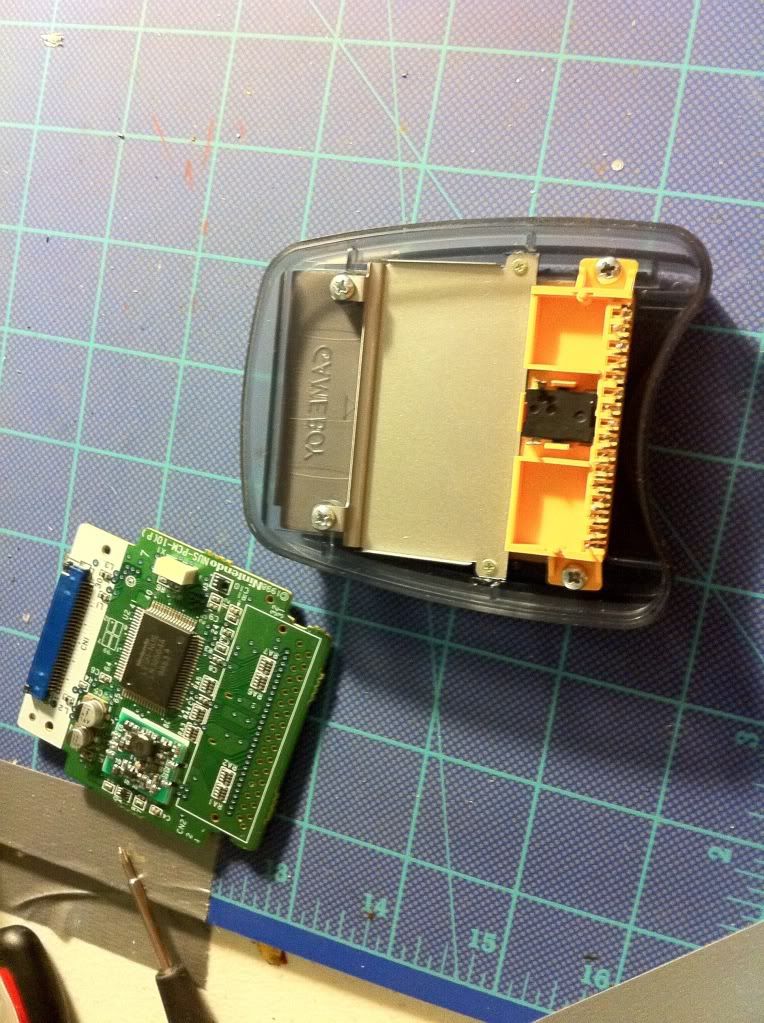
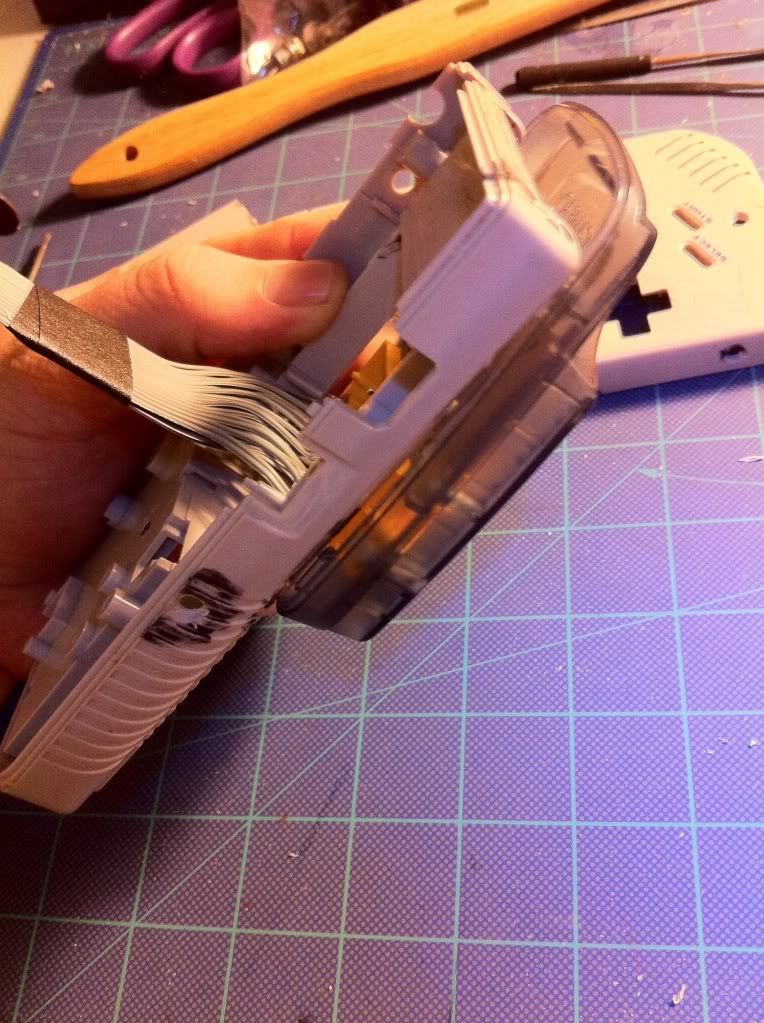
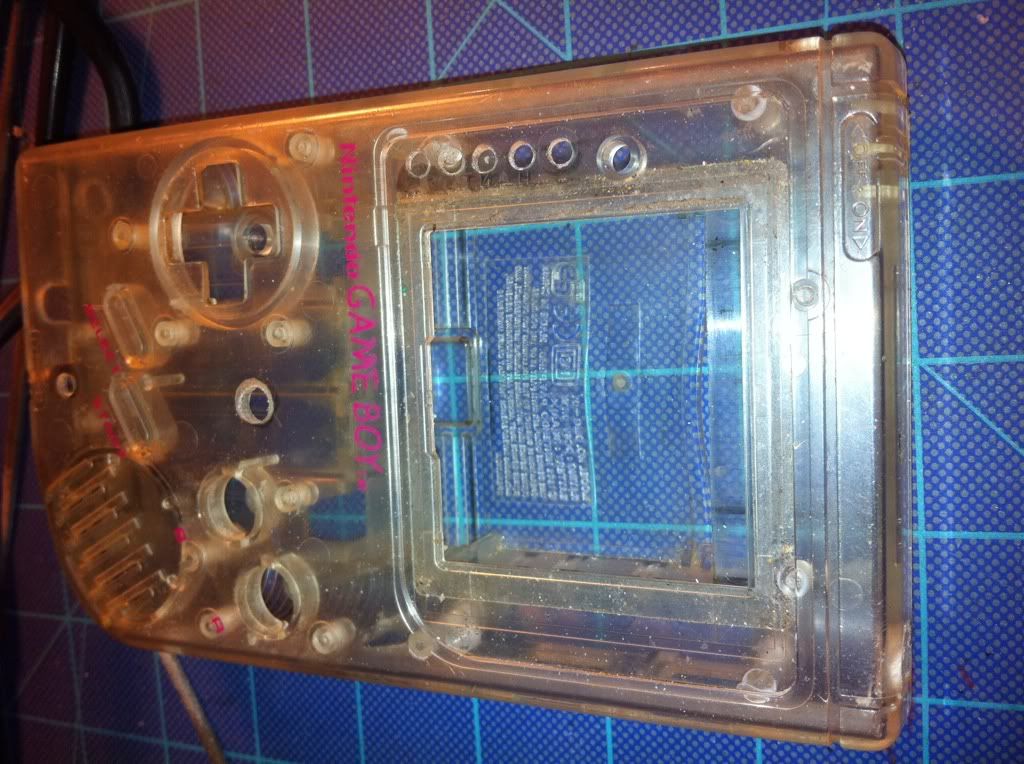
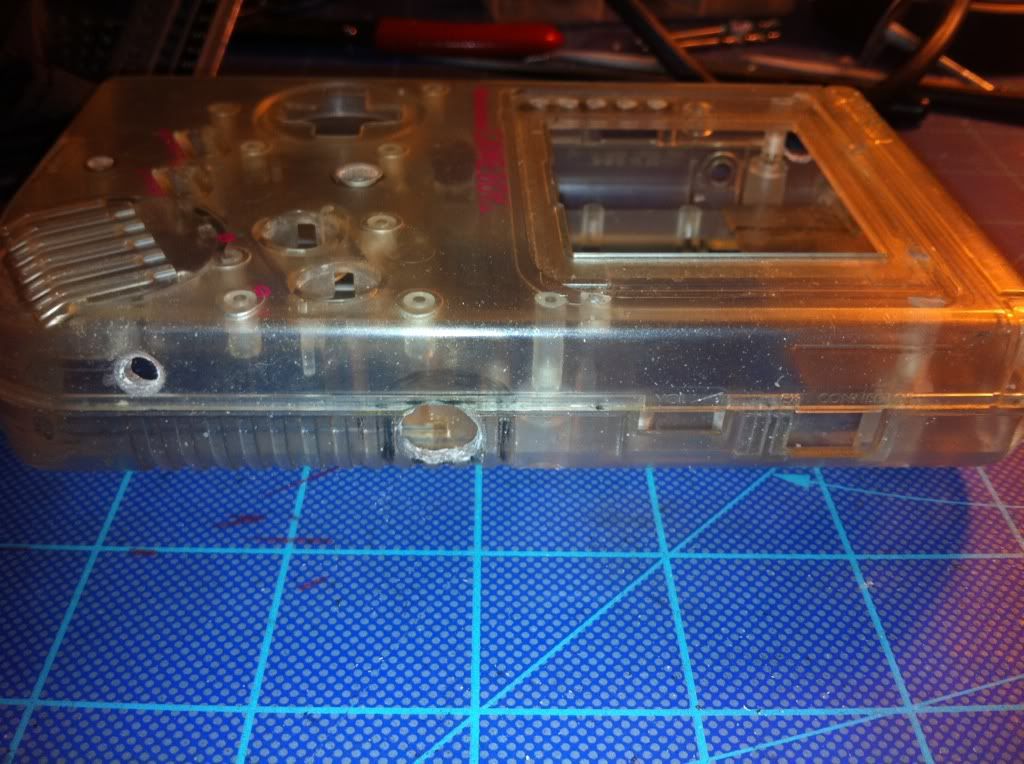
Test model: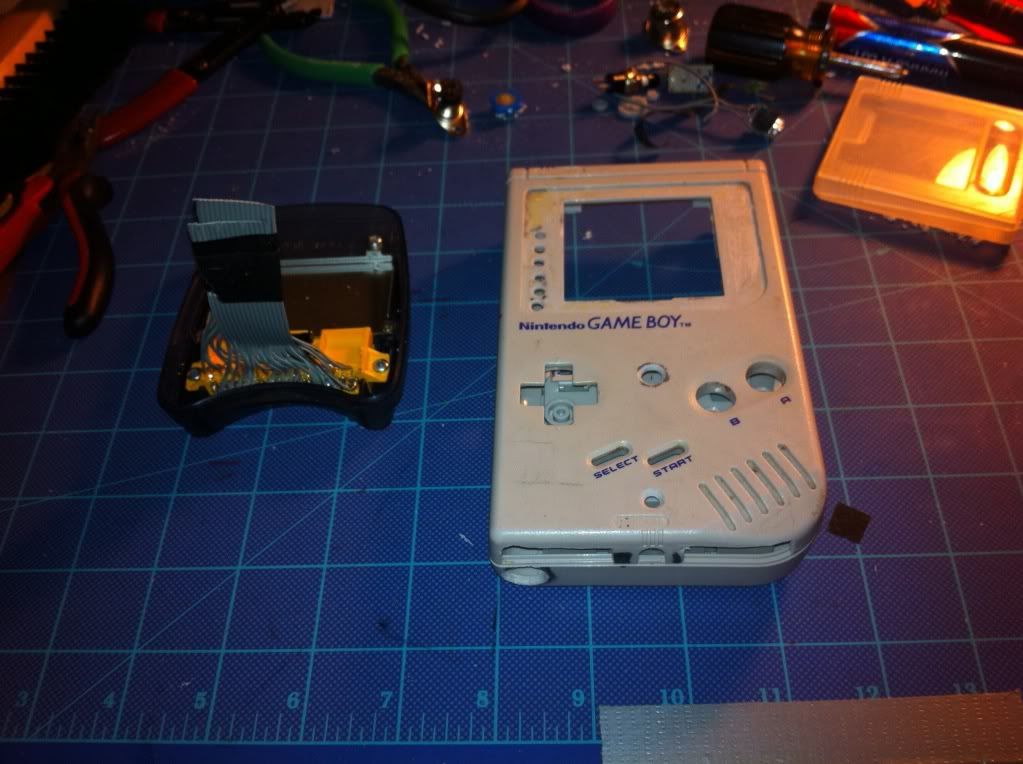
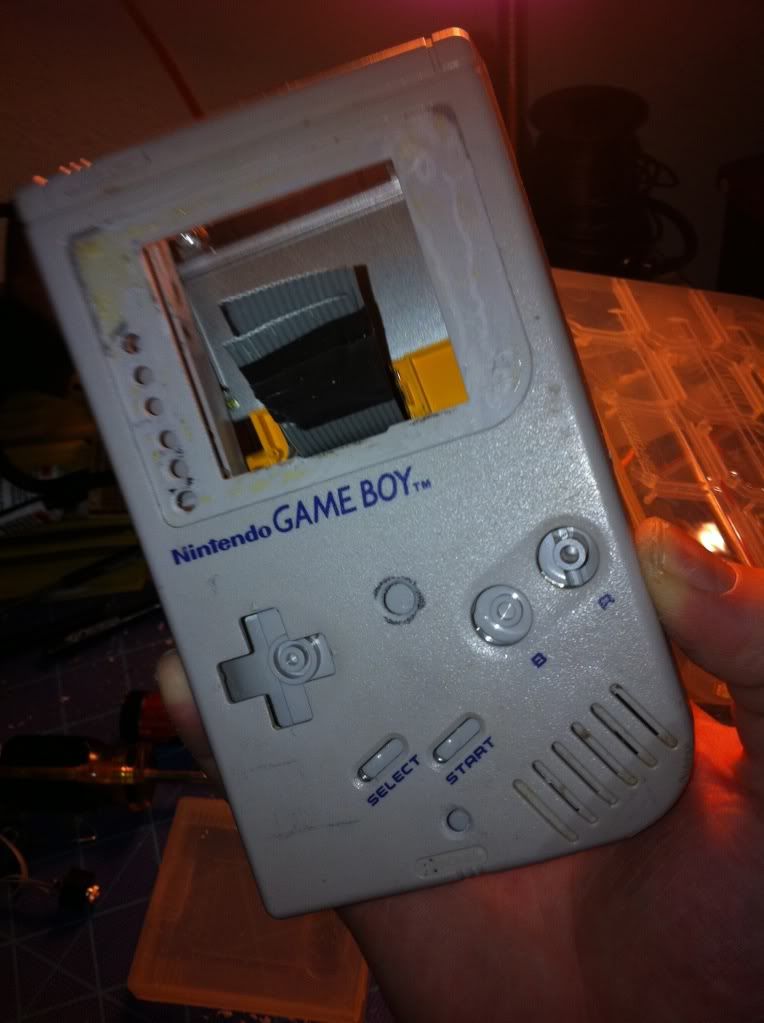
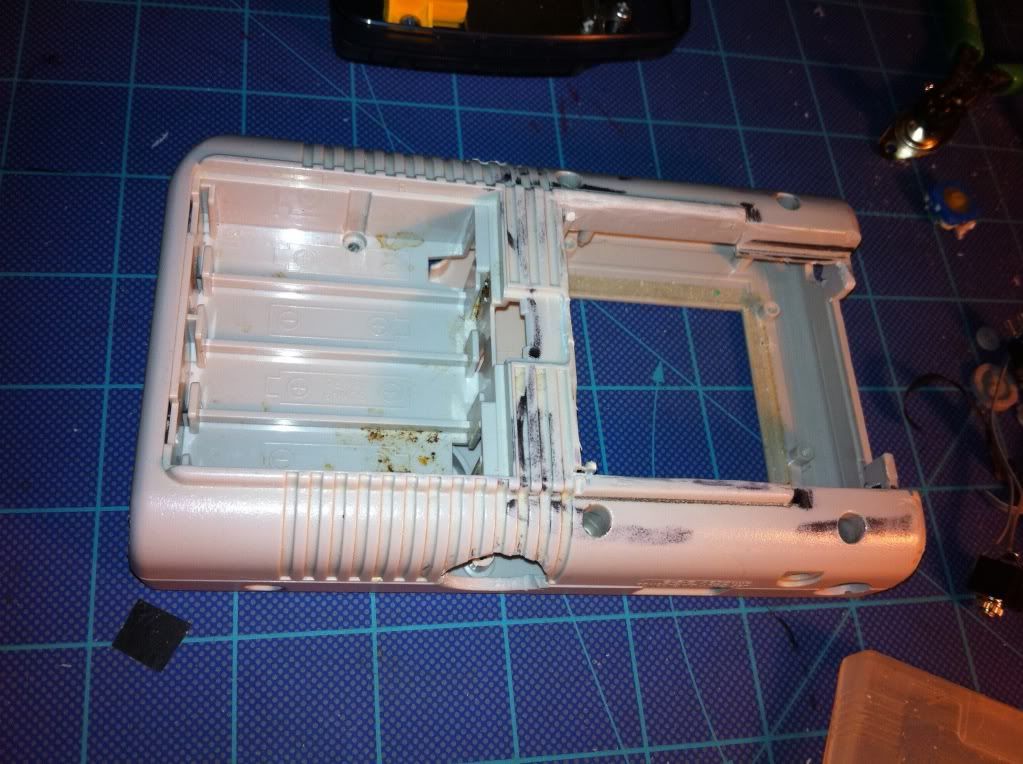
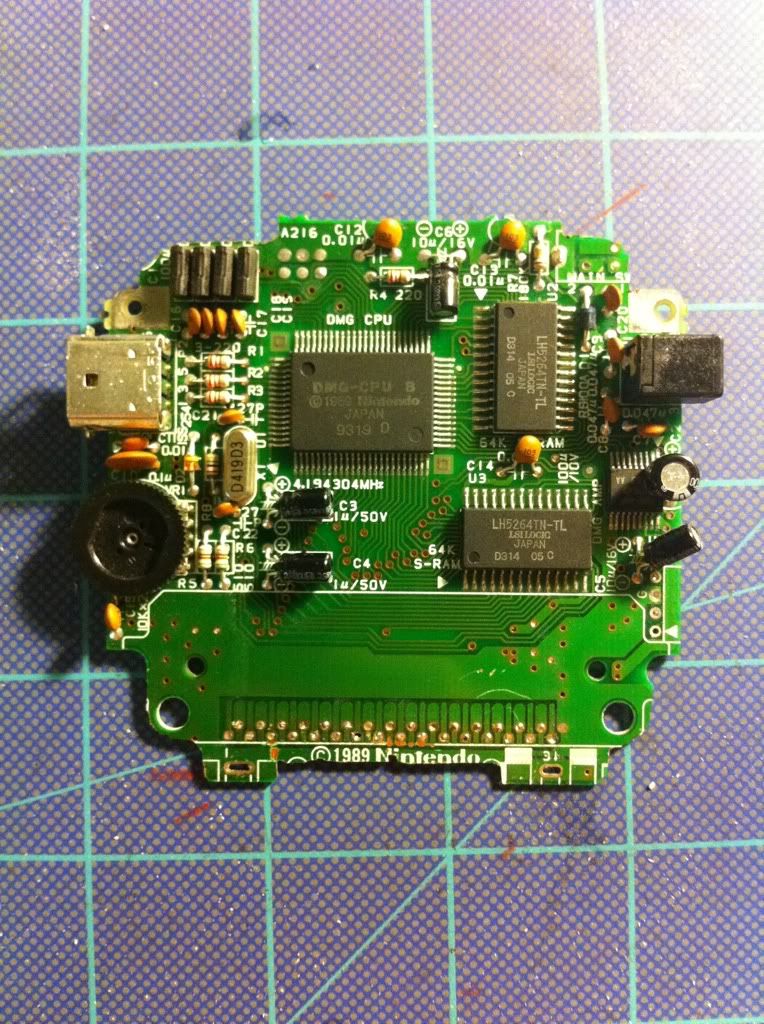
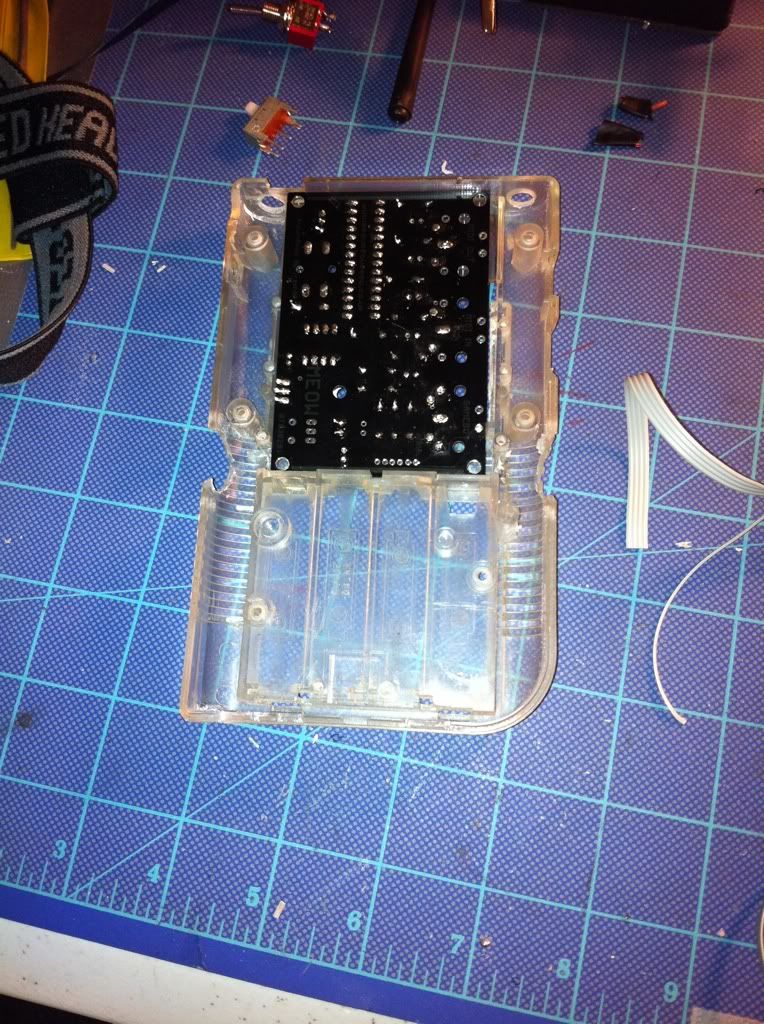
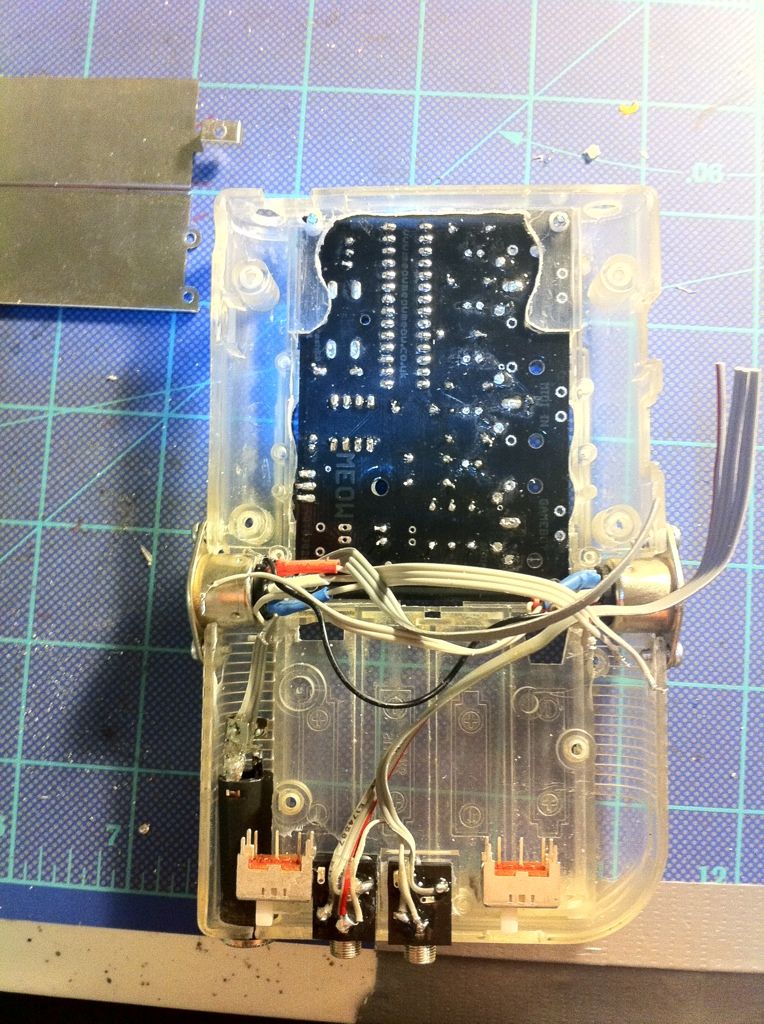
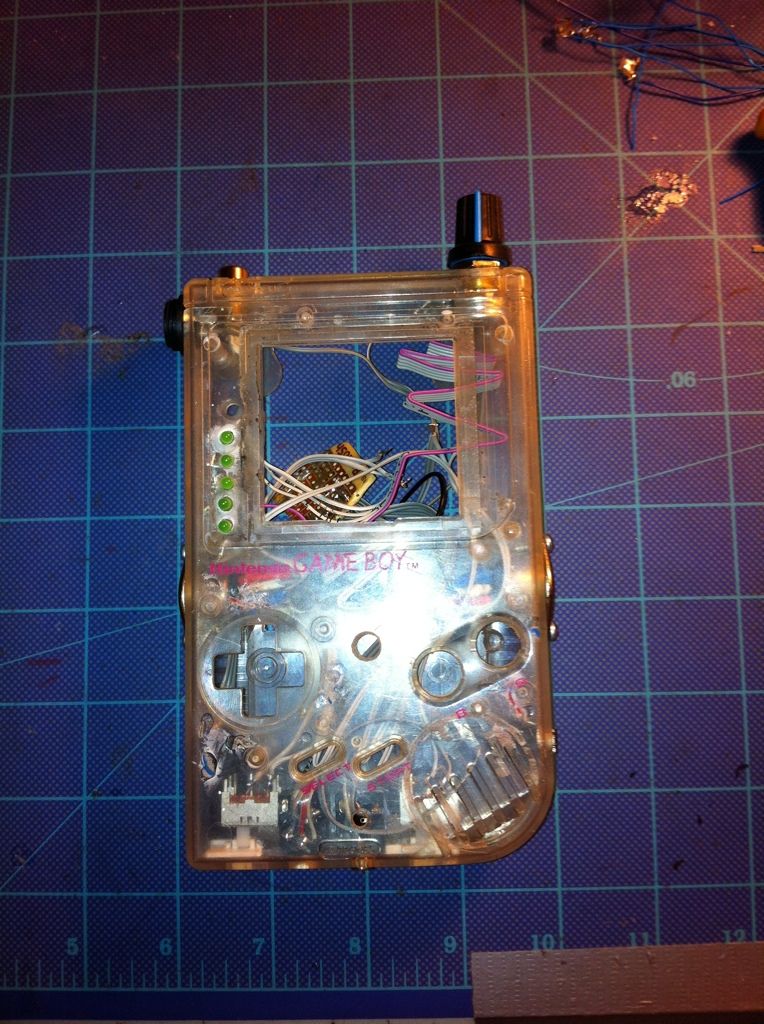
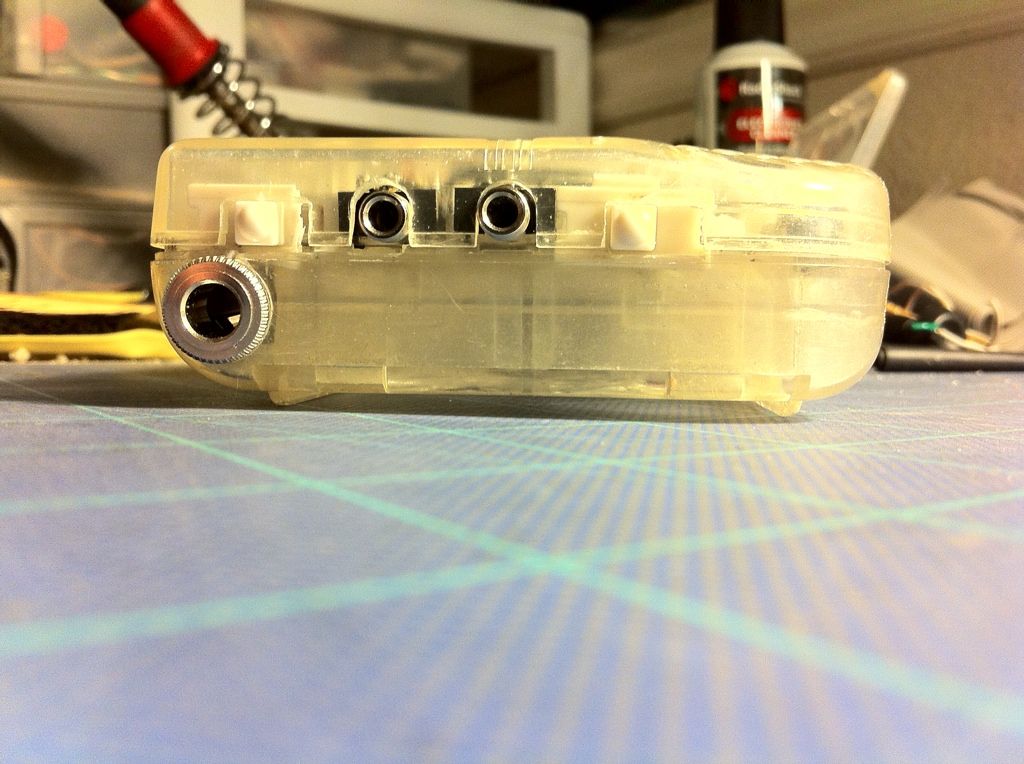
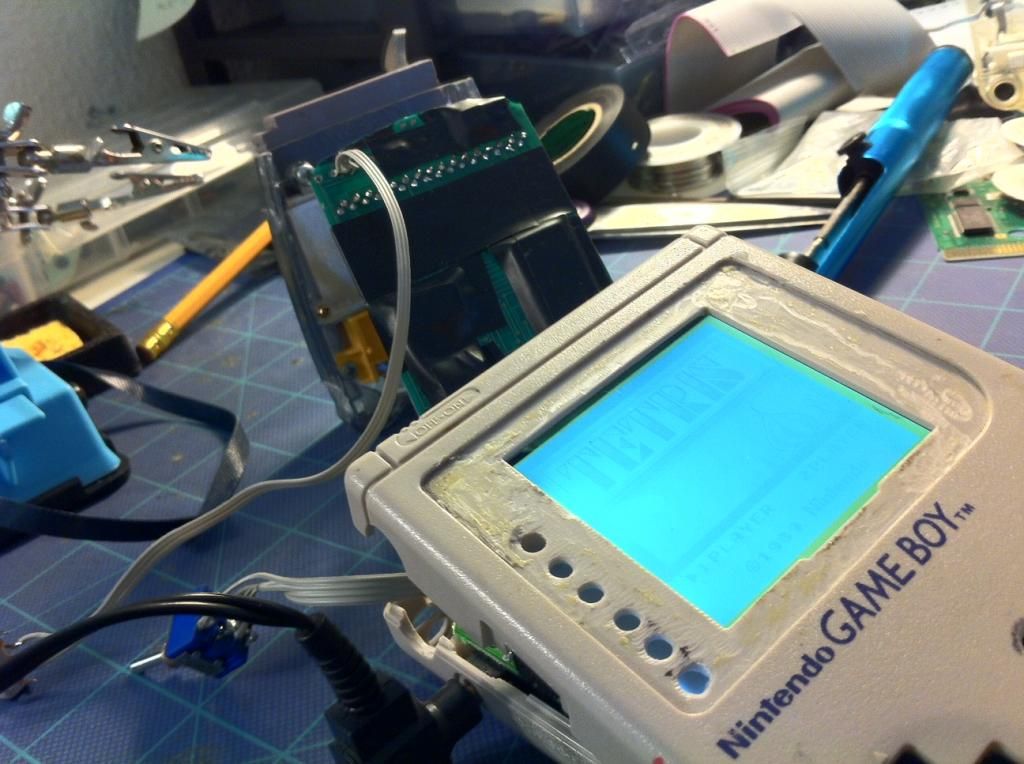
8/8/12 Update: I've removed the cart connector, power switch, a cap in the top right corner, headphone board, and the power board from the back DMG pcb. I've also cut/sanded the two pcb's to make room for all the mods. I drilled the initial holes for all of the external mods, just need to sand them to make them the right size. Doesn't look like space will be too much of an issue, but I think I may have to get creative with installing the Mega Memory Card or just skip that mod. I still need to cut out a section on the back shell and cut out the spot for the D-sub and toggle switches. I decided to use some much smaller slide switches that came with the LTC module kits from GetLoFi and put colored dmg power switches on them. In the next few days I plan to start installing the external stuff and then get to the wiring.
Pics: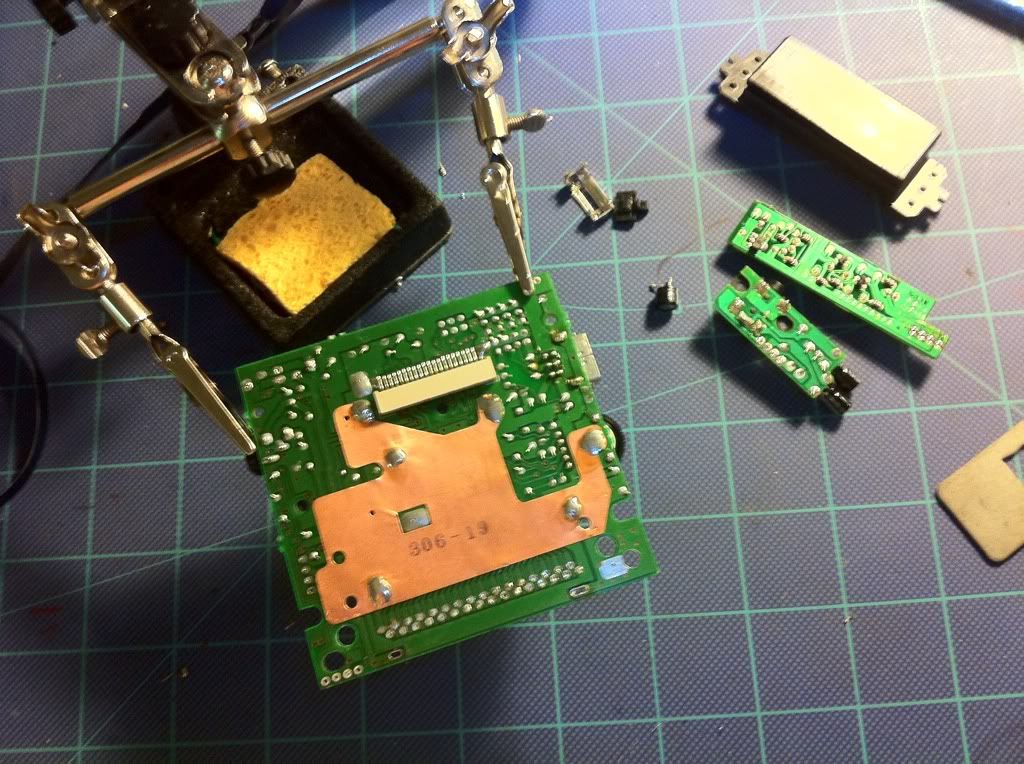
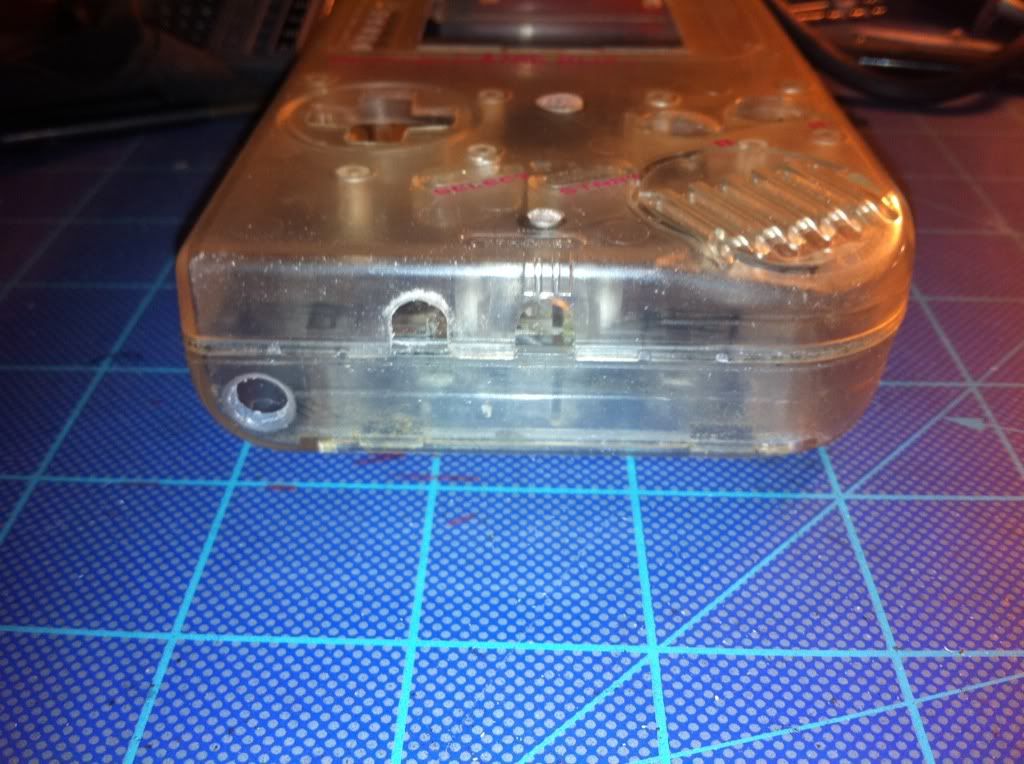
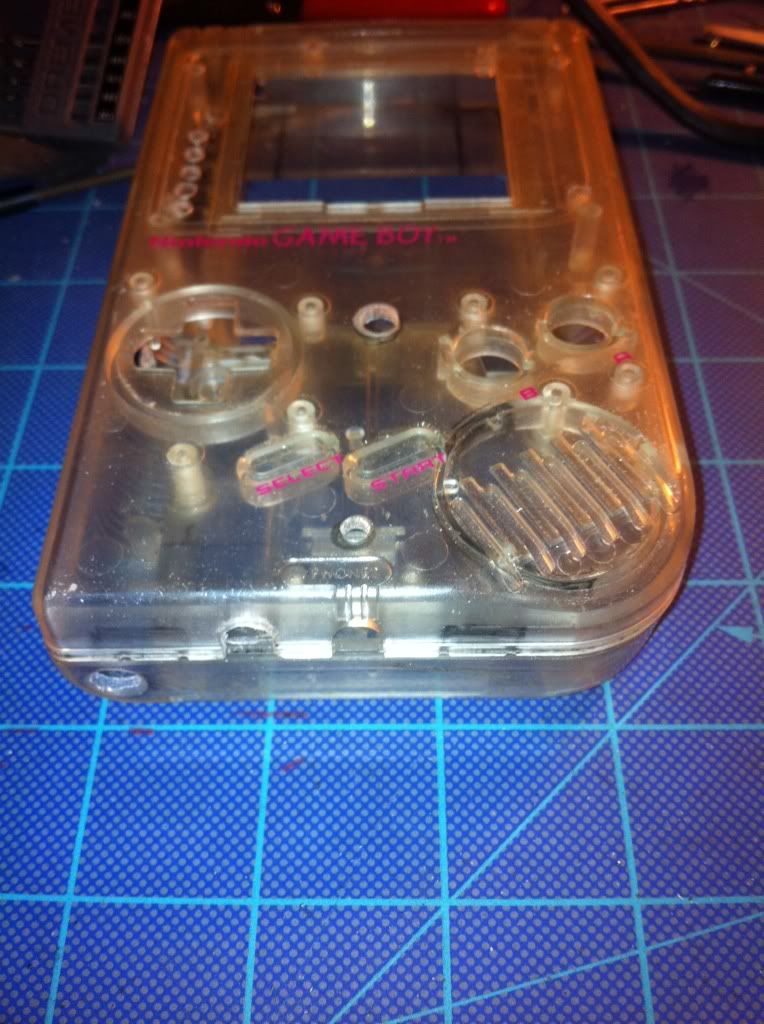

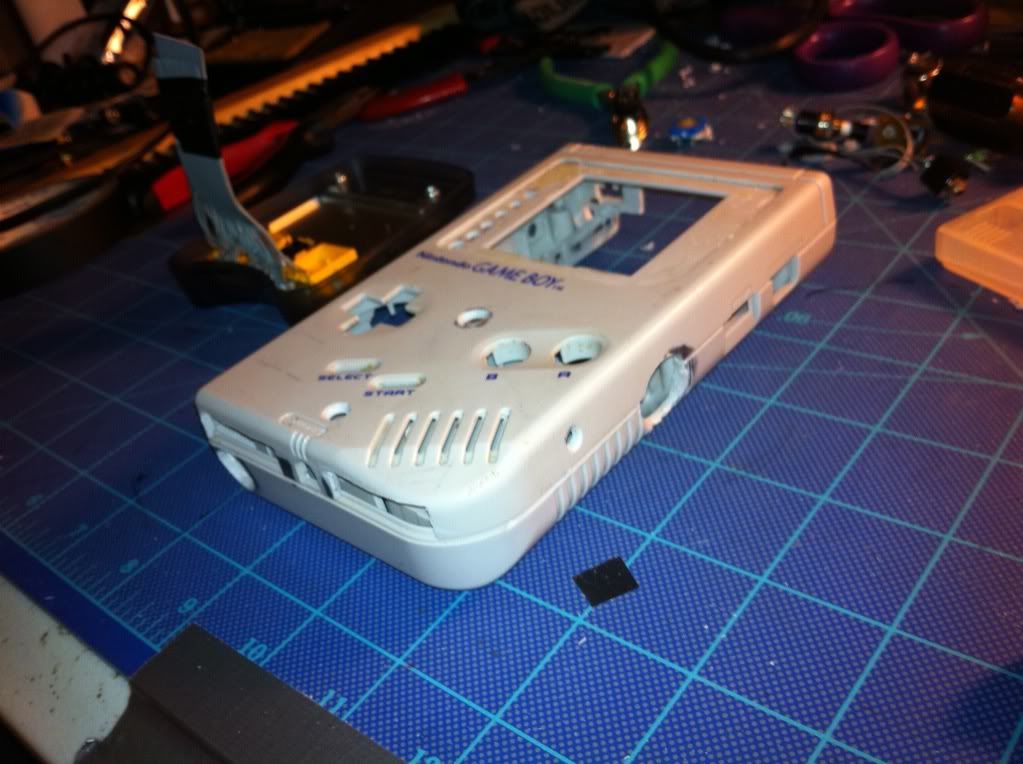
Update (8/10)
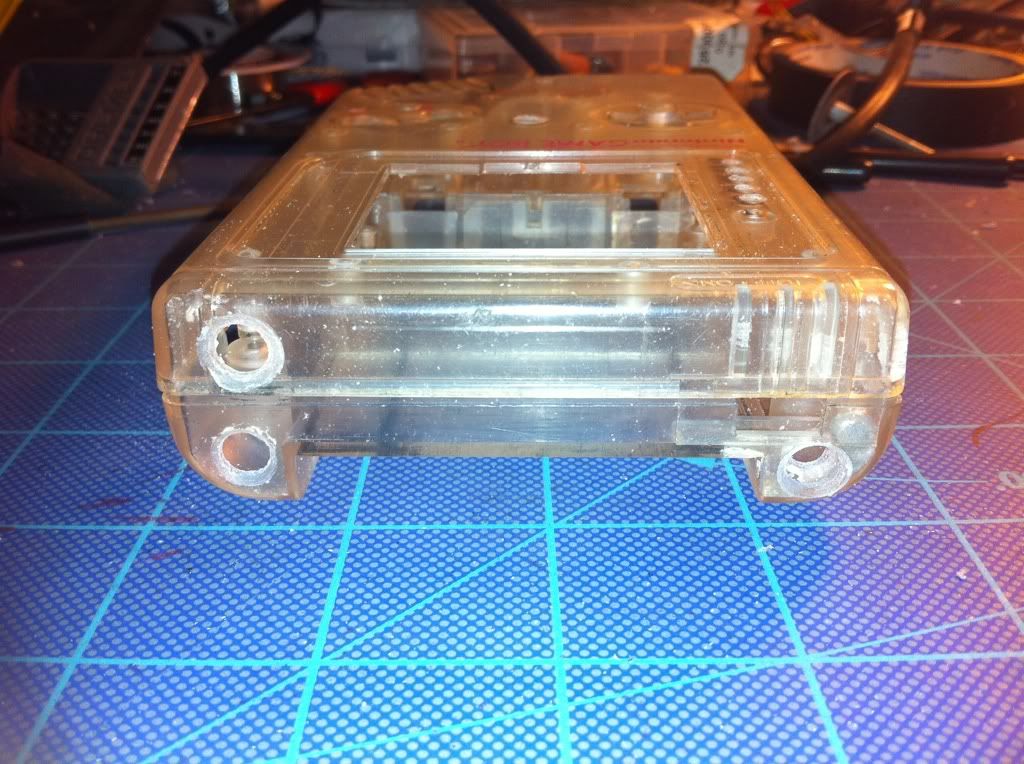
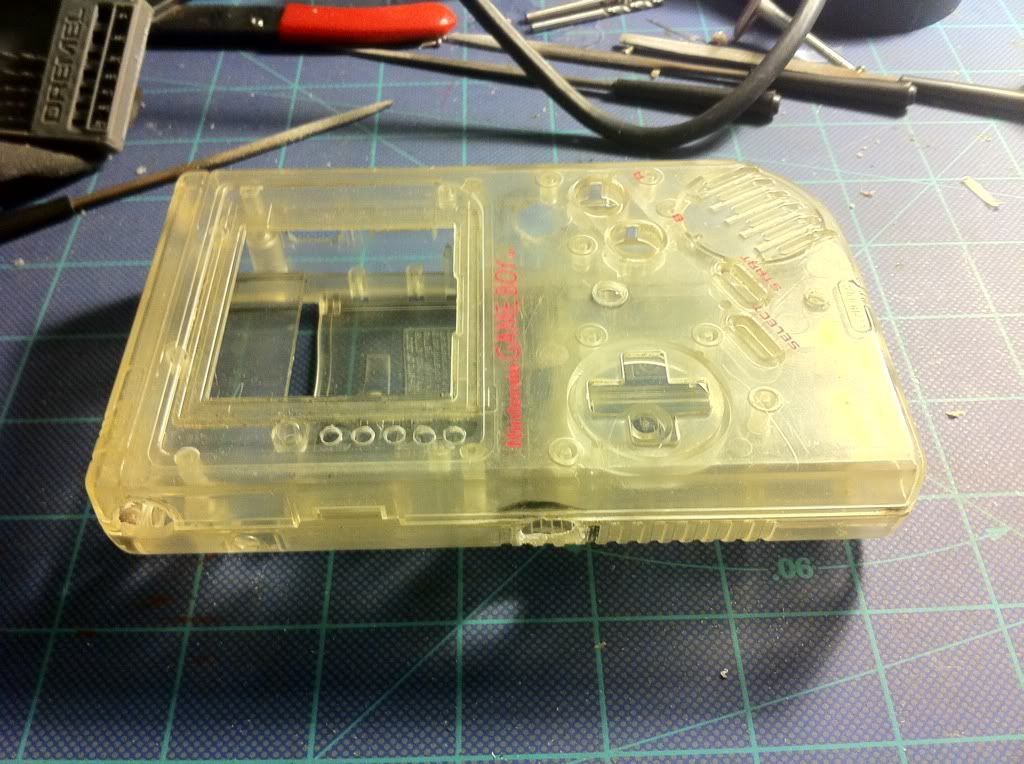
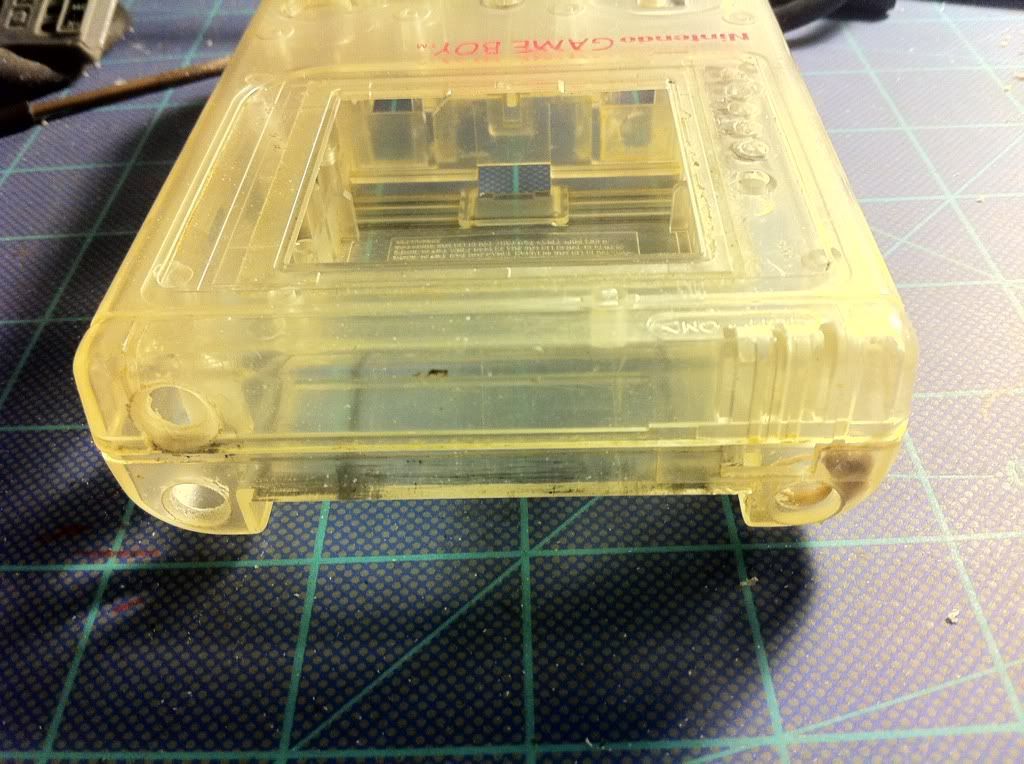
I've finished expanding the holes, I cut the slots for the switches, and I just need to cut out the back and mount the transfer pak to complete the shell, I'll have pics of that soon.
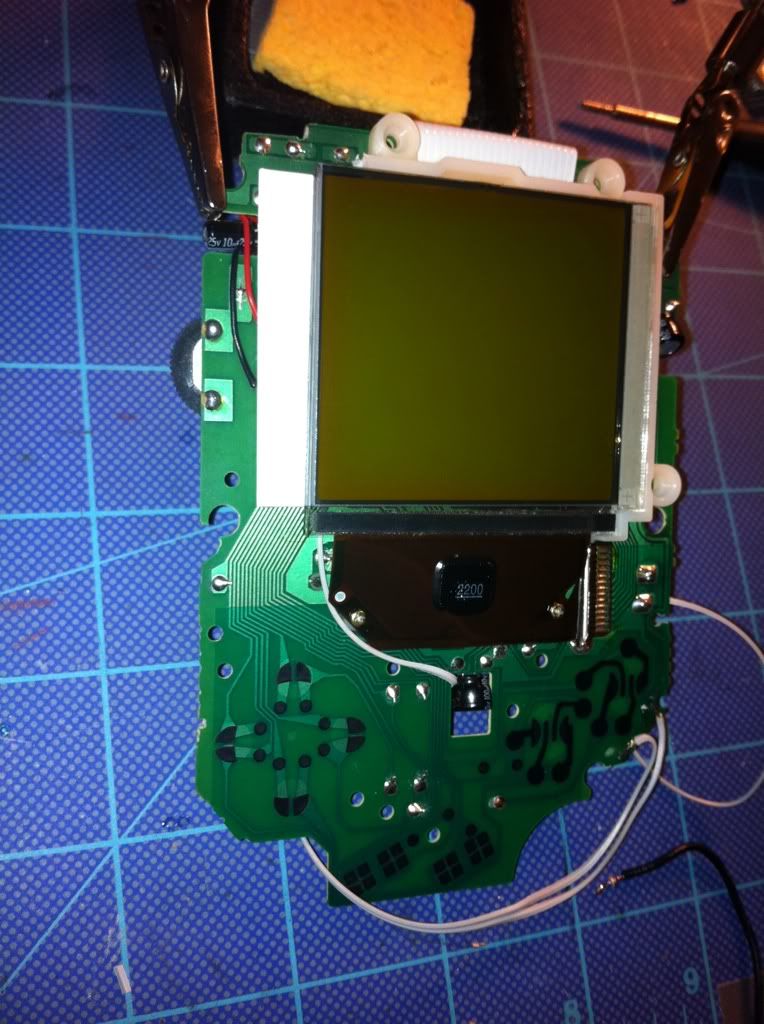
I started the wiring process and I've attached lengthy wires to all the points on the front and back DMG pcbs, which will be cut down later on. I also installed the white backlight.
Tomorrow I'm going to wire up the cartridge slot, mount the arduinoboy pcb, and and finish the shell.
Pics: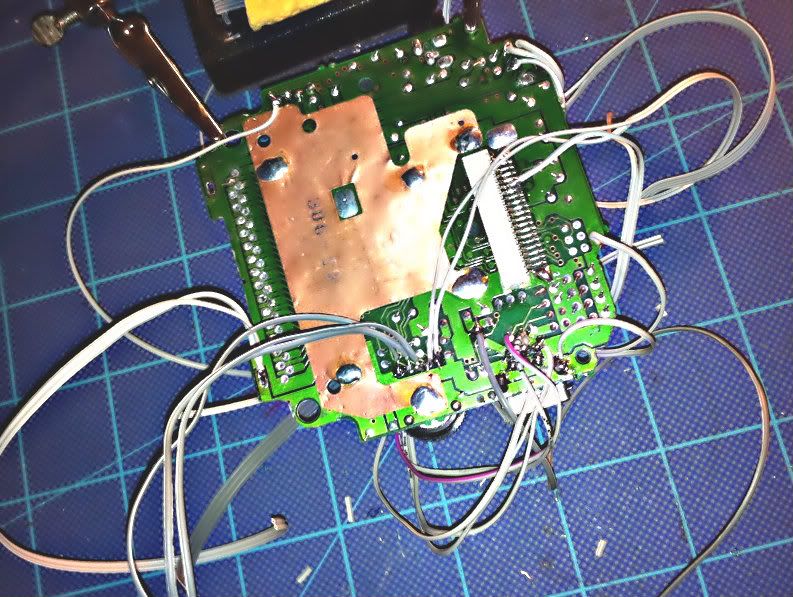
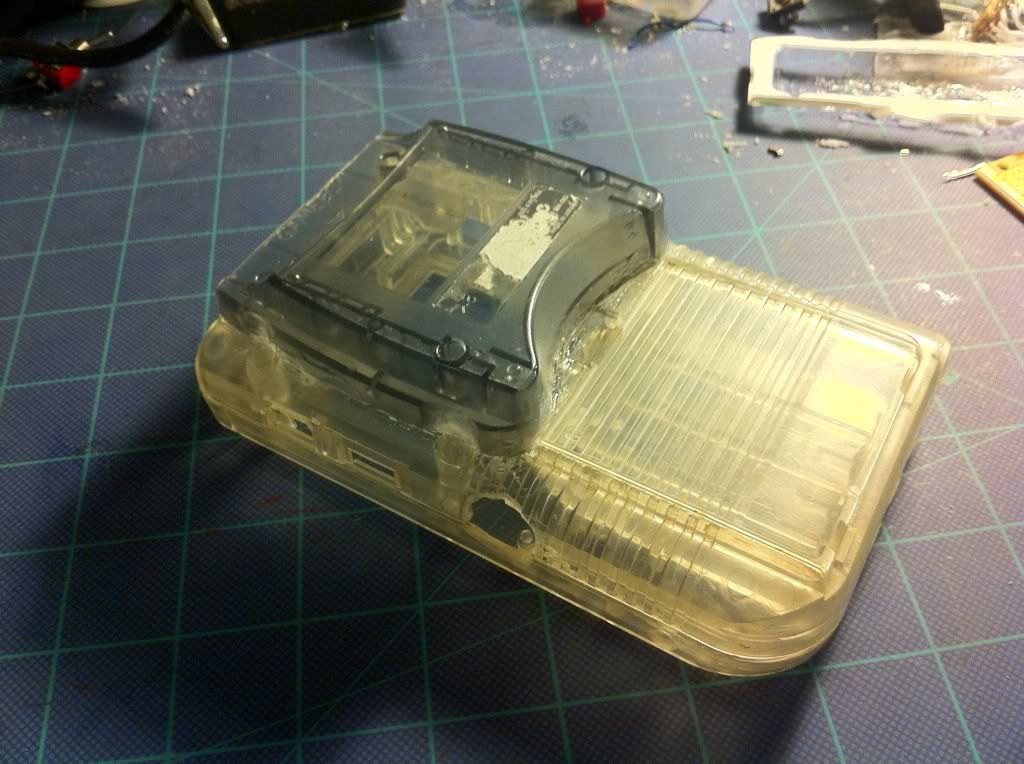
Update (8/11)
The shell and the transfer pak have been cut/sanded and are now finished and ready to be fused. I attached the T-pak with epoxy to see how that would hold, but it wasn't near strong enough. I'm going to have to figure out another way to attach them... if anyone has any suggestions I'd really appreciate it!
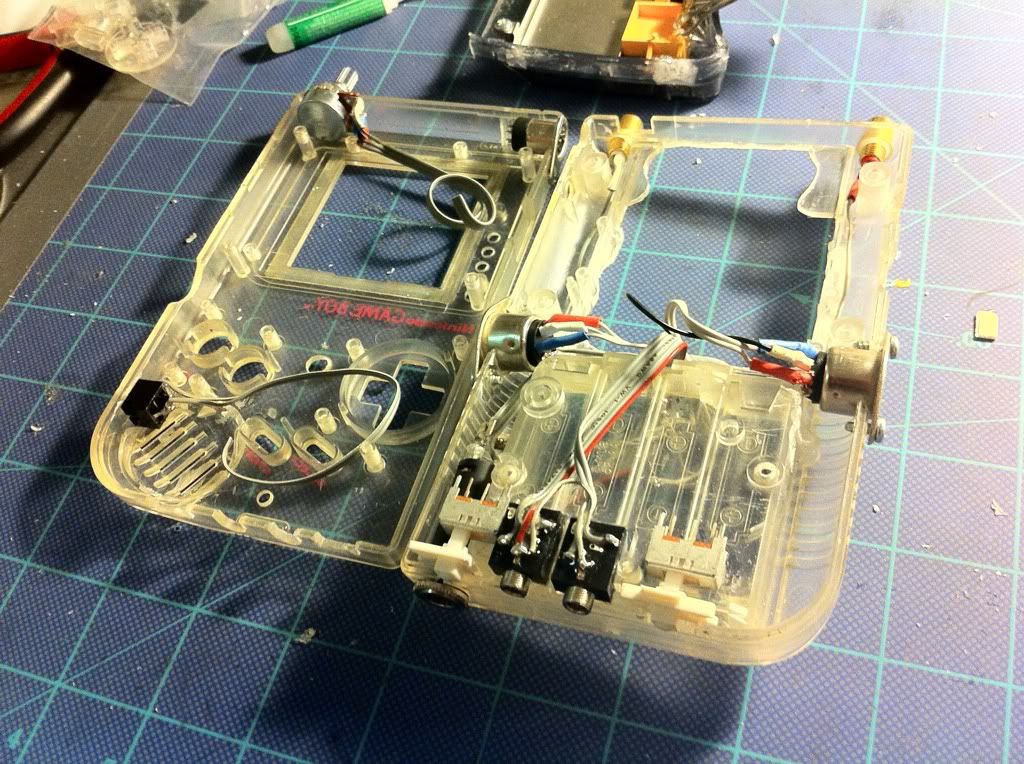
I've installed/mounted most of the mods, all but the ArduinoBoy pcb and the ps/2 jack. So far everything is fitting perfectly. Tomorrow I'll be mounting the remaining mods, then mounting the smd led's on the front dmg pcb for the illuminated buttons, installing the AB led's, and adding some case led's. I'll also be wiring up the prosound, clock control, ps/2, bivert chip, and the start pedal jack. Hopefully I'll have time to start wiring the ArduinoBoy.
Picsssss: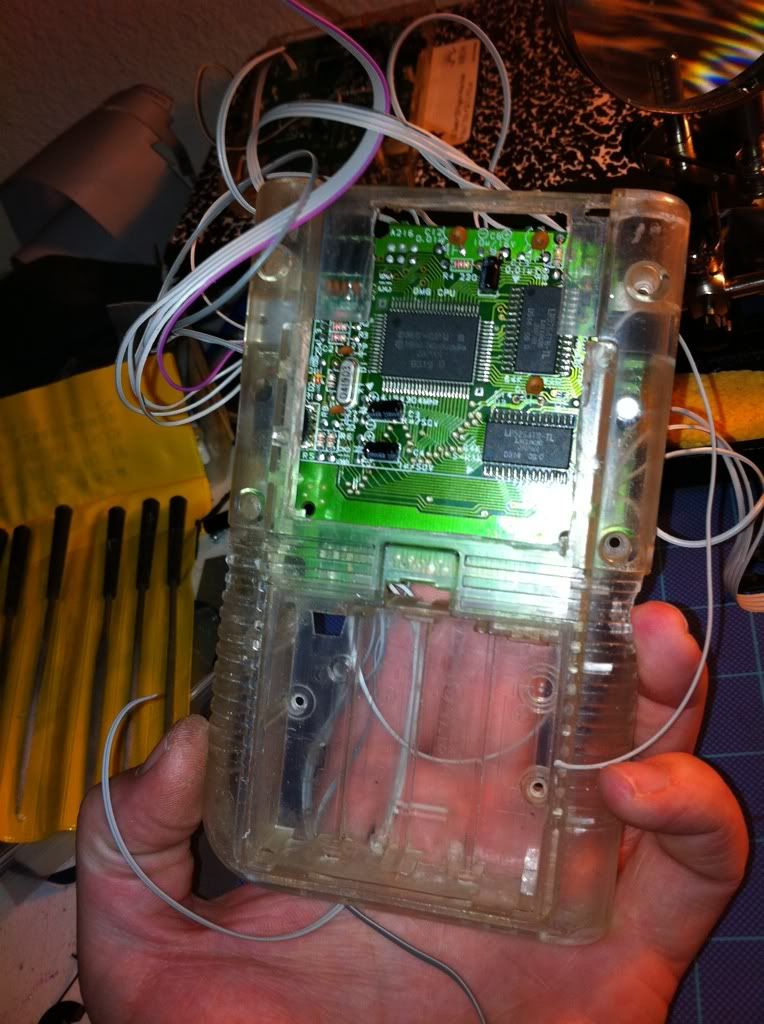


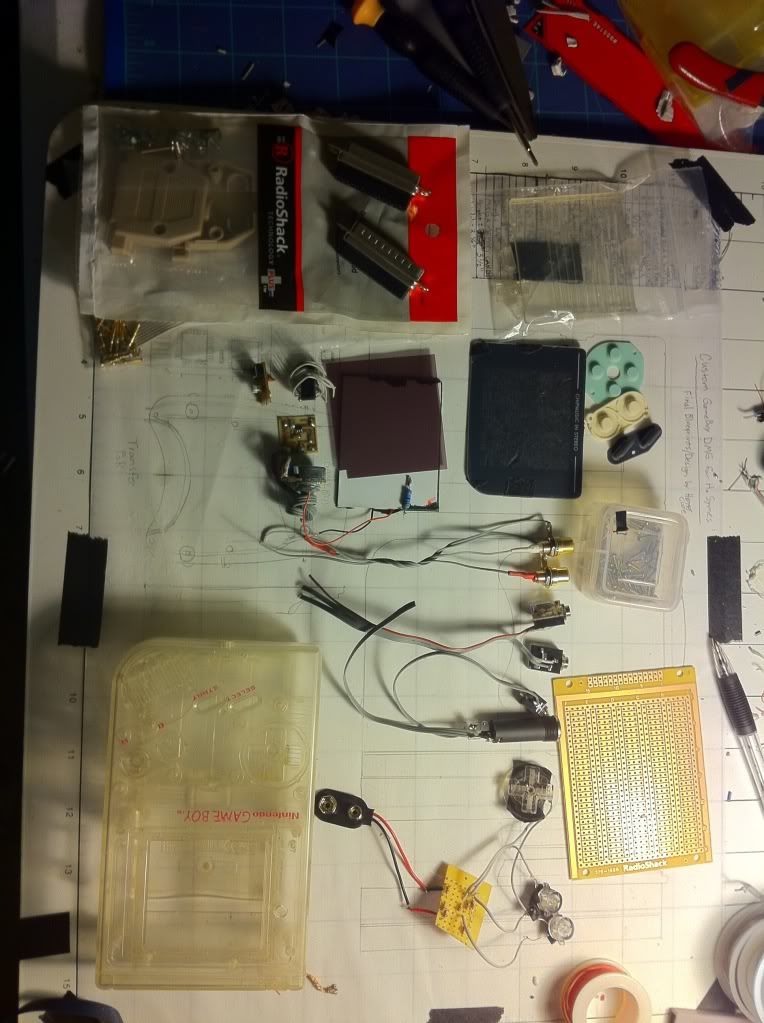
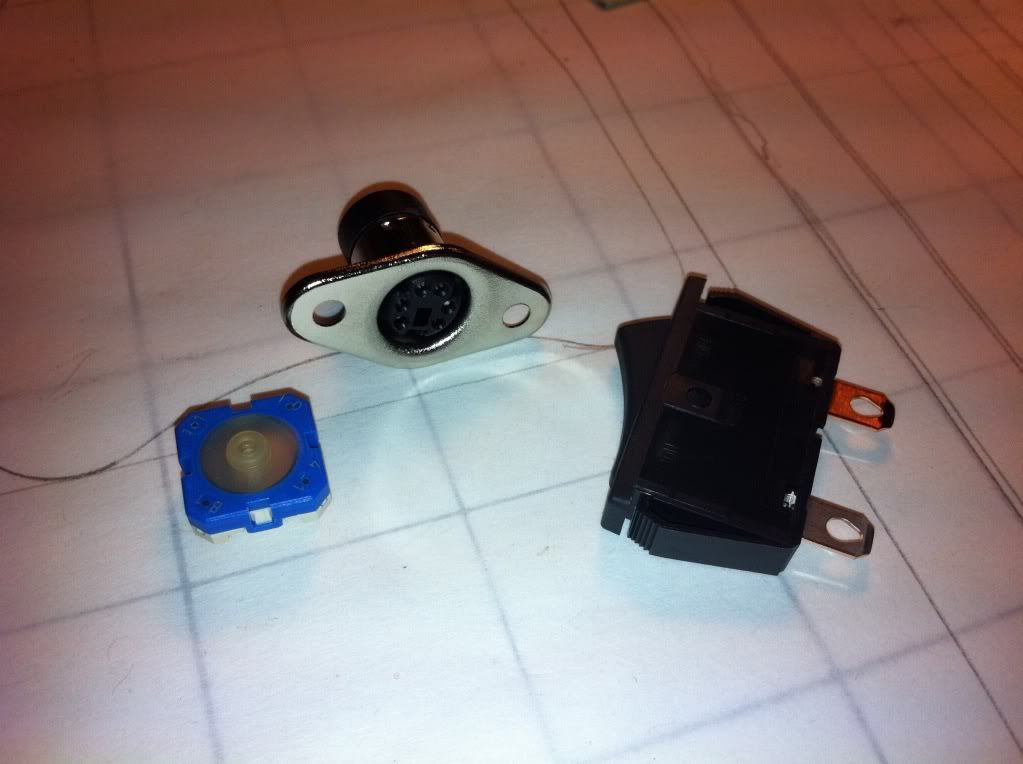
Update 10/16/12:
I had to take a long break from this project for various reasons, but I'm currently waiting on a package containing the last few parts I need to finish the DMG. I ordered a more compact, and easier to mount ps/2 jack, a super slim 250K potentiometer, and a connector for the Arduino's serial port. Here's some pics: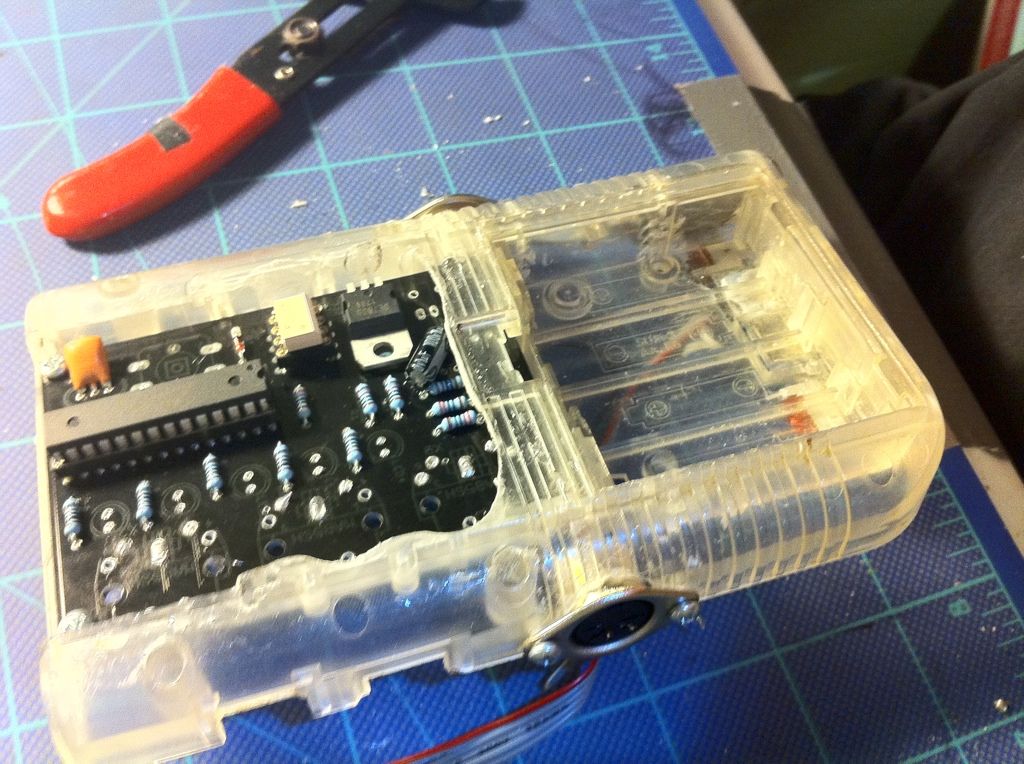
Update 10/17/12:
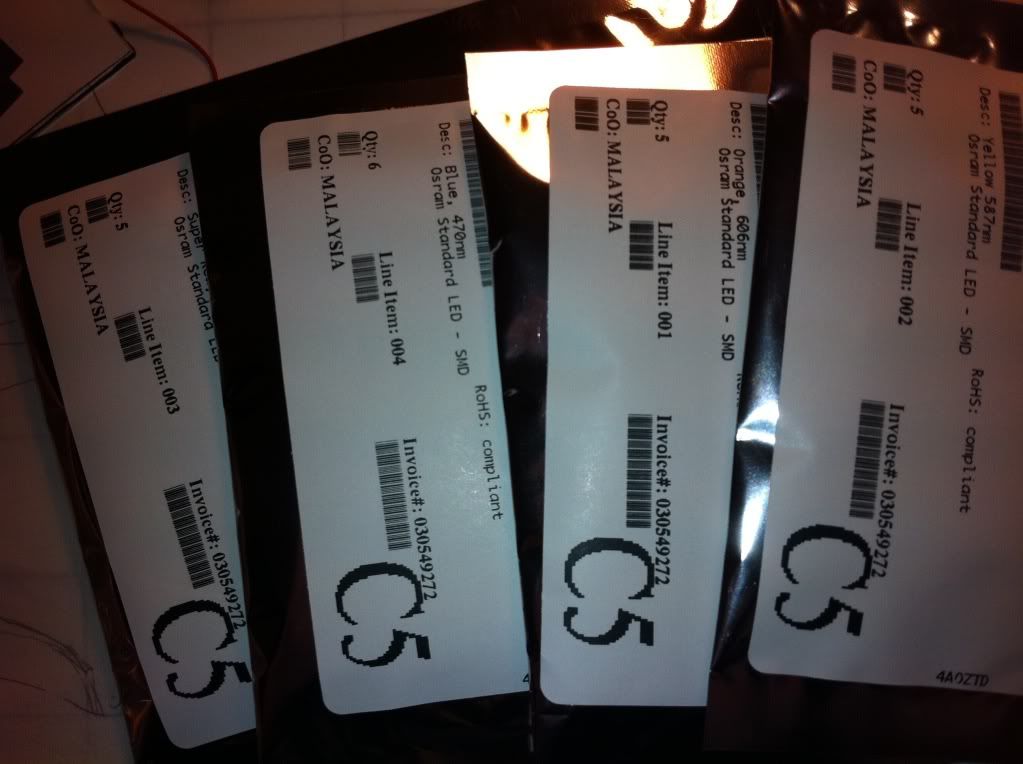
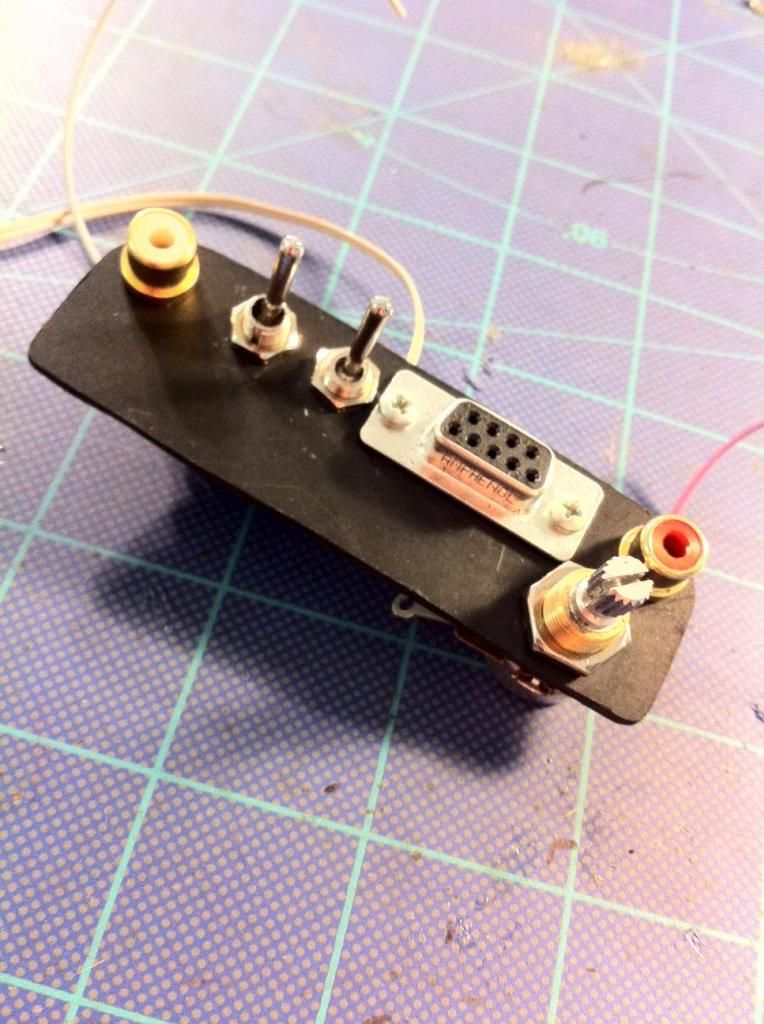
Here's the new parts I ordered, 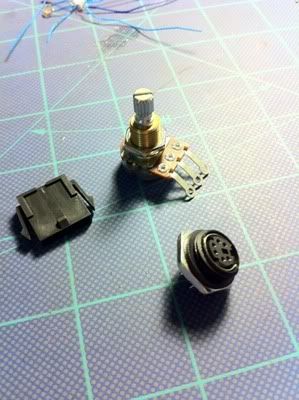
And here's some pics of the case with most of the mods mounted and ready to be wired. Still need to tidy up a few spots, but I think space won't be too much of an issue: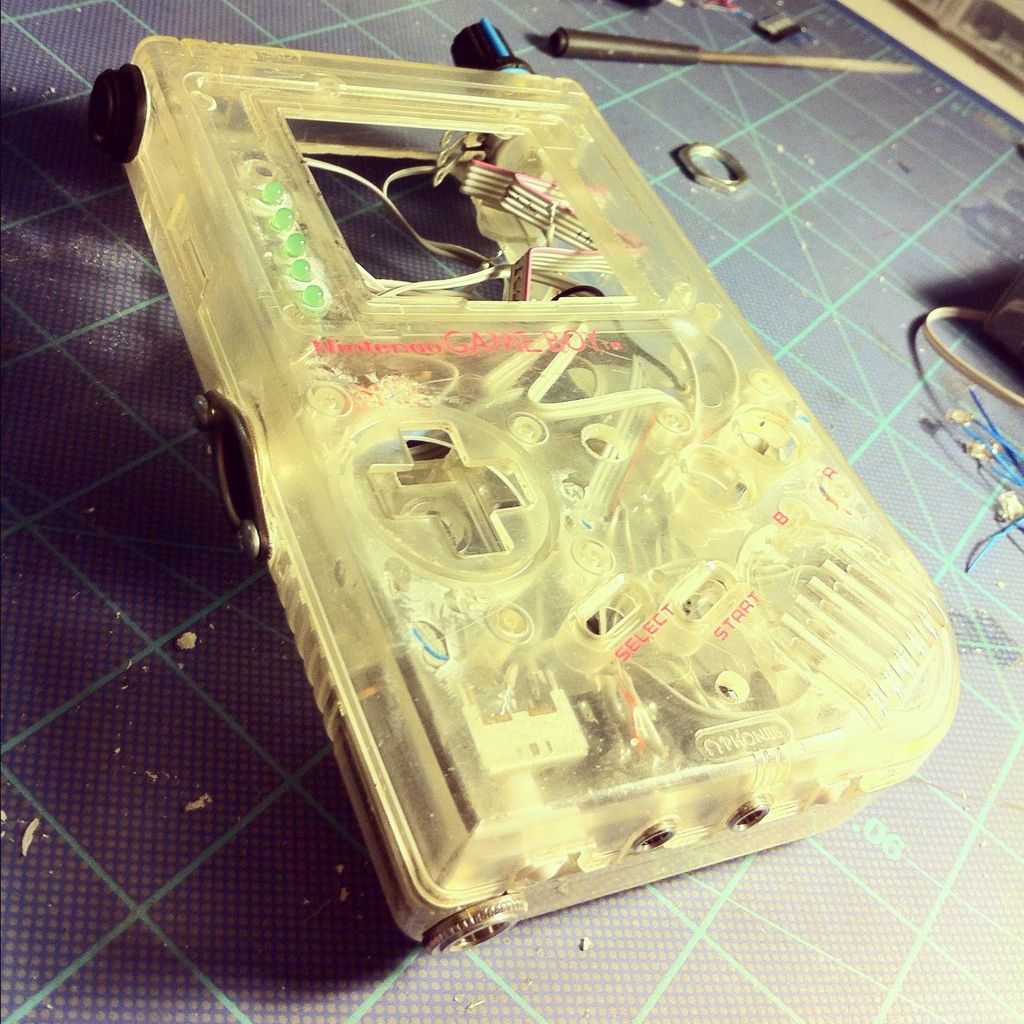
[img]http://i1196.photobucket.com/albums/aa410/Boddah_Smith/12773CBD-C480-4145-This spam will soon be deleted-425-000000C0BE3D589E.jpg[/img]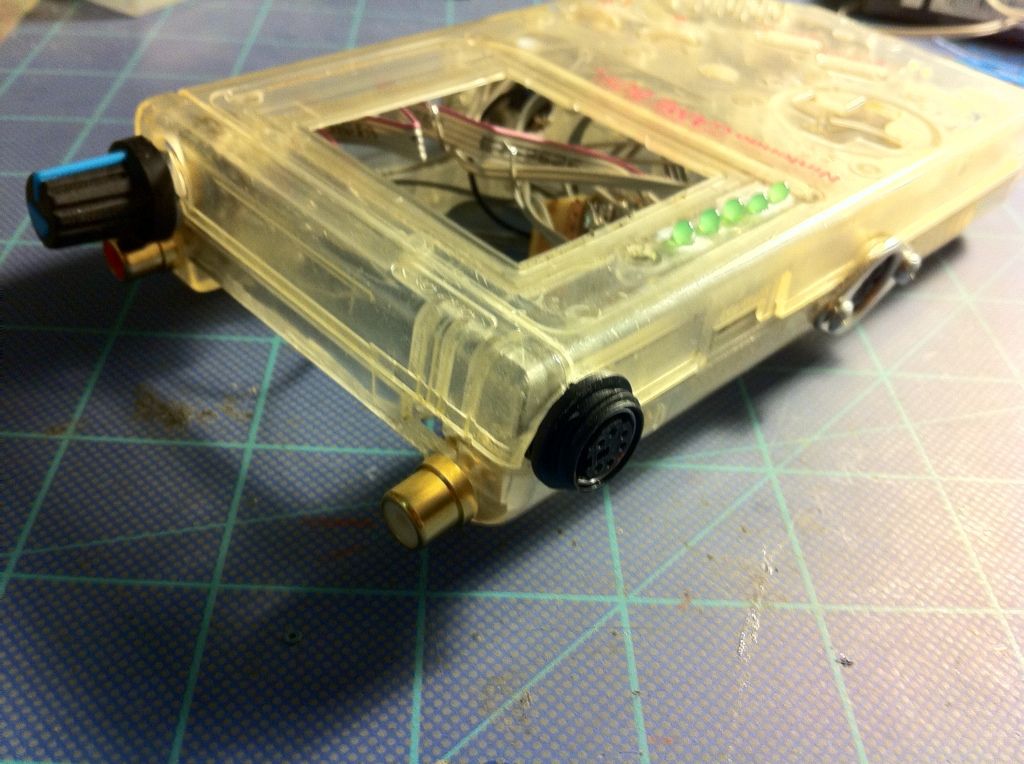
Update 2/17/13:
It's been quite some time since the last update due to taking breaks throughout the build process for the holidays and such, but I've been working hard the last few months and I'm planning to have this monster finished by the middle of March.
Recently I've rebuilt the internal ArduinoBoy from scratch using an ArduinoPro Mini. The ArduinoPro has all of the ArduinoBoy components (except the midi jacks) mounted to the bottom side of the board making it VERY compact. It will easily fit between the DMG motherboard and the MMC.
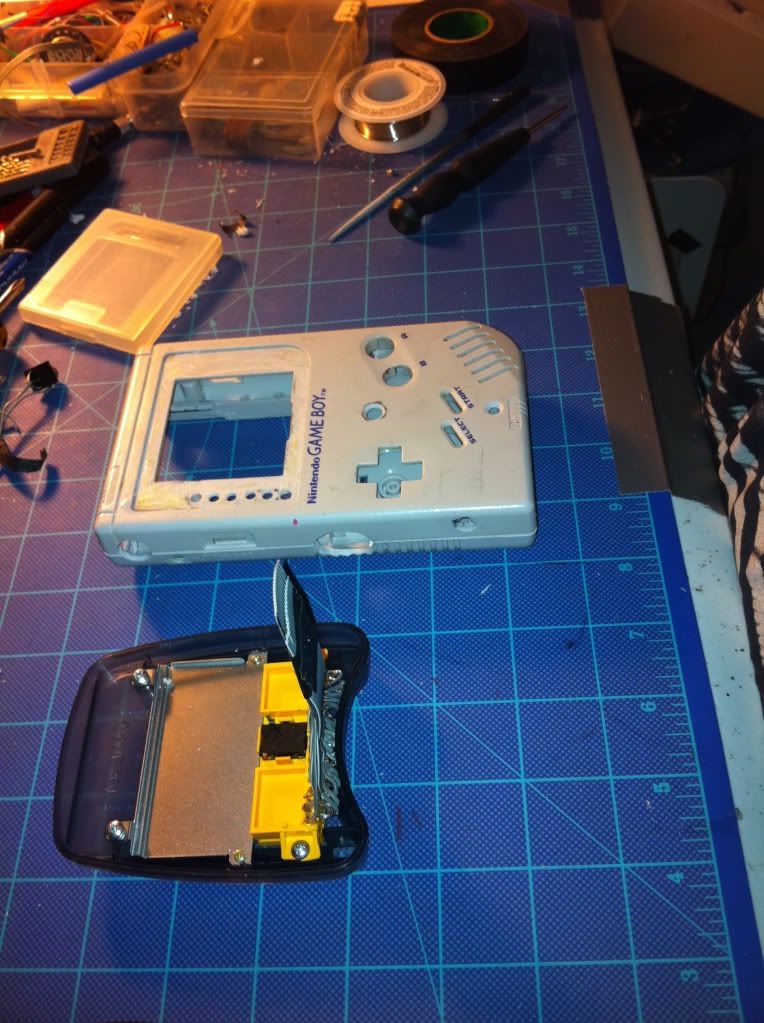
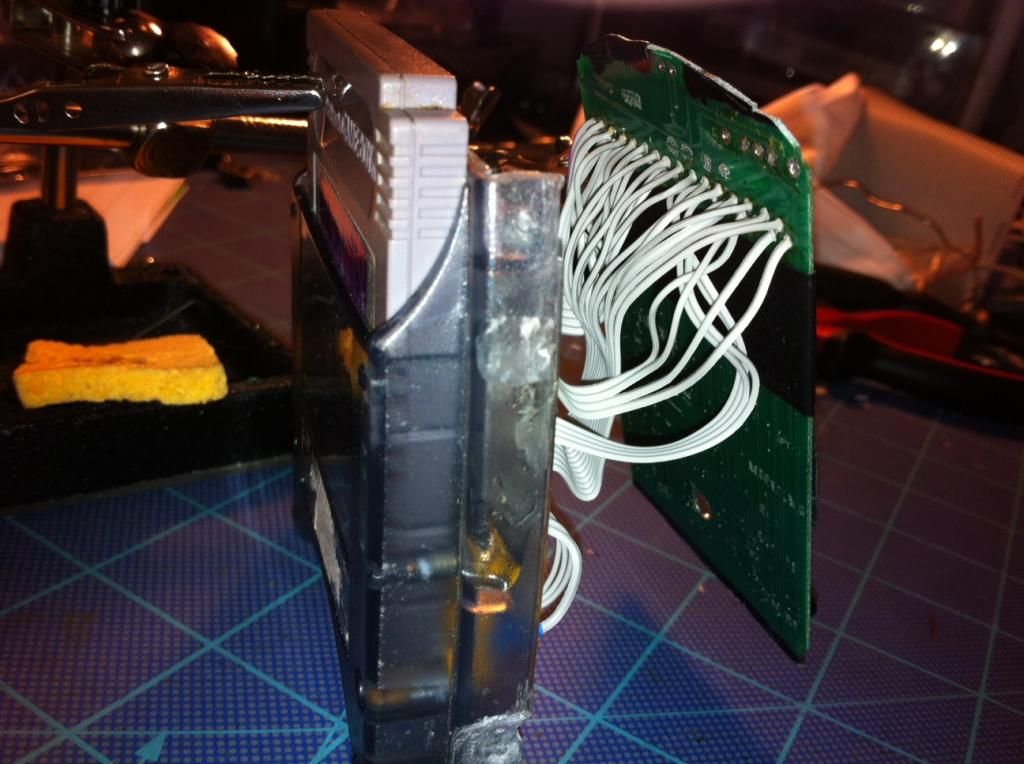
I started over with the DMG motherboard, the old one started acting funky so I swapped it with one of the cleanest GB pcb's I've ever found. I've cut the new clean board down to size, removed the cart slot, power switch, power board, and cap C1, then reattached those components. I also replaced all of the old capacitors with fresh ones from Kitsch-Bent.
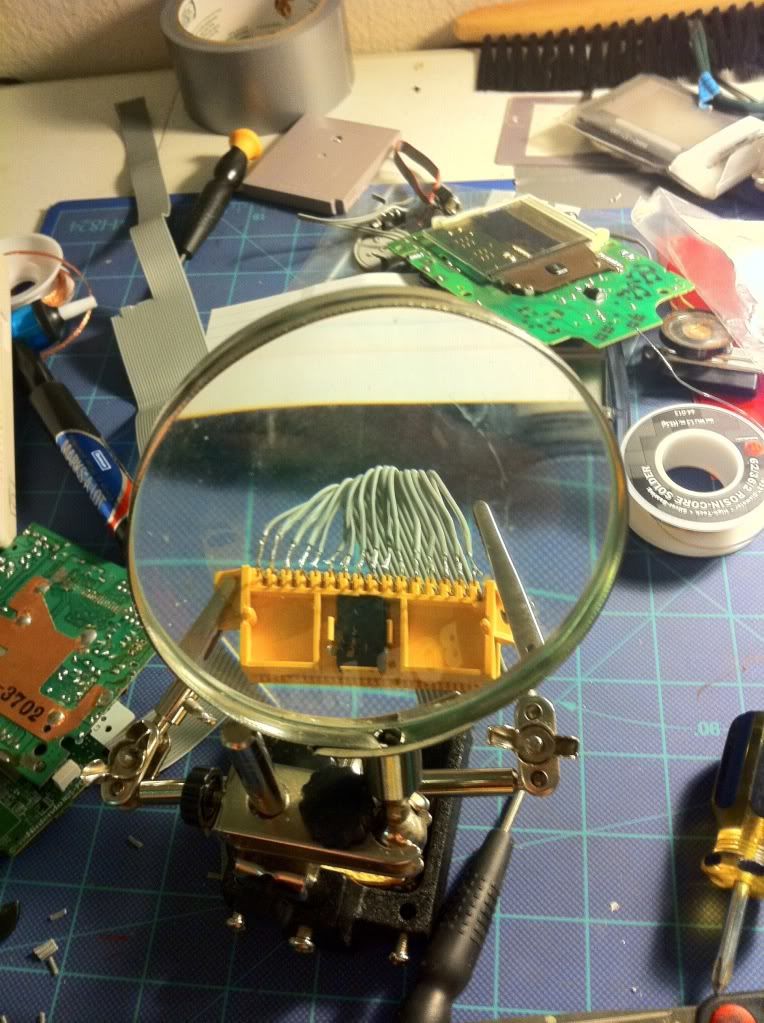
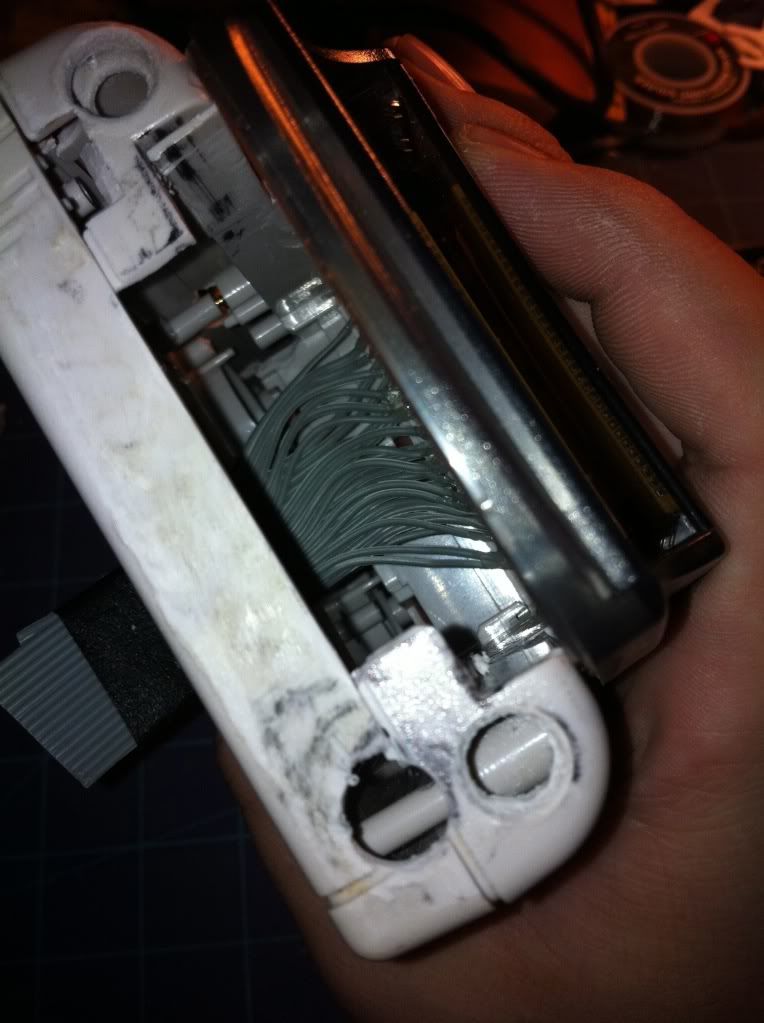
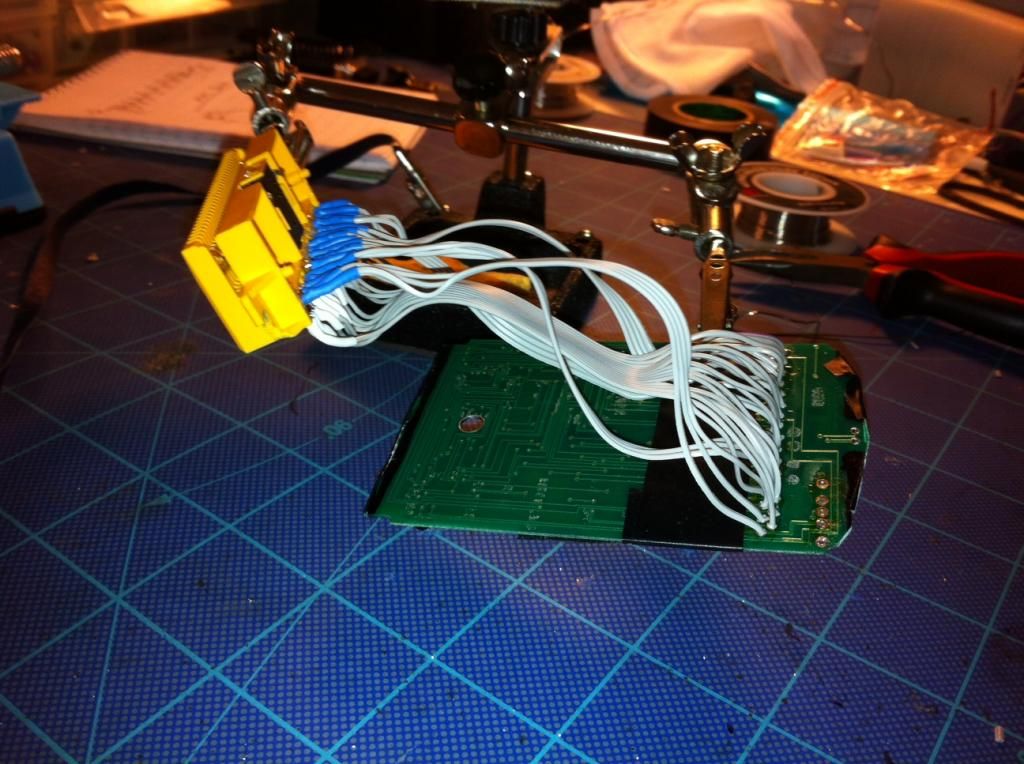
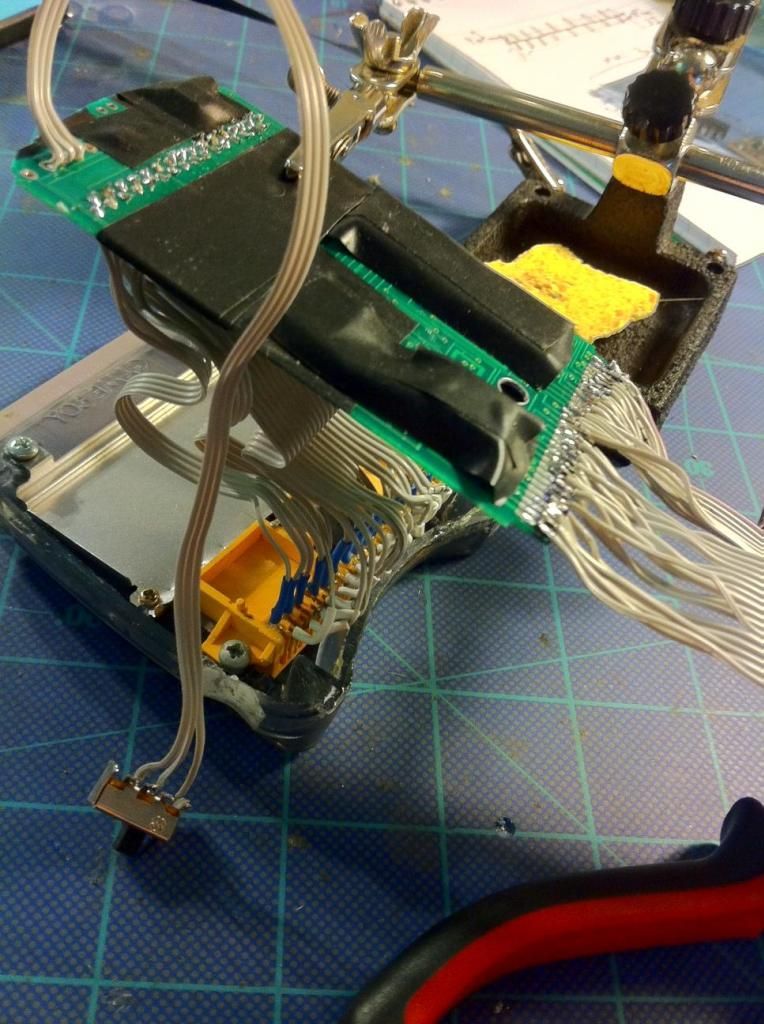
I started operating on the MMC a few days ago and so far I've removed the old cart connector and power switch, then cut the board down to size. I then took the yellow cart connector from the N64 TransferPak and removed all of the old wires, and attached new wires with much cleaner connections, and put heat shrink tubes on each of the 32 pins to make the connections even cleaner/stronger. It was then wired up to the MMC without a problem. Today I plan to attach wires to the bottom cart pins of the MMC that will go the DMG motherboard.
I will post pics asap, and further update the blog very soon!
Update: 2/20/13
The MMC is now installed and fully functional. The cart pass through also works great. I decided that it would be best to put a plate on the top side of the GB to cover all the openings, and to give it more support. I used the lid from an old project box and cut out a plate from it, I then mounted it with screw to the top of the DMG. With all of that out of the way I can start doing the final wiring on the back half of the DMG.
Here's some recent pics:

Update: 3/16/13
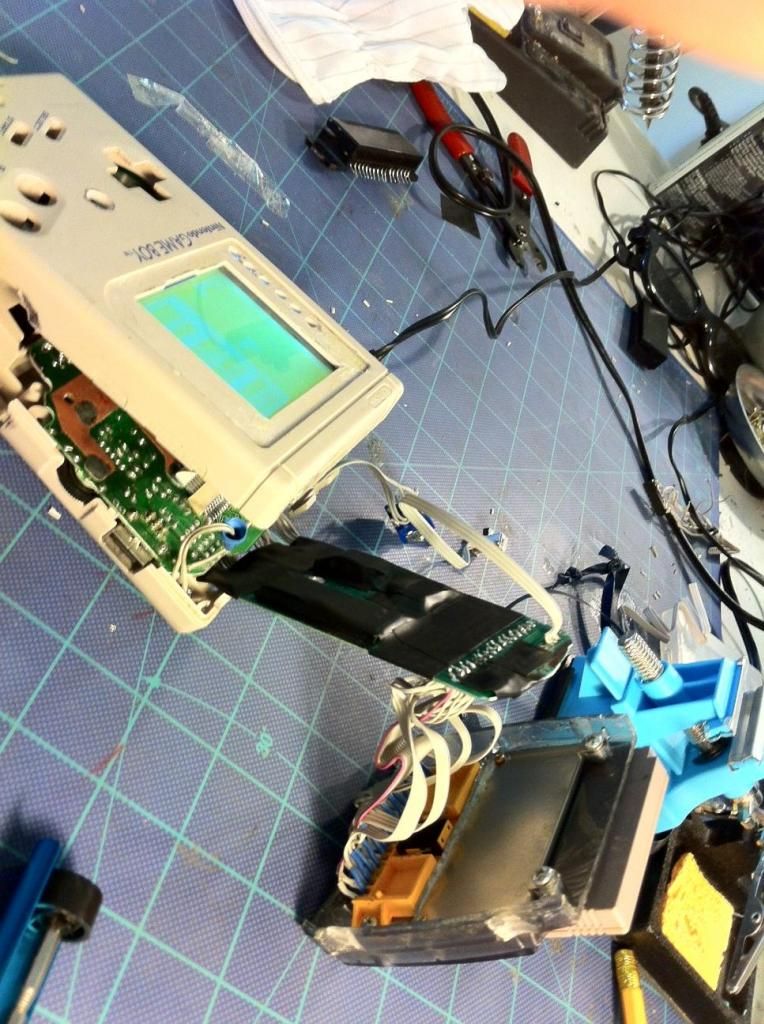
Just about everything is installed, and the majority of the wires have been routed and connected. So far everything is excellent, just need to add the speaker, factory sound jack, start pedal jack, and the Variable Clock V3.2 (replacing the outdated GetLoFi LTC module). Today I installed all of the case LED's, and have the button/dpad LED's ready to go. After all of that, it'll be time for some intense testing, but I feel that the end of this build is very near...
I have pics and a short demonstration video that I will post very soon!
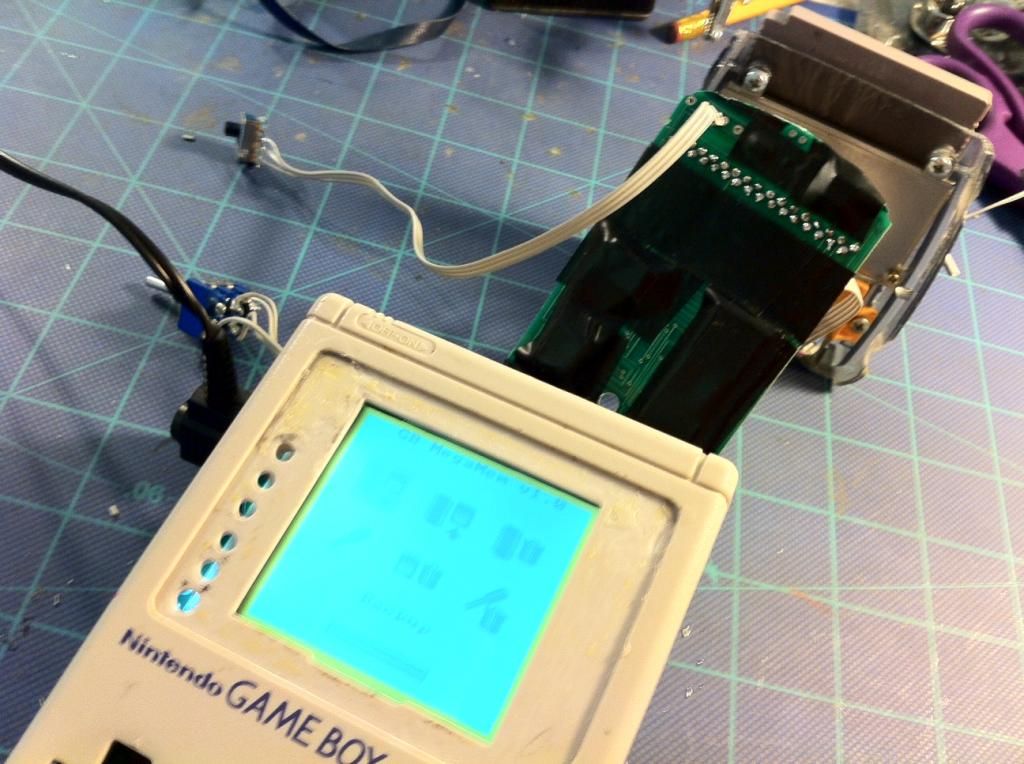
Update: 3/17/13:
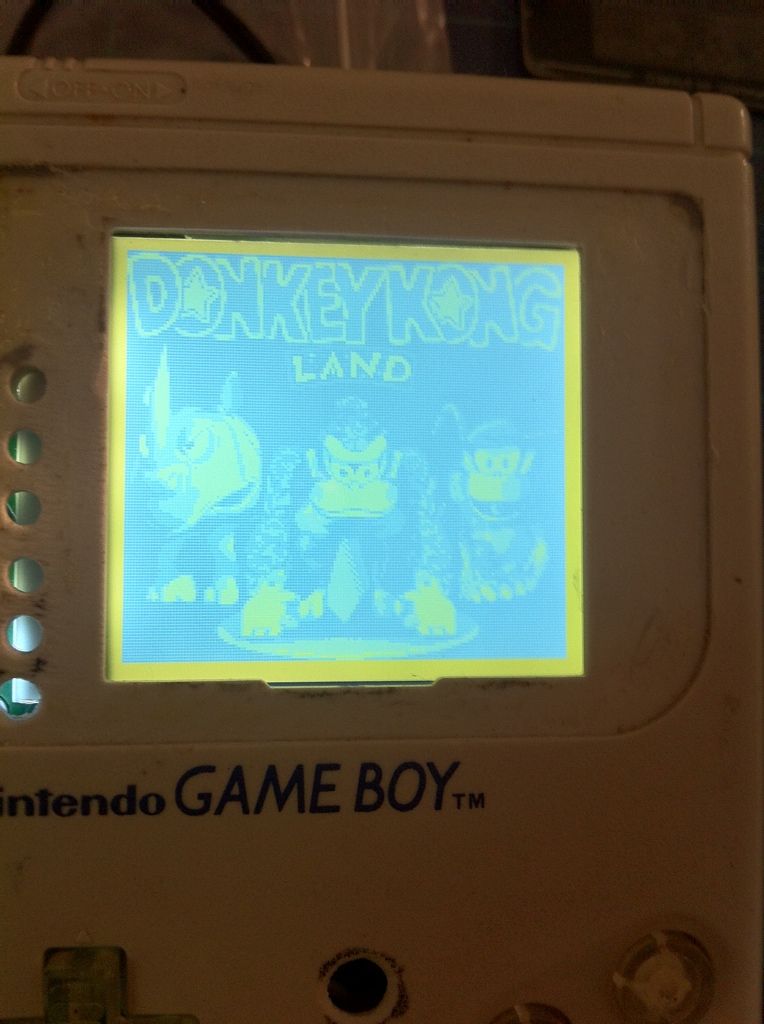
Here's a quick video showing the DMG and ArduinoBoy booting up, then the MMC booting and backing up my LSDJ cart. The AB mode button was acting funky when I shot this last week, it would stick and end up cycling through the modes over and over, but I've got that fixed now. I'll take new pics tomorrow and post them, but here's the video for now:
http://youtu.be/PAIzIAQfJPo
Update: 5/10/13:
Another demonstration video showing the ArduinoBoy with some of the flashing LED's (having trouble with the red ones on top at the moment), and the Variable Clock V3.
http://youtu.be/n441i5-LZF8
Update: 5/12/13:
Video of the MIDI in functionality: http://youtu.be/MtvGq7tXDrs
Update: 5/19/13:
Fixed the red case LED's and worked out all the other bugs. Every mod, except the Ps/2 keyboard jack, has been tested and is fully functional. I'm currently waiting for a Ps/2 keyboard to arrive in the mail so I can test the DMG's jack. The GBA SP speaker has been removed to free up space, and now it is much easier to close the housing. After I test the Ps/2 jack I can close the shell and mount the Transfer Pak extension. More videos to come soon.
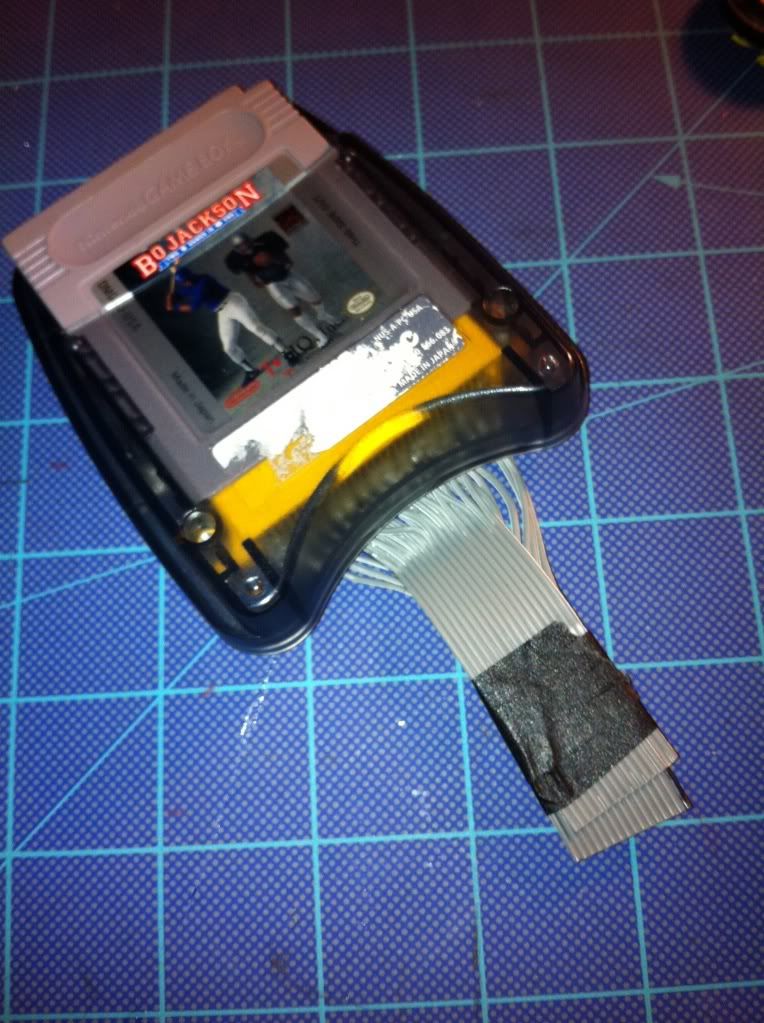
Update: 6/4/13 :
So I don't want to jump the gun too much, but I feel that this project is just about complete.
I FINALLY got the DMG shell to close. The only problem ATM with the case is that it's putting too much pressure on the AB mode button, causing it to constantly cycle through the modes when the AB is powered on. When I unscrew the triwings just a tad, it will alleviate the pressure, so it shouldn't be too hard to fix. The last big thing to do is to mount the n64 transfer pack case extension. It's been held in place by electrical tape for the majority of the build. I'm not entirely sure how I will go about doing that, but any suggestions from the community are greatly appreciated!
255 Jun 15, 2012 8:22 pm
Re: Delete Dis thread plz (178 replies, posted in Collaborations)
I've got most of the instrument tracks composed/recorded, just need to mix it in protools to finish.
256 Jun 9, 2012 7:37 pm
Re: WTB - Stock GameBoys & USB Smart Cards (9 replies, posted in Trading Post)
@Theta_Frost
Unfortunately I don't have any back up gear, and I use a Mac so that makes it even more difficult...
@12ianna
I'd really prefer to get a pcb from the later model, but I'll keep your site in mind
@thedimitry
hit me up and maybe we can work something out
[email protected]