I have had many people asking about how to do this mod using the kitsch-bent, CGB front-lighting panel and have yet to produce a proper tutorial.
However, they are back in stock again (as of this writing) and so I feel obligated to share this knowledge with the rest of you, at least in a simple form, in case you are not already aware.
This tutorial will focus mainly on bonding the light panel to the lcd screen.
Let's begin...
- - - - - - - - - - - - - - - - - - - -
Items used:
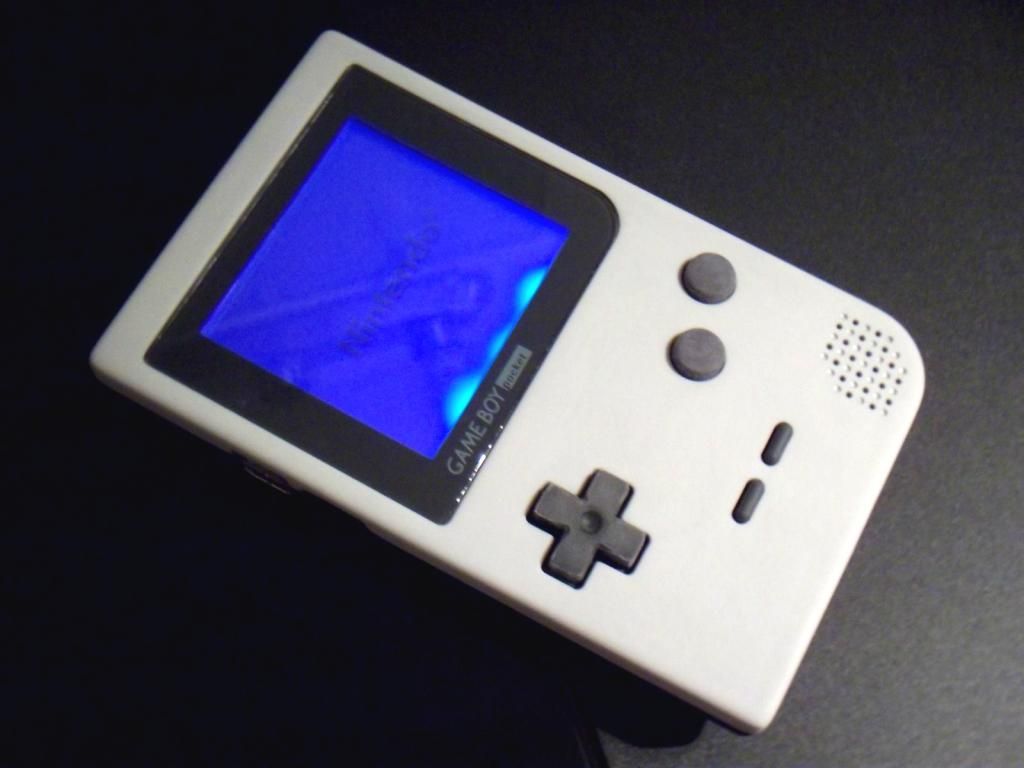
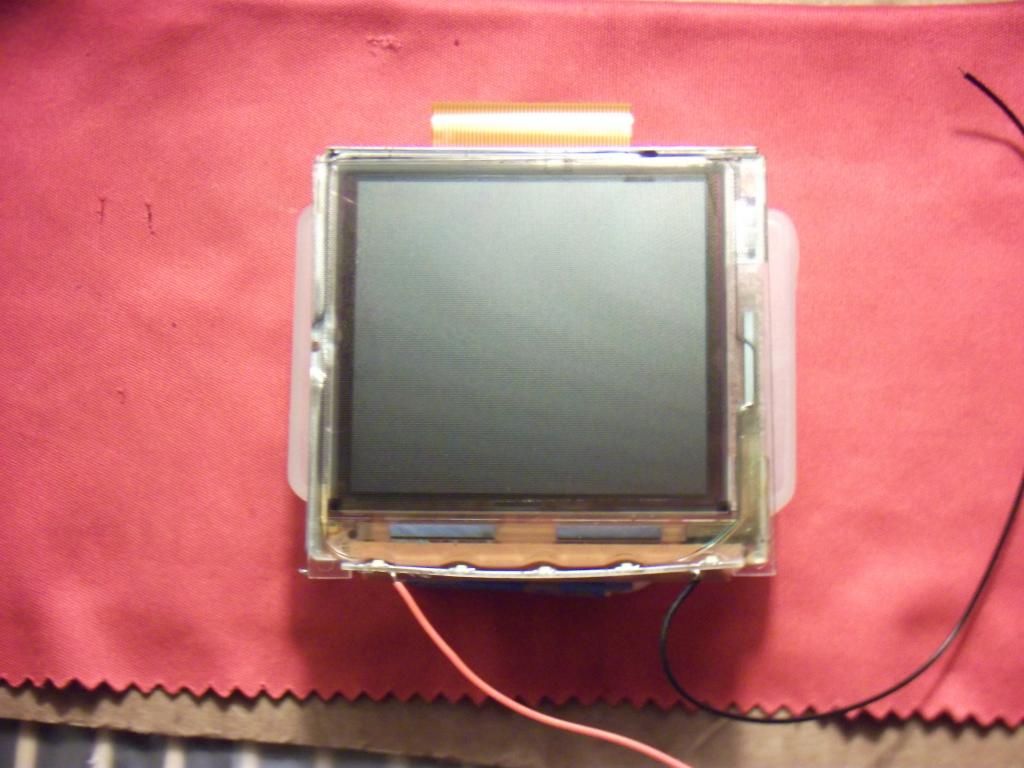
- 1x cgb lcd screen
- 1x kitsch-bent frontlight kit
- 1x tube of loca (liquid optical clear adhesive)(Right now I swear by "Osaka" brand. I have tried 4 kinds of loca and Osaka is bar none, the best overall. Well worth every cent.)
- UV curing lamp (or equivalent, large UV curing bulb, etc)(I'm using a UV nail curing lamp (china, ebay) direct sunlight also works)
- - - - - - - - - - - - - - - - - - - -
Basic steps to properly bonding the light panel to the lcd screen.
1.) Remove the foam layer off the back of the lcd (to relieve pressure to the screen when reassembling cgb).

2.) Remove the clear, protective layer from the back and the reflective strip of tape from the back (smooth) side of the light panel to have a nice, flush bond with the lcd screen. (The front of the light panel has the bumps on it. That side goes facing down as you apply the loca to the back)
The front, clear protective layer can stay on 'til the end as long as you don't get any loca on it.
If you're careful, it can help protect the panel from loca overflow off the top.
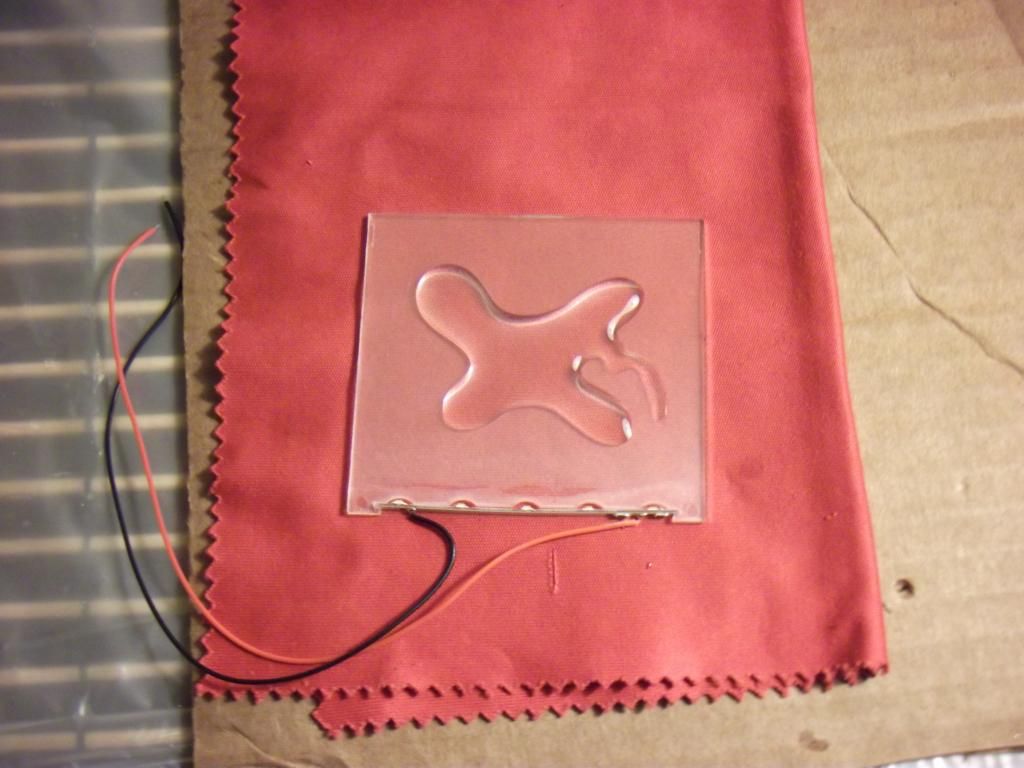
3.) Apply the loca to the back side (again, the smooth side) while laying the panel face down.
Better to not be enough than too much at first, since the light panel can be pulled off and reset with more loca.
Apply similarly to the photo, in an "X" shape, in that general amount (maybe just a tiny pinch less).
Ensure the lcd is nice and clean.
(Perhaps a micro-fiber cloth or some compressed air will do the trick.)
Place one side of the lcd screen onto the loca'd light panel slowly and gently, letting the rest of the lcd grdually become flush with the rest of it.
Let gravity do the work for you to allow a smooth and gradual spread. Do not apply pressure. (unless to assist the loca flow to the corner edges, but then, only very gently please.)
Lift the entire thing together so you can see all the little details like any little air bubbles which may have occurred.
Not a problem my friend! As the kitsch-bent light panel is very resilient in it's ability to be cleaned again and again of fingerprints or dirt and debris.
If you do happen to get some loca on the panel, I find rubbing alcohol and a micro-fiber cloth work well in removing it prior to curing (for very small amounts).

Now that you can see the air bubbles, simply apply some pressure to them directly to force them off and out the edge.
Do this while spreading the loca as evenly as possible, covering all the hard to reach spots like the corners.
Take your time and start in the middle, working your way to the edges.
They are generally compliant but sometimes you'll get a toughy or two, try working those a little more.
The idea is to get the bubbles out with minimal loca getting squeezed out.
(If you squeeze out too much or press too hard you will get dark spots.)
Use a rag you don't care about or q-tips to clean up any small leakage you may have (if any, maybe you're pretty slick).
Again, avoid getting loca on the light panel itself or applying too much pressure as that will leave dark spots on the panel when it lights up.
For extra tiny and sneaky micro bubbles, try getting the pre-loca'd panel/lcd screen close to a light source and tilting while scouring visually for them.
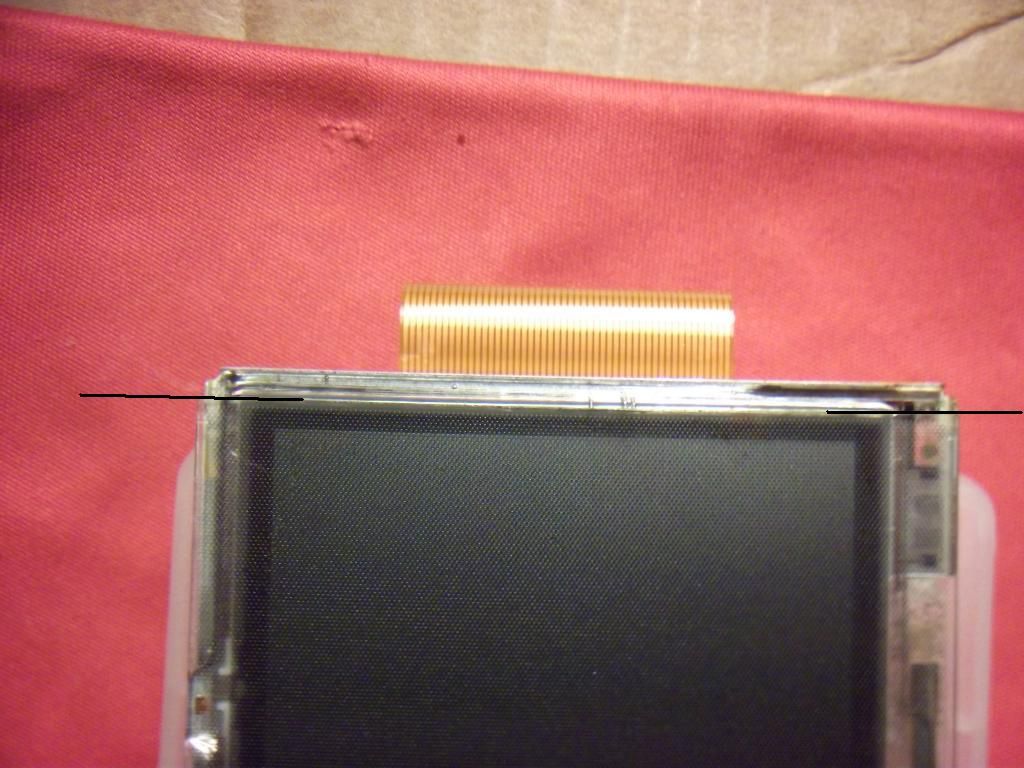
Now that the bubbles are taken care of, set the light panel to align properly with the lcd screen for a proper seating into the shell case.
May be hard to see in the pics but basically, the top of the light panel should be aligned with (or as close as you can get it to) the darker edge of the lcd screen. The dark boarder that surrounds the main area of the screen.
Clean up the light panel face with some screen cleaner or rubbing alcohol and a micro-fiber cloth to ensure there are no traces of loca.
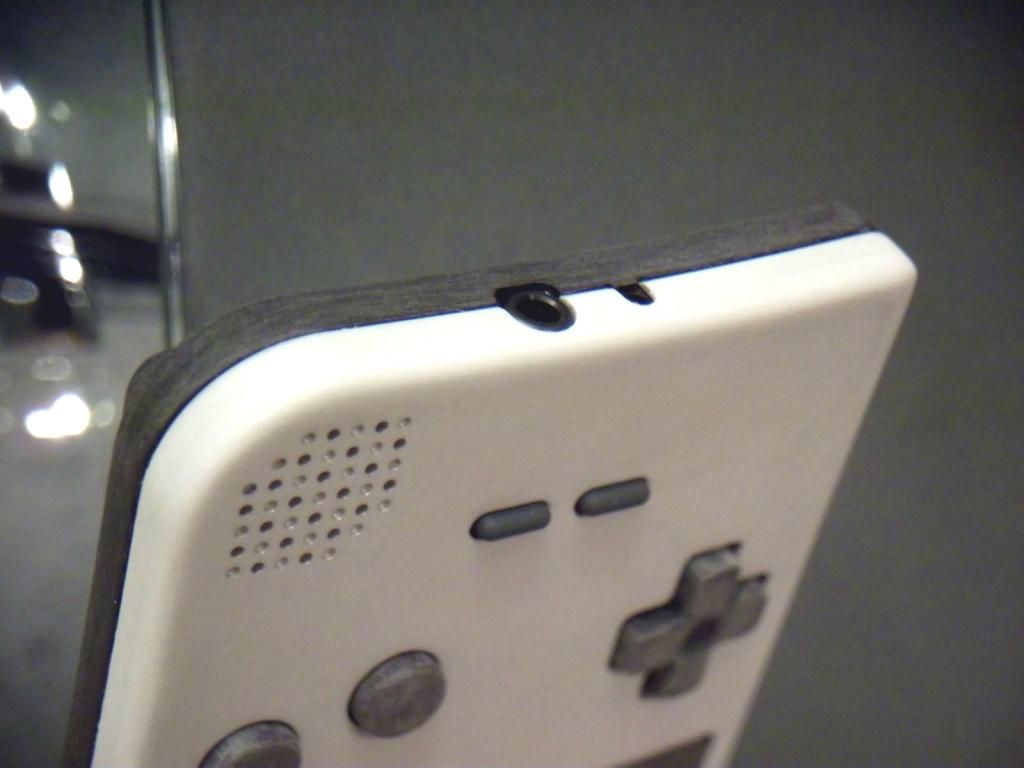
4.) Find a way to keep the ribbon cable flat so when you place the lcd screen on a flat surface to cure so the cable won't push the lcd screen up at an angle, making the light panel slide around. Don't be a wise guy and bend the cable back, it can ruin it.
Use something level and flat so the whole thing stays stable.
5.) Cure (bond) the loca to the lcd using a proper UV curing method (like I said above, direct sunlight or a decent UV curing lamp work the best (no heat lamps! they just make the loca all runny and messy)
Be sure to check now and then that the light panel is still set where you placed it and hasn't skewed off.
The internet info I found said 3 minutes would do to cure the Osaka loca with a curing lamp and approximately 30-45 minutes with direct sunlight. I found that information to be accurate, but I usually double it with a curing lamp.
* Note: Curing time may vary depending on the type of loca used. Do your research if not sure.

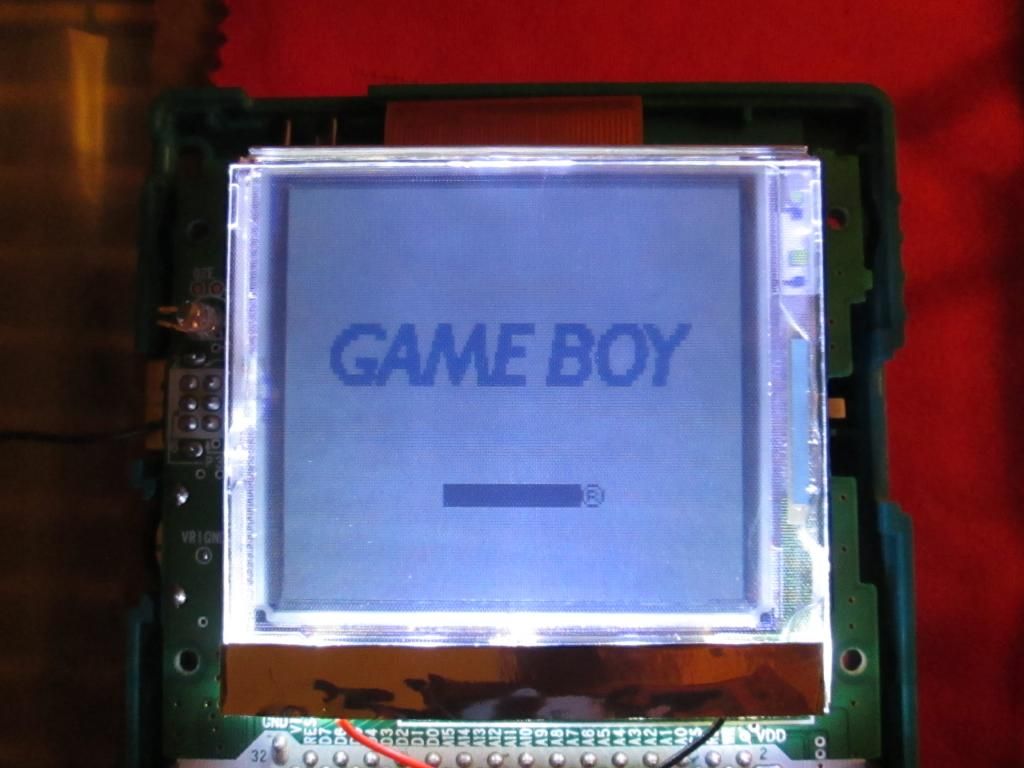
Take that strip of reflective tape you took off the back and place it across the front on the bottom to kill the light bleed of the leds through the front of the screen lens. (..unless you want the led lights shining through.)

That's basically it.
After that, it's smooth sailing.
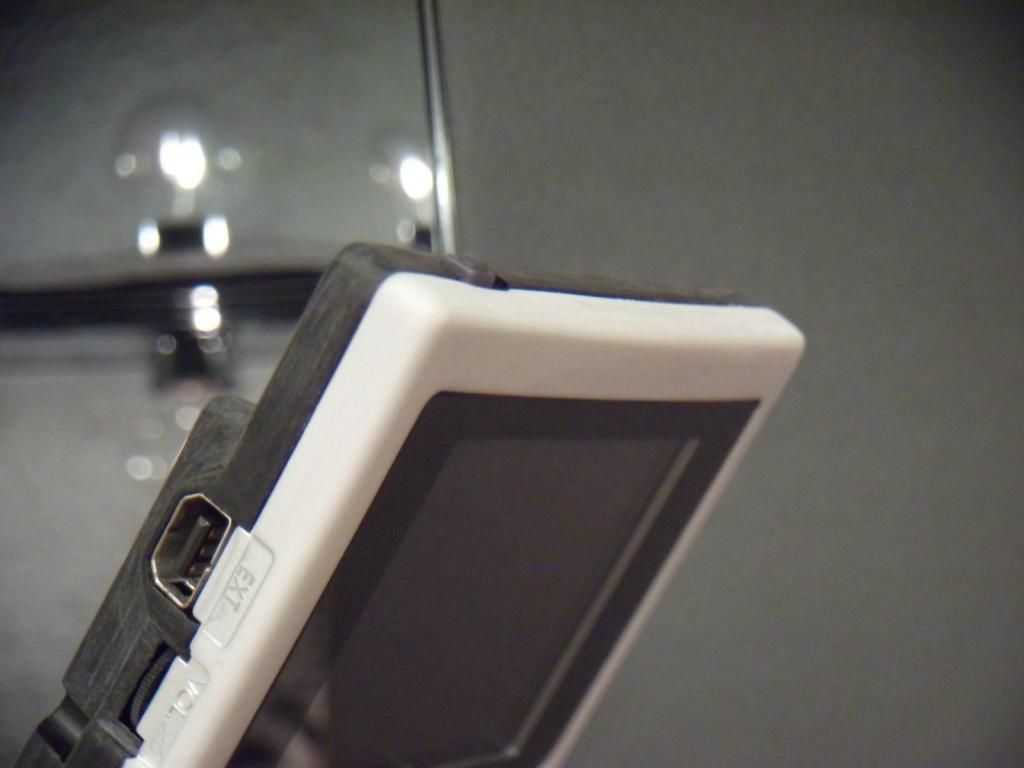
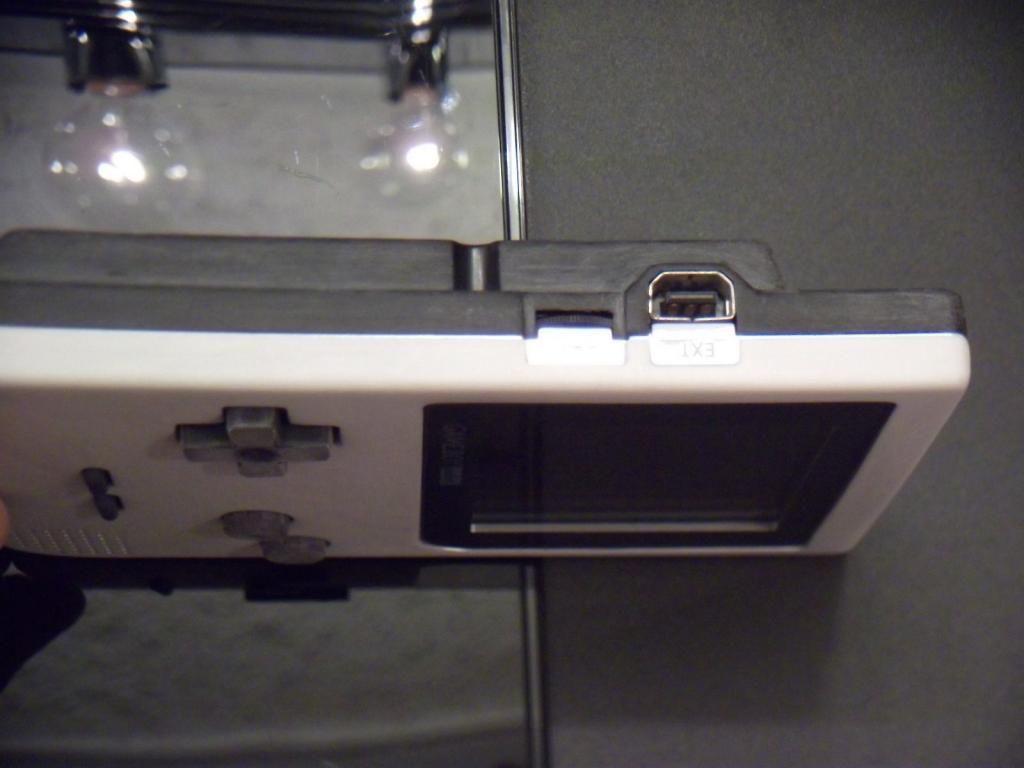
Just cut your slots in the lcd housing for the wires, place your lcd, route the wires and solder them in place, reassemble and fire her up!
Hope that helps save some GBA-SPs from getting poached for their light panels.
Now go get some kitsch-bent light panels before they sell out again you crazy kids! 3-).
They're going fast!
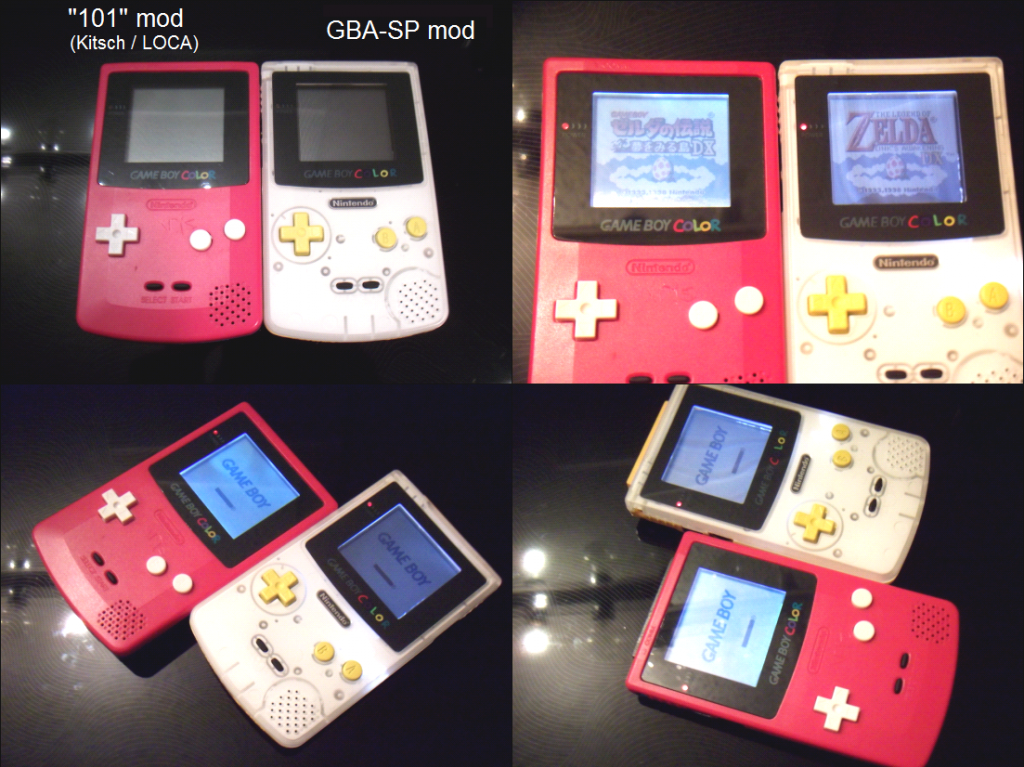
Benefits in comparison to the old, GBA-SP front-light method:
- improved brightness
- better light distribution
- no more wavy lines / bad glare
- eliminates dust / debris contamination between lcd and light panel
- higher durability (the one SP led light is VERY delicate and prone to failure from age / heavy use or hard bangs / bumps)
- easier shell case interchangeability
- MUCH easier to handle / clean the light panel
(just touching an SP light panel is a sure way to ruin it along with your day, whereas this one can be touched, wiped, sprayed, cleaned, etc.)
- no additional resistor required
- minimal modification to inner shell case
--------------------------------------
Original inspiration and ideas for the loca application:
http://chipmusic.org/forums/topic/13236 … bc/page/3/
--------------------------------------
My sub-reddit for other fun, creative, GB related projects:
http://www.reddit.com/r/Koji_Kendo
http://store.kitsch-bent.com/product/frontlight-kits