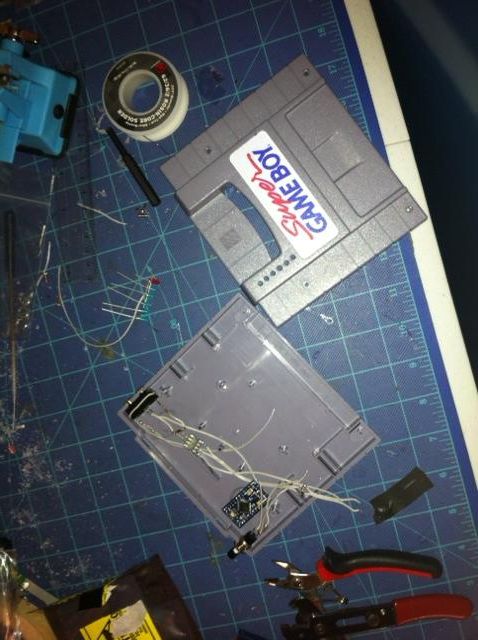
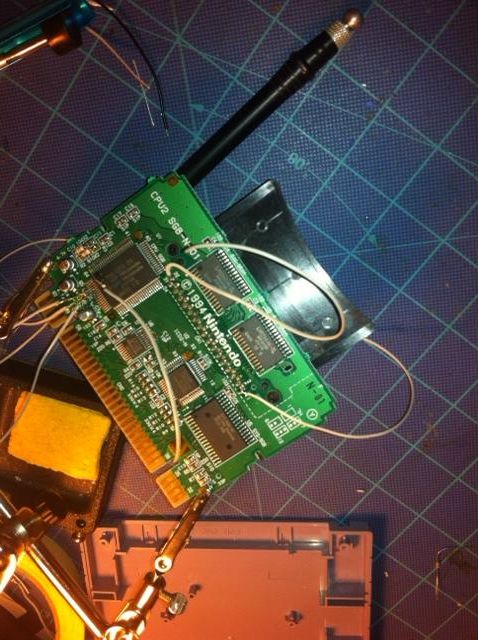
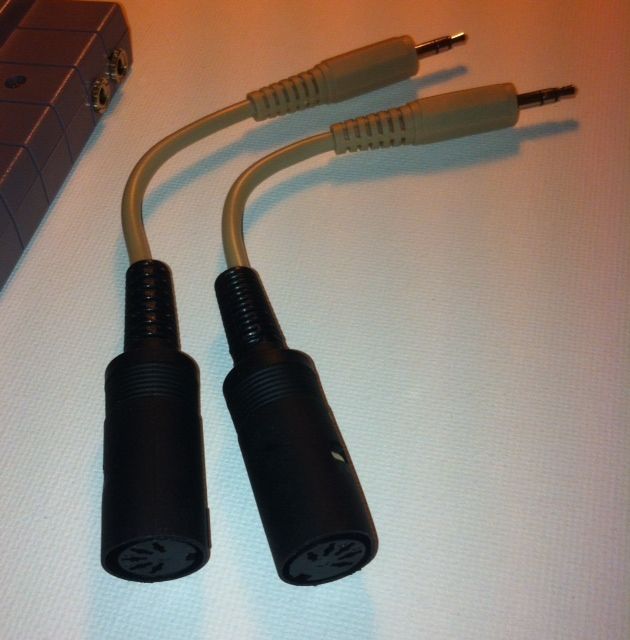
I've been experimenting with ArduinoBoys a lot lately and I finally got around to a project that I had been planning for a while. I wanted to make a Super GameBoy with full midi support, as well as prosound outputs and clock control. I started working on it this past weekend and so far I've just about got the internal ArduinoBoy finished. I used an Arduino Pro Mini, and the other normal parts, but put 1/8" jacks for midi in/out. I've made a simple adapter for the midi jacks, using another 1/8" jack attached to a regular midi jack. I tested it briefly last night with LSDJ, but I believe the AB is draining too much power from the SGB when in the booting process, causing the AB to work, but the cart won't load. I think I just need to add a power switch for the AB so that I can wait to power up the AB until the SGB completely boots. I plan to add RCA prosound jacks and a 1/8" prosound, as well as a variable clock from Kitsch once I order more. I'm also considering adding a link port if there's enough free space.
Awesome! I just tried to install a DMG crystal into a SGB via a tutorial I found but it didn't work. The SGB boots but any GB cart I put in won't boot. Any chance you can give me pointers? Also, would it be possible to put a half clock crystal in on a switch? That was my original intention when getting a SGB. I plan to install a link port as well as soon as I get the clock situation worked out.
Thanks everyone!
onapokoya- I haven't ever switch the crystals in a SGB, but I have circuit bent one with a GetLoFi LTC module. I noticed that if I tried to boot up the SGB while the clock control was on, the SGB border would come up on the screen, but nothing from the cart. If I had it off when booting, it usually would work fine, and then after the cart starts up, I can turn the clock control on and not have any problems. If you're wanting an original DMG crystal, as well as a half clock crystal, I would suggest using a 3 position switch with the DMG crystal on one side, the half crystal on the opposite side, and the middle position could keep it at the regular SGB speed so it can boot. There's some very helpful diagrams somewhere around the site for hooking up multiple crystals. Hope this helps.
The tutorial I found says to lift pins 73 and 74 and solder the crystal to those pins (along with a few other parts scavenged from a dead DMG) The SGB has a slightly faster crystal so I was trying to put in a DMG crystal first. If it worked (or when I get it working) I will then add a switch for underclocking it. Hopefully I didn't ruin this SGB. The SGB boots to its screen but like you said it won't load any carts.
I'm really not sure about that to be honest. My experience with SGB's is pretty limited, I've done all of the various prosounds, a link port, and variable clock mods, but nothing with the crystals. When I installed the var. clock, I didn't have to do anything with the CPU pins, just had to cut a trace and reconnect the leads with the clock module in the middle. With the method you described, are you actually bending the pins upward? This could definitely cause the pins to break or move out of place if too much heat is applied. Couldn't you solder the new crystal to the pins without lifting them, and then just cut the old traces?
Oh and the SBG will be finished once I get some more 6N138 IC's.
Last edited by Boddah (Jun 22, 2013 6:08 pm)
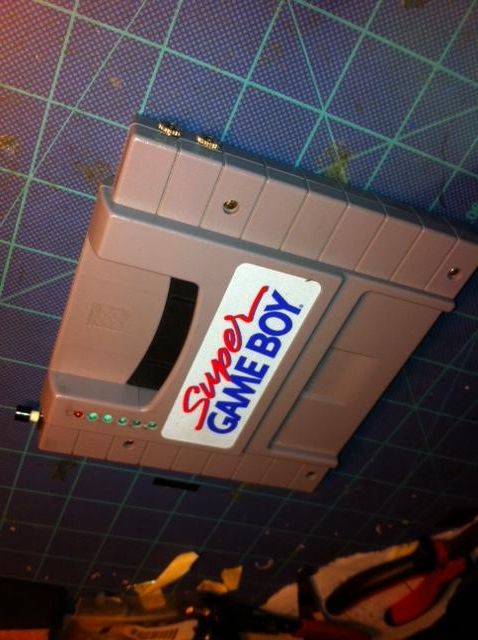
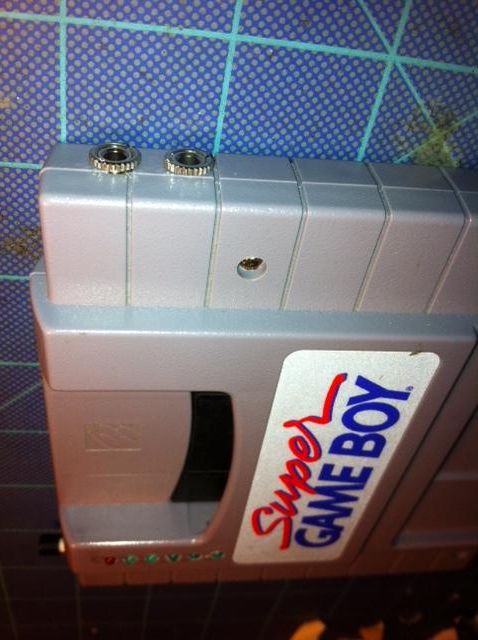
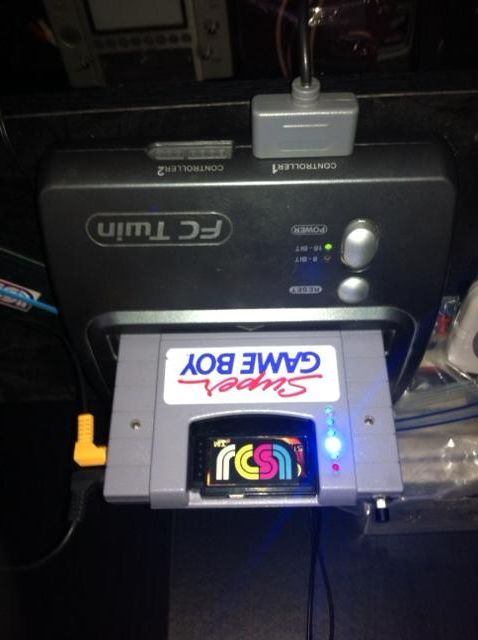
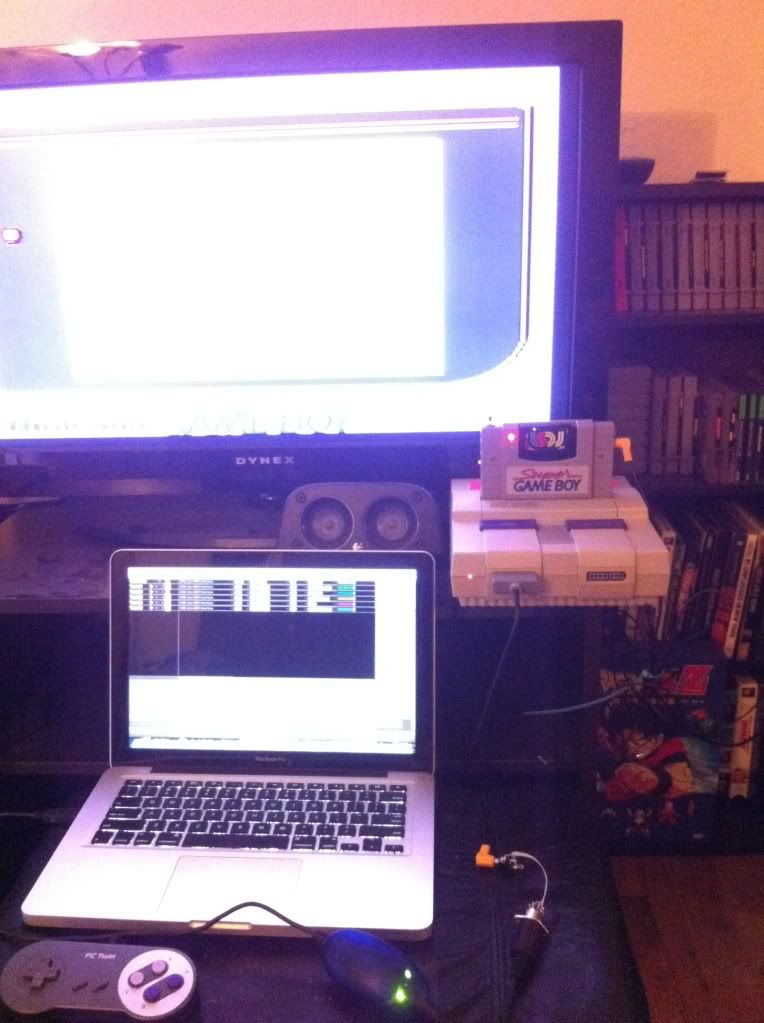
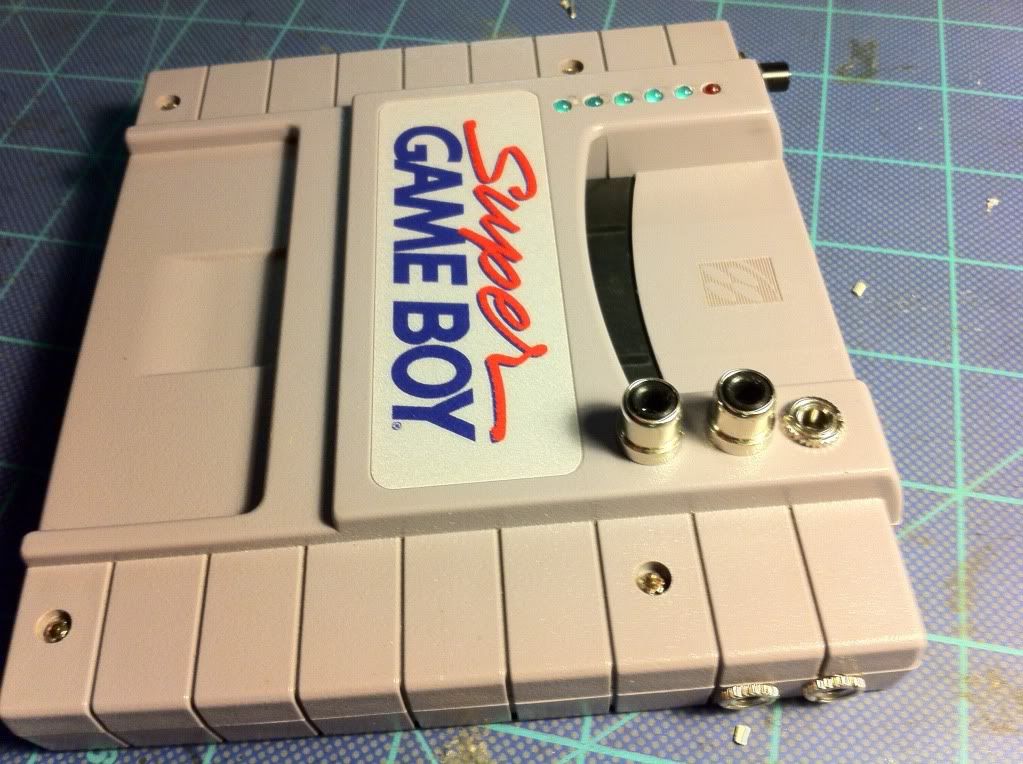
Well this project is in it's finishing stage. I've tested the MIDI functions w/ the converter cables and everything is working nicely. The AB works with both the SNES and the Yobo FC Twin. I added RCA and 1/8" prosound jacks today, but I think I'm going to skip the other mods for now. So all that's left is to finish mounting some of the components and cleaning up the shell. I'm planning to put it up for sale within the next week, and I'll be including remade adapter cables (with inline jacks) and 1/8" male-male cables.
I'll take some nice pics and get a demo video up soon, but here's a couple of pics I took during the build:
Never thought of arduino + SGB thats pretty nifty. Keep up the good work looks great!
I've done the link port & variable clock so if you need any assistance feel free to ask.
I'm sure you could find some room for the link port & variable clock ![]()
Would you mind putting up a tutorial kinda thing for this? I want to try this for myself, and I also want to see if it's possible to fit it in a PAL SGB.
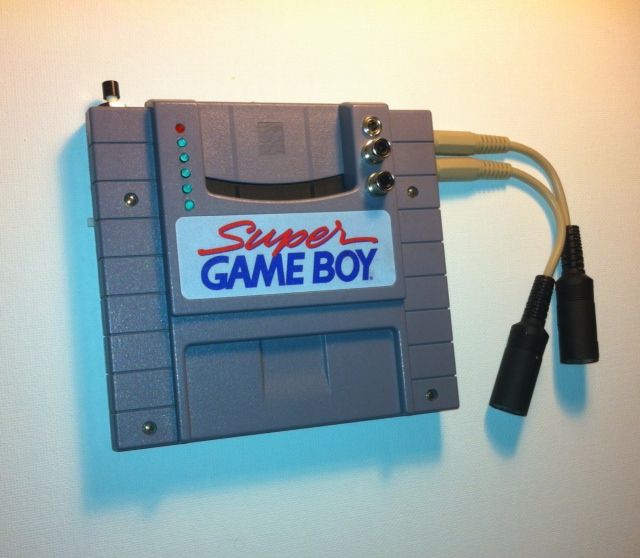
Great build! I'm interested in that midi cable though, you made them? I'm assuming it's pretty simple but I'd just need some pointers. A quick google search didn't yield any results...
Oh awesome, thanks for quick reply.
Where did you get the cables? Does the plastic casing come off easily?