herr_prof wrote:

You could radically change the market place by selling tons of cheaply modded and high quality mods yourself.

Well, I realise that would always be the case, but I guess that's part of my confusion. Why hasn't someone attempted it? Am I missing something important?

EDIT: I am being serious here, BTW. I don't understand why the prices are going this way, unless I'm just seriously underestimating people's desire to not do these modifications themselves, or perhaps for some other reason I can't think of.

On a related note, any modders want to share how often they have people "bite" on pricing like that? I'm genuinely curious.

I have noticed something kinda strange lately, which is basically that DMGs continue to sell (or are at least offered for sale) for ridiculous prices, despite the fact that parts for performing modifications on them are very cheap and the mods themselves are simple to do. Not to mention that, unless you're looking in the online domain of overpriced consumer goods (eBay), the DMGs themselves are still very cheap to buy.

And yet people still routinely ask upwards of $90 for DMGs with basic prosound mods, button replacements, and backlights. What's wrong? Do you guys think that's reasonable? If so, why? Maybe my judgement is just off-base because I happen to be able to do the modifications that many people choose to pay for.

323

(105 replies, posted in Trading Post)

MMM, Willbe vinyl. Noms. I have loads and loads of Willbe on my computer, but no vinyl. Monsieur B is a pretty good one.

324

(22 replies, posted in Nintendo Consoles)

Yeah, the only other way to get any closer sync is to lock the two NES' clocks together.

325

(52 replies, posted in Nintendo Handhelds)

Good golly this is most excellent!

nickmaynard wrote:

so, all you have to do is paint three cases? awesome! can't wait to get this.

Yup, that is correct. And number 7 needs a little cleaning and a new battery. Sadly, it was snowing yesterday (in the middle of April, I know!) and today it is raining. hmm So I might make some pictures and/or a video today.

Also, Famicom protos are coming along too. I have the first one finished finally and am doing a second one, which will be going to an-cat-max for testing as soon as I can find cable components for his. As it turns out, deep DB-15 connectors are hard to find, except on Neo-Geo joysticks, which are also very hard to find.

Lastly, I figure I might as well say that the two guys helping me towards production are Keff, who is doing artwork for labels and a website, and Kitsch, who has generously offered to help with getting PCBs made up for the NES carts. That's still going to be a ways off yet, but it should be encouraging to people who want to have a cartridge and didn't make the beta. Also, I'm working on a tutorial (possibly in video form) that will be distributed along with the code and schematics for DIYers to play with. It's pretty exciting. smile

Okay. Here is a short update:

After a few setbacks like tools breaking (and being broke when it happened) and stuff like that I have now got nearly all the hardware done and tested. I am waiting for one nice day to paint the last 3 cases. The software is still console only at this point, and will remain so for beta I'm thinking. Don't fret, it's easy to use even so.

Also, I am gradually moving towards the next step after shipping the beta carts as well, which is proper production. Two notable community members here are helping me with that. More info will be forthcoming on that.

Hmm, now I can see them. That's odd. Nice work. BTW, did you paint that pocket green, or is that a stock green pocket?

I like the look of the white-boy, but I am curious how the plastic holds up to bleaching. When i want to get the yellow out of old plastics I tend to use the hydrogen peroxide and oxi-clean trick, and while it won't make a grey gameboy white it will make it a crisp shiny grey again.

Portable snes exists. The model in this thread I have not seen anywhere though. But yeah, the FC-16 I have seen around.

Yeah,guess I missed that, sorry. hmm It sounds like a typical failure caused by things not being clean enough though. It's the curse of the original NES, they need to be cleaned almost constantly. Also, alcohol works kinda for cleaning, but ideally you might want to get some contact cleaner. The q-tip + alcohol cleaning isn't always clean enough. I dunno what else to say. hmm

Just as an aside, when I'm doing alot of work with my NES I can wind up having to clean the contacts on the 72 pin connector almost once a month just from normal accumulations of dust and stuff, as my workbench isn't the cleanest working environment in the world, and I tend to leave the cover off my NES as well.

Stuff for viewing on Facebook = non facebook users can't see your stuff. Fail. Please post your pictures here so I can "like" them, I guess.

You broke the #1 rule of new 72 pin connectors. If you hadn't cleaned your cartridges before using them in your brand new 72 pin connector you may have already gummed up your shiny new connector badly enough that it will need to be cleaned or replaced already. Get some 99% rubbing alcohol or a can of contact cleaner and clean clean clean.

Seeing the company name reminds me of their other FTL (failed to launch) products, which makes me think it'll be vaporware. I want to see more than a render. Also, controller port locations = icky.  But other than that I guess it's OK looking.

So I was recently sent a Kitsch-Bent LEDx3 backlight for testing in my MGB, or Gameboy Pocket in layman's terms. I was hopeful that this one would work much better than the RGB-VA adjustable backlight because it's very thin. It worked out nicely, and I took a bunch of pictures documenting the process of installing it. I would say the install was a good bit harder than a DMG, but that's partly because the MGB is just harder to mod, and partly because the screen, while thin enough, was not designed with the space constraints of the MGB in mind.

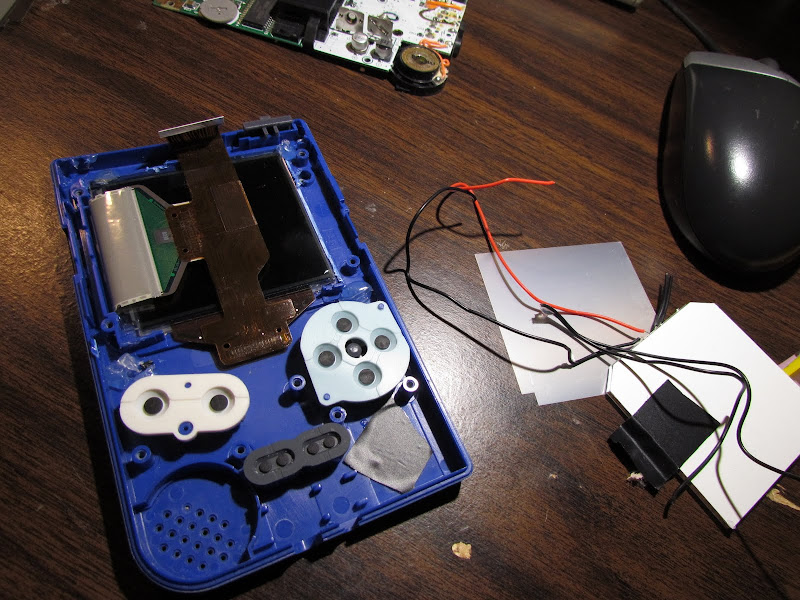
So, to begin with I had the backlight kit, which was an inverted white model, and my blue MGB, which has had about four different backlights in it so far, including one made of CD-case material, one from an iPod backlight, one from a broken DS Lite, and the RGB-VA.

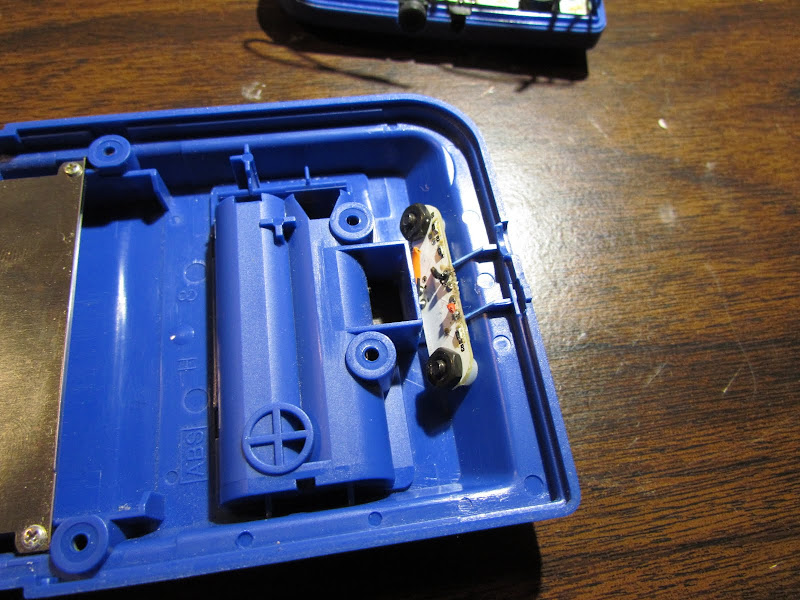
I had to remove the old RGB-VA first, which involved snipping off the wires to the PCB and removing the old panel. I left the PCB in place since it covers the holes in the shell. The old backlight was a real mess, as I seriously mangled some stuff to get it forced in there, only to find it wasn't going to work anyways.

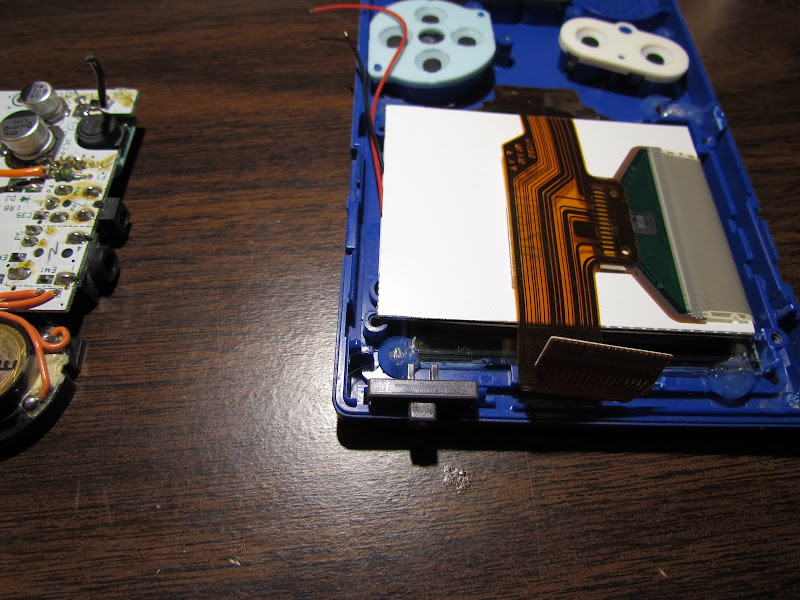
At this point I made sure the LCD was still working, which it was:

Upon inserting the new panel I noted that it was going to block two important screw posts, and would need to be modified. Since there would be no way to hold the front of the gameboy on properly without these posts I had to hack the LEDx3 panel itself.

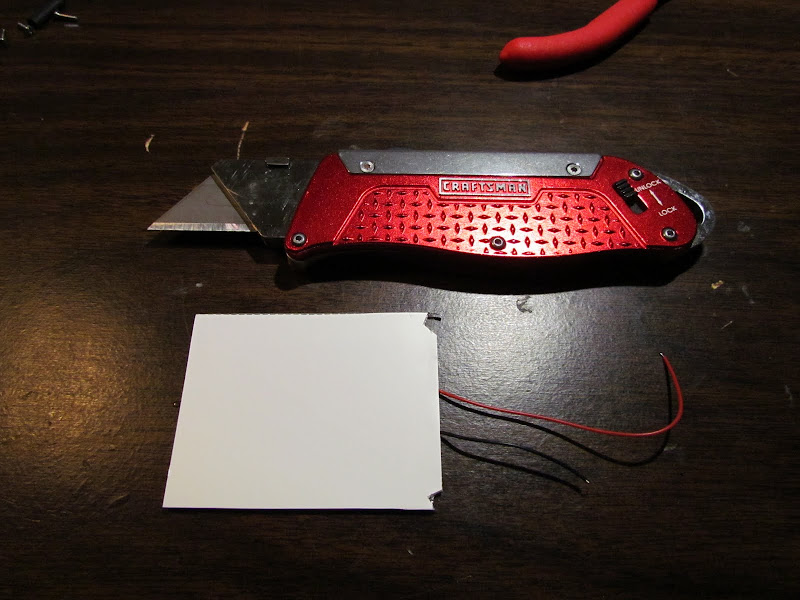
So my highly scientific (lol) method of planning the hole locations and checking to see if it was okay to chop there was to mark them with red sharpie and then illuminate the panel while looking at the backside. The LEDs didn't look like they were in the locations I wanted to chop, so I hacked off the corners with a razor knife.

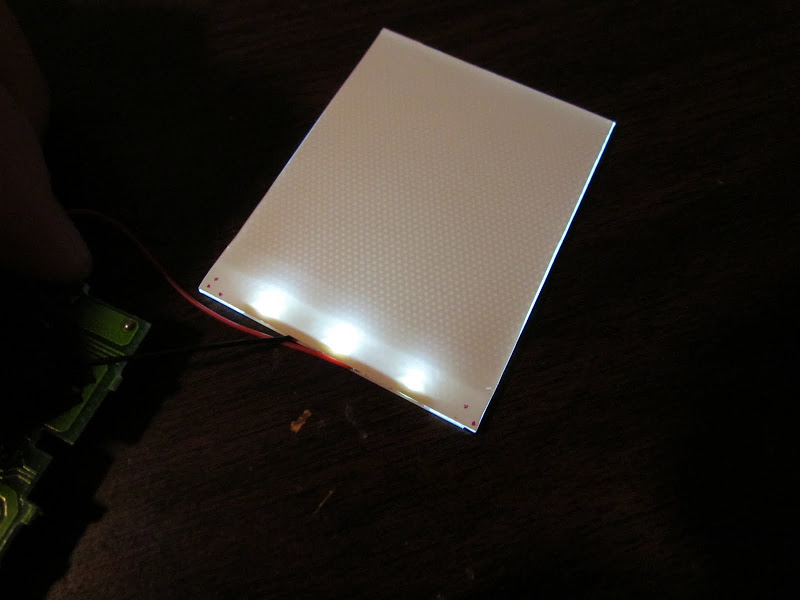
And it still worked after having it's corners lopped off.

After that the only other thing that was in the way was the power LED, which I simply heated up with the iron and plucked from the PCB. (use pliers, those buggers get HOT)

After that the whole assembly fit quite nicely, and looks pretty good too. I forgot to take a picture of where I wired up the panel to, and I probably should have used a smaller resistor value, since the MGB's power supply provides different voltage and current amounts. But it looks good as-is.


Big thanks go to Matt of Kitsch Bent for sending me this screen to test out for him. If you're looking for a good screen for your MGB and don't mind a little work, this one is a good pick.

Some other notes for people who want to mod their MGB for backlight:
- The surround around the inside of the case which holds the screen will need to be cut, pretty aggressively too. I use hot glue to hold everything in once I have it lined up.
- The surround for the old power LED will also need to be cut down.

I might detail this process a bit more later, so consider this more of a review than a real install tutorial.
In the meantime, here are even more pictures:
https://picasaweb.google.com/arf.at.sjv/LEDx3InAnMGB

My MGB has already had the living daylights modded out of it on more than one occasion now, and I think I may have already removed that screw and done something different for mounting. Heh, so my results might not be indicative of normal MGBs at all, but should hopefully still be useful. smile

BTW, for those looking to try the backlights in the MGB- I intend to test the LEDx3 in my MGB soon, documentation will follow.