257

(1,485 replies, posted in Trading Post)

kitsch wrote:

hadn't been, but that's a great idea!

will start working on that, won't be too hard

The NES-004 PCB barely needs modified as it is but a new board would definitely make this much easier.
It would be a good idea to have the 4 diodes built into the new PCB and then just 6 break out pins. This would make my life so much easier! Also maybe find a good(and small!) 6-pin socket that will fit into the Game Boy. I normally just add another link port wired to the button pins on the DMG and use a link cable for the controller. This is a pain and can also cause some confusion.

258

(304 replies, posted in Trading Post)

katsumbhong wrote:
thursdaycustoms wrote:

Unfortunately they wont fit in a standard case because the PROM is too thick.

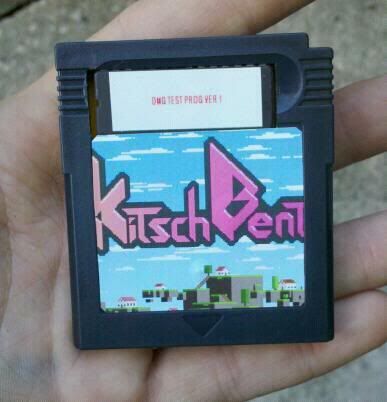
The PROM seems to fit inside a GBC case as pictured in the Blue DMG Test cart...

The blue cart happens to be a slightly softer plastic so it bends around it a little bit while still closing all the way. I believe actually Nintendo cart cases are harder and would not allow this. Similar to the clear and clear orange which as you've seen need to be cut down.
I did my personal carts by cutting a square in the case to fit the chip but it's very time consuming so I wasn't able to do it with all of these.

259

(304 replies, posted in Trading Post)

Unfortunately they wont fit in a standard case because the PROM is too thick.

260

(304 replies, posted in Trading Post)

Retrogamer09 wrote:

Justin, do you sell by any chance the clear gameboy cartridge cases separately?

Thanks

I do not but kitsch-bent.com does:
http://store.kitsch-bent.com/product/cl … cuit-cases

261

(304 replies, posted in Trading Post)

Music Tech and DMG test cartridges are now in stock!

http://thursdaycustoms.bigcartel.com/ca … cartridges

262

(21 replies, posted in Tutorials, Mods & How-To's)

Thank you! There's so much more for me to add but I just can't find the time!

263

(48 replies, posted in Nintendo Handhelds)

My hero! I have a few teensy's and i need them to work properly since I don't actually need MIDI data for my own use. I just need USB sync. Thank you!

264

(304 replies, posted in Trading Post)

The tutorial for RGB Switches is now up on the page:

http://thursdaycustoms.bigcartel.com/pr … b-switches

265

(13 replies, posted in Nintendo Handhelds)

Is your mode switch a latch switch? Does it stay on when you click it? That could be it. You need a momentary switch.

266

(304 replies, posted in Trading Post)

thebitman wrote:
thursdaycustoms wrote:

It's been awhile since a real update here on chip music!

But the kit I'm most excited about is the RGB Switches. This one piece kit has 3 on/off push buttons to control any RGB LED device such as the kitsch-bent backlights, RGBss(backlit start and select buttons) or the RGB Case LEDs kit. OR all at once! It easy mounts to the top of a DMG case with 2 included screws and spacers.
Check the options bar because you can add an RGB backlight for an additional $13. This is the original version of the KB RGB backlight and comes with a resistor breakout board rather than having to deal with individual resistors.
http://thursdaycustoms.bigcartel.com/pr … b-switches

Just want to say that these new buttons are SUPER low-profile and I think they would look great with RCA jacks up alongside them. Got to play with them a bit at BRKfest, and I am strongly considering having them included in my order from Justin! (Recently got that pizza delivery job, should be getting money this month, SUPER excited.)


Thanks! I'm really happy with how they've turned out. I'm actually going to put them in one of my personal Game Boys and I usually just do backlight and 1/4" pro sound for mine since I beat them up at shows!

267

(304 replies, posted in Trading Post)

stargazer wrote:

Hey just wanted to say really nice stuff here! Keep it up. I think you'll fill the void with asm phasing out.

Thanks a lot! We're always trying to expand and offer as many options as possible.

268

(1 replies, posted in Nintendo Handhelds)

Try cleaning the pins with rubbing alcohol and a q-tip.

269

(304 replies, posted in Trading Post)

Budusy12 wrote:

What size resistor are u using on the new bivert chips because my chip isn't able to run with my arduinoboy I think because of to much power.

No resistor is needed. It's a .01uf capacitor between 5v and GND.

270

(304 replies, posted in Trading Post)

It's been awhile since a real update here on chip music!
We have a ton of new stuff and most of the usual kits have been updated!

First the big news..
Frontlit Game Boy Colors are now back in stock!
These are incredibly popular so the inventory is low.
Get while the getting is good!
For all you musicians, don't forget to add an 1/8" prosound! We always use a noise canceling capacitor with these so you never get that annoying hum. Not even in the headphones!
http://thursdaycustoms.bigcartel.com/pr … -boy-color

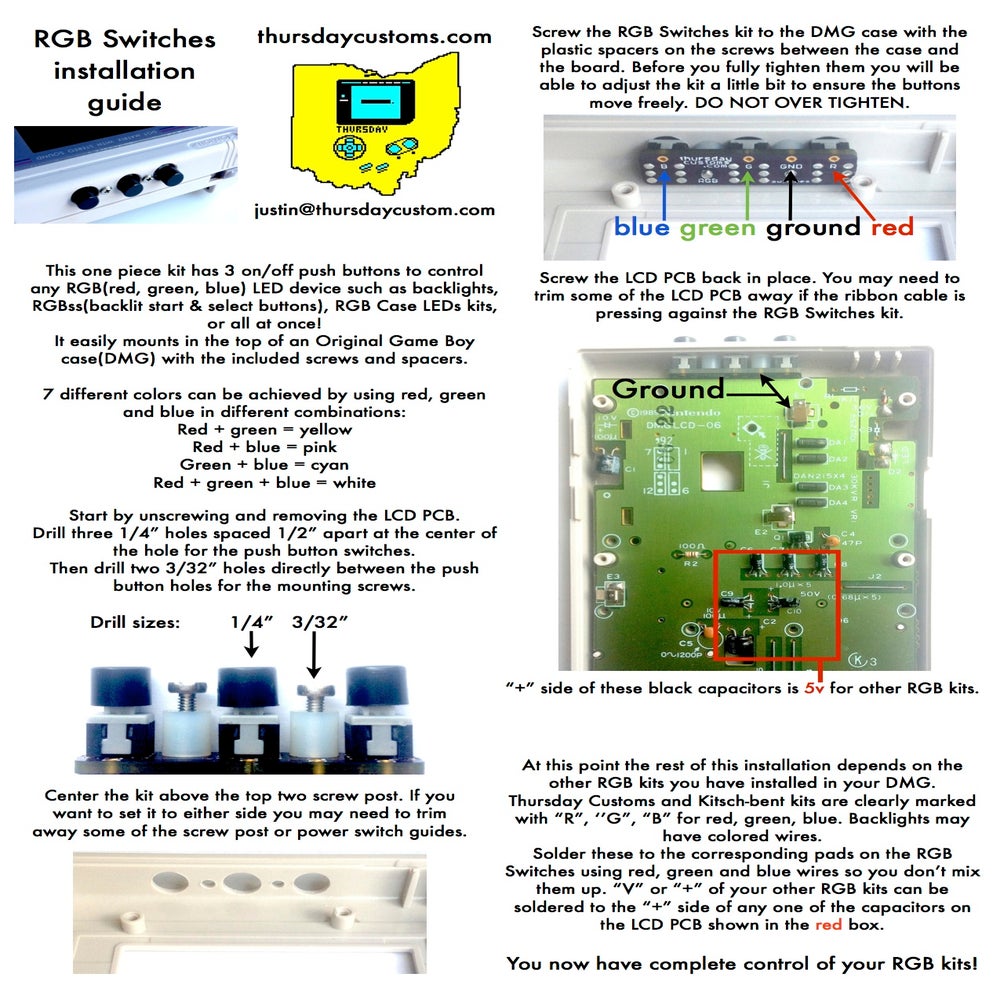
But the kit I'm most excited about is the RGB Switches. This one piece kit has 3 on/off push buttons to control any RGB LED device such as the kitsch-bent backlights, RGBss(backlit start and select buttons) or the RGB Case LEDs kit. OR all at once! It easy mounts to the top of a DMG case with 2 included screws and spacers.
Check the options bar because you can add an RGB backlight for an additional $13. This is the original version of the KB RGB backlight and comes with a resistor breakout board rather than having to deal with individual resistors.
http://thursdaycustoms.bigcartel.com/pr … b-switches

The other really big one is that the Variable Clock v4 has undergone a huge overhaul.
The kit can now be installed in two totally different ways giving you more options than ever before.
Spacers and screws(optional) have been added for a more secure install as well as the option to put your main pot wherever you can fit it!
Check it out right here:
http://thursdaycustoms.bigcartel.com/pr … e-clock-v4

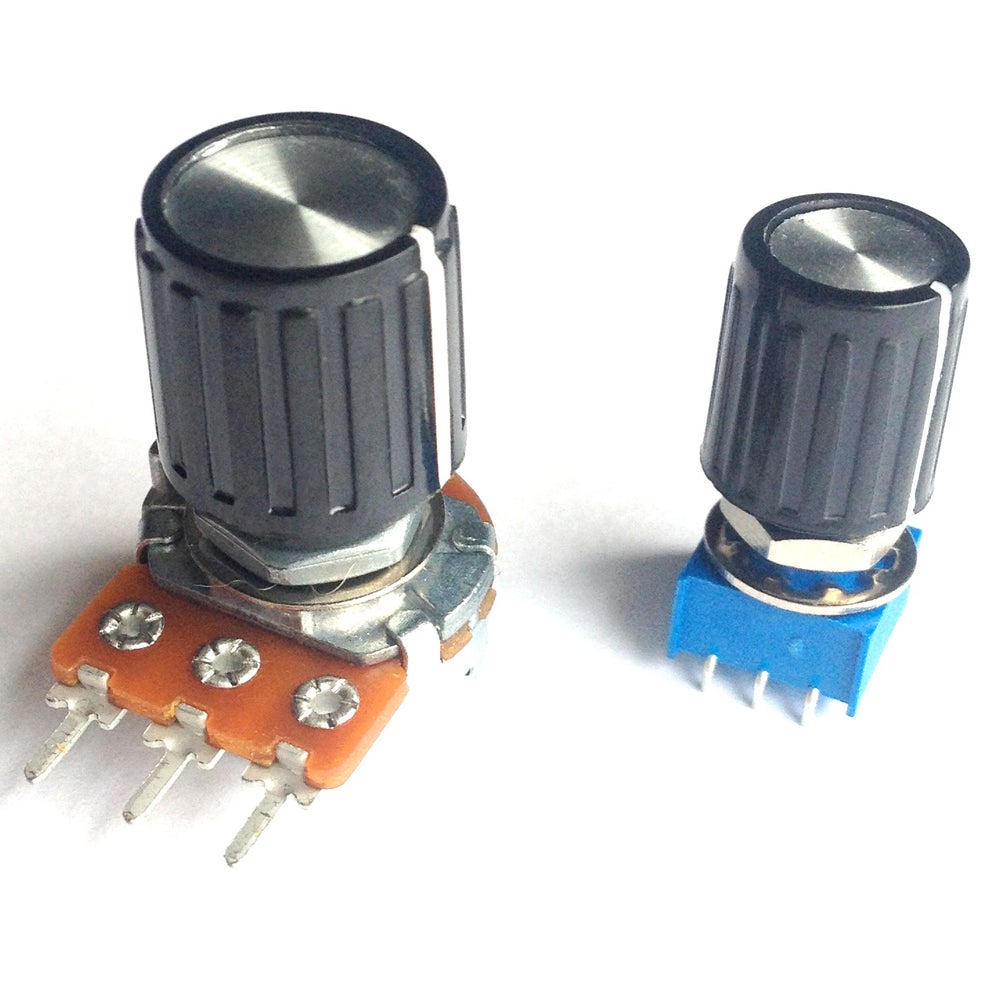
Speaking of.. If you liked the super tiny pot and knob that comes with the Variable Clock v4.4 kit, you can now purchase them on their own!
Here is a size comparison to the pot that is typically used for variable clock mods:
http://thursdaycustoms.bigcartel.com/pr … t-knob-kit
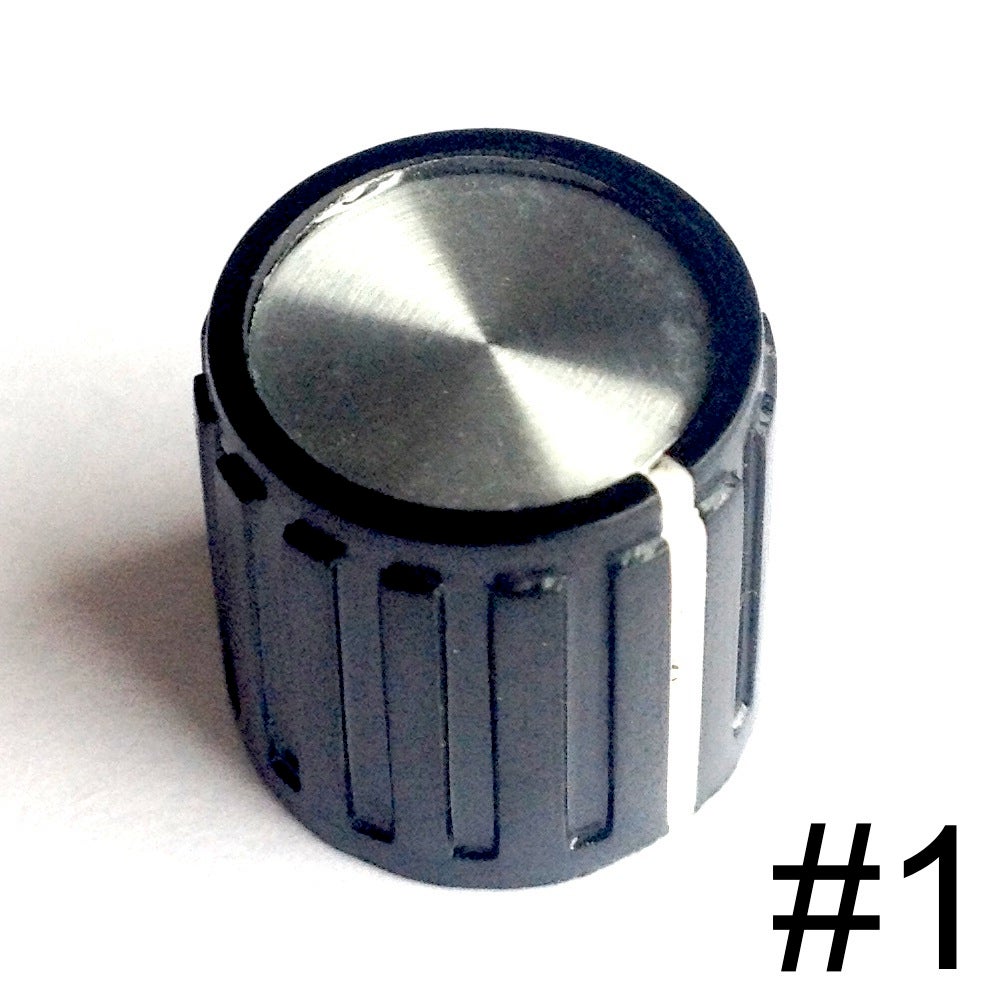
And speaking of the original Variable Clock kits.. We've added a few more knob options:
http://thursdaycustoms.bigcartel.com/pr … rted-knobs
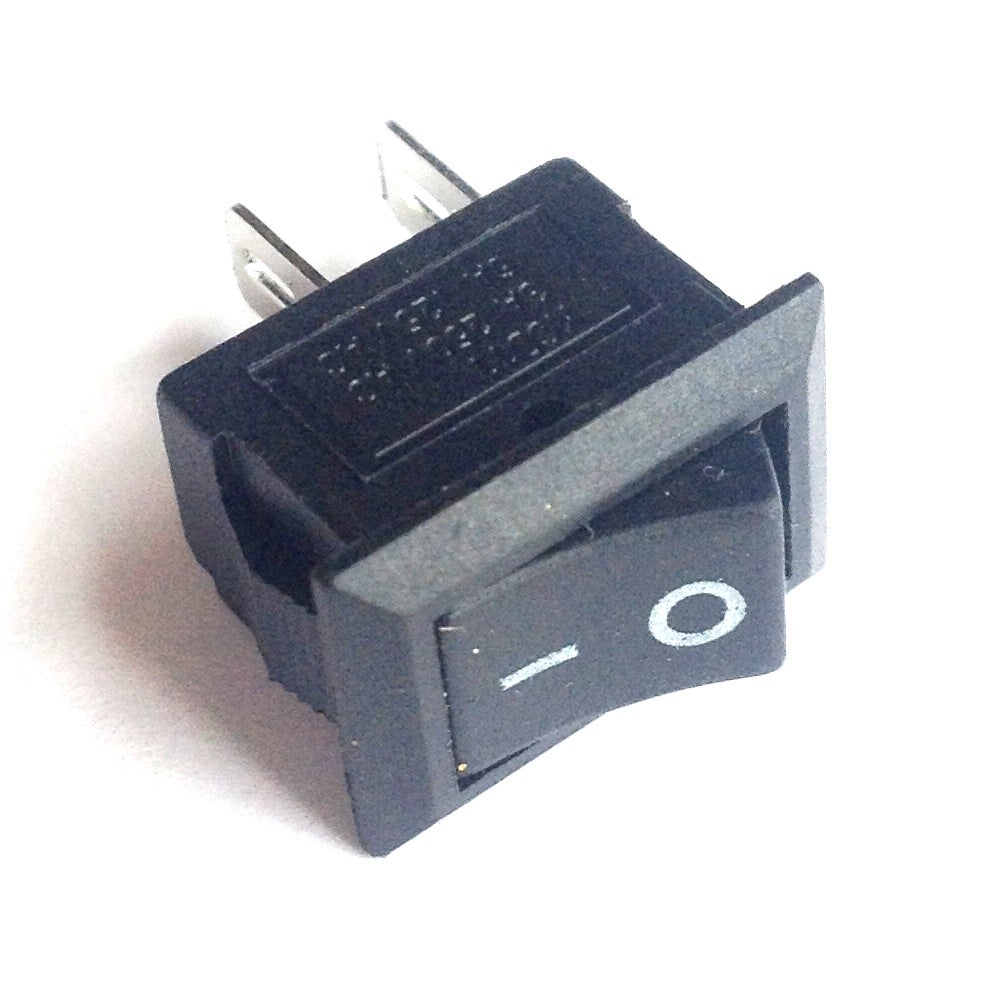
Also for Variable Clock kits, backlights or anything else you want to be able to turn on/off, we finally have the much asked for mini rocker switches!
http://thursdaycustoms.bigcartel.com/pr … off-switch
And last of the kits but most definitely not least, the Hex kits have been revised.
Nothing big here but they are a slightly better design and personally I think they look cooler!
http://thursdaycustoms.bigcartel.com/ca … -inversion

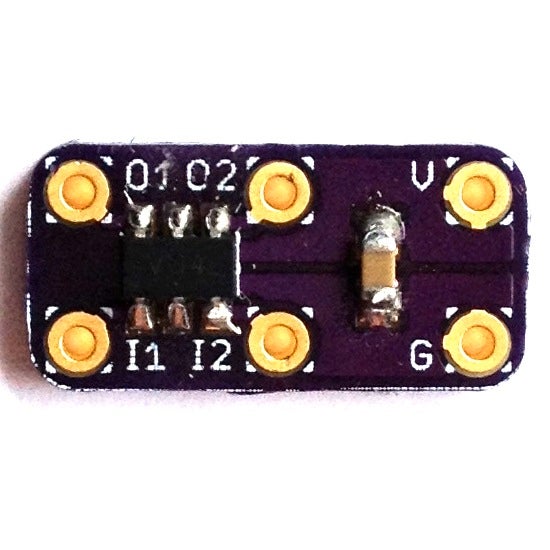
I should also mention we only have 3 Variable Clock v2 kits left. THESE ARE GOING TO BE DISCONTINUED.
The Variable Clock v3 will be taking it's place with the option to get the micro pot separately(essentially making it a VCv2 without the micro pot).
http://thursdaycustoms.bigcartel.com/pr … e-clock-v2

For you bulk buyers you can now get 3 metal toggle switches for $5 instead of $2 each:
http://thursdaycustoms.bigcartel.com/pr … gle-switch

http://www.thursdaycustoms.com


HOW TO ORDER A CUSTOM GAME BOY:

You can add a backlit DMG, MGB or CGB(frontlit) to your cart:
http://thursdaycustoms.bigcartel.com/pr … o-game-boy

Then you can add a "Custom mod" to your cart:
http://thursdaycustoms.bigcartel.com/ca … ustom-mods

Choose the option "Installed" on any kit and it will be installed in the Game Boy that you've added to your cart.
All you need to do is enter the backlight color and polarization(normal or inverted. DMG and MGB only) you would like in the comments box on PayPal when ordering.

If you would like more mods than this you will need to e-mail me at [email protected] and I will work up a quote for you!
271

(7 replies, posted in Releases)

DLing now.

272

(7 replies, posted in Nintendo Handhelds)

You'll want to google stuff on prototype casting and molding. You should be able to find enough info just by searching those keywords. You'll need to take a two part mold of each button type.