578 Jun 13, 2012 2:01 am
Re: Kitsch-Bent.com Updates (latest newsletter!) (1,485 replies, posted in Trading Post)
579 Jun 13, 2012 2:00 am
Re: Spray painting a glacier Game boy advance with an internal coat (36 replies, posted in Nintendo Handhelds)
Thanks guys! I still have this one if anyone wants it. No mods right now.
580 Jun 13, 2012 1:26 am
Re: Transplanting LSDJ into original gameboy cartridge? (37 replies, posted in Nintendo Handhelds)
Desolder the battery holder and resolder a standard battery. Cut the USB hole. Done.
581 Jun 13, 2012 1:09 am
Re: Kitsch-Bent.com Updates (latest newsletter!) (1,485 replies, posted in Trading Post)
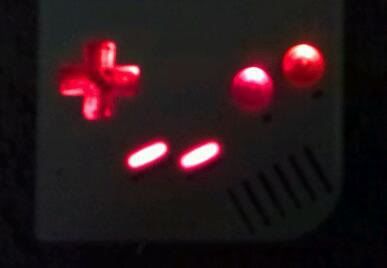
They are RGB so you can make any color permanent! No need for multiple kits!
582 Jun 12, 2012 9:51 pm
Re: Custom DMG Shells (4 replies, posted in Nintendo Handhelds)
Yeah.. I know it's a lot but it's a lengthy process and we put a lot of care into making sure are paint jobs are perfect!
584 Jun 12, 2012 8:57 pm
Re: Custom painted screens Tests (17 replies, posted in Nintendo Handhelds)
Secret technique! I sell these shells for $50.
585 Jun 12, 2012 1:19 pm
Re: Spray painting a glacier Game boy advance with an internal coat (36 replies, posted in Nintendo Handhelds)
586 Jun 12, 2012 1:16 pm
Re: Custom painted screens Tests (17 replies, posted in Nintendo Handhelds)
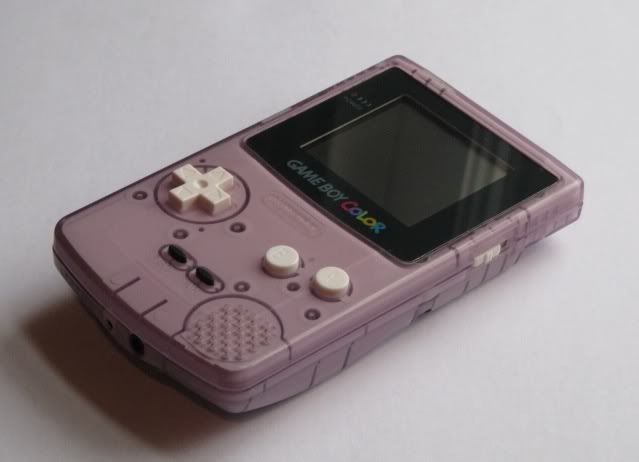
screen idea is very cool! got a case from justinthursday @ blip that was painted this way, its bubblegum pink, blue, and white swirl. and is awesome.
@kitsch you've got to post pics of that case I've got to see it.
Kitsch got the one in the middle here: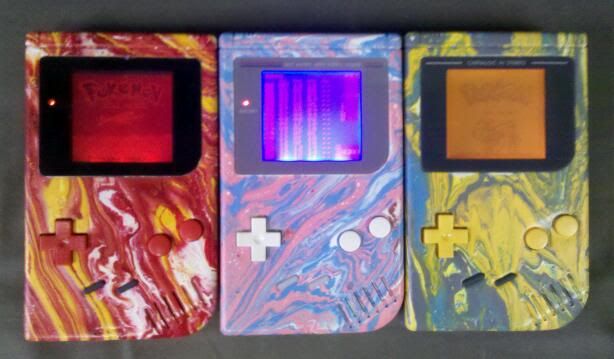
I've been playing with painting screen covers to match paint jobs lately as well. The best way to do it is sand off all the paint from the back or buy an ASM clear screen cover and paint it from the back.
588 Jun 12, 2012 12:54 pm
Re: Nonfinite's V3 Ultra backlights problem (20 replies, posted in Nintendo Handhelds)
I always cut the entire bottom of the plastic out. I've found that all theses panels technically fit but they are always raised up at the bottom causing pressure when tightening up the board.
589 Jun 11, 2012 10:43 pm
Re: Maize Mods (150 replies, posted in Trading Post)
SO NICEEEE. I'll post my pic of the red in my thread soon. Keep your eye out for it man!
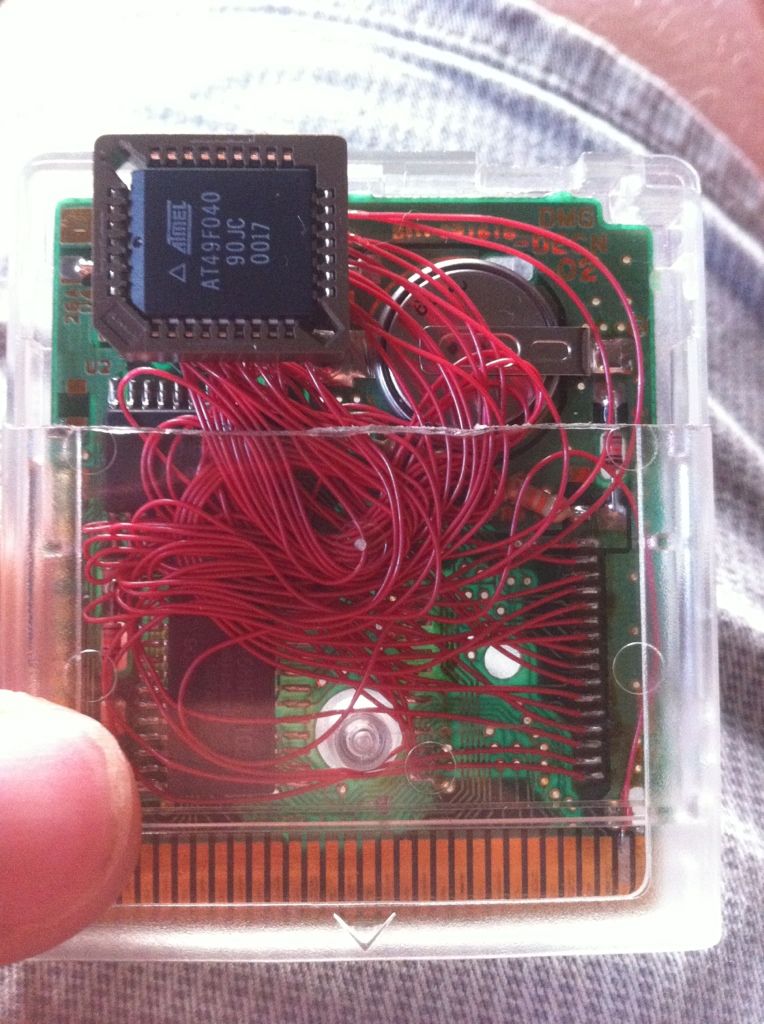
Another example of my work, a plcc cart.... Could probably make you one of these and flash something like the gb test rom or muddy gb. Also a rom up to 4m, if you can provide it.
Awesome! I planned to do this years ago but got so busy with just doing commissions I literally don't have time for fun projects like this.
I practiced my removing a ROM chip and soldering wires back to the chip.
Just did this to see if it would work: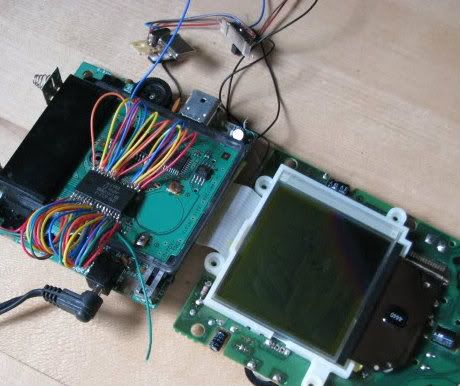
I used stranded wire too! Hahah! So glad I only use solid core now...
591 Jun 11, 2012 10:33 pm
Re: ASM - PCB Mount Pro Sound V3 @ Retromodding (494 replies, posted in Trading Post)
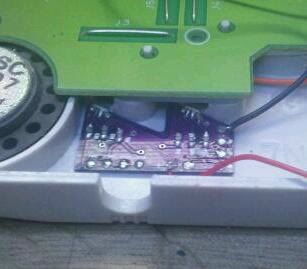
Pro sound kits are also being restocked soon. The small quantity that we had sold out very fast, but if anyone needs one ASAP, just get in contact with me and I can ship you one personally.
Not surprising. I love these boards. I know you changed the circuit a bit but these seem to sound so much better than the stock jacks!
592 Jun 11, 2012 3:05 pm
Re: sold (64 replies, posted in Trading Post)
I saw these on eBay. That's a pretty cool way of doing it! Also while your looking at receipts I would live to know where you got that little switch at the top! I've been looking a for a decent on/off push switch that's is that small!
